kyle242gt
Still has a Volvo
- Joined
- Sep 16, 2003
- Location
- Santa Rosa, CA
Hello Guest, welcome to the initial stages of our new platform!
You can find some additional information about where we are in the process of migrating the board and setting up our new software here
Thank you for being a part of our community!
 about a quart of jack oil shot out, hit me in the face as well as shooting all over the damn garage.

Thanks for the kind words!!Nothing pointless about it. You are building a hell of a machine!
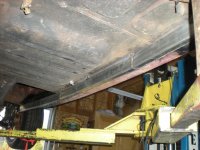
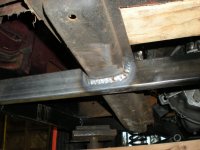
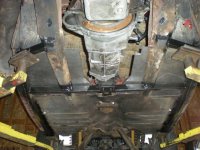
That's a definite possibility. The rear suspension is complete and functional as it stands, but will likely need to be revisited.Are those new frame rails going to tie into something like a 4-bar rear suspension at some point?
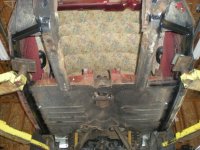
Man, you have no idea how good that makes me feel. Thanks!!You are doing a great job of replacing metal and making the car more structurally sound that it ever was.
As always, looking good!

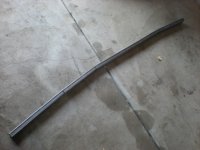
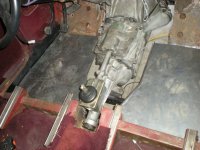
Early Tempests used a wire rope driveshaft,