
-
Hello Guest, welcome to the initial stages of our new platform!
You can find some additional information about where we are in the process of migrating the board and setting up our new software hereThank you for being a part of our community!
You are using an out of date browser. It may not display this or other websites correctly.
You should upgrade or use an alternative browser.
You should upgrade or use an alternative browser.
Brand new '81 262C Bertone Coupe . . .
- Thread starter TestPoint
- Start date
Got the trim strip and Bertone 'Crown' off both sides of the 'C' column and other than the small hole on the right rear it is rust free.
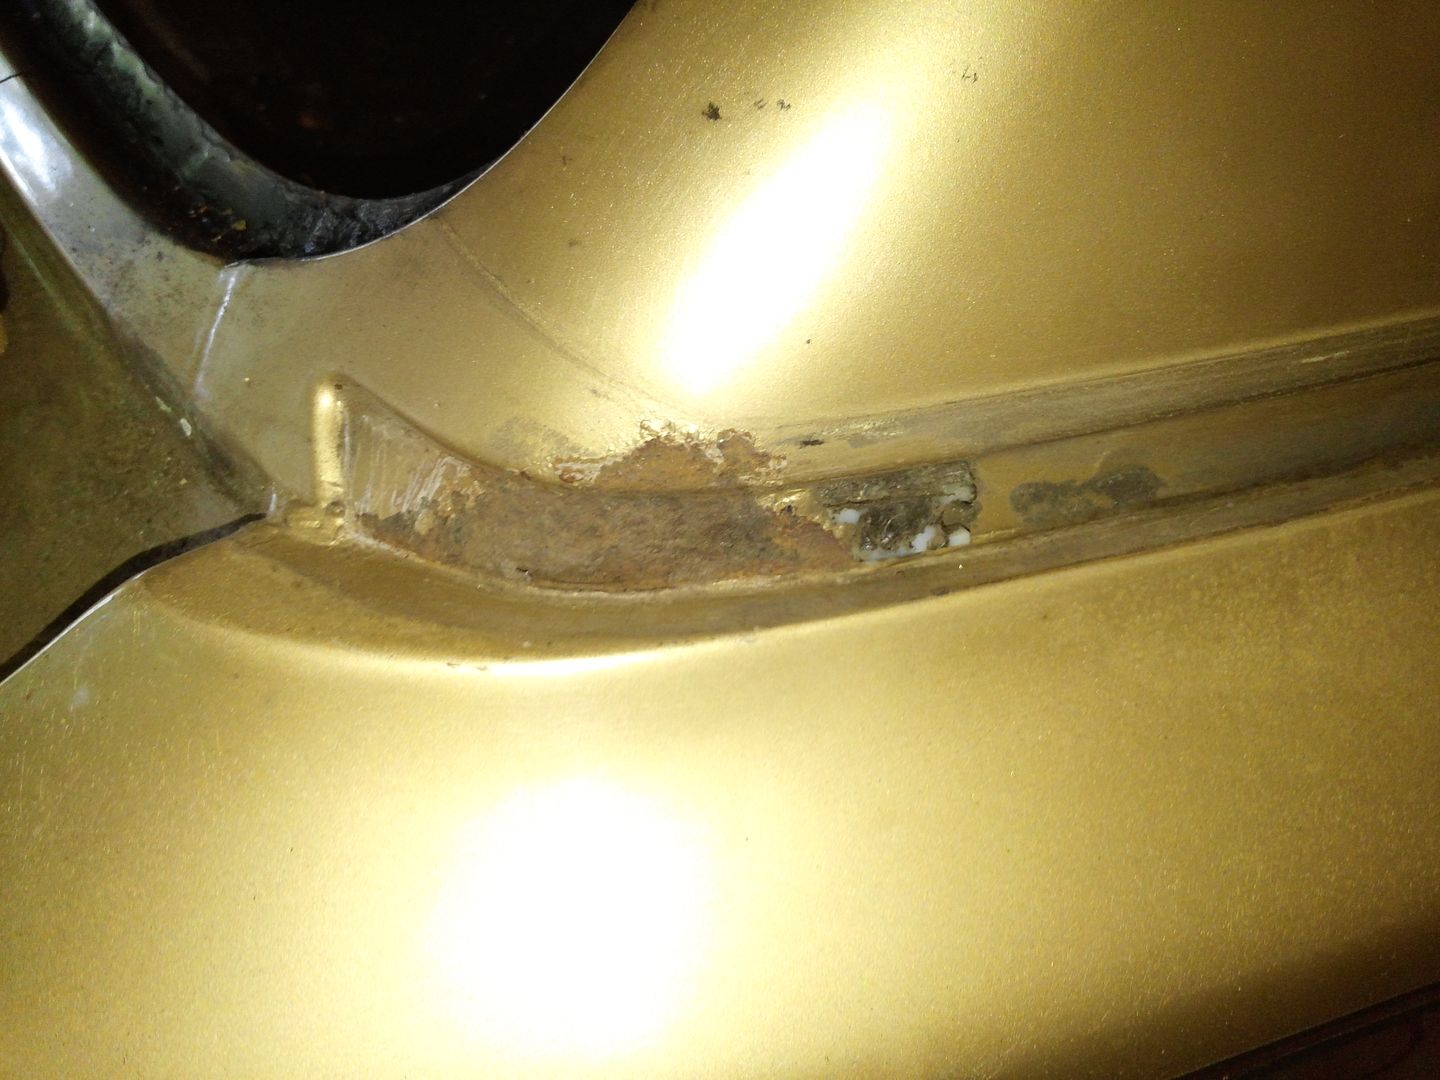
The crown emblem catches dirt and is famous for rusting through the attachment peg holes but no rust on mine.
It also came off easily with a couple pops from a spring loaded center punch with the interior trim off. All cleaned up and ready for primer this afternoon. After paint I think I will use attachment tape trimmed neatly to fit as a gasket so that there is no place for dirt to accumulate.
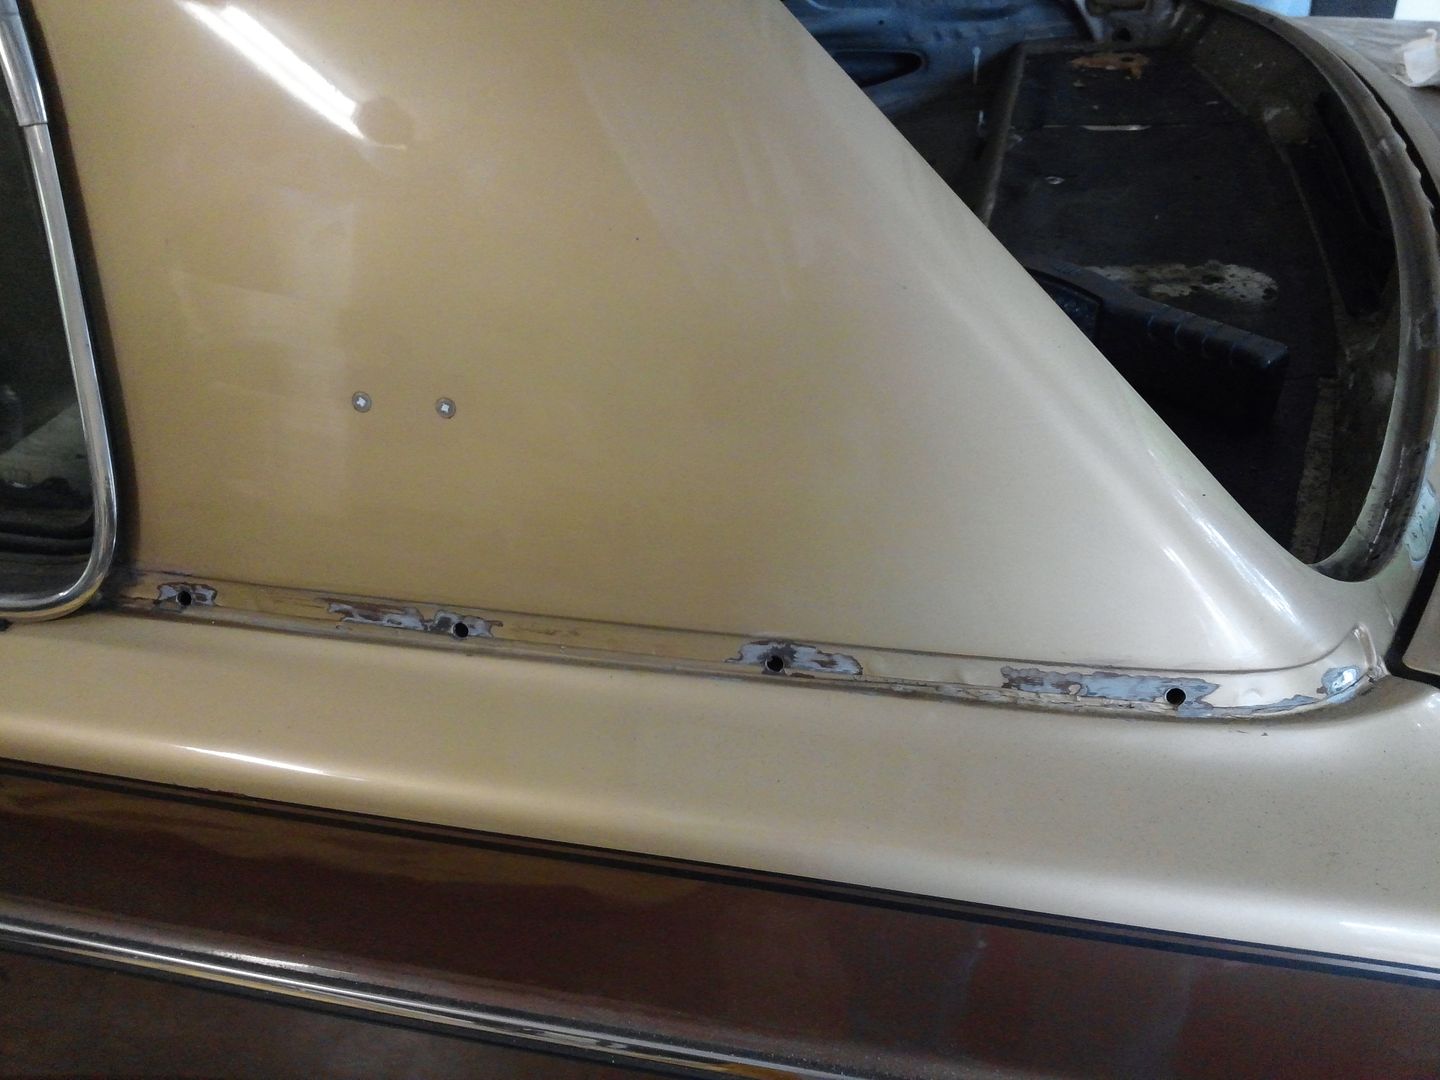
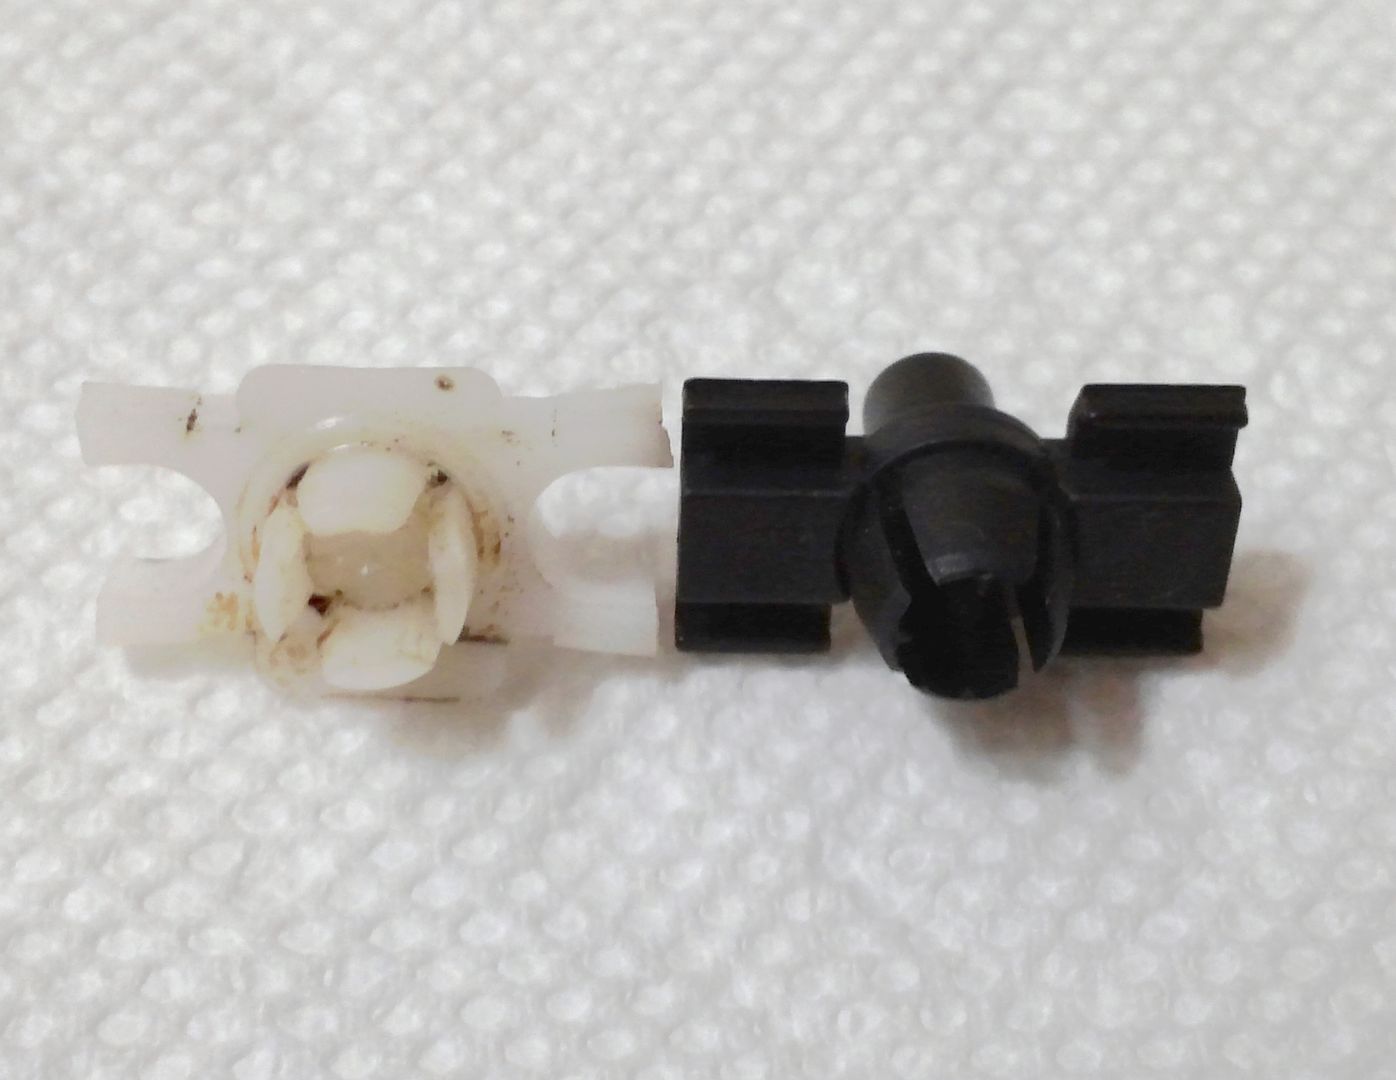
I spent 6-8 hours planning on how I was going to get the bright trim clips off with breaking them. What I came up with is to drill a 1/16" hole in the expanding pin, screw a picture framing eyelet into the hole and remove with a small slide hammer.

That works but then I realized that with the interior trim off the pins could be pushed out with small punch from the inside. Oh, well, if the truth be known most of that 6-8 hours was meditation (naps) anyway.
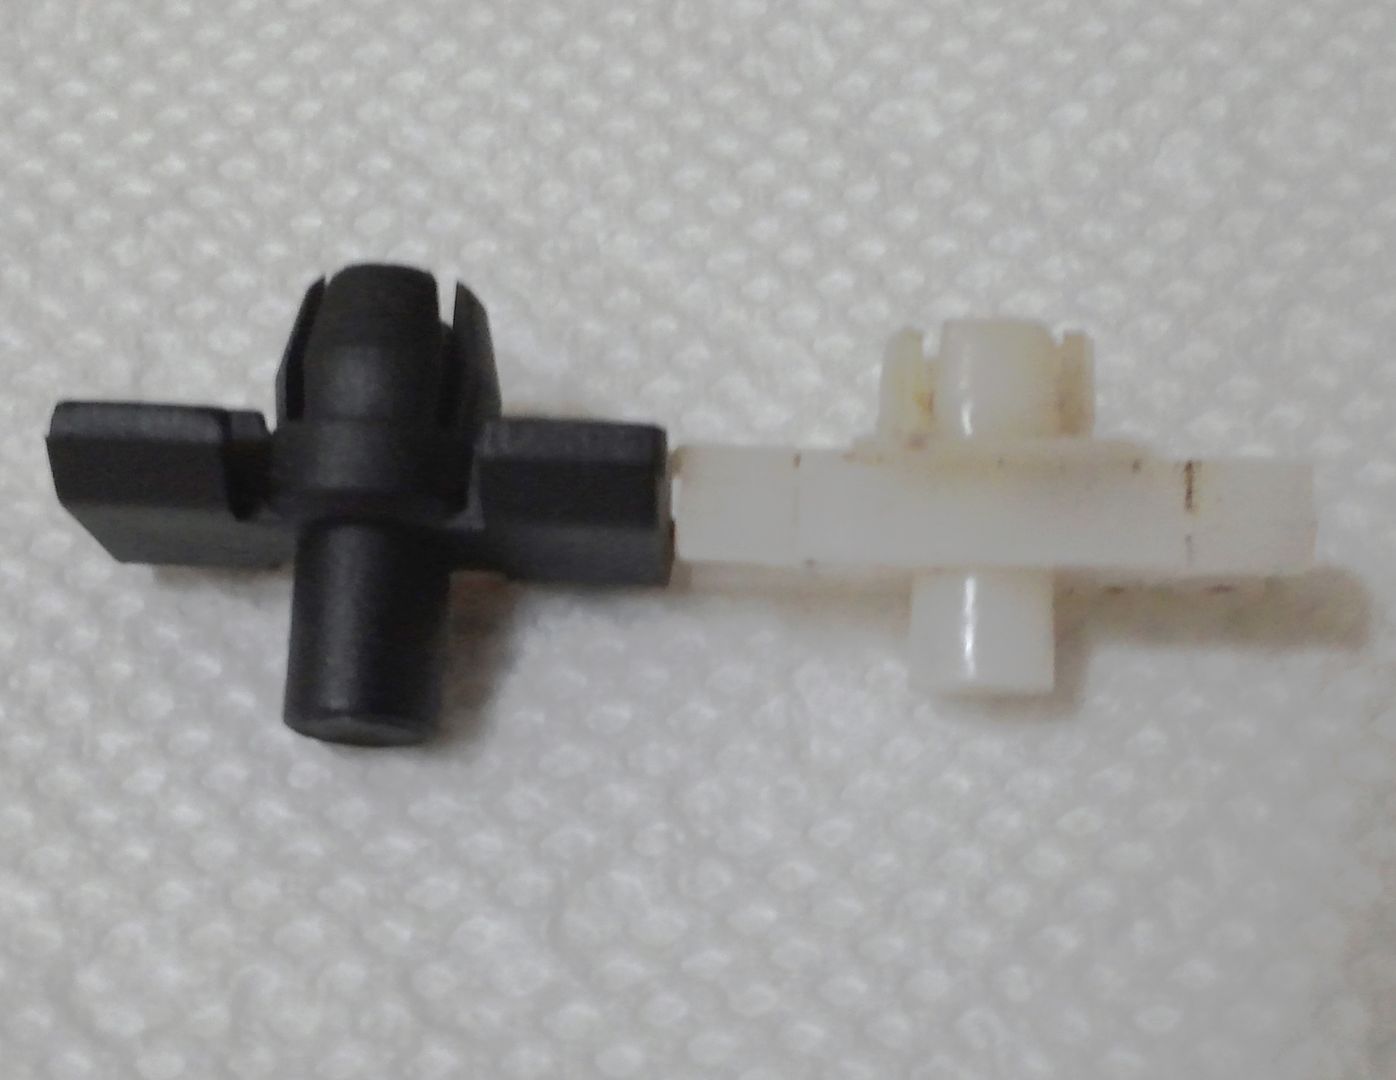
Finally found the bag of lower trim clips left over from the wagon. Just by observation they appear to be completely compatible to the original Bertone white nylon ones. Another Bertone restorer went to great lengths to modify the black clips to attach with stainless steel fasteners. At the moment I cannot see why.
Here is a link to the above referenced trim fasteners modification: http://forums.turbobricks.com/showpost.php?p=4501964&postcount=60
. . . and the clip modifications he made:

The crown emblem catches dirt and is famous for rusting through the attachment peg holes but no rust on mine.
It also came off easily with a couple pops from a spring loaded center punch with the interior trim off. All cleaned up and ready for primer this afternoon. After paint I think I will use attachment tape trimmed neatly to fit as a gasket so that there is no place for dirt to accumulate.
I spent 6-8 hours planning on how I was going to get the bright trim clips off with breaking them. What I came up with is to drill a 1/16" hole in the expanding pin, screw a picture framing eyelet into the hole and remove with a small slide hammer.
That works but then I realized that with the interior trim off the pins could be pushed out with small punch from the inside. Oh, well, if the truth be known most of that 6-8 hours was meditation (naps) anyway.
Finally found the bag of lower trim clips left over from the wagon. Just by observation they appear to be completely compatible to the original Bertone white nylon ones. Another Bertone restorer went to great lengths to modify the black clips to attach with stainless steel fasteners. At the moment I cannot see why.
Here is a link to the above referenced trim fasteners modification: http://forums.turbobricks.com/showpost.php?p=4501964&postcount=60
. . . and the clip modifications he made:
Last edited:
VulvaDipper
Member
- Joined
- Jan 12, 2015
- Location
- Waterford, CA
Could those wheels be the same as the ones I recently bought? Mine have no identifying marks on them, but they are also 15s and use the mag style lugs, which yours also appear to use.

It's the little things . . . .
Running out of little things to do while dealing with the carpet installation. Unable to find anyone anywhere close that has installed auto carpet before. Taken it out and cleaned and reinstalled, yes, but not start from scratch.
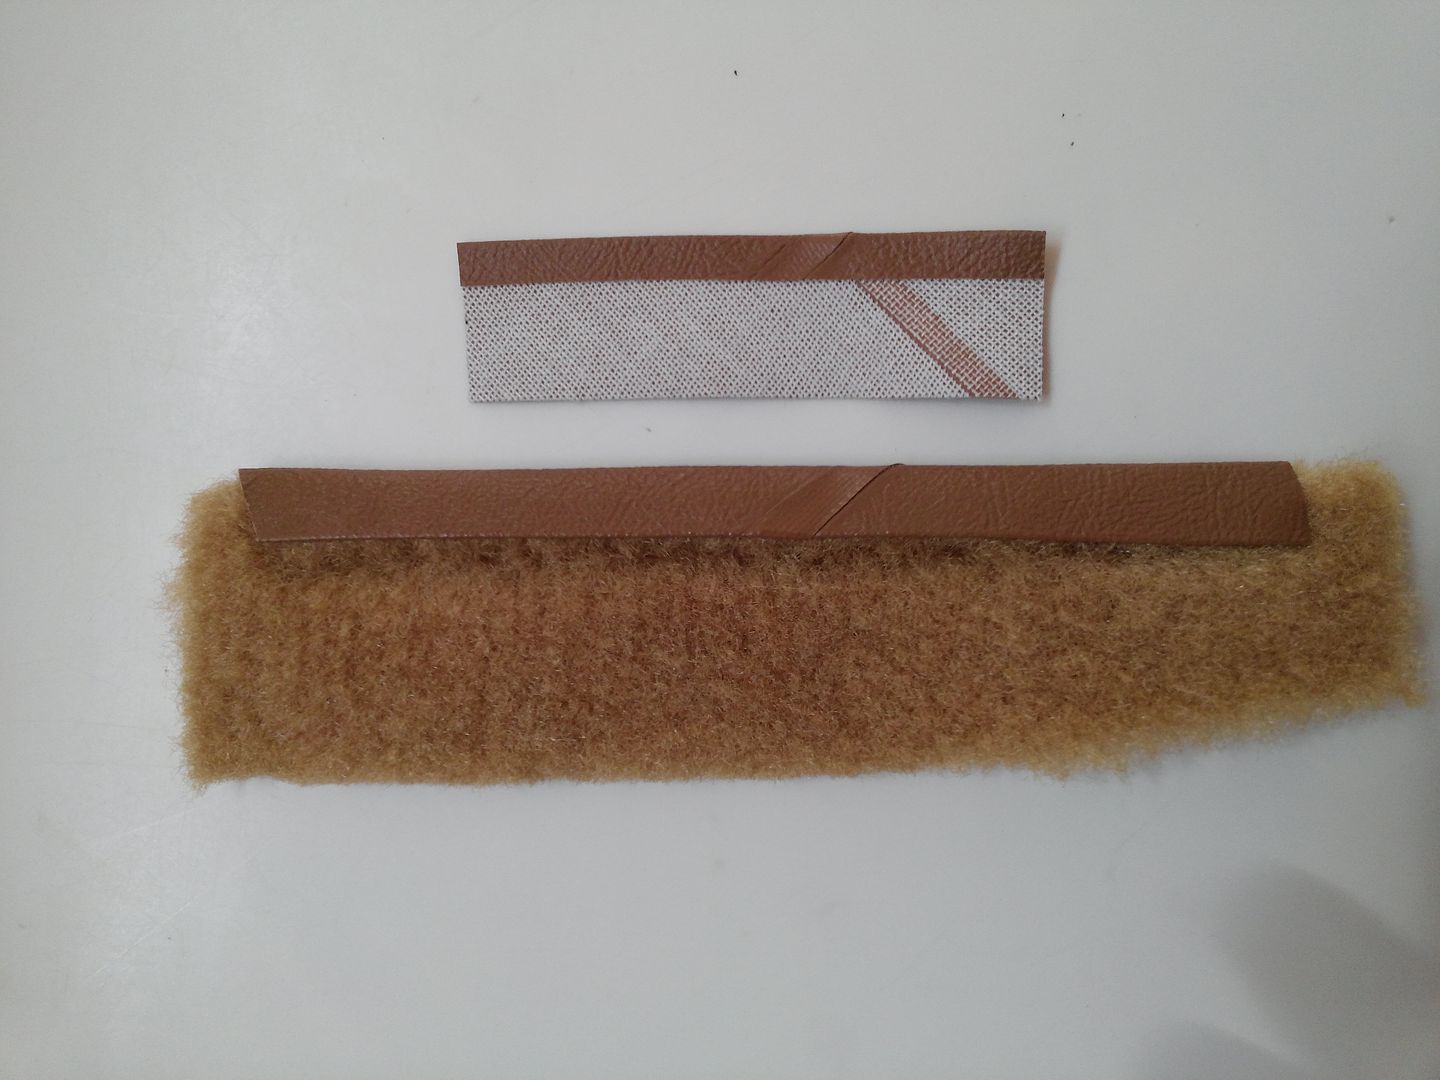
Cut the one piece formed carpet into the two pieces as the original Volvo carpet. ACS provided a vinyl edge binding along with the carpet that I how have to get sewn on. As a test I stuck it on with commercial double backed adhesive tape. The lady that is to sew it on may or may not like that but we will have a trial piece to help make that decision.
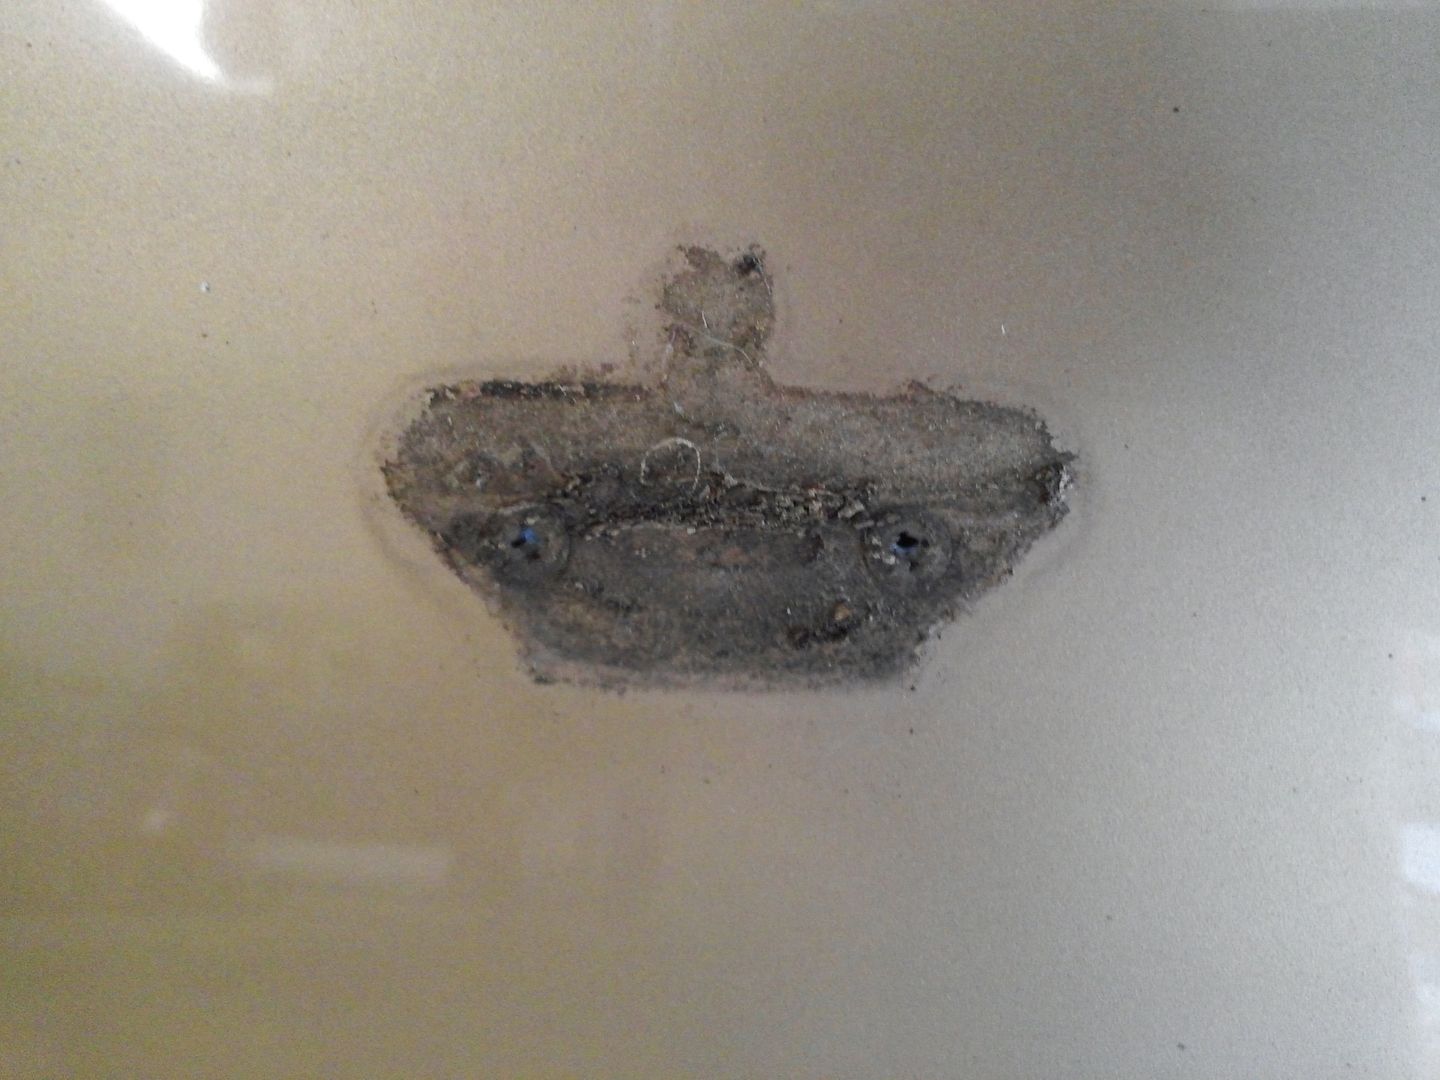
The Bertone 'crowns' on the 'C' columns were not corroded but the black background had pretty much faded out and what was supposed to be bright was not very bright anymore.
Found a local hot rod shop that sewed the vinyl binding on.
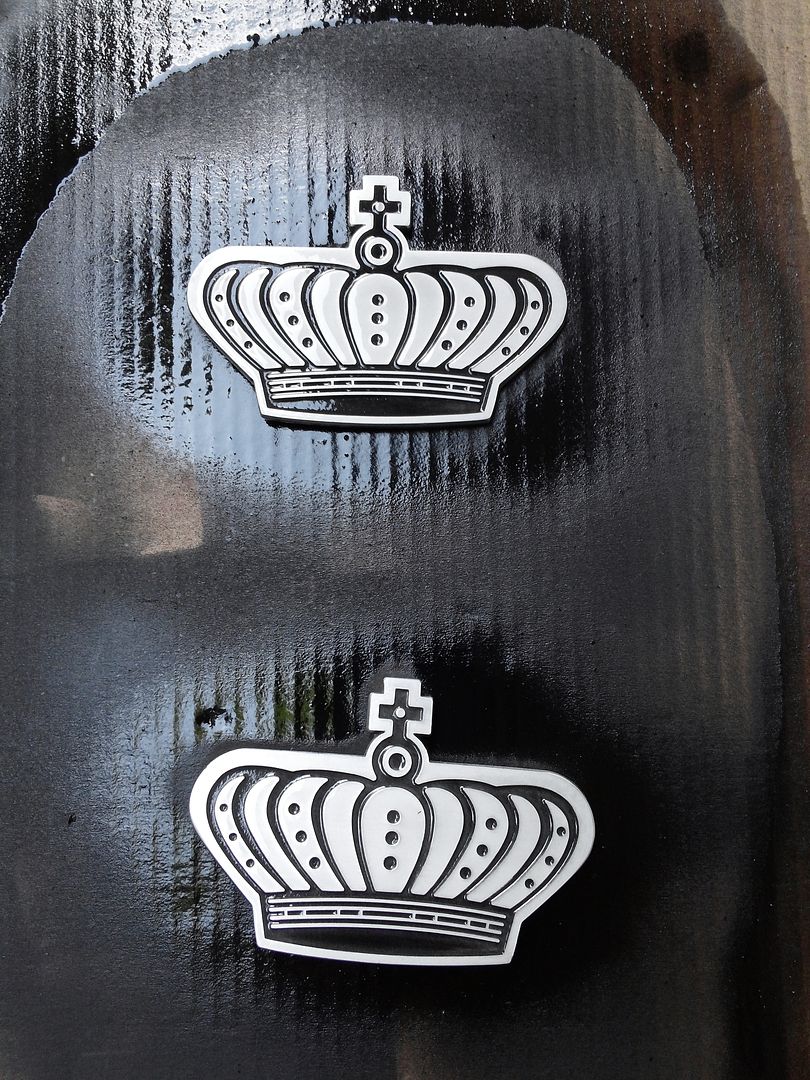
So . . . I painted the face black and then sanded the paint off the high surfaces with 600 grit w/d paper leaving it both with more shine and more black background. A quick coat of auto clear coat and it is ready to go back on.
Running out of little things to do while dealing with the carpet installation. Unable to find anyone anywhere close that has installed auto carpet before. Taken it out and cleaned and reinstalled, yes, but not start from scratch.
Cut the one piece formed carpet into the two pieces as the original Volvo carpet. ACS provided a vinyl edge binding along with the carpet that I how have to get sewn on. As a test I stuck it on with commercial double backed adhesive tape. The lady that is to sew it on may or may not like that but we will have a trial piece to help make that decision.
The Bertone 'crowns' on the 'C' columns were not corroded but the black background had pretty much faded out and what was supposed to be bright was not very bright anymore.
Found a local hot rod shop that sewed the vinyl binding on.
So . . . I painted the face black and then sanded the paint off the high surfaces with 600 grit w/d paper leaving it both with more shine and more black background. A quick coat of auto clear coat and it is ready to go back on.
Last edited:
Got the old AC condenser out along with the pusher fan and associated brackets. The condenser is 15" x 22.5" which is not available as an OEM replacement or as an universal unit. Guess I go with the closest and figure out how to make the brackets work. Found a 14" x 22" universal for about $50 that probably can be made to work.
Ordered the rebuilt AC Delco A6 compressor that had the closest to original belt pulley size. Original was 6", the John Deere air conditioned tractor compressor (57078) has a 5.75" pulley which is the closest currently available that I was able to find. Also ordered the expansion valve and receiver/driver all for $180 after discount from Auto Zone.
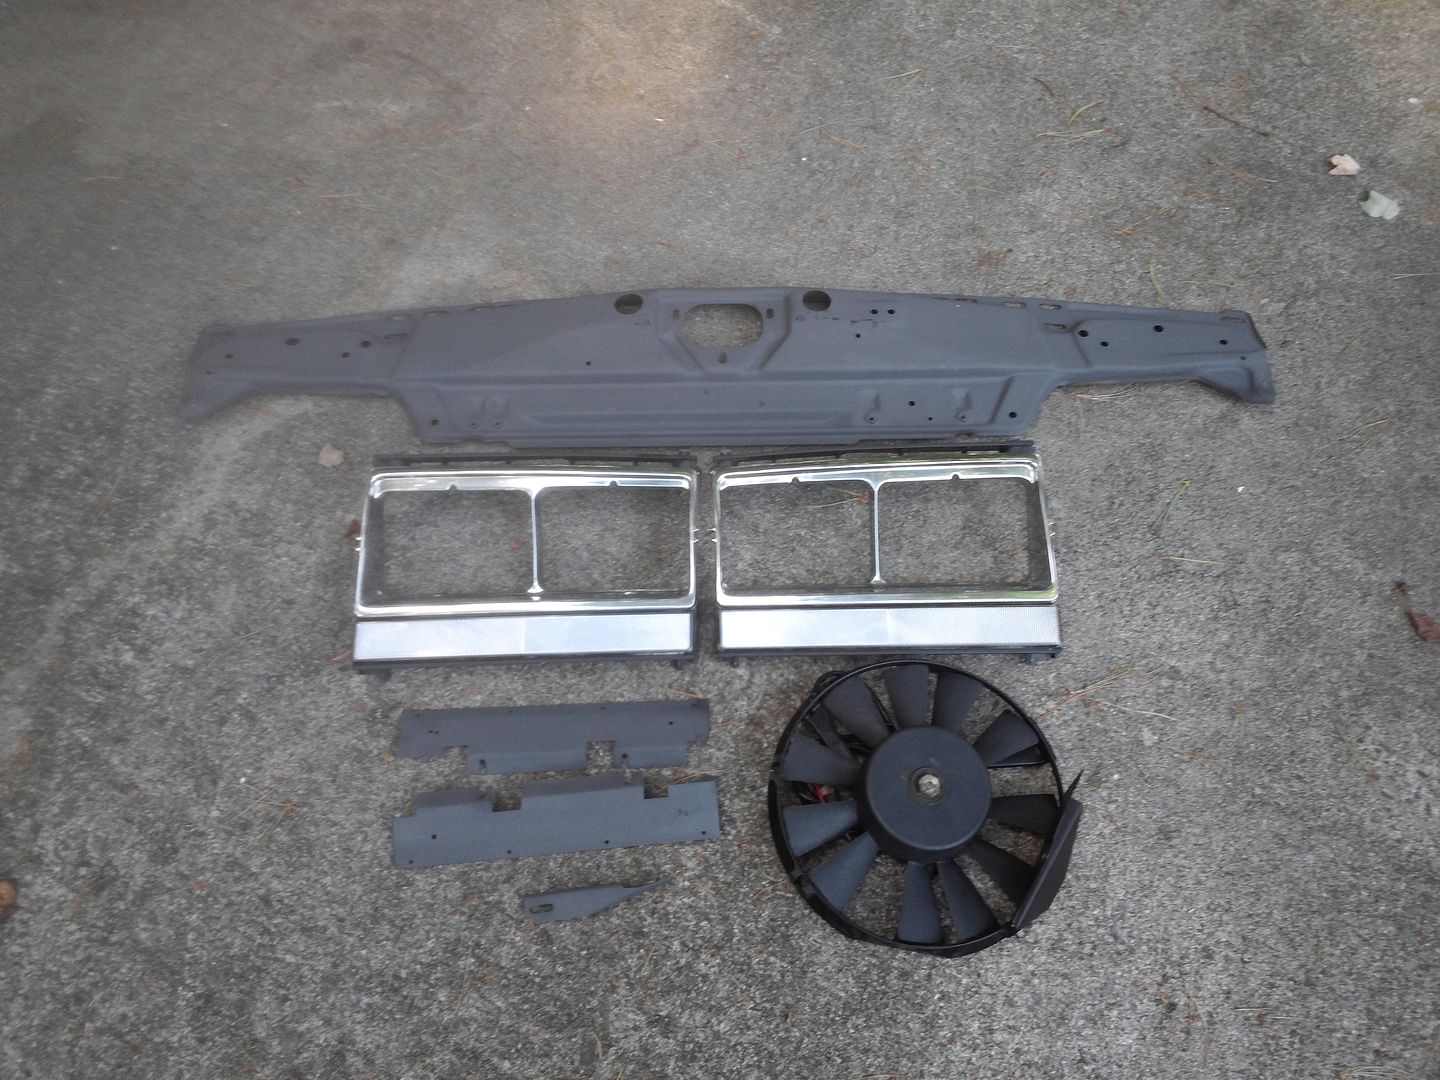
Cleaned everything up getting ready for paint including head light surrounds. I discovered a tire cleaning product 'No Touch Tire Care' that works wonders on anything plastic or rubber. It probably leaves some silicone or other nasty stuff but after cleaning with lacquer thinner seems to hold paints well.
The pusher fan was nasty but an hour of effort made it look as new.
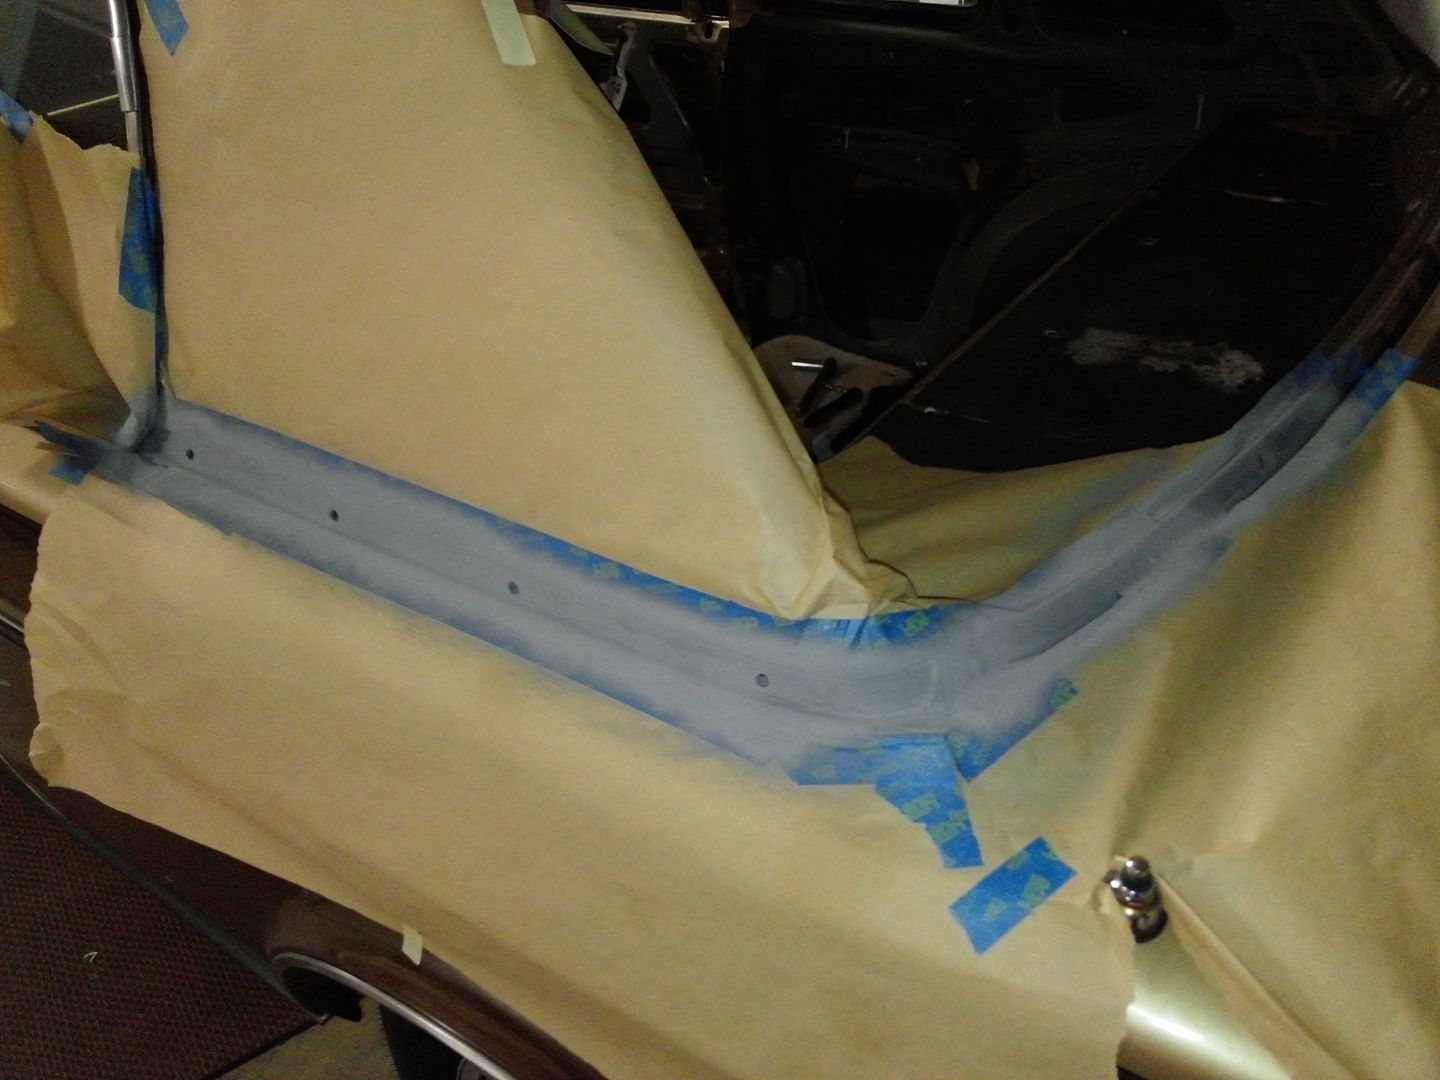
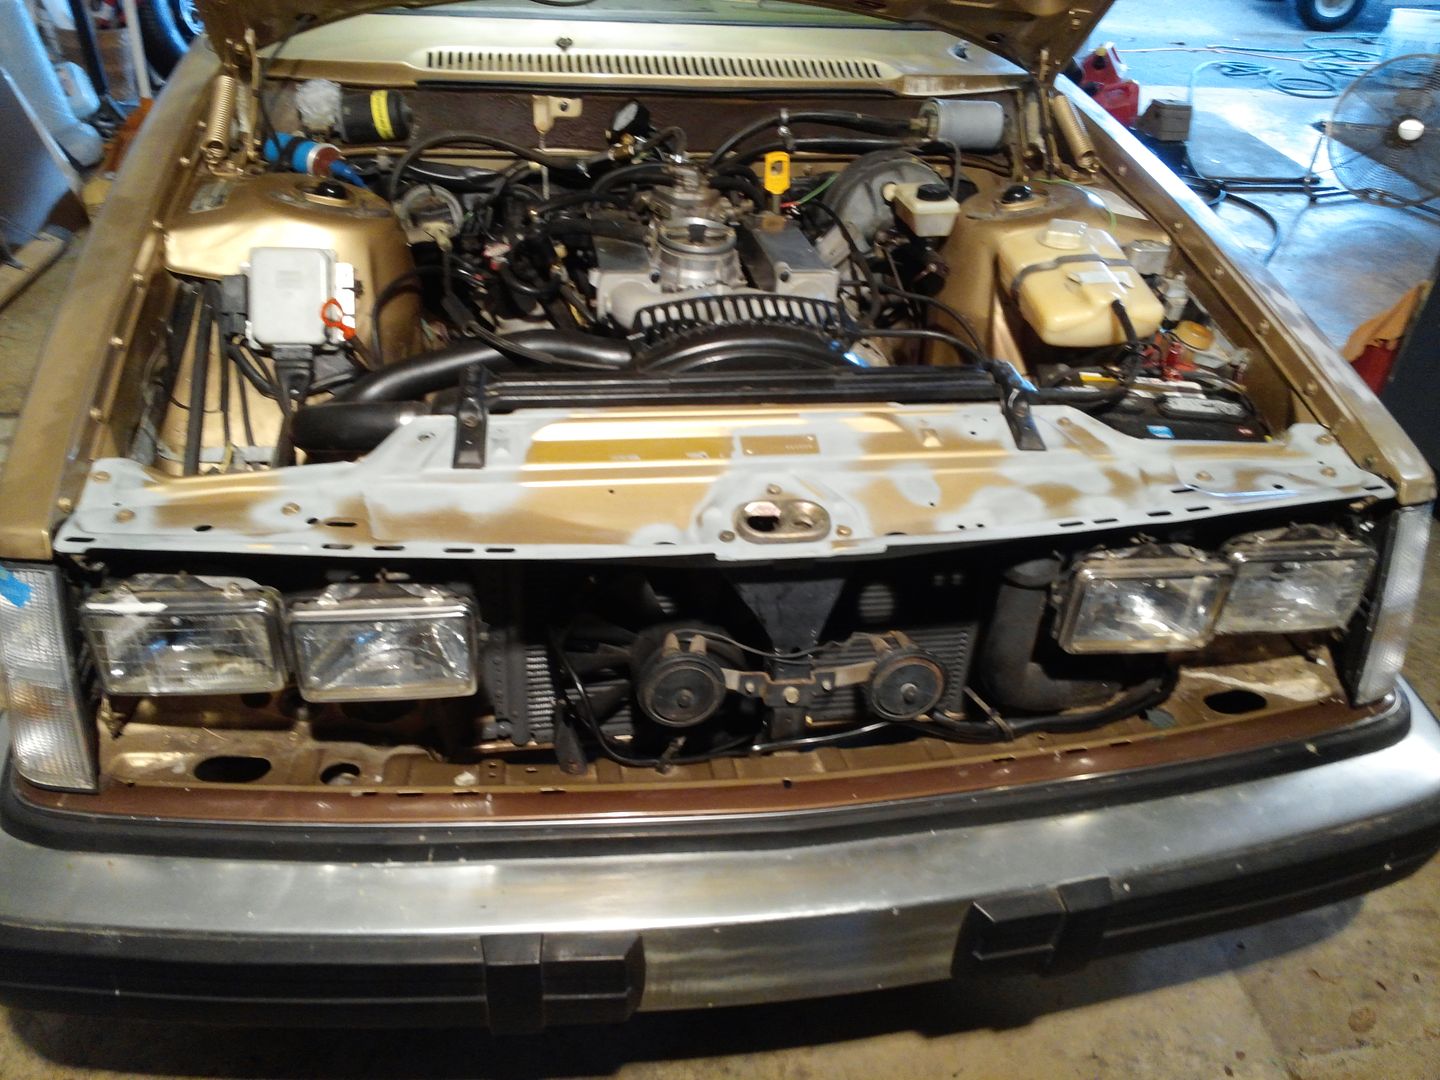
The big deal of the day was the radiator support across the front of the engine. That is where everyone piles tools and parts and messes up the paint along with puddling water that rusts around the bolts. It was a little rusty across the bottom but that cleaned up with an air driven wire wheel and some primer.
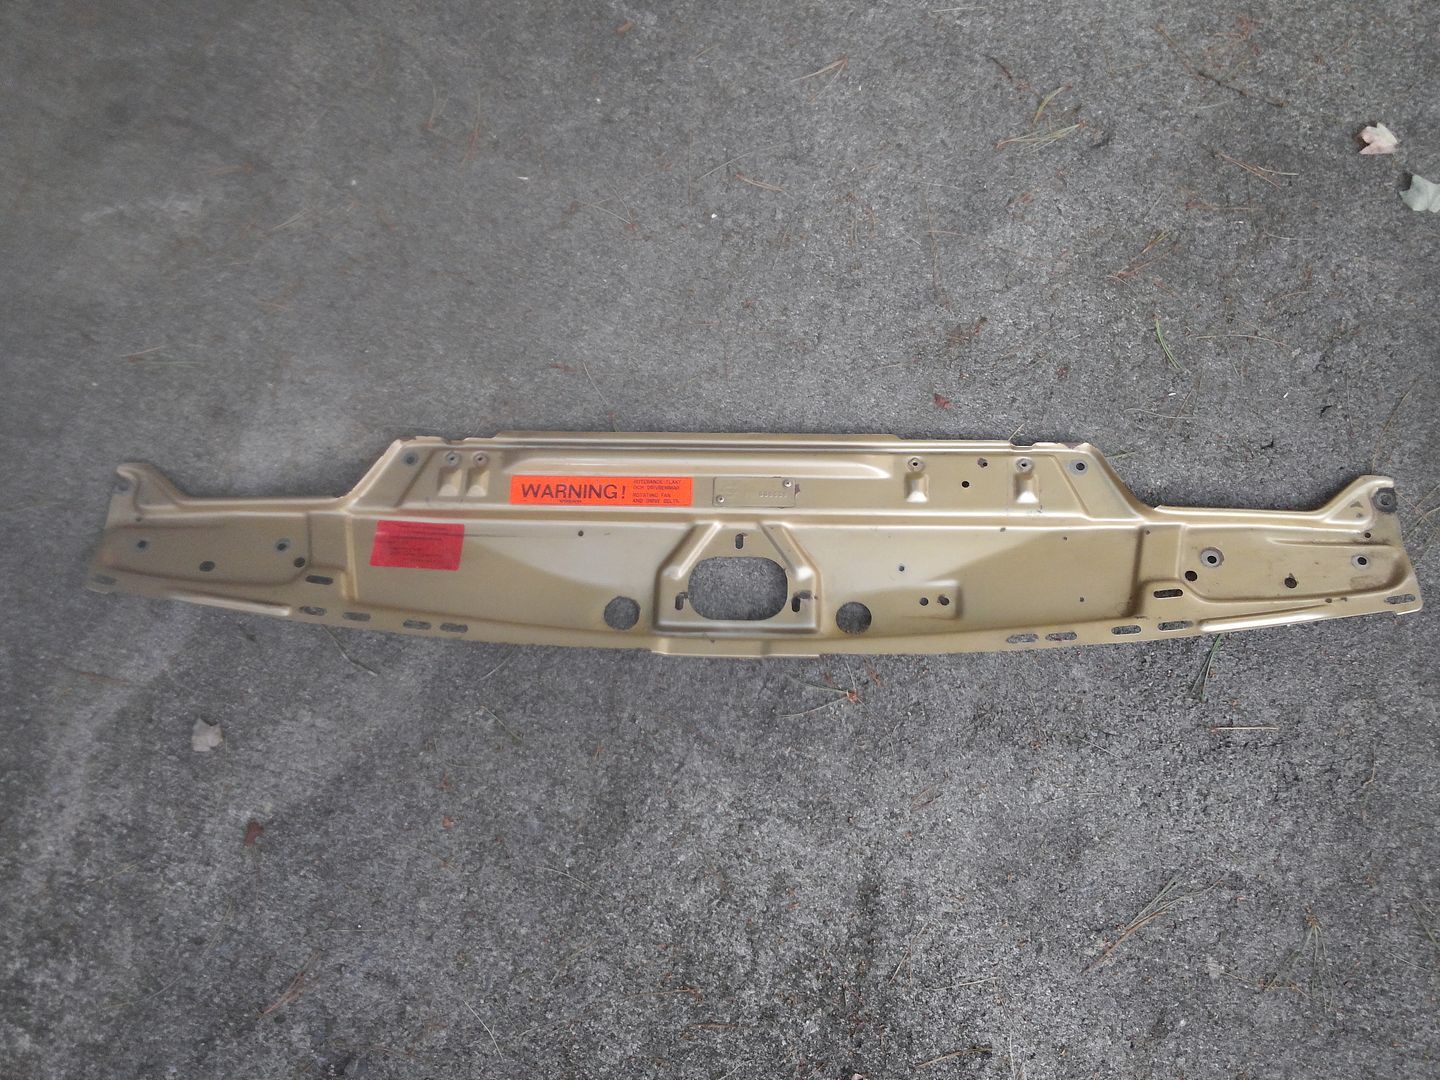
The top needed some work as there was some rust showing around bolts/washer that served to collect water. Got that cleaned, sanded and primed. It will go back on the car before the paint so that the bolts can be painted as original.
Nelson:
Yes, the scuff pad finish is not appropriate for the primer/sealer. Looks like I could wax it from this point,
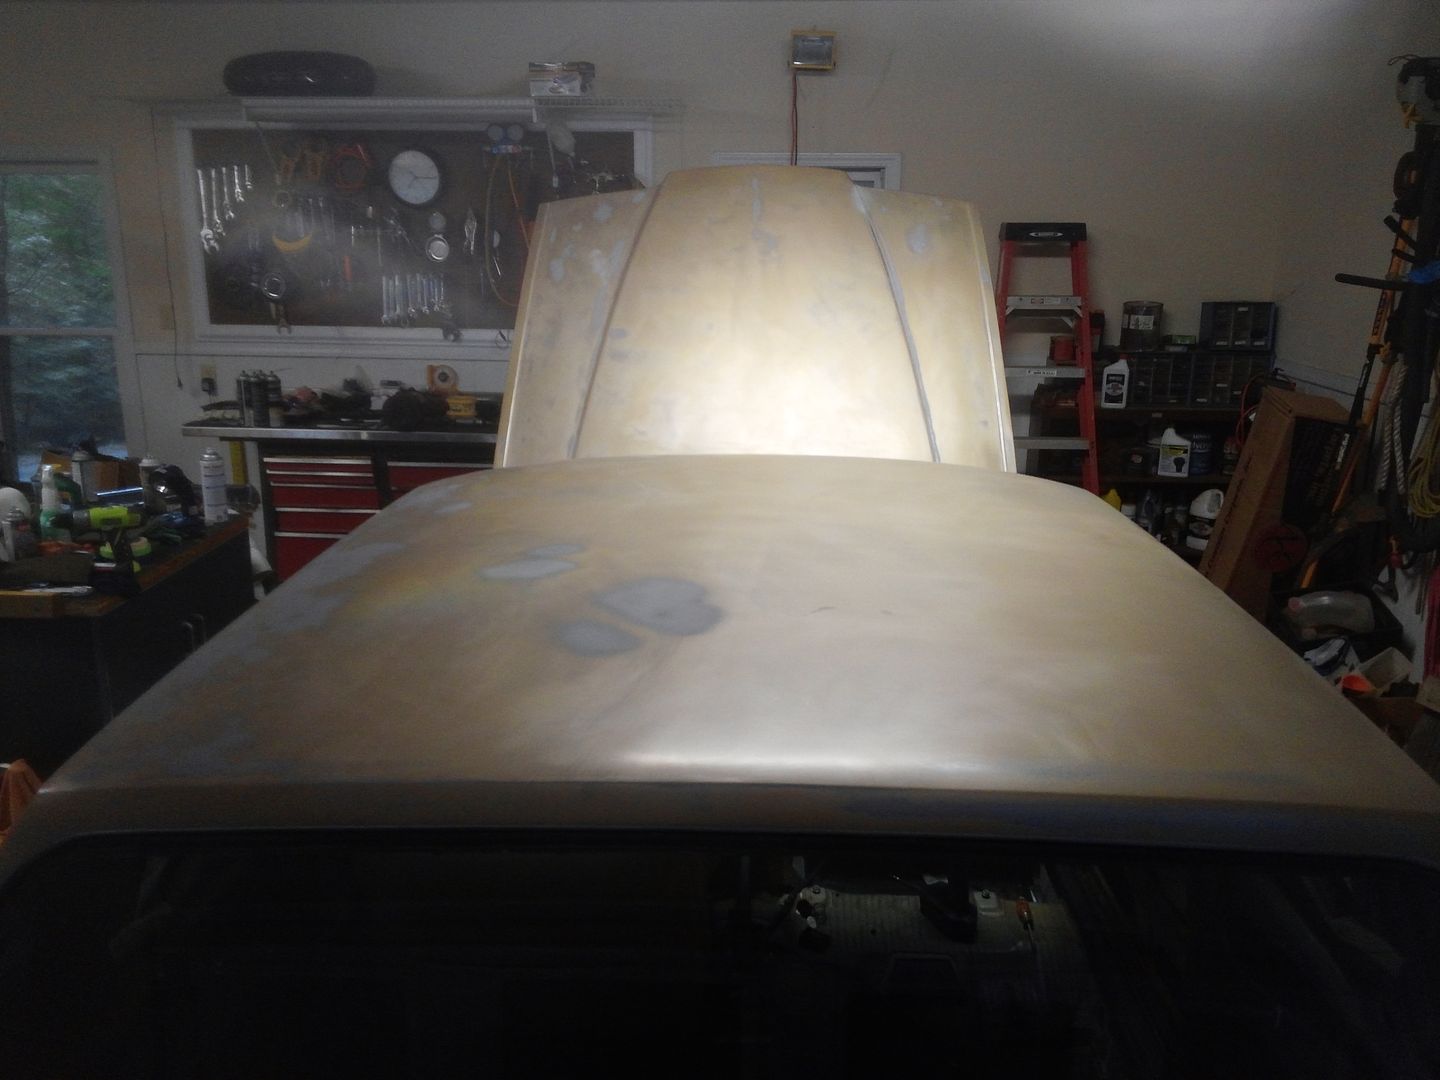
When I back it out of the garage I will scuff it with 400 grit W/D and take it for paint inspection.
Ordered the rebuilt AC Delco A6 compressor that had the closest to original belt pulley size. Original was 6", the John Deere air conditioned tractor compressor (57078) has a 5.75" pulley which is the closest currently available that I was able to find. Also ordered the expansion valve and receiver/driver all for $180 after discount from Auto Zone.
Cleaned everything up getting ready for paint including head light surrounds. I discovered a tire cleaning product 'No Touch Tire Care' that works wonders on anything plastic or rubber. It probably leaves some silicone or other nasty stuff but after cleaning with lacquer thinner seems to hold paints well.
The pusher fan was nasty but an hour of effort made it look as new.
The big deal of the day was the radiator support across the front of the engine. That is where everyone piles tools and parts and messes up the paint along with puddling water that rusts around the bolts. It was a little rusty across the bottom but that cleaned up with an air driven wire wheel and some primer.
The top needed some work as there was some rust showing around bolts/washer that served to collect water. Got that cleaned, sanded and primed. It will go back on the car before the paint so that the bolts can be painted as original.
Nelson:
Yes, the scuff pad finish is not appropriate for the primer/sealer. Looks like I could wax it from this point,
When I back it out of the garage I will scuff it with 400 grit W/D and take it for paint inspection.
Rebuilding the air conditioning system
Spent the week end auguring with myself.
Do I replace the compressor with a similar A6 AC Delco unit

or go to the newer aluminum bodies such as this:

Arguments are:
Restore to original . . . The old A6 design has been around for 35 years and is still manufactured new for certain applications, mostly heavy equipment. It weighs 37.5 pounds but I have the original mounting hardware and it is original. As a radial compressor it has 11 cubic inch displacement per revolution.
Modify to new aluminum bodied compressor to save half the weight but will not be as original. Displacement is 6.7 cubic inches per revolution but can be upgraded to match the A6 output with a smaller diameter belt pulley. Mounting hardware would have to be modified.
In order to move on I made the decision to restore to original with the A6 compressor.
Ordered new compressor, expansion valve, receiver/dryer and condenser.
Then I began the debate on replacing the 34 year old hoses. At 25k miles and in storage for more than 24 years the hoses are surly not 'worn out'. After a number of discussions with people whose opinion I respect the decision path is to reassemble all the new parts and vacuum it down and see what happens. The local NAPA store is only a few miles away, I have a vacuum pump and we can work through what works and what does not.
Now, what coolant gas to use? As this is complete start over I can go to a R12 replacements, propane or similar or the conservative R134a solution. The objective being an one time AC install that I do not have to think about again.
What say you?
Spent the week end auguring with myself.
Do I replace the compressor with a similar A6 AC Delco unit
or go to the newer aluminum bodies such as this:
Arguments are:
Restore to original . . . The old A6 design has been around for 35 years and is still manufactured new for certain applications, mostly heavy equipment. It weighs 37.5 pounds but I have the original mounting hardware and it is original. As a radial compressor it has 11 cubic inch displacement per revolution.
Modify to new aluminum bodied compressor to save half the weight but will not be as original. Displacement is 6.7 cubic inches per revolution but can be upgraded to match the A6 output with a smaller diameter belt pulley. Mounting hardware would have to be modified.
In order to move on I made the decision to restore to original with the A6 compressor.
Ordered new compressor, expansion valve, receiver/dryer and condenser.
Then I began the debate on replacing the 34 year old hoses. At 25k miles and in storage for more than 24 years the hoses are surly not 'worn out'. After a number of discussions with people whose opinion I respect the decision path is to reassemble all the new parts and vacuum it down and see what happens. The local NAPA store is only a few miles away, I have a vacuum pump and we can work through what works and what does not.
Now, what coolant gas to use? As this is complete start over I can go to a R12 replacements, propane or similar or the conservative R134a solution. The objective being an one time AC install that I do not have to think about again.
What say you?
Last edited:
Now to the condenser. While I am sure that the original condenser is sealed it contains the old R12 compatible oil and the new design aluminum condensers are reported to be more efficient in heat transfer. Anyway . . . I decided to go with new condenser to go along with the new compressor, dryer and expansion valve. After some debate down at the NAPA store I gave up and agreed to replace all the AC hoses. Not because of any known or suspect issues but the argument that the newer R134a barrier hoses were better at keeping the gas in and the air and moisture out.
Searching the internet for sizes and deals on condensers I found a 16"x 23" unit that appeared to fit in the allotted area. It is marginally larger than the original equipment. Turns out it is a tight fit but fit it did. I had to modify (that means cut) the side mount brackets to allow access to the in/out fittings. The unit came with far more mounting holes than were needed, allowing lots of attachment options but if you go with the 16" high unit you will need to 'tune' the mounting holes. The liquid side of the condenser to dryer and the compressor to condenser hoses will need to be modified by a few inches and fittings which is another reason to spend the money to replace all the hoses.
Shot the bright aluminum with some dark gray primer so it would not reflect off approaching headlights and blind oncoming traffic . . . until it corroded a nasty gray.
New condenser installed:
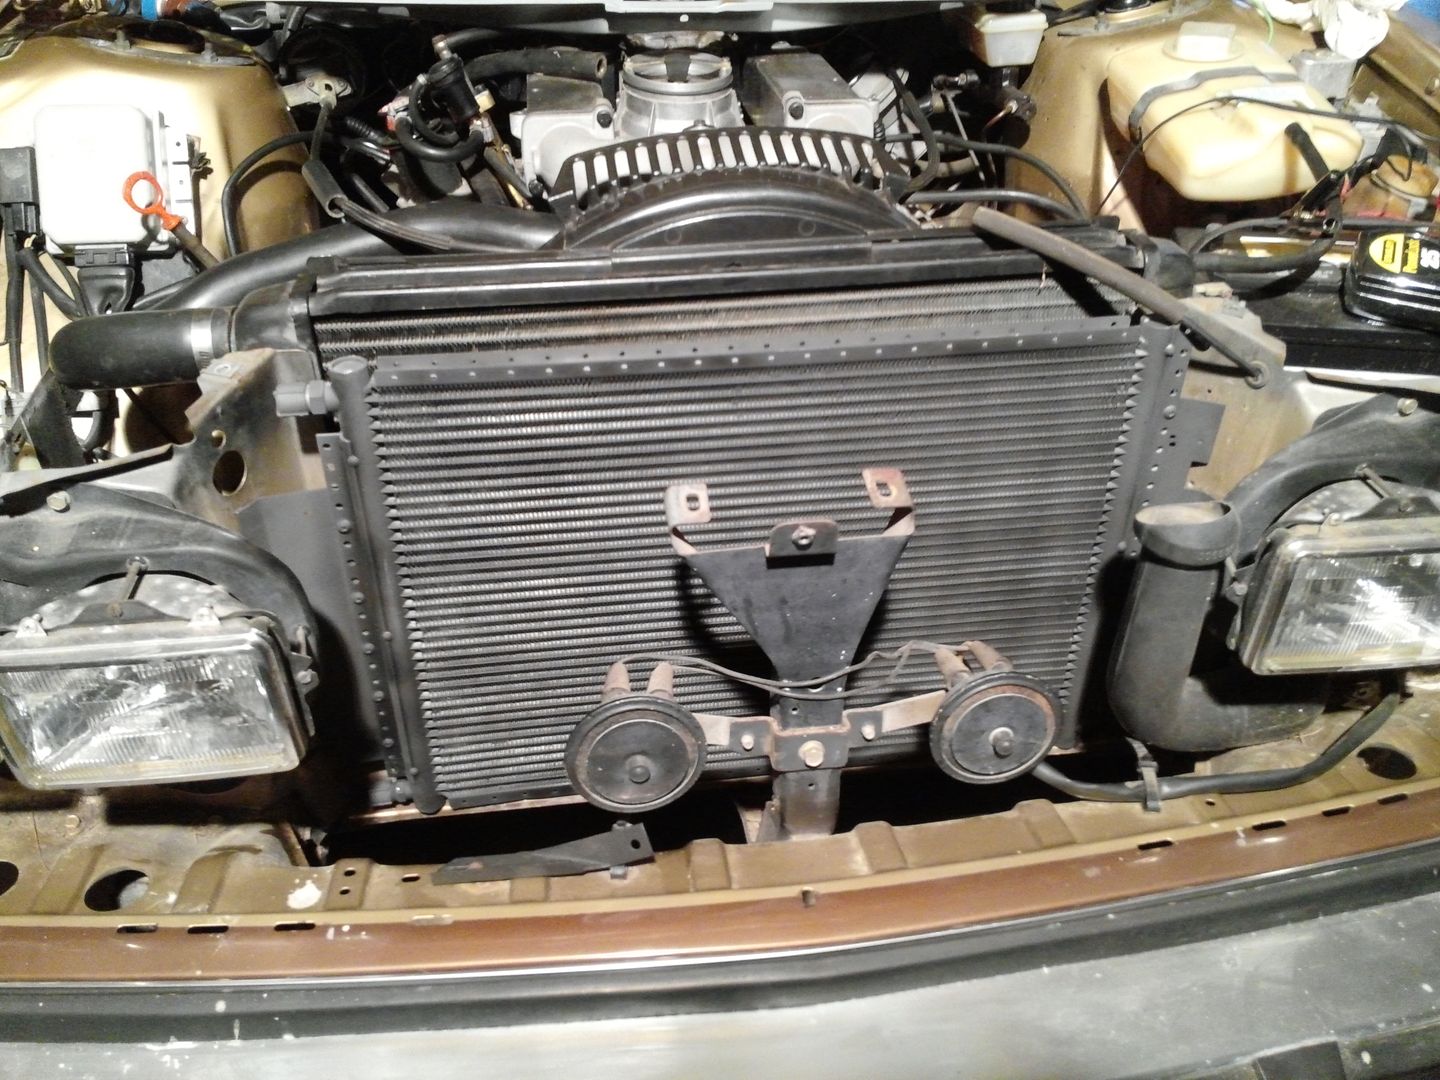
Cleaned up AC pusher fan installed:

All back together:
Time for some olives.
A couple days of detail work and it will be ready for the paint shop.
Searching the internet for sizes and deals on condensers I found a 16"x 23" unit that appeared to fit in the allotted area. It is marginally larger than the original equipment. Turns out it is a tight fit but fit it did. I had to modify (that means cut) the side mount brackets to allow access to the in/out fittings. The unit came with far more mounting holes than were needed, allowing lots of attachment options but if you go with the 16" high unit you will need to 'tune' the mounting holes. The liquid side of the condenser to dryer and the compressor to condenser hoses will need to be modified by a few inches and fittings which is another reason to spend the money to replace all the hoses.
Shot the bright aluminum with some dark gray primer so it would not reflect off approaching headlights and blind oncoming traffic . . . until it corroded a nasty gray.
New condenser installed:
Cleaned up AC pusher fan installed:
All back together:
Time for some olives.
A couple days of detail work and it will be ready for the paint shop.
Last edited:
M.H. Yount
Active member
- Joined
- Nov 1, 2008
- Location
- Charlotte, NC
They make a special paint for rad/condensers. Normal paint insulates and interferes with heat transfer - hopefully a little primer won't make a big difference. Everything I've seen in the last --- well, lots of years, is bare aluminum.
Lookin' good -- if you're not careful, you're gonna take home another "First" at Euro Auto Festival - I'm starting to be glad I won't be in class with you this year!
Lookin' good -- if you're not careful, you're gonna take home another "First" at Euro Auto Festival - I'm starting to be glad I won't be in class with you this year!
NONHOG
equal opportunity car guy
- Joined
- Oct 3, 2008
- Location
- Tucson ish
John,
Leatherique! Great products, great support. If your friend would like to discuss send him my way.
I mentioned your posts on TB about Leatherique to a few people last weekend at the Swedish meet in Tacoma @ Griots garage.
NONHOG
equal opportunity car guy
- Joined
- Oct 3, 2008
- Location
- Tucson ish
Engine compartment is looking really nice!
NONHOG
equal opportunity car guy
- Joined
- Oct 3, 2008
- Location
- Tucson ish
What did the G. G. folks have to say?
I believe the crowd was more the Swedespeed type. "Oh on TB huh? Yeah I've heard of that."
- Joined
- Oct 10, 2003
- Location
- Acworth, GA 30102
How'd the carpet turn out?

M.H. Yount
Active member
- Joined
- Nov 1, 2008
- Location
- Charlotte, NC
That's funny. I don't care who you are.
The first dye effort to get back to the gold/tan came out far too intense. At least we now know that RIT dye will dye the nylon but it would probably be best to only dye toward the brown/black colors.
I redyed the carpet with black RIT and about 80% came out just fine. There were areas that did not take enough black and shows the lighter gold through. I got one more bottle of black and will try boiling the dye/water/vinegar and spray with a pump up sprayer.
Been busy with other things and this has taken a far back seat. It was and still is my intent to publish a thread on the dying experience . . . when I get caught up with the rest of life.
Been struggling with an intake vacuum leak for a week. The engine starts fine but idle is at 2k rpm. Checked each and every of the new hose of the many attached to this engine. About to tear the throttle body/fuel distributor throttle plate apart when I had one of my very rare flashes of adequacy. Two of the injectors, in their new rubber seals were not clipped down tight which allowed the seals to float up just a hair.
To late to resolve this evening but I have high hopes that this will mean that the car gets to the paint shop this week.
The vacuum leak turned out to be the use of a thicker than required washer between the throttle body and the air flow assembly. Three thin washers, one thick . . . vacuum leak.
Engine runs fine now.
Last edited:
Oh ! . . . Woe is me . . .
. . . the paint booth is not available until Tuesday.
I will get the AC system mounted and the new hoses built to take up some time.
Probably need to drive it around some also. I think the engine is fine now but I still need to tighten down the distributor timing.
Running out of other things to do.
Gotta park it in the sun to soften the new butyl holding the rear window in. Gotta drive it with the door windows down since the electronic mirrors connectors are not easily disconnected and the mirrors have to be turned inside for paint purposes. I would hate to blow out the rear window with wind pressure.
41 days to Greenville. The scramble is on . . . .