• Hello Guest, welcome to the initial stages of our new platform!
    You can find some additional information about where we are in the process of migrating the board and setting up our new software here

    Thank you for being a part of our community!

Cbevis 262 Bertone

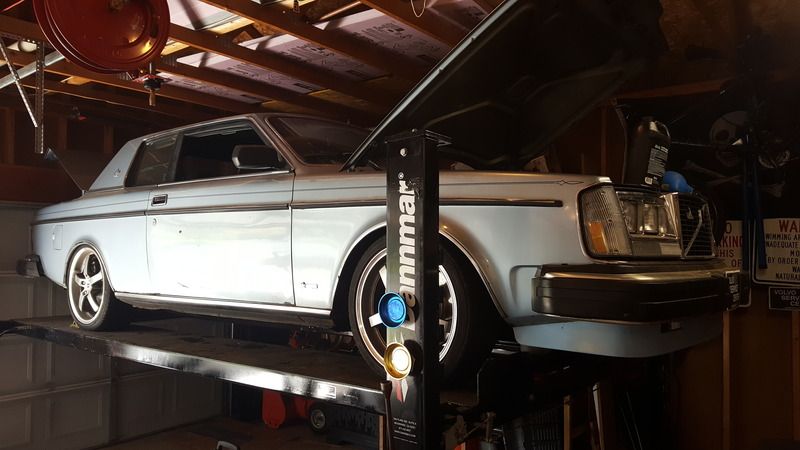
So I blew out the rear main on the motor last July (2016), and the Bertone has been on the lift ever since. But not idle! I've been busy!

The obvious engine and tranny pull...


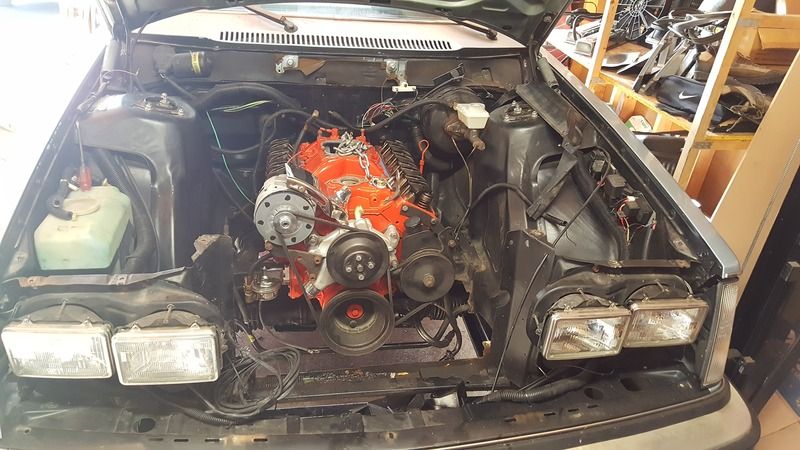
and engine bay clean-up...


The identification of obvious upgrade points....

 
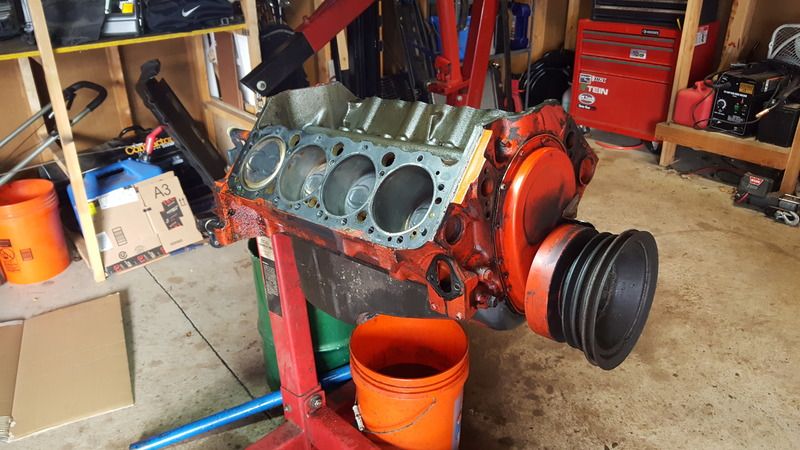
Starting the tear down...


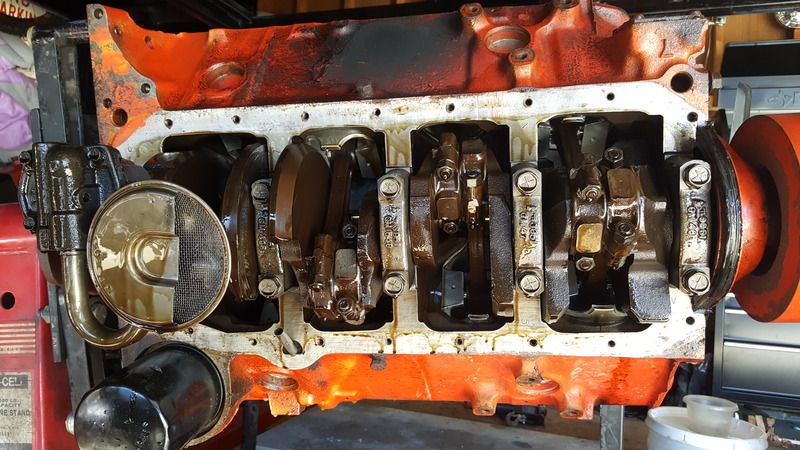
rotating assembly inspection...


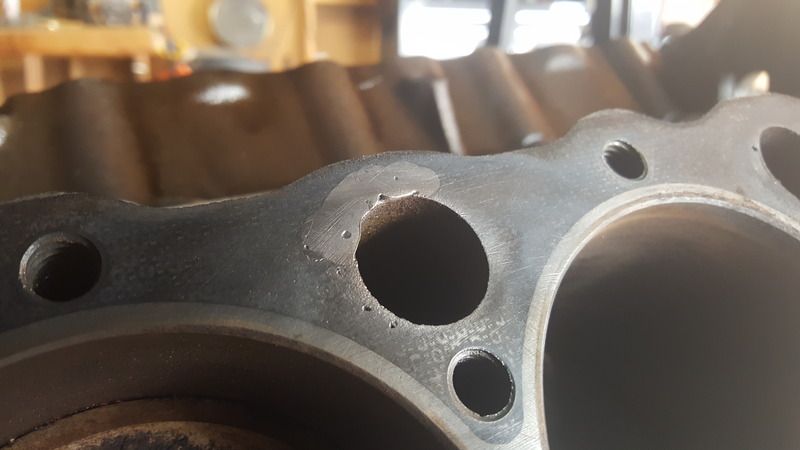
Block inspection.....
.

Doh!! I really wanted to do a 383 stroker...but it seems this block has already seen minor repairs. I already know this isn't the right serial number for the higher nickel content block...no point pushing the envelope. A build for a different day perhaps.

That ok though, because it freed up the cash to be spent elsewhere. Besides which...i bought this motor having been told it was rebuilt. It didn't really matter to me if it really had been rebuilt....it ran fine enough....but I was always curious. Turns out, the cylinder walls we perfectly milled (could still see the cross hatching from the honing in fact), no lip at the piston apex, the valves were NOT buried in the heads, the retainer clips on the springs were still tight and still have the plastic hats....aside from a slightly loose valve lash, everything in there was perfectly fine for a mild build.

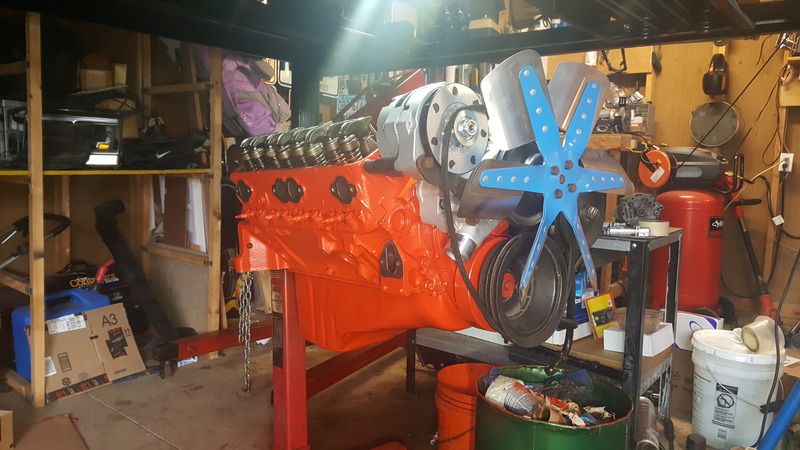
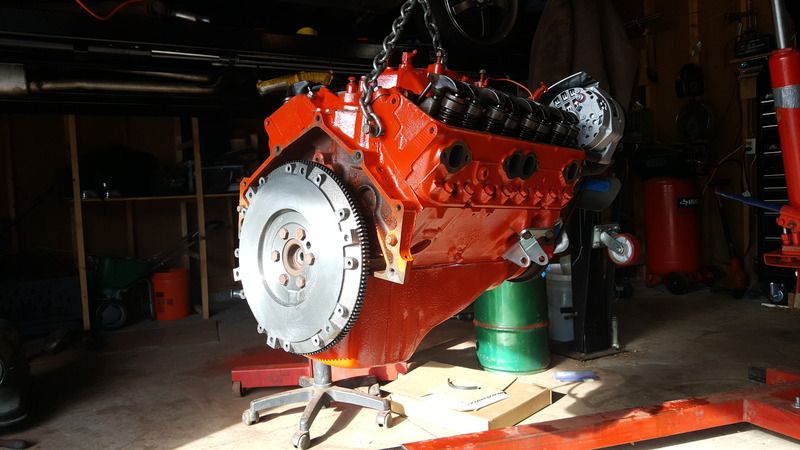
So...left it all as is and just cleaned up the block/heads/intake...


Aaaaannd....added a 140 amp alternator to feed my system more efficiently, new high flow waterpump, **** ton of red RTV to 'glue this boat anchor together, and a little chrome for the distraction factor, lol...
 
So...where did the 383 stroker money go?

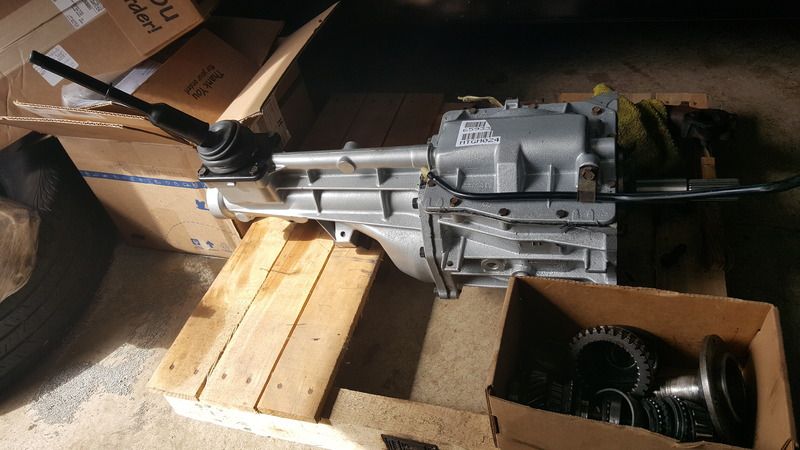
Ditching the auto tragic 700R4 transmission....

A little trickier than I thought at first.....nothing major...just more ".....huh.....right.....that's not 100% plug and play."

A buddy of mine gave me the old WC T-5 from an '89 Firebird he's recycling.


Now...i know what you're thinking. "Why the F!@# didn't you go with a TKO?!? T-5's can't handle that kind of torque!!"

Well....1974 GM 350....i'm lucky if this thing is pushing 200 HP. Besides which, I had this tranny rebuilt with a guaranty that it'll hold up to 300 ft/lbs.....

.....the 383 stroker might have made that, but this build sure as hell won't.

Plus, it's really had to pass up a $1200 rebuild in lieu of a $3500 transmission (if you can find one used) when i drive like a grandma anyway....

Anyhoo....turns out the 305 bellhousing works fine with the 153 tooth starter gear and 10 3/8" clutch kit work fine...but the old starter does not.

Needed a bigger starter with a **** ton (three) of shims to fit properly.

Got everything slapped back together and into the engine bay....which was markedly easy without that massive automatic transmission...


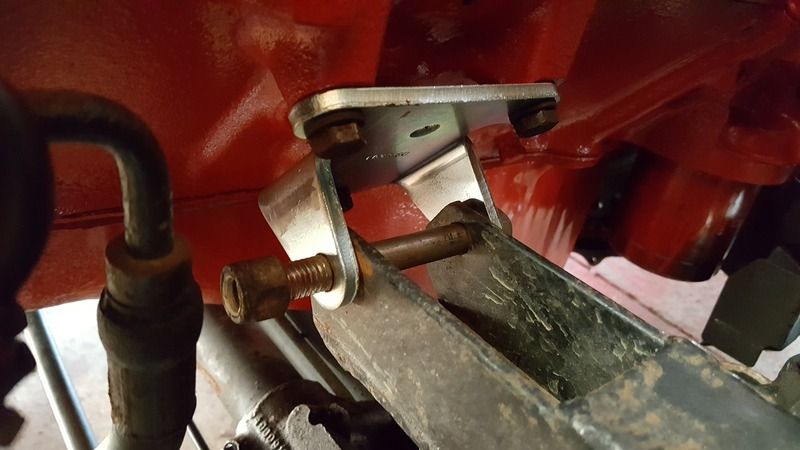
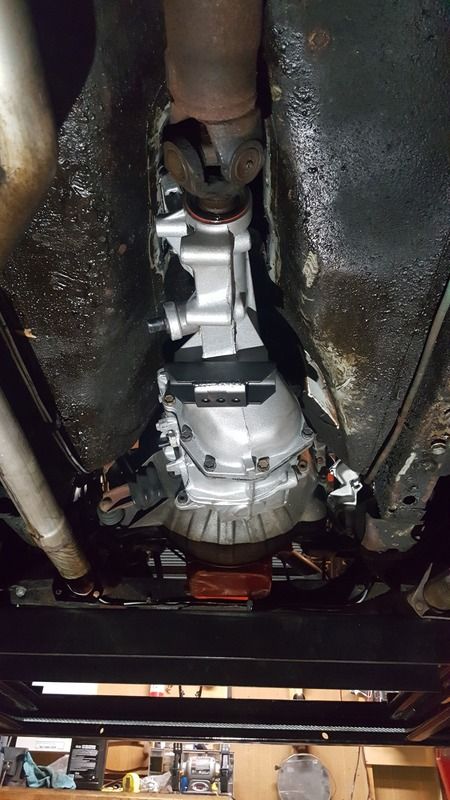
another upgrade opportunity....solid motor mounts (and transmission mount...no picture though)...
 
Looking nice!

How are you liking the rear brakes? I still haven't put mine on yet.
love them! Still need to put some locktight in the mounting bolts though....those adapter bracket bolts loosened up a little bit on me and the calipers were clunking on the rotors as a result. I got it tightened back up before any major damage was done....i just check them every now and then to make sure.

I will say that the whole system might need a slightly bigger master though. I'm not 100% sure but I don't know if I'm getting 100% engagement on the front driver side. She likes to squeal sometimes.

could just be the pads aren't worn in yet....i don't actually get a lot of time to drive this car!
 
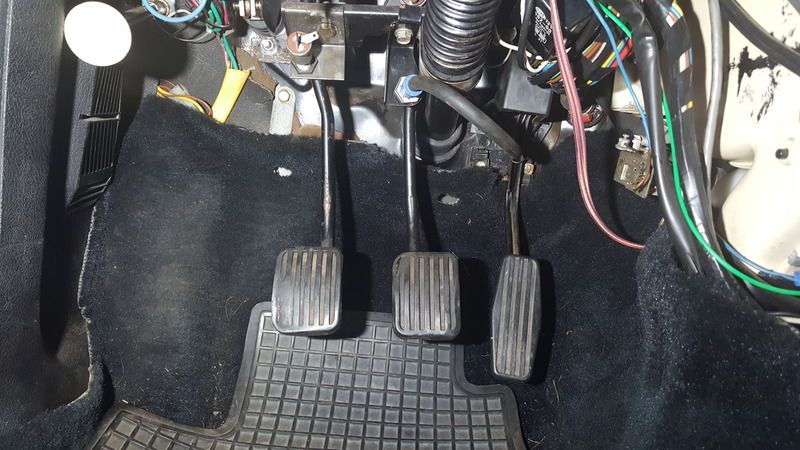
the hardest part of this operation has been the clutch pedal assembly, lol. I've had this thing sitting around for years, and every time I looked at it I shuddered. My 6'-5", 268 pound, frame doesn't fit in a lot of tight spaces and I'm really not at all as limber as I used to be...

i know...excuses excuses....

Got the pedal assembly in....


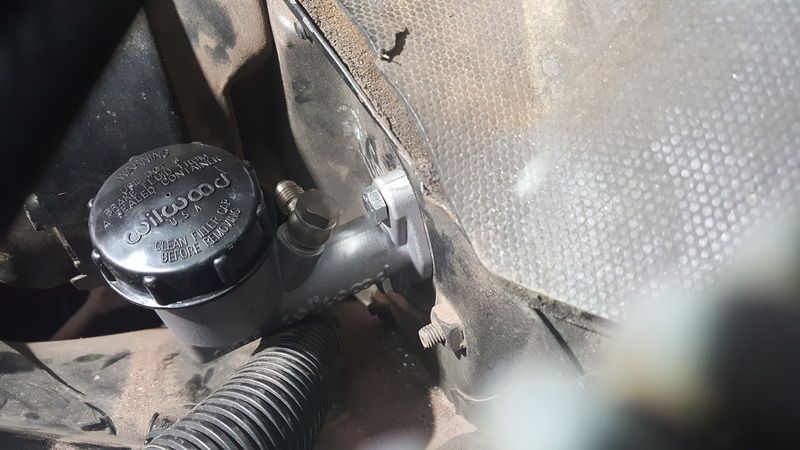
As hard on the body as the clutch pedal was for me....perhaps the hardest on my abilities of "alternative engineering" was getting a master clutch cylinder installed through the fire wall....


I'll spare you the story since I don't really feel like reading pages upon pages of "finger shaking" comments in my build thread, lol (love you guys....).

At the moment, i'm keeping my fingers crossed on this set up. It's bleed, and the fork below moves visibly. But, i've never done a manual swap or owned a manual car before so I don't really know if it's moving enough? We shall see. Given the transmission is out of a '89 Firebird, i followed the specification for the '89 firebird. The only thing that might be preventing it from moving the slave cylinder enough is pedal draw...

At any rate....

(oh! There you go! solid tranny mount picture!)

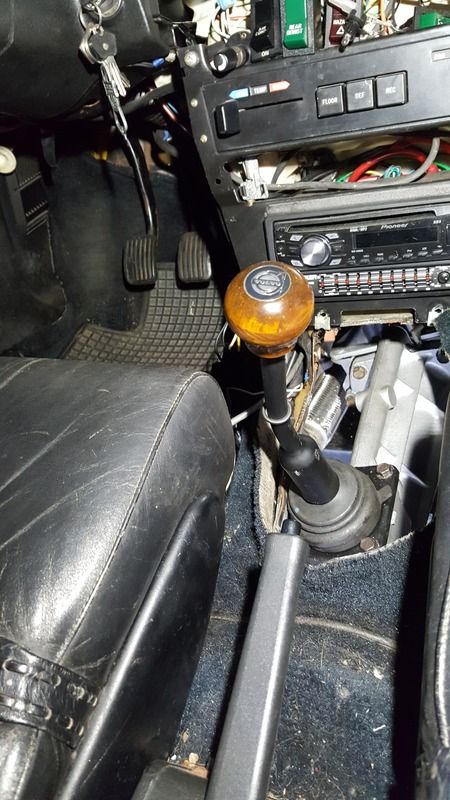
She installed fine, the drive shaft went back in place perfectly......but note the 14 degree counterclockwise rotation to the orientation of the transmission (thanks, third gen F-body)? Yeah....that's a PITA....


I'm a cheap ass....I know there are replacement sticks out there to accommodate this, and certainly a cheap alternative would be to buy one of the umpteen hundred foxbody T-5 sticks available and bend the piss out of it....but why not try and bend the piss out of the factory set up first?

....needs more bend....
 
Back to the upgrade parts....I installed headers instead of nasty, cracked manifolds. It's something I've been desperate to do for a long time...but ultimately, I always passed on them because of the way these manifolds work. They're from two separate platforms. One is from an old Nova and the other is from an old Corvette. The passenger side needs to get past the starter and the driver side needs to thread a notoriously small eyehole made problematic by the steering column. As it stands, with the old manifold...it barely fits...


Makes finding a set of headers difficult unless you want to spend a bunch of money getting custom ones built....did I mention I was a cheap ass?

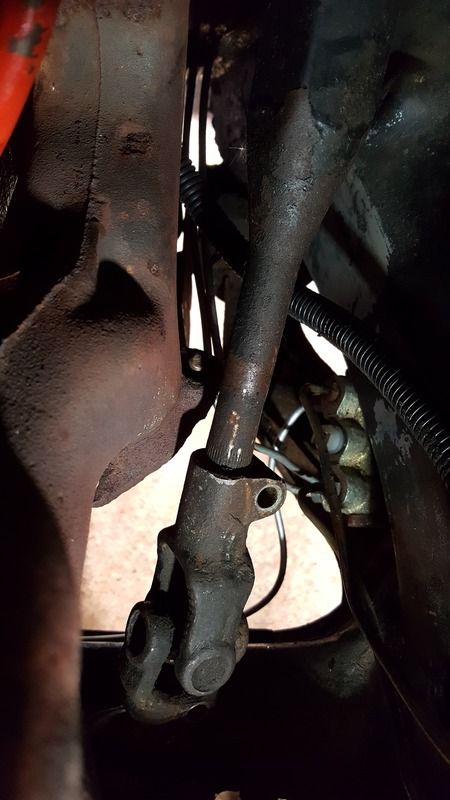
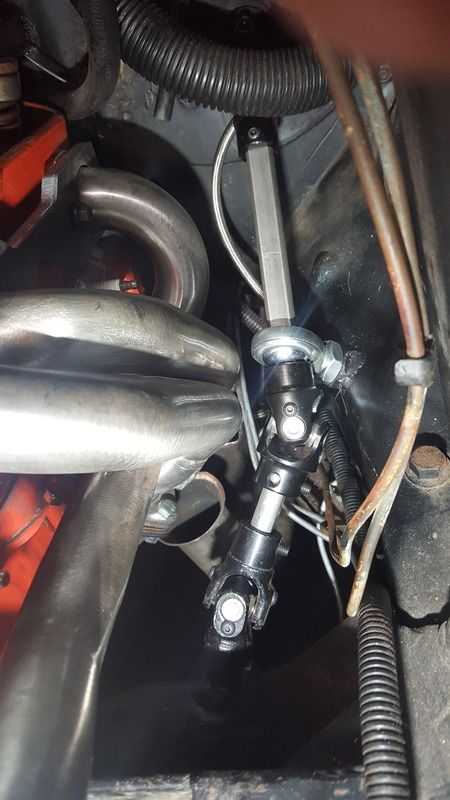
Sanderson CC50's got close enough that I could get close without having to start from TOTAL scratch with the exhaust I already had installed. Buuuuuuuutttt....there was no way to install them without getting creative with the steering column.

This is what I came up with....I welded a heim joint with a nylon collar into the frame and added an extra u-joint.

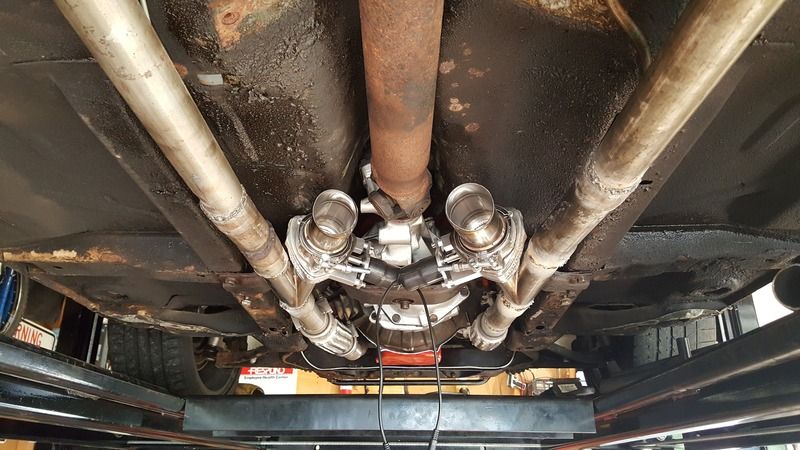
Long drawn out story about how spreading exhaust pipe sucks, i'll never do it again, good opportunity to start learning yourself to weld, I found out I need WAY more practice at welding...and oh hey! I should install exhaust cutouts too!!


Look at those beautiful caterpillar welds, lol! I'll keep practicing...in the meantime I threw exhaust brackets onto ALL of those joints; one to negate exhaust leaks, and two to prevent it from falling apart when my ****ty welds break! There's switch in the 262 that was intended to raise and lower the power antenna...i wired the cutouts to that instead of the remote system and lame toggle switch that came with the set. Cheap chinese garbage probably won't last longer than one rain storm, but they sound damn good!
 
Last edited:
other than that....just trying to finish up a bunch of minor stuff...

Finally installed the front valance I pulled off that '78 parts car.


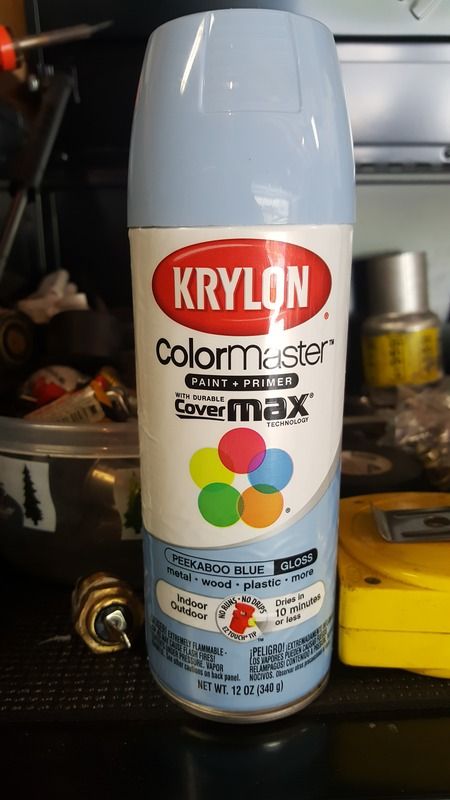
Oddly...i was walking through Mills Fleet Farm (the man mall, if you will) and I found a can of Krylon that looked DAMN close to the color of this car....


it's close enough that I don't think many people will notice...not for as low as the car sits. Hell...i can't even see the damn thing when I'm right up to it. It'll certainly "hold the fort" long enough for me to replenish the discretionary spending fund for a real paint job!!

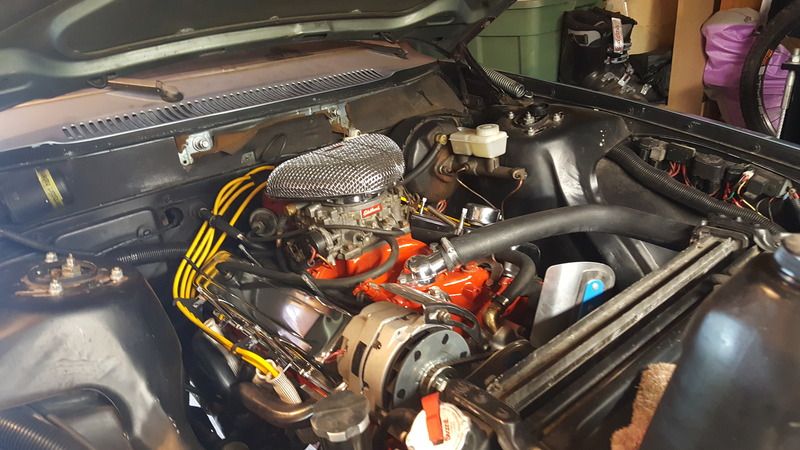
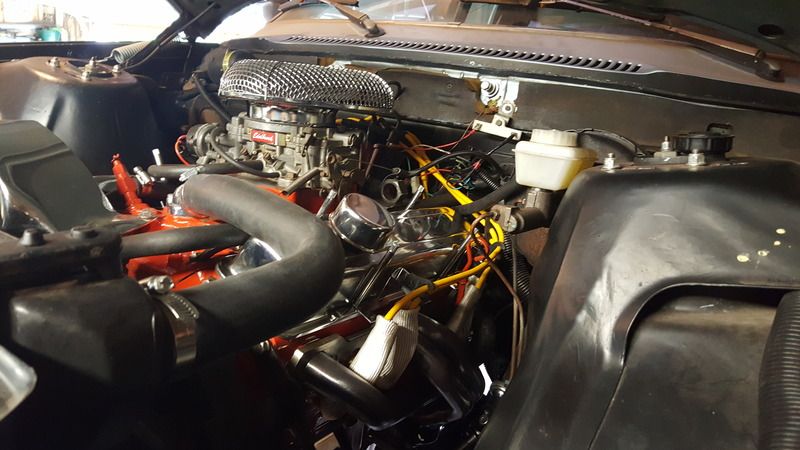
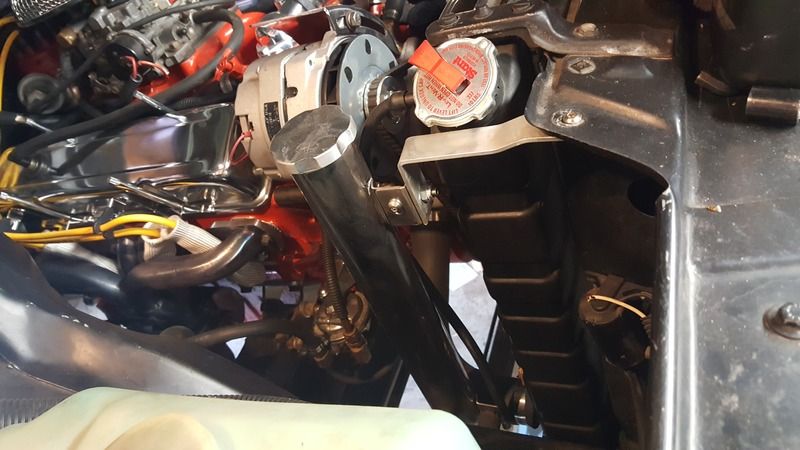
Got the engine bay all situated: plug wires are run, that old CAI is finally gone, I actually have a real coolant overflow instead of the coolant bottle i'd be using for years......the car runs....


Back
Top