• Hello Guest, welcome to the initial stages of our new platform!
    You can find some additional information about where we are in the process of migrating the board and setting up our new software here

    Thank you for being a part of our community!

Brand new '81 262C Bertone Coupe . . .

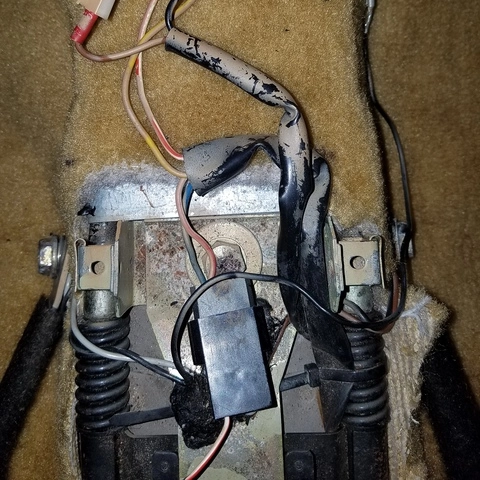
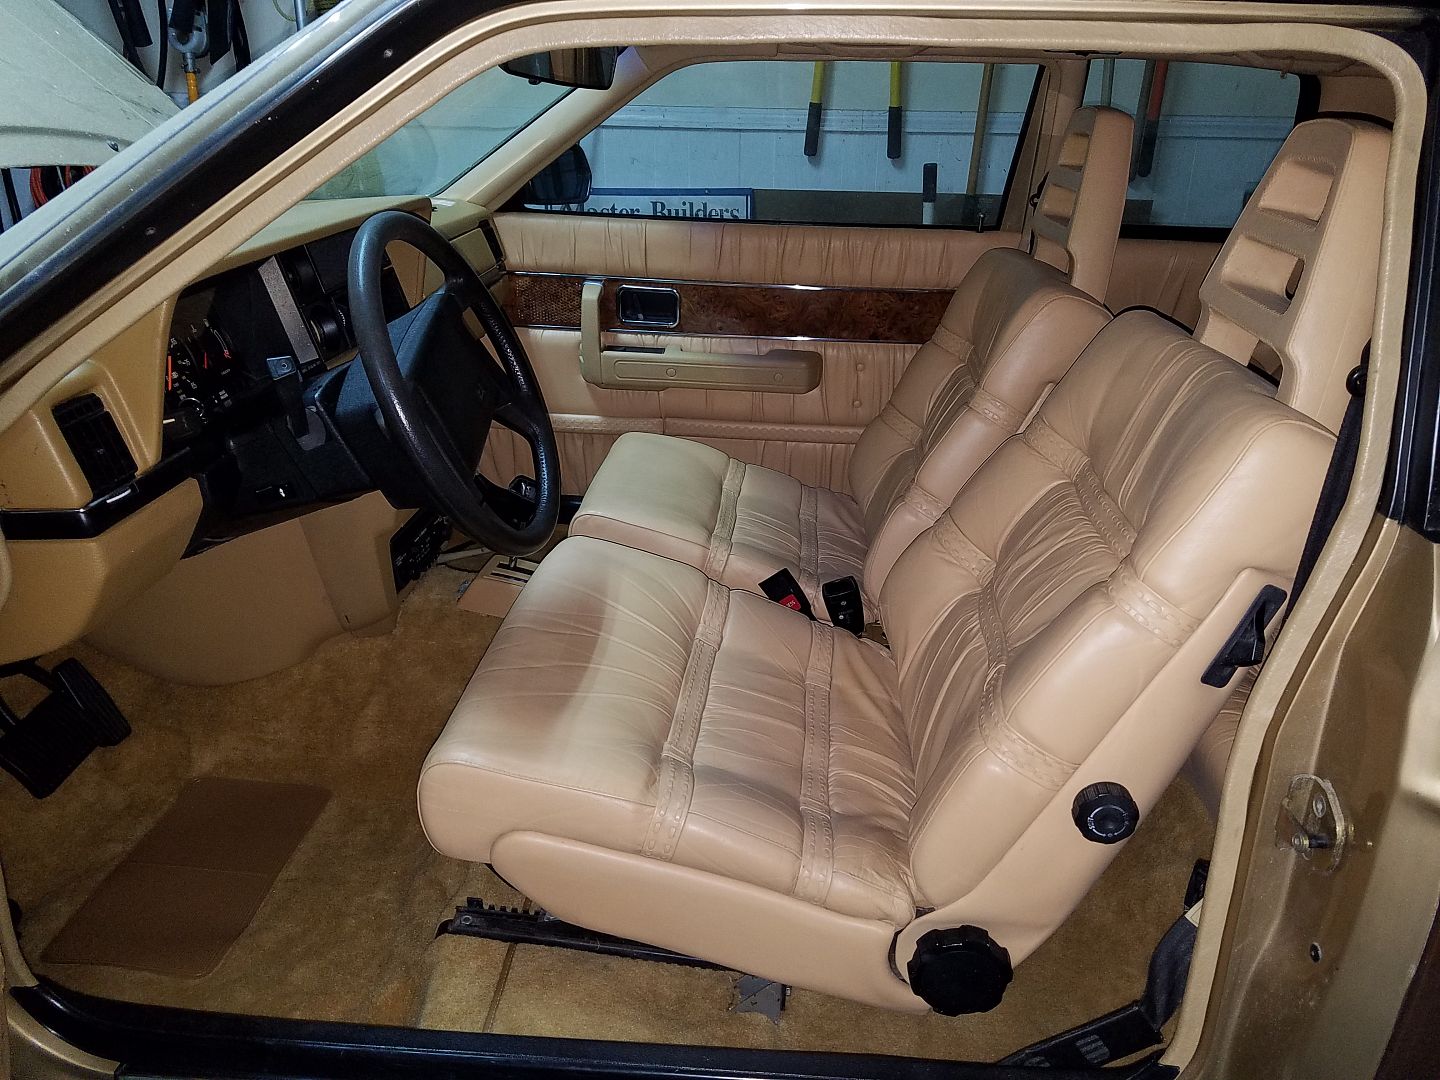
The shift console removal finally got resolved.

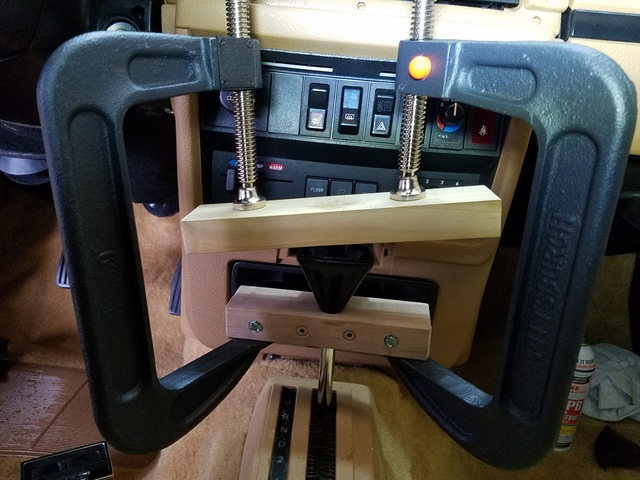
The lower half of the shift knob is only a friction fit. But there is a lot of friction there. It took a couple of 8" 'C' clamps and some wooded jigs to get it off.

edited-image_8.png


The top of the shift stalk has gaps to hold the knob straight and notches in the plastic. That made using a round 1/4" drive 5/16" deep well socket difficult to push the shaft through the plastic.

20190205_103724.jpg


20190204_171005.jpg


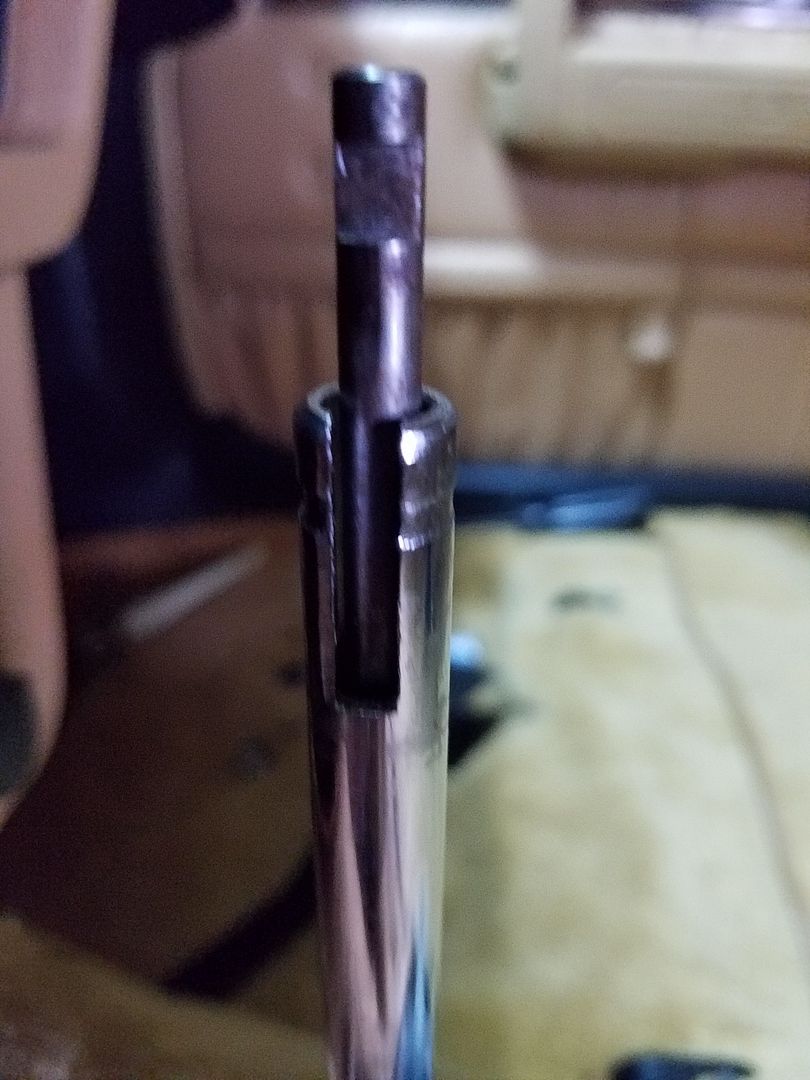
To do it over again I would grind the throw-a-way 1/4" drive deep socket to match the shift shaft cuts and then it would have been easy to push off.

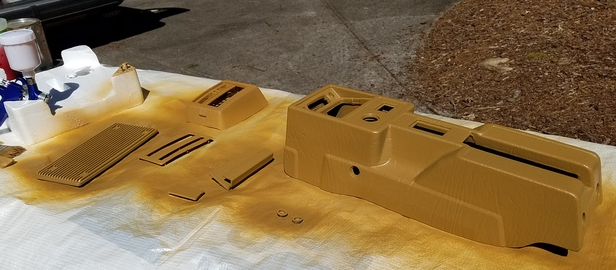
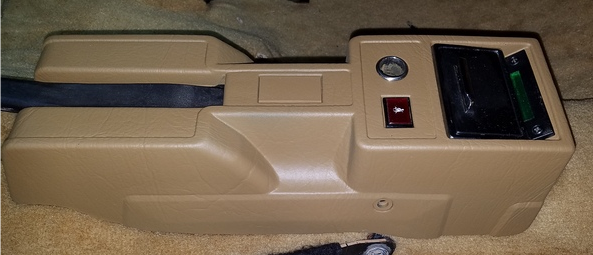
The knob is off, the shift console is apart and waiting on the ashtray to paint.

edited-image_7.png


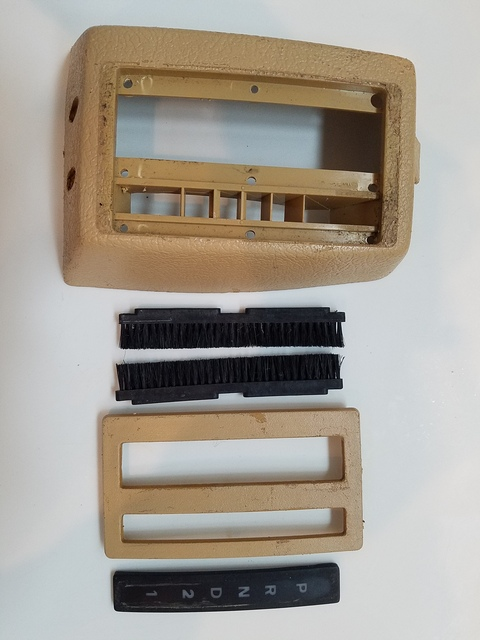
Ashtray? Yeah, my front plastic is cracked. Hopefully an intact one is en route.

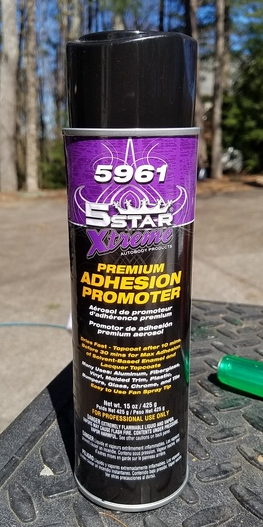
Got a new 0.08mm/100ml spray gun ready to shoot the several pieces.
 
Last edited:
That's a lot of engineering to get that part off. Well done, nothing broken. Hope it all goes back together without too much of a headache.
 
LOL at myself - I’ve been following this, scratching my head, re-reading, viewing pics again and again - and I have no clue what the problem was, what got removed or how those clamps did anything but crush the plastic piece between the wood....
 
Guess that I need to go back and at least explain better the deep, 1/4" drive, 5/16" socket placed between the upper wood and the shift stalk as a pusher.
 
I haven't abandoned the Bertone . . . .

Yeah, it's been a month . . . .

Spring has almost arrived and it is time to get back into the garage. The center console was painted a long time ago with the vinyl leather paint and while it matched the seats perfectly it wasn't correct and should have been the dash/kick panel color. The vinyl paint also was not firmly attached to the vinyl covered console. That required complete stripping. Other pieces needed the tan paint job also; the replacement speaker grill and ashtray that both came in black and the shift console that was a little beat up.

One of the mysteries of life is that the console had been painted before and was was black when stripped of all paint. Tan over-spray was on the wiring harness under it also. No idea what went on there.

edited-image_9.png


edited-image_11.png


With my experience of the leather vinyl paint not sticking to the console my friends at the local auto paint store recommended an adhesion product for vinyl. Worked good so far.

edited-image_9_1.png


With the left over color matched paint that was used to paint the dash cover and my new miniature spray gun I got it all painted one color.

edited-image_14.png


Hard to believe the difference in captured color from bright sunshine to camera flash.

All back in and wired up.

edited-image_10.png


Maybe the seats back in tomorrow . . . another pretty day forecast for the mountains. I think this will be the fourth time the seats will have been installed.
 
Last edited:
Not sure why you had tan paint on the wires. But I have noticed when the paint comes off of these center consoles it is always black underneath. Perhaps just sprayed by Volvo instead of making new ones for the tan interior cars? Perhaps your was installed while still wet? Looks good!
 
Volvo built the chassis/drivetrain in Sweden and shipped it to Italy for the different top and finish.

Rubbing alcohol (91%).

There was tan overspray on the wiring harness. Someone, in the car's dark and sordid past, had refinished the console in place.
 
Last edited:
Fourth seat installation

With the new center console painted and installed I put the front seats back in for the fourth time.

20190323_201531.jpg
 
BW55 replacement with an AW70

Mentioned earlier is a fond wish to have the AW70 overdrive transmission in the Bertone. That now may come true.

The 'free' AW70 that xxxxx gave me has become a little more expensive. That transmission was out of a 760 that had been run until the engine seized. Not a good recommendation for the transmission.

Further exploration indicated that the PRV engine required an unique bell housing to mate up with the AW70. 77volvo245 found one cleaning out his shop and mailed it to me via USPS. Couple layers of shipping wrap and some tape with some stamps on it.

. . . and then I knew that a tail shaft housing with the cable speedometer connection would be required rather than screwing around with some custom speedometer conversion from digital to analog. Unfortunately, the AW70 with the cable connection was only used for a couple years before converting to the AW71 and 71L. WREN was parting out just such an unique 240 and I purchased that. The State of Georgia is going to make another attempt to train me in May and I get to pick it up passing through Athens.

So now I will have a PRV bell housing and an AW70 that will, at a minimum require freshening up with gaskets and seals plus a high mileage core that no one will want. I talked to Bill at Voluparts and he said he had a lifetime supply of AW70 transmissions and they no longer had any value even as a core.
 
What transmission is in your car now Tom? How does it differ from the AW70?

"....screwing around with some custom speedometer conversion from digital to analog." I did that....and I'm so glad I did. Works great and I won't have to chase it anymore as things change. In that spirit - do you know if the driven gear in the AW70 tail housing has the right gear to be compatible with your cable drive gear AND make the speedo reasonably accurate?
 
Back
Top