• Hello Guest, welcome to the initial stages of our new platform!
    You can find some additional information about where we are in the process of migrating the board and setting up our new software here

    Thank you for being a part of our community!

She STILL thinks I have a problem.

Steam turns to water, which only needs some energy to turn back into steam.

You'll get there. Besides...you're balls deep already :-P
 
^^^ For real!

Plus the grinder has come out and done work, so you're committed now. I would have probably spent $500 on a non-running clean body shell...but then again I'm doing something similar to this on my RX-7 so I can see where you're coming from.
 
I mean, don't get me wrong, it'll get finished, my 242 is driving me crazyy.... never intended it to be a DD....

I'm just having a hard time making it out to the garage, my motivation was carlisle, then life happened.... plus im pretty broke and I still need a lot more materials :lol:

Enough kaveching, I'll make some time outside tomorrow after work, gotta get the panels ready to weld on, borrowing a welder saturday, maybe I can get the quarter panel installed before I leave for Charleston, then paint when I get home...
 
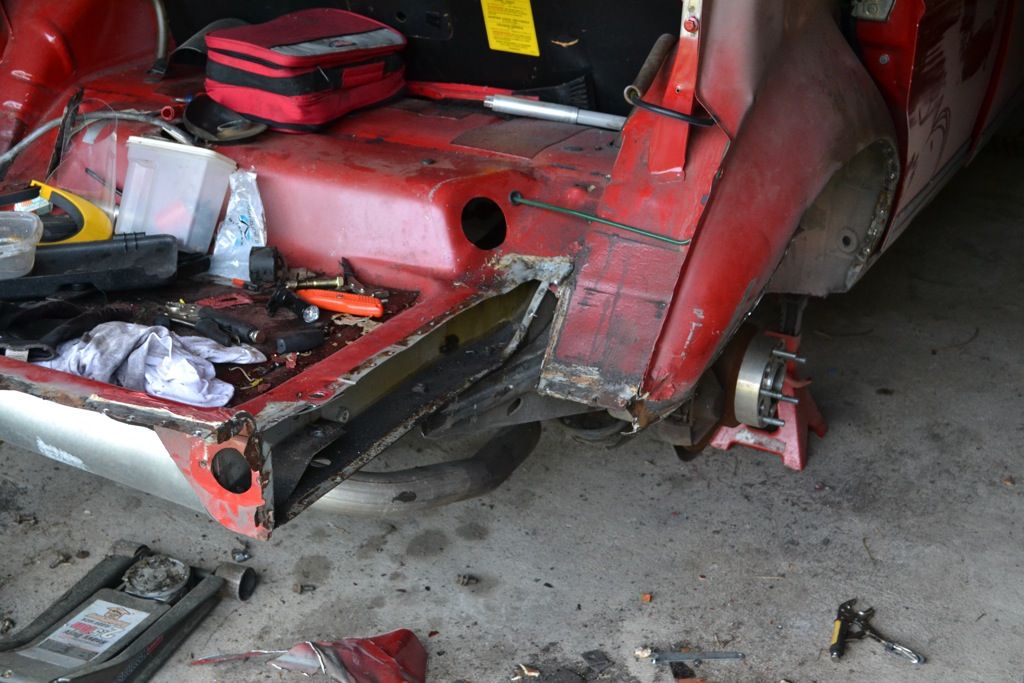
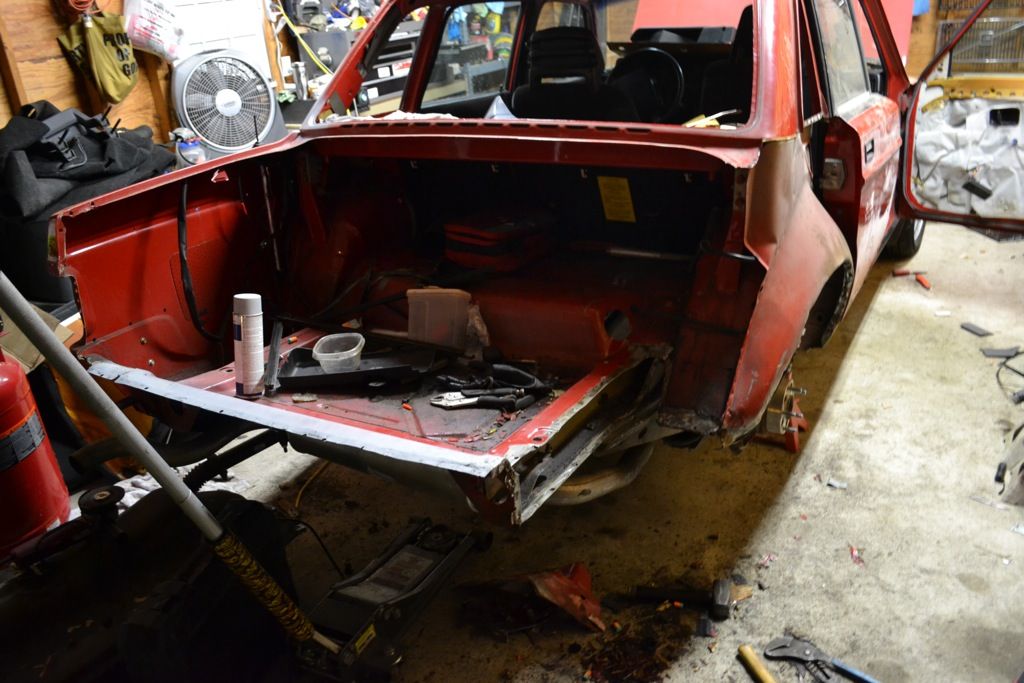
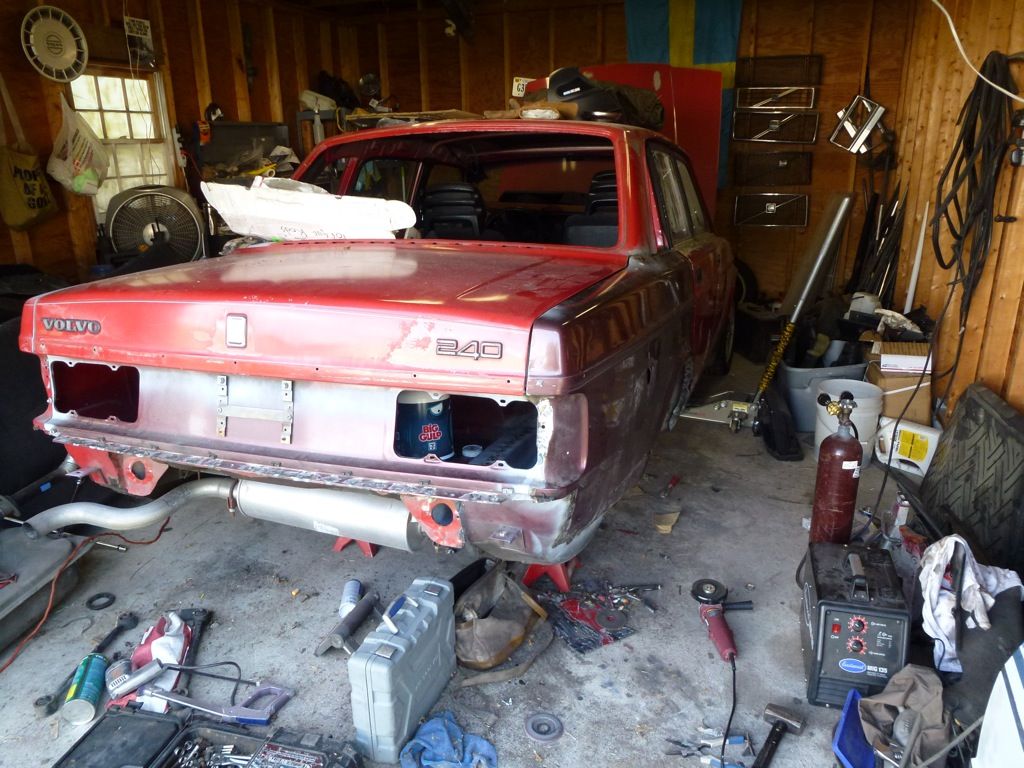
got a little time in the garage tonight, finished hacking (no exaggeration) the rest of the "buttcheek" off and cleaned up the spot weld areas and applied a little weld through primer.


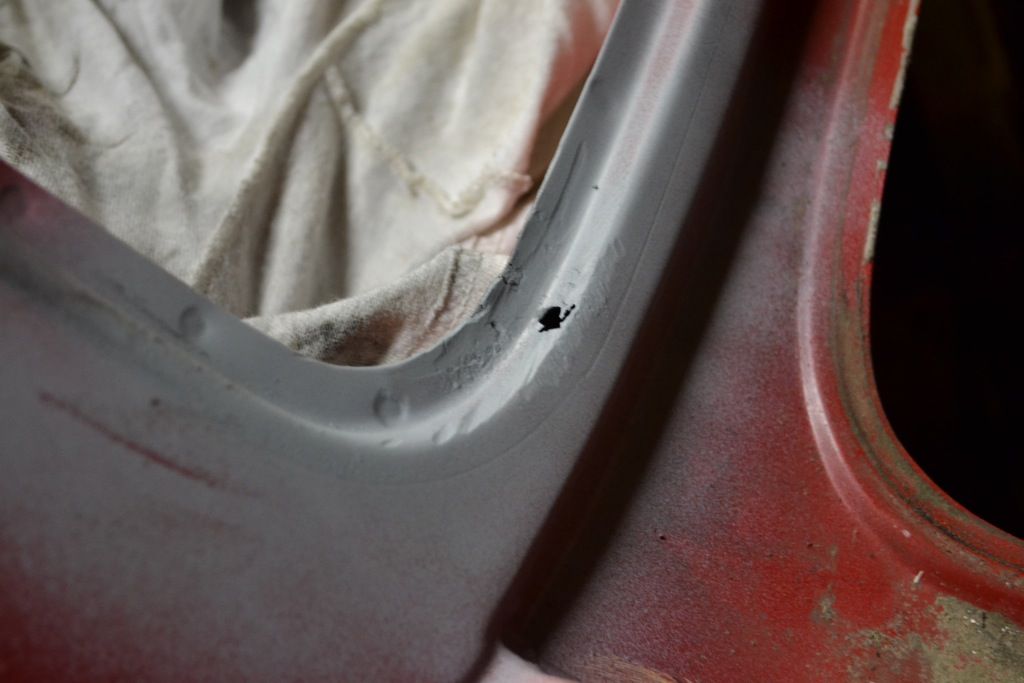
also ground the rust out of this little hole in the rear window channel, and hit it with some primer.


Ill be borrowing a welder this weekend to get the panels installed so that when I come back from my work trip I can start prepping for paint, maybe get it painted by the end of the month?

We shall see, but reading a few project threads has my confidence and motivation boosted, so hopefully I can stay on task and get this car back on the road soon.
 
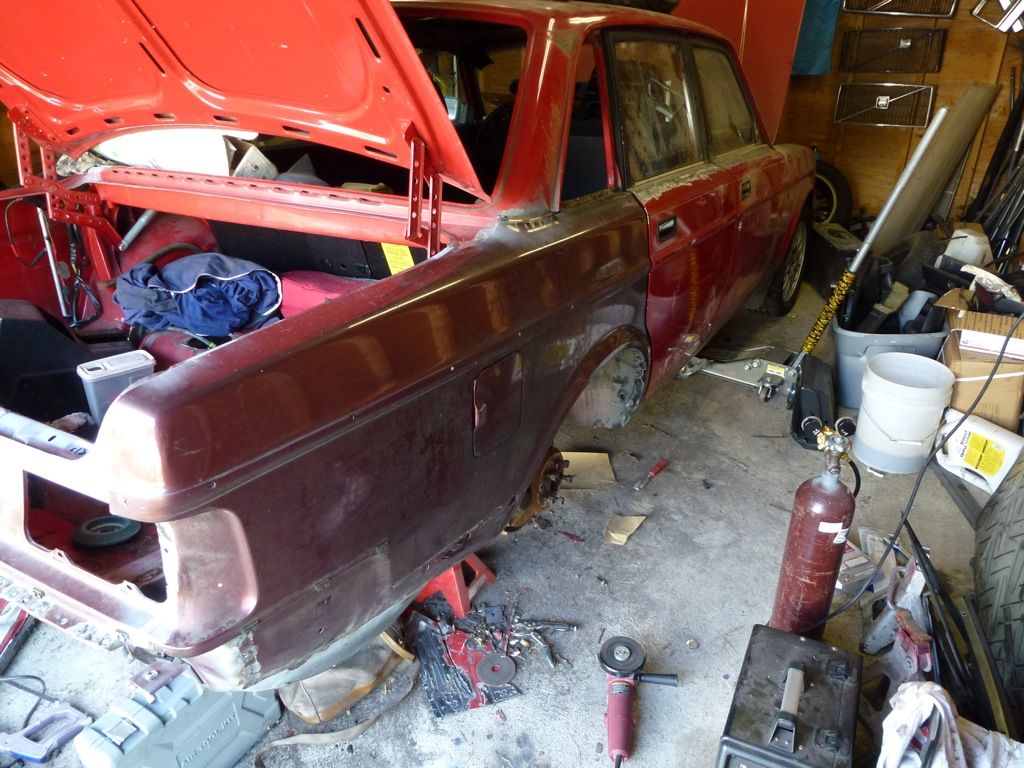
Made some progress last night. It's all held on with sheet metal screws till the welder shows up, but it all lines up surprisingly well, and should be fairly easy to get right.


Last edited:
Buy a parts car. Seriously. Had I bought the panels secondhand from someone else like I had originally planned, I would be in a lot more trouble. It's nice to be able to pick and choose what to cut. On the parts car, you have to keep the quarter panel intact, but you can go to town on the rest of the car to get it free, and vice versa on the good car.

Also, take your time, plan every cut before you make it, but don't be afraid. It's a 20 year old volvo, and you can always add more weld. I'm sure ill have more pointers after paint, it's a learning experience for me

I still have a little more prep work to do, and while it's down for paint I'm trimming and rolling te rear wheel arch lips. Hopefully ill be sanding by the end of the week, painting soon after, and have the car back online by the end of the month.
 
they are 16x7 bmw wheels, just plain jane, idk what they are called lol.

spacers are 28mm in the front and 40sumthin in the rear. lotsa spacer, but they are et46 i think
 
make sure you prep all those surfaces properly before and after welding or you will create a rust magnet.
 
I have two cans of weld through primer and a few tubes of seam sealer, so everything will be well sealed.
 
I still wana try that panel adhesive stuff.
No warping, no cold welds that rattle or squeak.
Air tight seams....
 
Yeah I have a buddy that wanted to glue it in, but I feel like it's too many components coming together.
But I'll be applying copious amounts of seam sealer to hopefully keep the squeaks at bay.
 
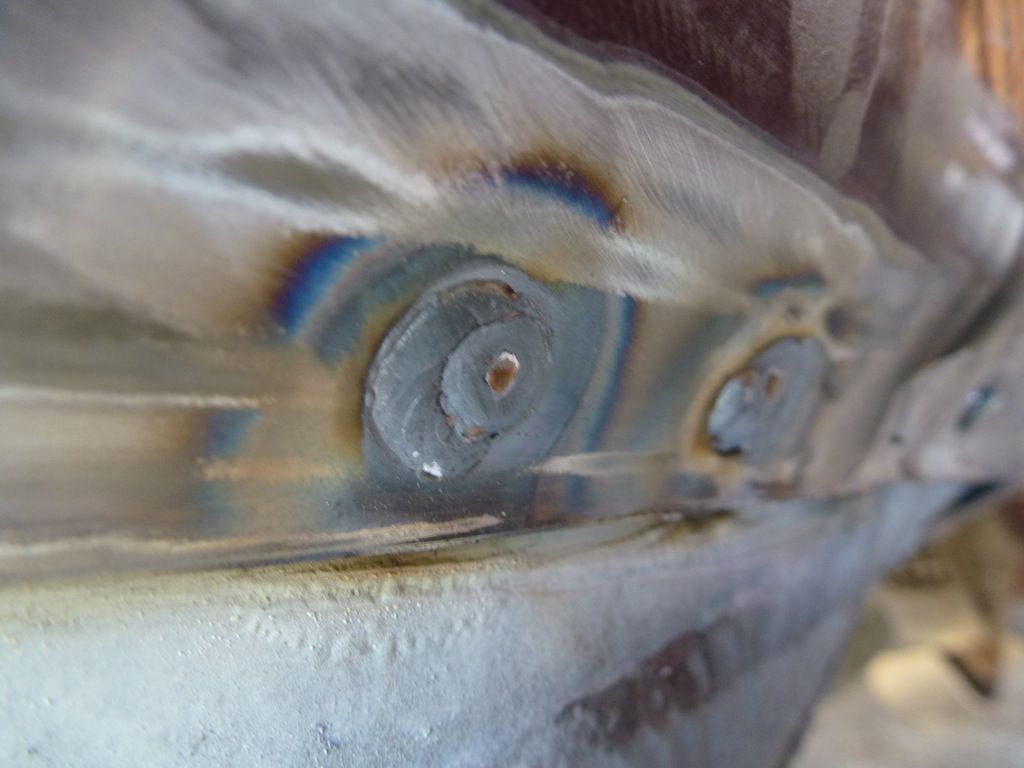
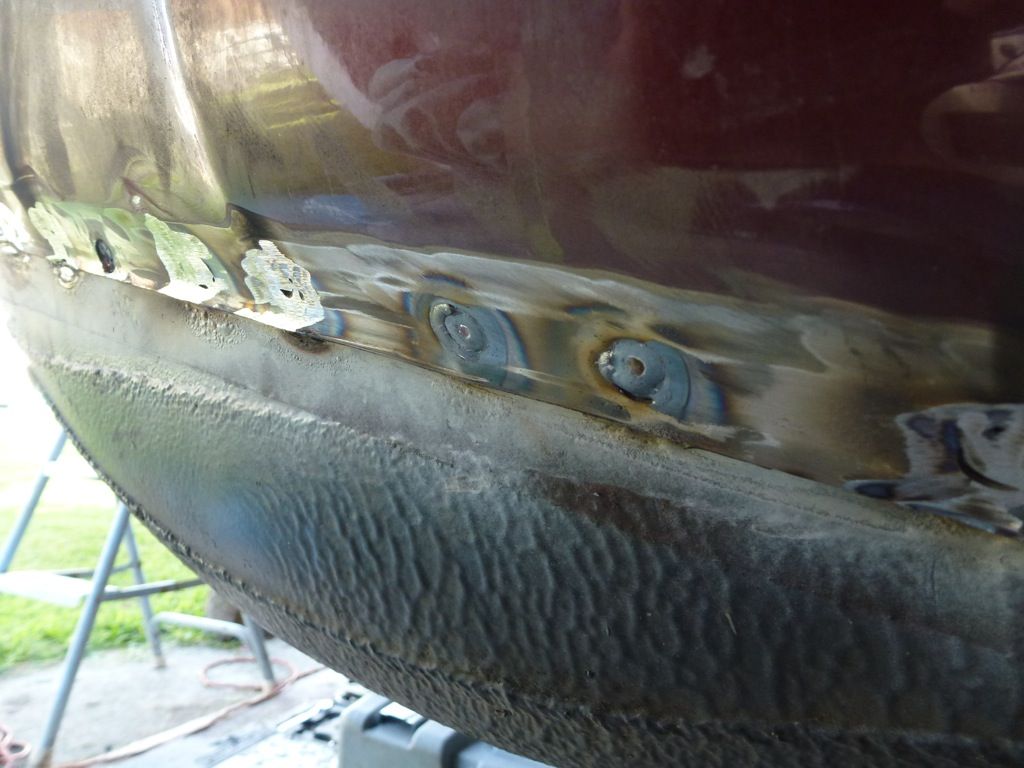
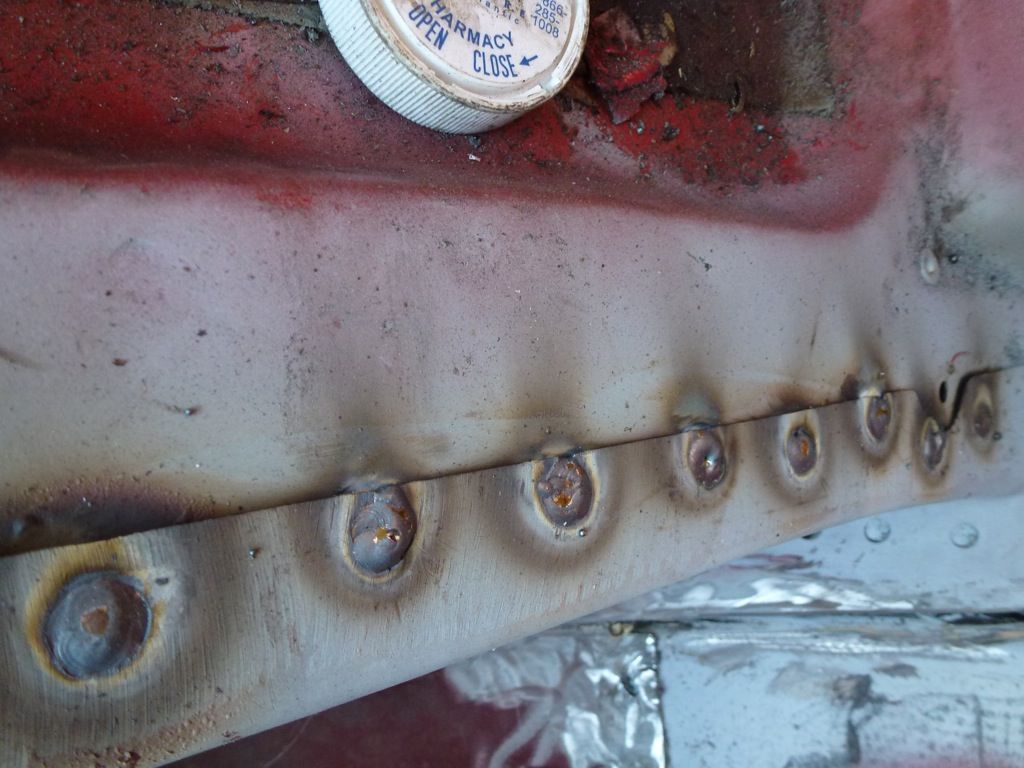
Well, the welding has begun, and honestly isnt far from being done :lol: doesnt take a whole lot of time to make a bunch of 3/8" round plug welds.

Prior to starting this project I had never even laid a hand on a MIG welder. I had some time with stick and TIG, but MIG somehow slipped away. So I started with a sheet of practice steel that I cut from the wrecked quarter and got my technique dialed in, then dove in headfirst. I immediately ran out of argon and it took me a while to figure out why my welds suddenly looked so awful :lol:

but anyways, you came here for pictures, so I shall deliver.

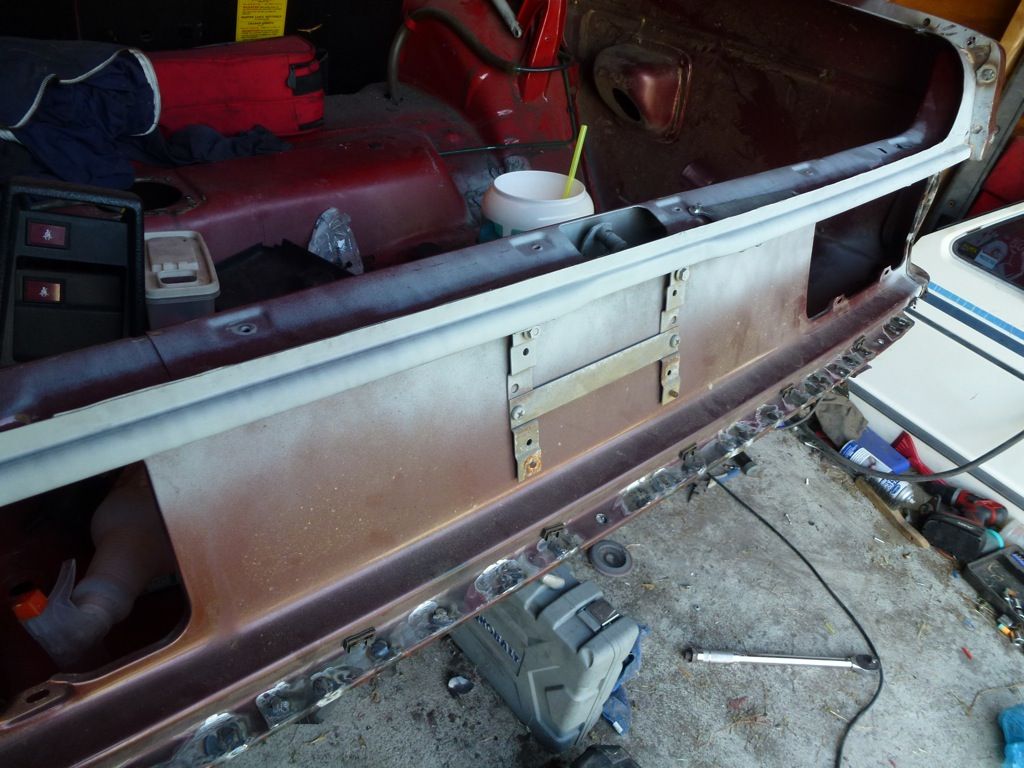
Here is the area above the rear bumper, all the welds are ground flush, but theyll be under the trim anyways.


Not the best welds in the world, but good penetration, and for someone with nearly no experience, I cant complain! :cool:


And here are the welds in the trunk


the whole thing is really coming together here, and I hope to start sanding and prepping for paint in the next week or so

 
Back
Top