- Joined
- Nov 12, 2002
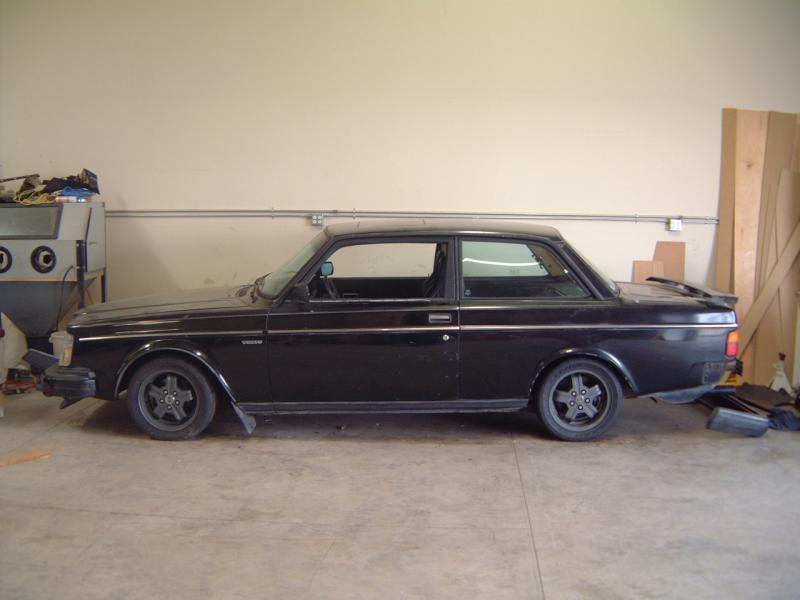
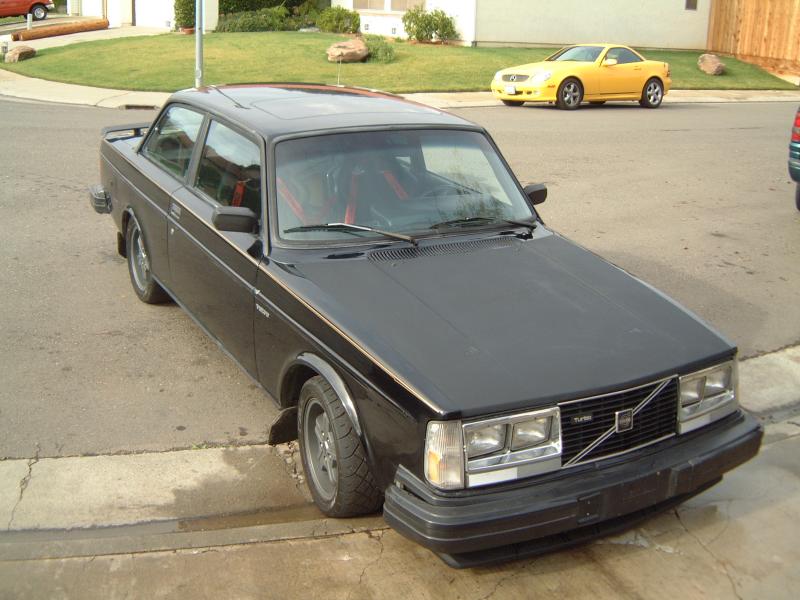
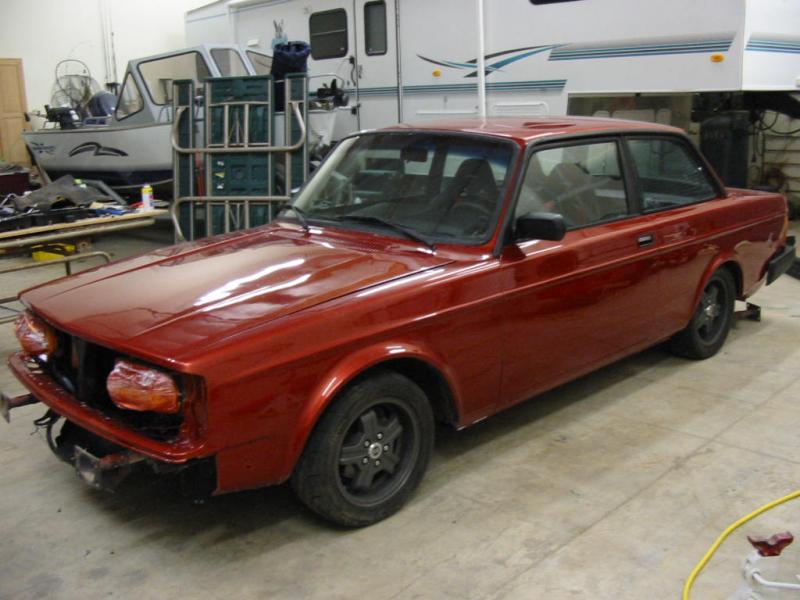
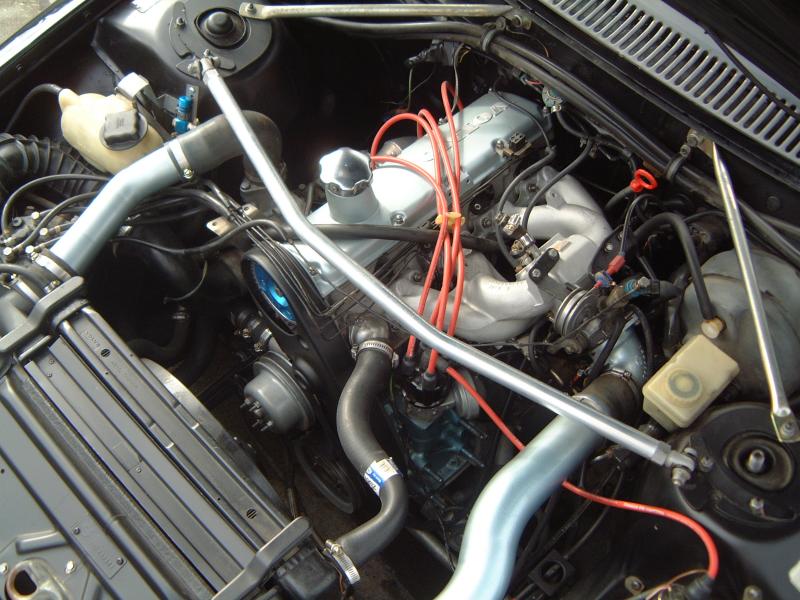
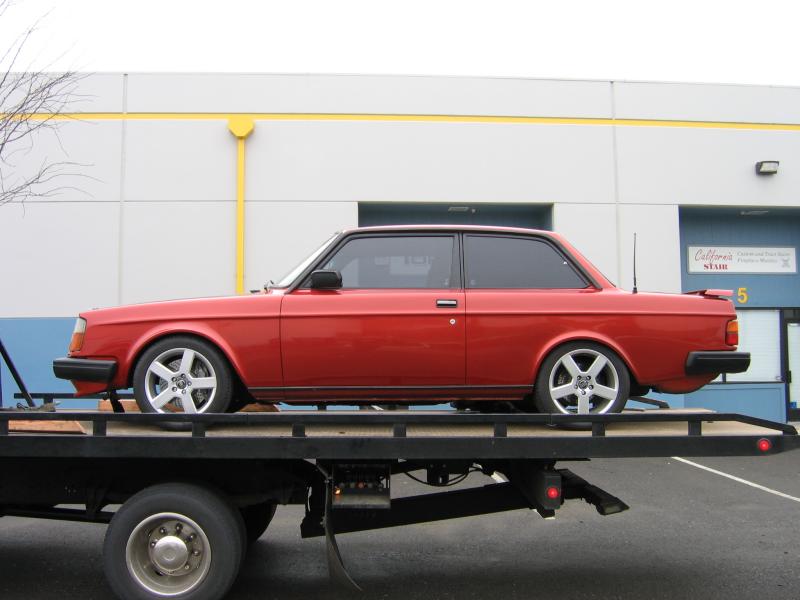
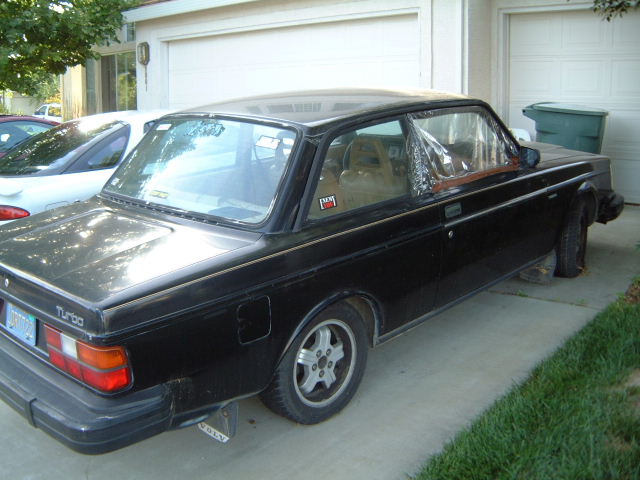
This is my recently sold 242 that I spent 4 years building. It was the project car (for the currently MIA) www.clubvolvo.com. Bought it as a budget weekend project, sorta snowballed from there. Quickest time I ran was a 13.6 @ 106 with SEVERE traction issues and only 14psi. Was a fun car, lots of lessons learned lots of parts devolped (T5 adapters, CF hood, early MS user, 3rd S60R brake conversion, rewired the car from scratch ... twice, hiem jointed torque rods, first that I know off in the US ProTurbo.Fi header, K15 cam ect ect ect). Twas fun on to a new project that we should be putting up info on soon  Theres gazillions of pictures at www.pbase.com/dkauer744
Sold around first of the year :*(
Best time 13.6 @ 106 running 14psi and an open diff")

(off to NY to its new owner)
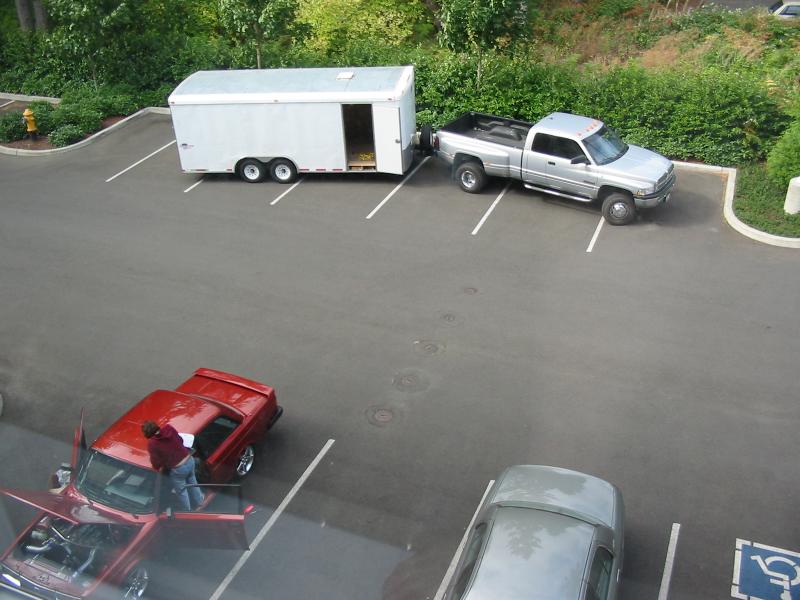
Here's what it started as:
Theres gazillions of pictures at www.pbase.com/dkauer744Drivetrain:
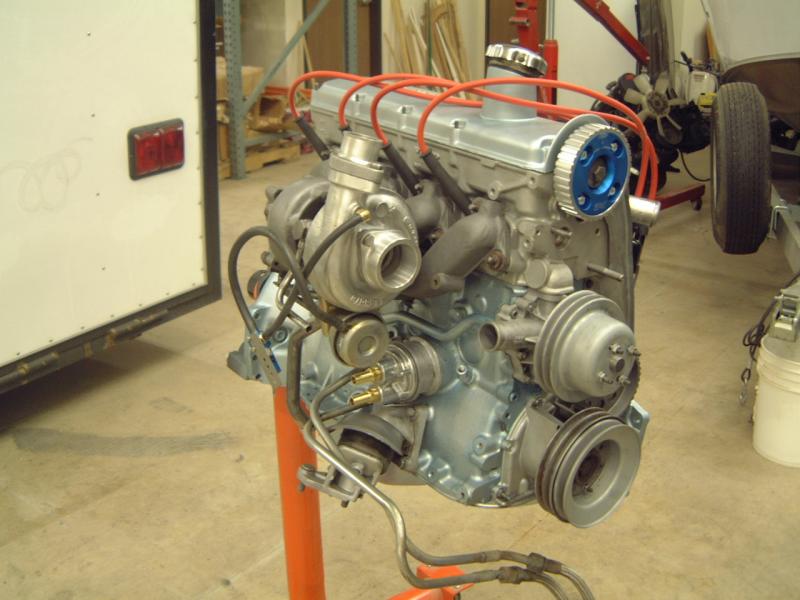
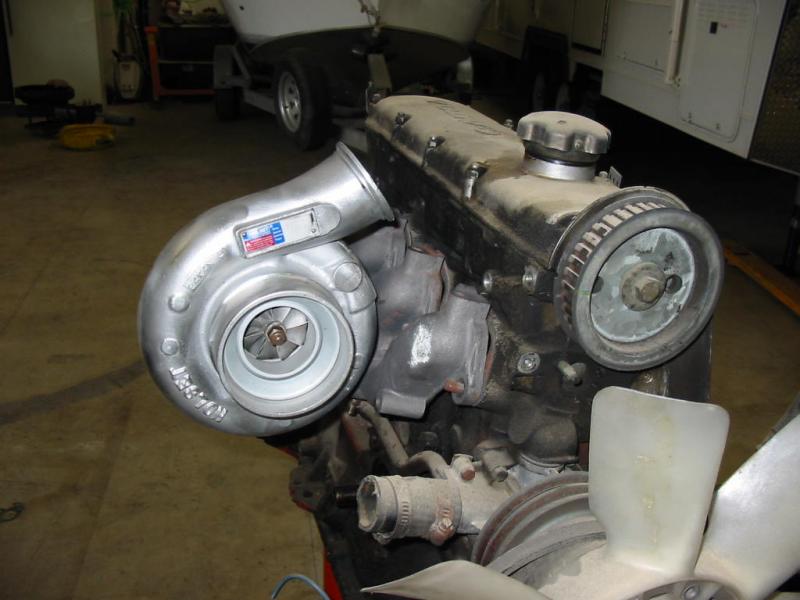
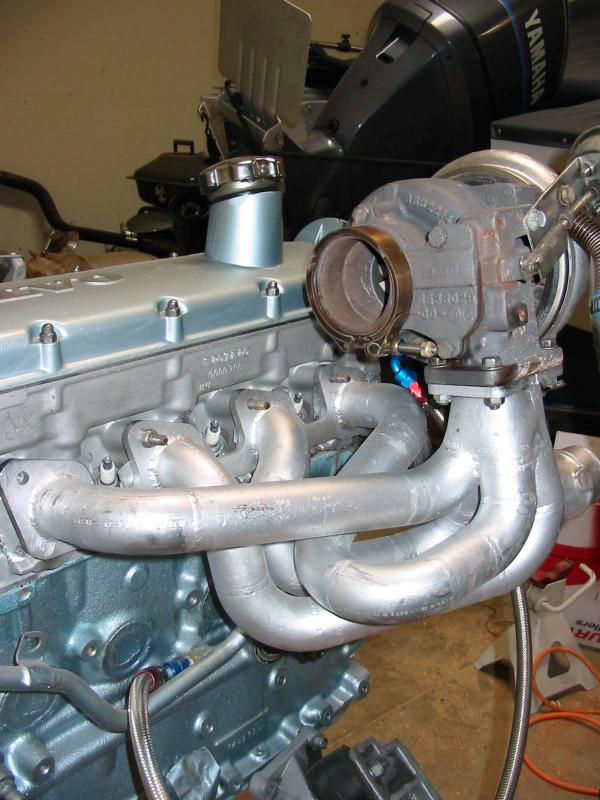
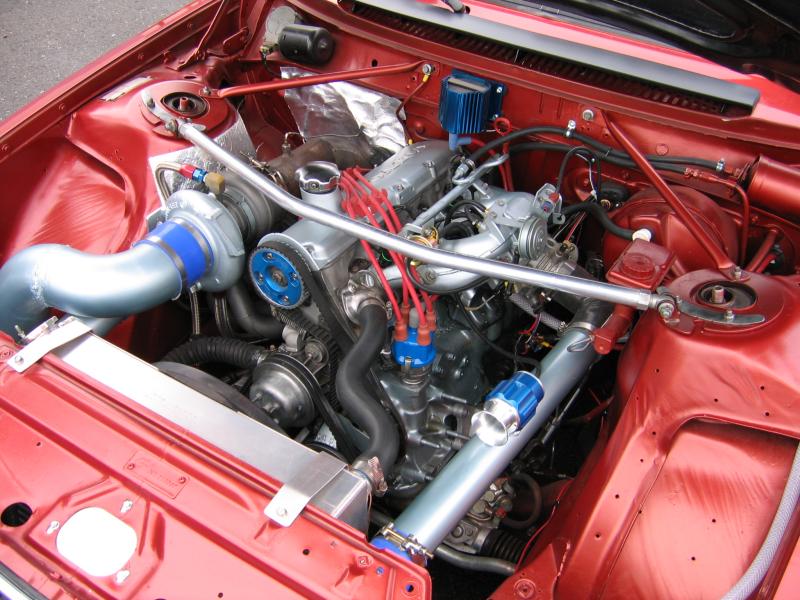
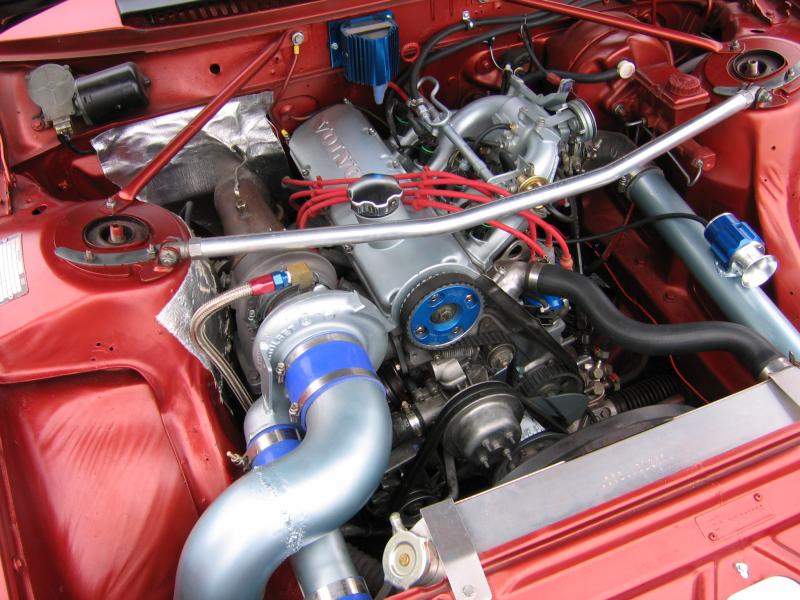
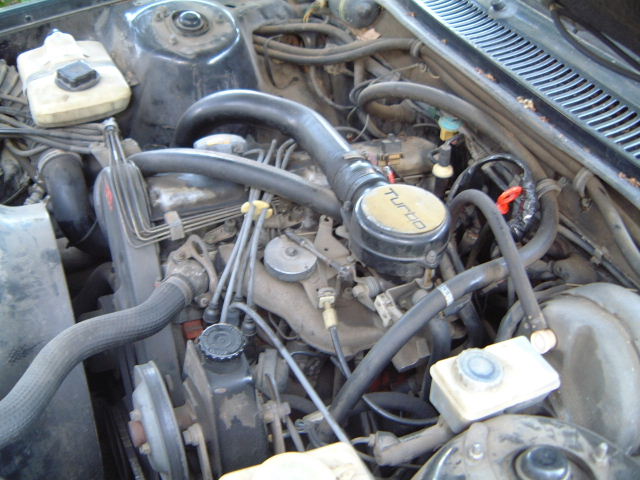
Rebuilt B23FT (2.3L), decked, oringed. Mircopolished crank, hi flow oil pump.
398 head pocket ported, polished, match ported, shaved, 3 angle valve job
Enem K15 cam 298* duration, 13.2mm lift
IPD adjustable cam gear
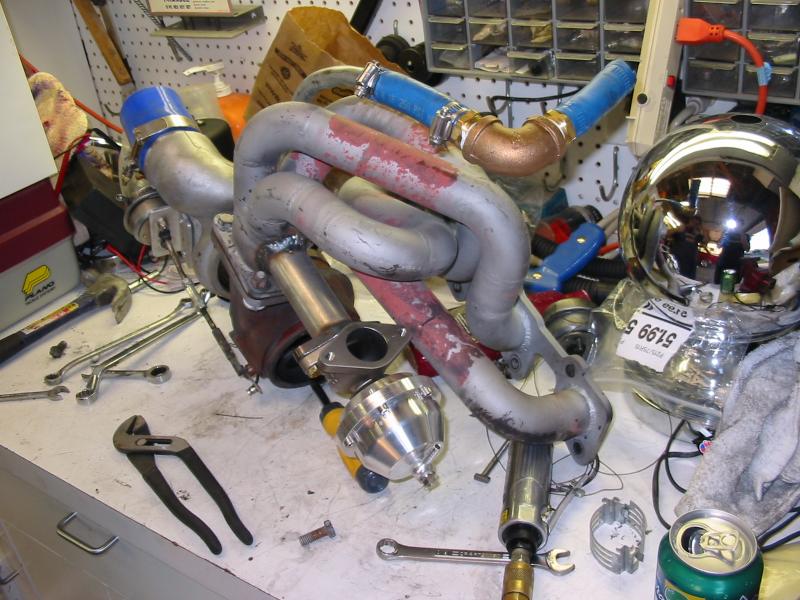
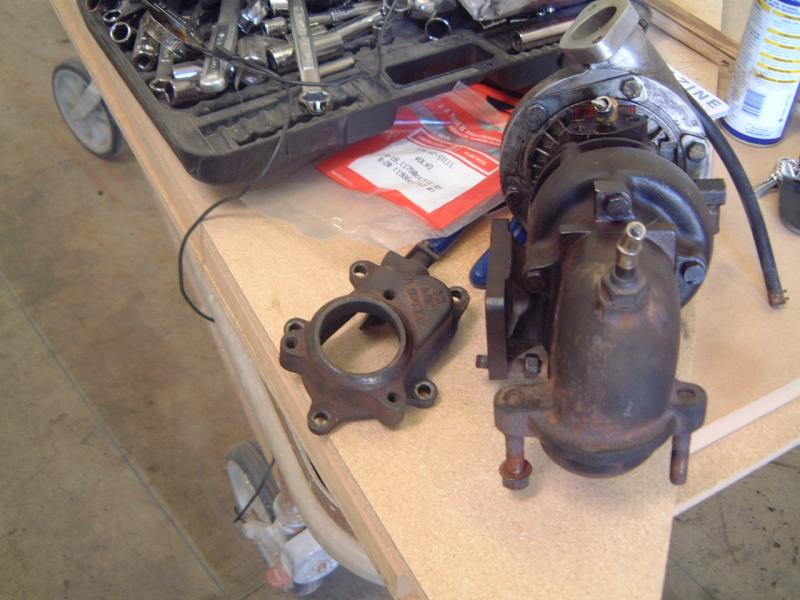
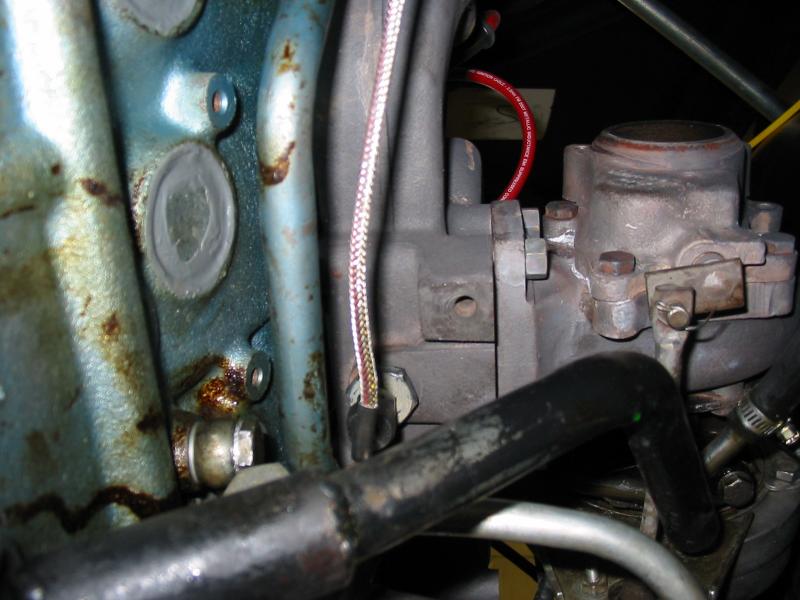
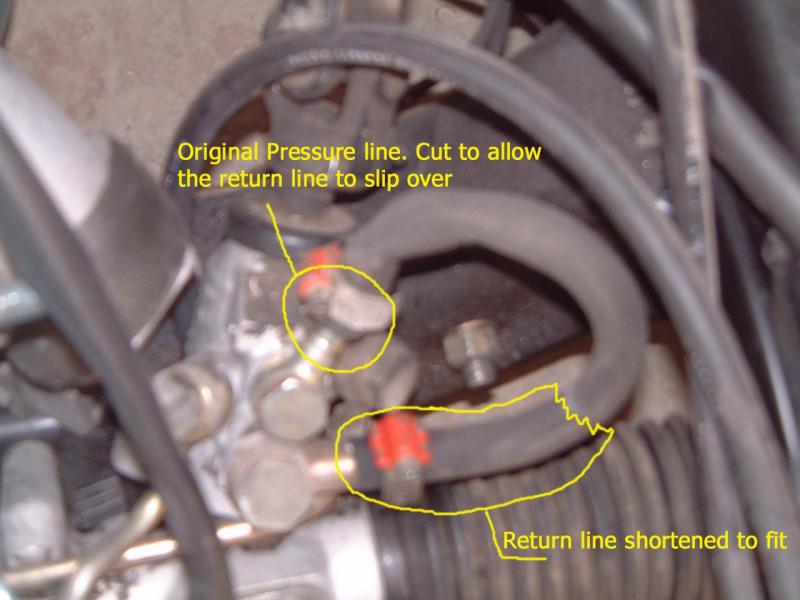
Holset HY35W turbo, -8AN braided feed, -12AN braided return line
Proturbo.fi full tube, equal length header
Tial 38mm wastegate (not pictured)
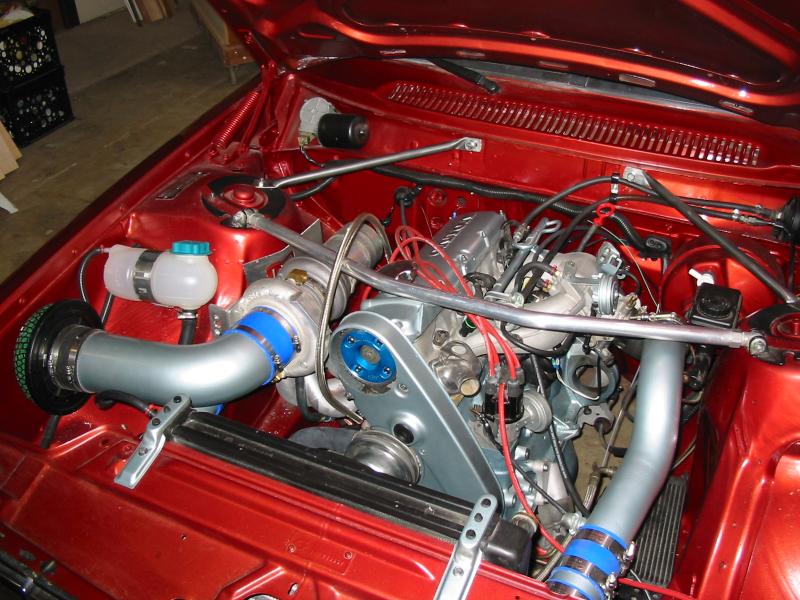
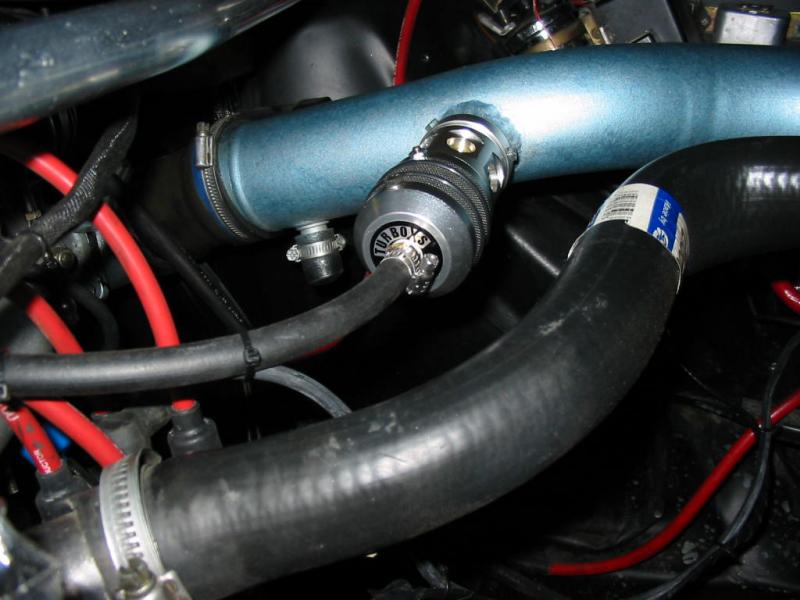
NPR Intercooler
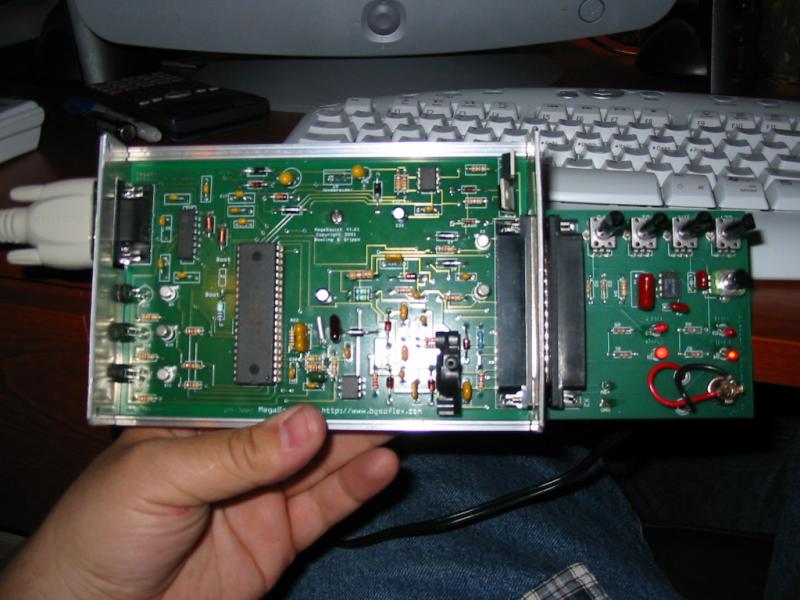
Megasquirt EMS w/ 56lb/hr Lucas injectors, modified to control spark
B230 intake, Throttle body, Fuel Rail, 3.5Bar fuel pressure regulator
TurboXS TypeH BOV
HKS Turbo Timer
Blitz EBC-S boost controller
MSD 7al-2
MSD 8.5mm plug wires, NGK plugs
Relocated OEM oil cooler
Innovate Wideband
4? down pipe
3? Catco cat
3? Dynamax Bullet muffler, side exit exhaust
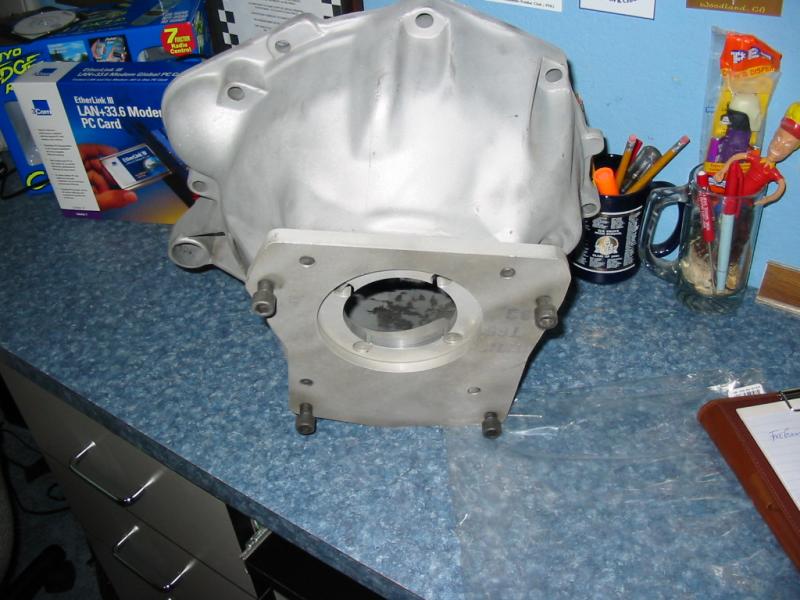
91 5.0 T5 mustang gear box, adapter from www.v-performance.com
ClutchNet custom clutch (carbon/carbon disc, modified pressure plate 100% over OEM clamping force)
9lb aluminum flywheel (custom built by www.v-performance.com)
Pro5.0 Short Shift kit
Bullit edition shift knob
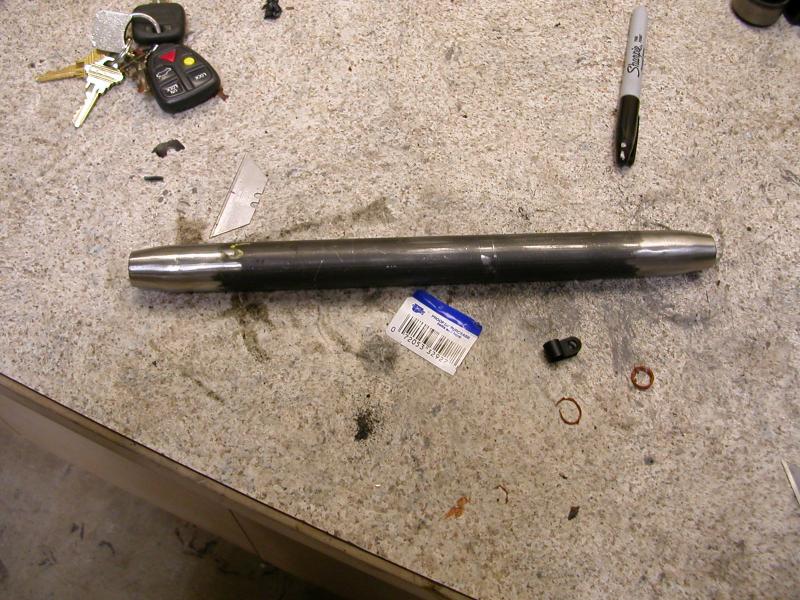
1 piece driveshaft
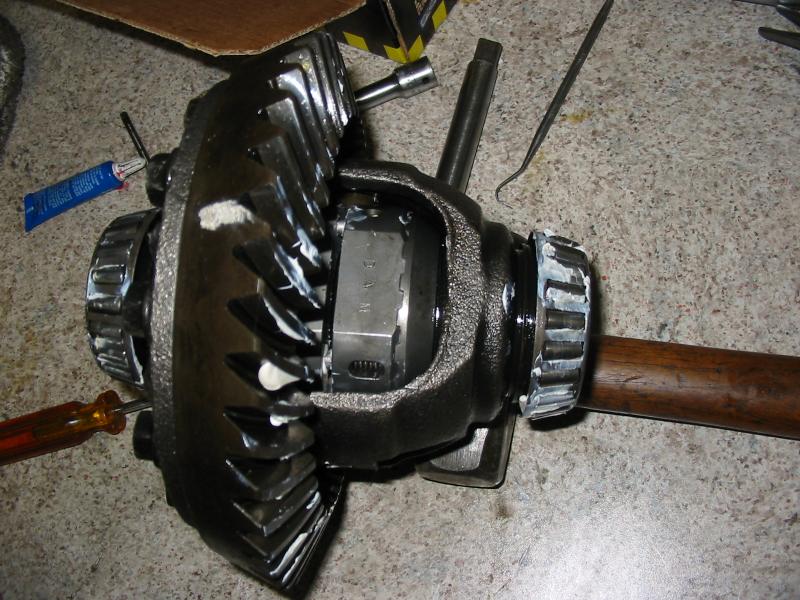
Dana 30 (1031) axle
Converted to 3.91 gearing
Powertrax Locker
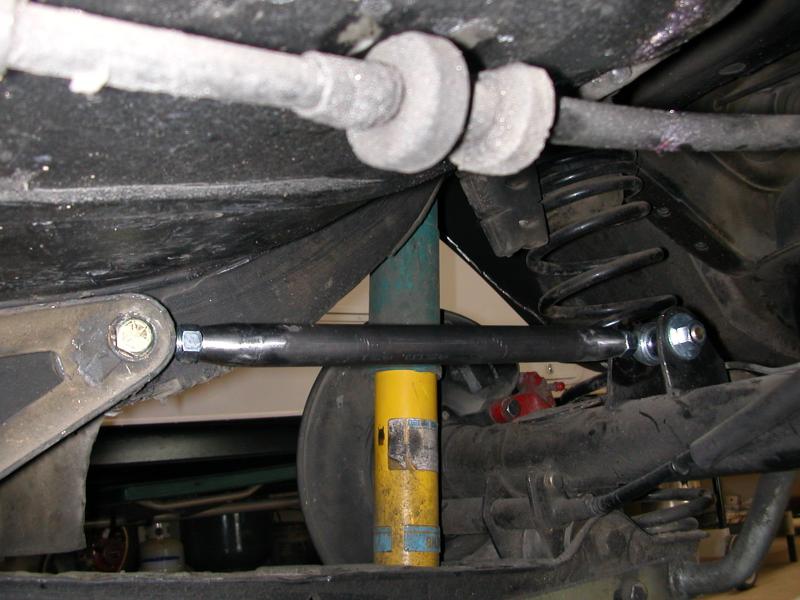
Suspension:
IPD Sport Springs, 25mm sway bars (front and rear), strut braces
MVPvolvo.com poly bushings
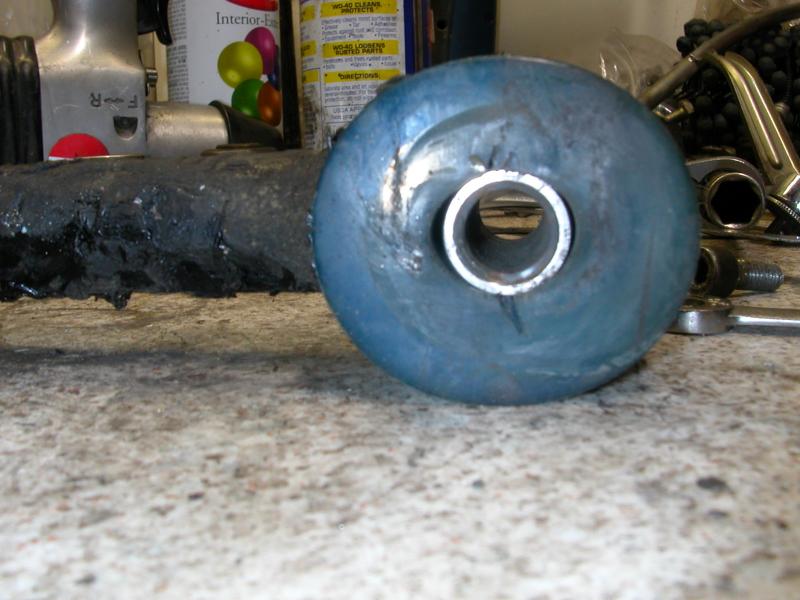
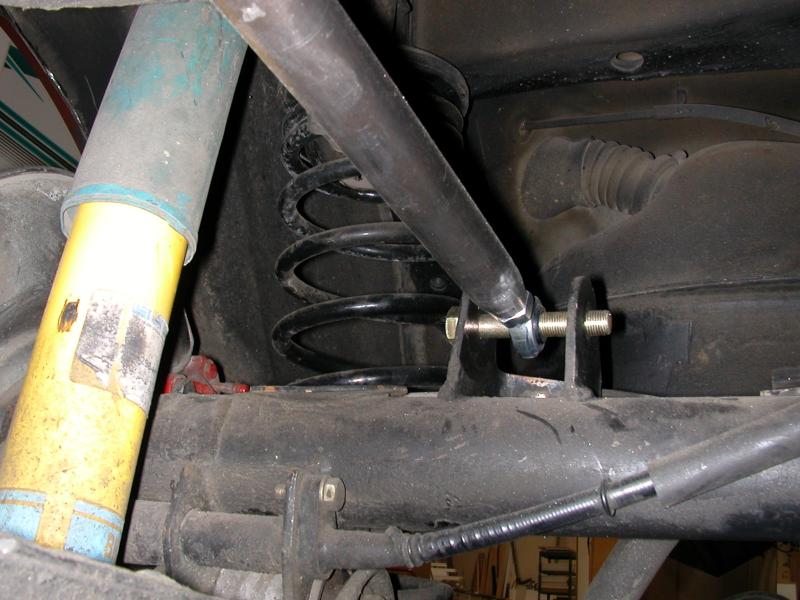
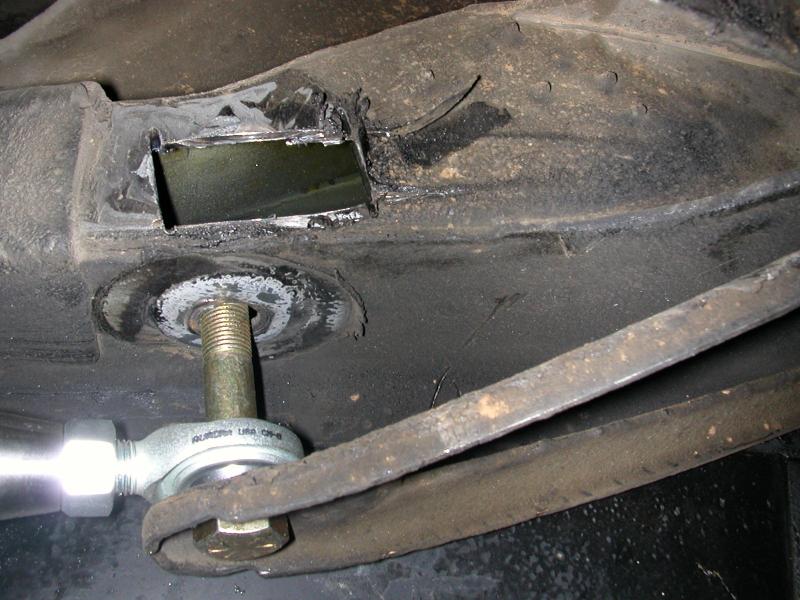
Adjustable panhard rod
Bilstiens struts and shocks
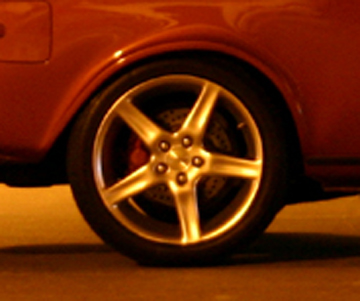
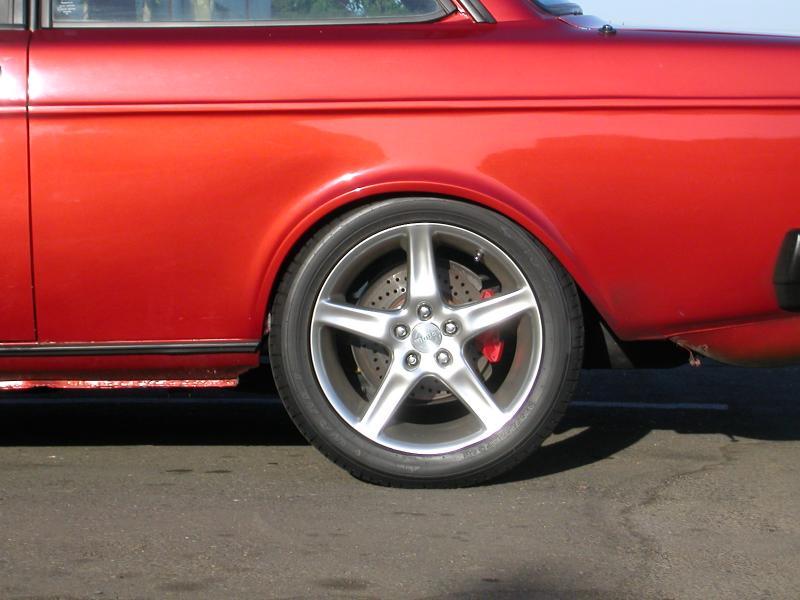
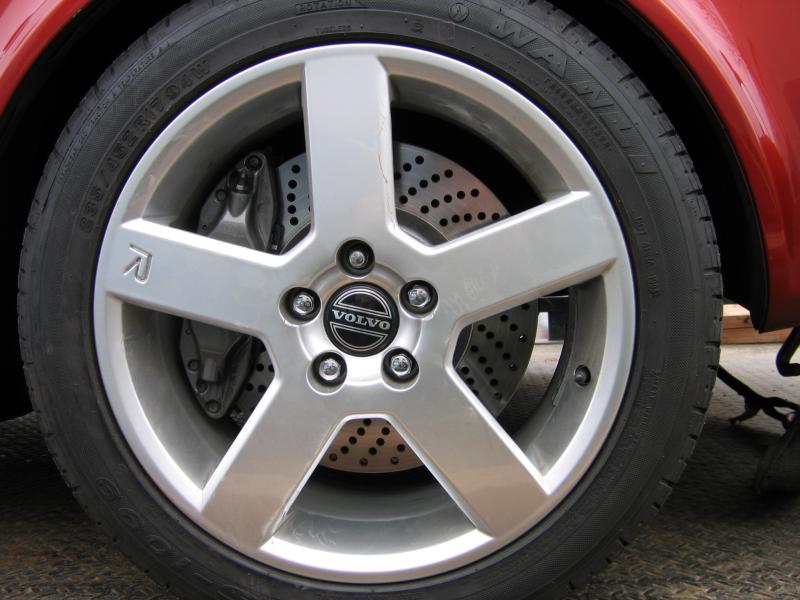
S60R Brembo 4pot calipers, 330X28MM crossdrilled discs (drilled myself)
Brembo crossdrilled OEM sized rear discs
Metal master pads (rear)
SS braided brake lines
Volvo Pegasus (S60R)17X8 wheels
235/45/17 Wanli tires
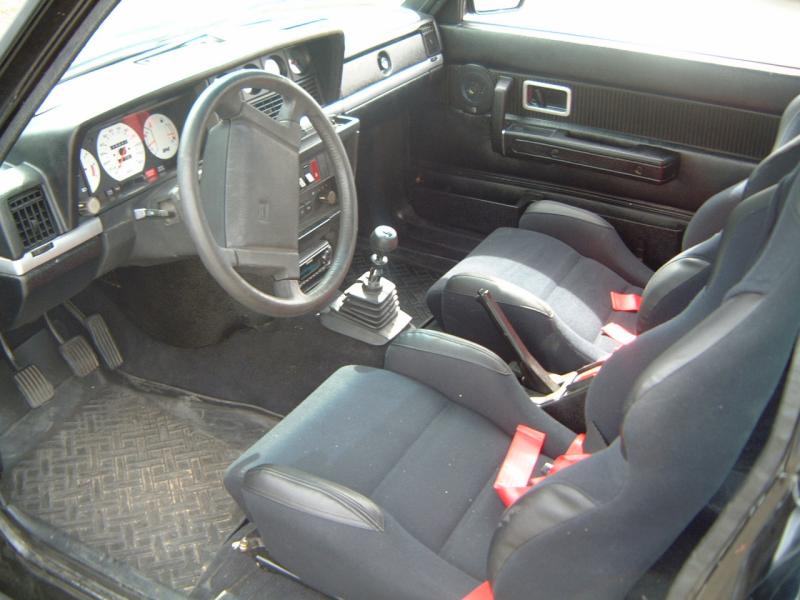
Interior:
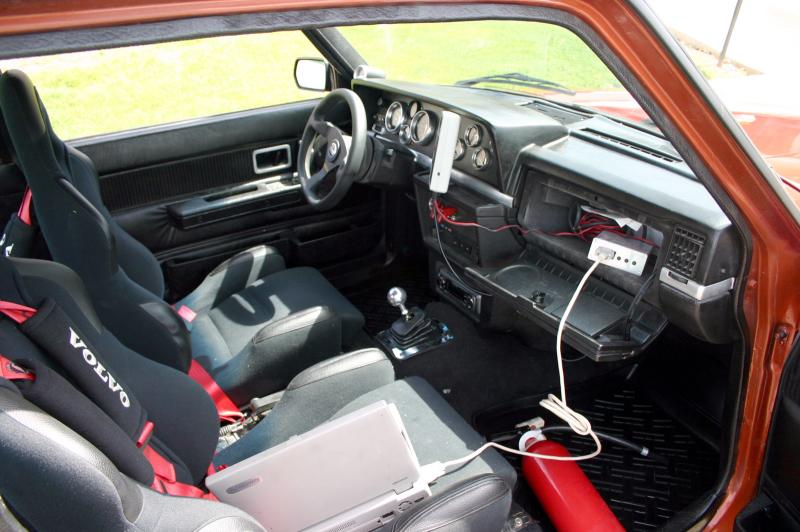
Converted to black interior
Hand built custom Carbon Fiber dash cluster
Autometer Carbon Fiber: Tach, Speedo, Fuel, Volt, Water Temp, Oil Temp, Oil Pressure, Boost
Autometer Pro Comp: AF gauge
Autometer Ultra lite: EGT
Corbeau CR1's, 4pt belts
Innovatemotorsports Wideband o2 sensor
Sparco Wheel and pedals
Silver GT themed trim
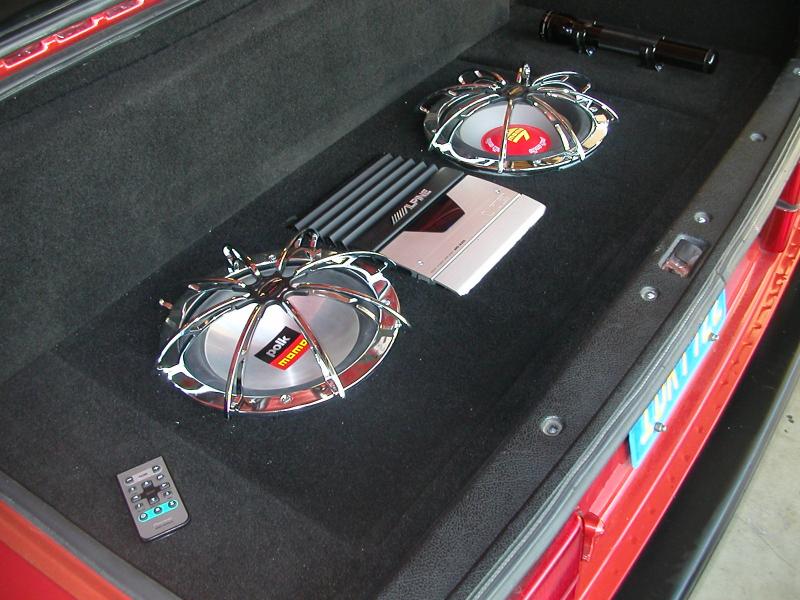
Audio:
Pioneer 6300 receiver
Kenwood 4" 2 ways in the front doors
Kenwood 6X9 3 ways in the rear deck
10" Polk Audio Momo Subs (X2)
600W Apline Amp
Custom trunk enclosure built by myself
Exterior:
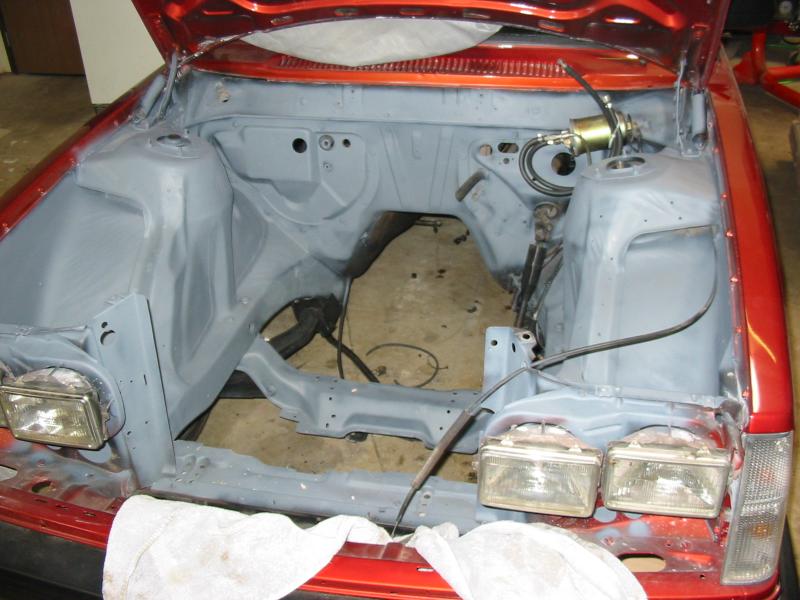
Converted to Group A (racing class) flathood front end
euro front signals
87 Trans Am wing
Waist line trim removed
Painted Sunset Mettalic Orange
TurboPerformanceClub.com decal (rear window)
TPC.com plate holder and euro plate (front)
Misc:
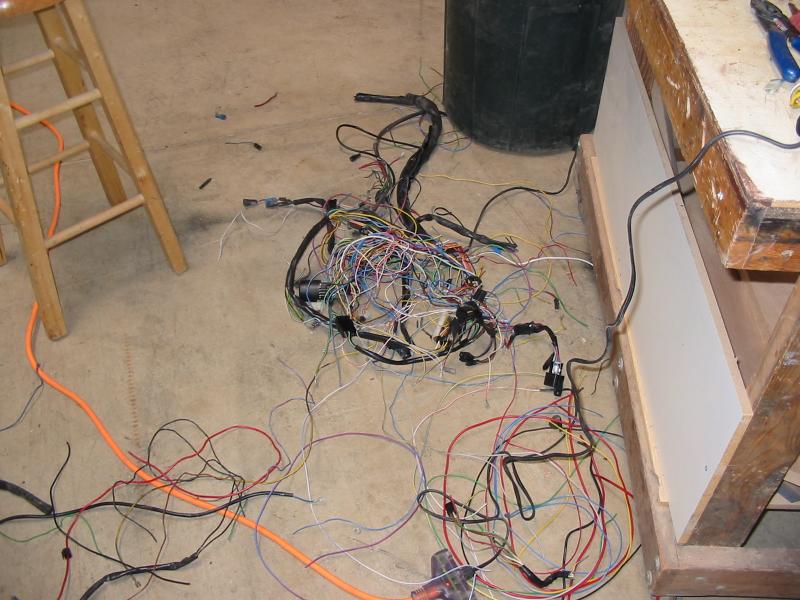
Painless wiring fuse block, rewired car from scratch.
Sold around first of the year :*(
Best time 13.6 @ 106 running 14psi and an open diff
(off to NY to its new owner)
Here's what it started as:
Last edited: