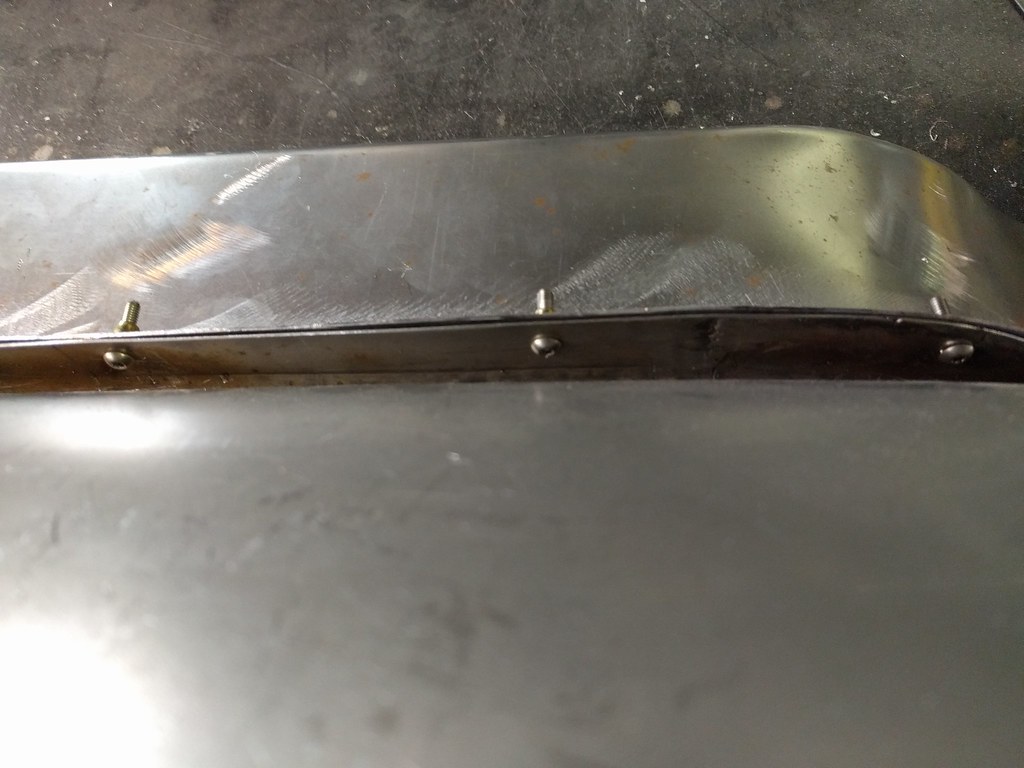
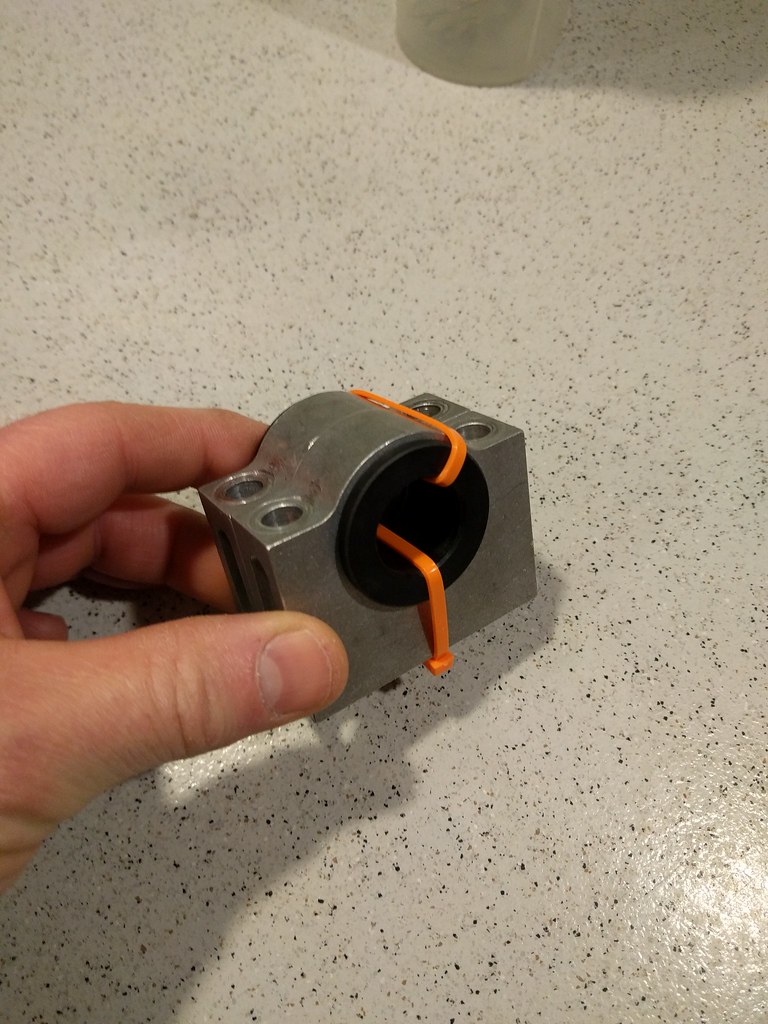
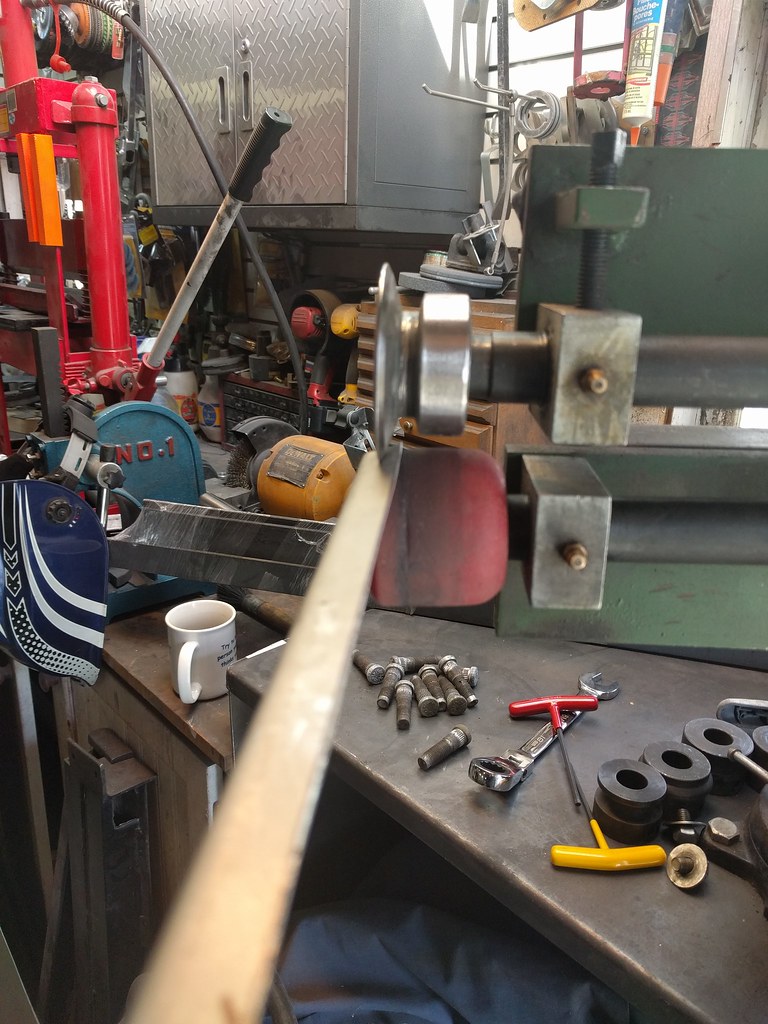
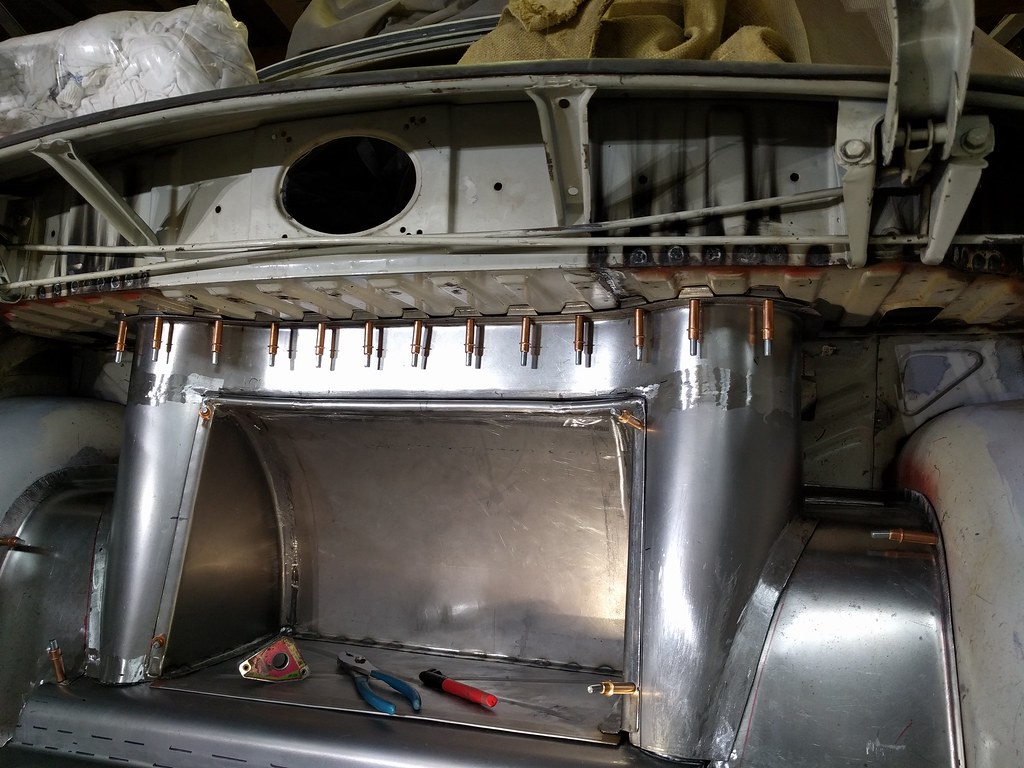
I got a little side-tracked - I'm just finishing up the last of the details on the IRS install, and I noticed that I hadn't shared the part where I fabricated the ant-roll bar. For shame. I'm using a splined 3 piece NASCAR style bar as the ability to tune on a custom frame is important. Who knows how much sway bar I'm going to need? I'd like options that come in at around $80 shipped...in fine diameter increments. The standard brackets look like this and are Teflon bushed.
I whipped up a couple of brackets and thought I'd just drill them out to tap drill size, weld them on and tap the hole.
That went something like this.
Make mount.
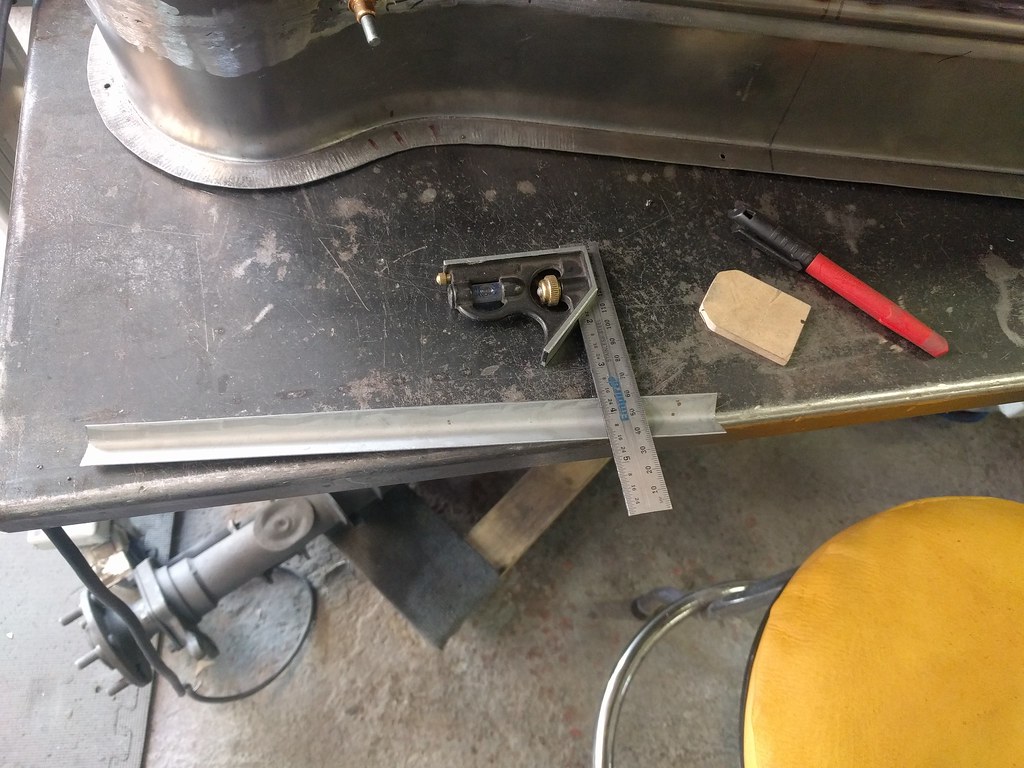
Check hole centres.
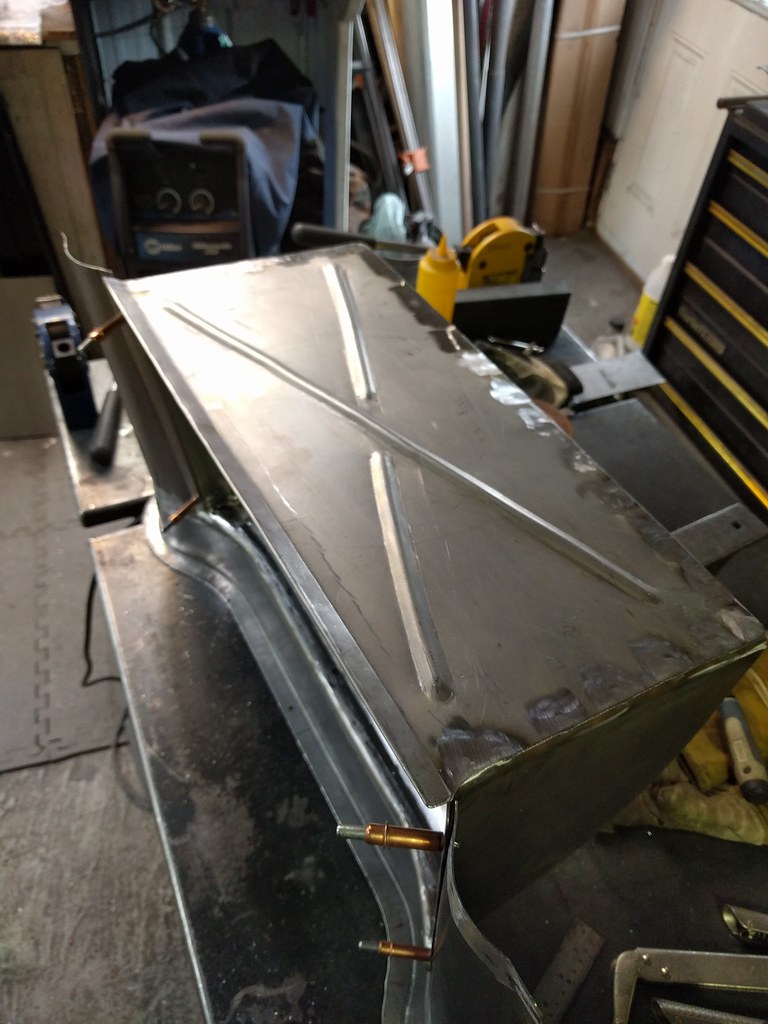
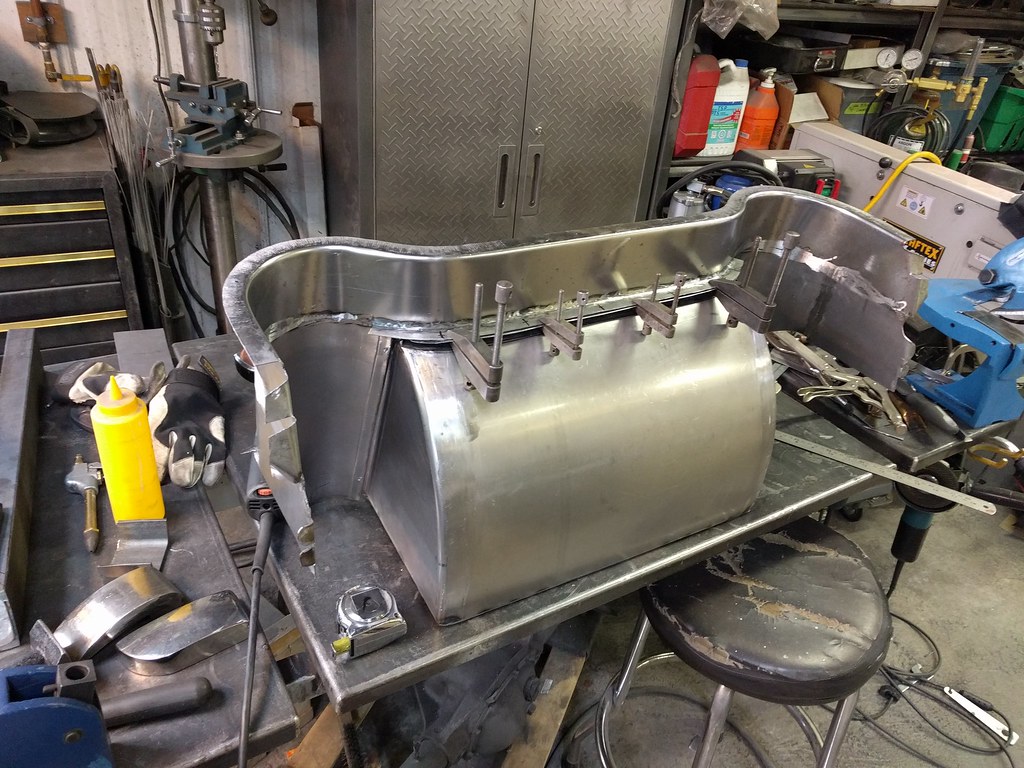
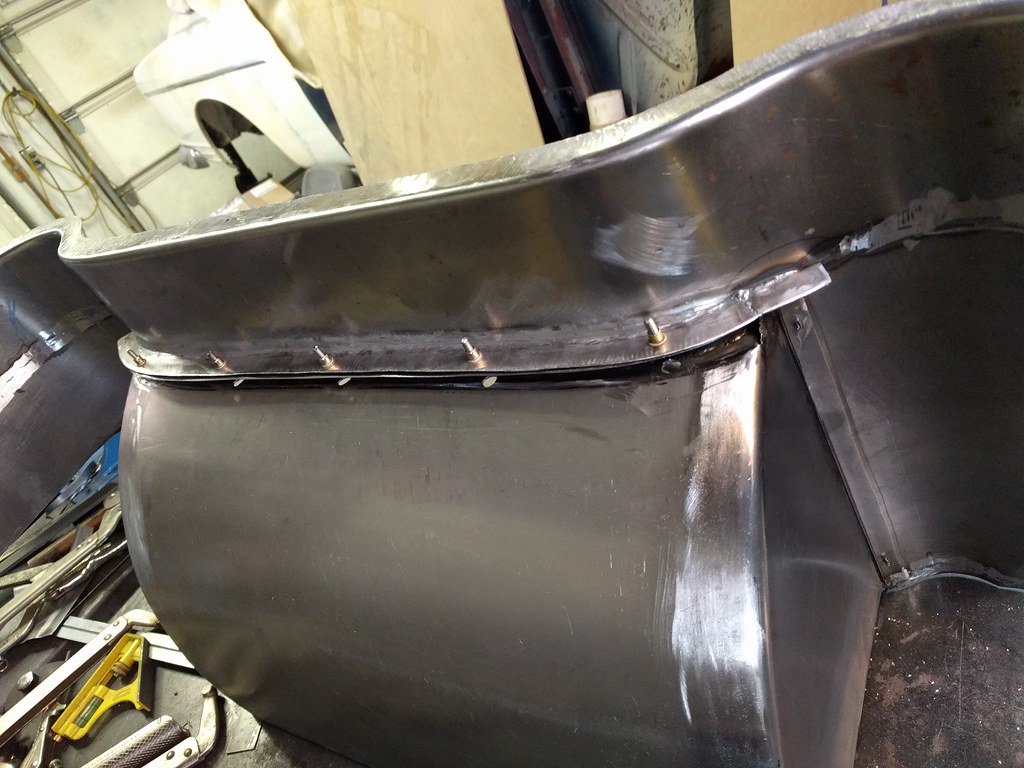
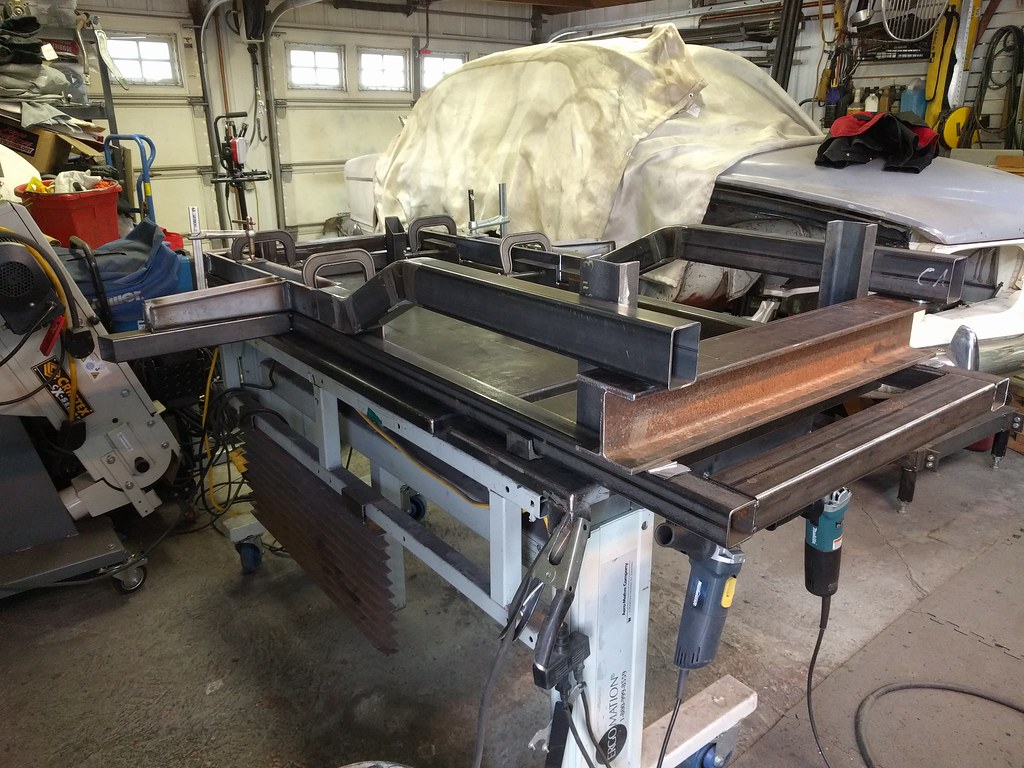
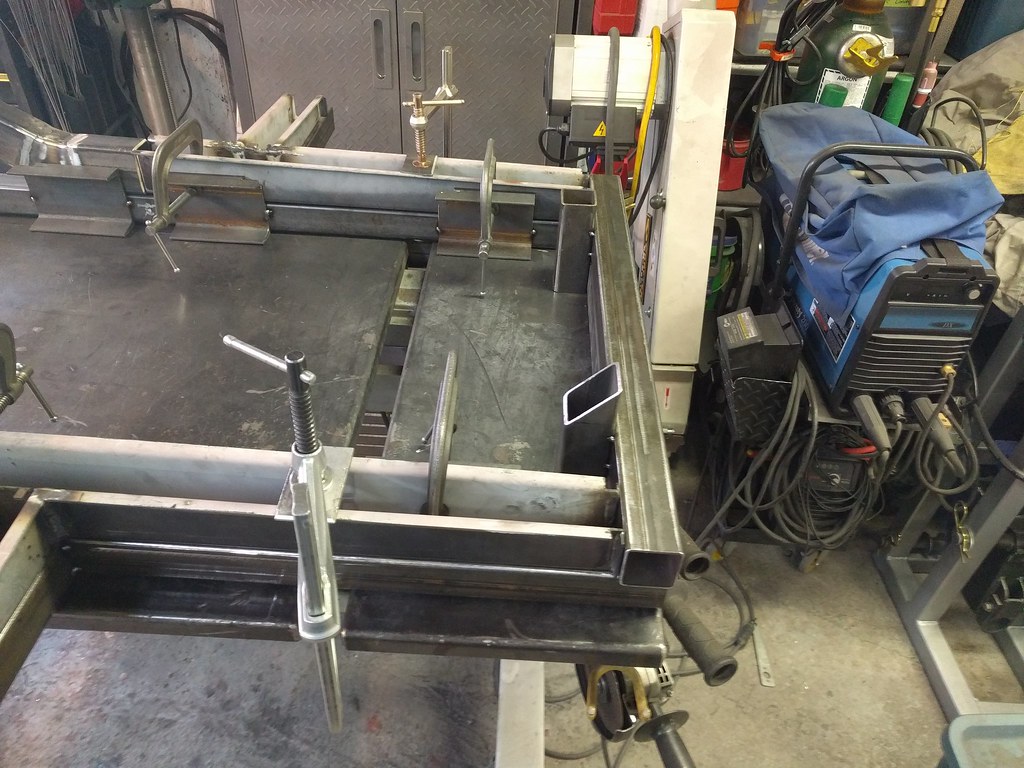
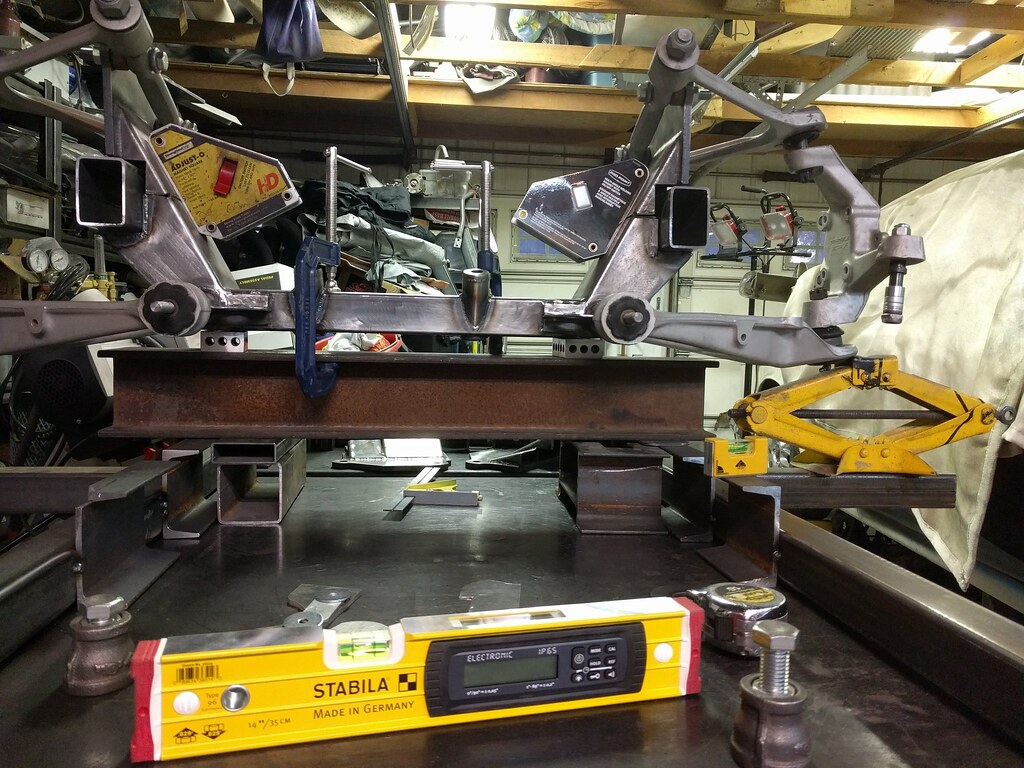
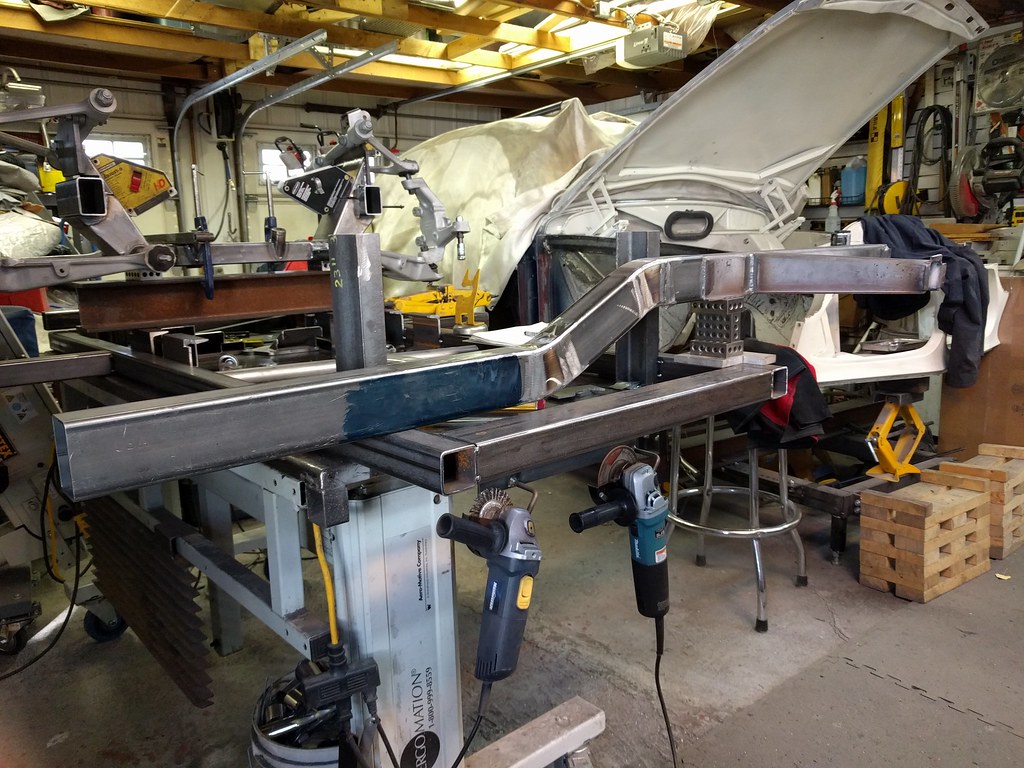
Create overly complicated jig to get things in the proper alignment for tacking.
Ensure things were perfectly level. My uphand TIG needs practice. Yikes.
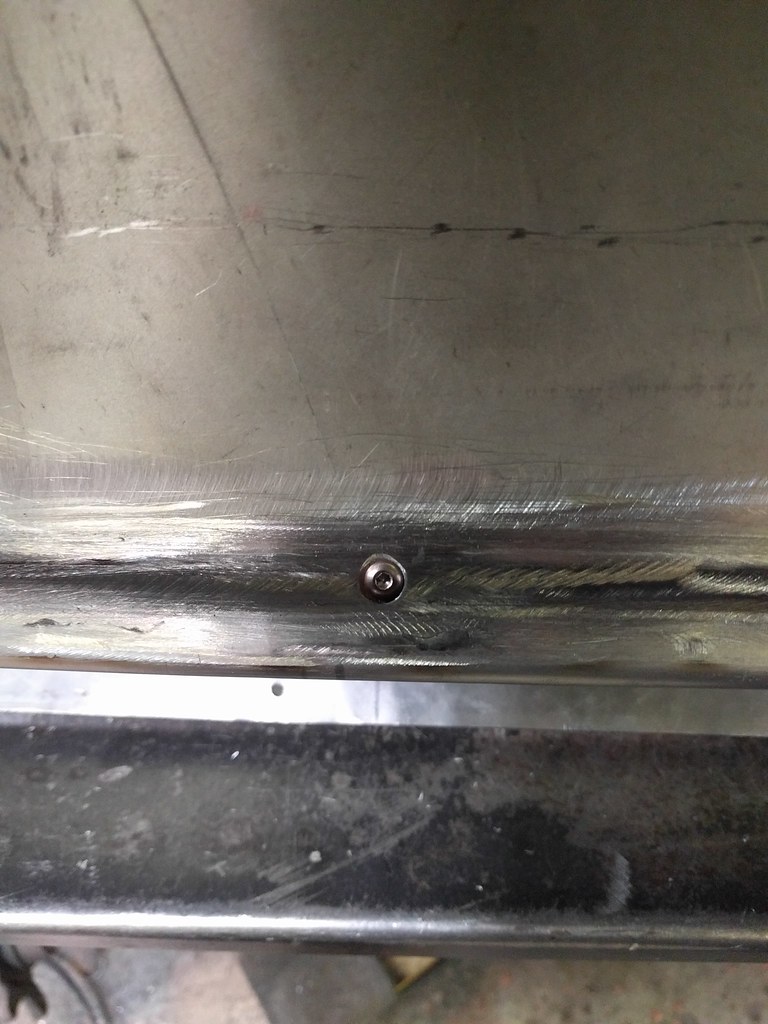
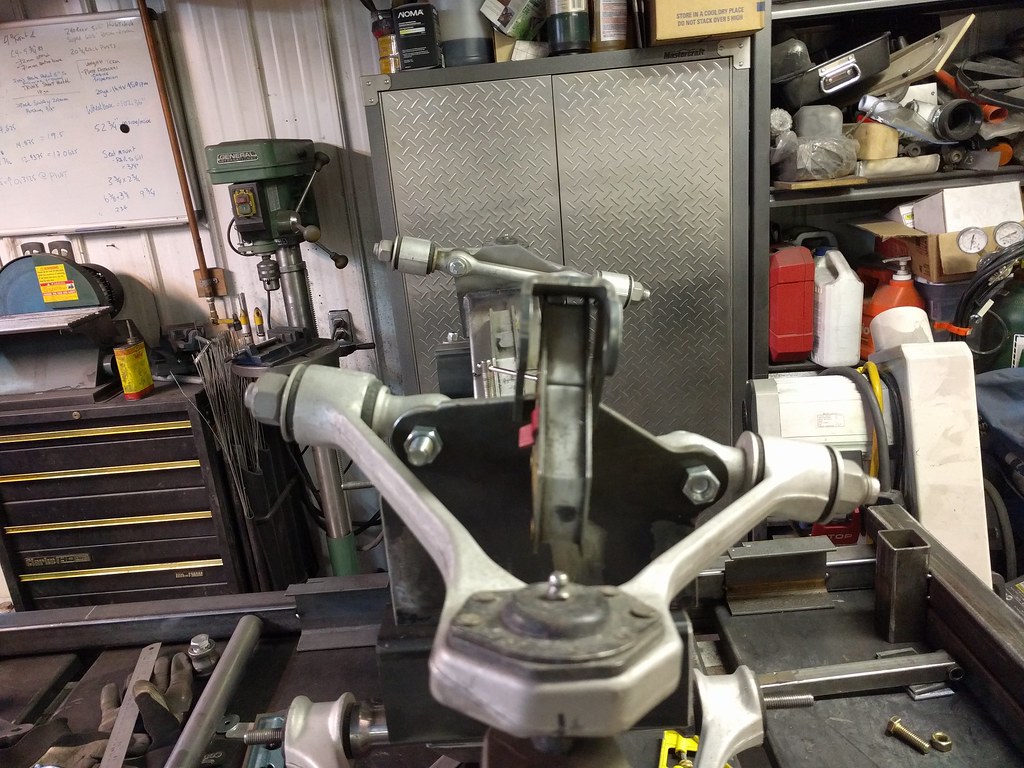
Done.
Smooth as silk. Only wasted 1/2 a day on this. Welding it took a few minutes.
I just need to finalize the sway bar links and this thing can go back up under the car. So first, a little wooden template.
A little bit of plastic tube that fit the hub perfectly.
Tried out some more wooden templates.
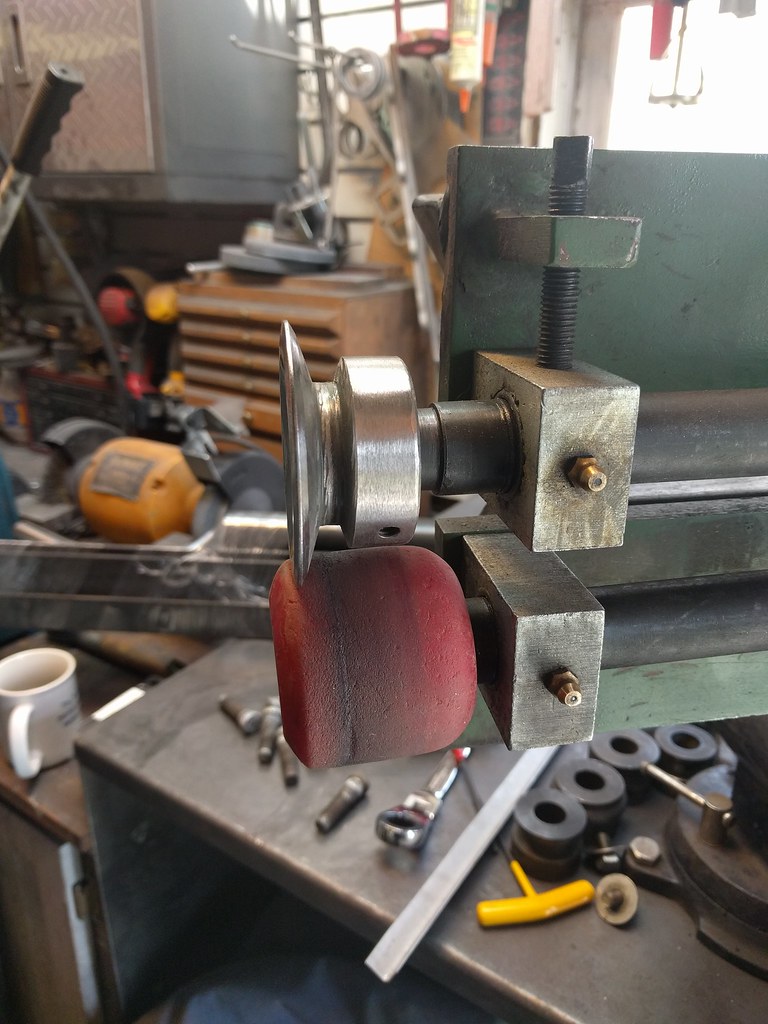
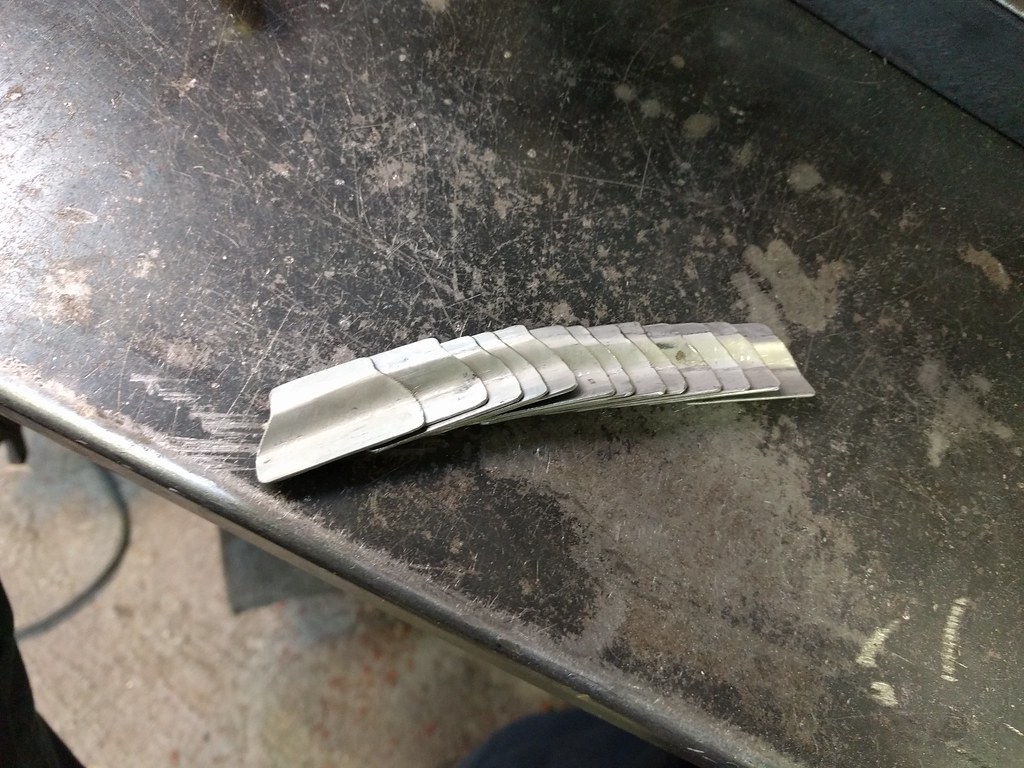
Ready to commit some designs to steel. 10 ga should do for the web of my little I-beam.
Yup, those look like they'll work. Used the scary giant belt grinder to finish these off - always worried about that thing finishing me off!
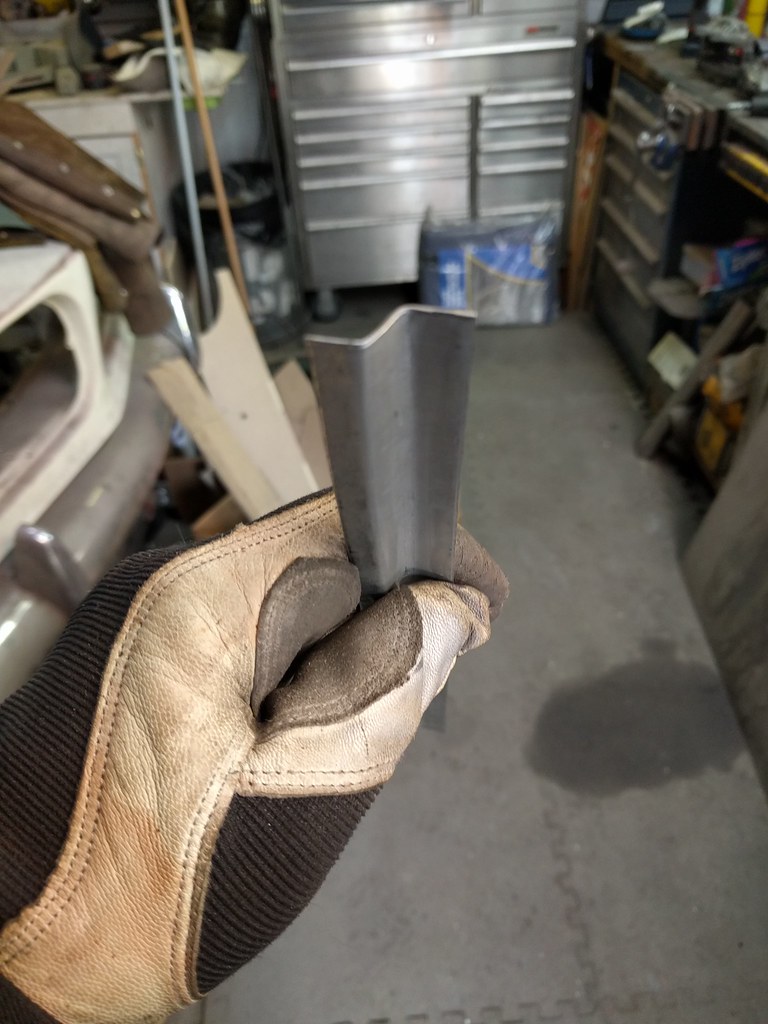
Grabbed my two steel arms.
Did a little cutting.
And a little bending.
Then welded it all back up. I did the cap with stringers - it just feels better than the weave and is better as it puts less head into the part.
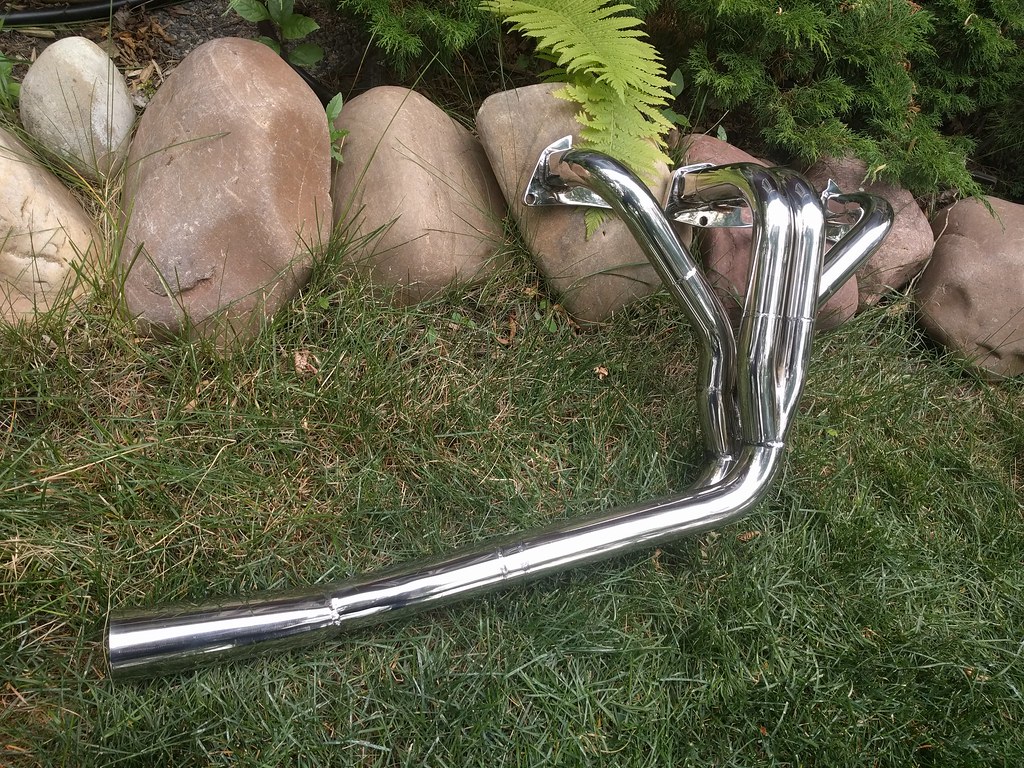
Some grinding and we're done this part.
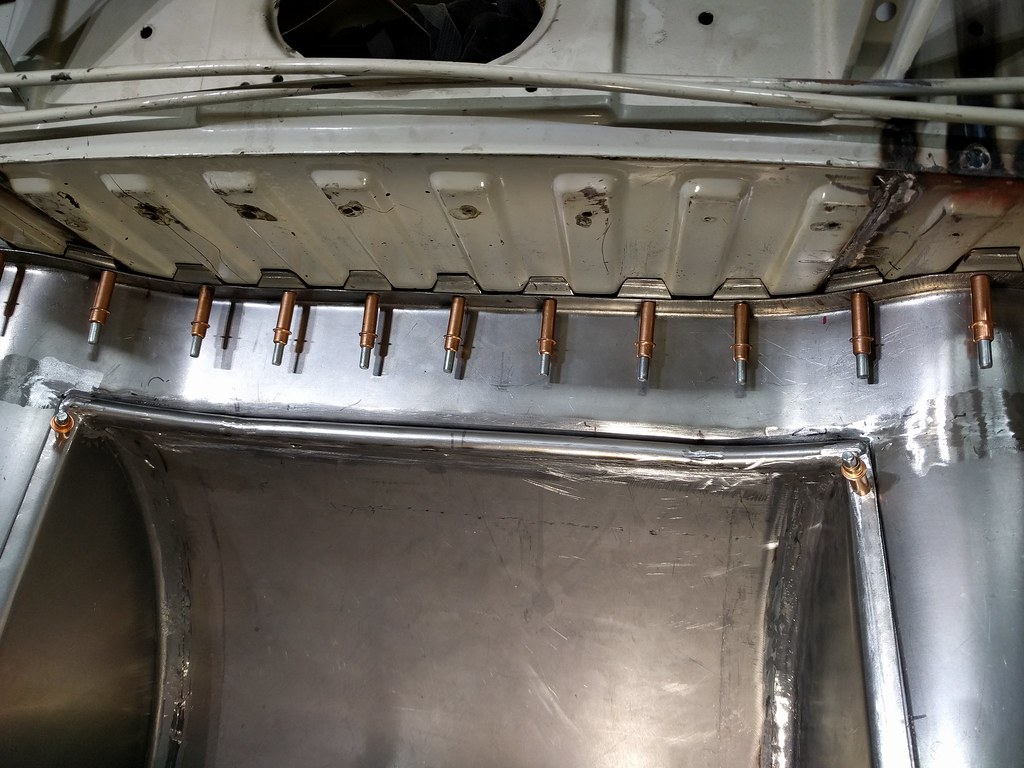
So that takes care of the out turn for the arms. They hit the mark right where I wanted them.
You can see here how the inside will place the link on the new tube and not on the weld or the old tube.
Now I just have to cut the arms and make the I-Beam section.
Time to finish these arms. First I cut off the majority of the arm and just kept the bent section. The rest won't be needed. So we start with welding the web blanks to these parts. They are keyed - so you have to be very careful how all this mounts together.
Carefully shimmed to get the web perfectly centred.
Then with one done, then I matched them up perfectly and welded the second arm to match the first.
I then cut the web blanks to the final shape and added the bar attachment ends, welded them on and ground it all flush.
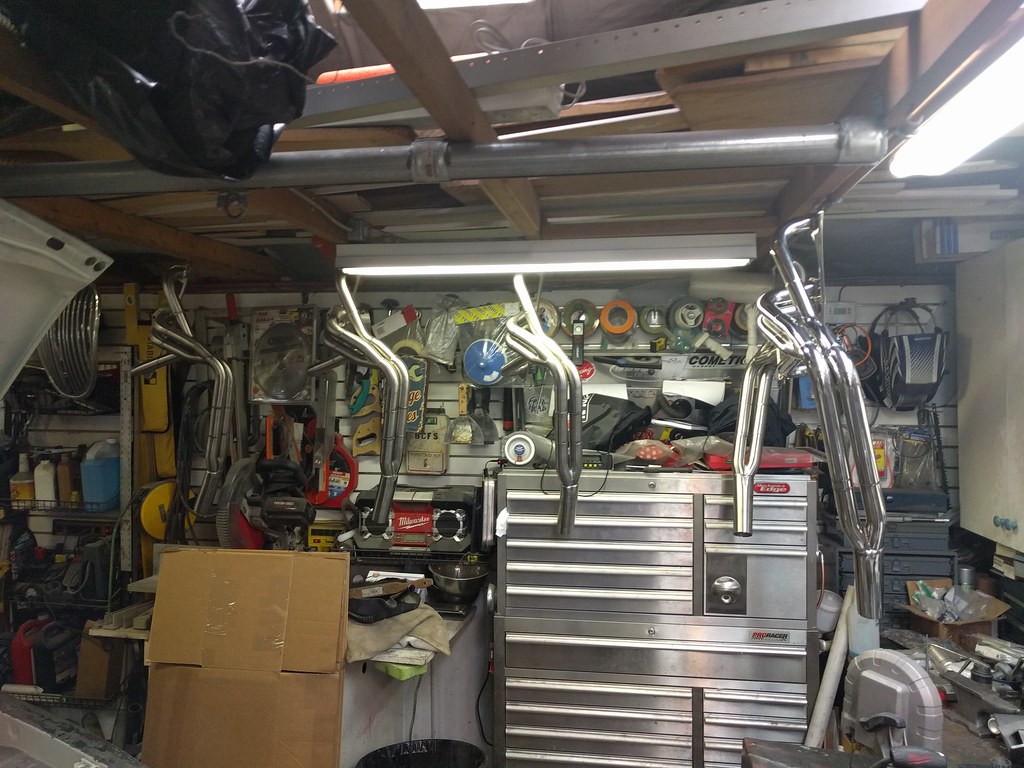
Then I added the flanges.
This angle makes them look bent - they're just sitting on the welds and are splayed out. They're fine.
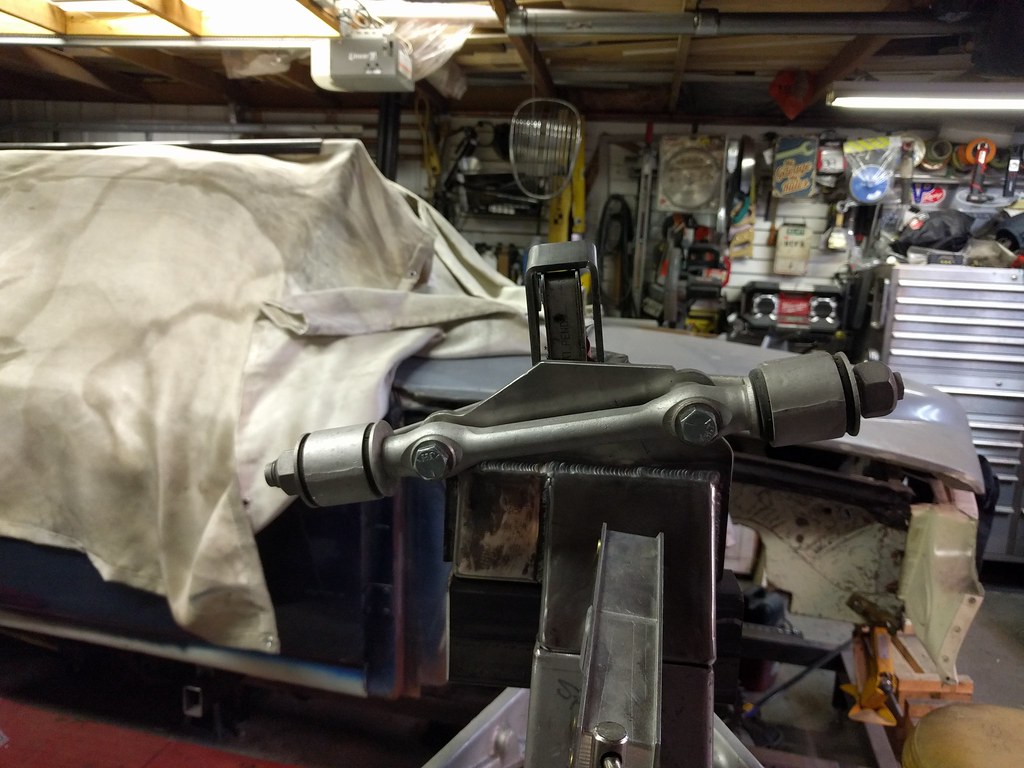
They've been finish welded and fit fine. I do have to build some adapters for the rear brakes, but that will wait for another update. I'm waiting on BOLTS of all things. So we'll show that when it's all done. It's another sad tale of "This part will work...I think. Mutter, mutter, mutter - frick - just engineer around a new damn part that is correct. (sound of S60R rear brake calipers hitting the scrap parts bin.)"