
Råda
Volvoretard/Partshoarder
- Joined
- Jan 6, 2010
- Location
- Örebro, Sweden
What a difference nice reflectors make!
Hello Guest, welcome to the initial stages of our new platform!
You can find some additional information about where we are in the process of migrating the board and setting up our new software here
Thank you for being a part of our community!


Did you know that RS centers fit Style 5s as well?
I did not know that, but that must be how people get polished center nuts on their Style 5s.
Thanks for the info!


")
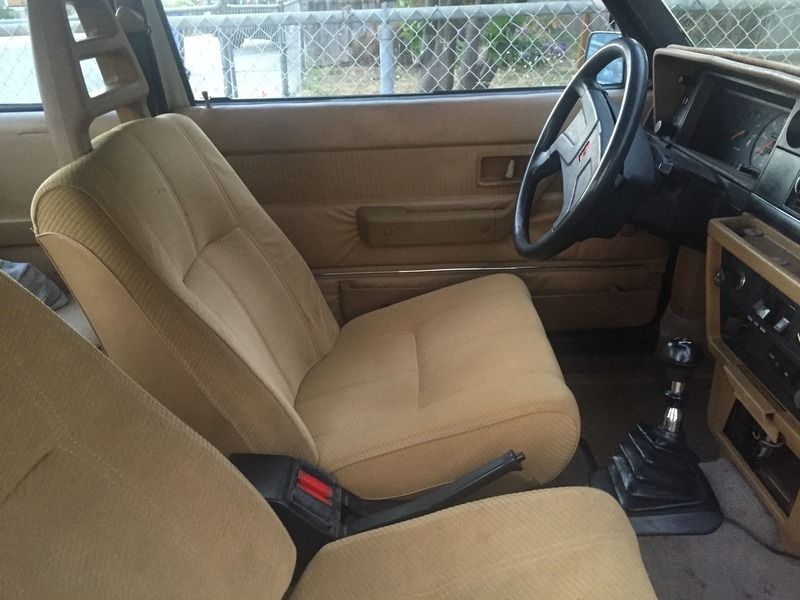
After a bit of scrubbing with carpet cleaner, they look better, feel a lot better, and smell clean. Makes me much happier to drive the car!

Thanks! Maybe I'll repost in the non-performance area with a little more detail.Great write up. That should be turned into an article and posted somewhere other members can easily see/find it.
Thanks, dick!looks like ****
Thanks!Nice!
If the old smells come back, try removing the seats and scrubbing them with a mix of water, white vinegar and a Oxyclean (or 20 Mule Team Botax, I love that stuff). Cleans nice and really gets the deep down sweat out that seems to creep back up in time. Then hose it down with a garden hose and let it sit in the sun to dry. If you can, do the carpets too. Your car will smell like heaven on those hot summer days for years to come. And the crud that rinses out of the carpets will amaze you. If you decide to do it, avoid using a pressure washer. My experience (others may differ) is that it removes some of the carpet fibers and the carpets are already a bit thin. The garden hose on high dose just fine. Oh yeah and don't forget the back seat!
You have a lovely car. My 16 year old is following your thread. He's refurbishing a white 83/242 and keeping it simple but attractive too. You're helping him just by doing your thing,


