- Joined
- May 11, 2007
- Location
- Niketown, OR
Make me some brackets too, thx.
Hello Guest, welcome to the initial stages of our new platform!
You can find some additional information about where we are in the process of migrating the board and setting up our new software here
Thank you for being a part of our community!

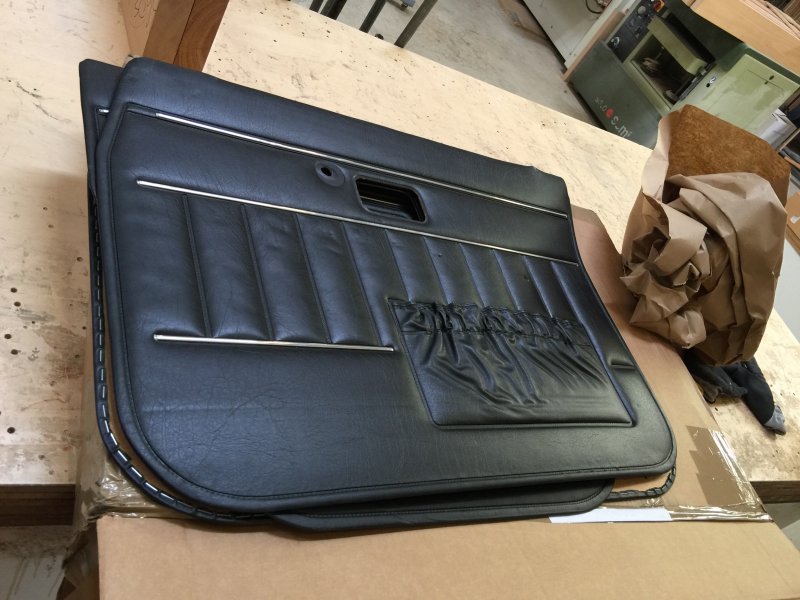
Quick question: What year v50 did the black cloth seats come out of? Those are PERFECT for what I want in my '89 white 245!!!!
")
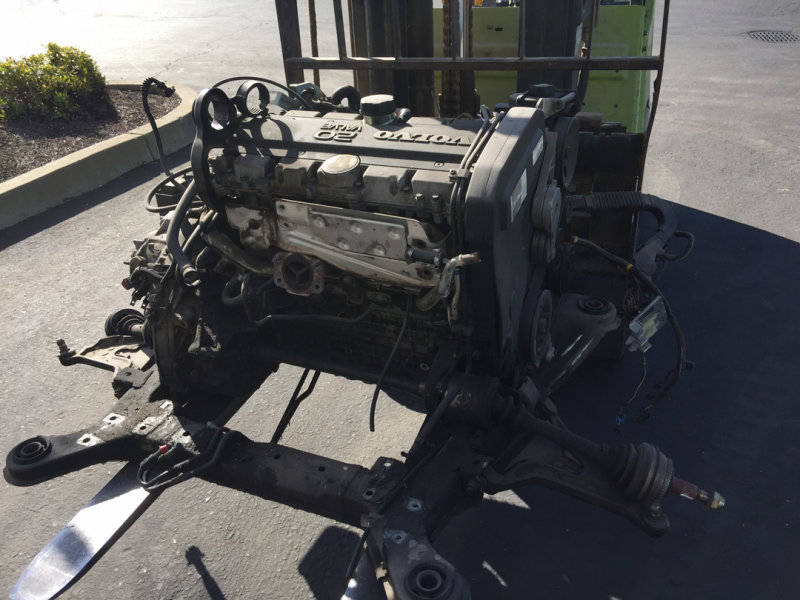
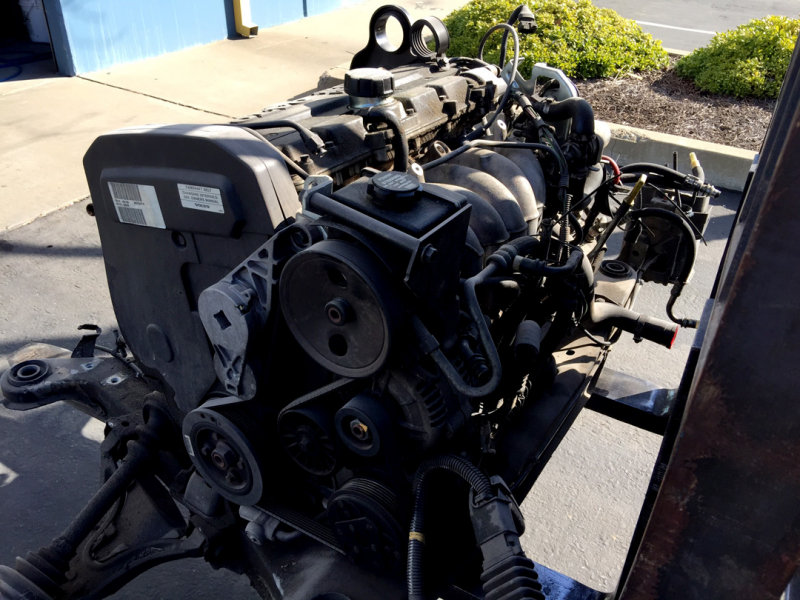

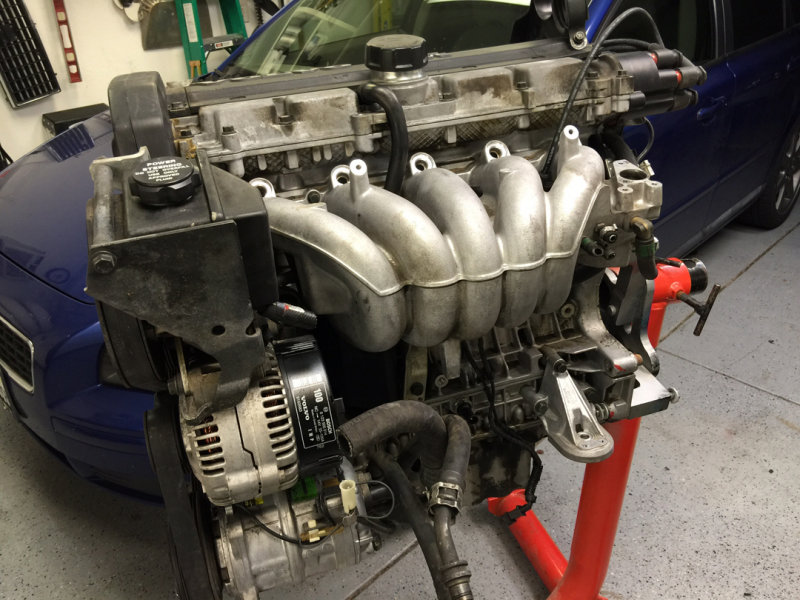
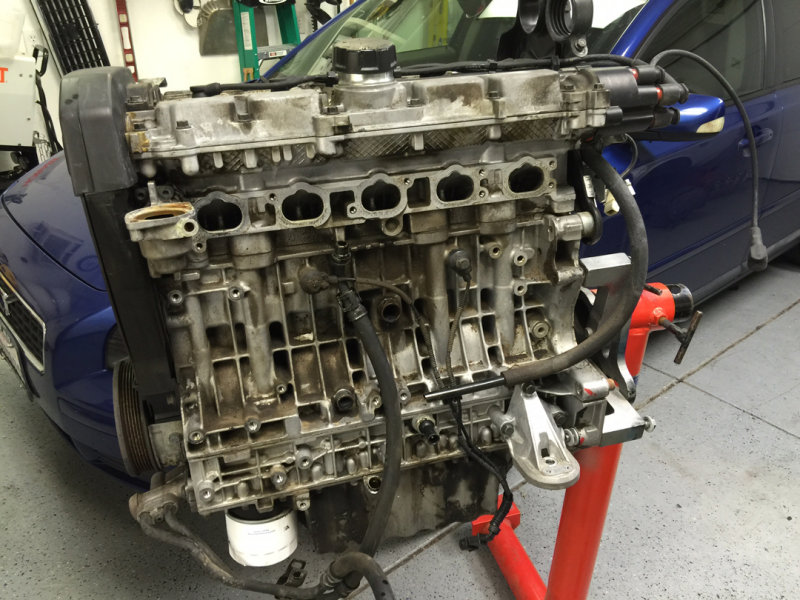

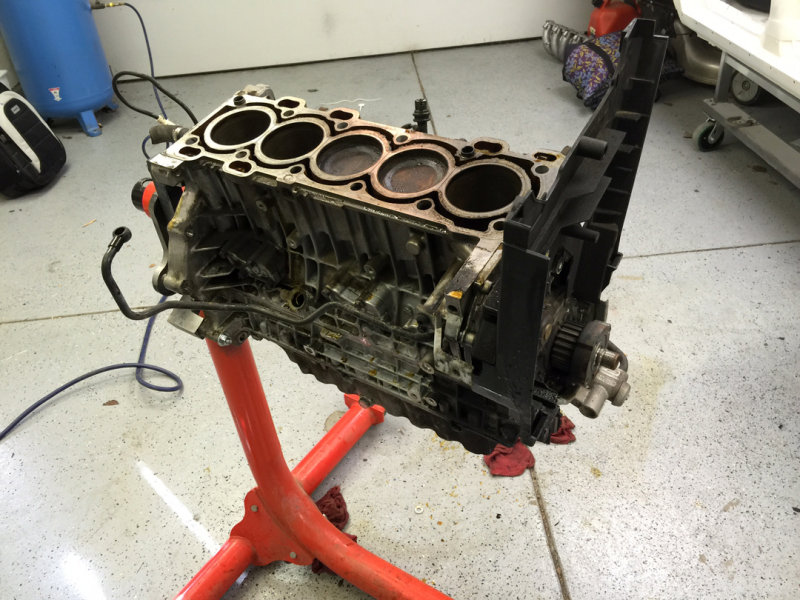
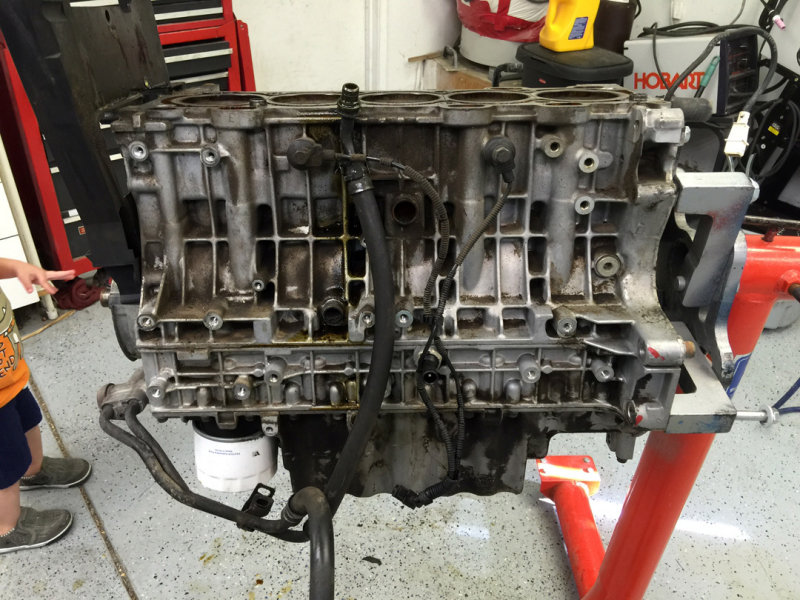
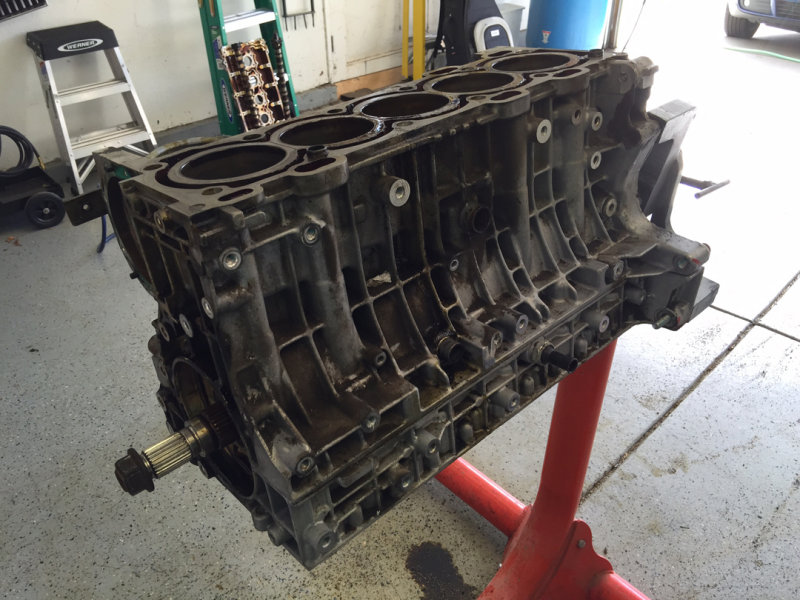
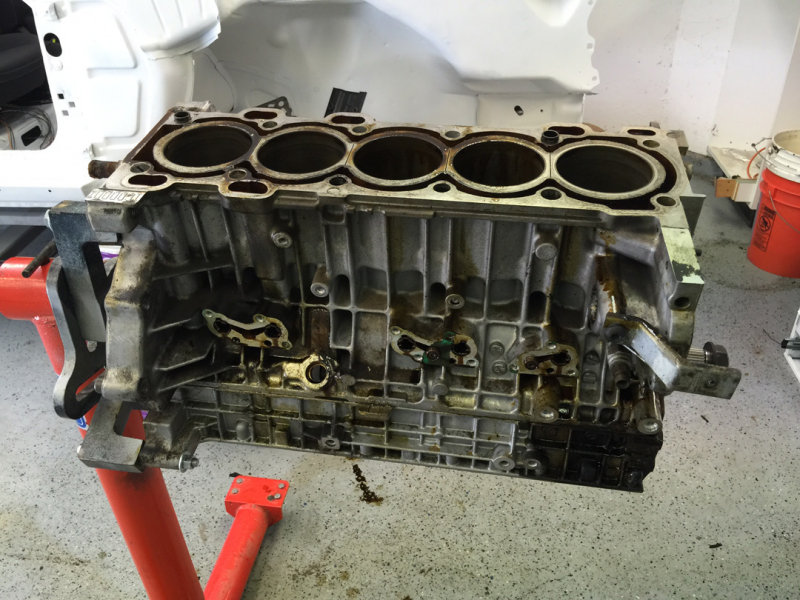
I was talking to one of the main/the main T5 engine builders here in the UK and he is now mainly doing (shimmed) 2.5 litre blocks with ported 2.3 litre heads. Additional 200 cc very useful for low end, older head good for simplicity and still makes good numbers when ported is the theory as I understand it.

Yes, it's not the route I've gone - 2.34LYF as they say. I've too much invested in the "standard" bottom end to swap it for a 2.5 litre.
Anyway, pointless engine waffle over, I'm very much looking forward to seeing this all go together.
2011 iirc. They had black as an option every year.
When are you going to flaunt the new goodies you recently acquired?