
-
Hello Guest, welcome to the initial stages of our new platform!
You can find some additional information about where we are in the process of migrating the board and setting up our new software hereThank you for being a part of our community!
You are using an out of date browser. It may not display this or other websites correctly.
You should upgrade or use an alternative browser.
You should upgrade or use an alternative browser.
Starting on my 79 262c
- Thread starter nel621
- Start date
I used a product very much like the dye you used and carefully applied it with one inch square fine grit paint scuff pads in an attempt to minimize stainless steel bright work scuffing. Spent hours on that but it still looks good after a year under the car in the garage. No sun experience.
My mirrors did not need anything but a good cleaning but I did go through 2 cans of SEM trim paint between the wagon and the Bertone. I use 'No Touch' tire cleaner for plastic and rubber cleanup. Good for tires also.
My mirrors did not need anything but a good cleaning but I did go through 2 cans of SEM trim paint between the wagon and the Bertone. I use 'No Touch' tire cleaner for plastic and rubber cleanup. Good for tires also.
Last edited:
Not sure if when new this stuff was a creamy liquid or not. When I took the cap off it was more of a creamy paste. Still works. I applied a small amount on a rag and wiped it across the trim. It dries very, very fast. Gave it a quick buff with a micro fiber towel and on the car it went. Looks nice. If time allows I'll do the 1/4 panel trim tomorrow. Still looking for NOS door handle trim. 
There has to be a solution for the chipped trim edge. Thinking.....
I found some black 2mm wide, 1/16" thick 3M attachment tape that I used for exactly that purpose. It holds the ragged edge on and is sorta invisible without careful inspection. Most of the Berton's trim was in decent shape due to it's long life in a barn. There is also some 6mm tape for a more thorough job.
https://www.ebay.com/itm/Genuine-3M...rentrq:55d610cb1660ad79966493ddffeec234|iid:1
This is all I could find

https://www.ebay.com/itm/2Pcs-5mm-W...498009&hash=item4b13b0f45a:g:4ZIAAOSw401aRatN
https://www.ebay.com/itm/2Pcs-5mm-W...498009&hash=item4b13b0f45a:g:4ZIAAOSw401aRatN
Don't use blue tape! Did some more polishing of some stainless trim. Polished the door opening lower trim. Much improved, no pics. Got most of the scratches out, didn't go for perfect. Then went on to do the upper door trim. It runs parallel to the door. The outer edge is stainless and the flat edge is black. And this is where you don't use blue tape. The drivers' side was in good shape, a little polish with some "Mother's" and it looks good. The passenger side needed more aggressive polishing. So I masked the black and polished the stainless on the buffing wheel. Now it looks nice. When I went to remove the tape it also removed some of the black paint.. So no install of that part. Stopped and went to the paint supply store and picked up some SEM trim black and some YELLOW 3M tape . I mentioned what happen to the supplier. He said the blue tape is too sticky. he also mentioned that you don't need primer to use the trim paint on stainless. Hope he is right. The trim also has a rubber gasket that goes between it an door. The rubber has shrunk so there is a one inch gap on one side. The supplier sells a special glue to bond the rubber but only had it in yellow. It comes in black too but out of stock till Tuesday. I'll go back then. I intend to glue a small section then stretch it and glue again til it reaches the end.
Back to the blue tape. The paint on trim looked fine. I was just trying to fix the stainless part. Now I need to paint the trim. If the color is off by a lot I'll have to remove the other side and paint it as well. More work.
. So no install of that part. Stopped and went to the paint supply store and picked up some SEM trim black and some YELLOW 3M tape . I mentioned what happen to the supplier. He said the blue tape is too sticky. he also mentioned that you don't need primer to use the trim paint on stainless. Hope he is right. The trim also has a rubber gasket that goes between it an door. The rubber has shrunk so there is a one inch gap on one side. The supplier sells a special glue to bond the rubber but only had it in yellow. It comes in black too but out of stock till Tuesday. I'll go back then. I intend to glue a small section then stretch it and glue again til it reaches the end.Back to the blue tape. The paint on trim looked fine. I was just trying to fix the stainless part. Now I need to paint the trim. If the color is off by a lot I'll have to remove the other side and paint it as well. More work.
Now with pics! Here is what the trim looked like when I removed the tape.
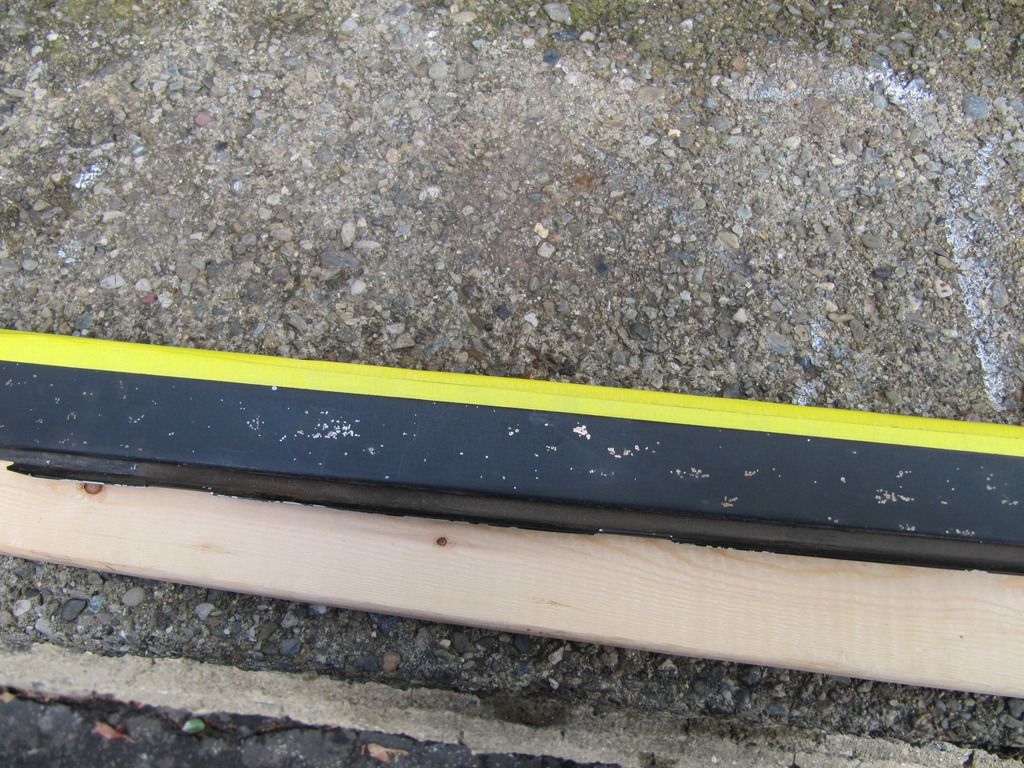
I'm not sure what the green stuff in the background is but I think it is some type of etching material so the black coating sticks.

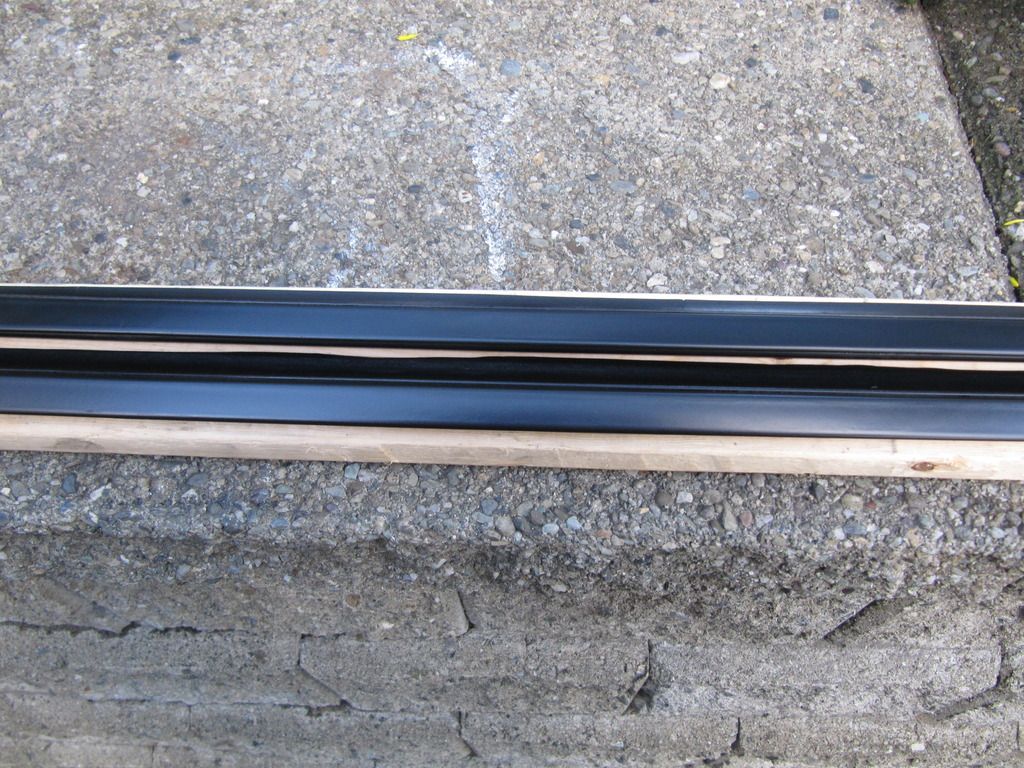
I decided to not remove all of the black coating. Instead I scuffed the trim with 400 wet dry paper and then give it a few coats of SEM black trim paint. I went the route because oI keep hearing about mixed results with painting the trim. I felt that just having a scuff coat on the trim it would have enough bite to accept the paint without peeling later on. Only time will tell. I think it turned out very good.
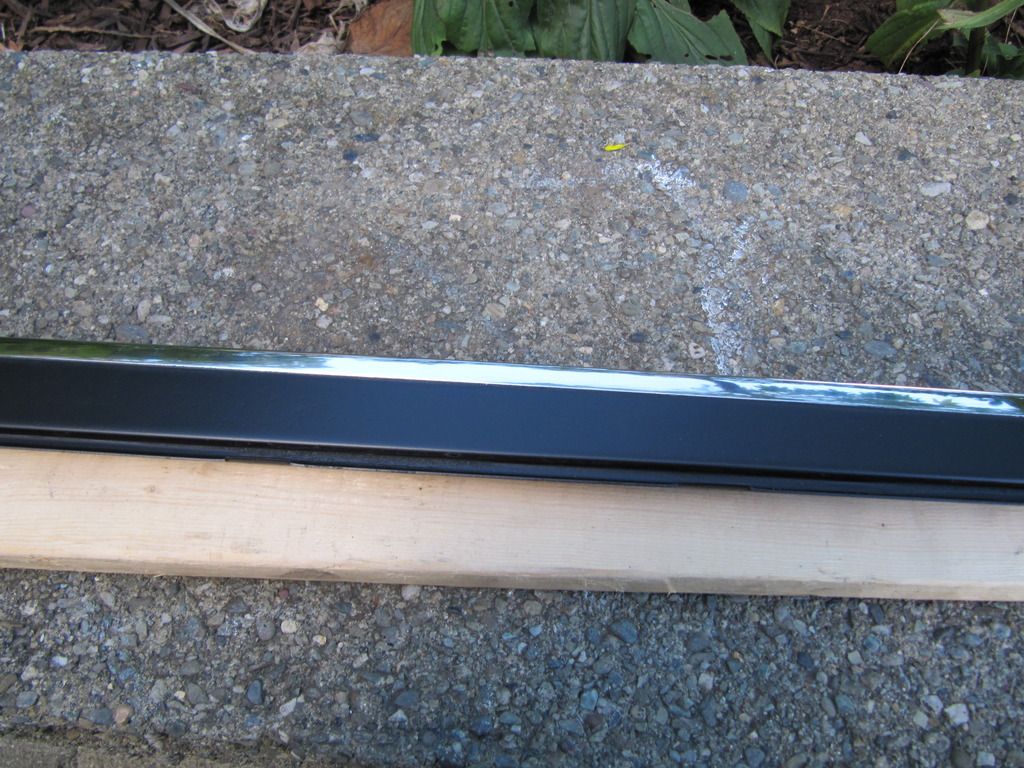
Here I'm just trying to show the contrast between newly painted trim and old trim. Not sure you can see but the bottom one is pained and the top is faded.
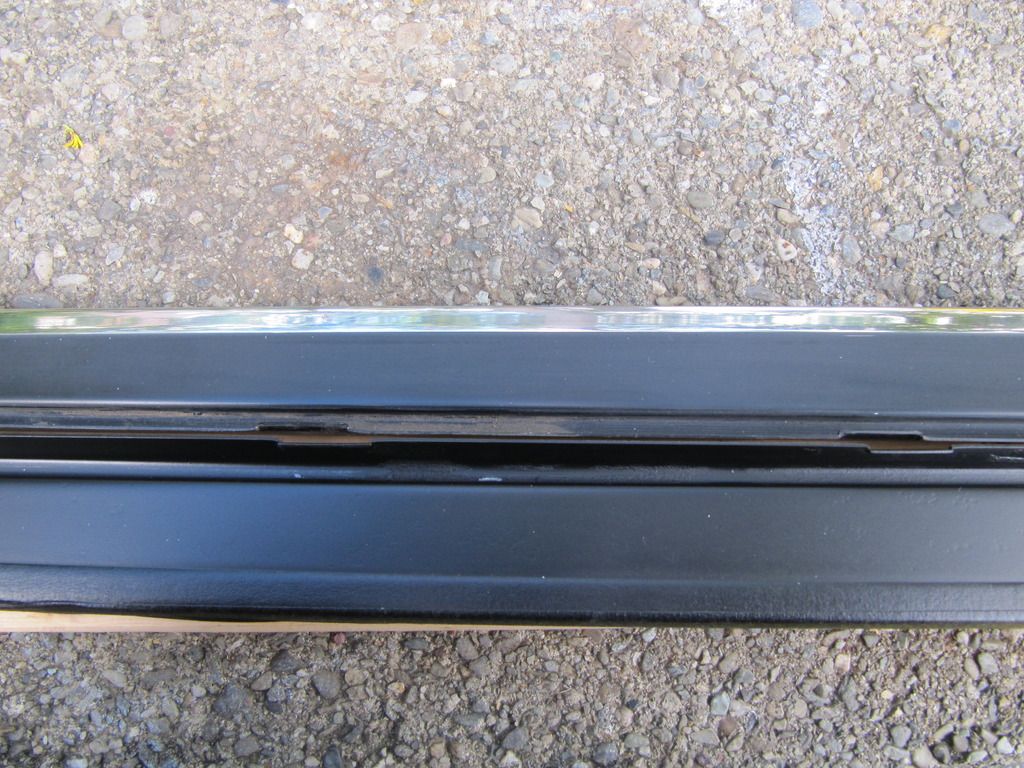
I did the same to the window scrapers, just scuff then paint.
Here is where the rubber trim has shrunk. I did find an extra trim piece and the rubber will be long enough. This rubber section is about one inch too short. The rubber should meet up to the blue tape.
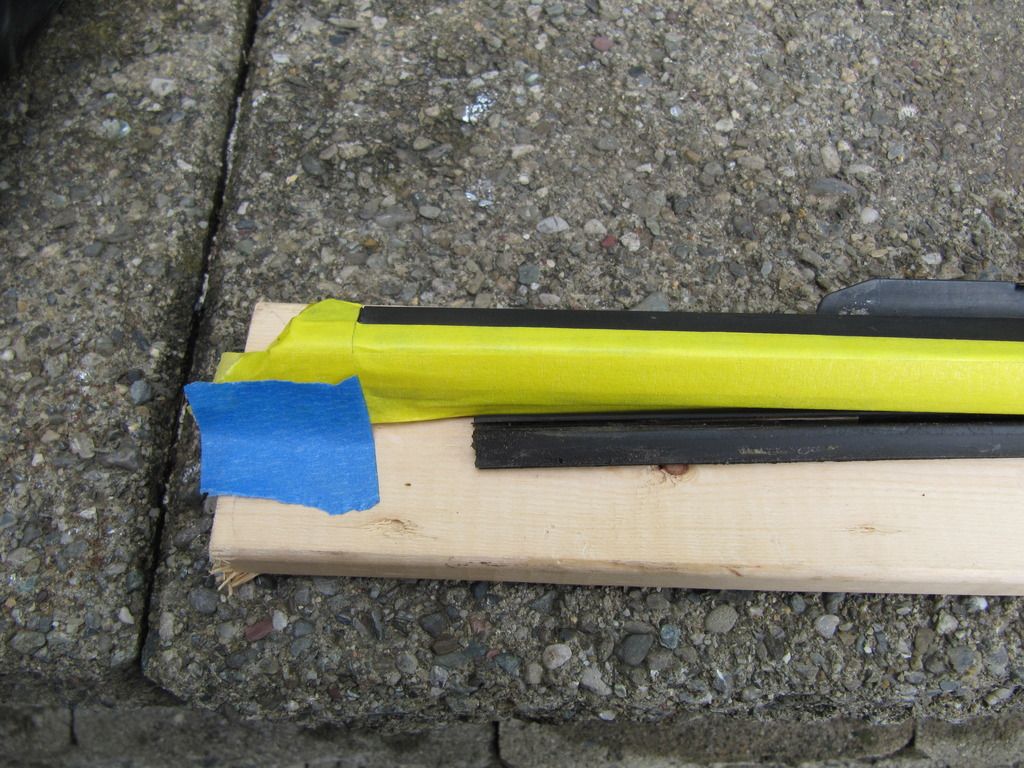
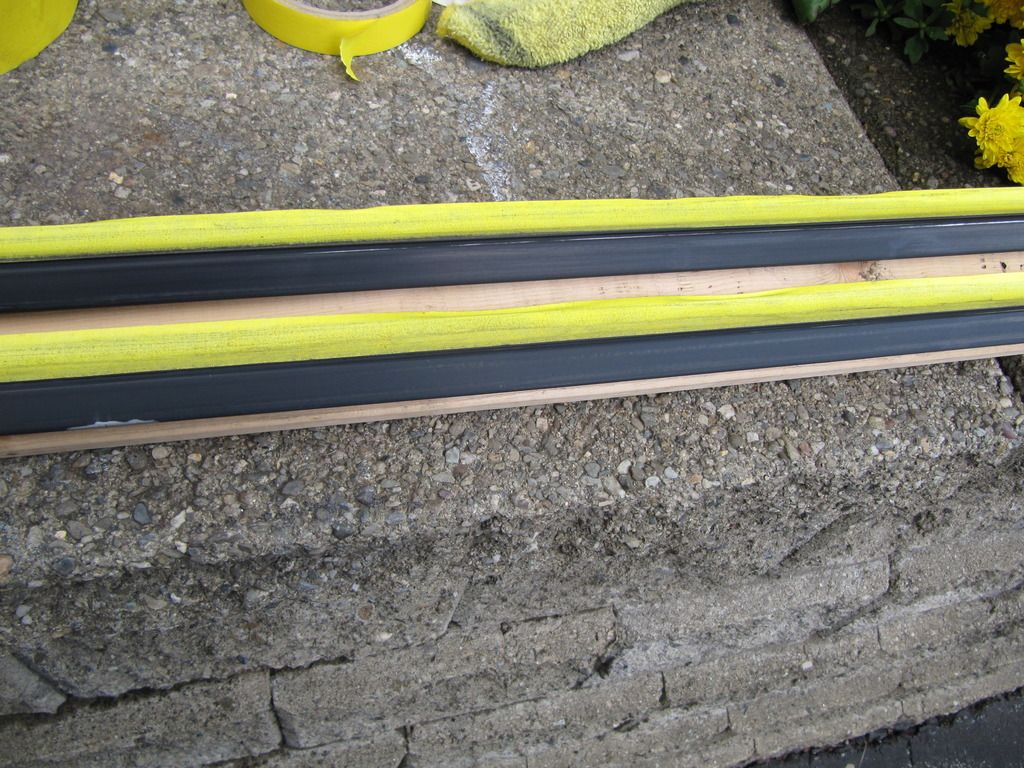
The trim around both doors has been sanded. Again you see some of that green stuff under the black. Didn't paint the doors yet. Will need more time to mask everything and everywhere. That's all for today.
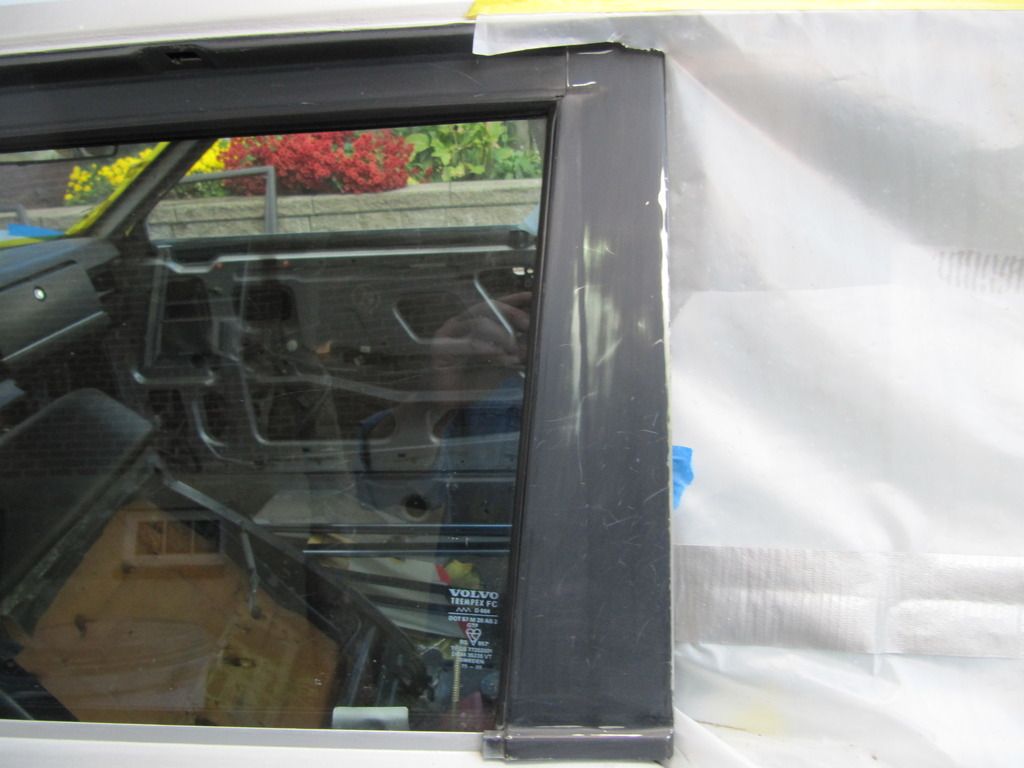

I'm not sure what the green stuff in the background is but I think it is some type of etching material so the black coating sticks.

I decided to not remove all of the black coating. Instead I scuffed the trim with 400 wet dry paper and then give it a few coats of SEM black trim paint. I went the route because oI keep hearing about mixed results with painting the trim. I felt that just having a scuff coat on the trim it would have enough bite to accept the paint without peeling later on. Only time will tell. I think it turned out very good.

Here I'm just trying to show the contrast between newly painted trim and old trim. Not sure you can see but the bottom one is pained and the top is faded.

I did the same to the window scrapers, just scuff then paint.


Here is where the rubber trim has shrunk. I did find an extra trim piece and the rubber will be long enough. This rubber section is about one inch too short. The rubber should meet up to the blue tape.

The trim around both doors has been sanded. Again you see some of that green stuff under the black. Didn't paint the doors yet. Will need more time to mask everything and everywhere. That's all for today.

M.H. Yount
Active member
- Joined
- Nov 1, 2008
- Location
- Charlotte, NC
Looks like that's going to work out quite nicely!
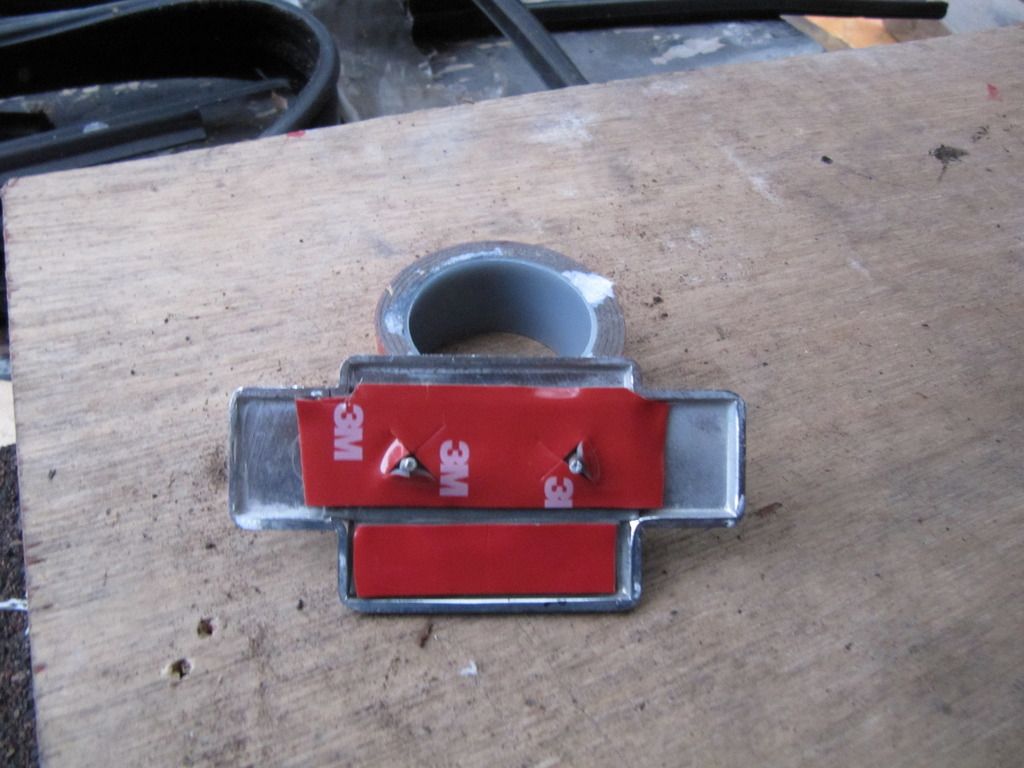
On the 79 Bertone the trunk emblems are held by pins. The pins have small sleeves on them that grip the holes and Volvo also used some type of goop to help seal the holes. I used some 3M double sided tape near the pins and a small strip of tape between the pins for added measure. On the later Bertones the emblems use only double sided tape.

The pins look like this
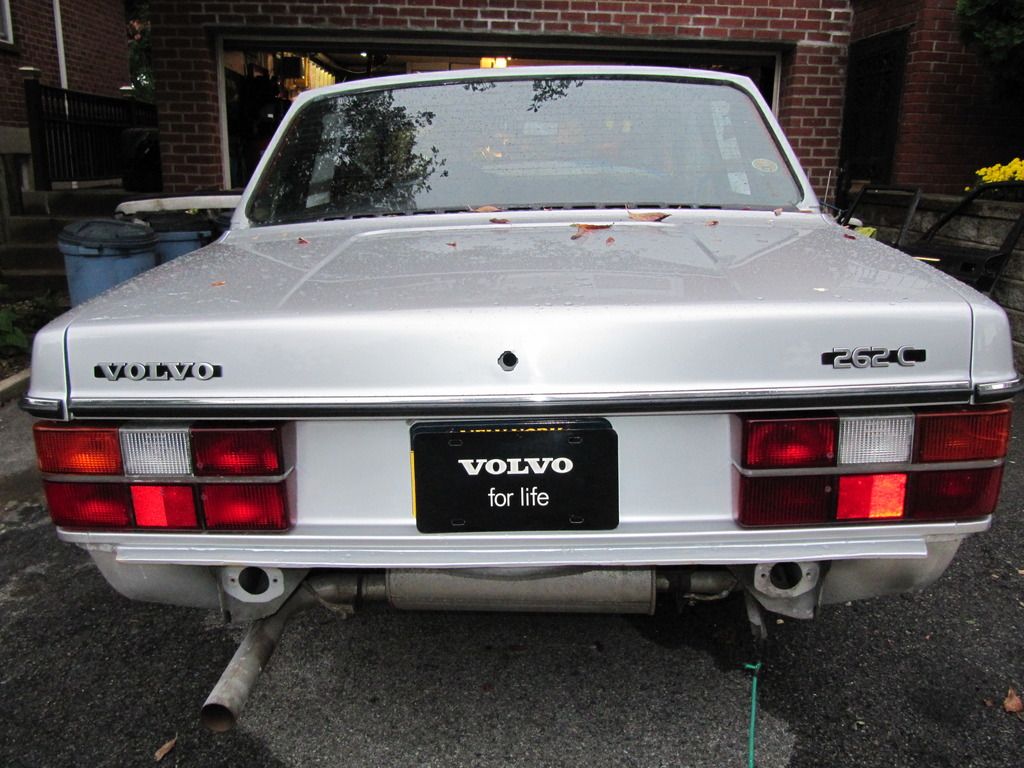
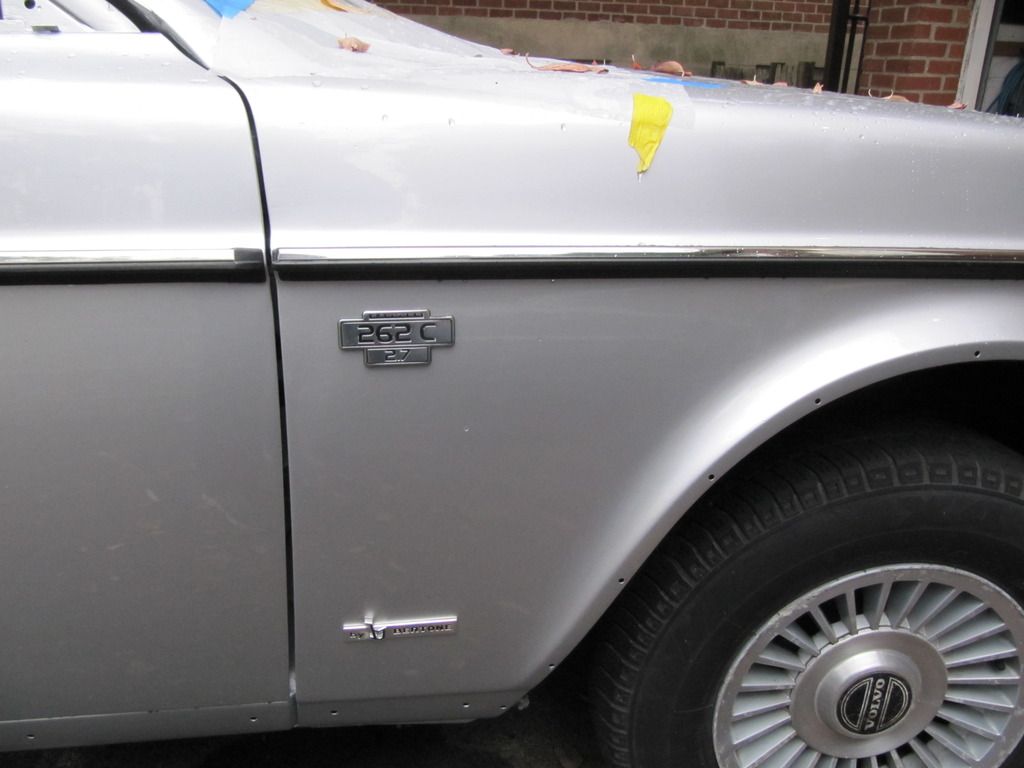
Then went on to do the fender emblems. Again on the 79 the emblems have pins but no sleeves to hold them to the fender. Volvo used some goop again but it also looked like the emblems were mounted before the fender was placed on the car as the pins were bent over in the back of the fender. I wasn't going to remove the fender yet again. I stacked two strips of the 3m tape to get a good bond with the fender. The pins were straighten.
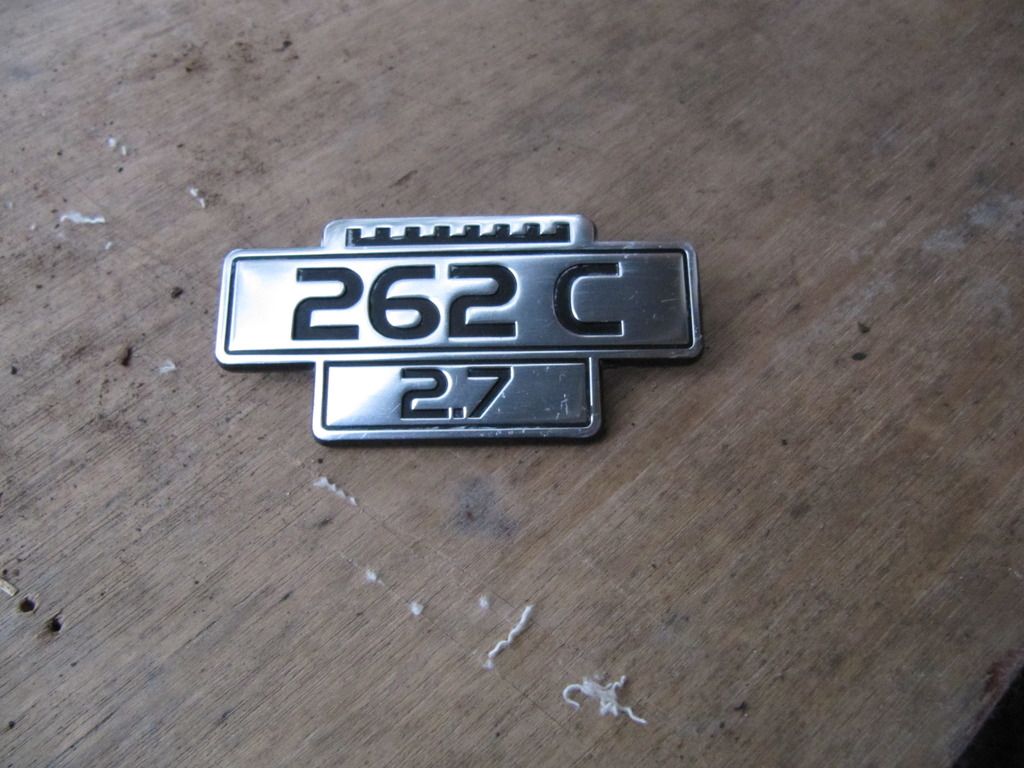
The Bertone emblem gave me a little trouble on the driver's side. The emblem has locating pins that fit small plastic plugs, think of very short hollow wall anchors. The holes on the driver side were too small. With a steady hand a very slow drill with bit I was able to enlarge the hole all the while making sure the paint or clear coat didn't crack. I treated the enlarged hole with some spare paint that I had.
Any item that has stainless has now been polished. The B pillar, wind surround and mirrors will be painted next. If the weather is better tomorrow I'll go over to the convertible top place and see about installing my top or getting a new one.

The pins look like this


Then went on to do the fender emblems. Again on the 79 the emblems have pins but no sleeves to hold them to the fender. Volvo used some goop again but it also looked like the emblems were mounted before the fender was placed on the car as the pins were bent over in the back of the fender. I wasn't going to remove the fender yet again. I stacked two strips of the 3m tape to get a good bond with the fender. The pins were straighten.


The Bertone emblem gave me a little trouble on the driver's side. The emblem has locating pins that fit small plastic plugs, think of very short hollow wall anchors. The holes on the driver side were too small. With a steady hand a very slow drill with bit I was able to enlarge the hole all the while making sure the paint or clear coat didn't crack. I treated the enlarged hole with some spare paint that I had.
Any item that has stainless has now been polished. The B pillar, wind surround and mirrors will be painted next. If the weather is better tomorrow I'll go over to the convertible top place and see about installing my top or getting a new one.

M.H. Yount
Active member
- Joined
- Nov 1, 2008
- Location
- Charlotte, NC
Nice work Nelson.
M.H. Yount
Active member
- Joined
- Nov 1, 2008
- Location
- Charlotte, NC
For that reason alone, couldn’t live any further north than I do.
Dropped off my old vinyl top at the upholstery place. He didn't have similar fabric so it needs to be ordered then made. The top is actually 3 pieces and I'm glad I removed mine in one piece. Makes pattern making easier. Should take about 10 days to get product then sewn. Installation about a day to day and half. I'm in no hurry. Still need to measure and drill for crown emblems. He mentioned using urethane over butyl for windshield installation. I asked about this in another thread.
I need to recover the A pillars in the coupe. At some point the front glass was removed and whoever did it cut the leather on the pillars. The leather I have is just a little thicker than the one I'm replacing. It is actually from a BMW front seat, bolster area. The leather is only glued on the inside edge of the trim and not in the field. Since my leather is thicker and I'm working with "just enough" leather I wanted to glue one side first , clamp it, then pull it tight and glue the opposing side. My question is is there something better than the 3M spray glue to bond the leather to the moulding?
I might even use the 3M exterior attachment tape rather than contact cement.
I ended up in my scrap pile from building homes for a number of years with a double sided carpet tape that has served in many auto restoration issues and is a lot thinner. Of course it has not seen the test of a dozen years of real world usage.
I ended up in my scrap pile from building homes for a number of years with a double sided carpet tape that has served in many auto restoration issues and is a lot thinner. Of course it has not seen the test of a dozen years of real world usage.
NONHOG
equal opportunity car guy
- Joined
- Oct 3, 2008
- Location
- Tucson ish
If you go with spray get the Hi temp 3M spray probably only find at a upholstery supply.
The standard stuff is good but wont hold up in heat.
The standard stuff is good but wont hold up in heat.
Here is a link to an ebay source for the 3M attachment tape in all the widths:
https://www.ebay.com/itm/Genuine-3M...var=462211197198&_trksid=p2057872.m2749.l2649
https://www.ebay.com/itm/Genuine-3M...var=462211197198&_trksid=p2057872.m2749.l2649