• Hello Guest, welcome to the initial stages of our new platform!
    You can find some additional information about where we are in the process of migrating the board and setting up our new software here

    Thank you for being a part of our community!

Volvobrage's widened 242

I want to be your friend too! :D

Great progress again. One of my favorite blogs.

Thanks!!:):omg:Is really cool you like my project:)
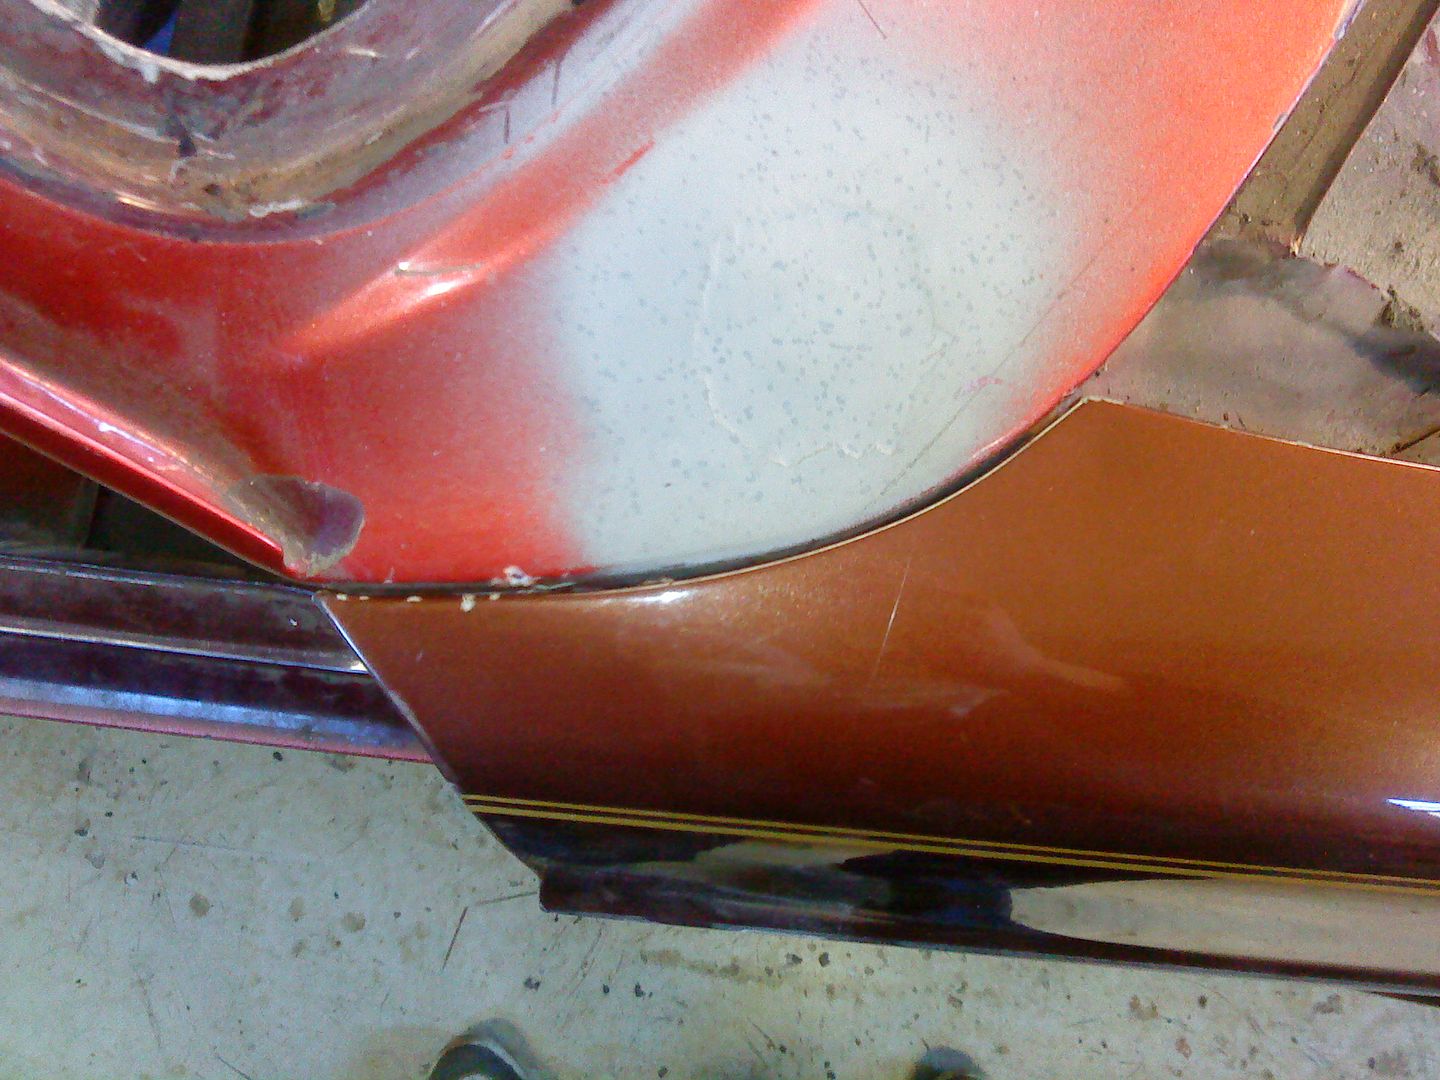
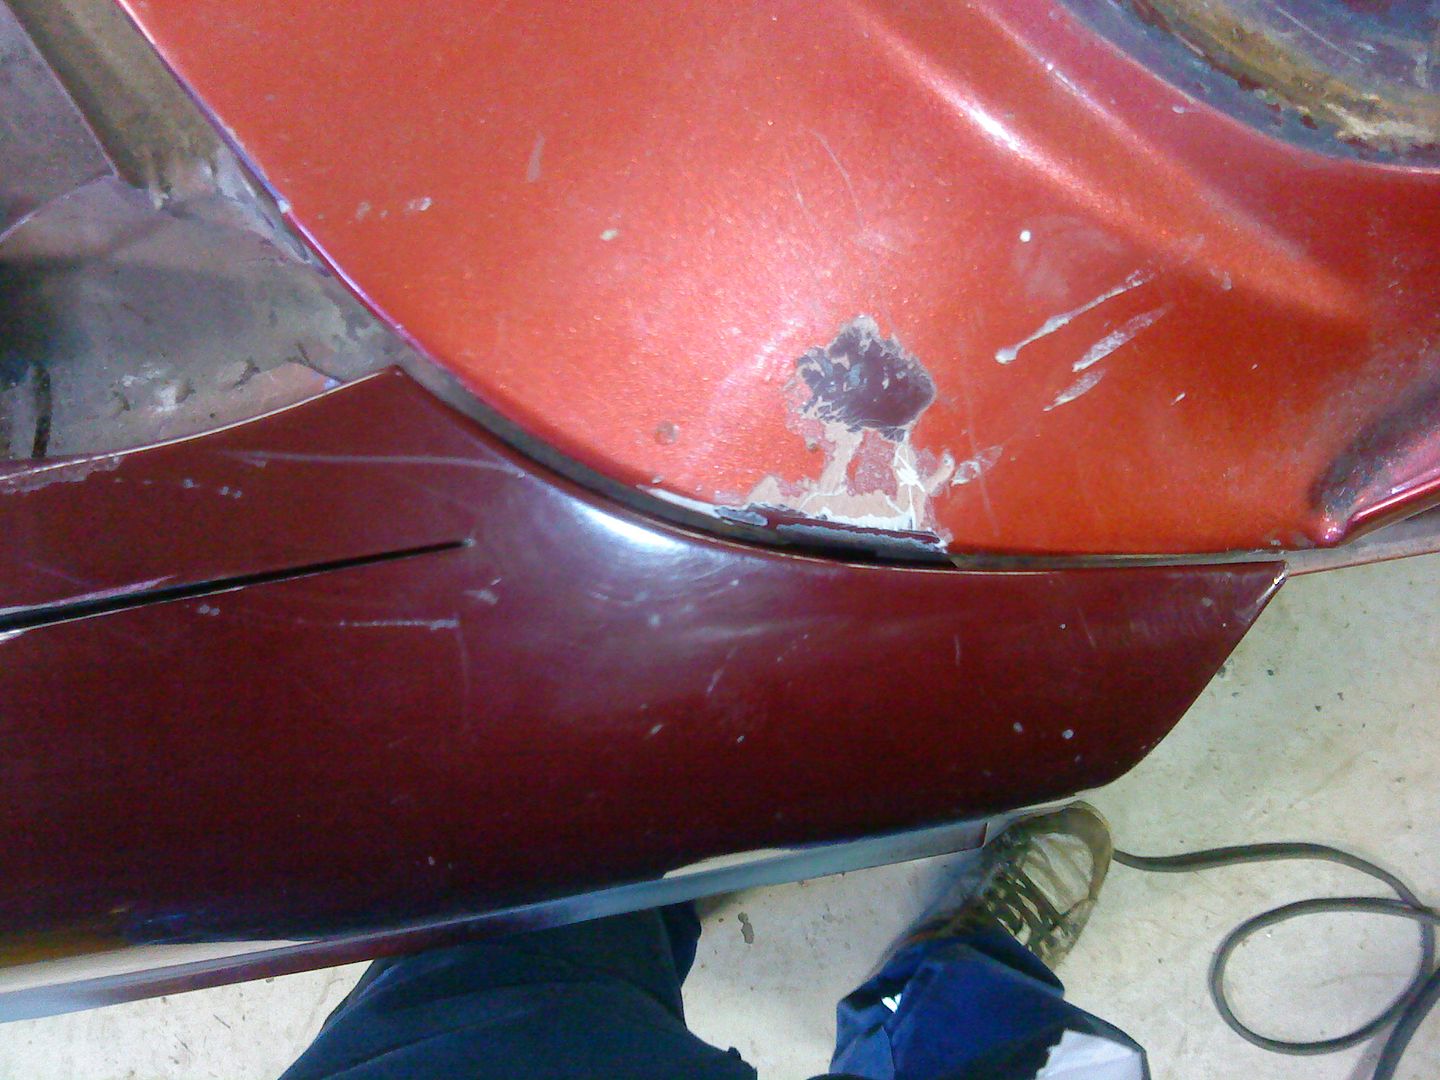
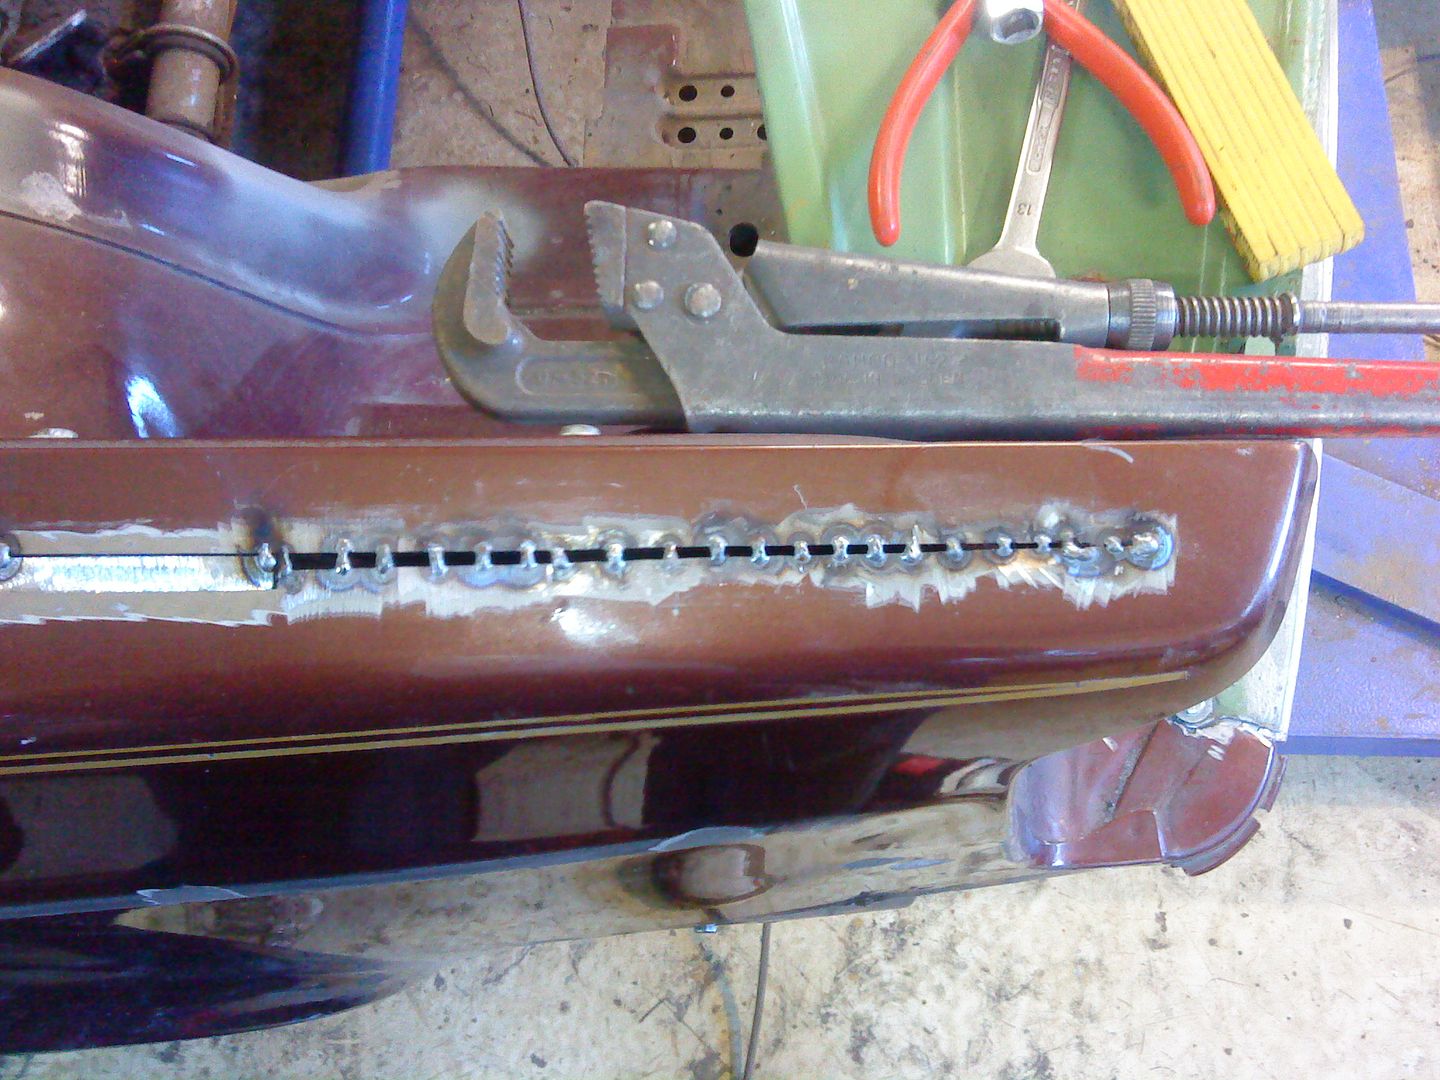
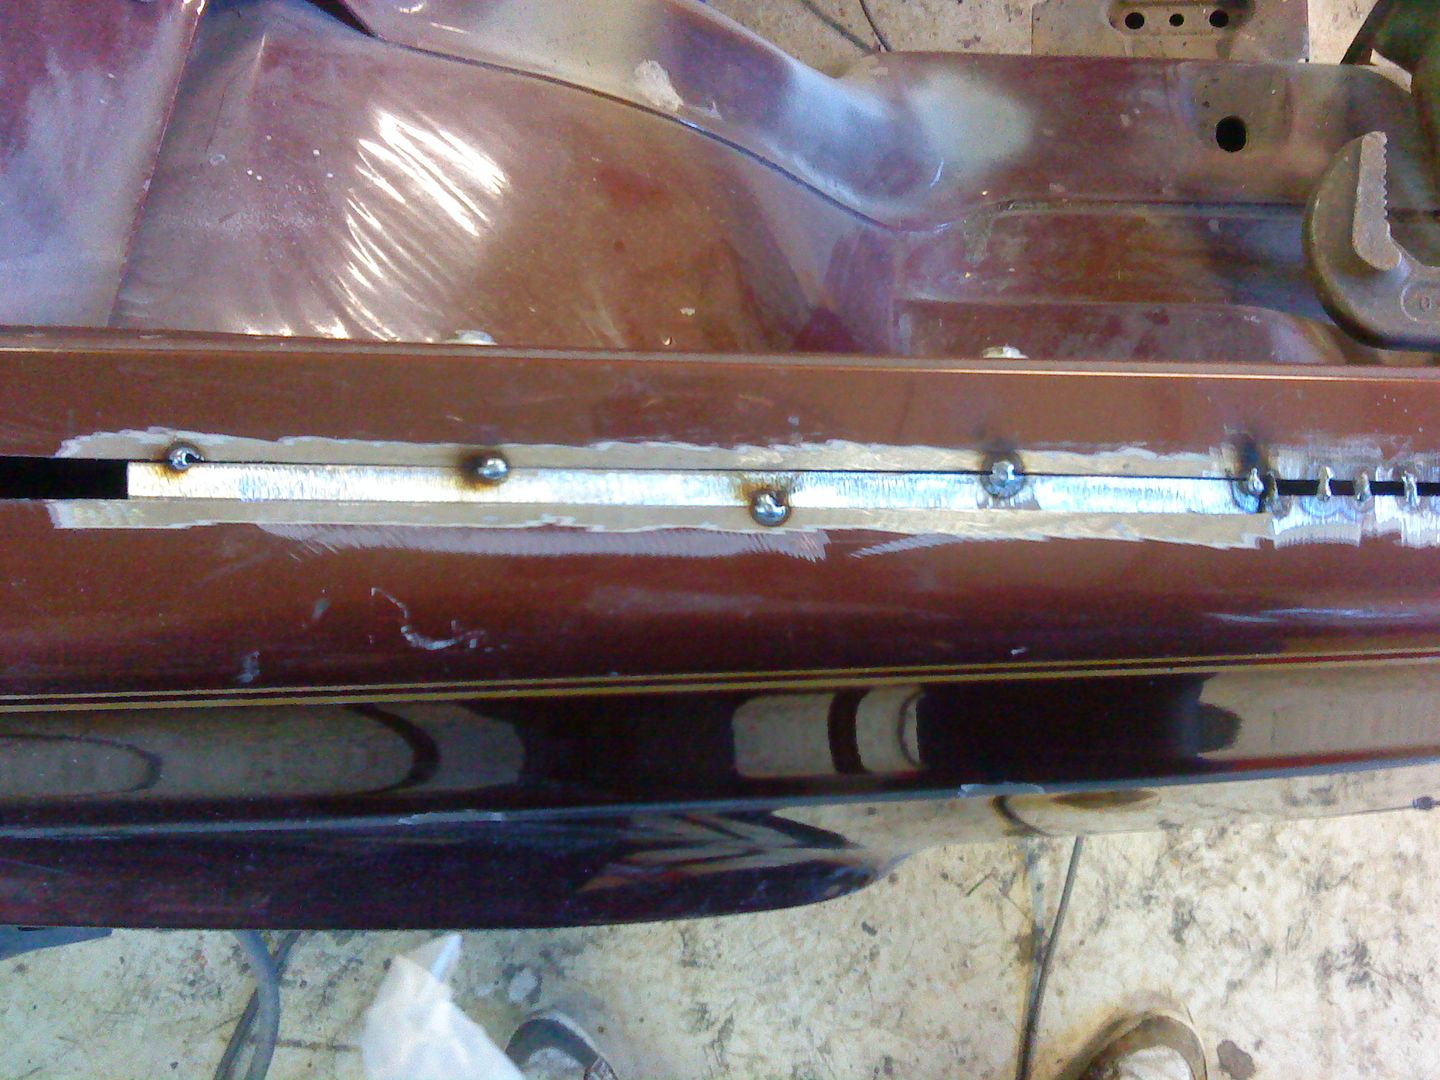
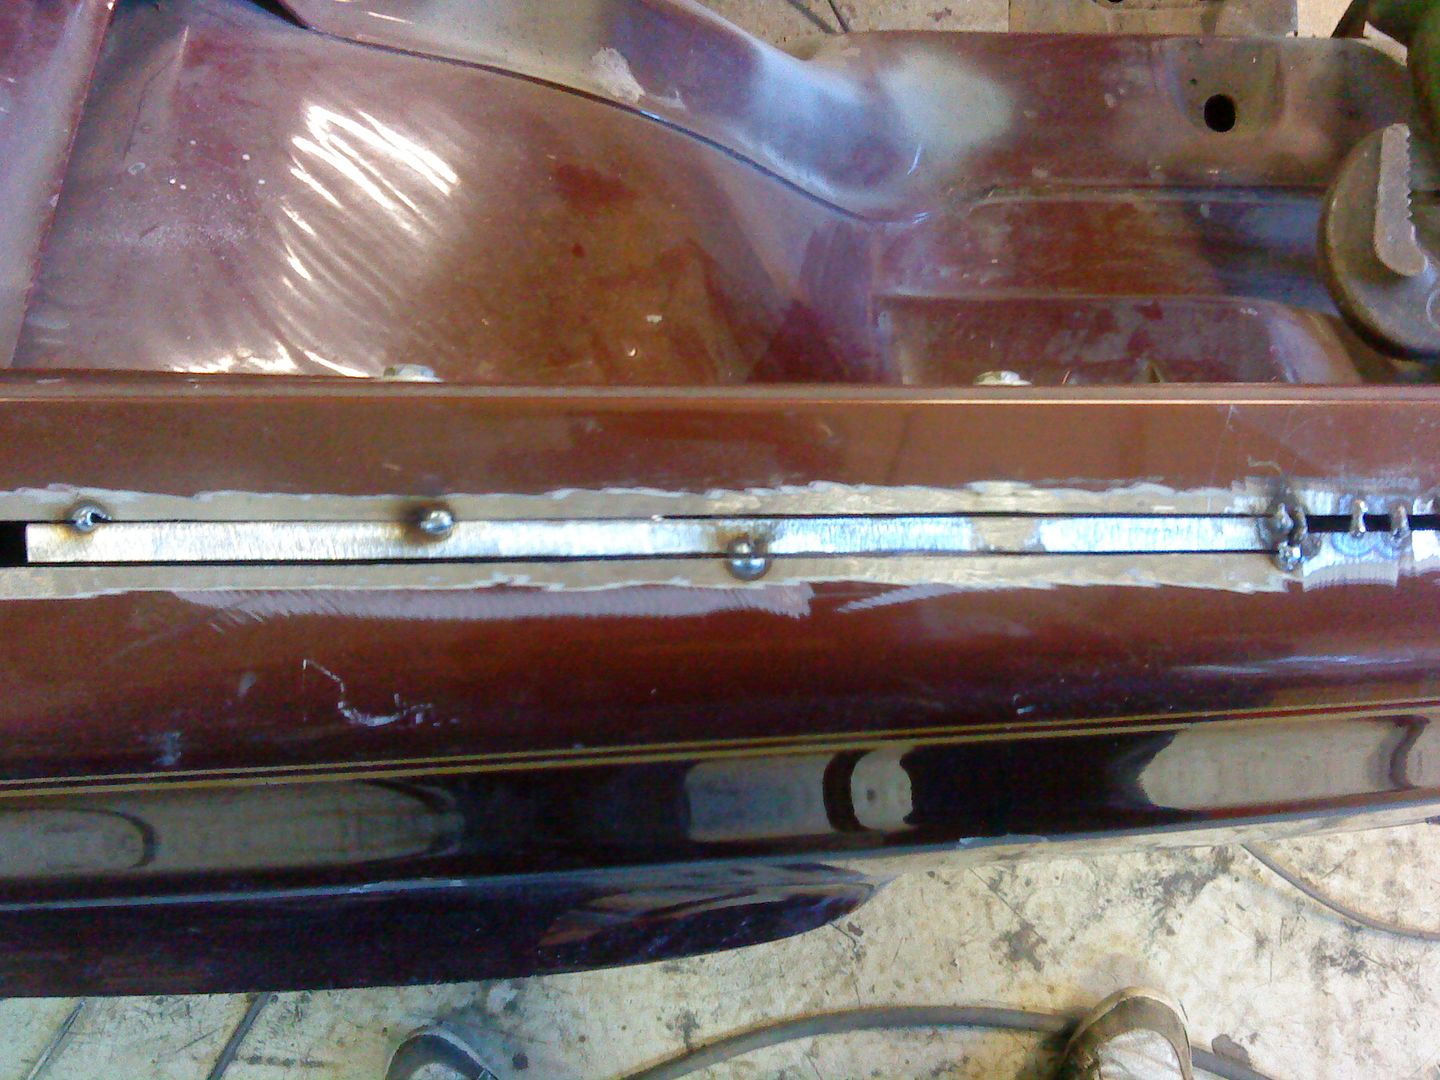
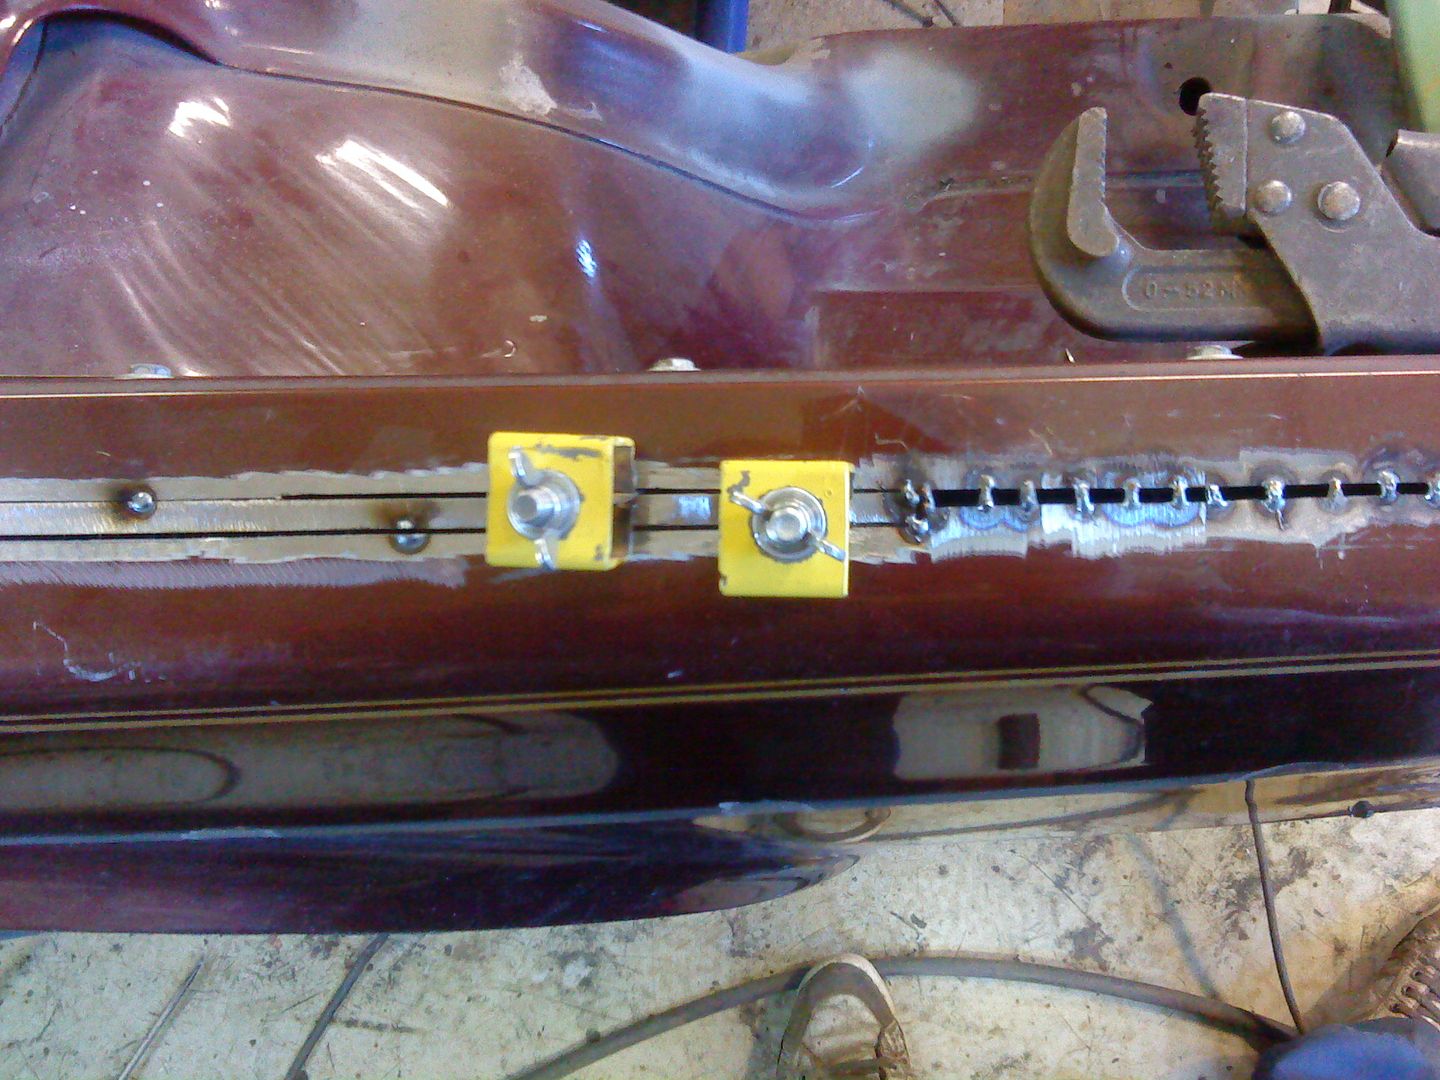
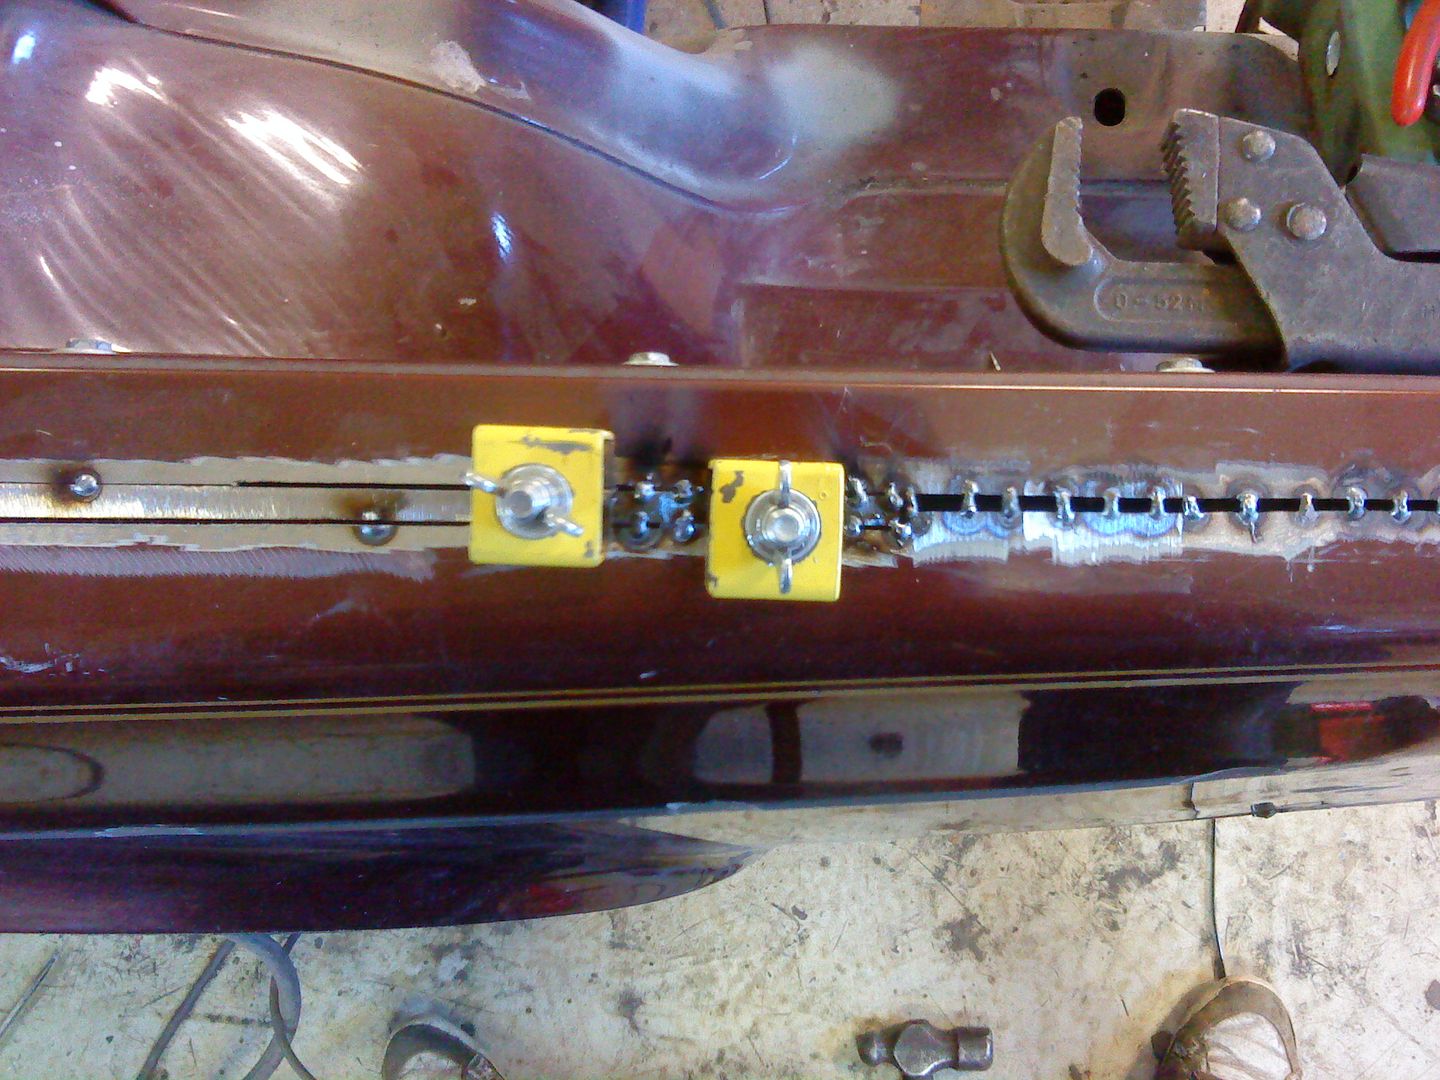
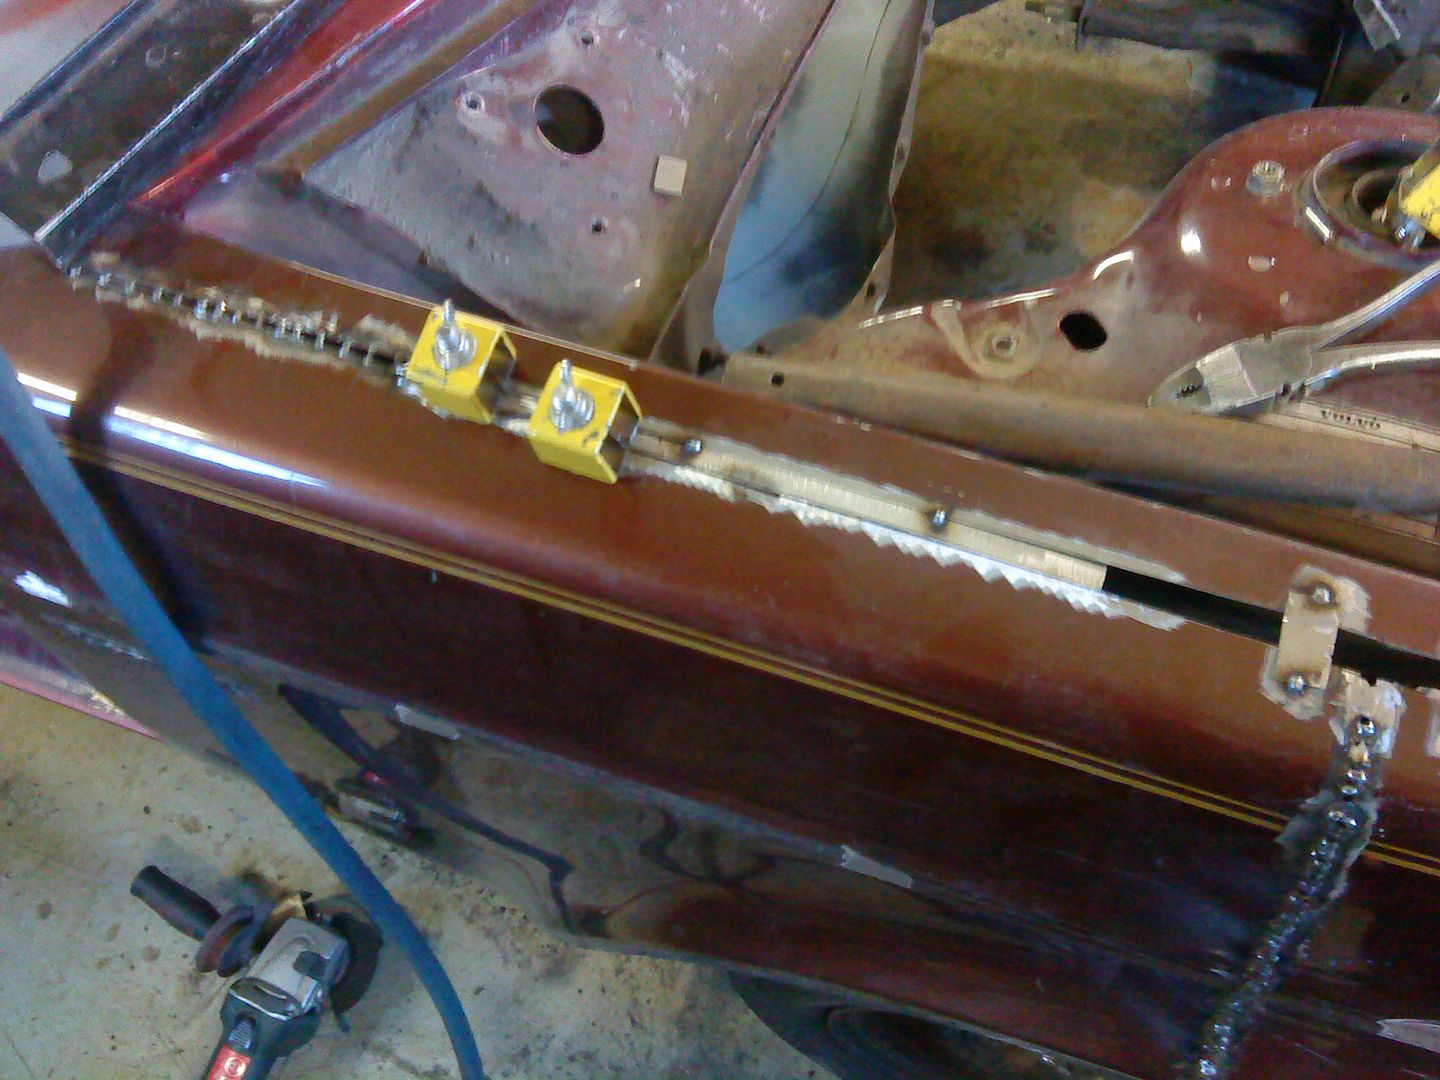
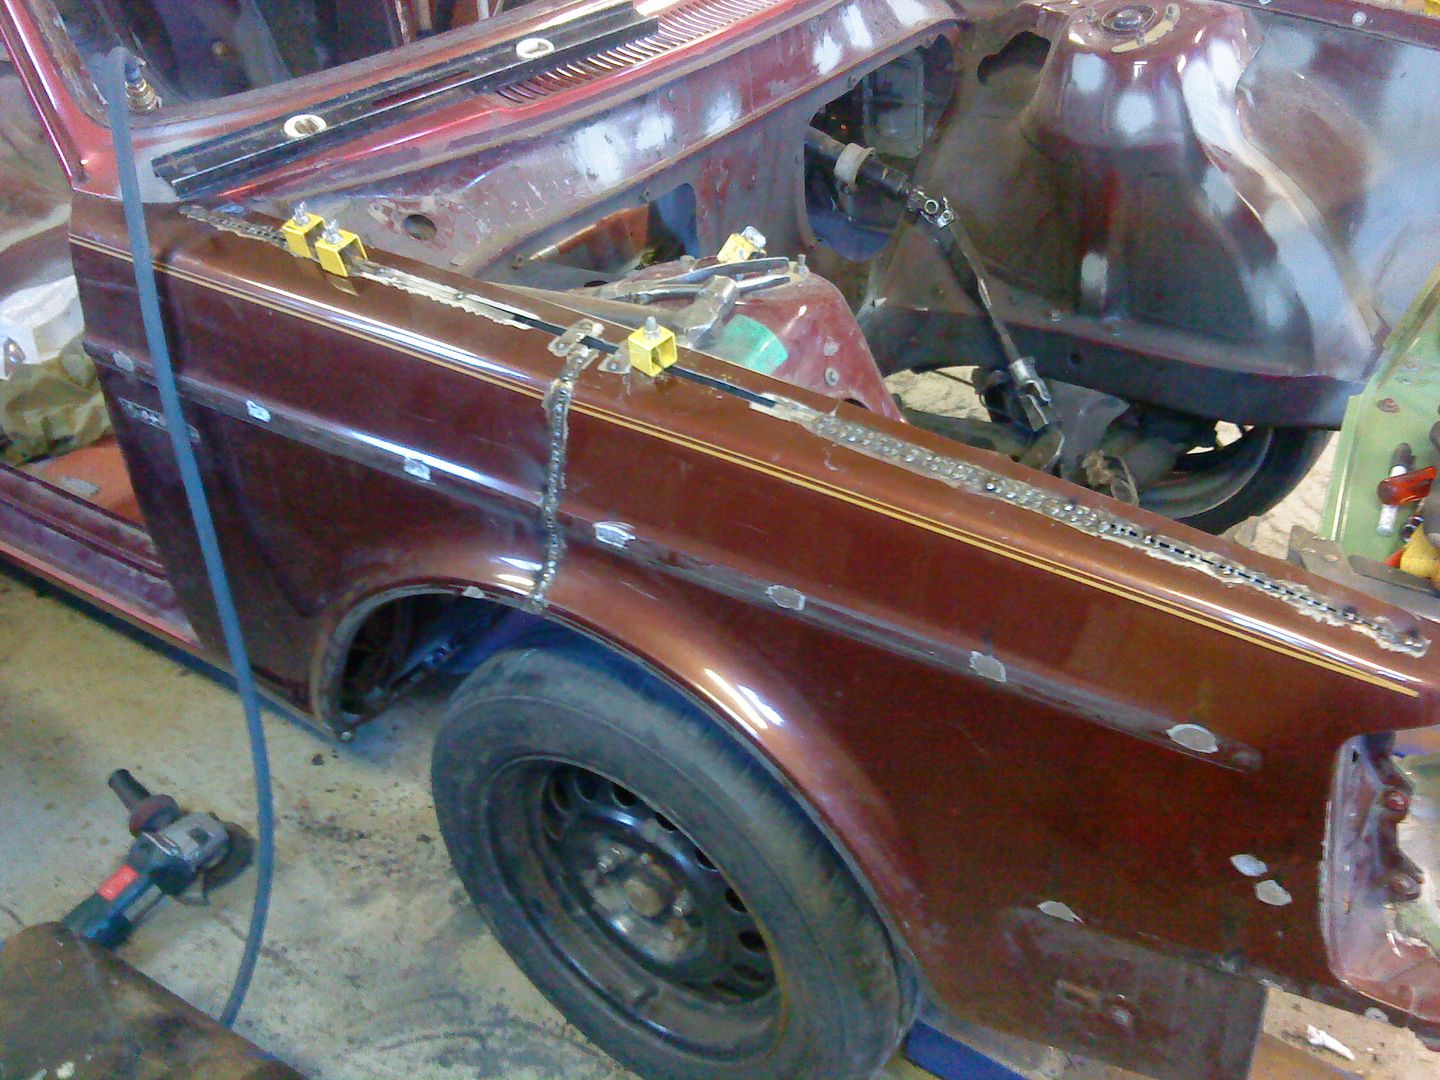
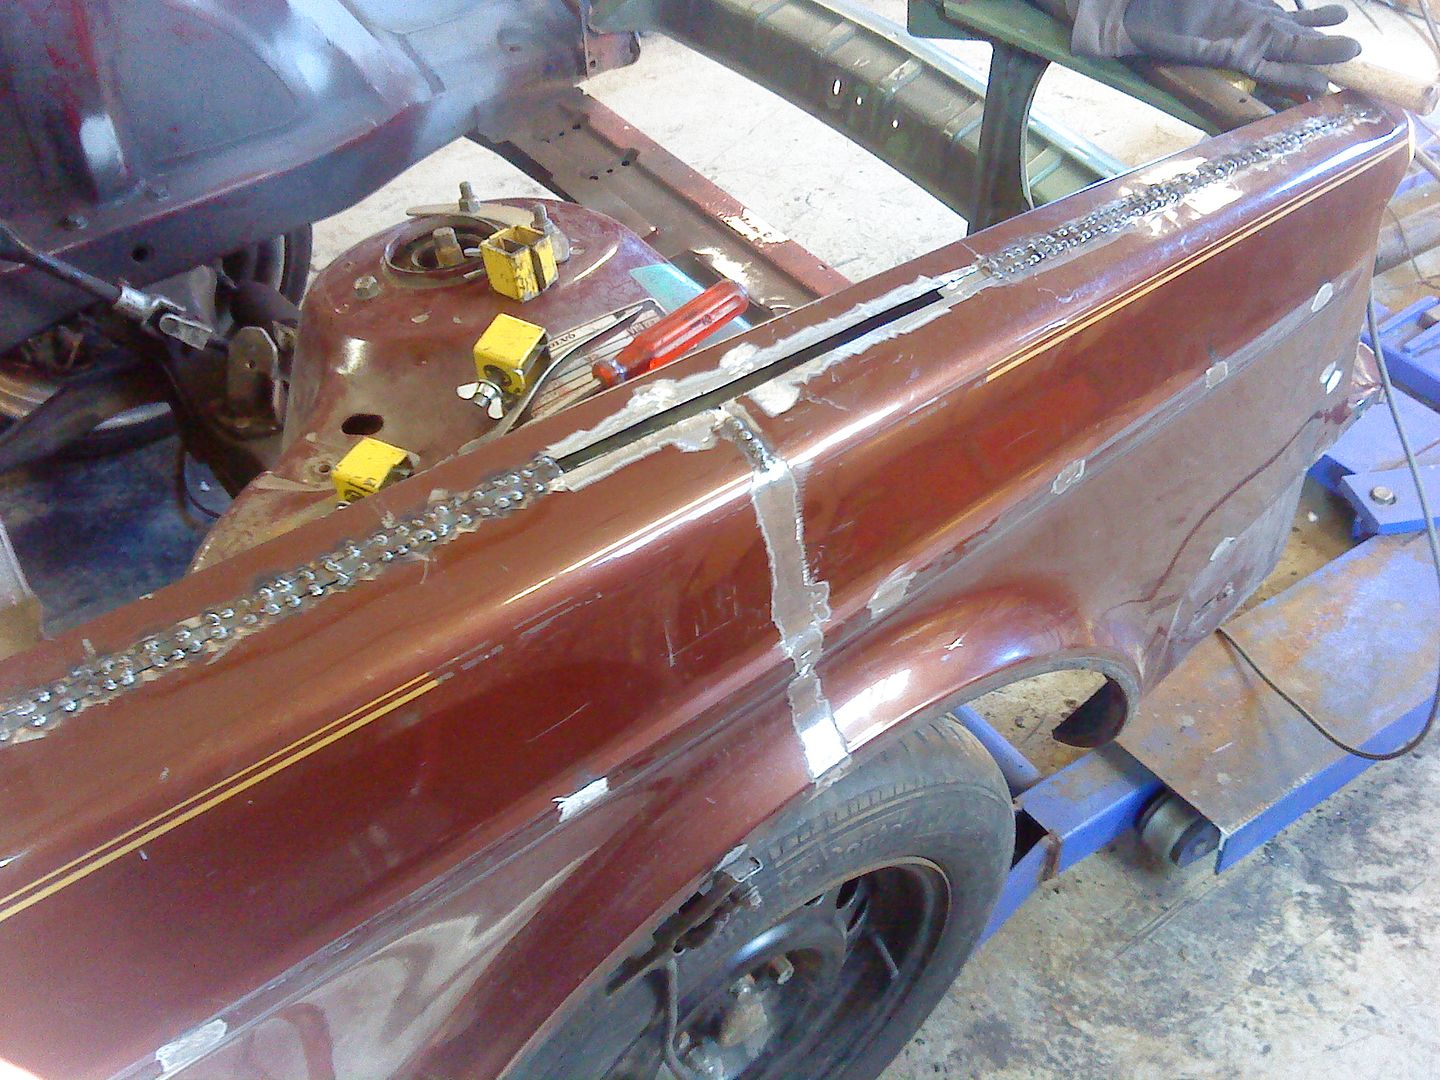
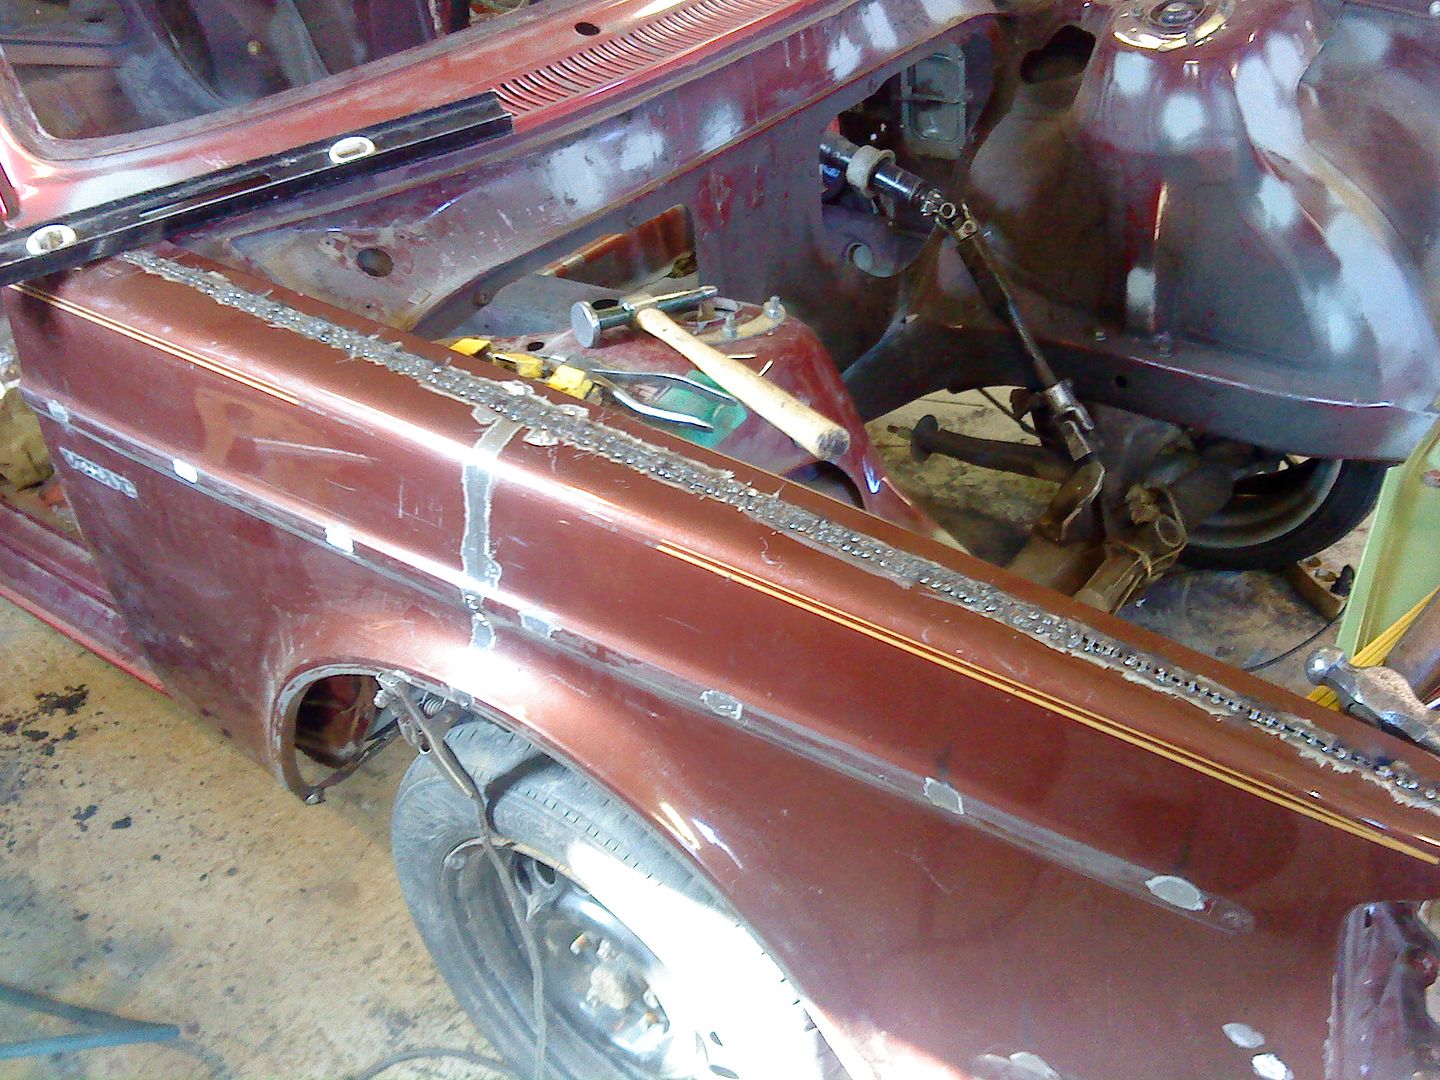
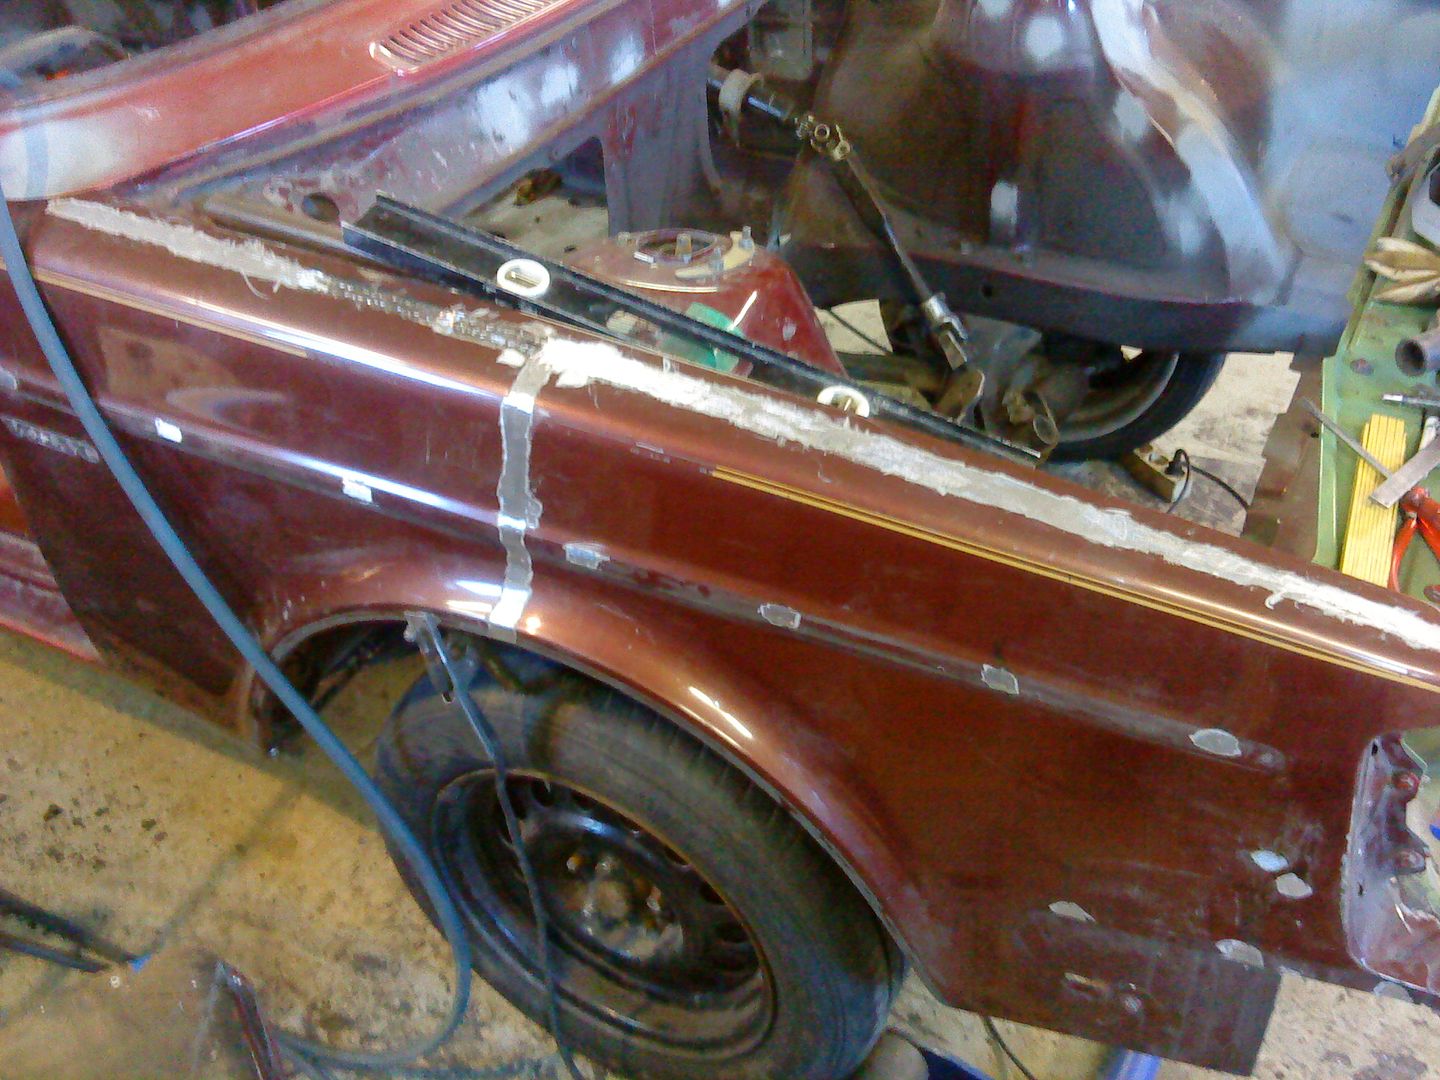
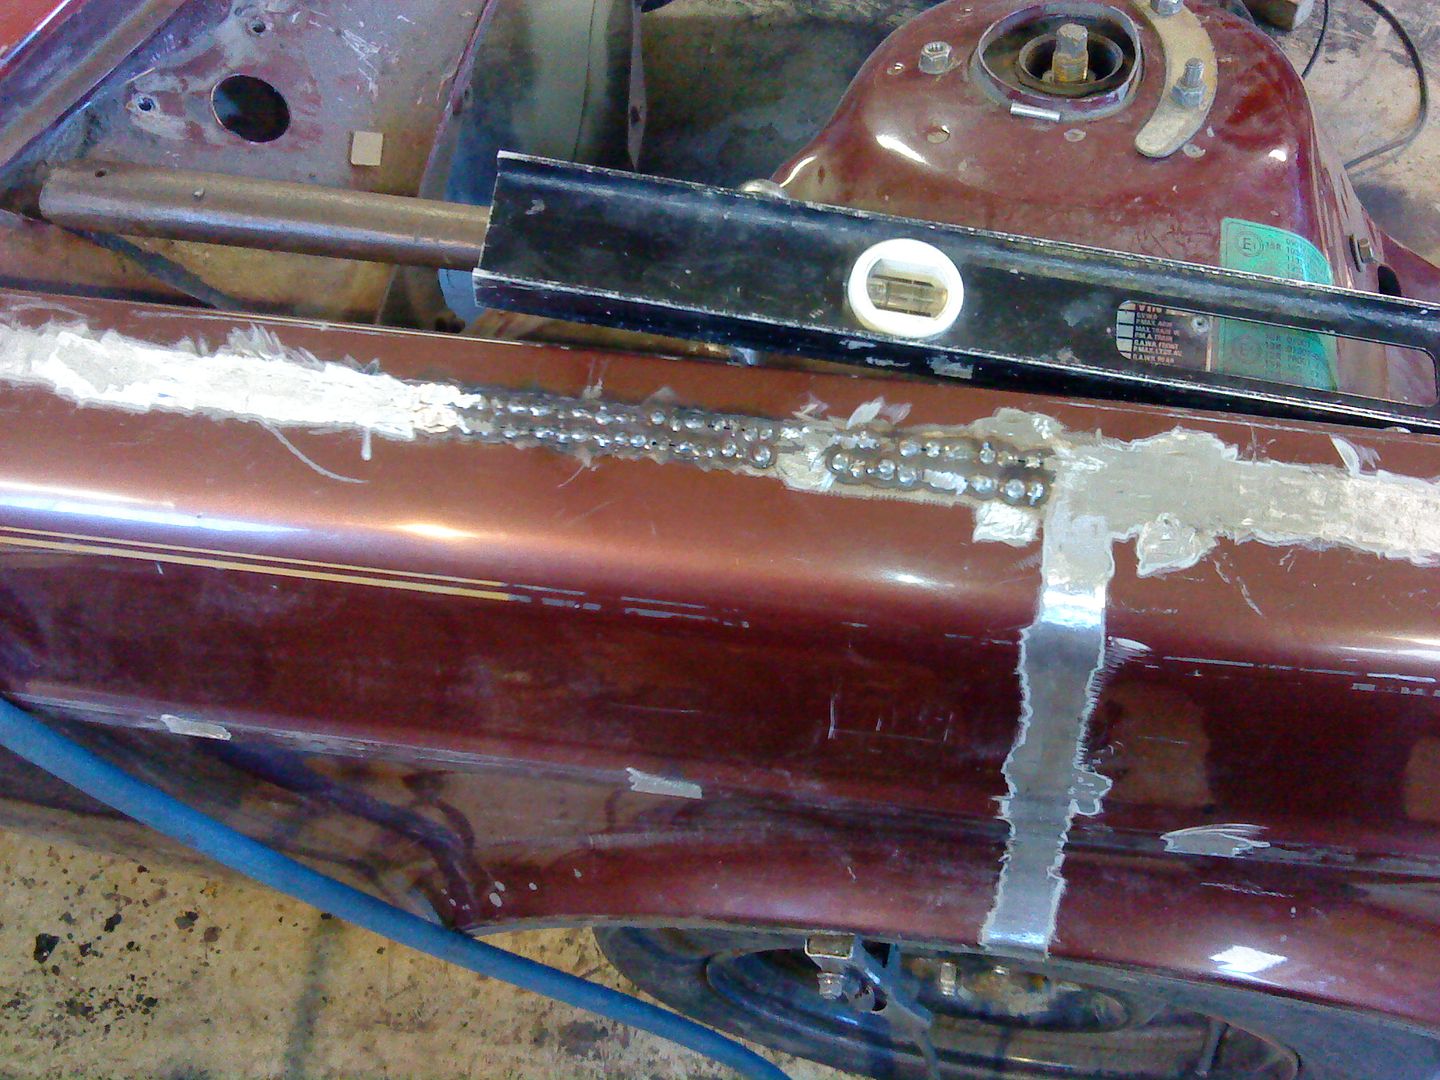
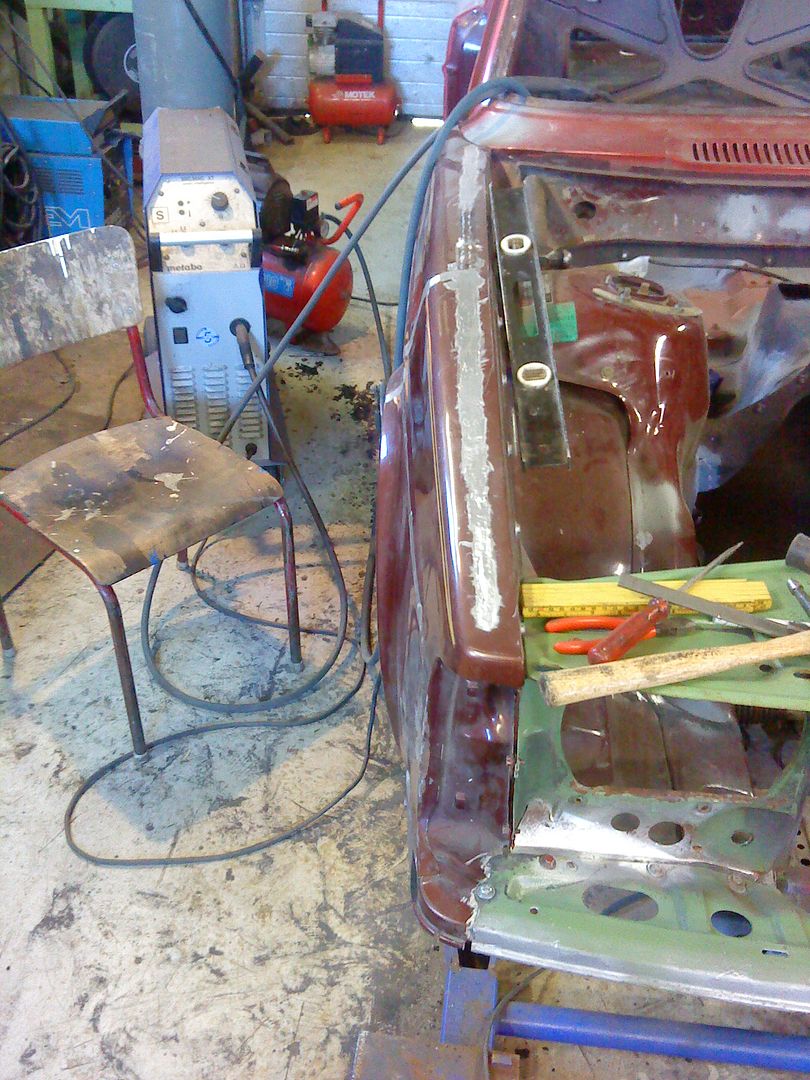
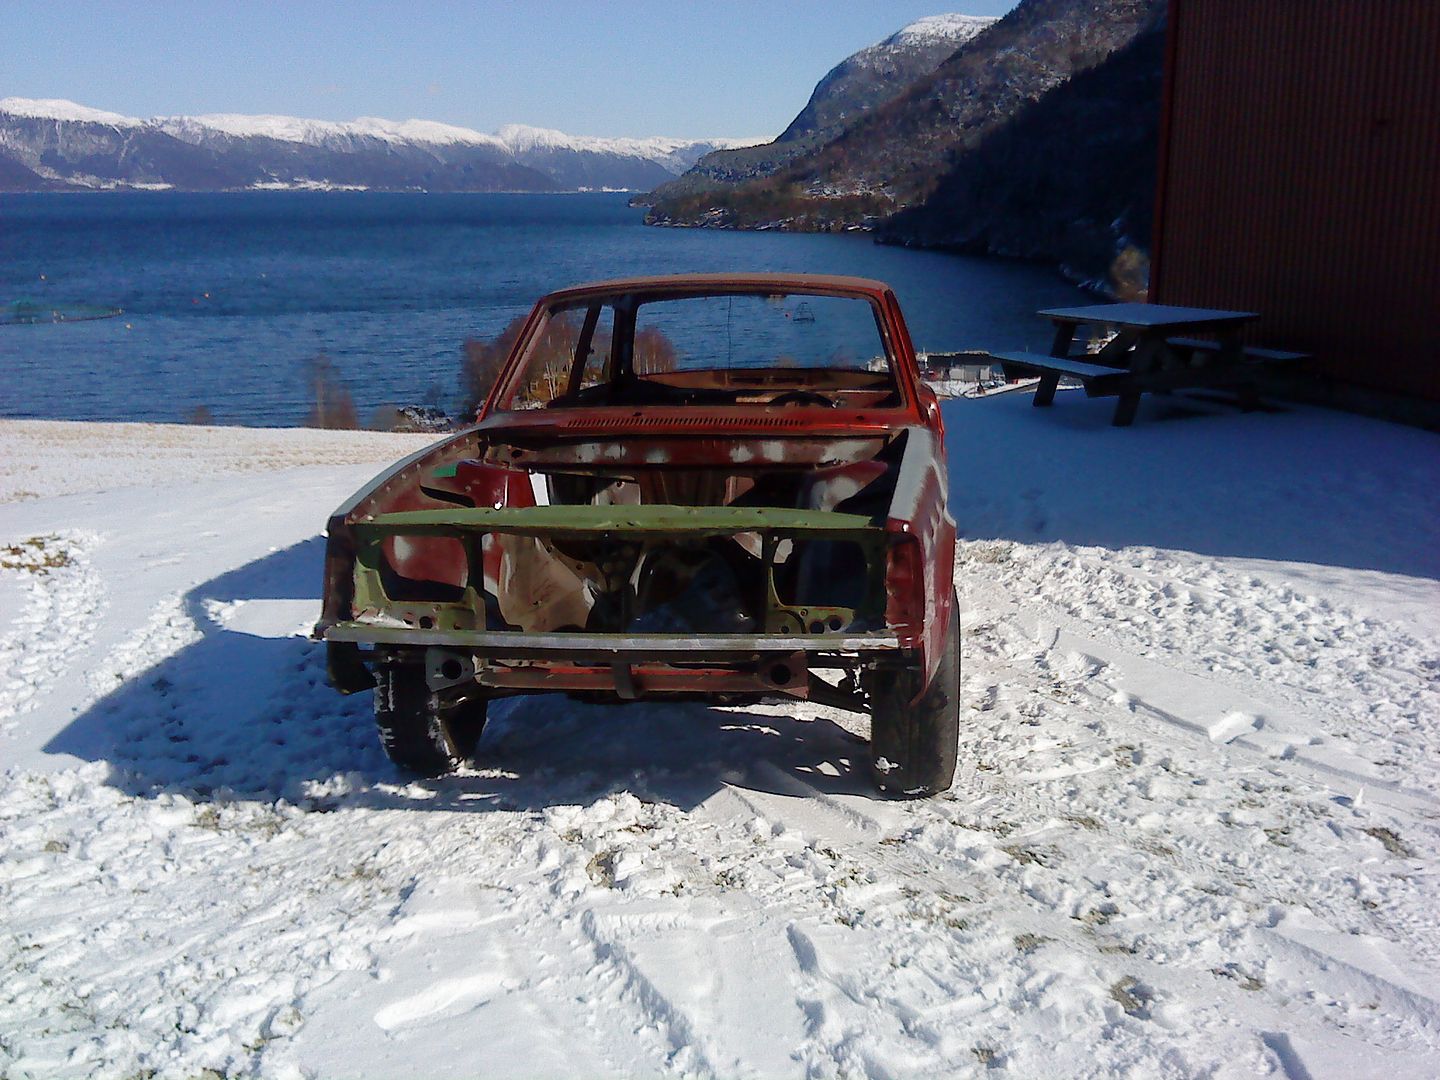
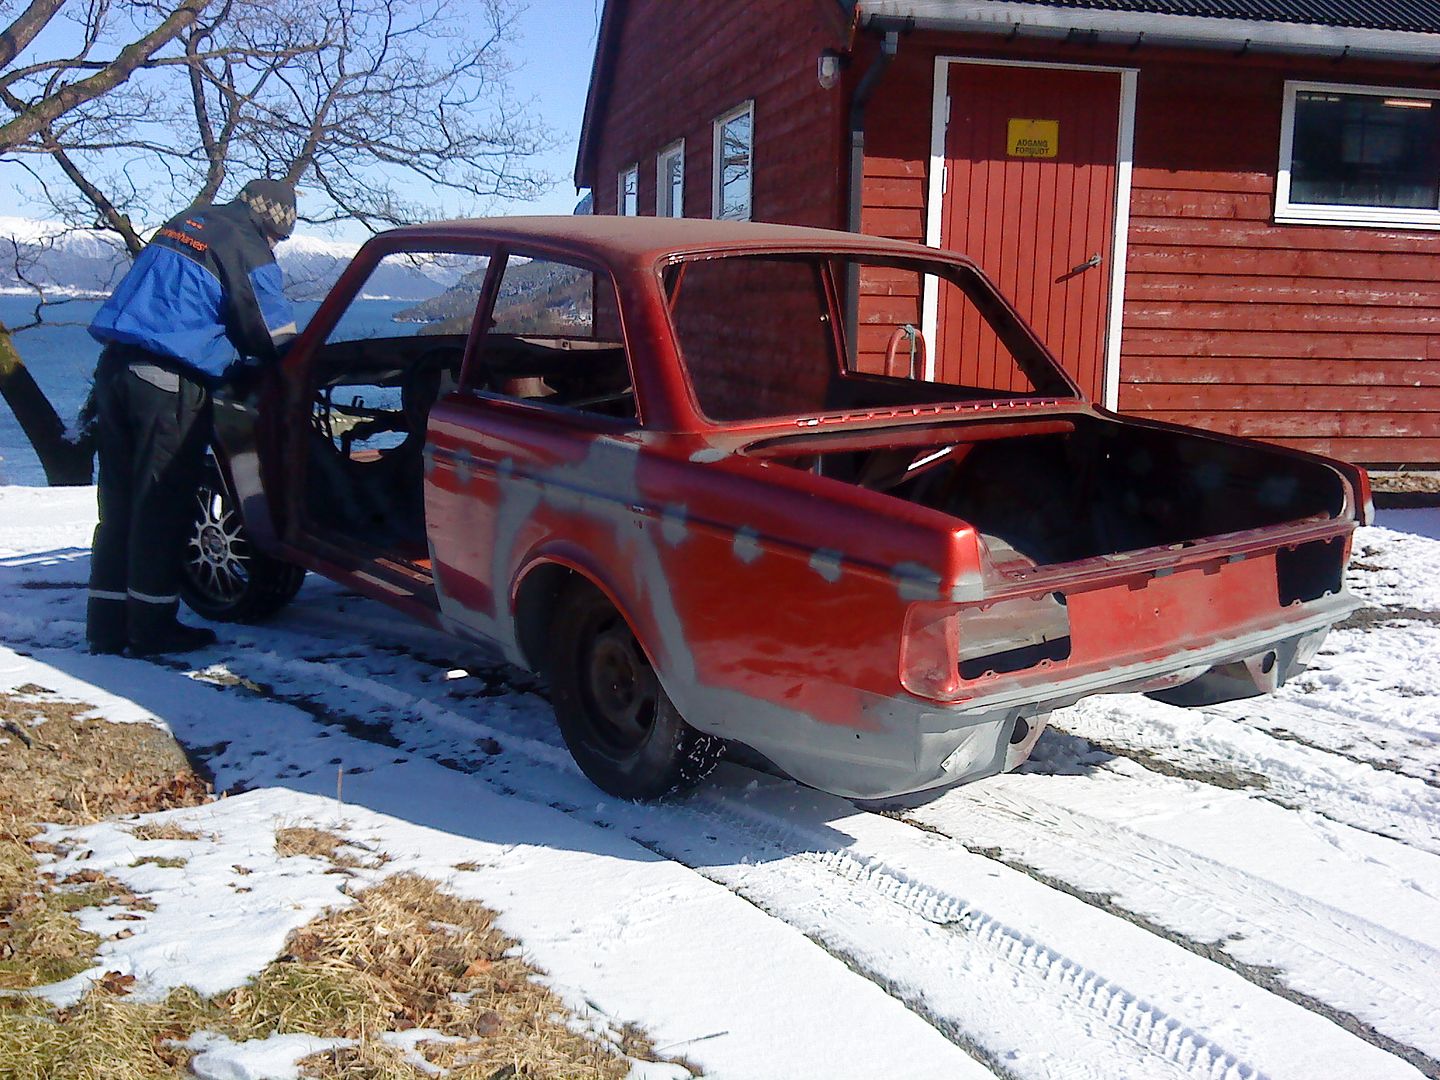
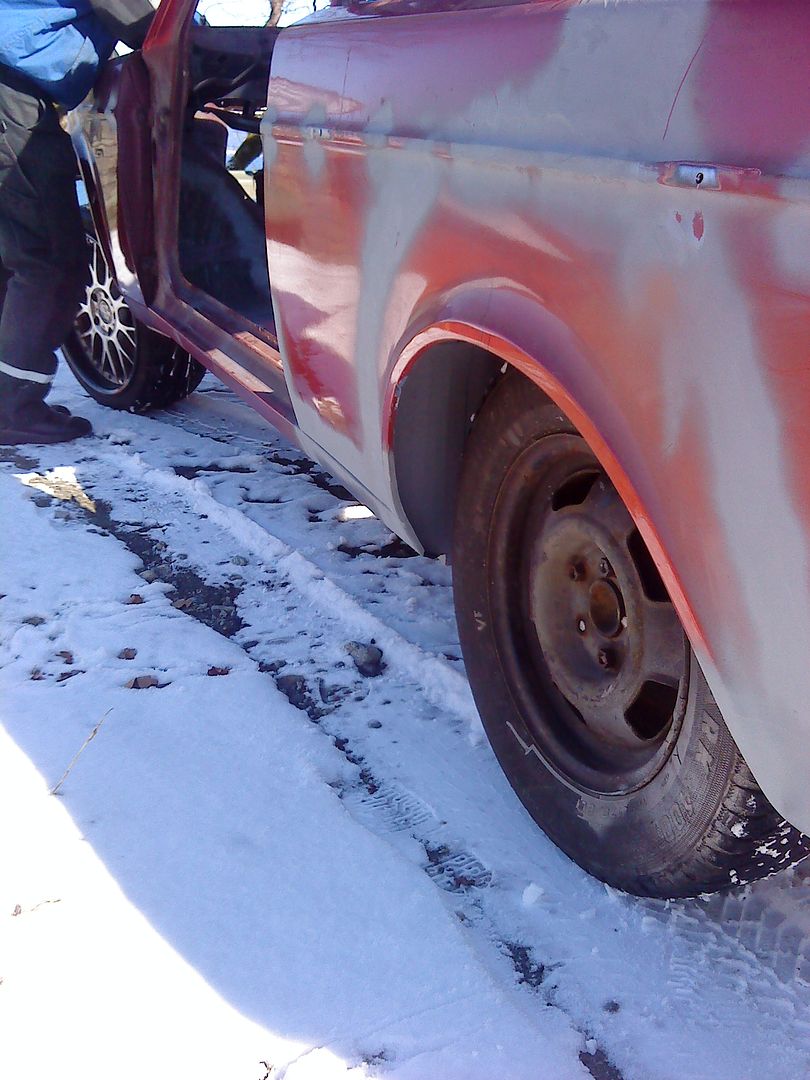
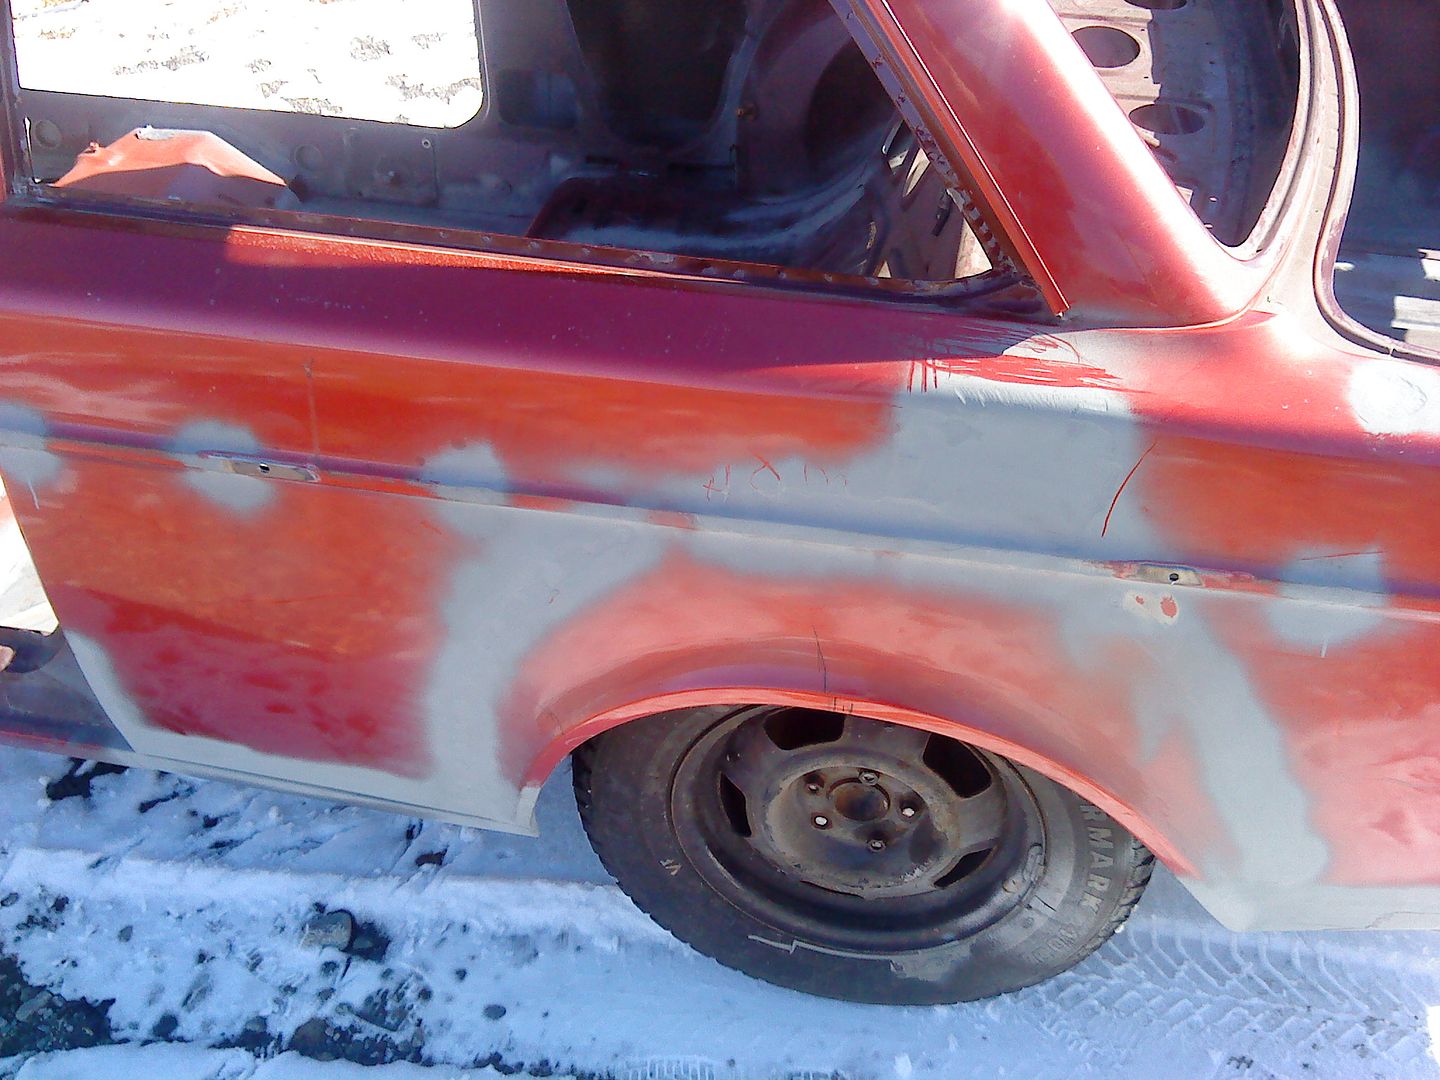
20.02.13

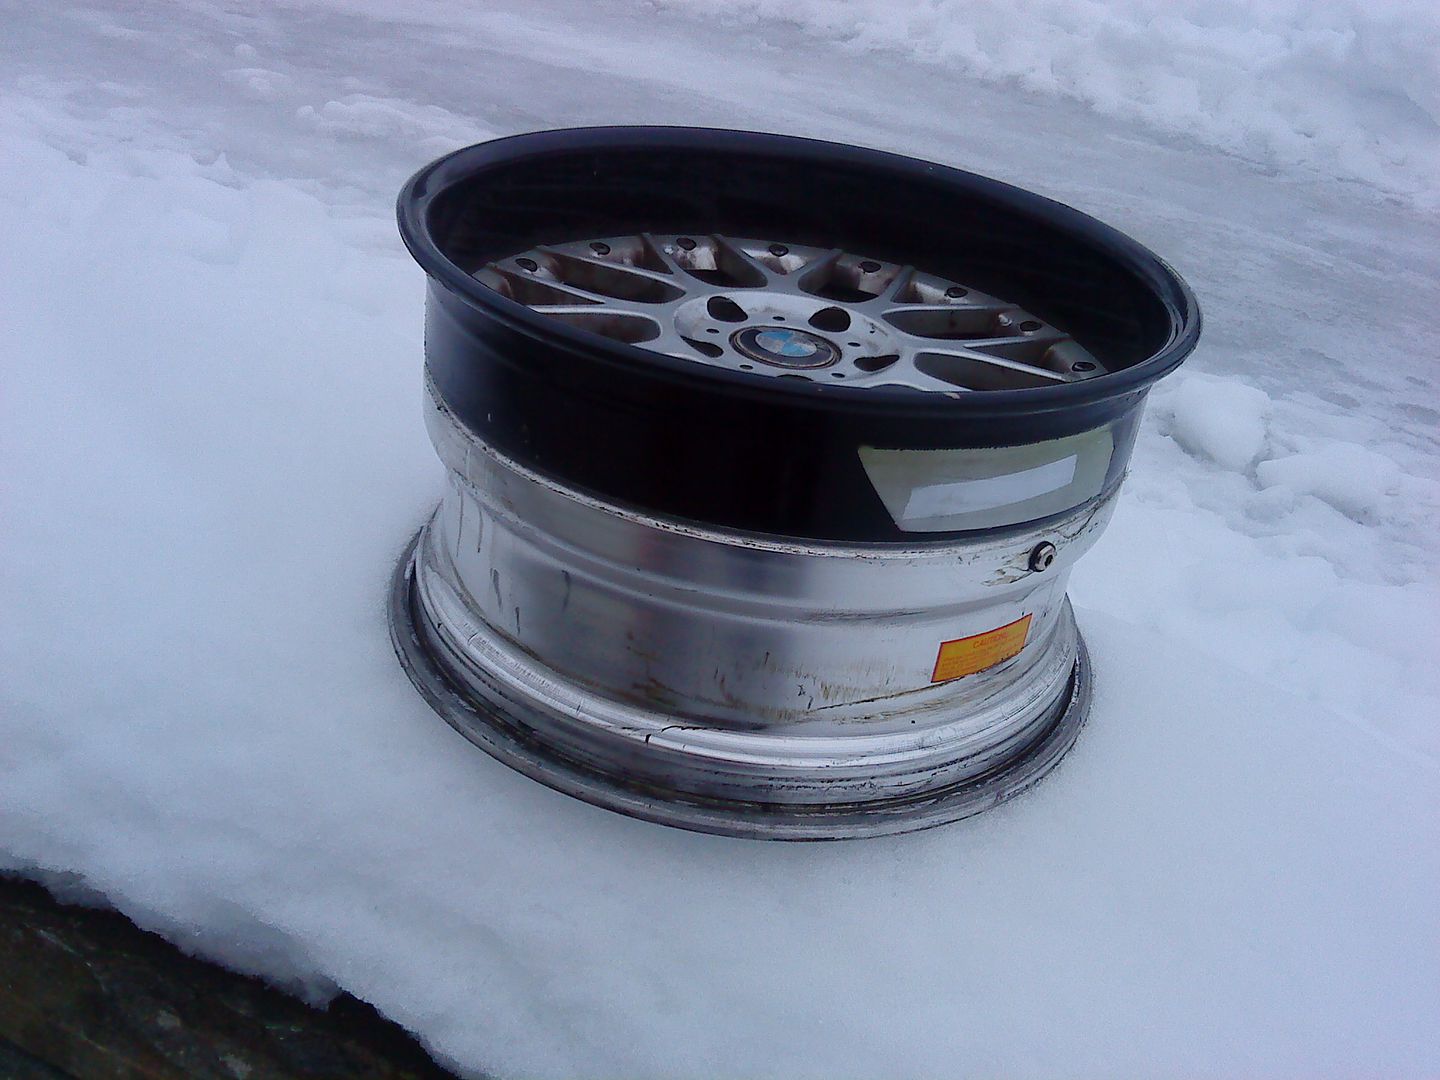
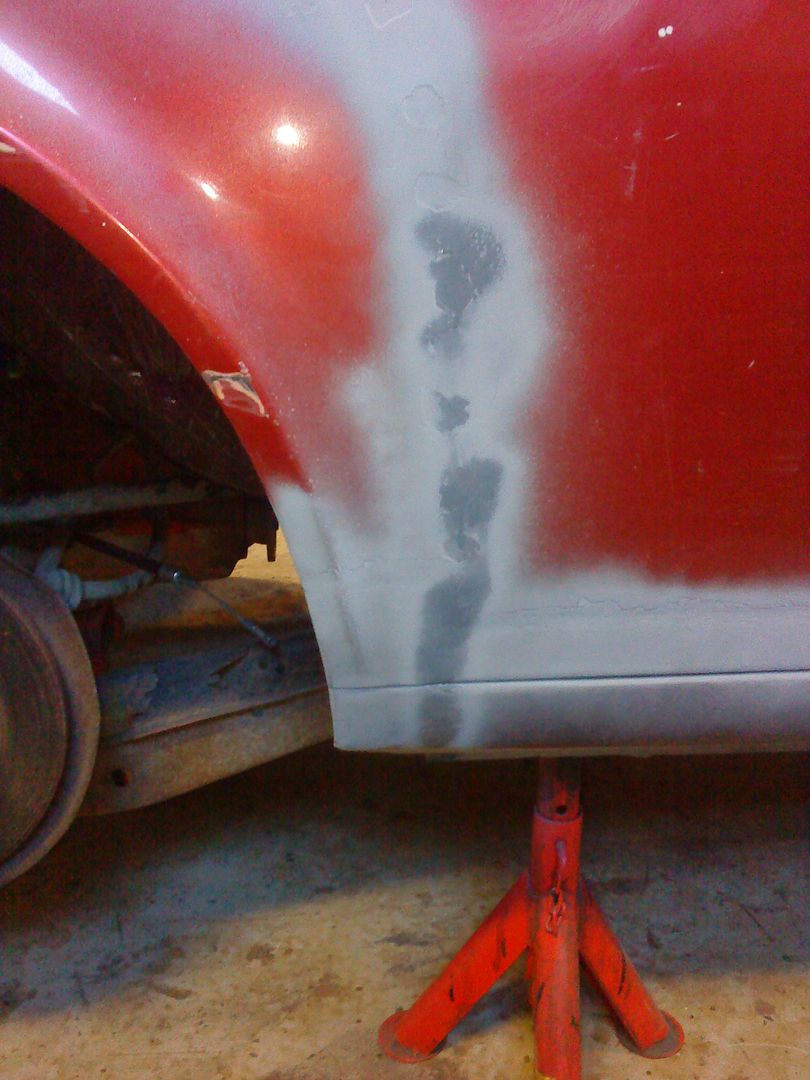
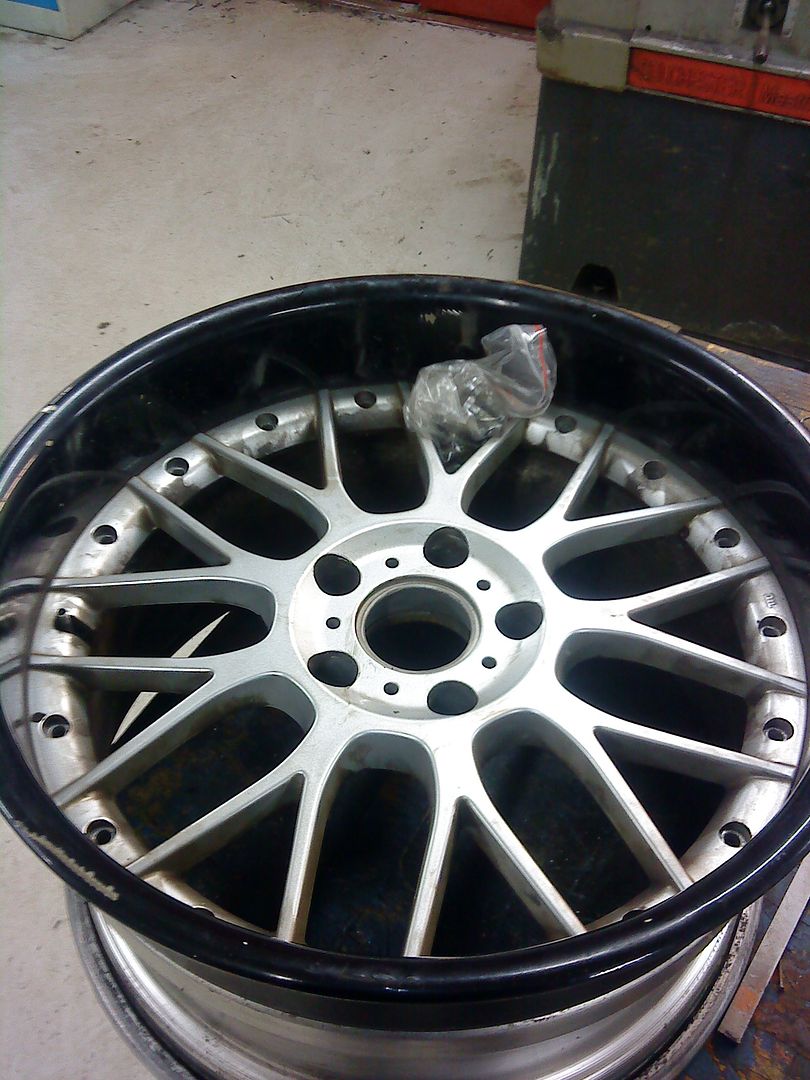
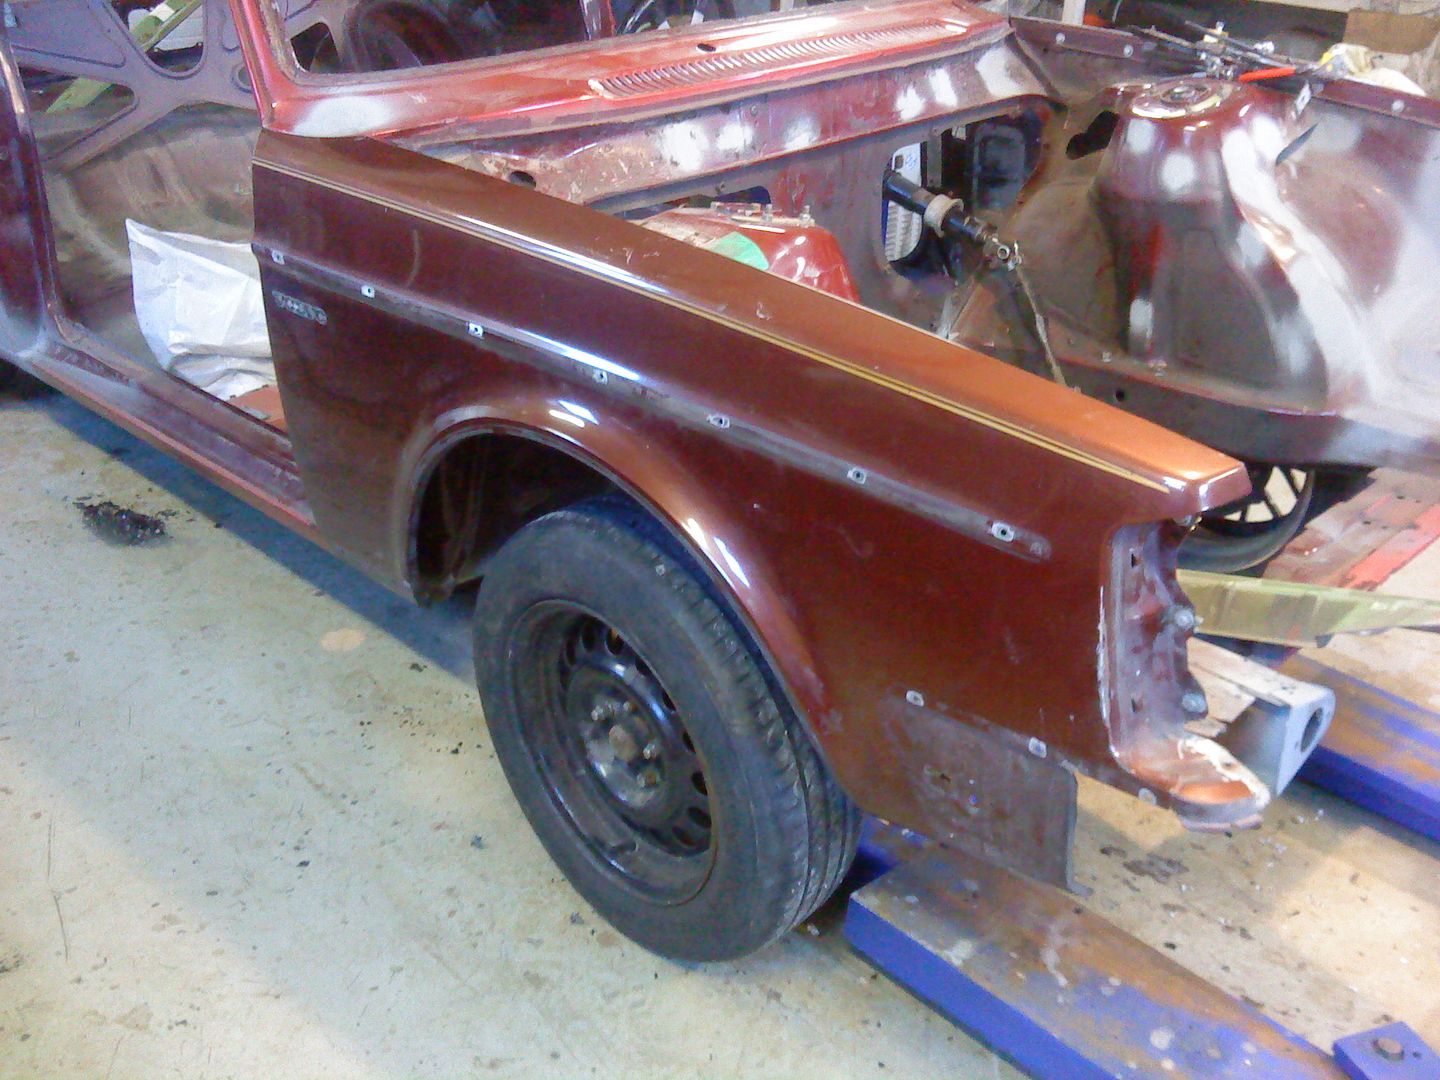
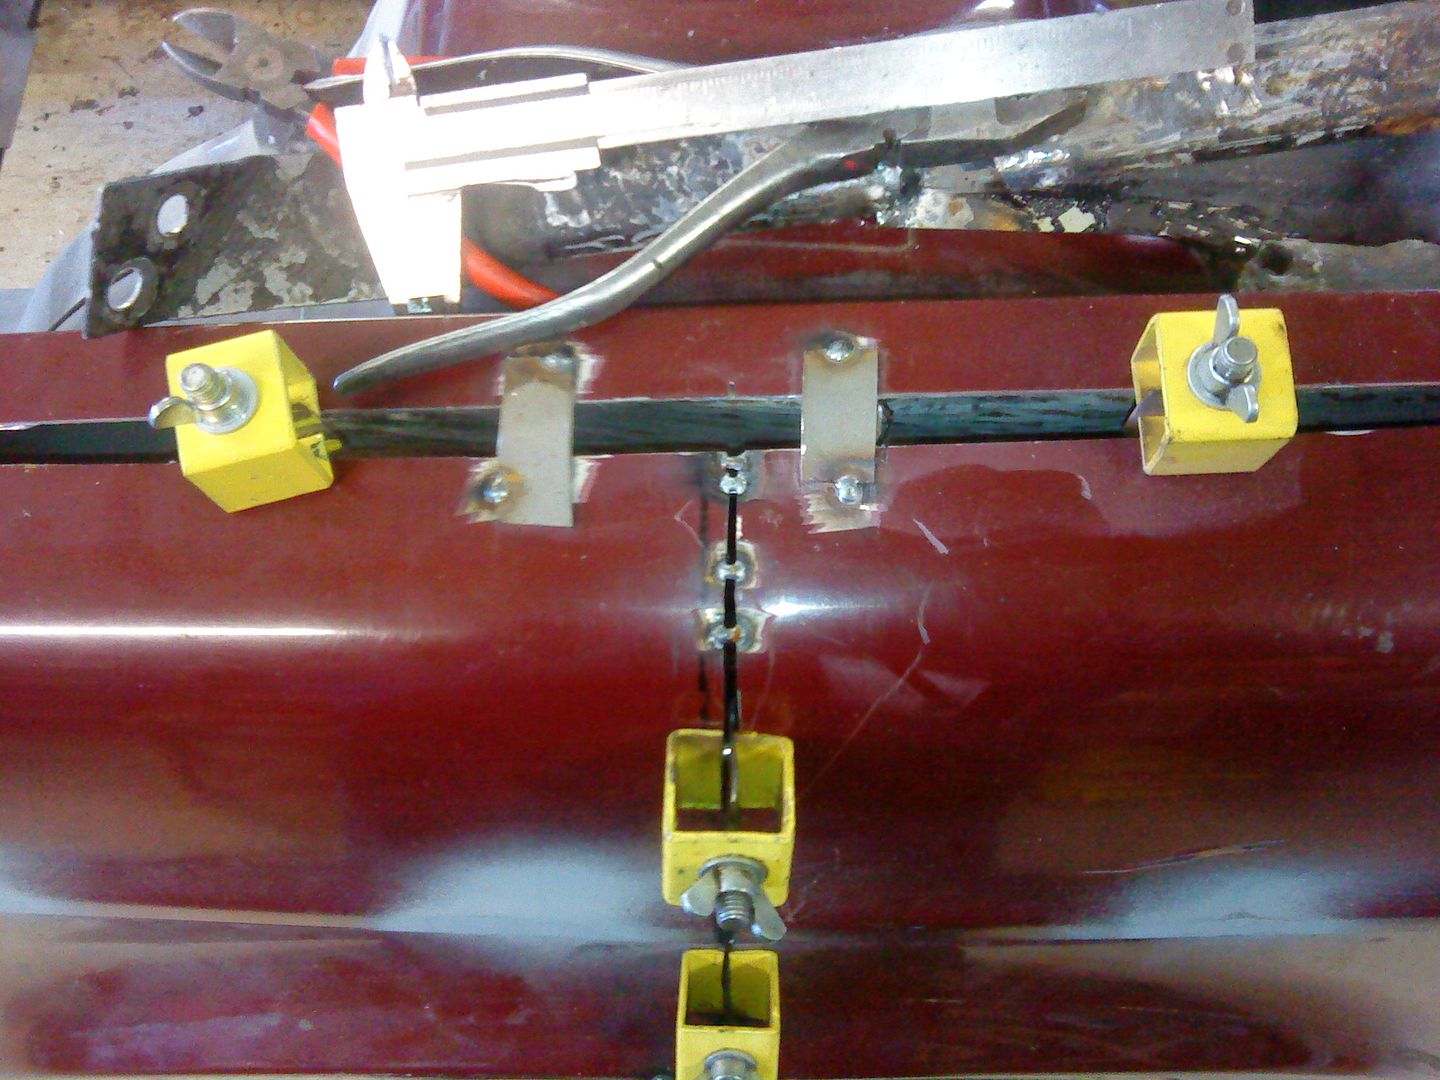
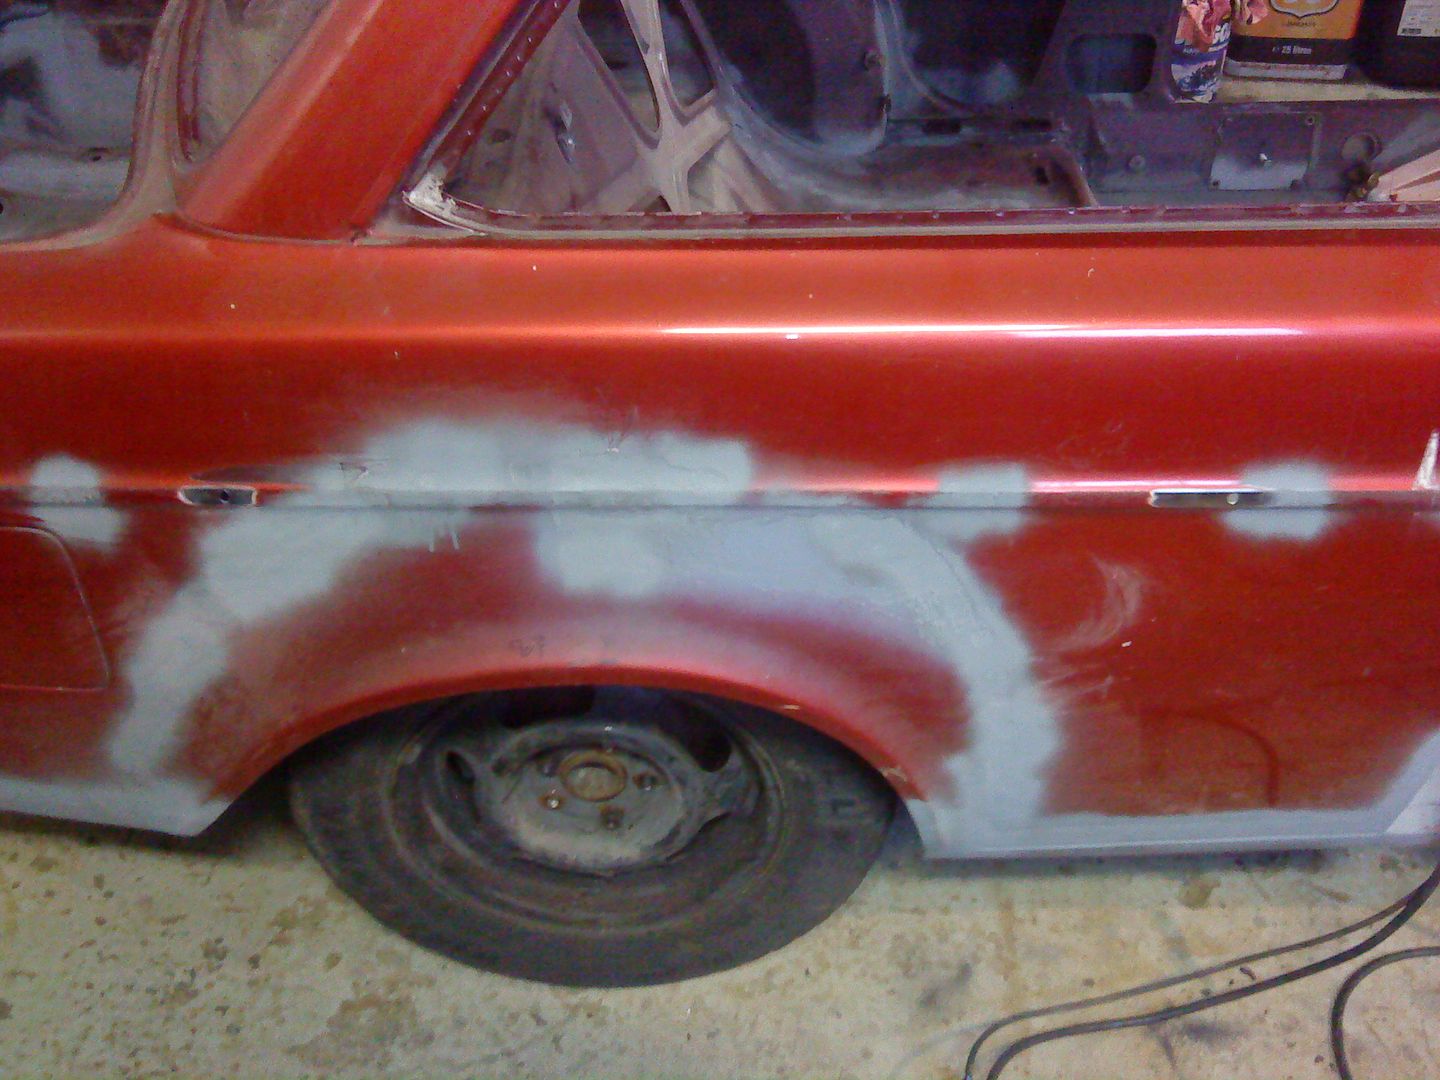
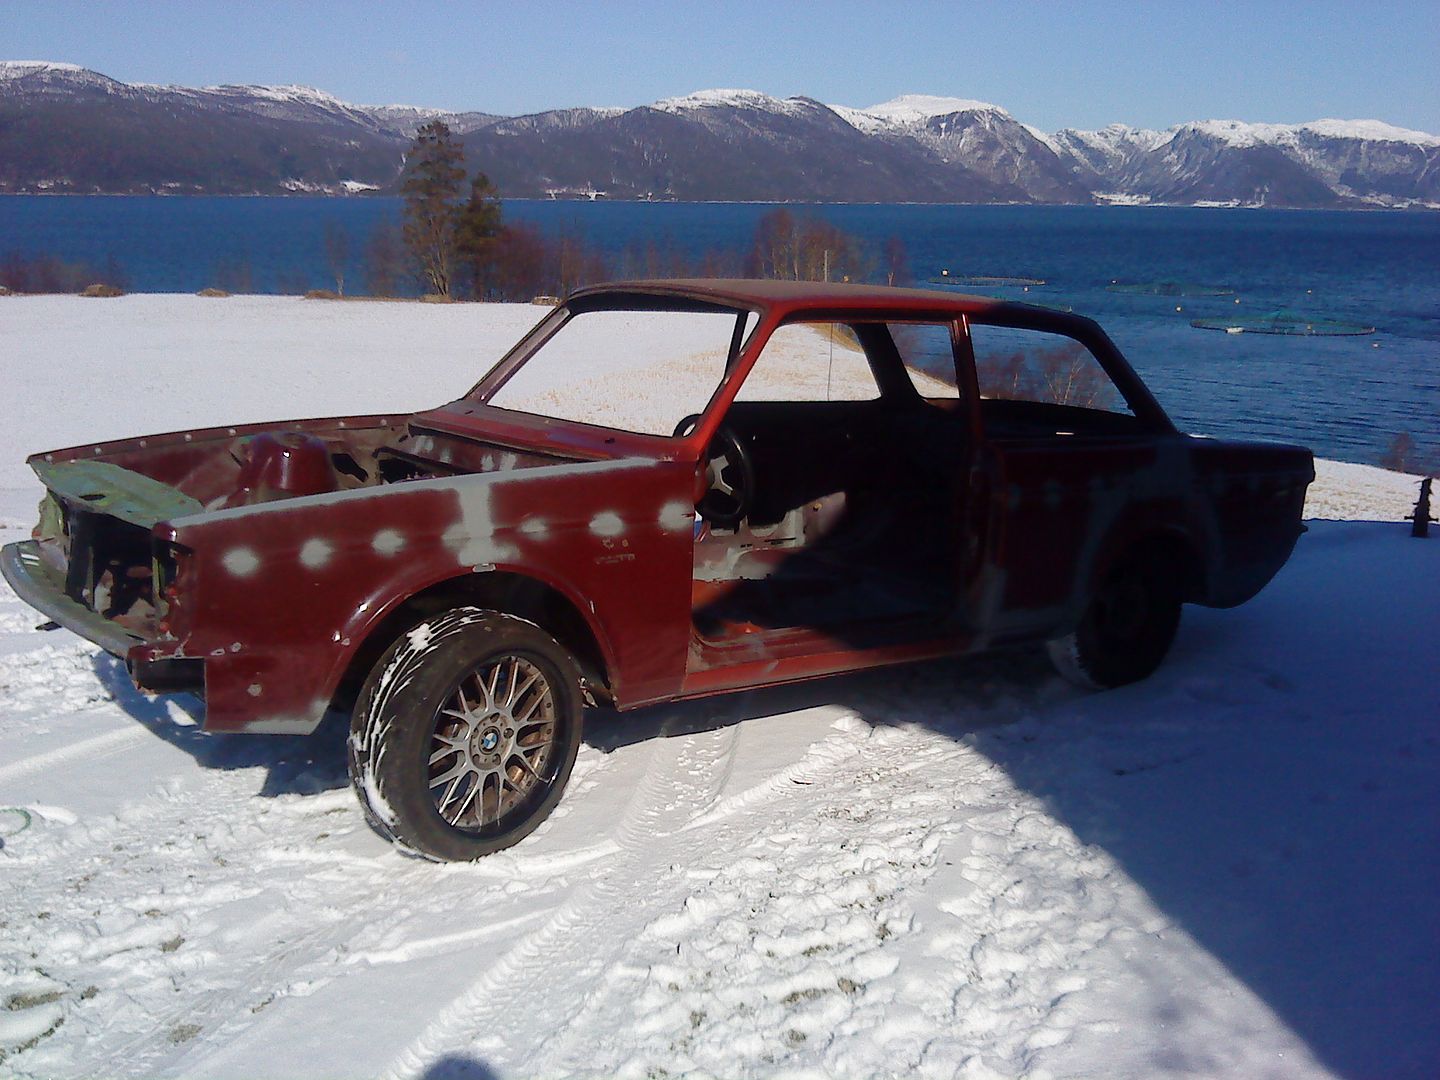
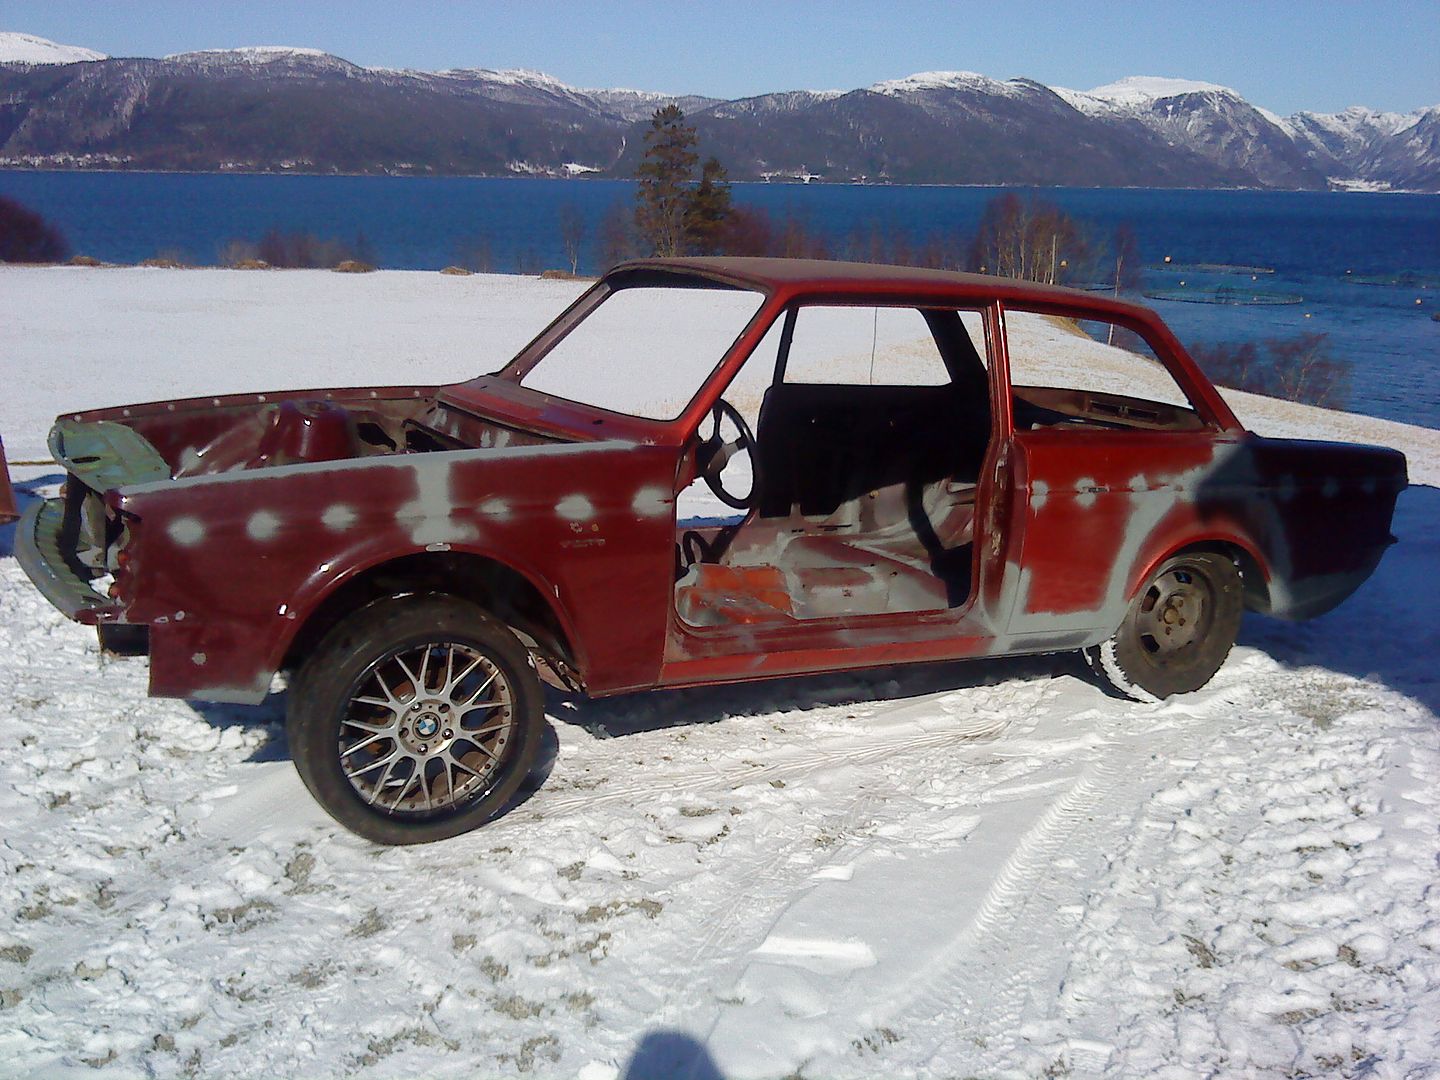
A friend helped me and ripped my tire of the second rear rim..Have been doing some math and these rims are 18x10" et25..But I have 26mm spacers on the last pictures..So when I one time in the future will order custom rims I could with a 10" wide wheel with et-1:-D
DSC06252_zps57014675.jpg
 
23.02.13

Cutted of the bracket for brakes line on this leg also
DSC06256_zps04289a3c.jpg


Pressed it togheter 30mm:)
DSC06253_zpsc5a70e52.jpg


A friend on work fixed this for me!Hope it will look cool on the car
DSC06263_zps78f8a98b.jpg
 
23.02.13

Drilled and welding paint
DSC06266_zpscebe6db0.jpg


Welded on:)
DSC06271_zpsf337e70a.jpg


Grinded..Think the "marks" on the plate looked cool after mounting!
DSC06273_zps15c99bf8.jpg

DSC06275_zpsa8123955.jpg


Trimmed the edge on the lower quarter panel
DSC06278_zps880b6f45.jpg


Spotted the outer fender for good
DSC06283_zps27dc815e.jpg


Temporary paint
DSC06285_zpsab6cbf74.jpg


Fixed the angle a little bit here, looks better now i think
DSC06287_zps91ccd327.jpg


GOing to use this after all, think the cut is good enough to use it even tough it was cut in a hurry
DSC06293_zps758205d4.jpg


Cut here
DSC06291_zps767773ad.jpg


And here
DSC06289_zpsa9304d44.jpg


After a little knocking I got the fender on..I hope that it will stay right after I weld the splits I made after I weld it while the fender is in press
DSC06294_zps9d9c82a3.jpg
 
Love it, keep up the great work!

+1. Good thread.

inspiring ! Please post more pics from the headerbuilt ;) jealous about the welding abilitys...
Thanks alot guys!:)Its good you like my work:)Hopefully I will keep up a good speed until the car is finish..

I have no more pics of the intake building, but next time I weld one I will take some more pictures:)

25.02.13

Got the last plate on
DSC06303_zpsdbd6e0c8.jpg


Welded the outer fender to the inner fender..I see on this picture the rear angle of the lower quarter panel needs a little more adjusting
DSC06306_zps08f589f7.jpg


A friend got me this 3,5" alu pipe for a intake Im building for him..Lucky for me it will be some extra leftover material so I will use it for a water tank on the 242:)
DSC06312_zps2d8ddff4.jpg
 
27.02.13

Cutted the pipe for my friends intake..The rest will be the water tank to the 242, looks like the rest is perfect:)Maybe I will cut it abit shorter, will see
DSC06322_zpsf7b6dbf2.jpg


Made some endcovers for the tank
DSC06323_zpsaf9fcff7.jpg


Took out the screws and removed the BMW mark:-P
DSC06325_zps7ba5dffb.jpg


Have been abit buisy since I just got the house I bought a wile ago:)But hope things will speed up again now
 
08.03.13

Before and afte pic of the rims!
DSC06357_zpsb1bd0979.jpg


Alu plate I will use inside the catchtank
DSC06359_zpsaca7e26f.jpg


Finished the last to front fender mounts
DSC06411_zps4587b12d.jpg


Some old pictures when I made the flange for the turbonetics turbo..
DSC00767_zps6448e43d.jpg

DSC00778_zpsf2a631ac.jpg


Marked and drilled
DSC00771_zps3406d5a6.jpg


Bolted on and grinded to flush with the turboflange
DSC00781_zps19906dbd.jpg


Grinded the pipe to get the threads on
DSC06379_zpsa72b9e2c.jpg


Finish welded and grinded
DSC06405_zps323f499c.jpg

DSC06410_zps9ce1a4b5.jpg


Considering to put "Group a" reinforcements on them, will se
DSC06415_zps8ae0d7ac.jpg
 
09.03.13

Mounted this in the rear
DSC06419_zps5c69aa9b.jpg


Here its adjusted 25mm, but I ended up with 21mm after this
DSC06420_zps42d36eea.jpg

DSC06421_zps9d22a154.jpg


Front..Here its also 25mm on the picture, but 21mm now
DSC06422_zps715f299c.jpg


Marked for drilling here
DSC06424_zps546fb38d.jpg


Ripped of the volvo marking and the rubber on the wheelarch
DSC06426_zps8b465791.jpg


After some small adjusments, looks better but needs some more work later
DSC06429_zps384f1595.jpg


I was really not looking forward to this:-P
DSC06430_zpsec043a0d.jpg


But this took 5 minutes, the tectyl was old and crunchy
DSC06432_zps995e88ab.jpg


Finish mounted here
DSC06437_zps7297f84f.jpg


Looks good
DSC06439_zpsab961d46.jpg


The other one gaps a little bit more
DSC06441_zps20f5cf93.jpg


Not widened
DSC06443_zps8231f71d.jpg


Widened, will maybe adjust the gap here to make it straight
DSC06442_zpsc6e4a3d8.jpg


Little bit spotting,..Decided to mount the front plates before I do anything more
DSC06444_zps584badbf.jpg
 
10.03.13

Drilled and put this "bodyscrew" in..Tightened good
DSC06448_zps16ad271b.jpg


Mounted the lower frontplate and the lightplates
DSC06451_zps885da92e.jpg

DSC06452_zps7379759d.jpg

DSC06454_zpse8eb1a2c.jpg


And the upper front plate
DSC06459_zps31288ba4.jpg


Spotted as far as I can without filling in a new peace
DSC06465_zpsa5cff5aa.jpg

DSC06466_zps38920de8.jpg

DSC06467_zps1ff75b60.jpg


Overview
DSC06463_zps0d346117.jpg

DSC06468_zpsb8bb12a1.jpg


Looks like this with 26mm spacer, hopefully I will get the inside with 20+ spacer
DSC06471_zps3797f602.jpg
 
23.03.13

First new piece on the front fender
DSC06608_zps9ace5da5.jpg


Filled the crack!
DSC06609_zps68a086af.jpg


Welding and grinding almost finish on the vertical cut
DSC06611_zpsfc4cf9b8.jpg


Starting to look complete again
DSC06614_zps07097e38.jpg


While I'm waiting for the welding spots to cool down I cutted the other fender
DSC06617_zps7ecf8d67.jpg

DSC06620_zps5bf8474d.jpg


Spotted togheter with the right distance
DSC06622_zpsb1c7b033.jpg


Welded the sidetrim holes
DSC06623_zps75955713.jpg


Looked like this when I finished for the day, alot of welding and grinding!
DSC06621_zps9aed1655.jpg
 
24.03.13

Drilled hole and bolted this on also
DSC06635_zpsc26d0ca2.jpg


Looks straight
DSC06637_zps16e3f255.jpg


Spotted togheter
DSC06639_zps031dfe9b.jpg


And as far as I wanted without filling in a new piece
DSC06642_zpse1694bd6.jpg

DSC06645_zpse6d4781a.jpg


Started on filling in a new piece..Here is how I do it
The side with one spot I to long and going under the fender
DSC06647_zpsbc8872ce.jpg


Cutted away the extra material on the outer side and cutted a nice gap on the inside
DSC06648_zps906f6779.jpg


A clamp on each side
DSC06651_zps45d60b6b.jpg


Spotted togheter:)After this I remove the clamp that is inbetween the weldings and weld there also..Its normally straight there after spotting it on to places
DSC06652_zps82b7538a.jpg


New piece on the other sida
DSC06657_zps3195e488.jpg


When I finished for the day:)Hoping to finish the front fender in the easter holidays!
DSC06656_zps3c3f06fa.jpg
 
simple but awesome approach! it will barely be noticed ( in a good way ) that you widened the front fenders after its painted!
 
simple but awesome approach! it will barely be noticed ( in a good way ) that you widened the front fenders after its painted!

Thanks alot!Thats what Im hoping for:)On the rear its hard to see the widening job without looking for it:)So im hoping the fenders will be the same

28.03.13

To new pieces in
DSC06674_zps0a77280c.jpg


And the last piece filled in
DSC06678_zps7acee897.jpg


Welding and grinding:)
DSC06682_zps728b78cb.jpg

DSC06684_zps495b5187.jpg


Think this will be cool:)
DSC06685_zps84a7ed35.jpg


Finished welding the top here, missing some small holes and littlebit rust..The color on this fender is the original color on the car..Its the color the car will be painted in, but I will add littlebit metallic to make the color "new'er" and give it a more personal touch!
DSC06677_zpsb54c8982.jpg
 
31.03.13

Welded and grinded the top
DSC06691_zps75cd223f.jpg


Welded all the trim holes, but Im out of sanding paper so its only roughfly grinded with the grinder
DSC06692_zps6198c37e.jpg


Got this out from the rear fender..Will remove it on both sides to be able to paint and rustprotect it properly
DSC06695_zps035abecc.jpg


Needed to drill these two holes to get it out so they need to be welded
DSC06697_zpse834b0cb.jpg
 
An inspiring read! Well done getting on and just 'doing' the work , i reckon most of us watching this have the thought but never actually go and 'do it'! I will say that when bending the alloy aluminium too much and to stop it cracking you should heat it first with a gas heat source , hot enough that when you rub with a stick of pine wood it leaves a brownish mark easily then do your bending , it will not crack then . (the cheats way ! You dont need a thermometer , we did this at Alcoa Aluminium in Geelong Australia when i worked my apprenticeship as metal fabricator in the plant workshops.....)
What spring length will you have on the coilovers? Where did you get the threaded parts for the coil overs?
Great work ! Enjoying this thread immensly!

Thanks man!:)A really nice comment, I apriciate it:)
Okey, thanks for the tips!We never work with alu on my working place so I havent learned so many "tricks" yet..I will remember this:)Actually going to bend something soon so I will test it out then!
Im not sure on the spring lenght yet, need to test it on the car first and take some measurement..
The threaded parts I bought at rallyshop.se, really nice company with great service!They also have springs in many lenghts and "hardness":)
 
08.04.13

Some pics of moving the car home again..Mounted the front support just for fun:)
DSC06699_zps0598d59c.jpg


The car is out and ready to be towed home
DSC06700_zpsaa4f4f1b.jpg

DSC06702_zps39393f6b.jpg


Here you can see little bit the shape of the widening in the front
DSC06703_zps67b35cef.jpg


My father doing inspection:-P
DSC06704_zps29a7b46d.jpg


Tried to get the angle on the lower quarter panel and front fender, but it was really hard with the crappy cellphone
DSC06705_zpse67217a4.jpg


Drilled here so the reinforcement are ready to go out here also
DSC06706_zps741a5b67.jpg
 
Back
Top