• Hello Guest, welcome to the initial stages of our new platform!
    You can find some additional information about where we are in the process of migrating the board and setting up our new software here

    Thank you for being a part of our community!

145 gettin a 16v + T

Wow awsome don't mean to criticize though but why didn't you go with shorter intake runners so you could run a real plenum? Build looks awsome! Great craftsmanship
 
The engine looks like it belongs in that bay. Are you going to be able to put the water pump pulley on without pulling the radiator?
 
It's been some working getting this far in putting a B230ft + 16v + T5 in the ol 68 and there is still a sizable amount of work to go. Anyway, here's a few pics of how she sits now.

IMG_3512.jpg


Still have lots to do. Exhaust, fuel, cooling system, ignition.... hopefully up and running by the end of March.
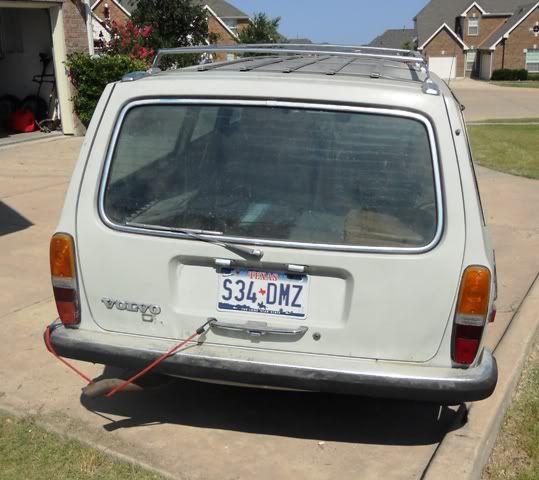
I had to laugh when I saw this pic. My 145 shares some of the same modifications!
71145_004-1.jpg


Excellent build, and hope my 145 comes out 1/2 as nice.
 
Not much to report on. Have the front end back together again and I'm working on the interior.... gauges and such. Here's a pic of it as of yesterday
IMG_0405.jpg

and a random pic of a 240 race car at the shop cause me stuff is a snooze
IMG_0404.jpg
 
Down the road I would love to complete a N/A 2.5 16v in my 142 if no one buys it. I'm wondering if using a rebuilt M41 would be a bad idea though.

You guys with your larger updated tranmission tunnels.:rant: Keep up the great work!
 
Still not much to report on. Moved the battery to the rear. Looking at gauge placement. I'm a fan of a nice clean install and making sure I can monitor everything, but have been struggling with having so many gauges. This is the placement so far... I think when I redo the interior next winter I'll put a R Sport gauge panel in.
On another note. I ordered the T5 speedo cable and was basically able to pull the Ford 'connector' off, trim some of the plastic sheathing off and press the Volvo threaded connector on.
 

Attachments

  • Gauges.JPG
    Gauges.JPG
    150 KB · Views: 904
Wow awsome don't mean to criticize though but why didn't you go with shorter intake runners so you could run a real plenum? Build looks awsome! Great craftsmanship
If I had to give up one or the other, I'd also prioritize runner length being optimized over the plenum shape. Tuned runner lengths will improve the powerband and you can still make the plenum the right volume, it's just a funky shape.

BUMP!
 
Making some good progress in getting this thing back on the road. Engine is back in minus a few things, exhaust manifold is out getting ceramic coated, intake is out getting powder coated. Fuel lines are in. Tranny and drive shaft are back in. Working on wiring the SDS. Haven't had a chance to take any pictures, but I know everyone loves them so here is a crappy cell phone pic. Still lots to do, but after being off the road for almost three years it is coming together nicely. Getting very excited...
IMG_0106.jpg

Better pics to follow next weekend.
 
All little more progress... starting to come together, and hopefully 'start' by the end of the month. And now a few pictures:

The computer mounted. Just a few wires...
DSC03705.jpg


Shifter housing welded up...
DSC03704.jpg


Coils and fuel lines in. That's a secondary fuel filter poking out down below...
DSC03700.jpg


Had a brace made for the manifold. The manifold is out getting ceramic coated right now...
DSC03701.jpg


And what project isn't without it's, '****, where does this go?' Anyone have any ideas? Can't for the life of me find where it plugs back into. I do know it's for the environmental controls.
DSC03710.jpg


That's it for now. Just waiting for things to come back from the powder coaters and ceramic guys. Hopefully the next post will be a video of it running!
 
The first thing that came to mind when I saw that wire was that it goes the light on the heater controls. I think it plugs into the OG cluster.
Marc
 
Back
Top