• Hello Guest, welcome to the initial stages of our new platform!
    You can find some additional information about where we are in the process of migrating the board and setting up our new software here

    Thank you for being a part of our community!

Patrick Dunn's '68 144

dunnp2

New member
Joined
Sep 18, 2011
Location
Seattle, WA
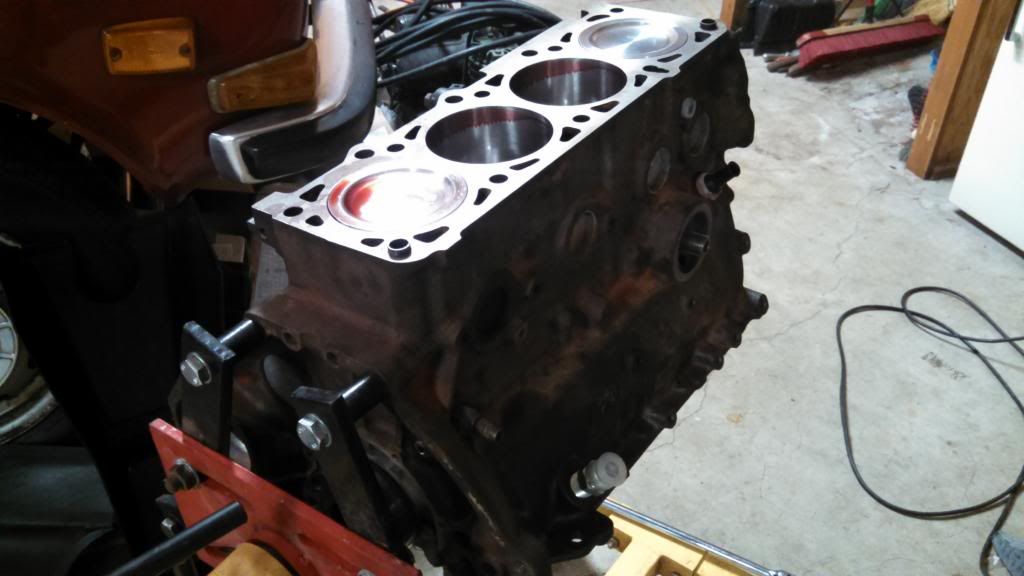
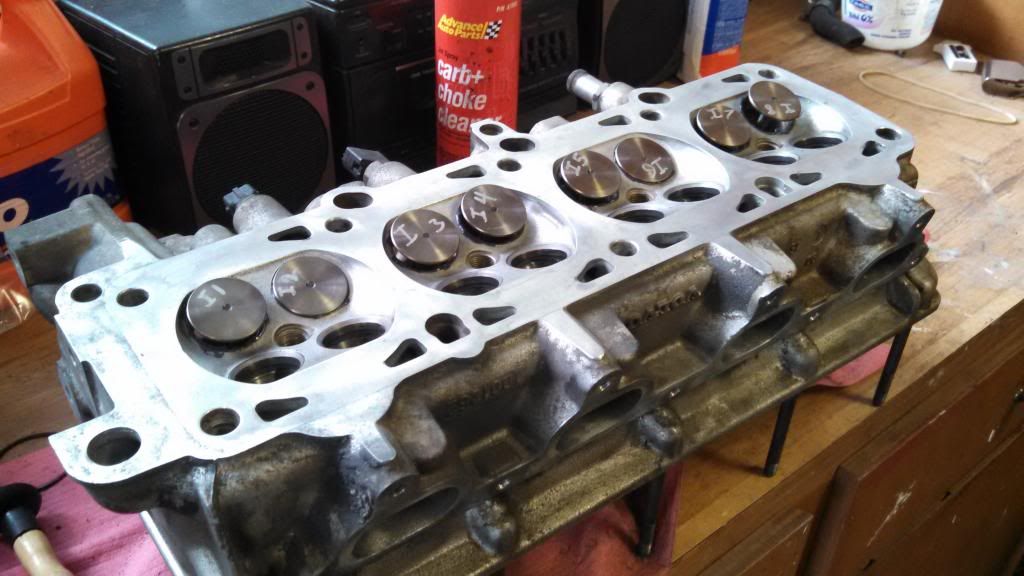
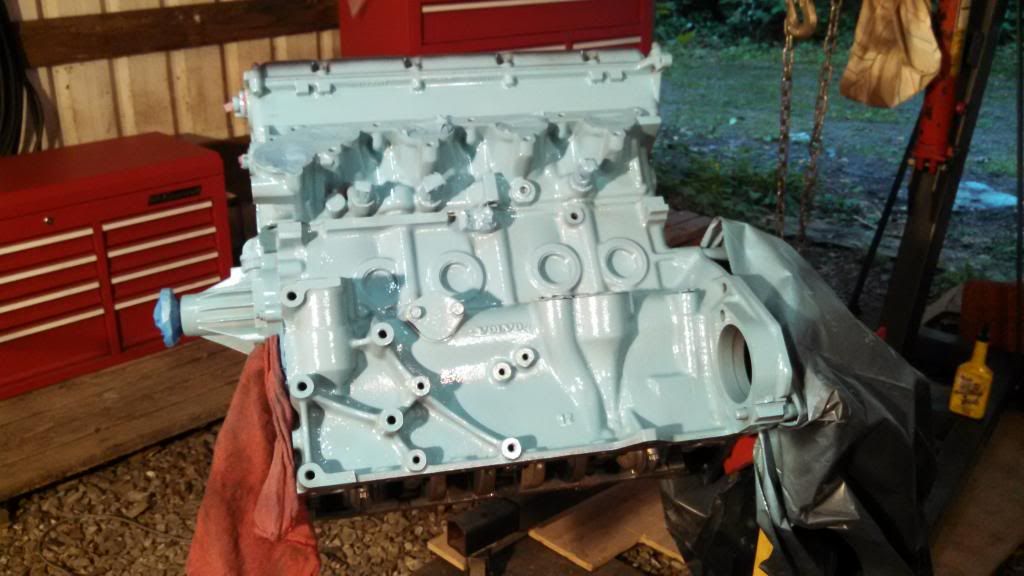
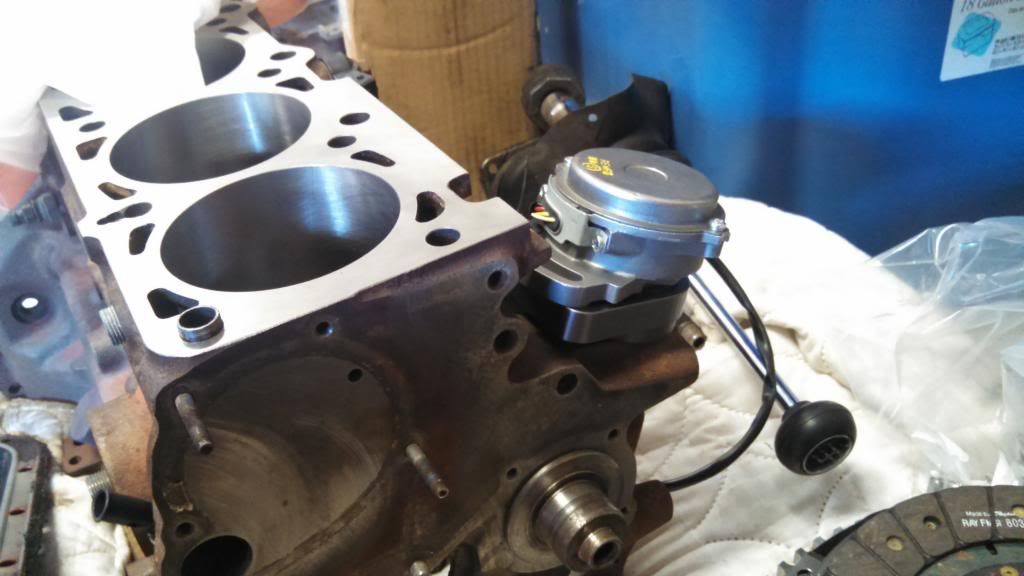
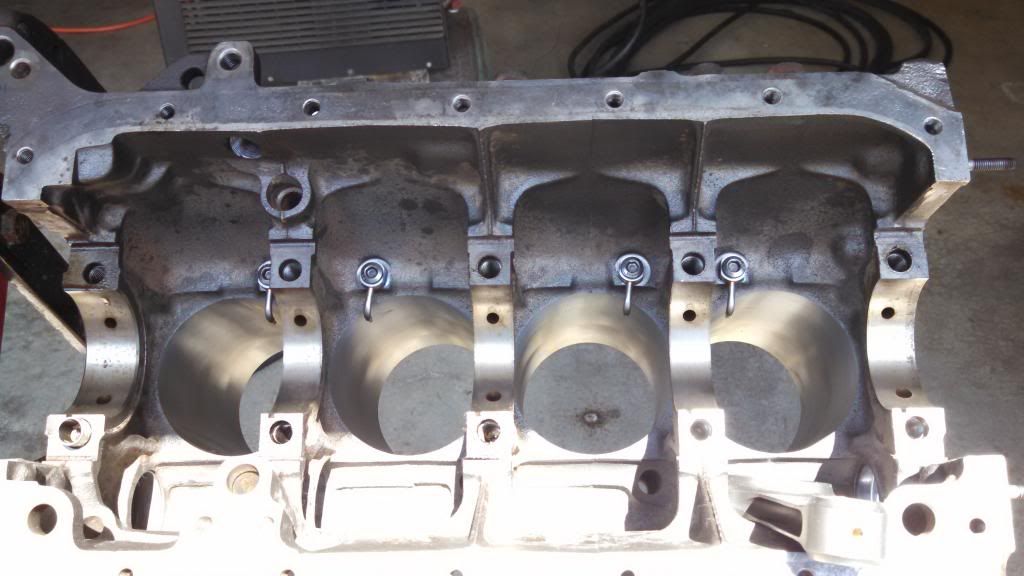
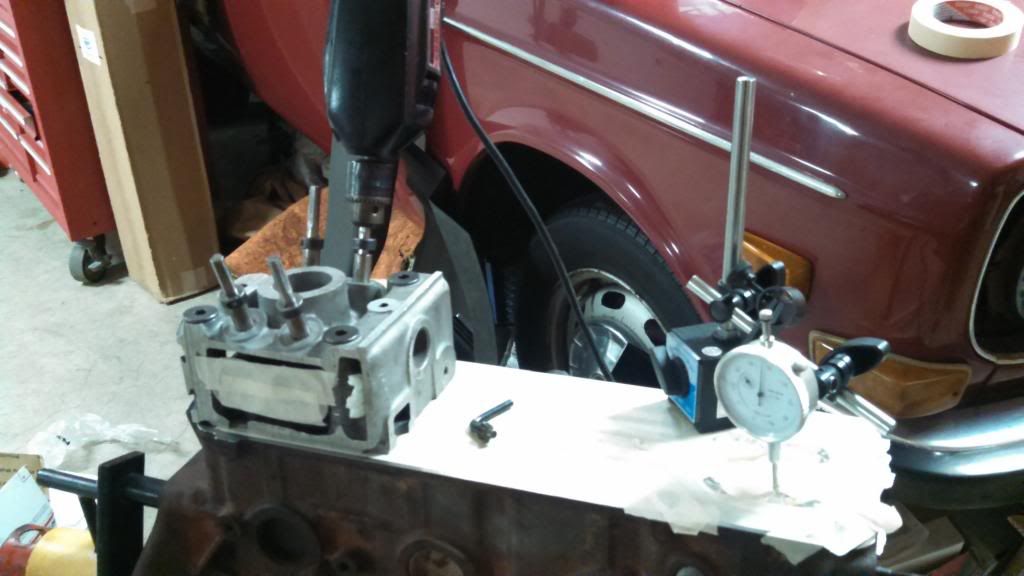
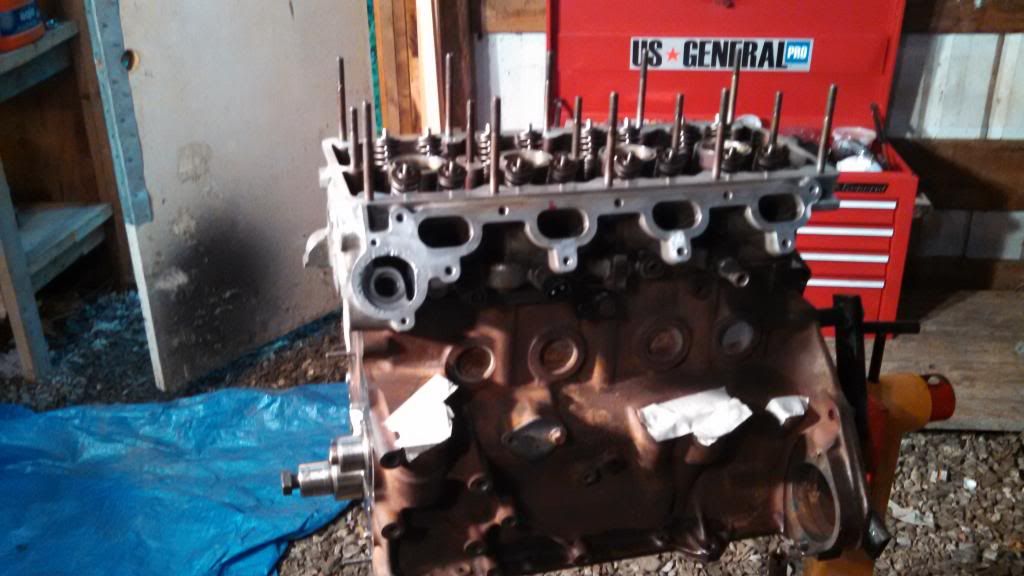
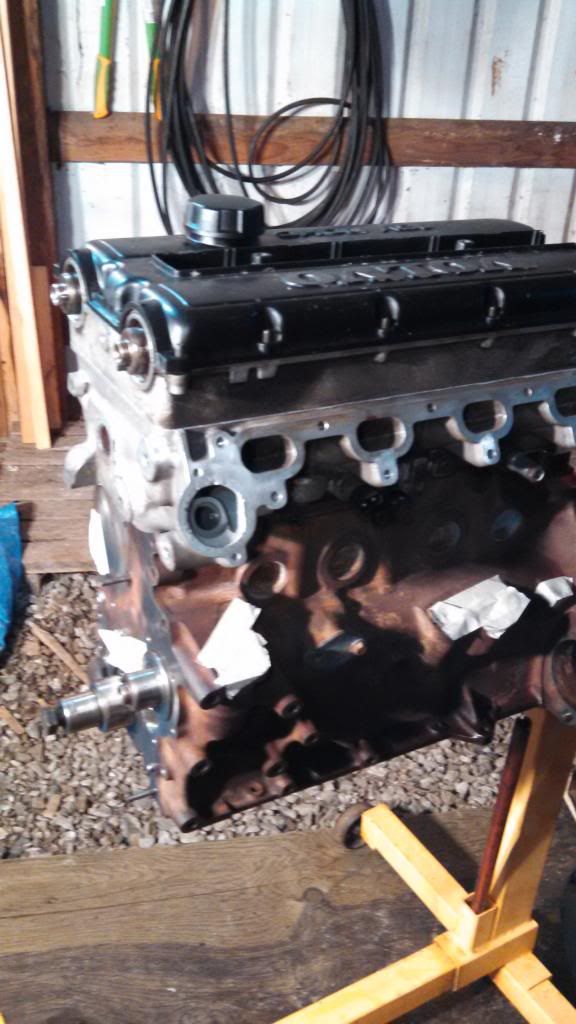
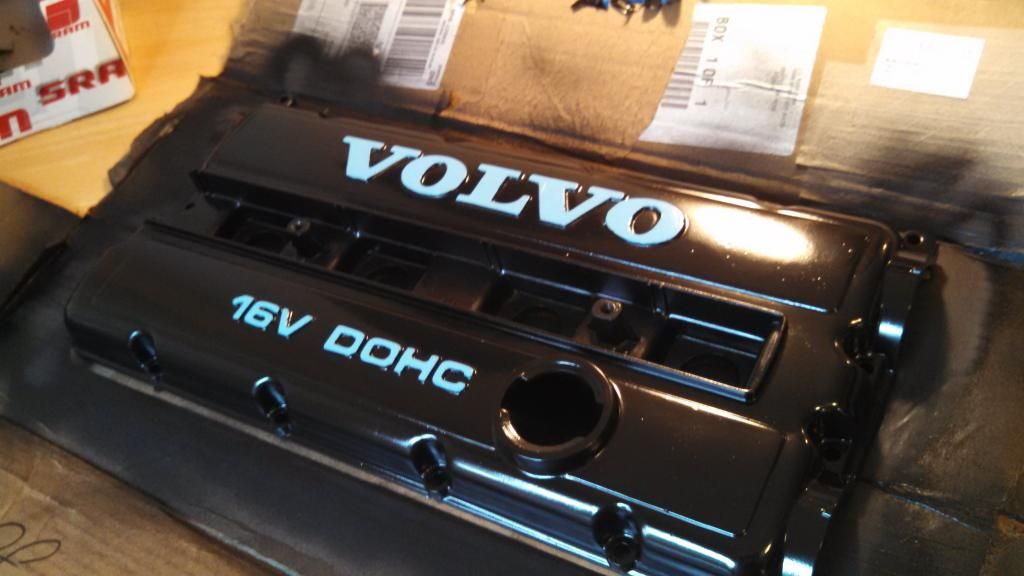
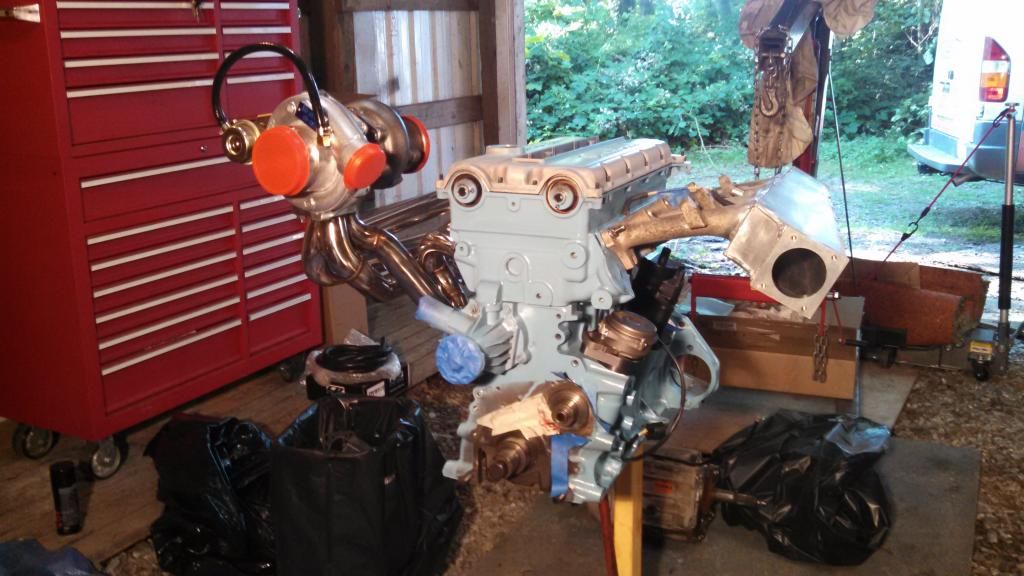
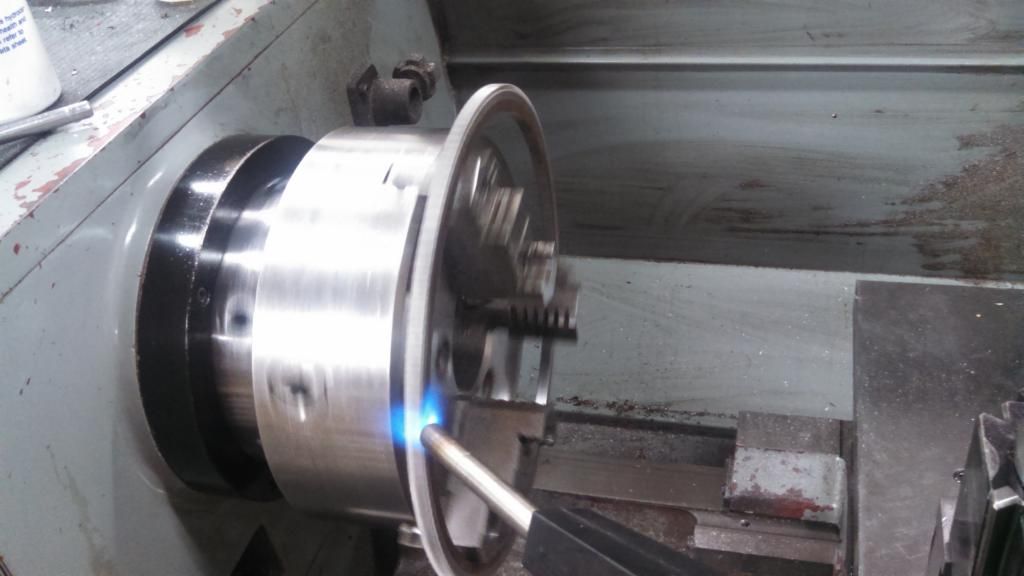
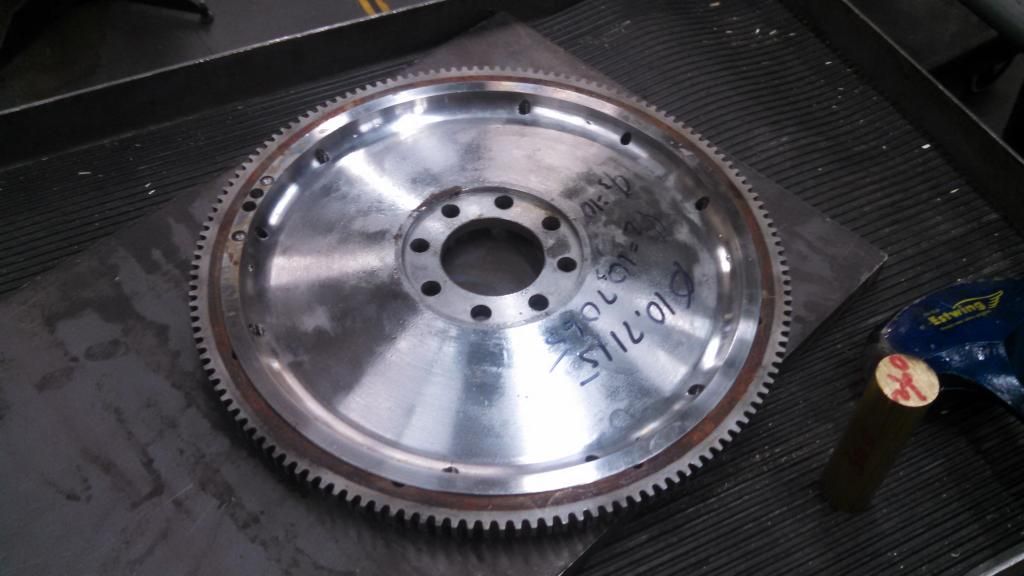
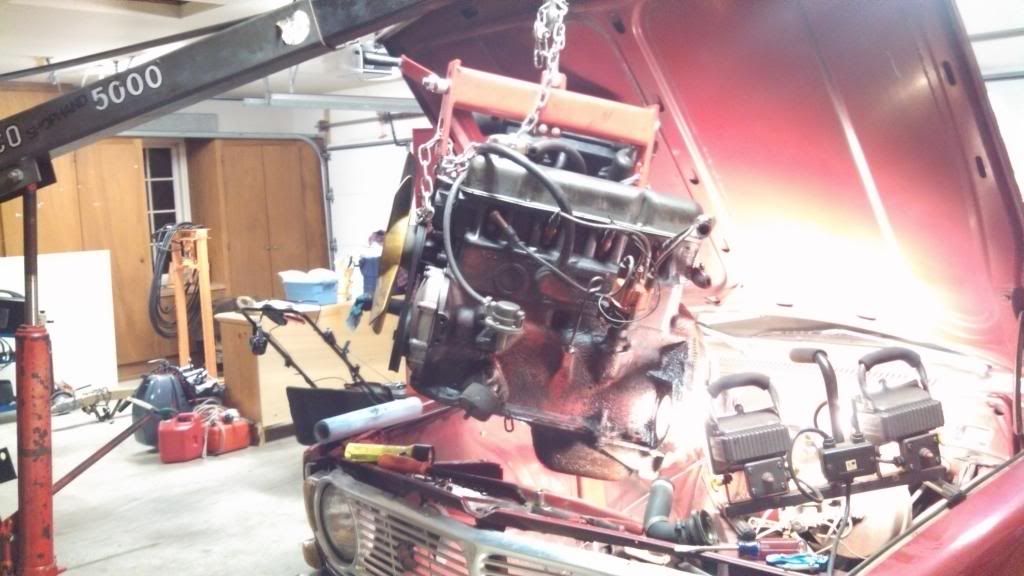
I figured I was far enough along to start a build thread. I'm planning to put a B230 into my '68 144, along with a 16v head, turbo, MS3X, GM T5 transmission, and maybe a few other goodies. The plan is for a really nice daily driver, so I'm not shooting for the moon with power and I'm not slamming it to the ground. It'll have plenty of heavy sound deadening and I'd like the exhaust to be fairly quiet. Not very exciting to talk about, but it should still be awesome to drive!

What do you do immediately after moving from New England to the Pacific Northwest? Buy a clean old Volvo.

2013-09-10194848.jpg


2013-09-14143353.jpg


2013-09-25203742.jpg


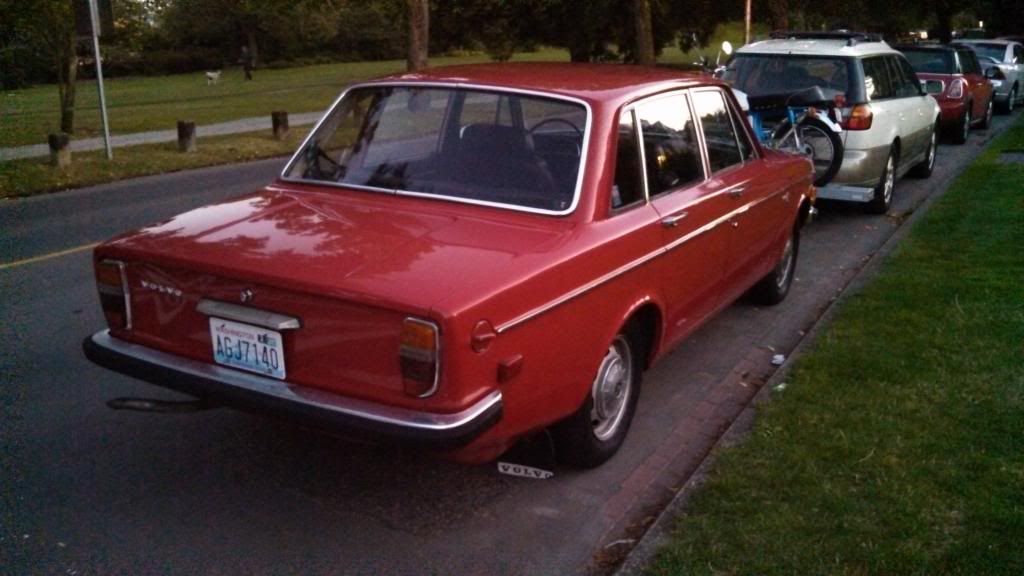
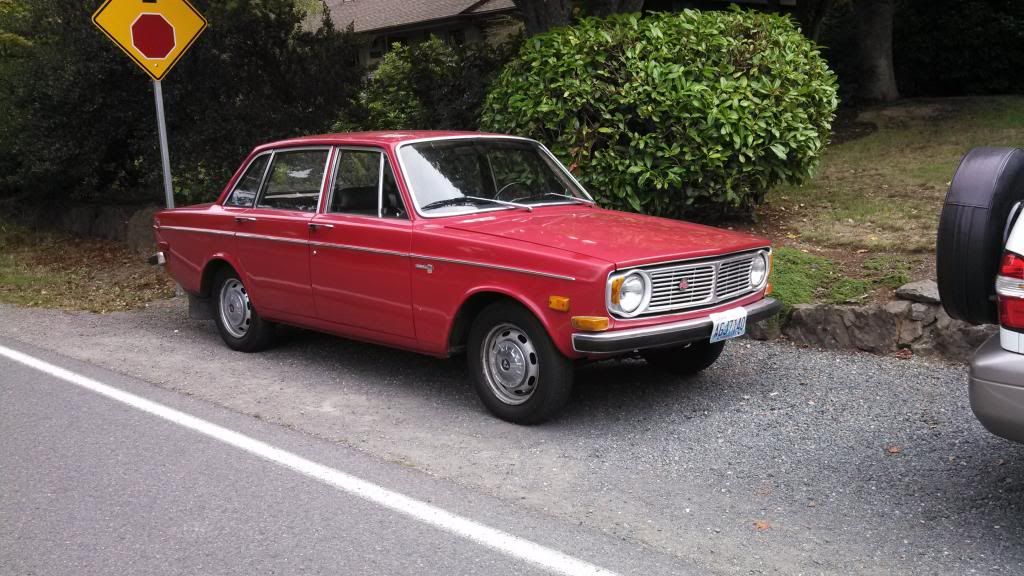
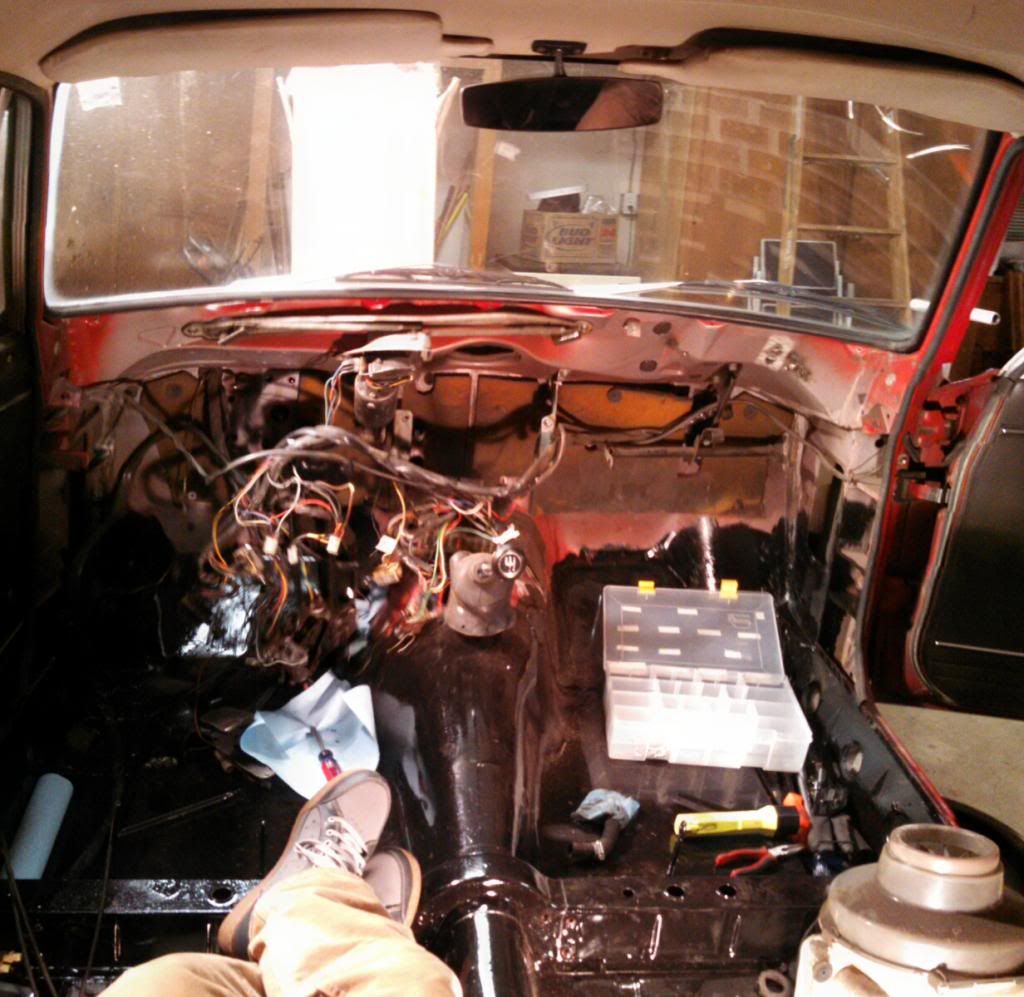
Then, of course, you tear it apart!

2013-11-10170916.jpg


2013-11-10120016.jpg


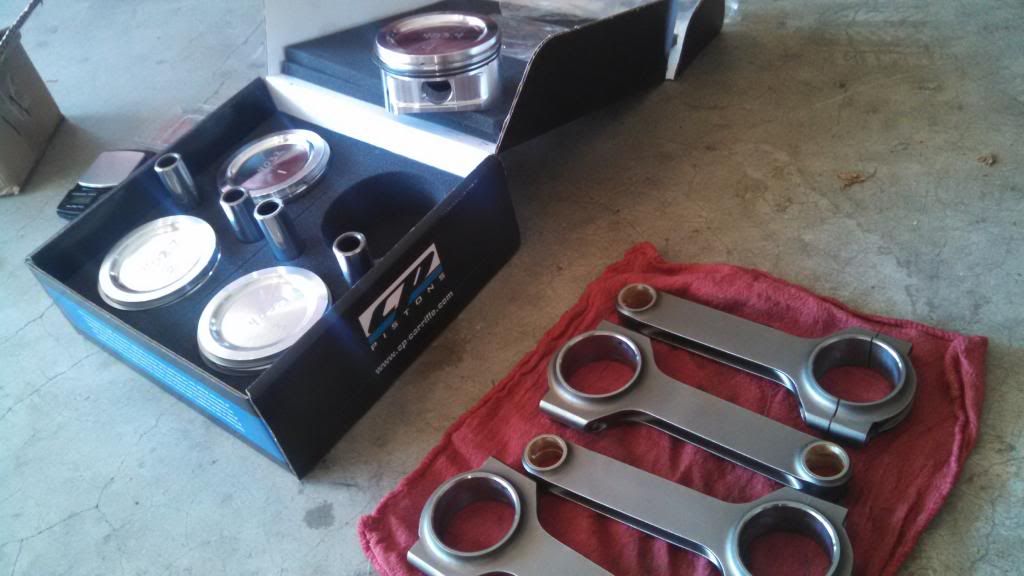
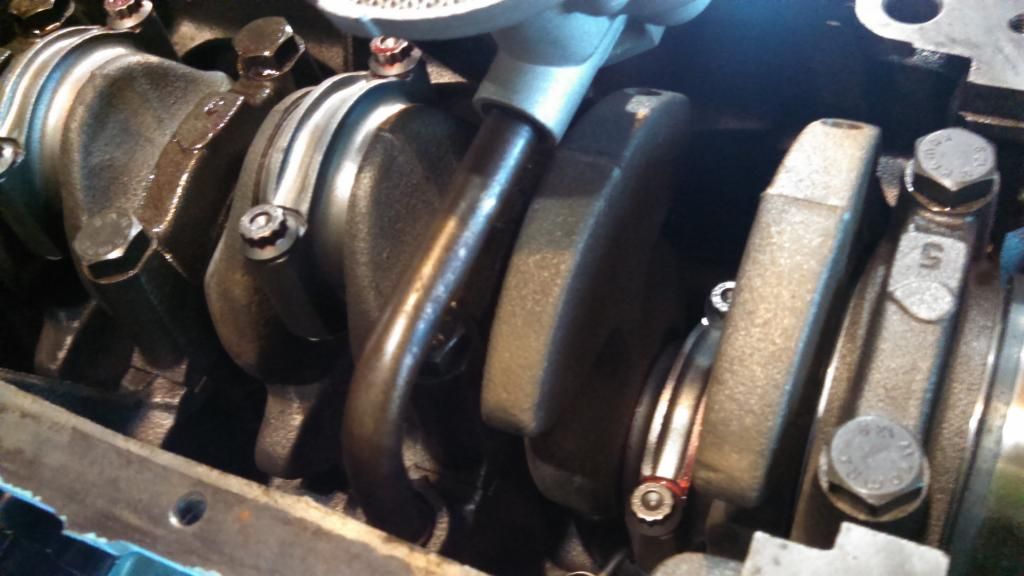
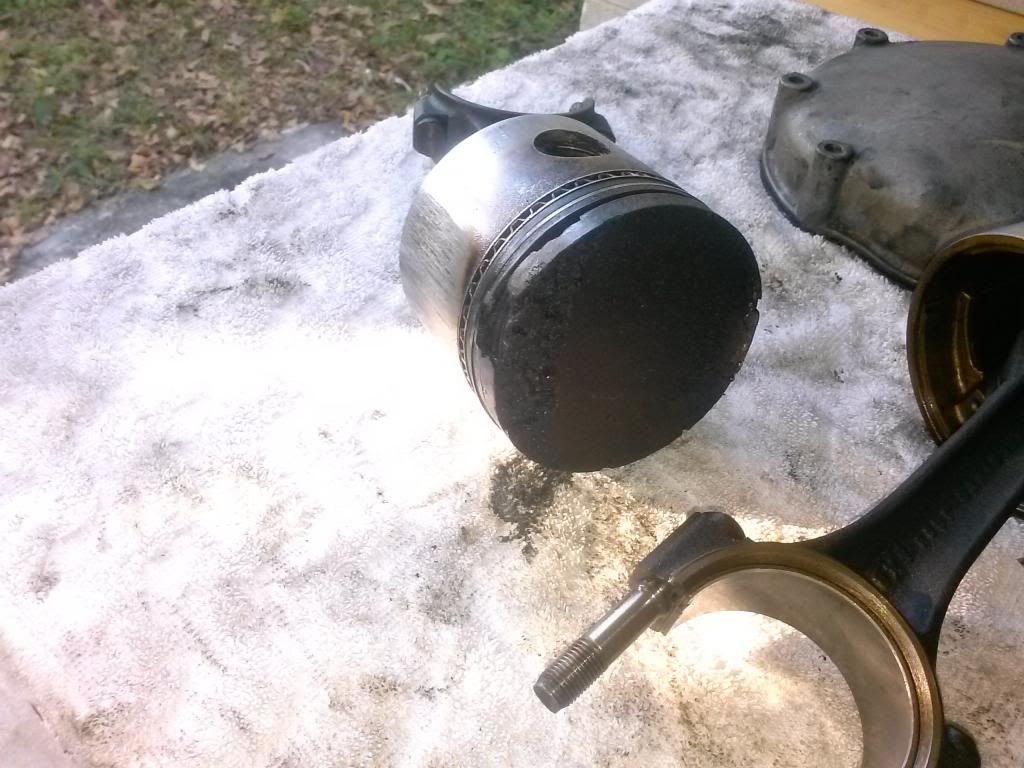
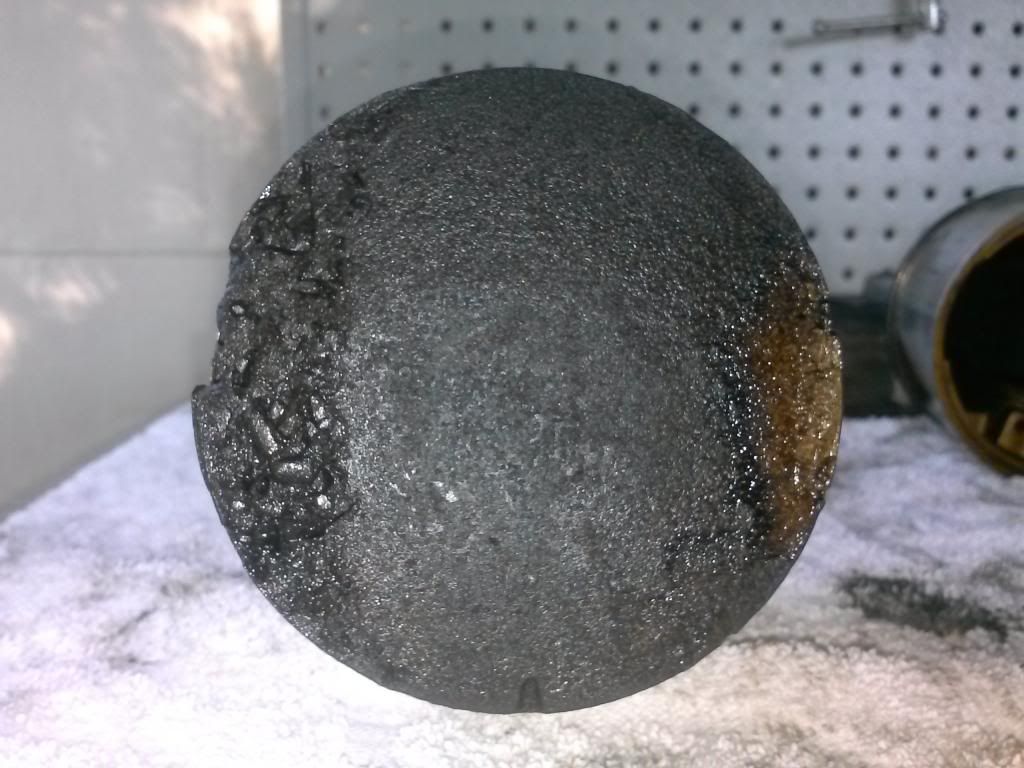
Here's a piston from the stock engine. Surprisingly it didn't feel like it lost any power, but there was a solid oil cloud coming out from under the hood at every stop light. None of the oil rings were in one piece.

CAM00412.jpg


CAM00416.jpg


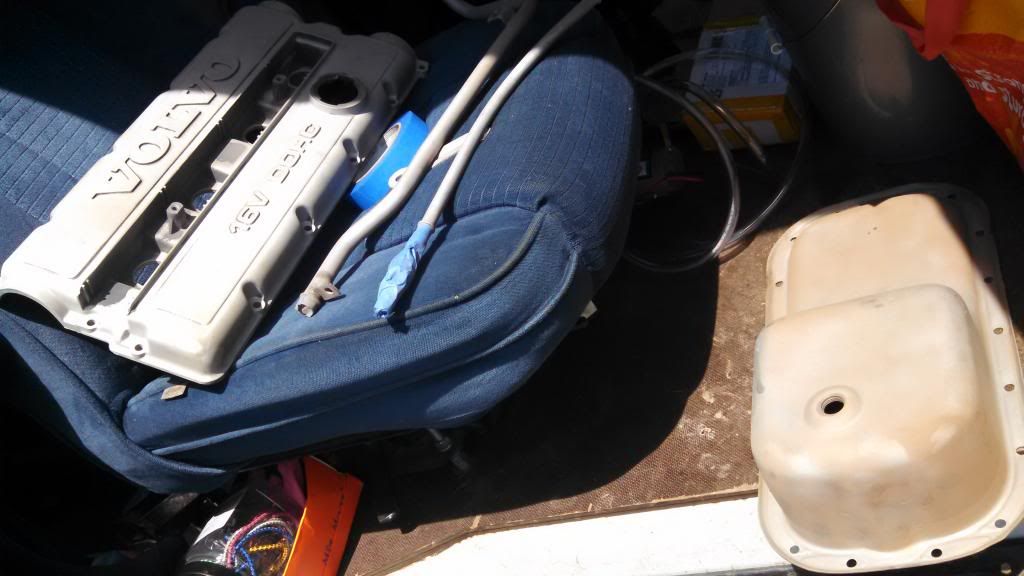
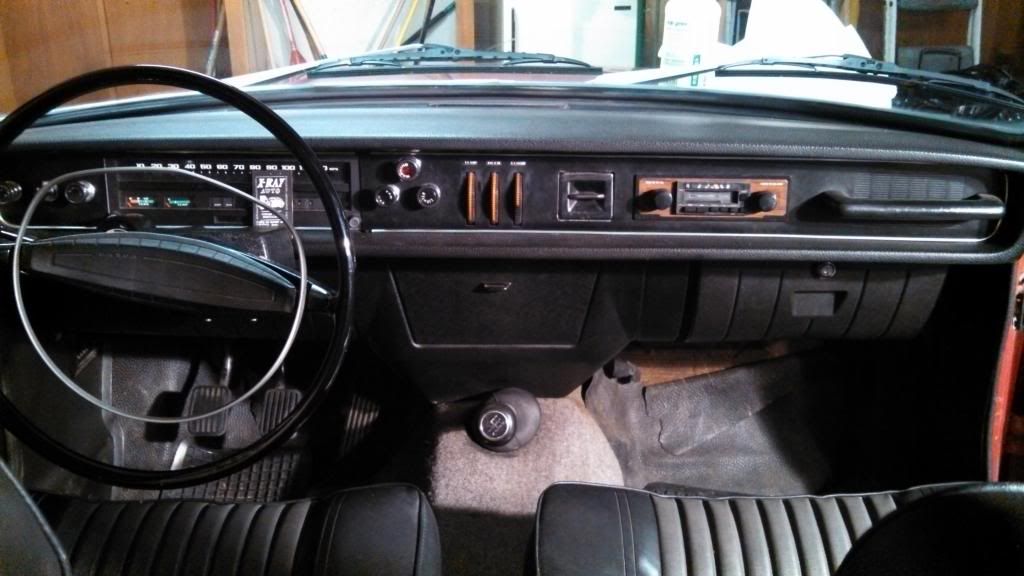
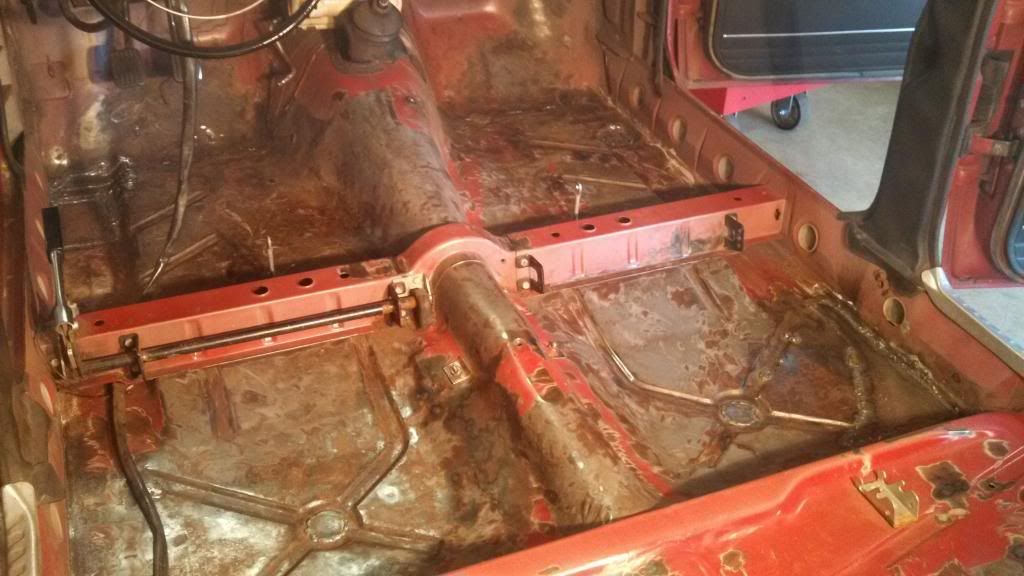
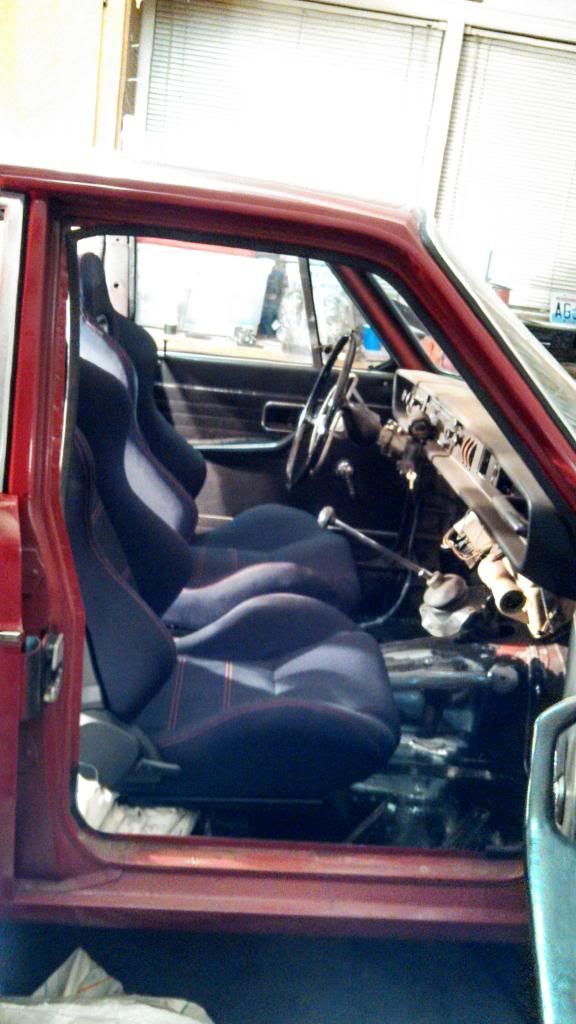
The interior is done enough at this point. I fixed the rust holes, POR-15'd everything, then put down a layer of sound deadening covered by a new carpet and some knockoff ricer seats.

2014-01-09212632.jpg


2013-12-15192118.jpg
 
Last edited:
The engine I'm swapping in came out of my '92 240. It's getting some sooper bitchin' (R) JVAB pistons and rods, a 16v head, and a turbo.

2014-06-05213459.jpg


2014-06-09182903.jpg


The head is staying stock except for some Ford 4.6 springs.

2014-06-09190227.jpg


I currently have the block assembled and put down the first coat of paint last night.

2014-06-25204433.jpg


Updates might be relatively slow because I'm racing mountain bikes starting this weekend. Training almost every day and weekend practice/races tends to suck a fair amount of time. Either way, I'm almost ready to start getting the engine in! Then comes the wiring and tuning...using MS3X. I've never wired an engine or done much tuning (only minor adjustments to my WRX), so that may be a long, painful process.
 
I got an introduction to the 3D printer at work and printed a few small parts. One is the clip that holds the sun visor in place, since one of mine pulled off and there's nothing for a screw to hold anymore. The other is a little thumb screw that holds the instrument panel to the back of the dash. One was broken and the gauge cluster flopped around.

2014-06-26085509.jpg
 
I didn't take many, but here's what I have:

Test fit of the DSM CAS with Yoshifab adapter - works perfectly!
2014-05-30171616.jpg


My block was from '92 so it didn't have piston oil squirters. JVL got me all set up with these:
2014-06-01124145.jpg


Pistons & rods, ready to go in:
2014-06-01164759.jpg


There was a mix-up in piston ordering, so I ended up with 8v pistons. Rather than getting new ones, I just rented the jig from yoshifab to cut reliefs. It was pretty stressful cutting into brand new custom pistons, but it worked out. The jig is nice, quick, and easy.
2014-06-05223607.jpg


2014-06-05222140.jpg


Comparison between Volvo and Ford valve springs. I remember someone mentioning that the Ford springs were lower force/in than Volvo's, I disregarded it until I realized they were longer to make up for it.
2014-06-09191542.jpg


Some pictures of the head going on before paint. I bolted the halves together three times before it was done...first before bolting the head to the block (duh), then the second time I used grey RTV so I took it back apart to apply loctite 510.
2014-06-14182112.jpg


2014-06-14191237.jpg


Here's where I'm at as of last night. Things are getting added to the block, finally!
2014-07-01182138.jpg


Also I spent a few hours sandblasting. I'm excited to be done painting stuff.
2014-07-02133321.jpg
 
Sweet project, where did the hardware for the oil cooler come from?

Here's the ebay listing I got it from:
http://www.ebay.com/itm/201107005044?ssPageName=STRK:MEWNX:IT&_trksid=p3984.m1439.l2649
Looks like it's a good quality part. I used a little RTV on everything that needs to seal to satisfy my 'ebay knockoff' mistrust.

Is that a 140 oil pan you will be putting on the B230?

Yep. My understanding is that the B230 pan will hit, so you can either sledgehammer it or use the 140 pan to clear the crossmember.

I'm also using a 140 oil pump. I just got the IPD 'heavy duty' one in the mail. :)

This is all going off of build threads I've looked at, so I'll find out if everything's right when I start bolting it together.

Here's a good resource I'm using:
http://forums.turbobricks.com/showthread.php?t=196369
I'm going to try and make one post detailing everything specific to mounting a B230 in a 140. I think it's just the oil pan, oil pump, and engine mounts, which can just be plates with holes drilled in them.
 
In the last week I've spent a lot of time to accomplish...not so much. I'll start with the good:

I got a lot of parts painted!
2014-07-07085739.jpg


Test fit of intake and exhaust:
2014-07-06181953.jpg


And now the bad...

I ran into a bunch of problems at once.

1) 140 oil pump doesn't fit. It wants to sit where the crank sweeps. It's close, so I think I can swing it. I'll slot the mounting holes a little to rotate it out of the way, then grind off a little of the offending metal.

Here are a few close-ups:

2014-07-06175019.jpg


2014-07-06174955.jpg


2) The nipple for the heater return line (from the cabin) wants to occupy the same space as the nipple for the PCV box. Also the PCV box hits just below the threads for the heater nipple, but that was solved quickly with an angle grinder.

Clearance for PCV box:
2014-07-06175105.jpg


2014-07-06175055.jpg


I thought a 90* elbow would solve the problem...no luck. It's very close, only a few mm, but in the process I ruined the 90 anyways, so I have a 45* elbow in the mail. I haven't seen anybody else talk about this...is there a solution I'm not aware of?

2014-07-09181244.jpg


2014-07-09181415.jpg


3) I'm using a Yoshifab DSM CAS adapter and a T-belt kit made by NathaninWA, and they want to be in the same place at the same time. I can attach the CAS, but not rotate it through the slots needed to adjust timing.

2014-07-09182750.jpg


2014-07-09174813.jpg


So first I cut off a huge chunk of the idler bracket:

2014-07-10122408.jpg


But not enough. I refuse to cut any closer to those threads, so I guess I'm cutting off a chunk of that tab.


4) I have a JVAB steel flywheel with a dual pattern so I can start out with my existing volvo transmission/clutch/pressure plate, then swap to a GM T5 (as seen hiding in the picture above) and keep the same flywheel. Because who can live with a heavy flywheel?

JVAB doesn't supply ring gears with the flywheels, so I bought an automatic flexplate (because it was cheaper) thinking it would have the same ring gear and I could just press it off and onto the new flywheel. Unfortunately, no. It turns out the automatic ring gears have a significantly smaller I.D.

Moral of the story...cheaper isn't always cheaper. Or easier.

Since I'm making a push to get the engine in this weekend, and the teeth on this flexplate are in good shape, I decided to enlarge the I.D. to what I need. First, I had to get the rivets out:

2014-07-09205425.jpg


2014-07-09212206.jpg


Then, since I need about a thou accuracy and the biggest bore gauge that I can use only goes up to 8", I made an extension:

2014-07-10084443.jpg


I finished that around 1:30 last night, so no milling the flywheel until tonight. Stay tuned.
 
This thread is relevant to my interests. I have read the pre-71 trans tunnel is too tight for a T5 and needs modification, what is your plan for that?
 
This thread is relevant to my interests. I have read the pre-71 trans tunnel is too tight for a T5 and needs modification, what is your plan for that?

I'm aware of that, so I didn't sound deaden anywhere near the trans tunnel. I'm planning on just cutting and welding where I need to. I've heard of people removing the whole tunnel from the firewall to the rear seat, then getting one from a 240 and welding that in, but that seems excessive to me. It seems like I should be able to remove some sections and weld in sheet metal as a spacer, only where it needs clearance.

But I'll wait and see. That's a project for after the engine is running happily and winter has returned.

...assuming those happen at the same time. :x:
 
Ring gear is mounted. The interference fit ended up being between .005" and .006". That's what I was thinking I needed at the time, but I read a little this morning and found people recommending .020" and .025". Any experts out there know if I'll have a slipping ring gear? I could tack weld this on and have it re-balanced, but I'd like to avoid that if I can...

I did find a few people saying OEM recommendations were .004" to .007", which is making me think I'm fine.

Anyways, here are the pictures to prove it happened:

Here's my custom extender in action. It worked perfectly.

2014-07-10194228.jpg


Cutting action shot:

2014-07-10204327.jpg


Completed ring gear. There was a lot more material removed that I was expecting.

2014-07-10222806.jpg


This whole time, the flywheel was in the freezer. I stuck the ring gear on the lathe and torched it for a while, using the sizzling saliva test to see if it was hot enough.

2014-07-10224035.jpg


Then the ring dropped on! It was loose enough to spin for a few seconds, then tightened right up. Pretty cool watching the frost melt away from the edge and evaporate.

2014-07-10224728.jpg


Also last night I did a bit more part trimming to make everything fit.

Now I think I'm all set to get the engine in tomorrow. Fingers crossed.
 
The b20 wont work on a b230, you have to cut and weld a b230 pump to work. The b20 pump trick only works on b21/23s. Furthermore, throw that late style breather box in the trash and use a b23 one...they don't split apart like those late style boxes do. Also, are you planning on vert mounting the motor? Better be with that pump/pan setup...but you might run into some huge issues with that intake and possibly header.
 
The b20 wont work on a b230, you have to cut and weld a b230 pump to work. The b20 pump trick only works on b21/23s. Furthermore, throw that late style breather box in the trash and use a b23 one...they don't split apart like those late style boxes do. Also, are you planning on vert mounting the motor? Better be with that pump/pan setup...but you might run into some huge issues with that intake and possibly header.

I think the b20 pump is going to work. I made a little clearance last night, I'll do a test fit in about an hour. I don't want to trust a welded oil pickup tube if I can avoid it.

I also think this 45* elbow will solve the problem with the breather, that way I can use what I have since it's brand new.

Yes, I'm mounting vertically, and yes, I'm going to have a huge issue with the intake and the brake booster. That's a problem for later. I haven't looked at the header much, but from a glance I think it might be okay.

I'm most likely going to need manual brakes, or look into a remote booster. Someone mentioned that they exist recently, that's as far as I've gotten.
 
I'm most likely going to need manual brakes, or look into a remote booster. Someone mentioned that they exist recently, that's as far as I've gotten.

Late 122 wagons had remote boosters on the fender... I have one, but it will need to be "rebuilt" or at least cleaned/flushed... But I'm not certain if there's anything available as far as a rebuild kit.
 
Back
Top