
Karl Buchka
Active member
- Joined
- Mar 25, 2007
- Location
- Los Angeles
Alex and I have been talking about doing a simpler project for a while. Something closer to stock that we can screw around with and not be too serious with.
We've had an '83 242DL roller sitting around and when we came across a B234f with a T5 attached, it seemed like a good opportunity to realize the idea. Alex went to California in late June, so I've been solo on this one for most of the build. I've also been working in Boston. With the car down at the shop on Cape Cod I've only been able to work on the car itself during the weekends.
So here are the basic specs:
B234f
Yoshifab rods
Ported 90+, Yoshifab adapter
Yoshifab valve springs
Shortened B234f intake manifold, 960 tb
T5wc, 4-puck disc, flat flywheel machined for 60-2
HX35, hogged out divider, enlarged internal gate
VEMS
800cc injectors
4" downpipe, 3" exhaust
4" core ebay IC
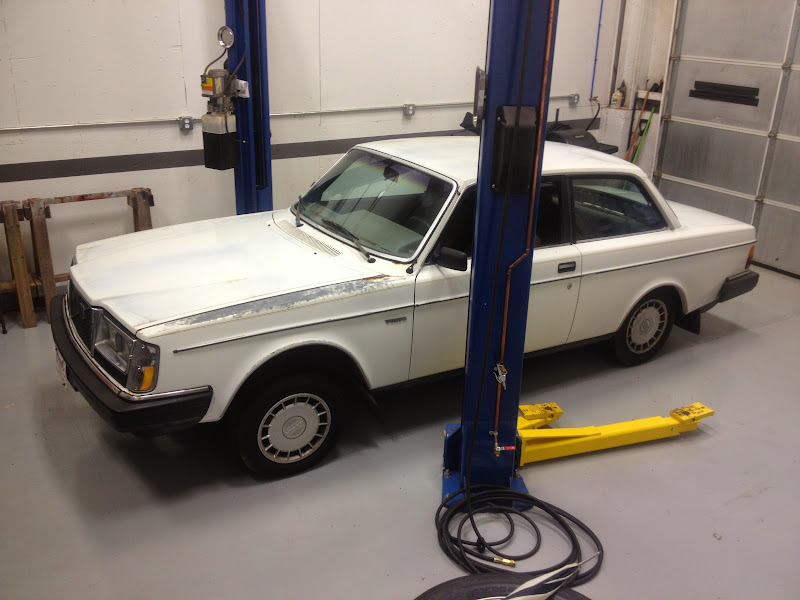
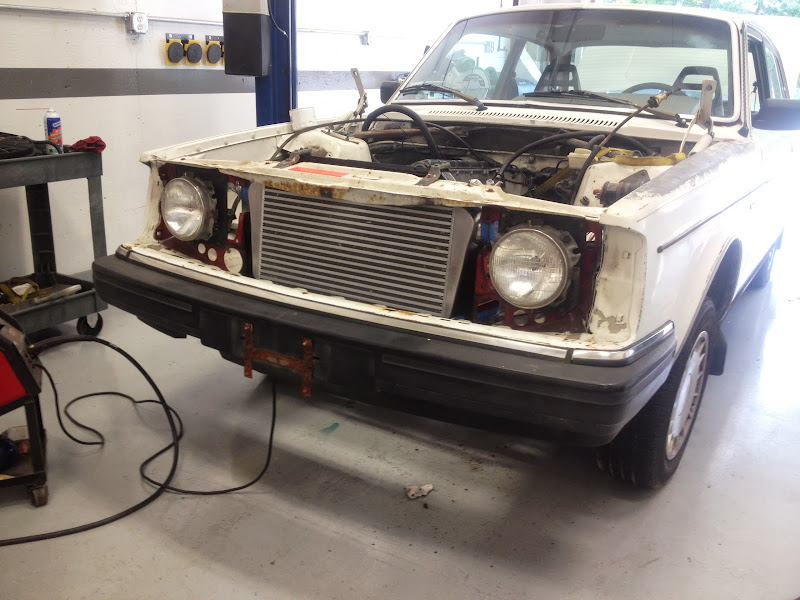
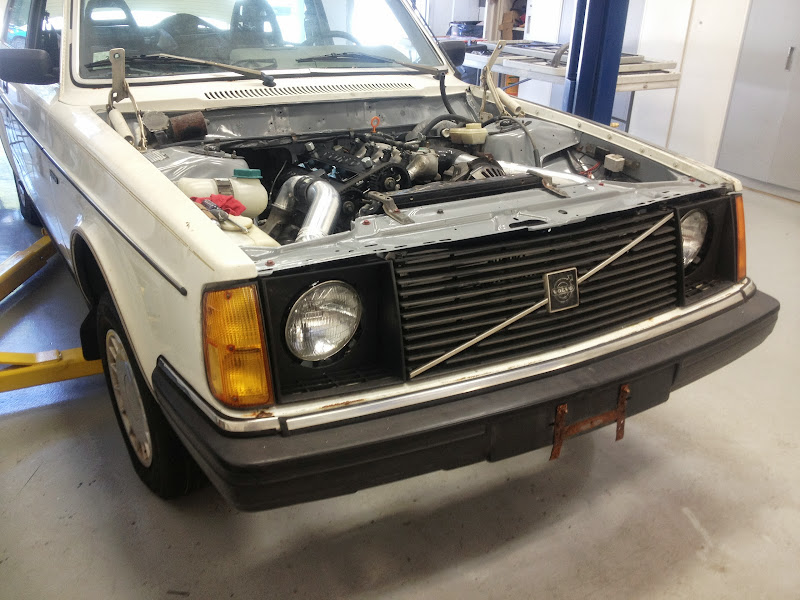
The "subject" at the shop, ready for surgery. The '83 DL is my favorite year and trim of the 240s. You get skinny bumpers, 5-panels, and no sunroof. This was originally a California car, so it's largely rust free.
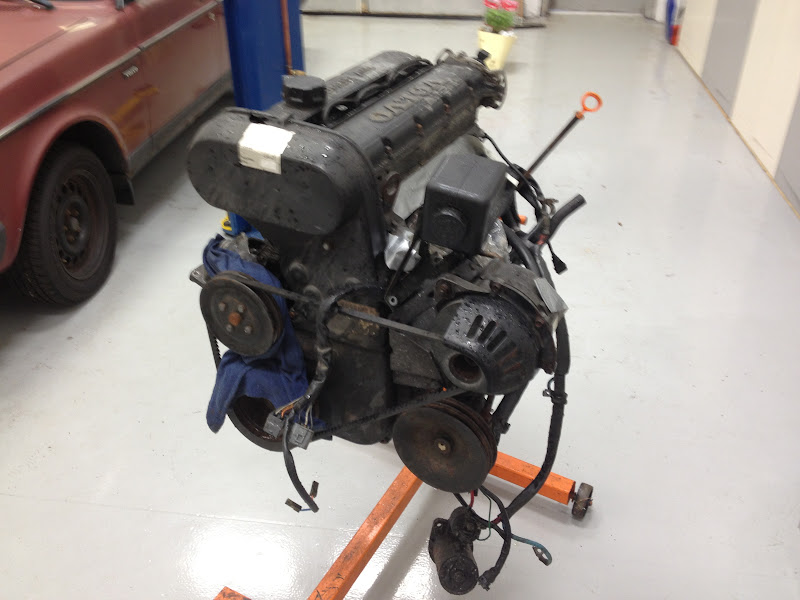
B234f, as received. We were led to believe it was a solid engine that was ready to run. That turned out not to be the case. The valve cover was cracked and it was probably left outside for a number of months, which led to water ingress and rust on the cams and bores.
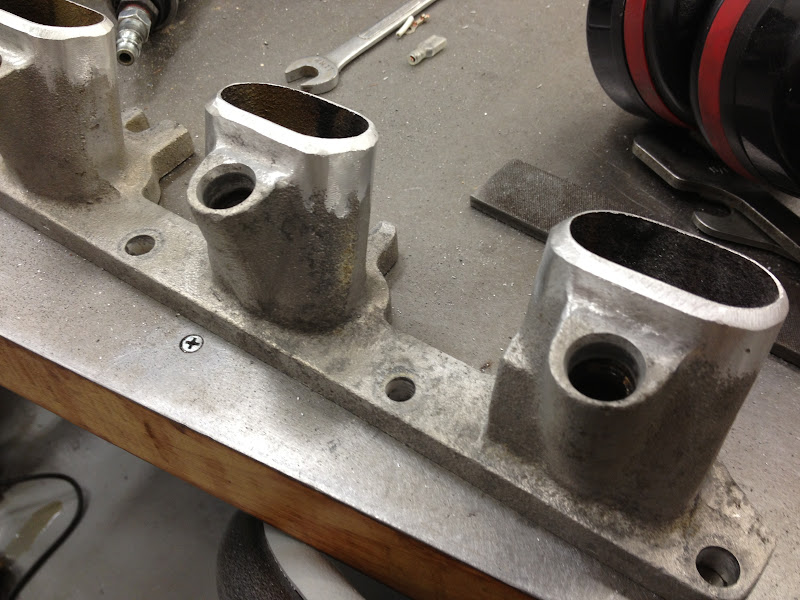
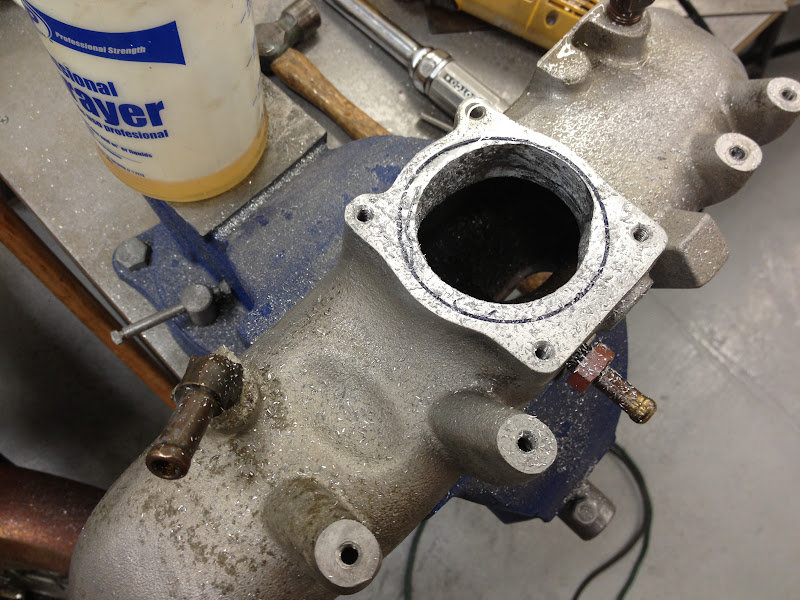
Alex tore the engine down and did an awesome job shortening the intake runners and porting it for a 960 throttle body.

Cleaned the pistons with simple green in the ultrasonic cleaner at work.

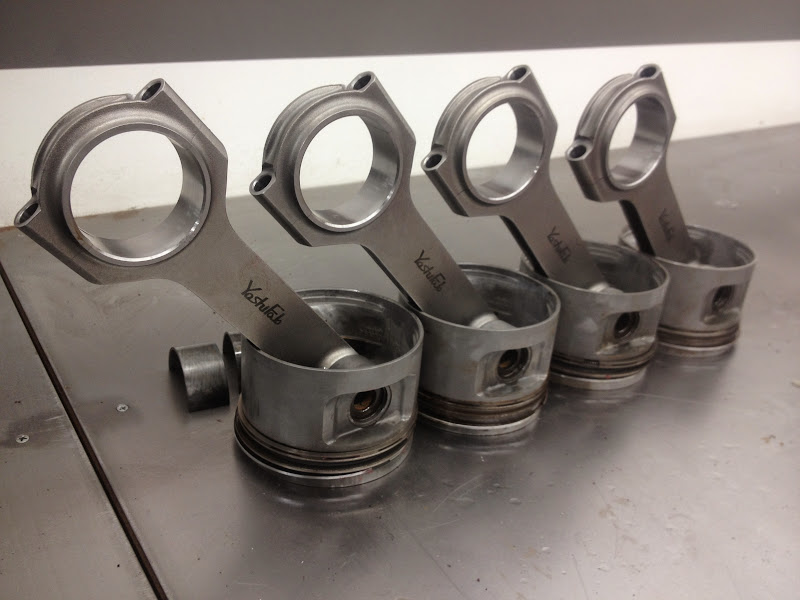
Yoshifab rods installed in the stock pistons.
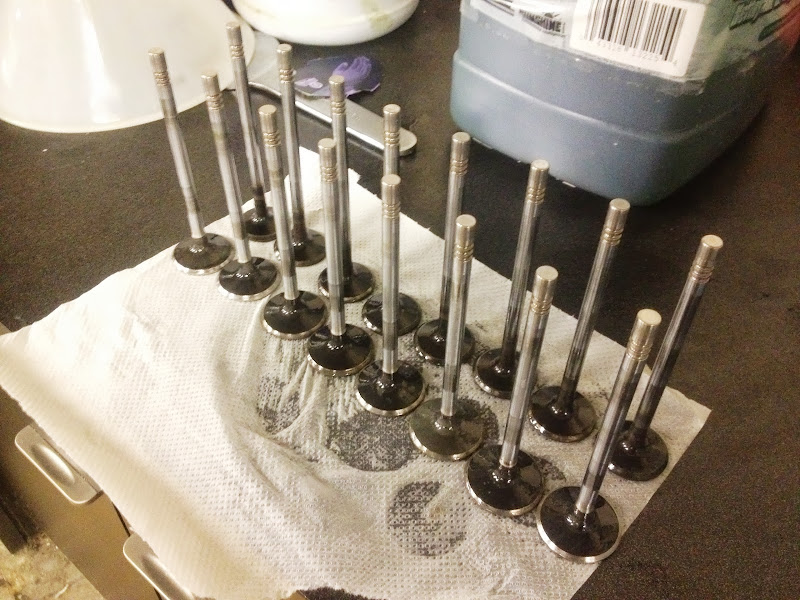
The head itself is stock and has just been cleaned up. I nuked the valves in an ultrasonic cleaner and lapped them before installing them with Yoshifab springs.


Fabricated new engine mounts out of a hacked up torque rod. The vehicle side uses the front subframe pickup points.

Added a 60-2 to a flat flywheel in the CNC.

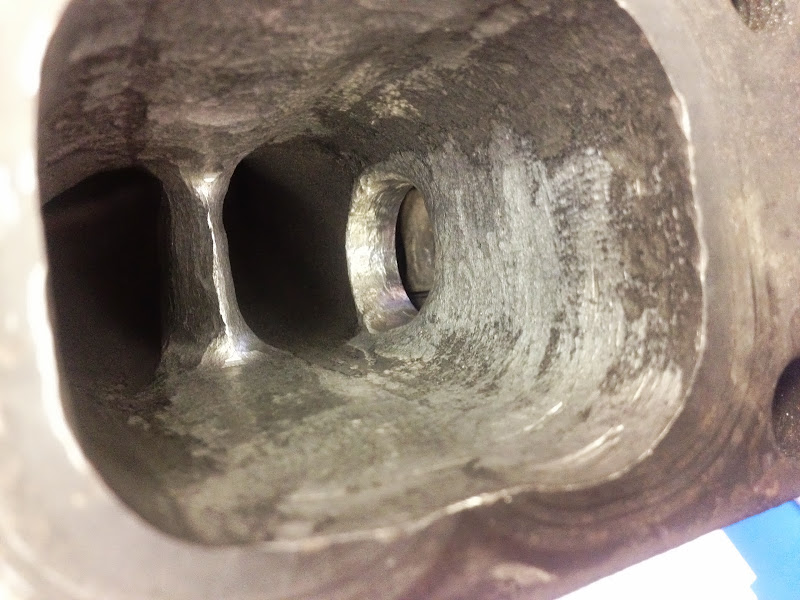
Upskirt of the HX35. Since I'm running a 90+ I have no use for the divided housing. I roughed it out in the mill and did the cleanup with a die grinder. Also opened up the wastegate port.
Mounted the IC and the 7" rounds from my old car.
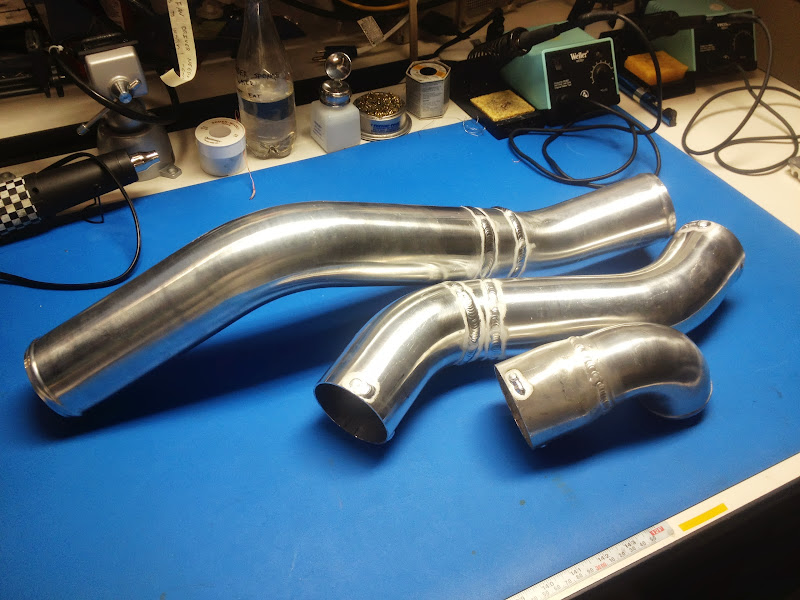
Welded up some 3" tubing for charge pipes.
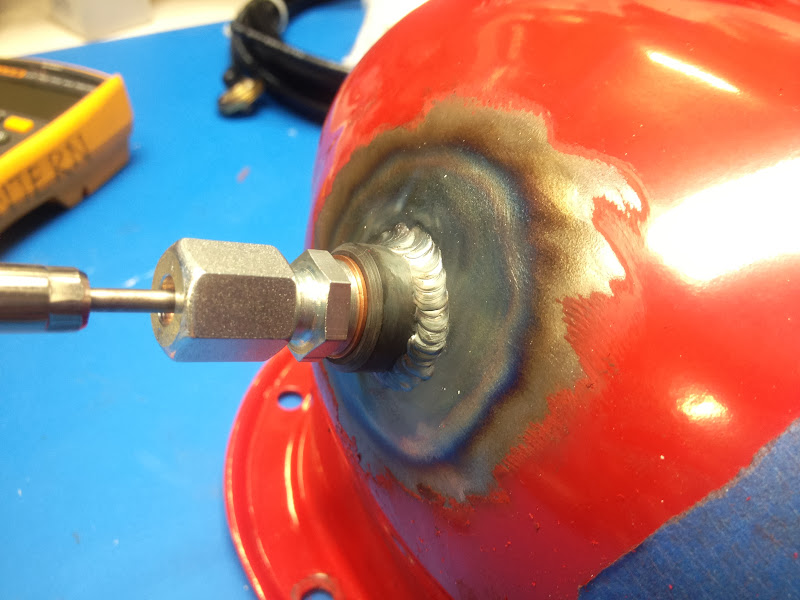
Added a compression fitting to the pan for an oil temperature sensor.
Plugged balance shaft ports. Turns out a 240 wheel stud with the threads cut off makes for a nice press fit plug.

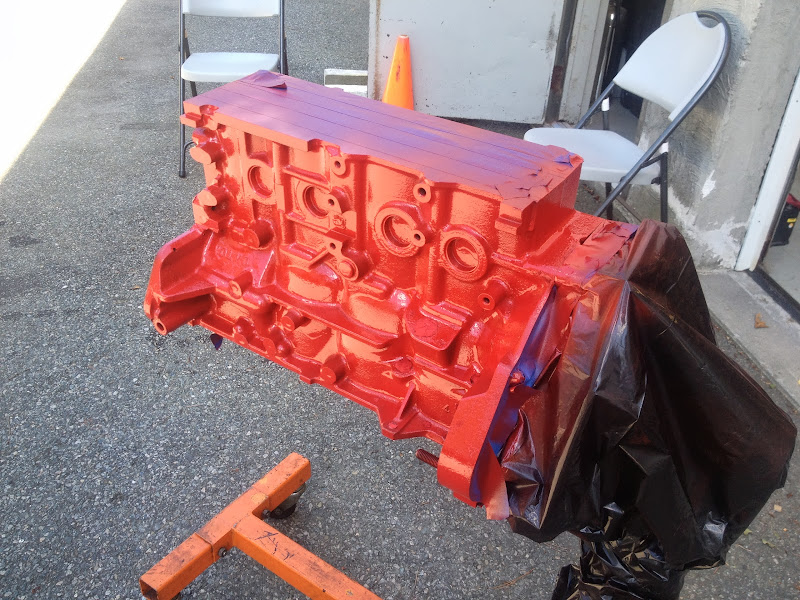
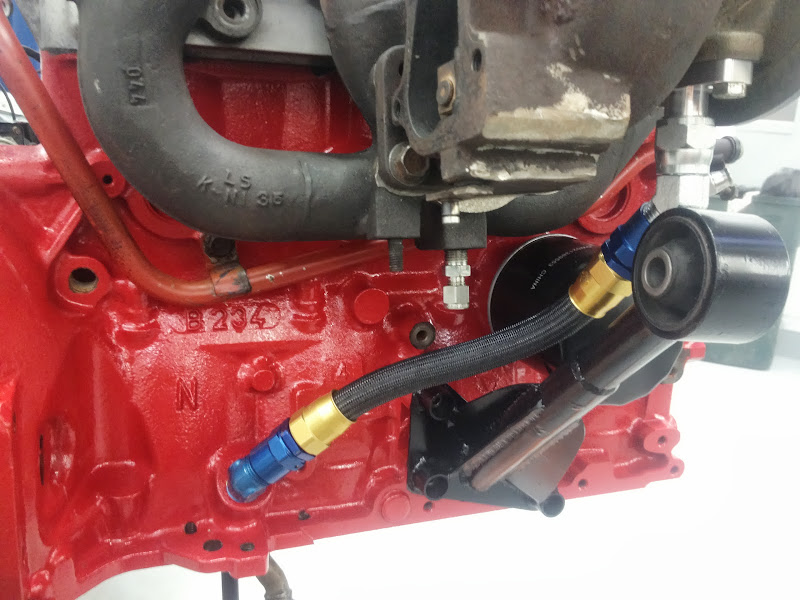
Stripped and painted the block.
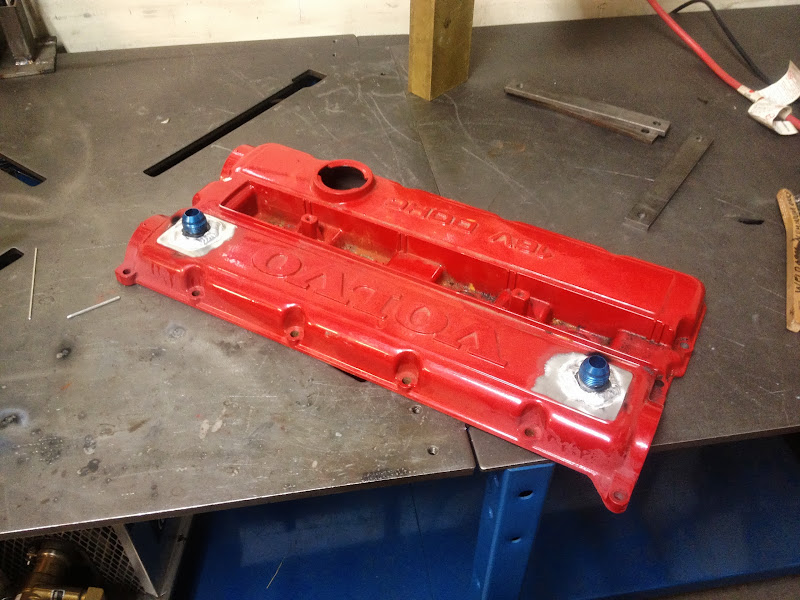
Got an uncracked valve cover from Poik that I added two baffled -10 vent fittings to.
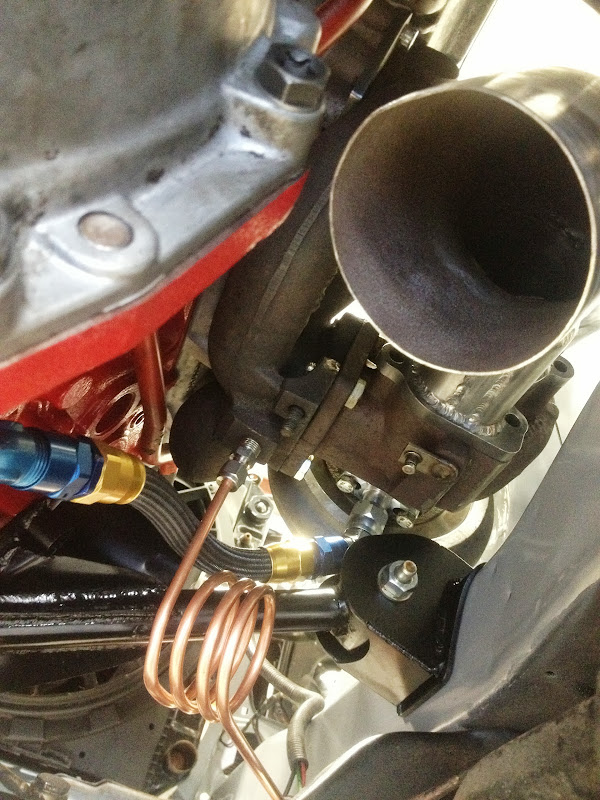
BMRS ProGold -10 oil return, courtesy of Homer. There's also a Swagelok fitting on the header that I'll use to log exhaust backpressure.
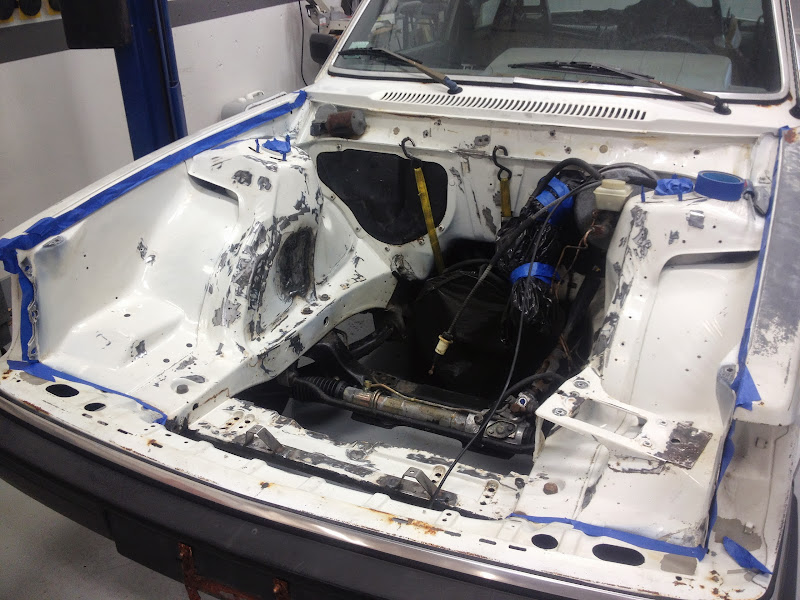
Stripped, power washed, and masked off the engine bay.
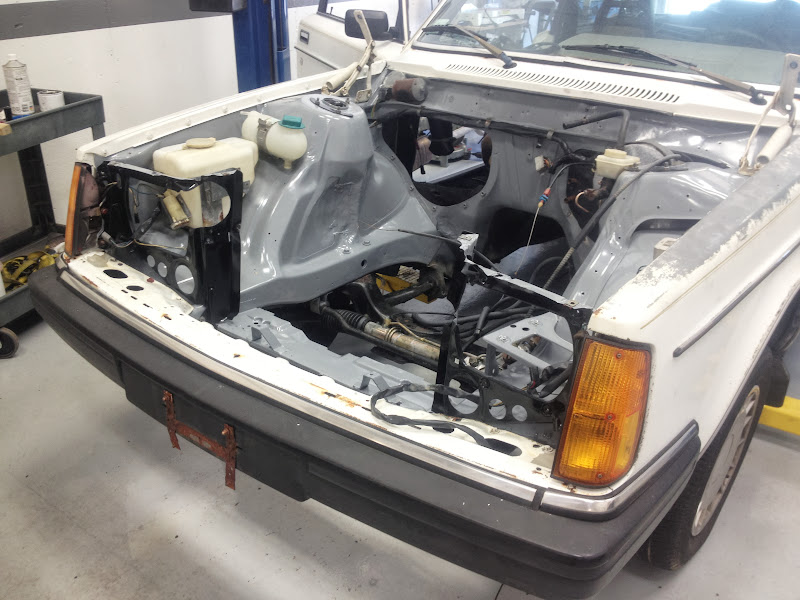
Went with a Yoshifab-inspired battleship gray, with black behind the slam panel and headlight surrounds.
4" downpipe.

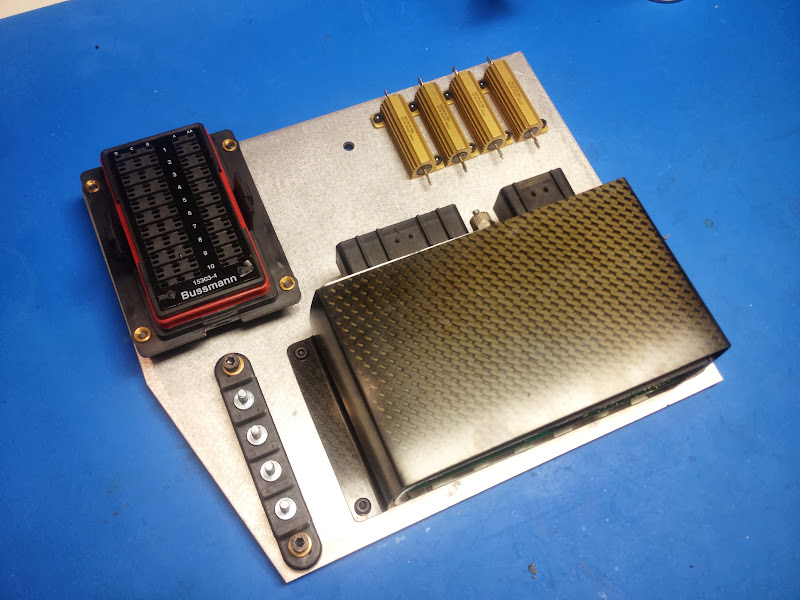
Mounted the VEMS, resistors, and fuse panel on a brushed sheet of aluminum. It bolts to the passenger side kickpanel.
Re-assembled and dressed.

Re-installed.
That brings us up to date. There are tons of little jobs that aren't pictured, but for anyone wanting a more detailed look, here's a link to the gallery where I've been keeping all the photos.
https://picasaweb.google.com/109121293584501138765/FakeStreetCar242
The photos I've posted here represent the last ten weeks or so. I have worked on the car literally every single day for that period. It's been a grind. Getting the engine in is a huge milestone. I'm looking forward to getting it on the road.
We've had an '83 242DL roller sitting around and when we came across a B234f with a T5 attached, it seemed like a good opportunity to realize the idea. Alex went to California in late June, so I've been solo on this one for most of the build. I've also been working in Boston. With the car down at the shop on Cape Cod I've only been able to work on the car itself during the weekends.
So here are the basic specs:
B234f
Yoshifab rods
Ported 90+, Yoshifab adapter
Yoshifab valve springs
Shortened B234f intake manifold, 960 tb
T5wc, 4-puck disc, flat flywheel machined for 60-2
HX35, hogged out divider, enlarged internal gate
VEMS
800cc injectors
4" downpipe, 3" exhaust
4" core ebay IC
The "subject" at the shop, ready for surgery. The '83 DL is my favorite year and trim of the 240s. You get skinny bumpers, 5-panels, and no sunroof. This was originally a California car, so it's largely rust free.
B234f, as received. We were led to believe it was a solid engine that was ready to run. That turned out not to be the case. The valve cover was cracked and it was probably left outside for a number of months, which led to water ingress and rust on the cams and bores.
Alex tore the engine down and did an awesome job shortening the intake runners and porting it for a 960 throttle body.
Cleaned the pistons with simple green in the ultrasonic cleaner at work.
Yoshifab rods installed in the stock pistons.
The head itself is stock and has just been cleaned up. I nuked the valves in an ultrasonic cleaner and lapped them before installing them with Yoshifab springs.
Fabricated new engine mounts out of a hacked up torque rod. The vehicle side uses the front subframe pickup points.
Added a 60-2 to a flat flywheel in the CNC.
Upskirt of the HX35. Since I'm running a 90+ I have no use for the divided housing. I roughed it out in the mill and did the cleanup with a die grinder. Also opened up the wastegate port.
Mounted the IC and the 7" rounds from my old car.
Welded up some 3" tubing for charge pipes.
Added a compression fitting to the pan for an oil temperature sensor.
Plugged balance shaft ports. Turns out a 240 wheel stud with the threads cut off makes for a nice press fit plug.
Stripped and painted the block.
Got an uncracked valve cover from Poik that I added two baffled -10 vent fittings to.
BMRS ProGold -10 oil return, courtesy of Homer. There's also a Swagelok fitting on the header that I'll use to log exhaust backpressure.
Stripped, power washed, and masked off the engine bay.
Went with a Yoshifab-inspired battleship gray, with black behind the slam panel and headlight surrounds.
4" downpipe.
Mounted the VEMS, resistors, and fuse panel on a brushed sheet of aluminum. It bolts to the passenger side kickpanel.
Re-assembled and dressed.
Re-installed.
That brings us up to date. There are tons of little jobs that aren't pictured, but for anyone wanting a more detailed look, here's a link to the gallery where I've been keeping all the photos.
https://picasaweb.google.com/109121293584501138765/FakeStreetCar242
The photos I've posted here represent the last ten weeks or so. I have worked on the car literally every single day for that period. It's been a grind. Getting the engine in is a huge milestone. I'm looking forward to getting it on the road.


