
crazyoctopus
New member
- Joined
- Aug 8, 2010
- Location
- Fallbrook
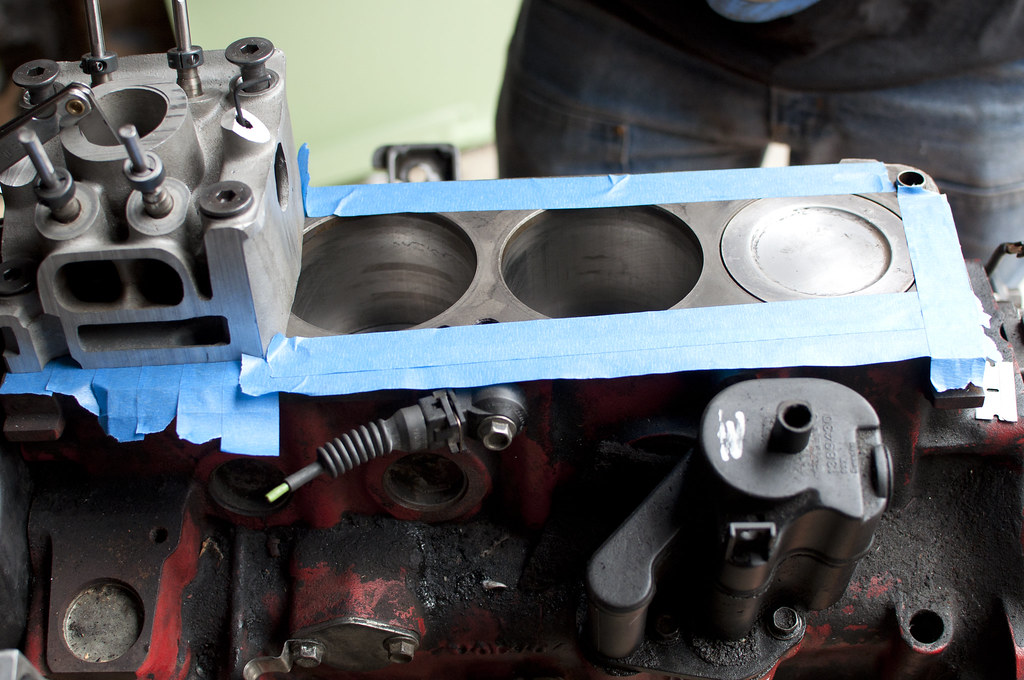
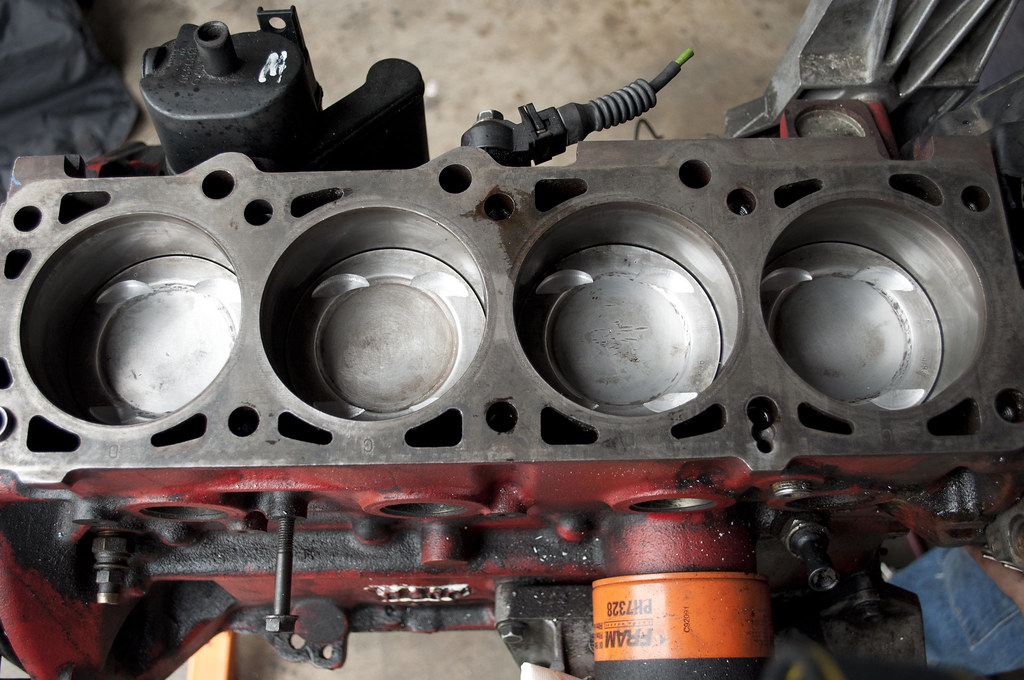
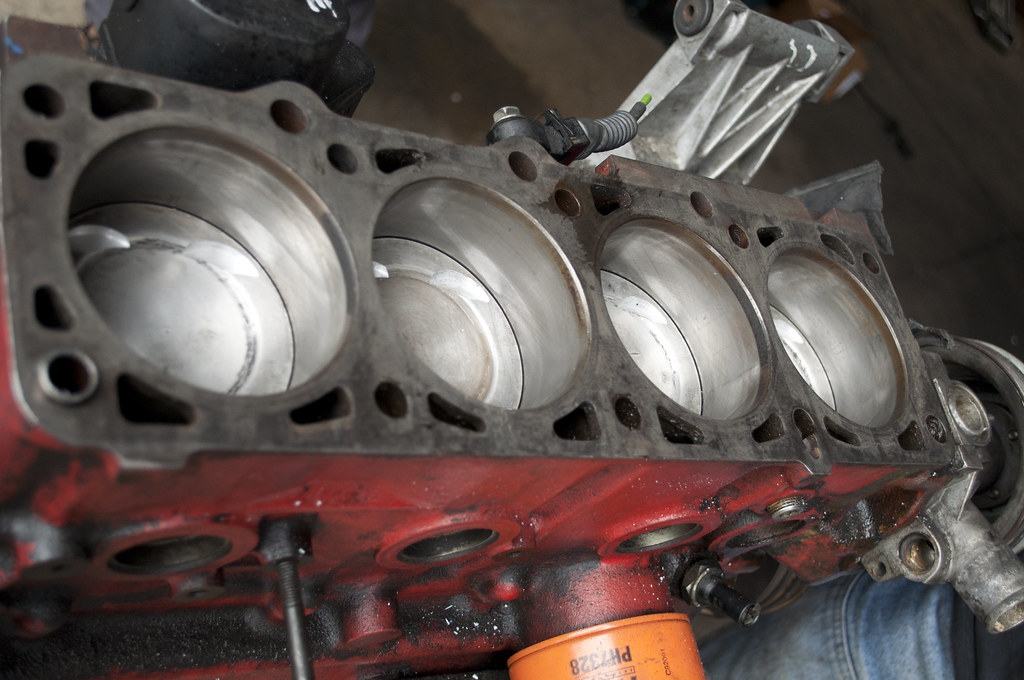
Start with the block, all dirty and grimy.
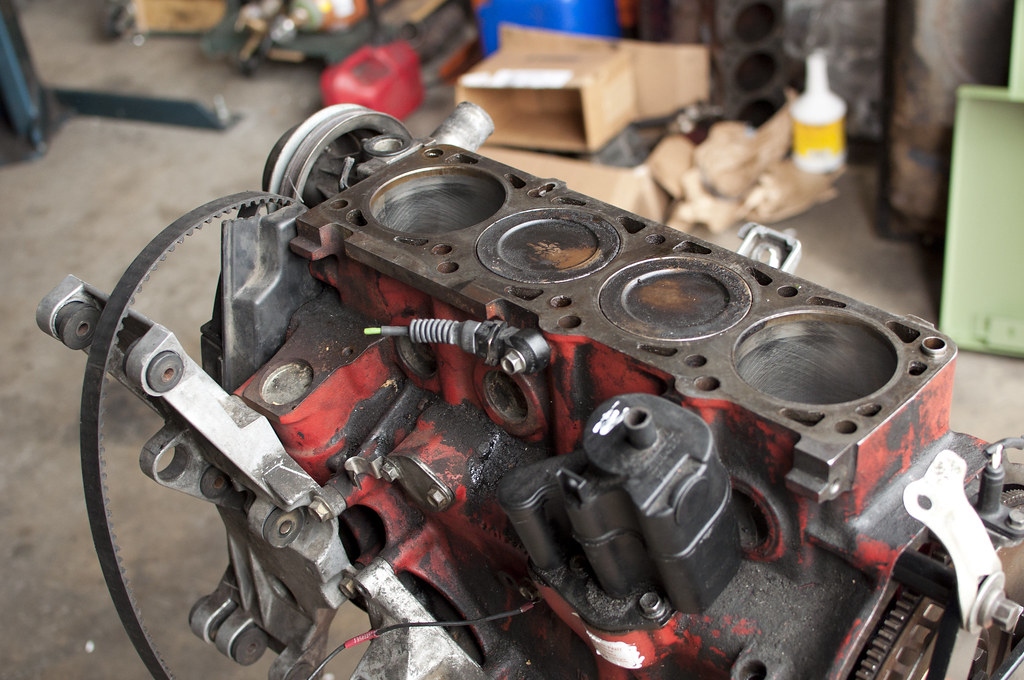
then clean the pistons off to insure a great seat of the drill and why not?
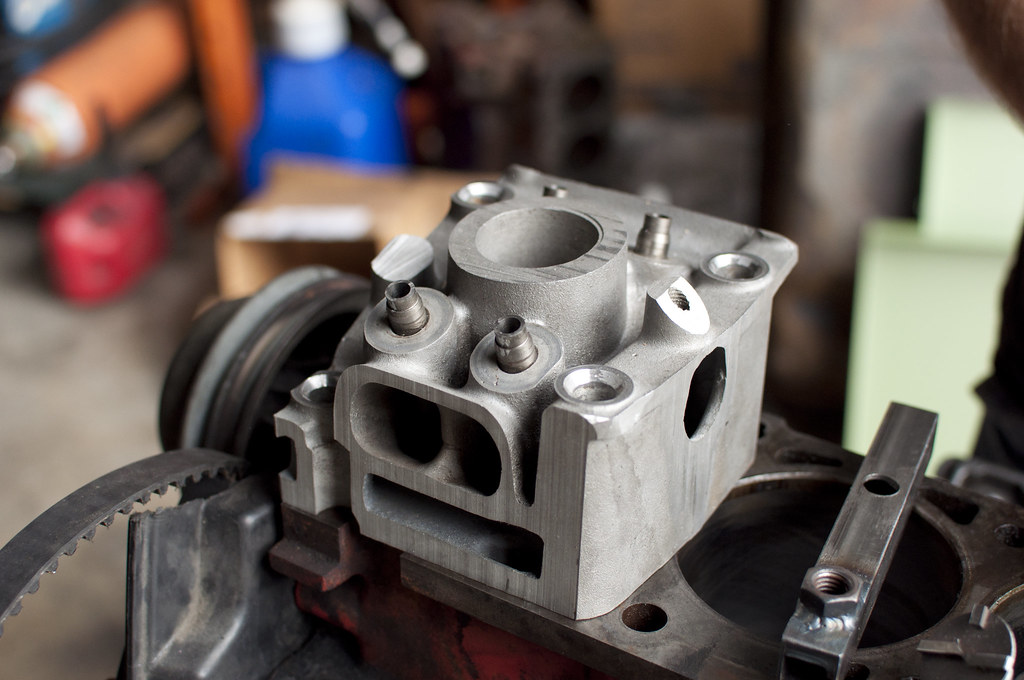
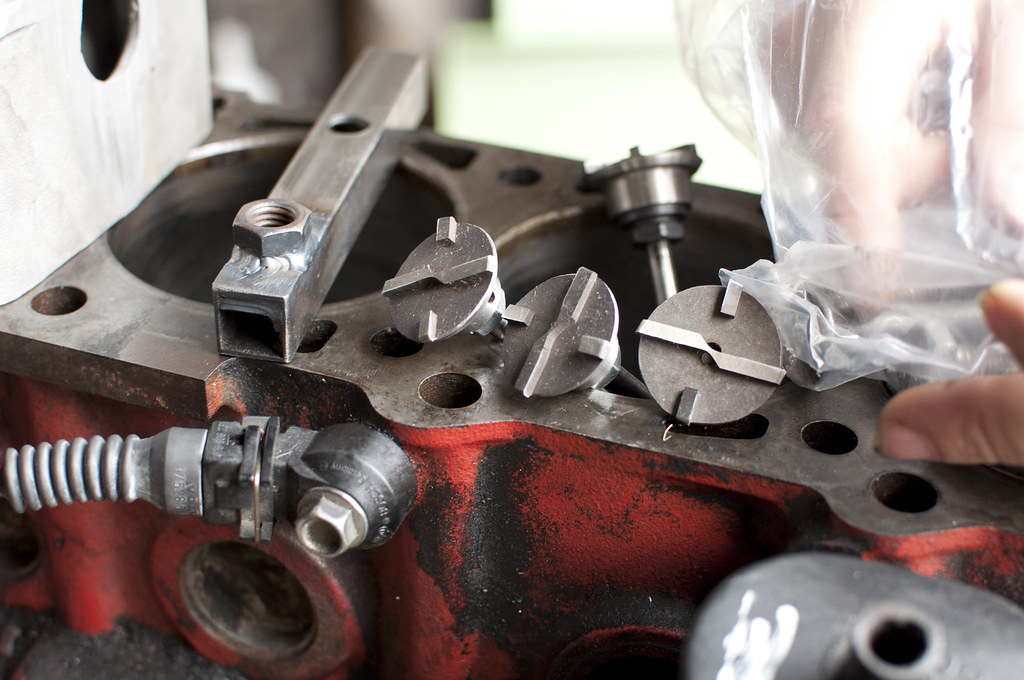
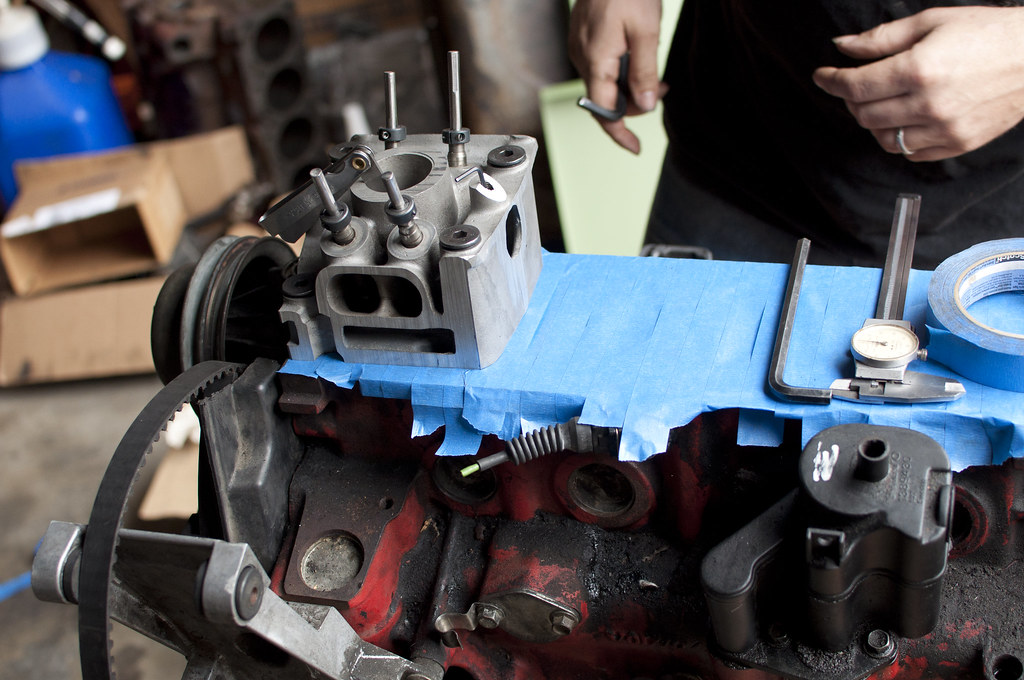
Then make sure that you have everything needed
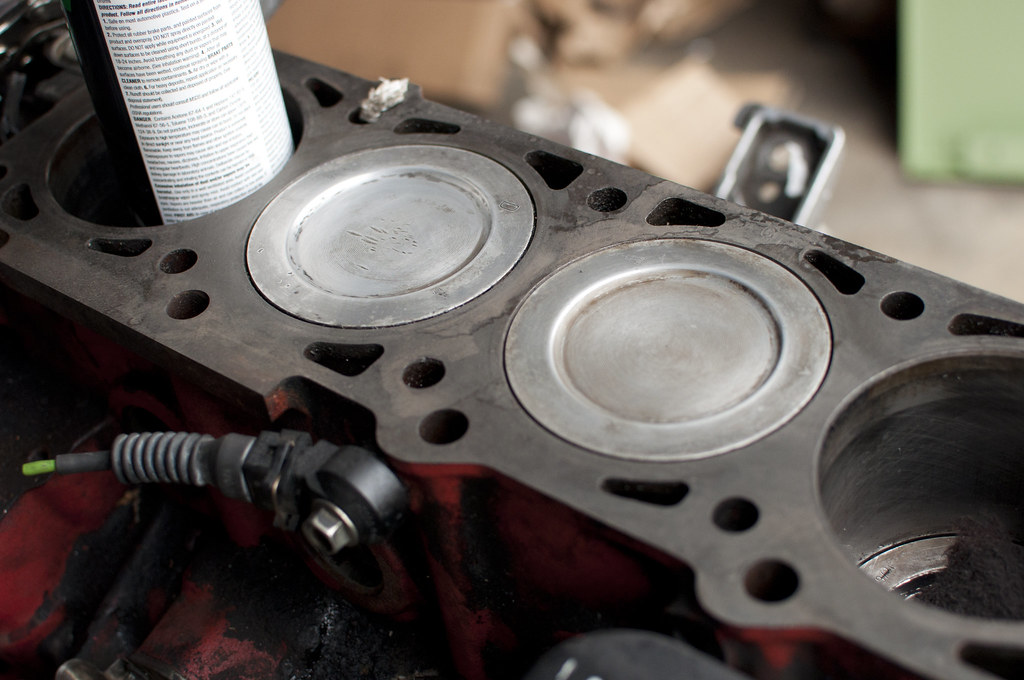
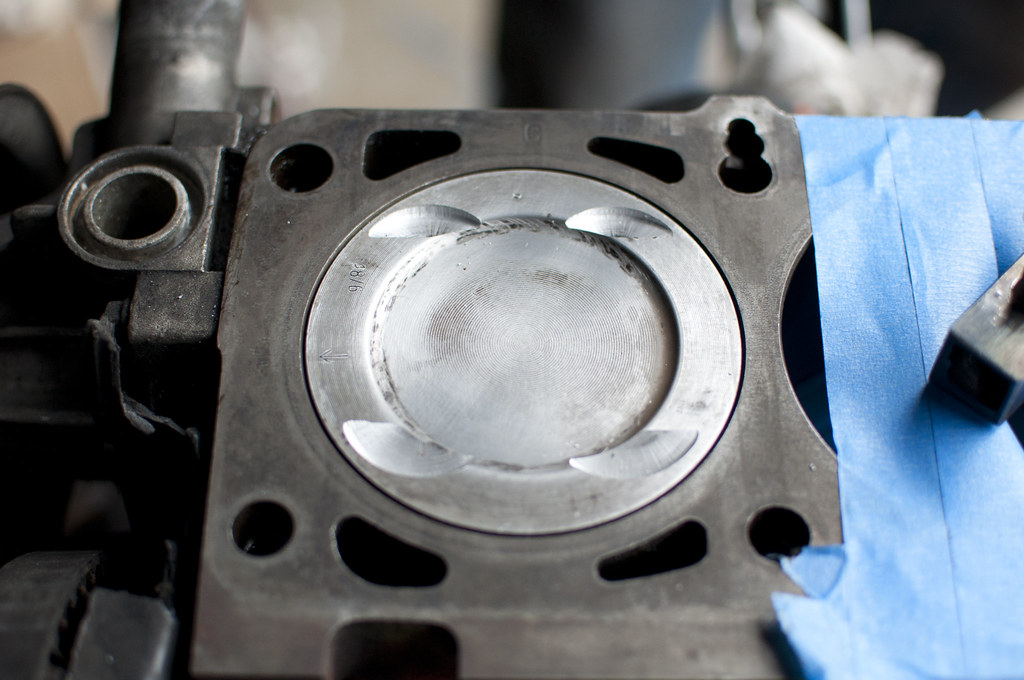
After setting the pistons at their highest and lowest points tape off the top of the block with your favorite tape; this eases cleanup and protects the oil and coolant holes from collecting unwanted metal shavings
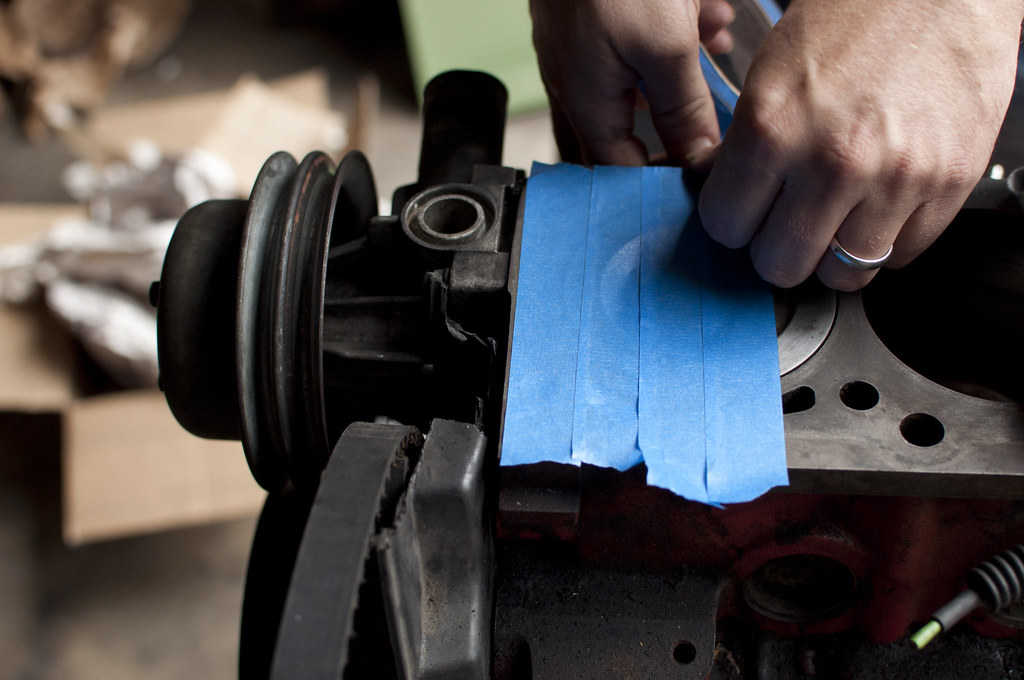
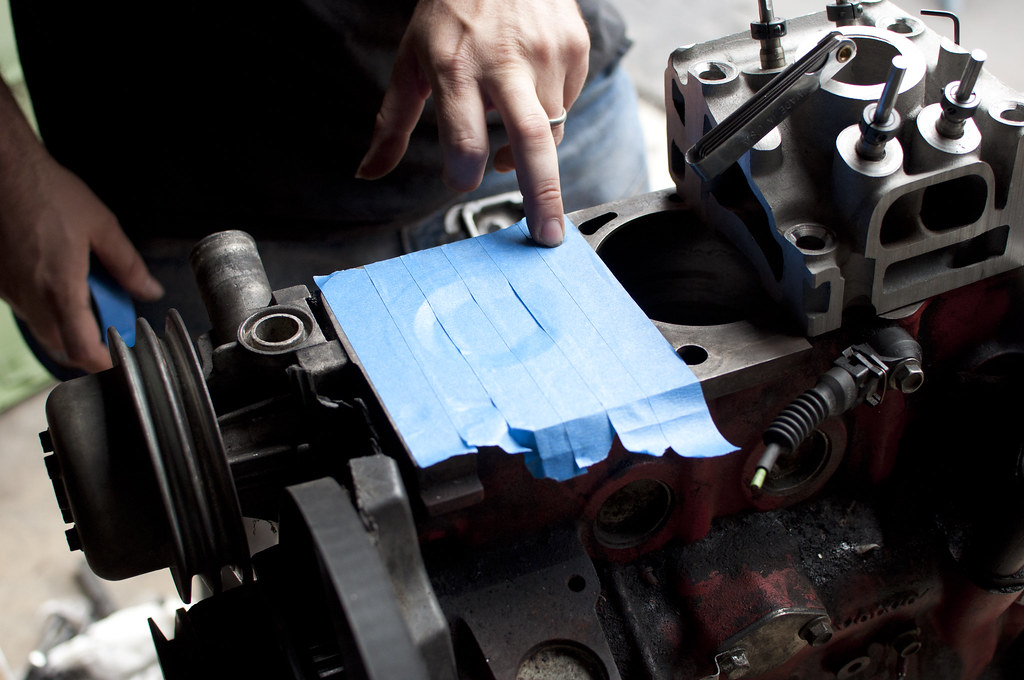
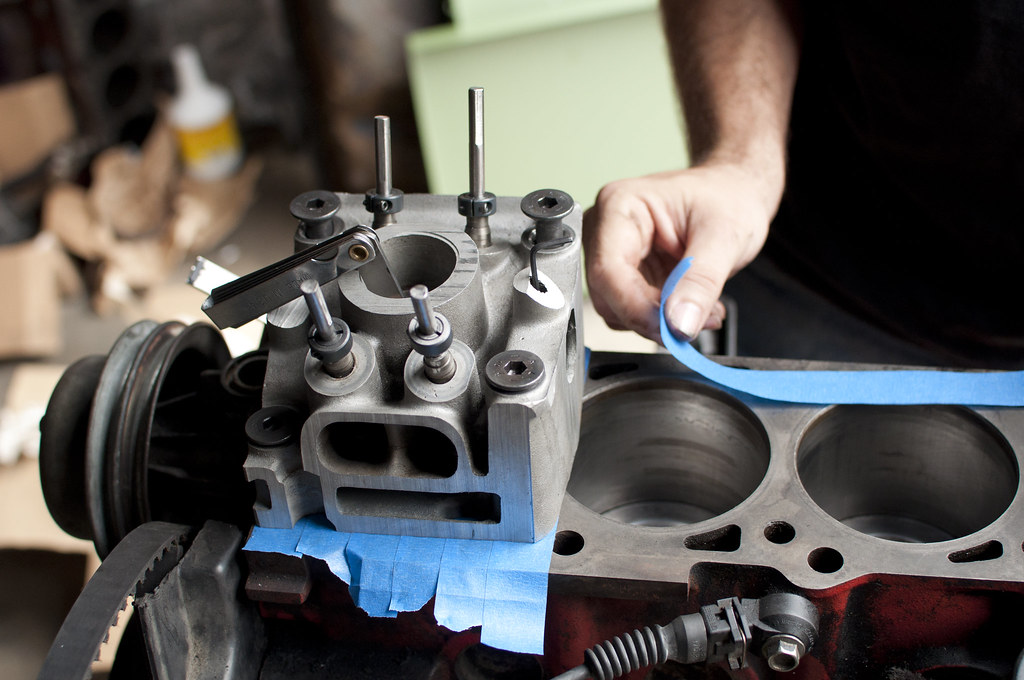
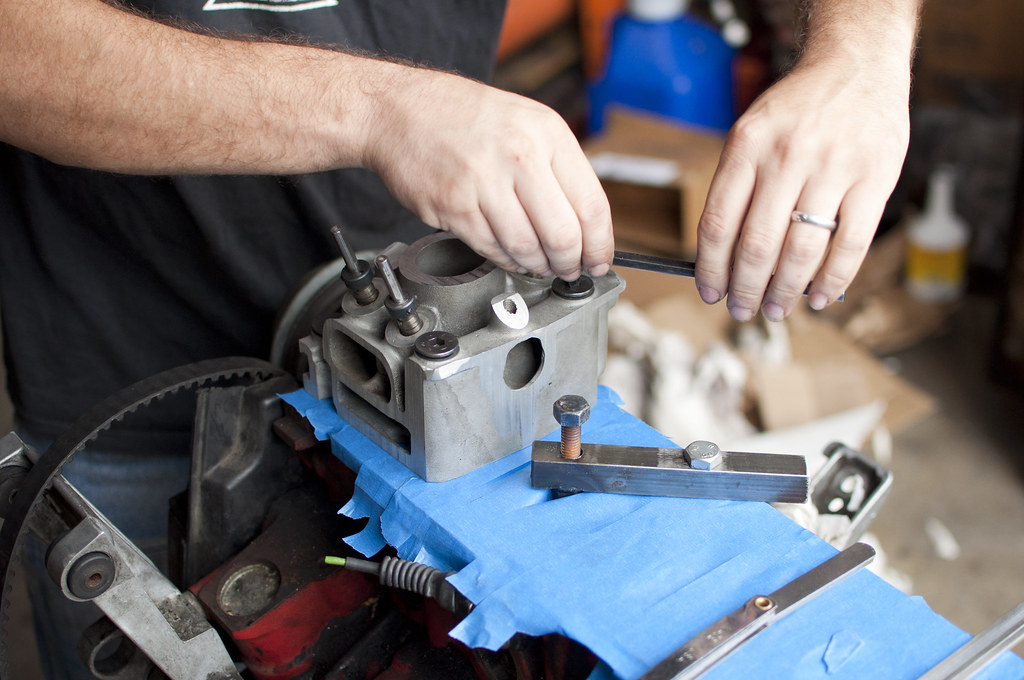
Cut some slits so that you can bolt in the tool and tighten down the bolts
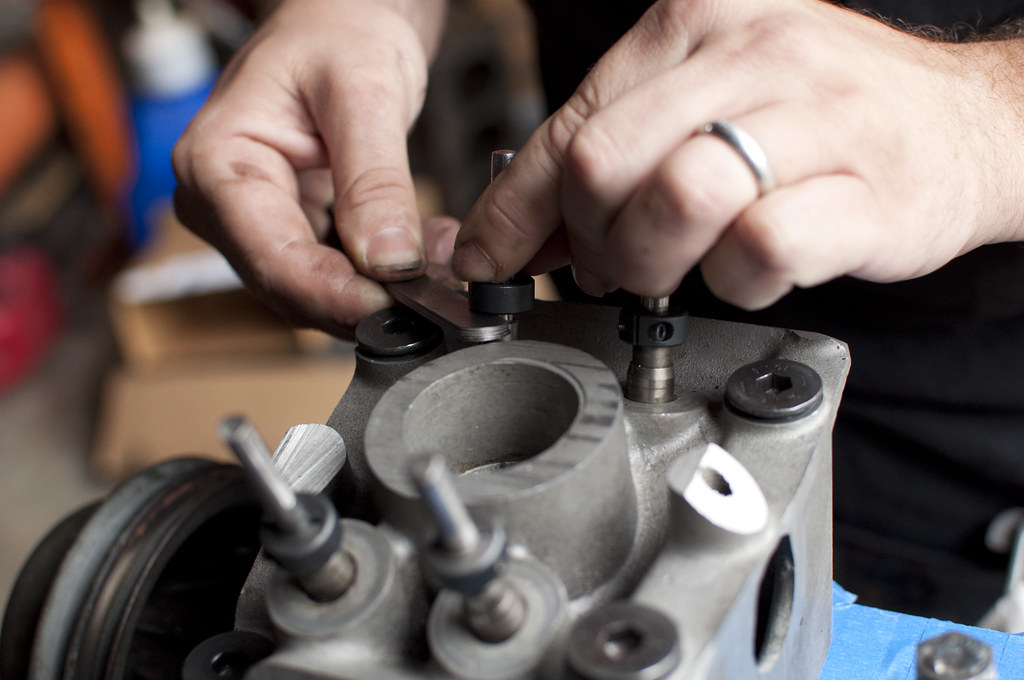
Check to make sure that the proper depth is met
Tighten your favorite drill to the valve relief drill
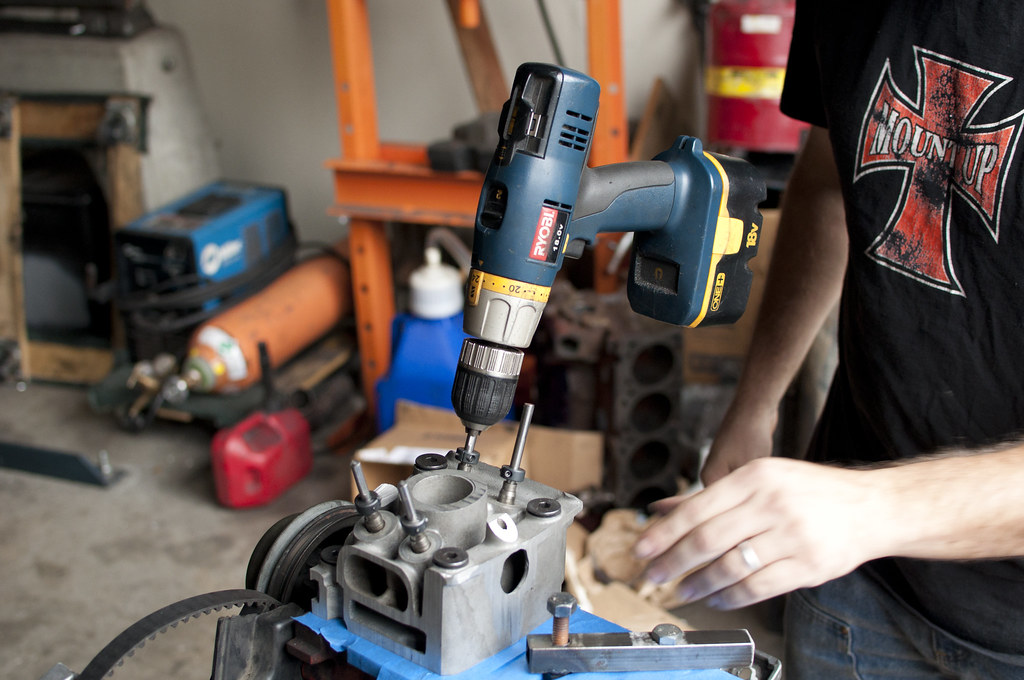
The key to drilling the reliefs is that you go slowly (low rpm) and let the drill do all the work; i.e. do not put much, or any, downward force on the drill.
http://www.youtube.com/watch?v=dp9Lxrd7dtg&hd=1
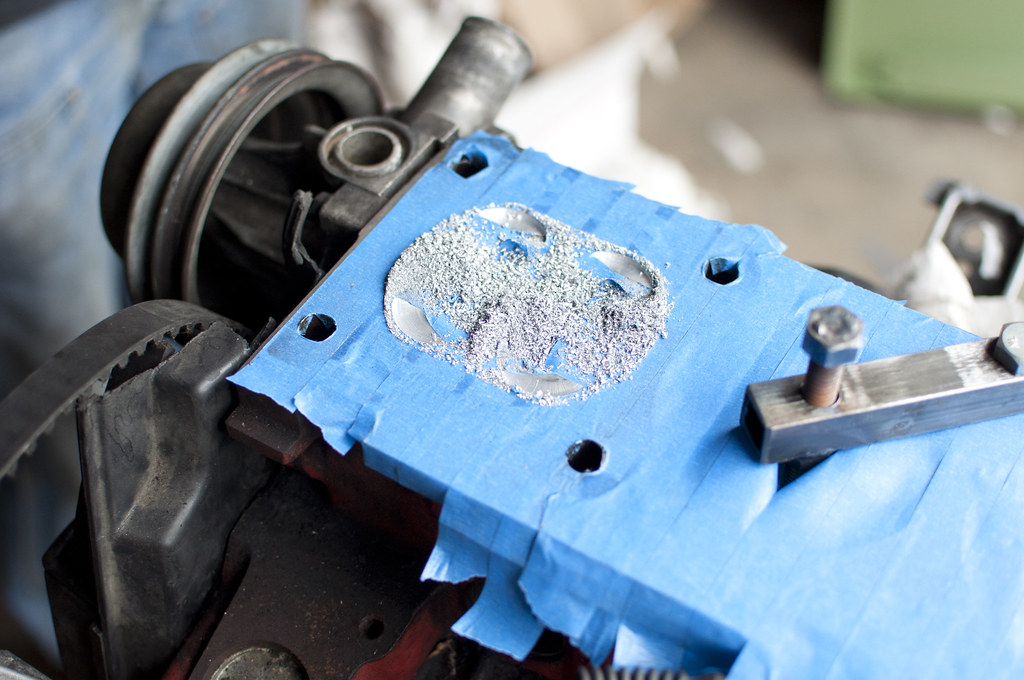
Rinse and repeat that on all of the bits. After completion remove the tool and look at the damage you have done
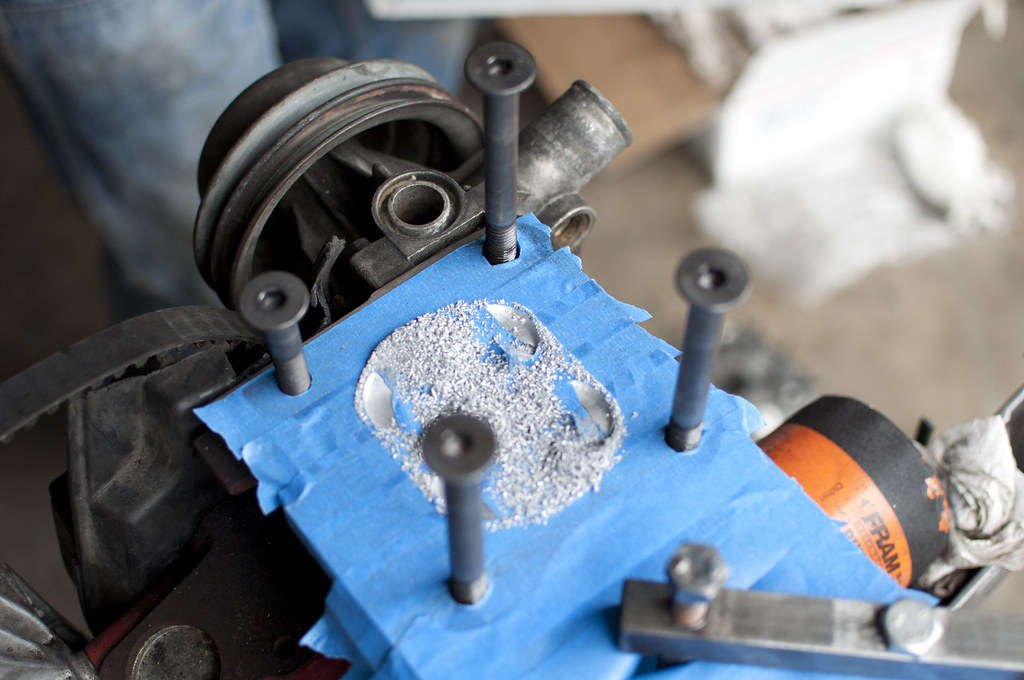
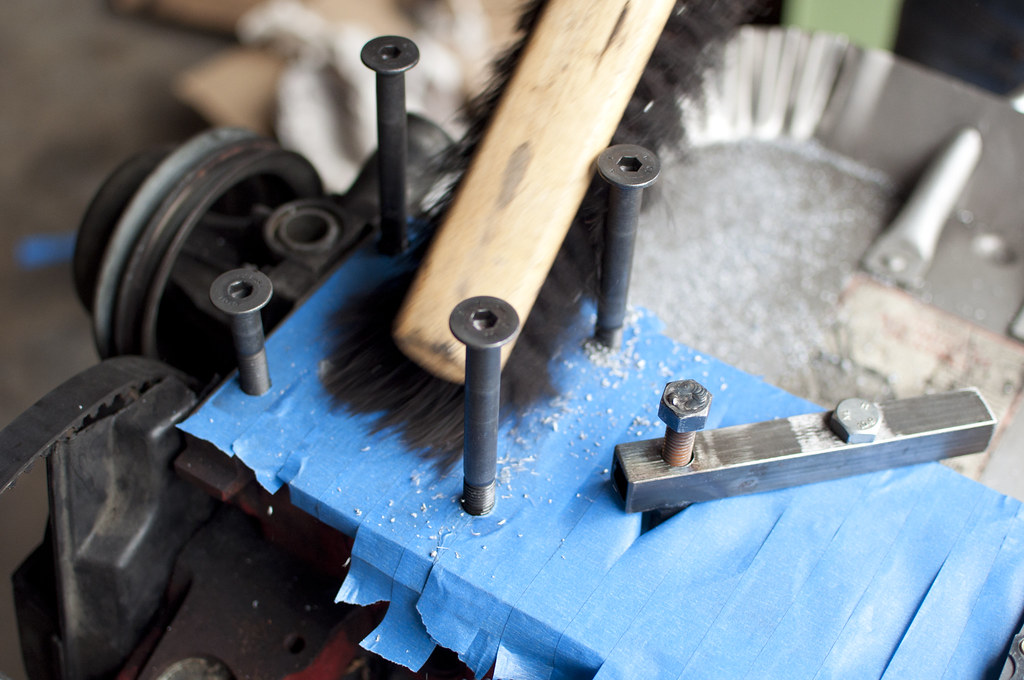
Put just the bolts back in to make sure that none of the shavings get into them, and brush them off
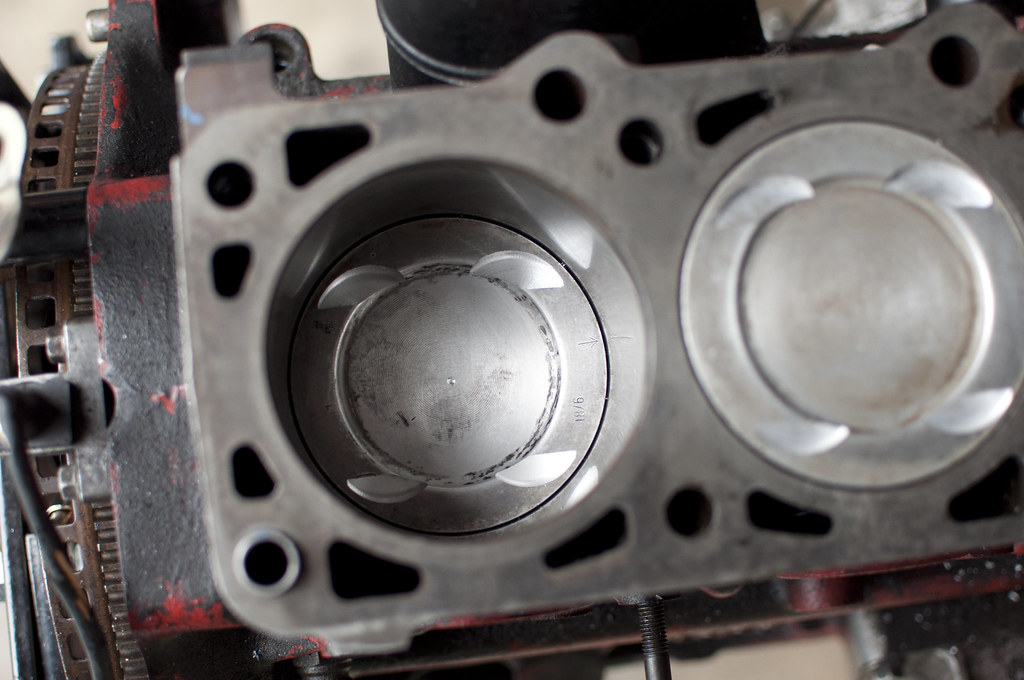
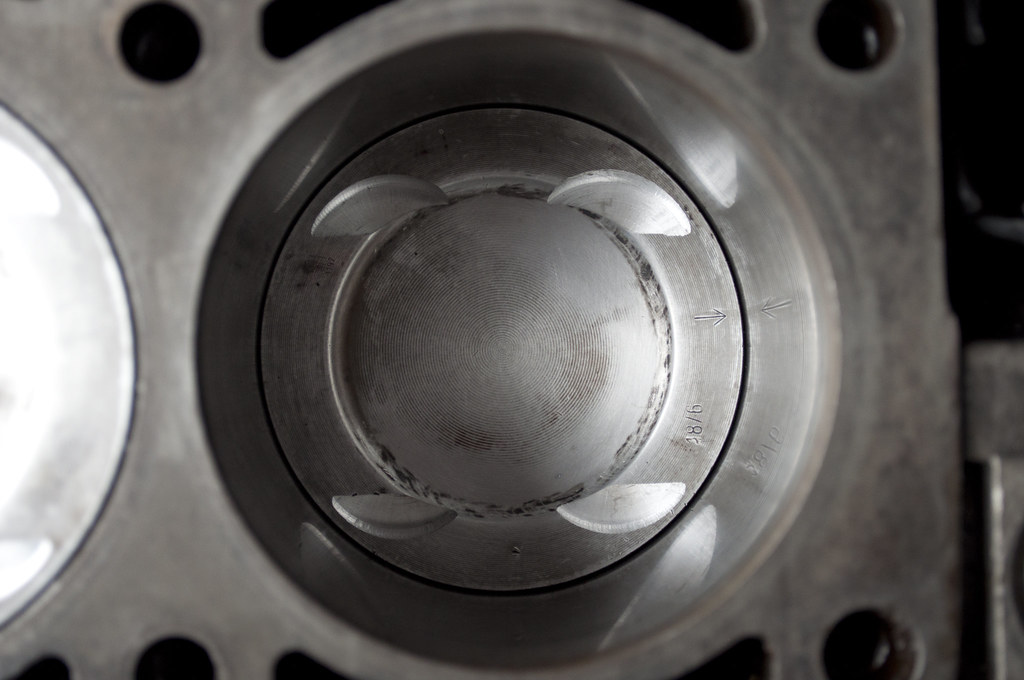
Remove the tape to reveal your relived piston (eh eh; get it, get it? it is relieved because it wont get slapped by a valve! bah!)
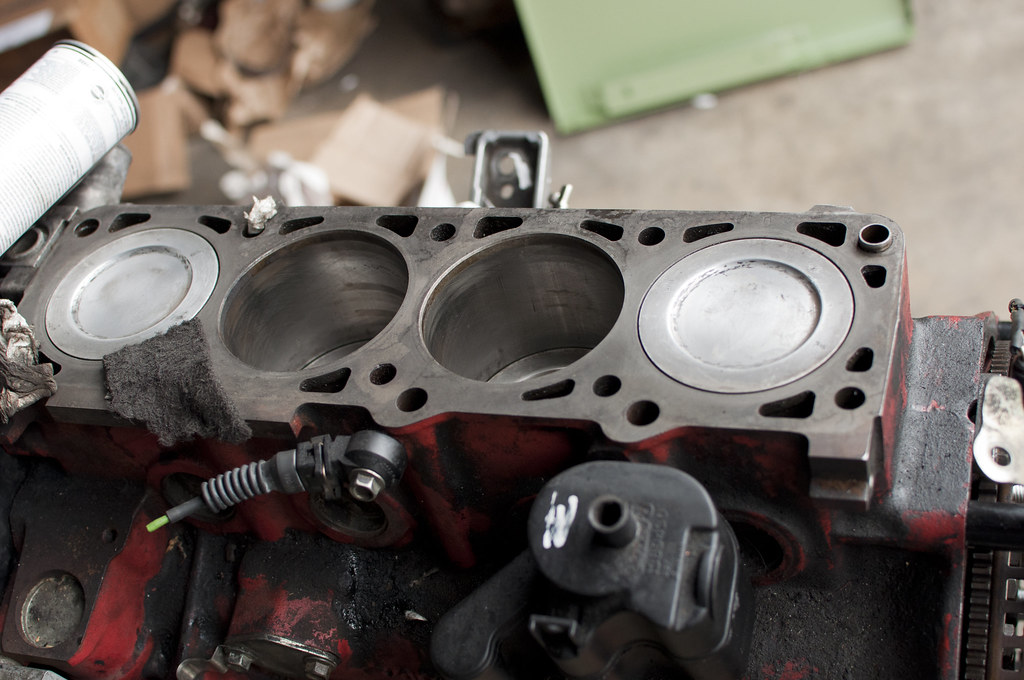
Now re-tape the now exposed cylinder to protect it from the subsequent drilling. After that has been completed do the exact same process, minus the depth check, on all of the cylinders. Once completed it should look just like this.
Now pour your self a stiff cocktail, beer, or non-alcoholic beverage and move onto something else.
then clean the pistons off to insure a great seat of the drill and why not?
Then make sure that you have everything needed
After setting the pistons at their highest and lowest points tape off the top of the block with your favorite tape; this eases cleanup and protects the oil and coolant holes from collecting unwanted metal shavings
Cut some slits so that you can bolt in the tool and tighten down the bolts
Check to make sure that the proper depth is met
Tighten your favorite drill to the valve relief drill
The key to drilling the reliefs is that you go slowly (low rpm) and let the drill do all the work; i.e. do not put much, or any, downward force on the drill.
http://www.youtube.com/watch?v=dp9Lxrd7dtg&hd=1
Rinse and repeat that on all of the bits. After completion remove the tool and look at the damage you have done
Put just the bolts back in to make sure that none of the shavings get into them, and brush them off
Remove the tape to reveal your relived piston (eh eh; get it, get it? it is relieved because it wont get slapped by a valve! bah!)
Now re-tape the now exposed cylinder to protect it from the subsequent drilling. After that has been completed do the exact same process, minus the depth check, on all of the cylinders. Once completed it should look just like this.
Now pour your self a stiff cocktail, beer, or non-alcoholic beverage and move onto something else.