HemiHusky
New member
- Joined
- Apr 4, 2015
- Location
- Bradford, United Kingdom
hey everyone so ive had this project for a while but never sorta deemed it "turbobricks" worthy but a few freinds said i should post it on here. so i will be copy/pasting 1 post per day till we catch up (not too long) off the other forums. there will also be appearences from John hughes with bodywork as he has been working on this project too.
the vision for this car is a "what if volvo built a 265 turbo" with a 2.1 B21AT R sport carb turbo kit. anyway lets get on with it!
-------------------------------
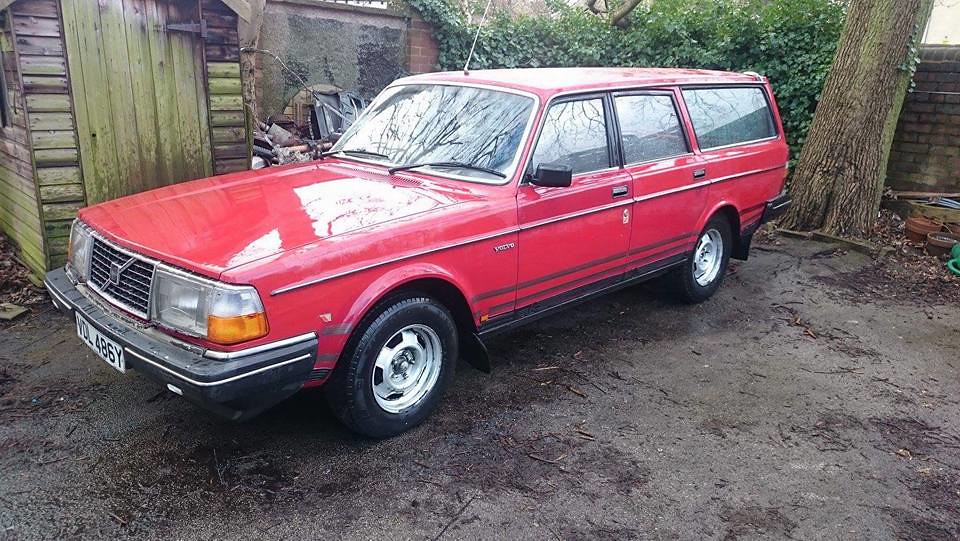
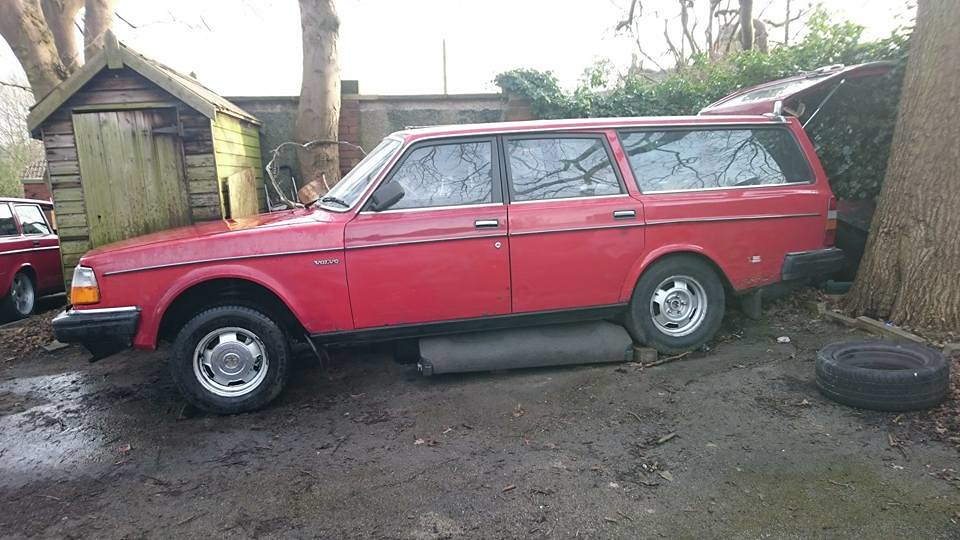
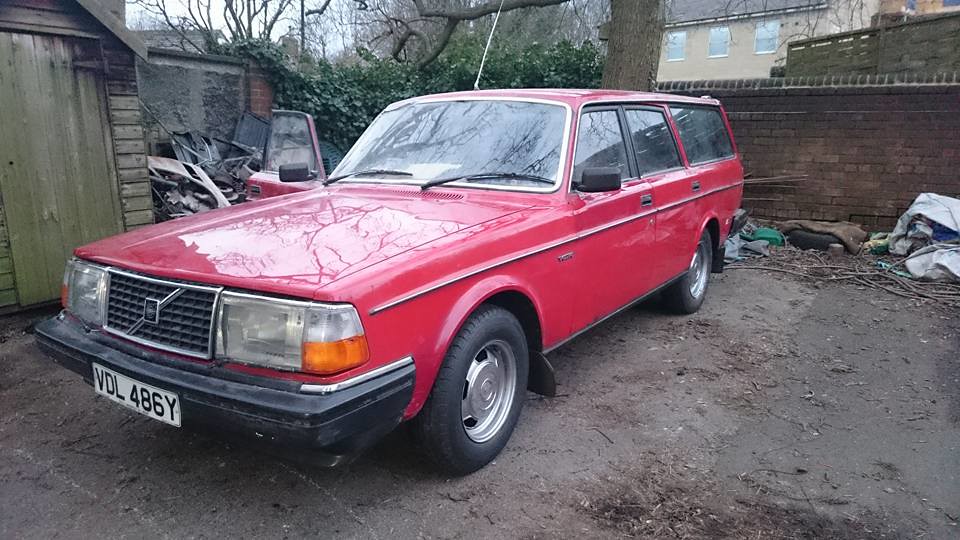
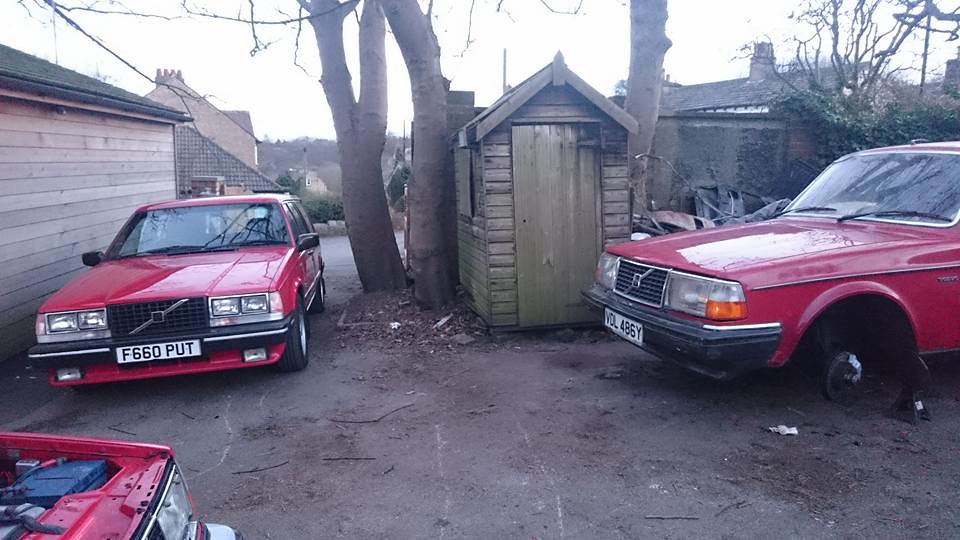
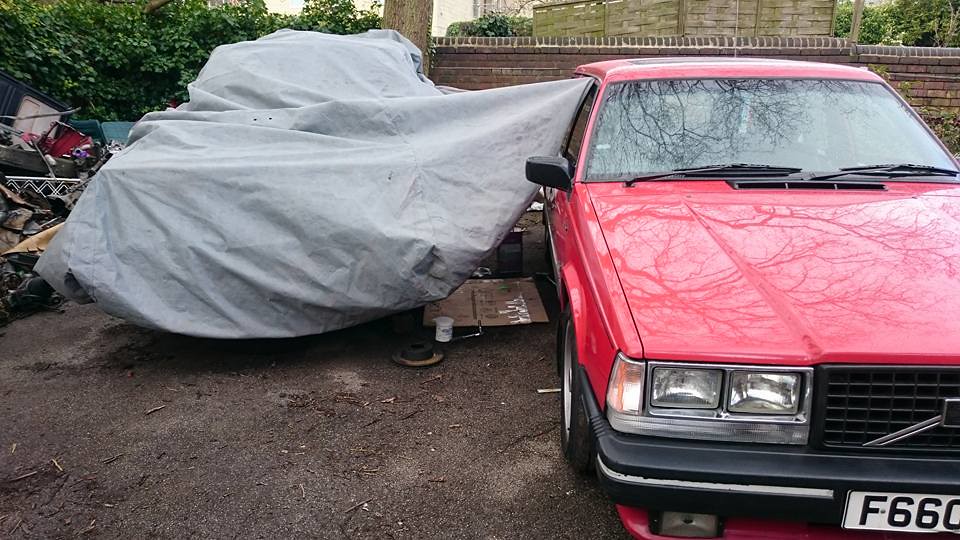
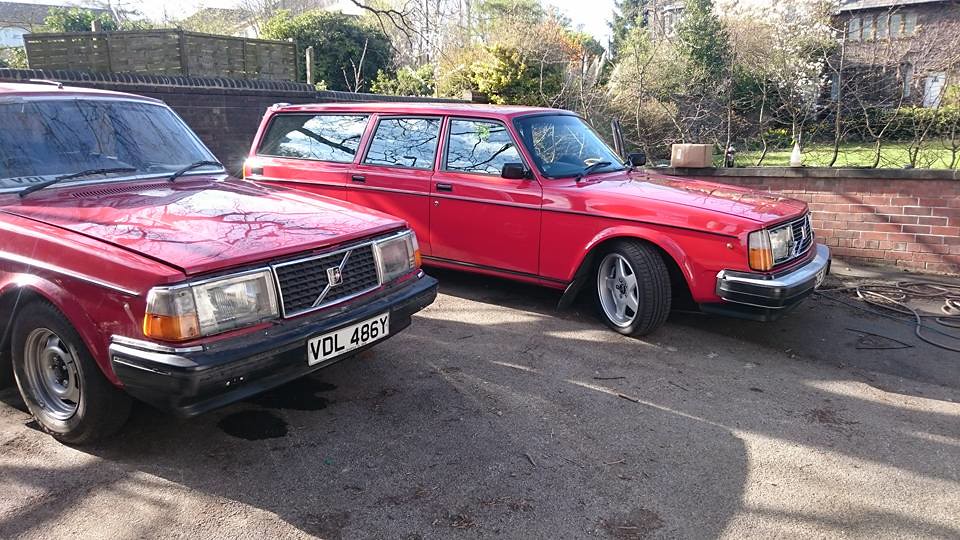
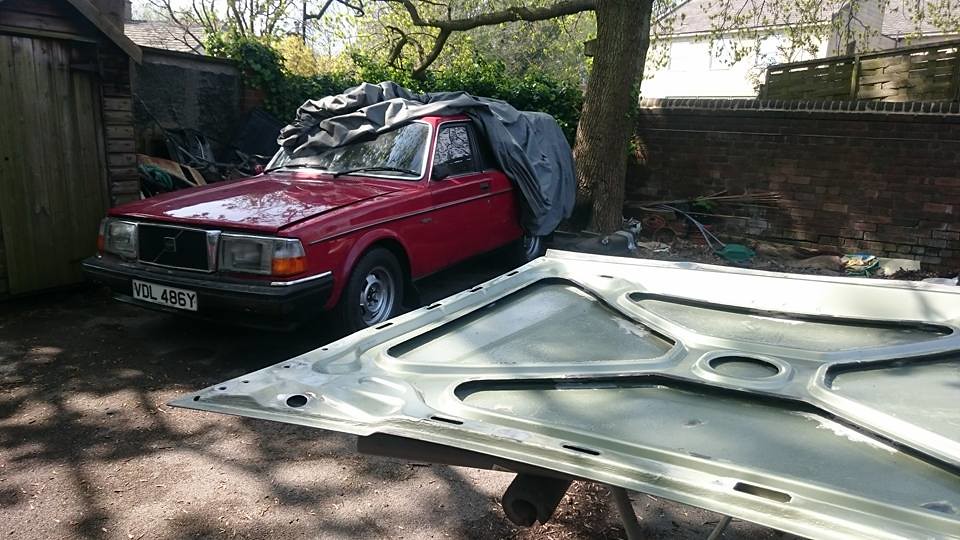
so welcome to my new project! bought on a kind of blind knowing off john hughes. this being a early 240 (at least early scuttle) that was cheap. and maybe make a good project, the car got delivered early satday morning on the back of a old mitsubishi looking rather sorry for itself knowing prior the engine had "issues" we starter motored it up the yard and parked it in the naughty corner.
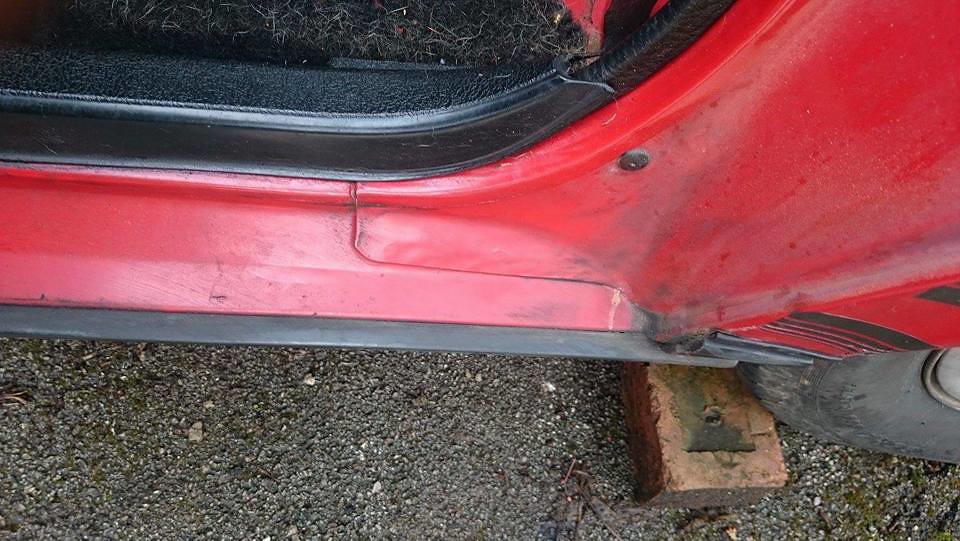
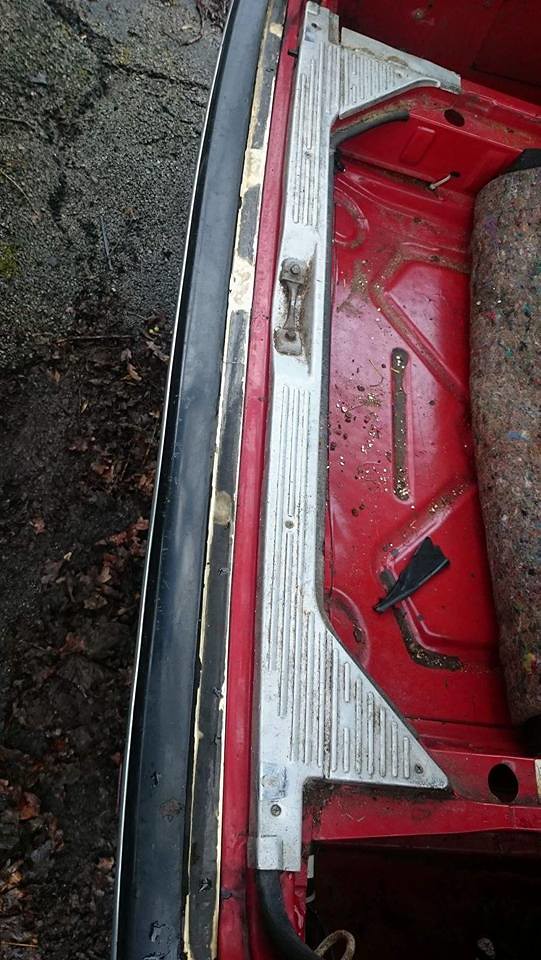
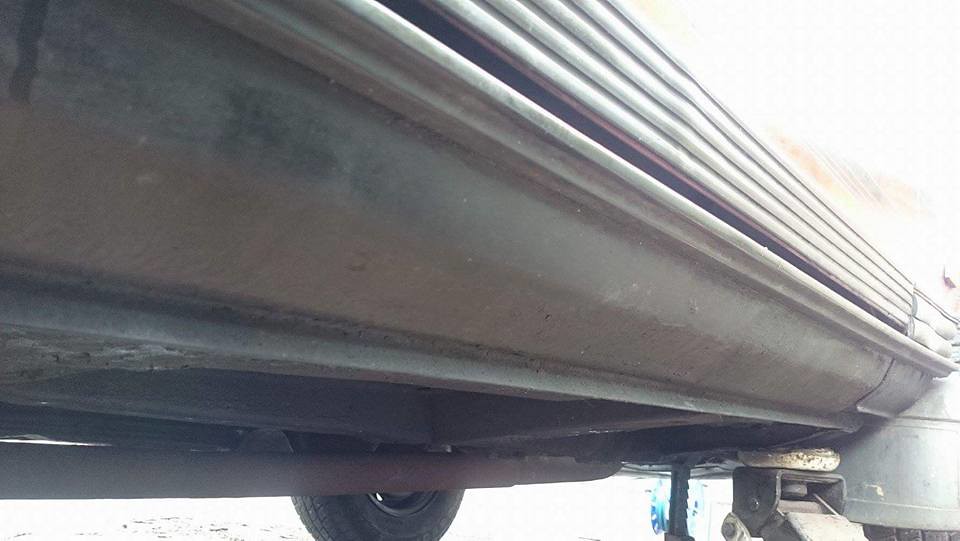
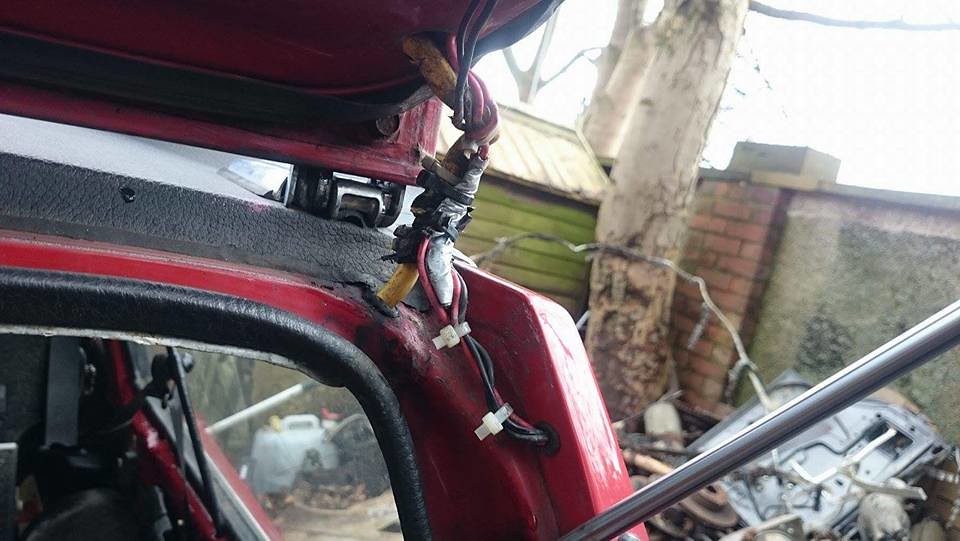
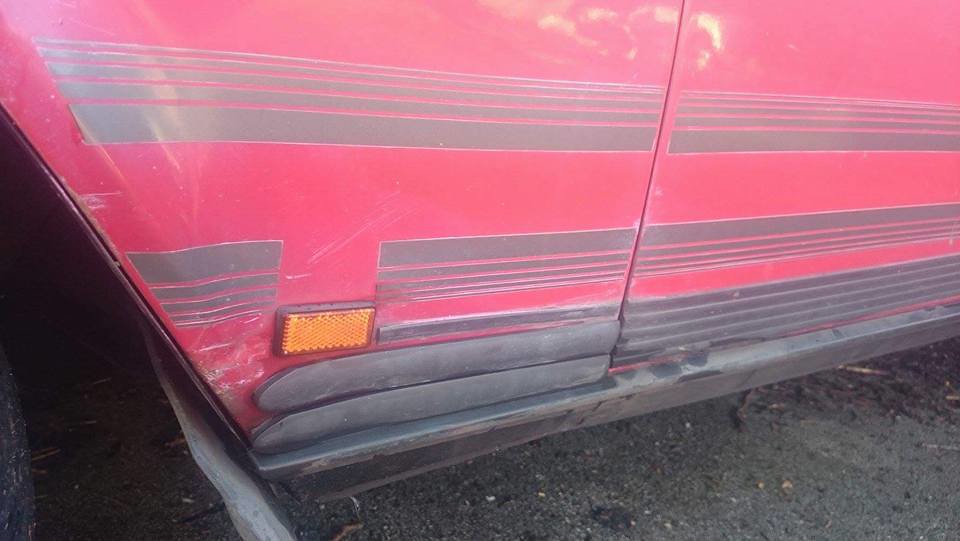
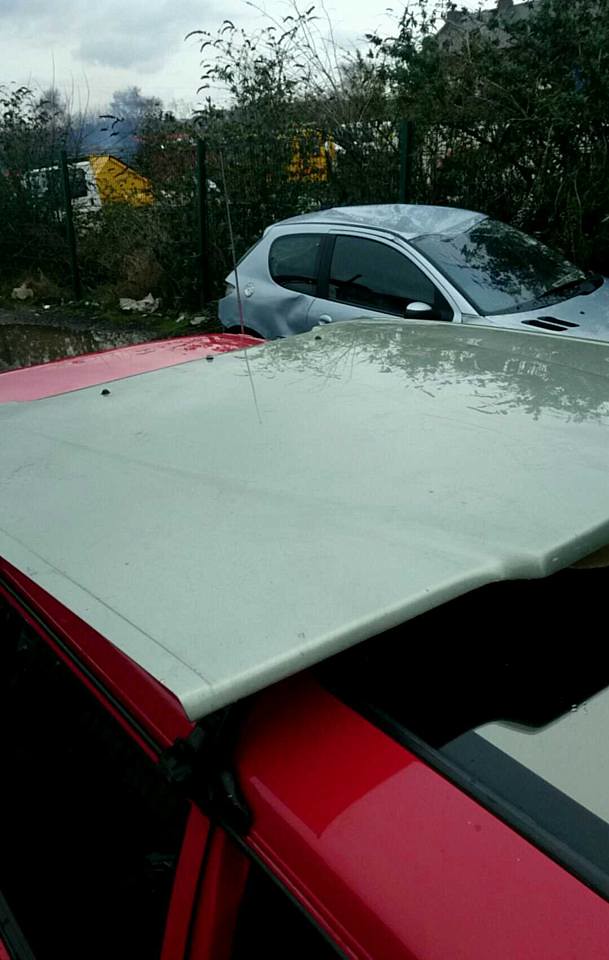
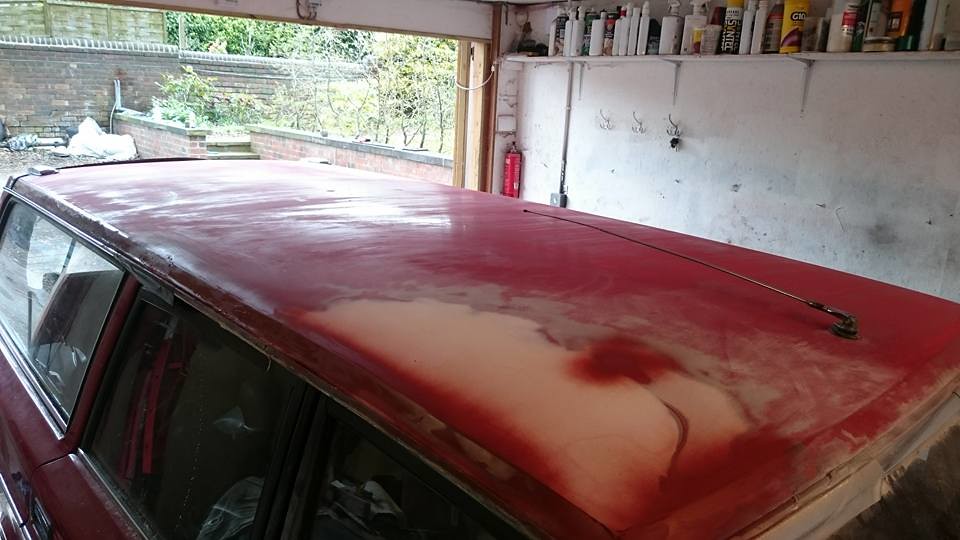
initial inspection was good verry minimal rust in the usual areas. some odd areas mainly caused by the prior owners stupidity. the fake cladding caused some rust. vinyl roof didnt help the rain gutters. but we got the engine to fire. and oh god it sounded like someone was smacking the block with a hammer. a real nasty *CLUNK CLUNK CLUNK* so what do you do? pull the engine. and start faffing. ill update each day as its been a few week since i owned this car but been too busy to start a thread!
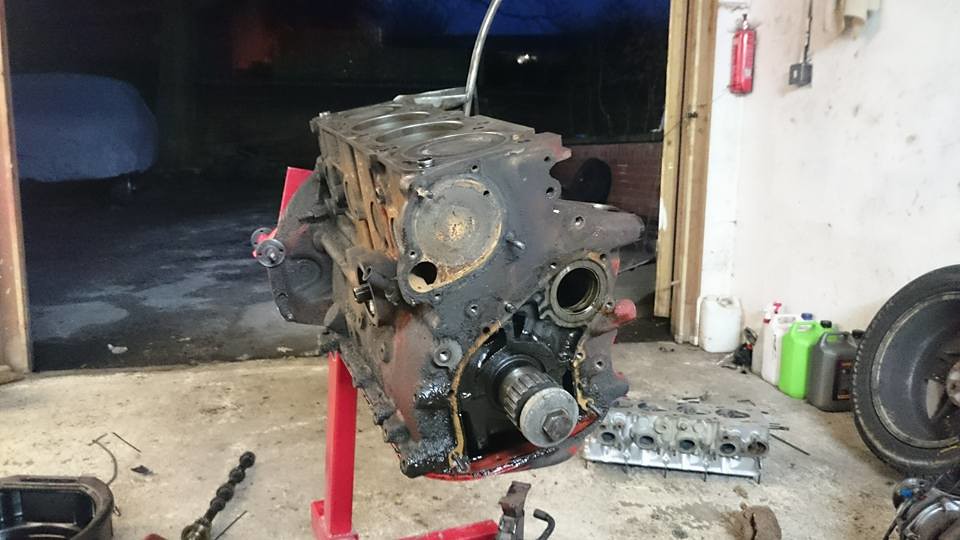
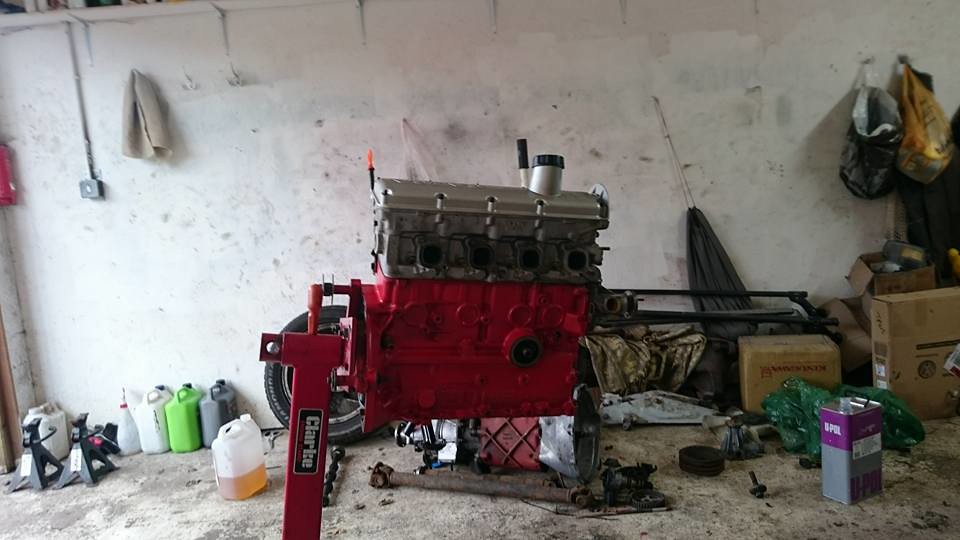
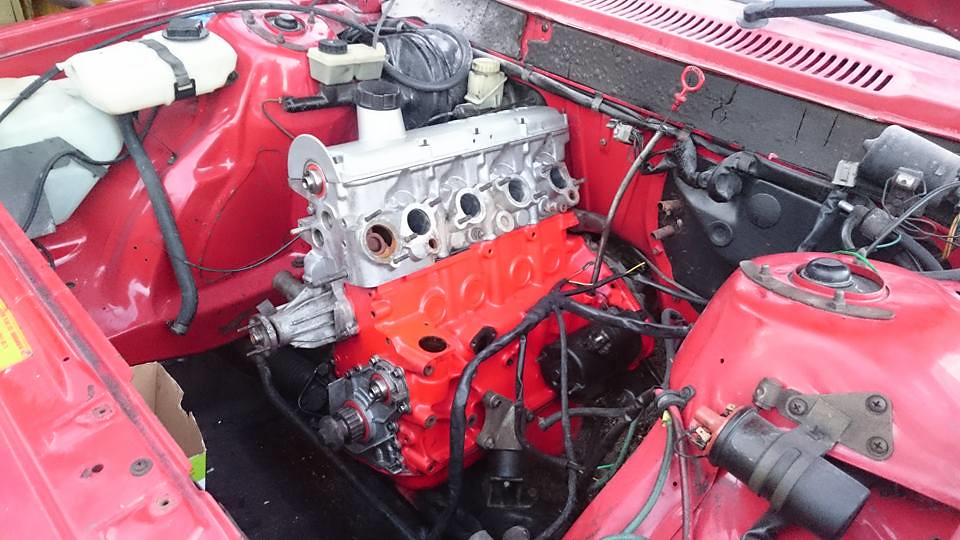
out comes the old 2.1
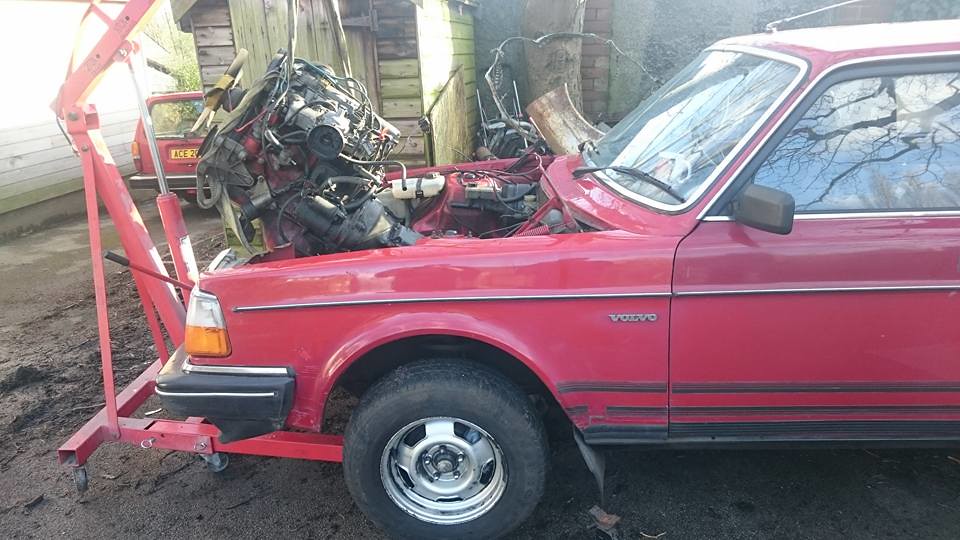 1 by ramawson, on Flickr
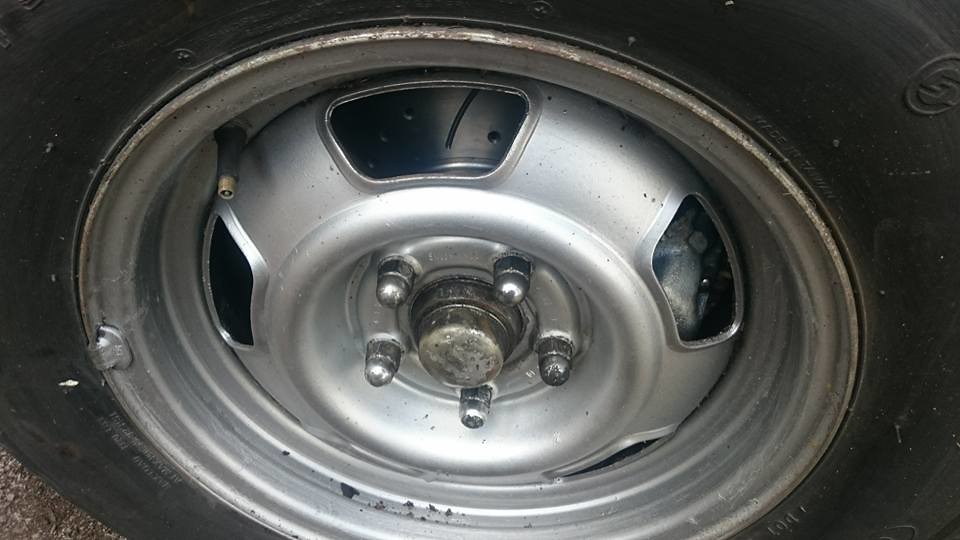
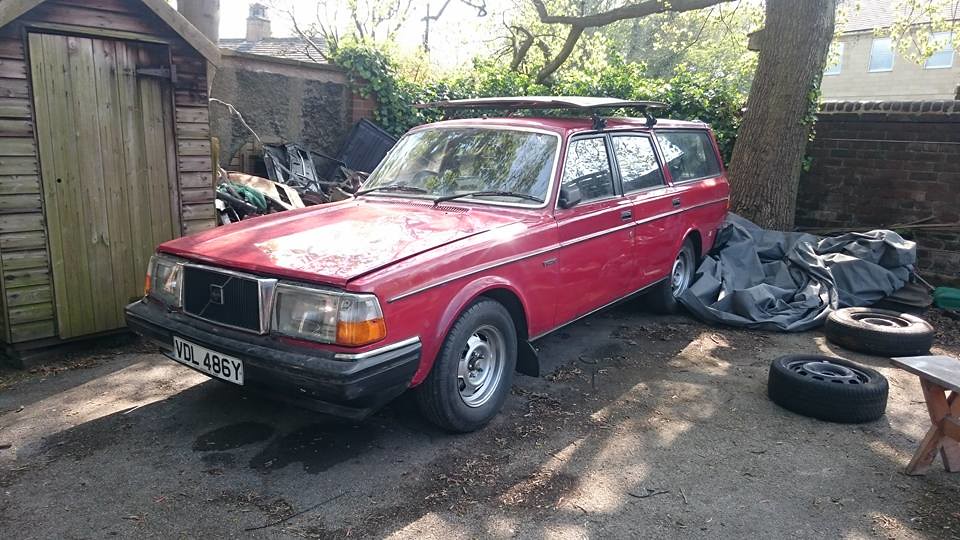
got the wheel trims off to at least make it look semi respectable
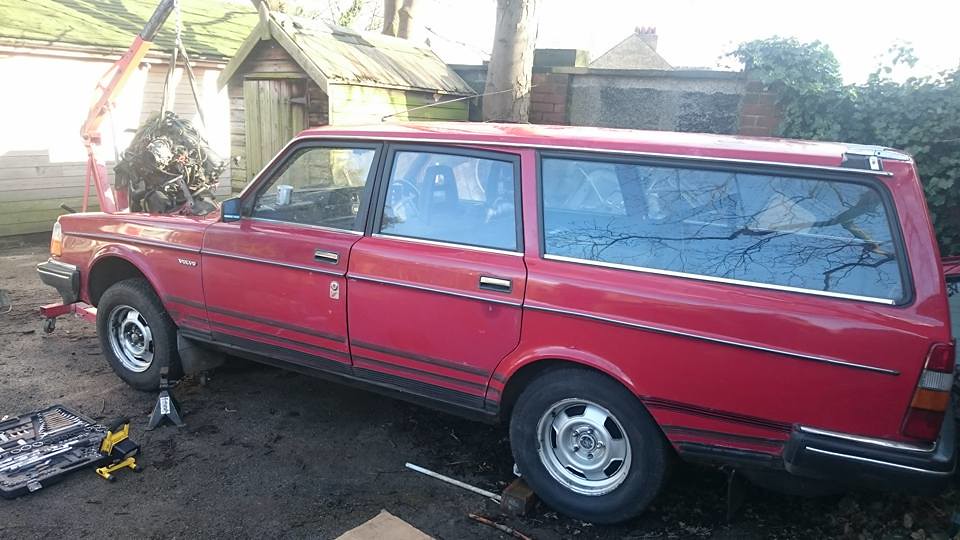 2 by ramawson, on Flickr
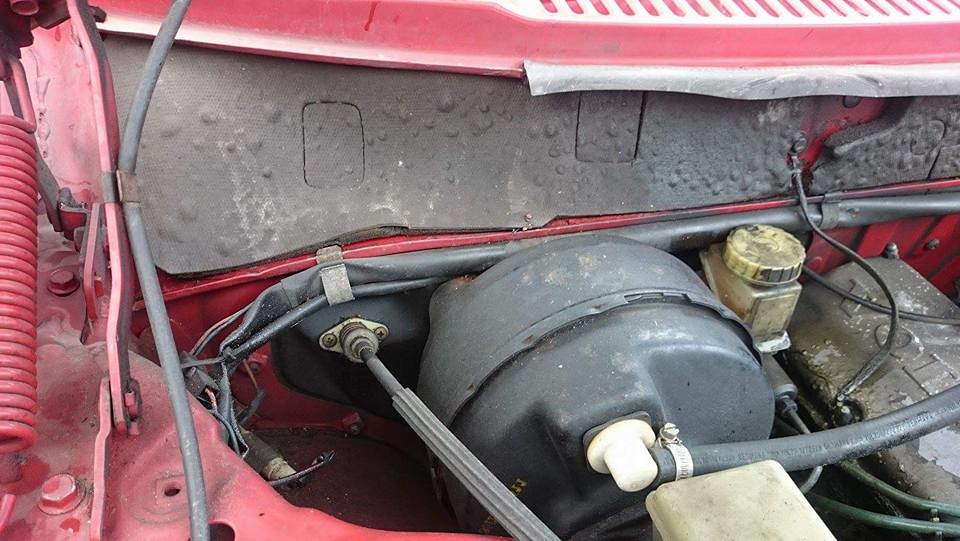
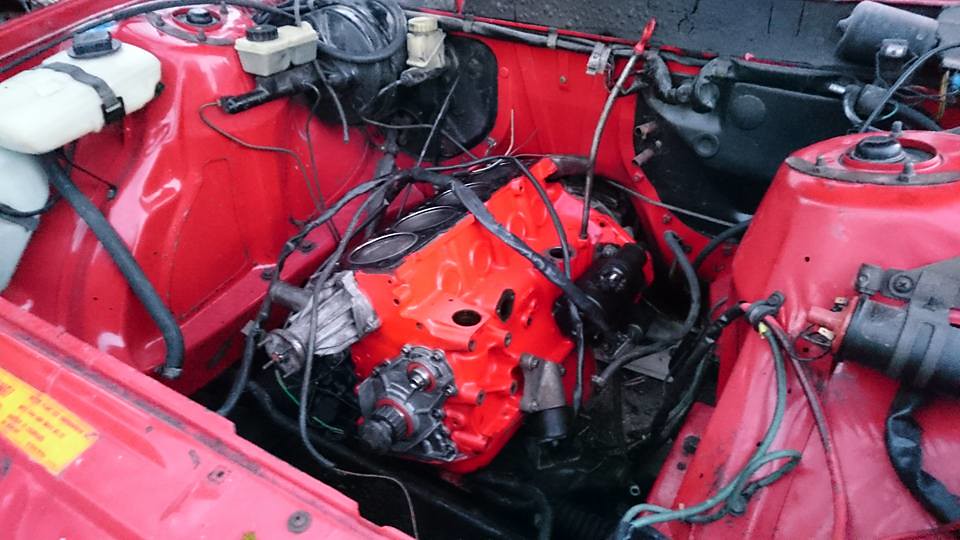
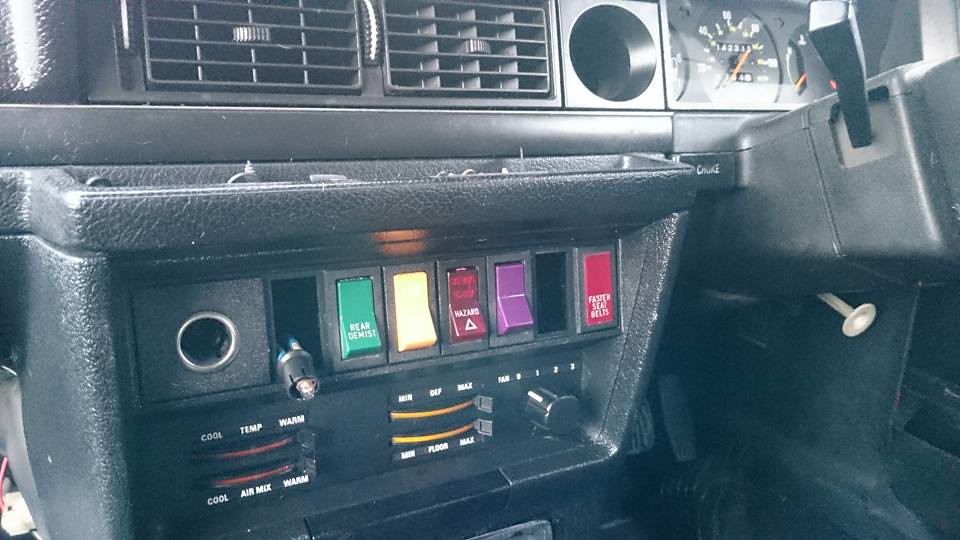
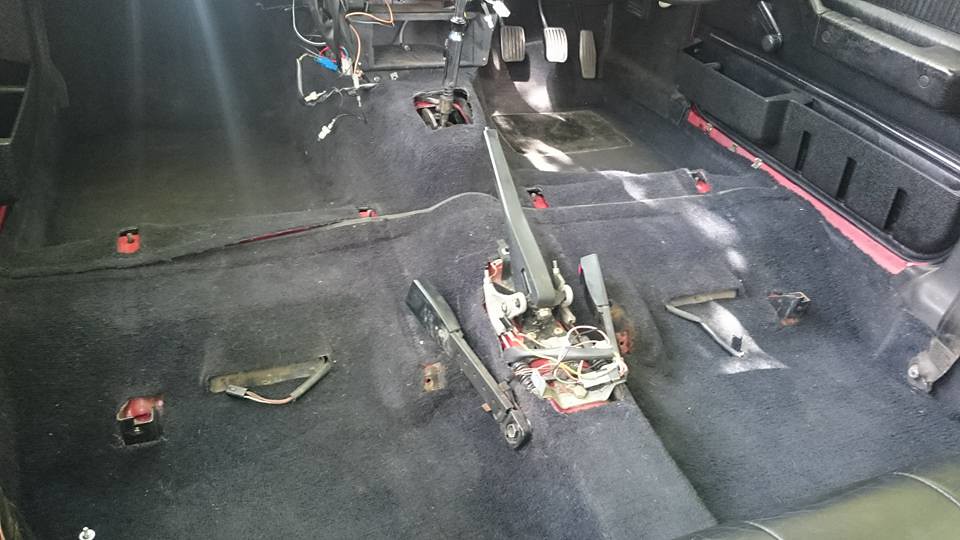
obligitory "no engine here" shot
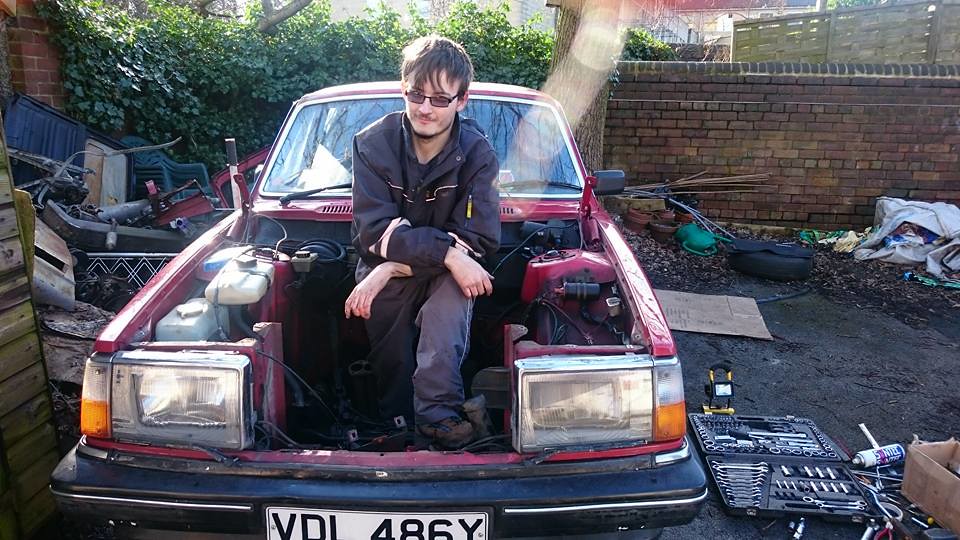 3 by ramawson, on Flickr
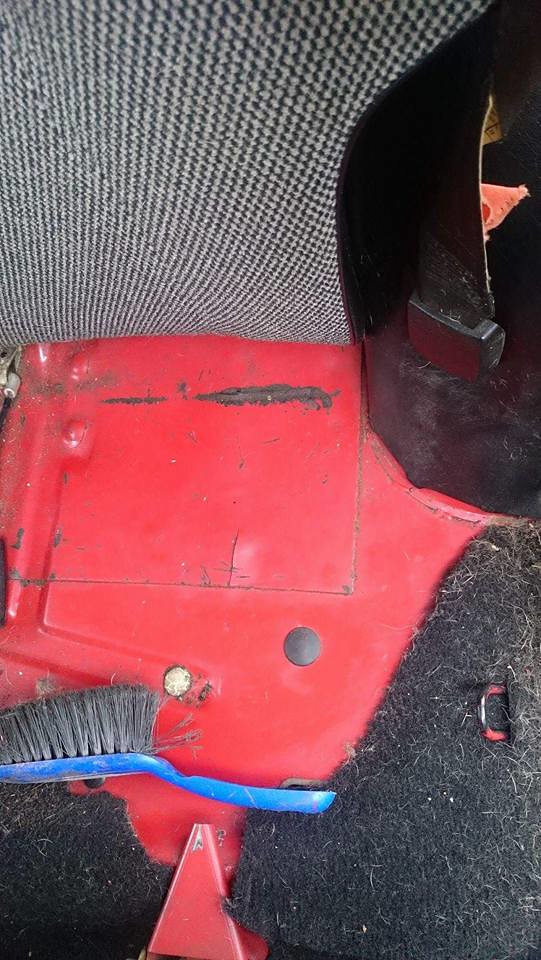
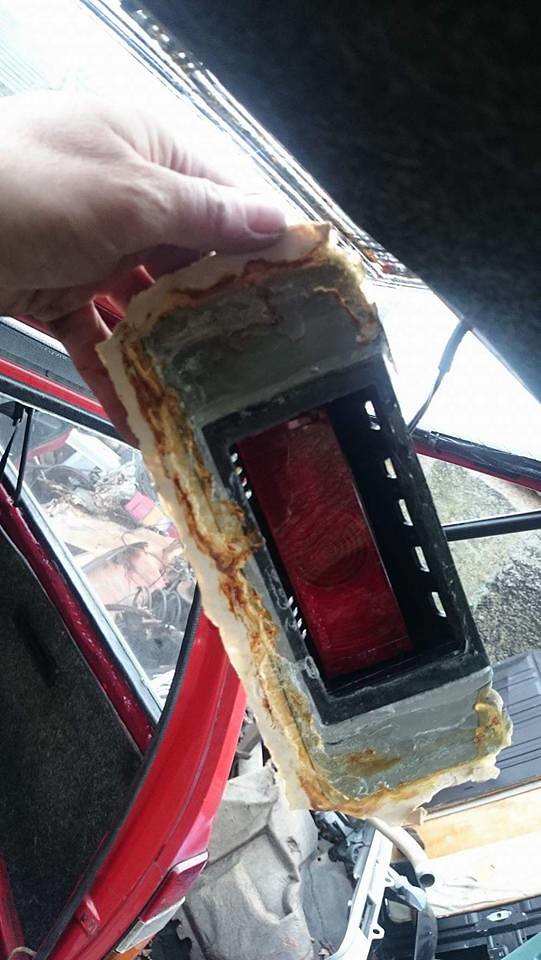
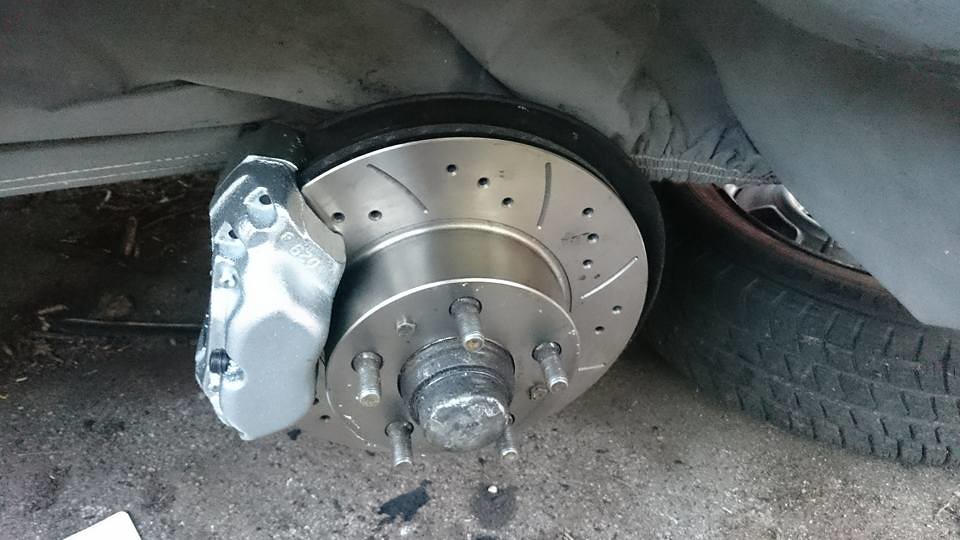
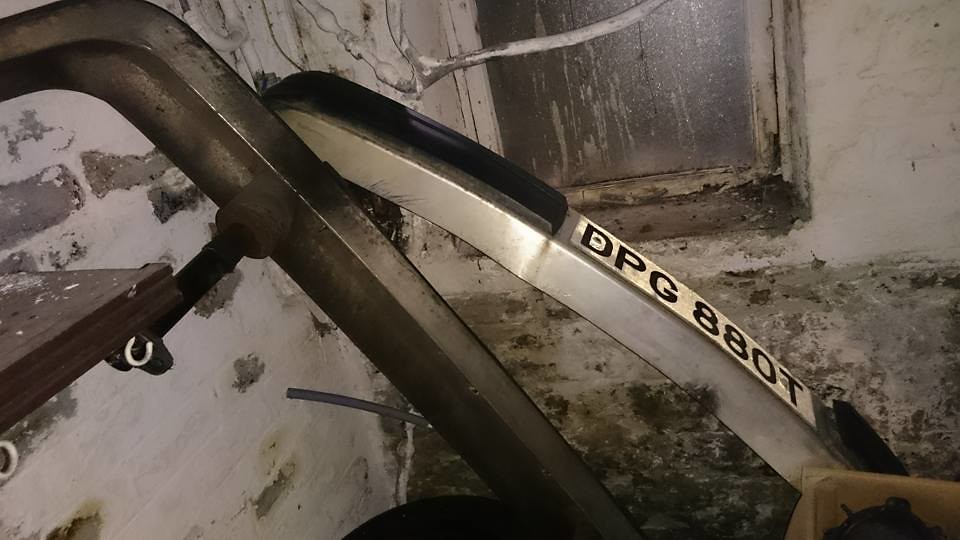
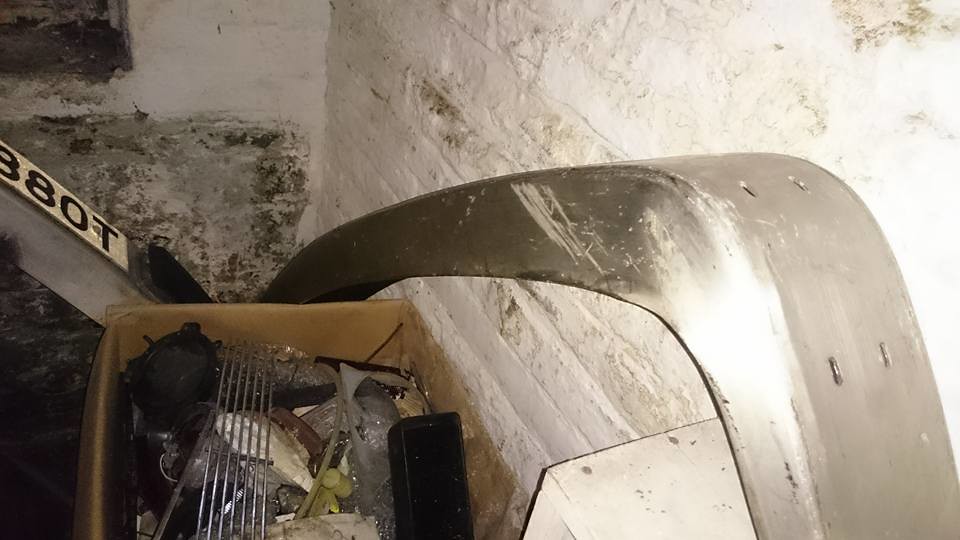
ohhhh deary dear
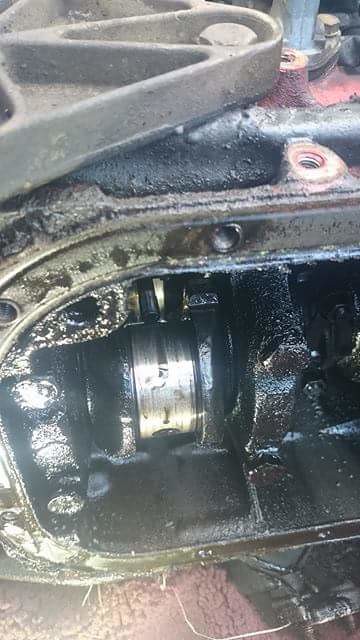 4 by ramawson, on Flickr
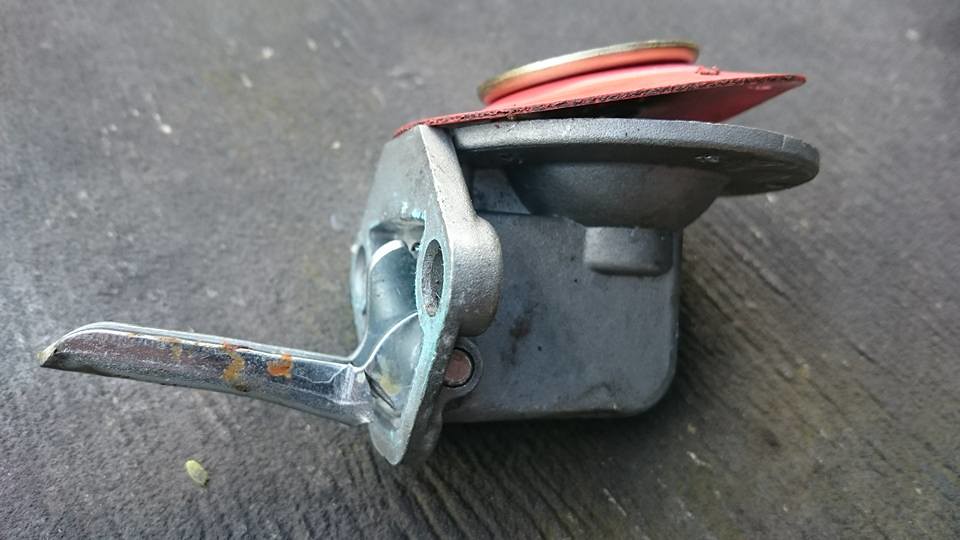
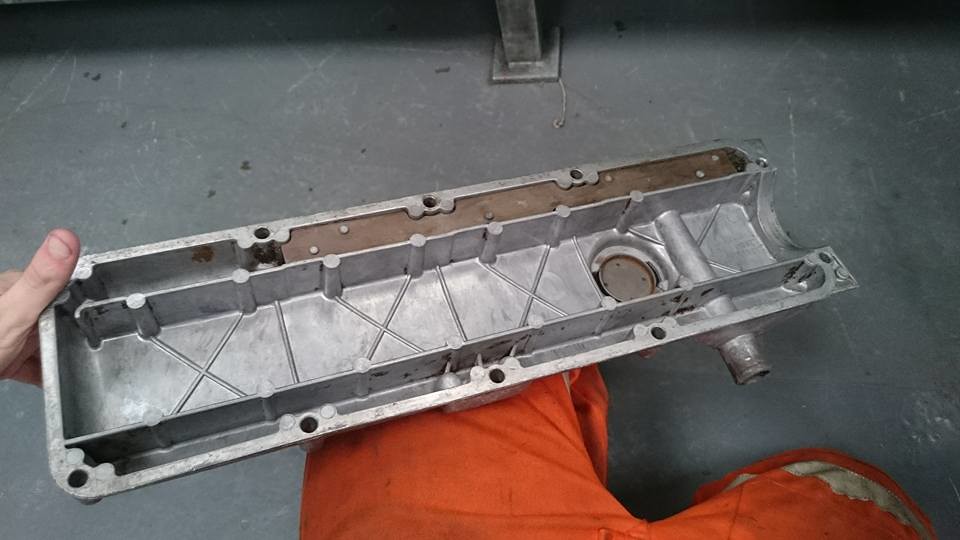
yummy. thats some lovely gunk and brass in there
 5 by ramawson, on Flickr
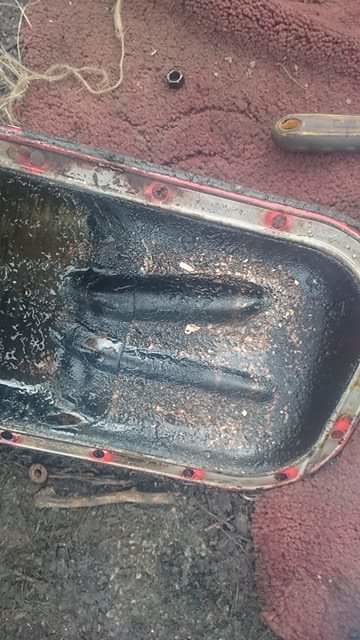
dont think this poor engine's seen a oil change in a LONG time
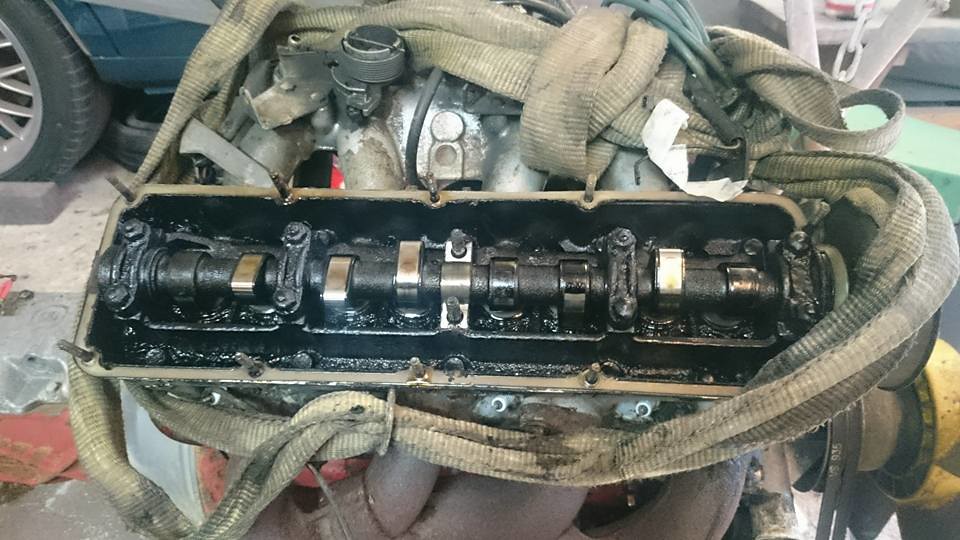 6 by ramawson, on Flickr
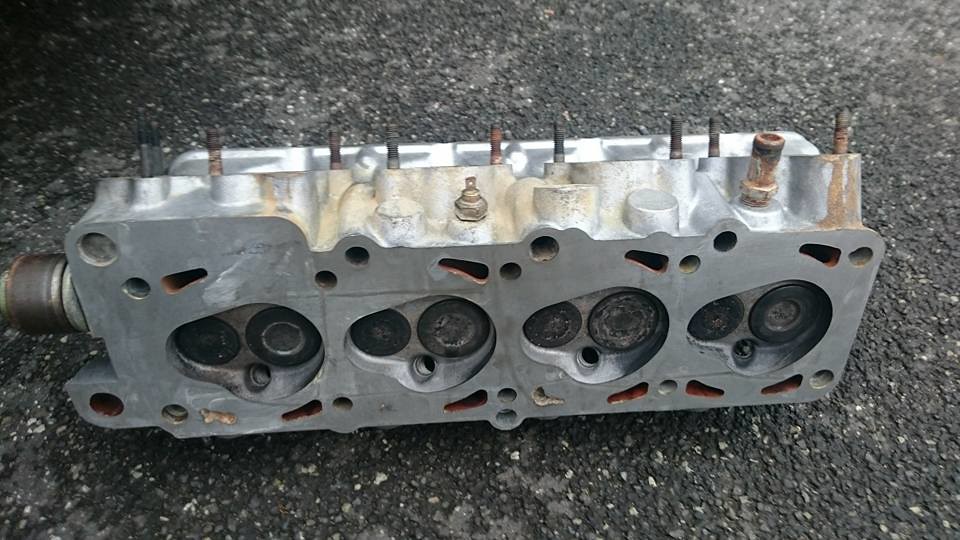
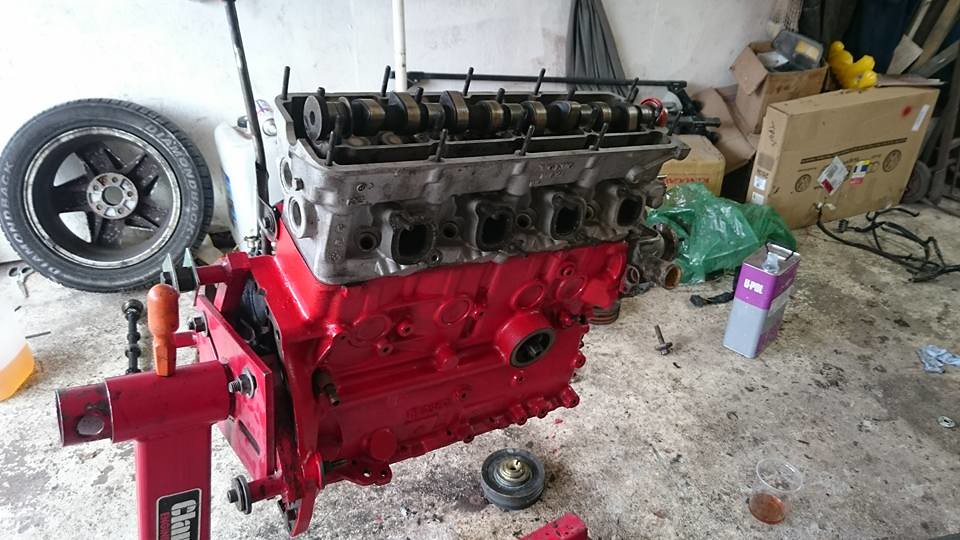
somehow the A cam has survived!
 7 by ramawson, on Flickr
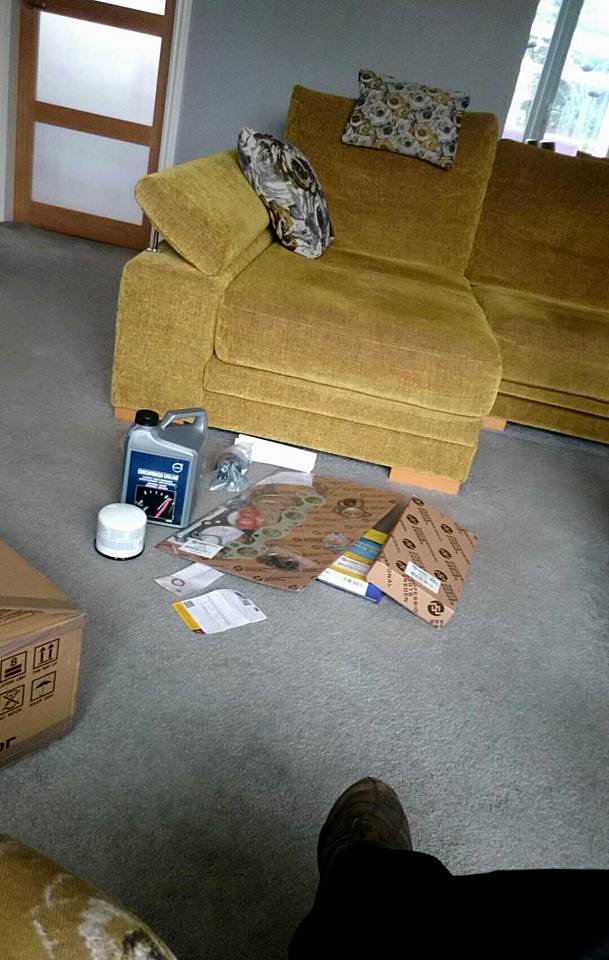
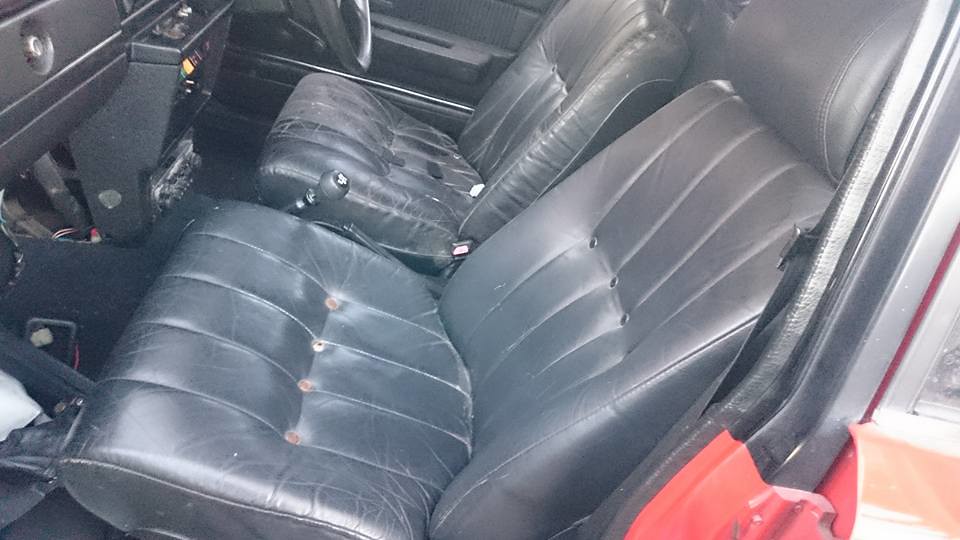
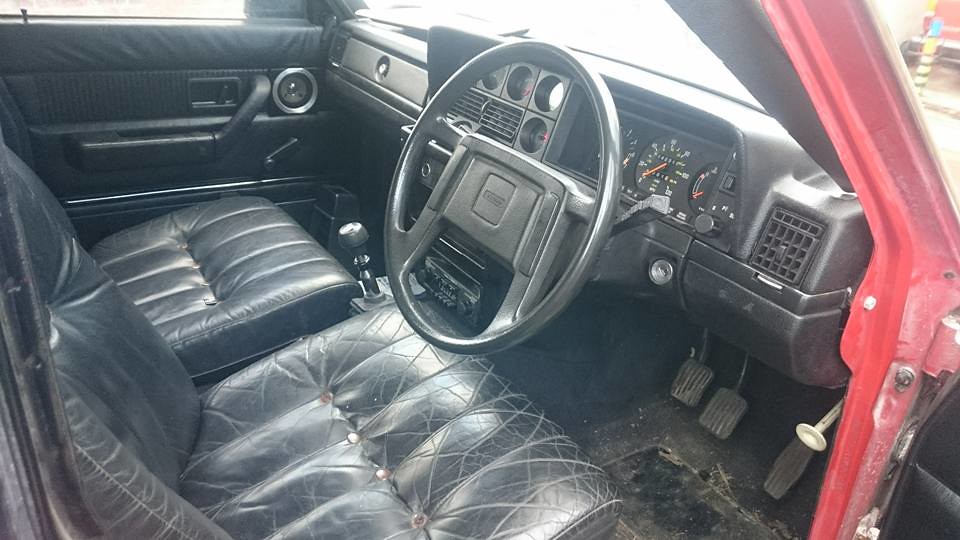
fitted GLT leathers i got off chesh. then turned it into a parts dump
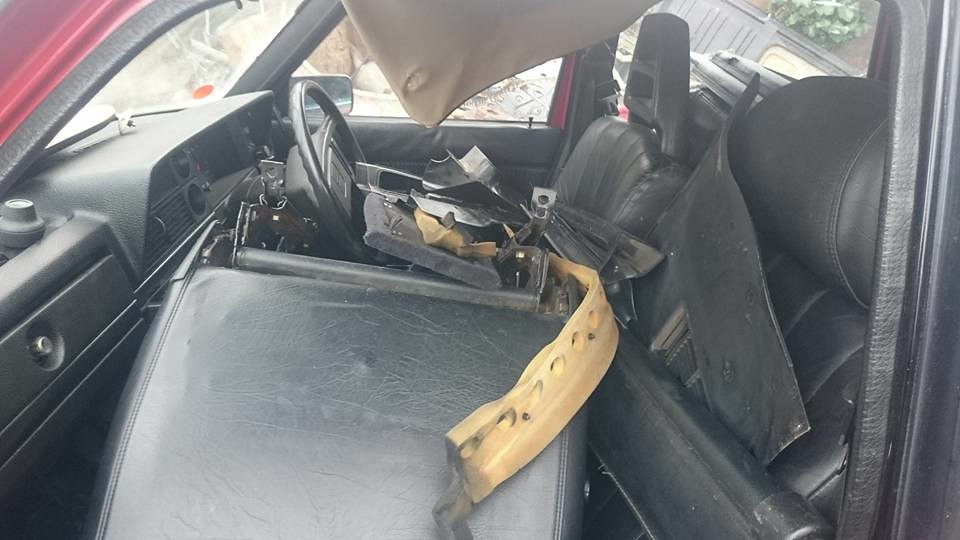 8 by ramawson, on Flickr
sorta a shot of the rear leathers
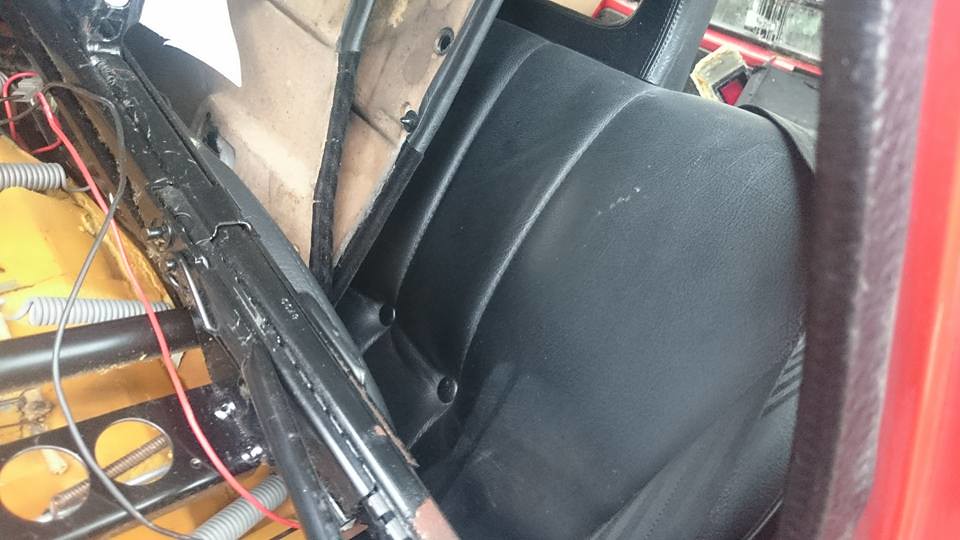 9 by ramawson, on Flickr
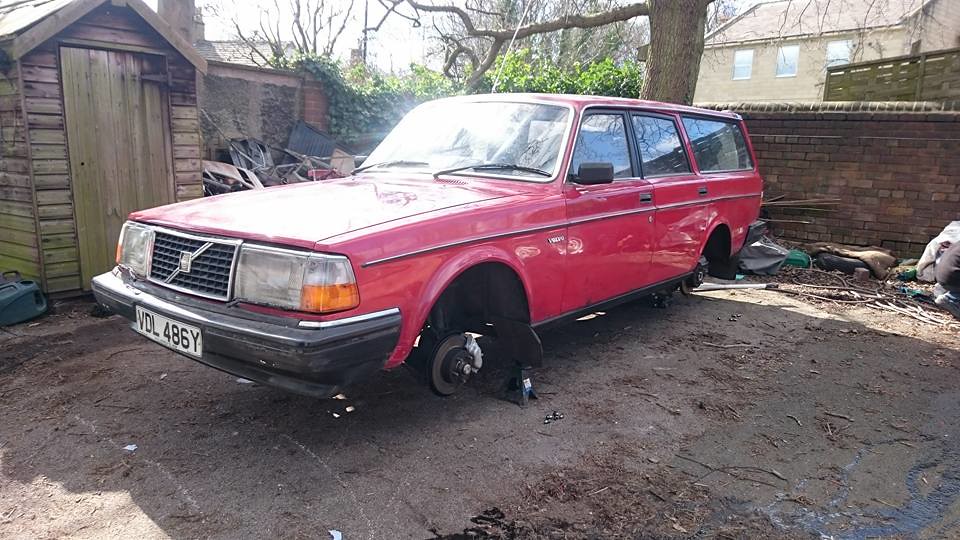
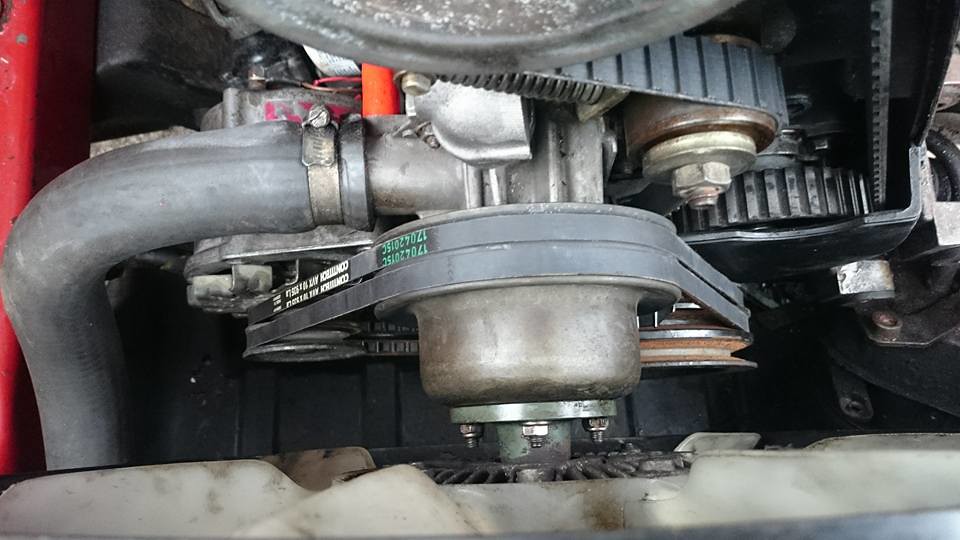
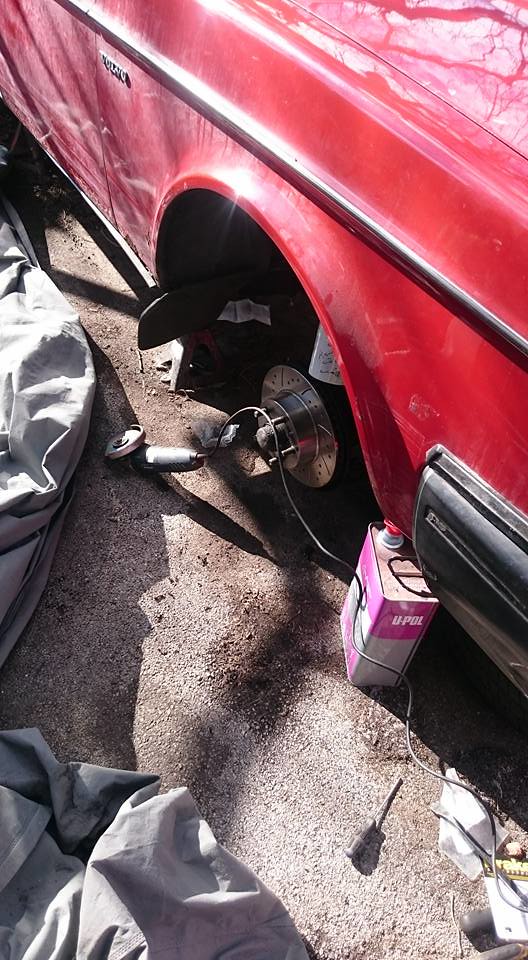
riding high with no engine
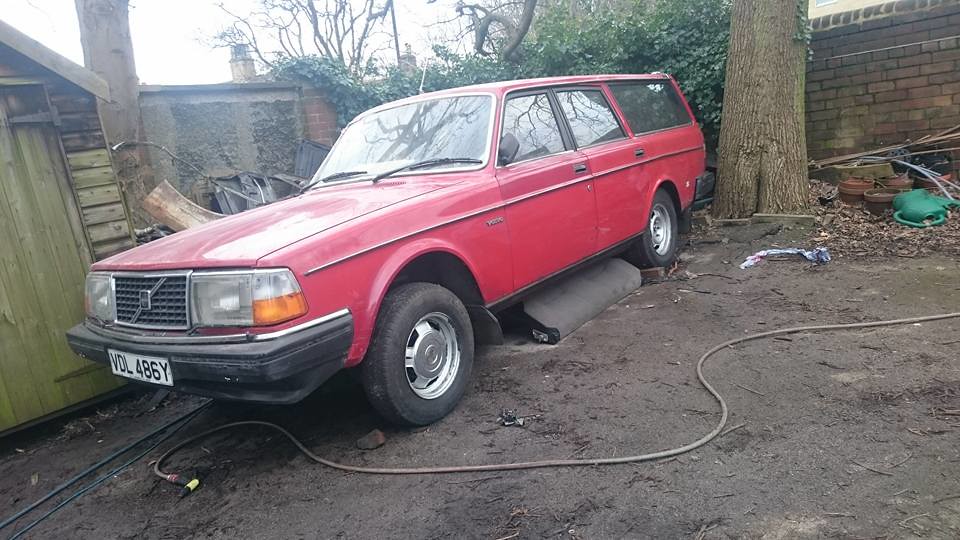 10 by ramawson, on Flickr
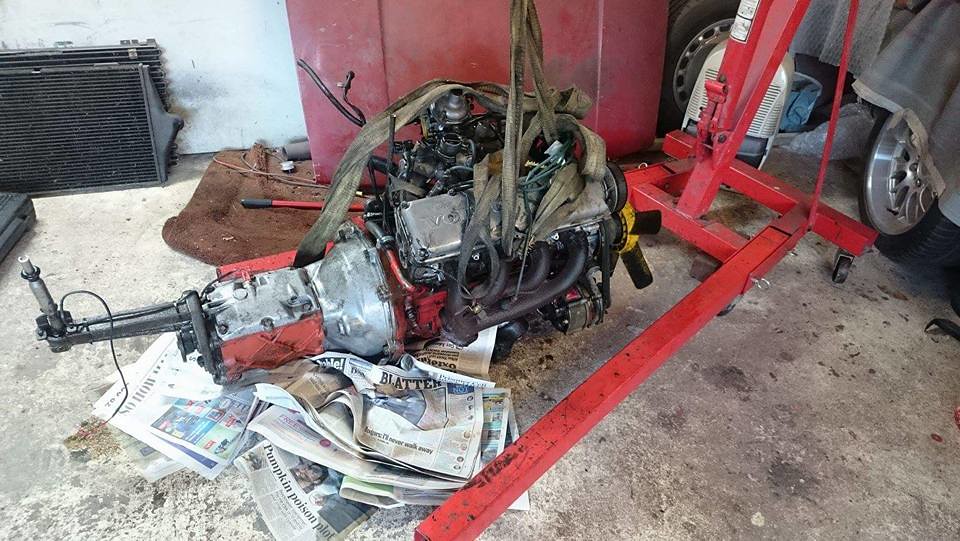
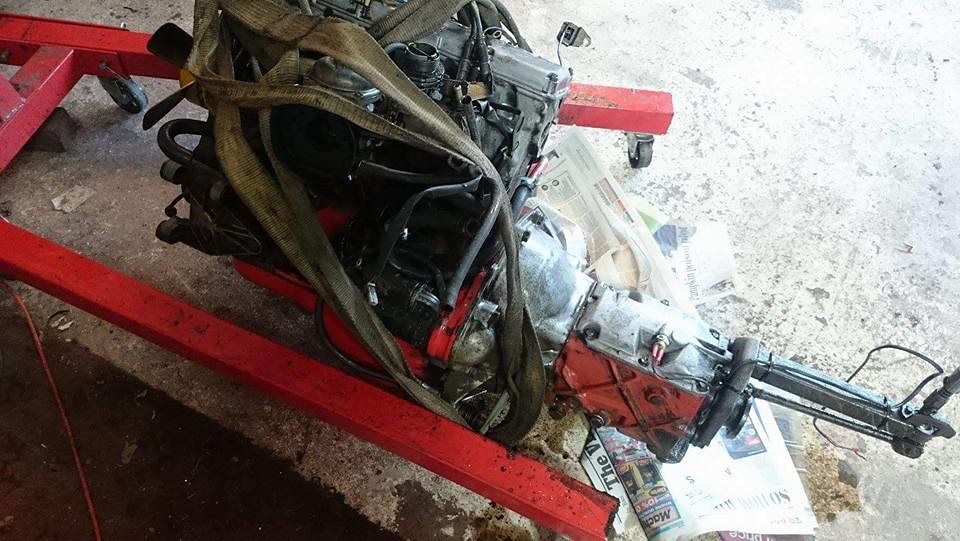
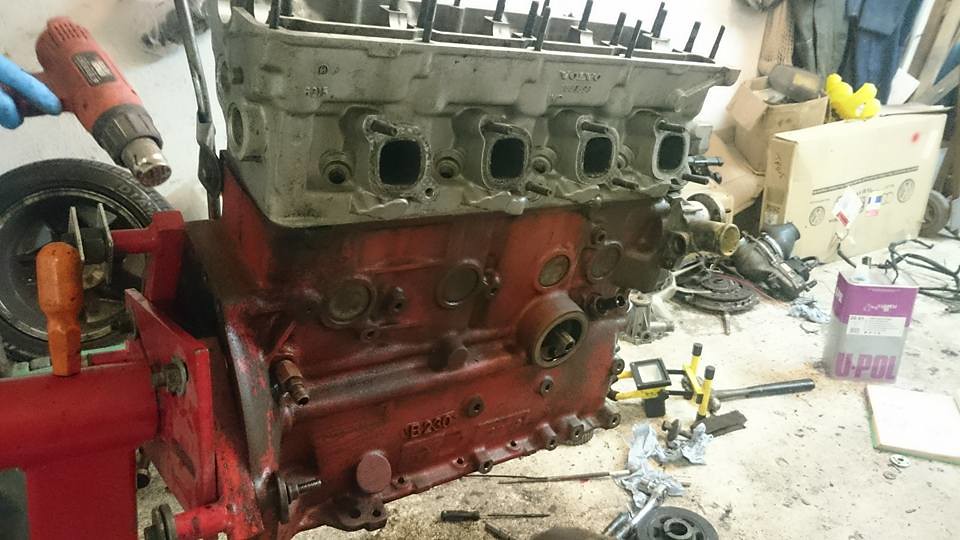
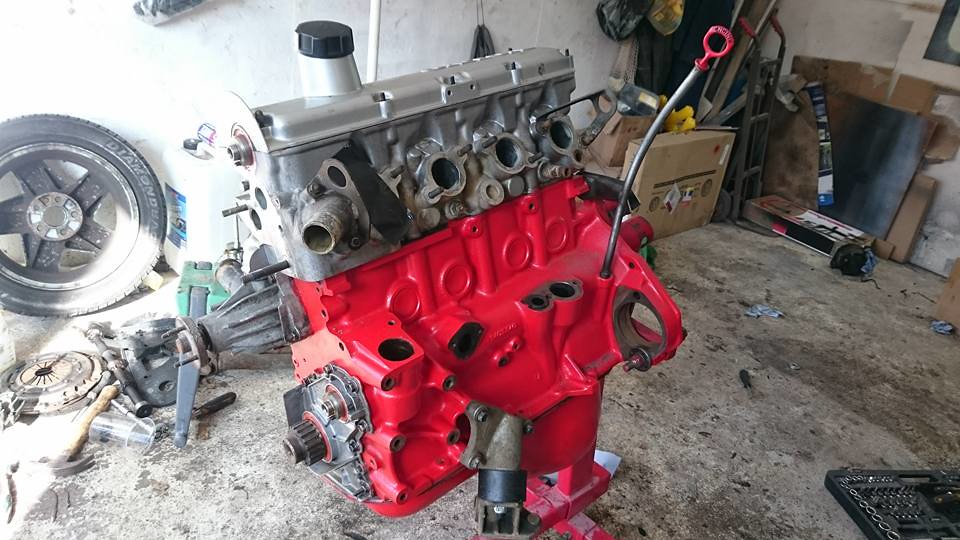
engine on the floor ready to strip down
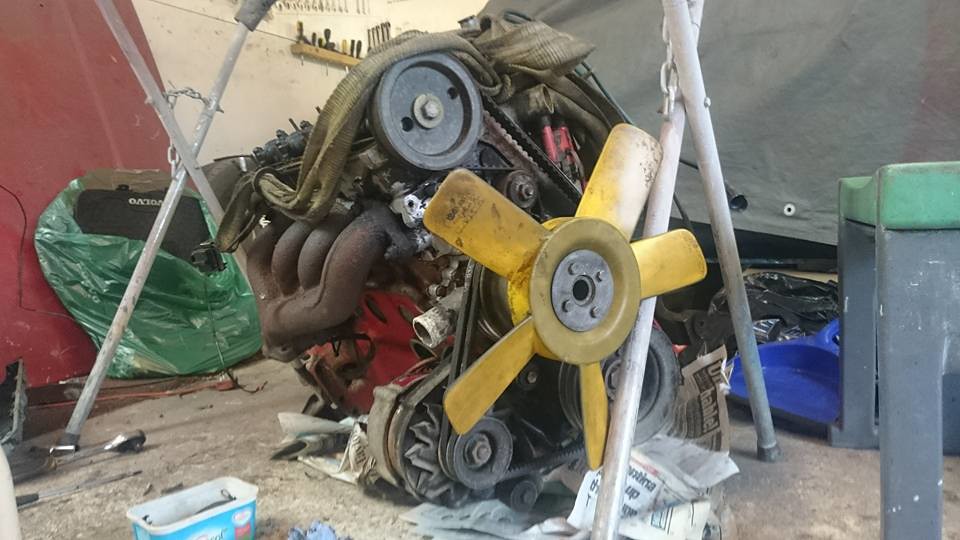 11 by ramawson, on Flickr
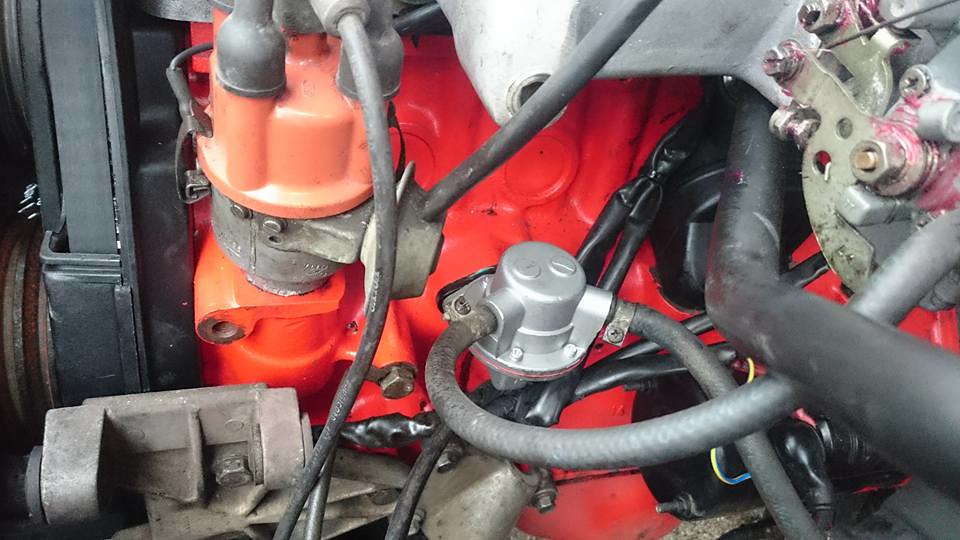
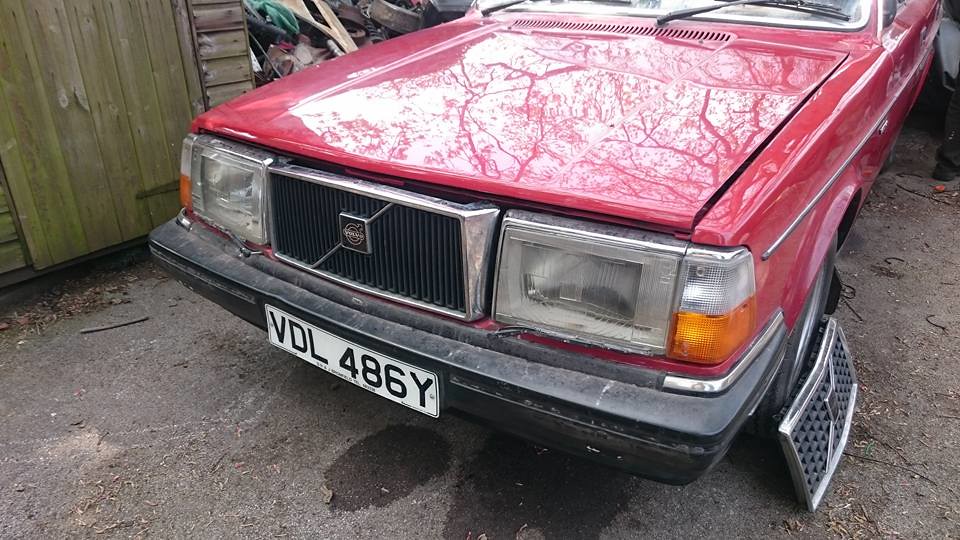
how it looked when it arrived. with me faffing with the oil pressure switch
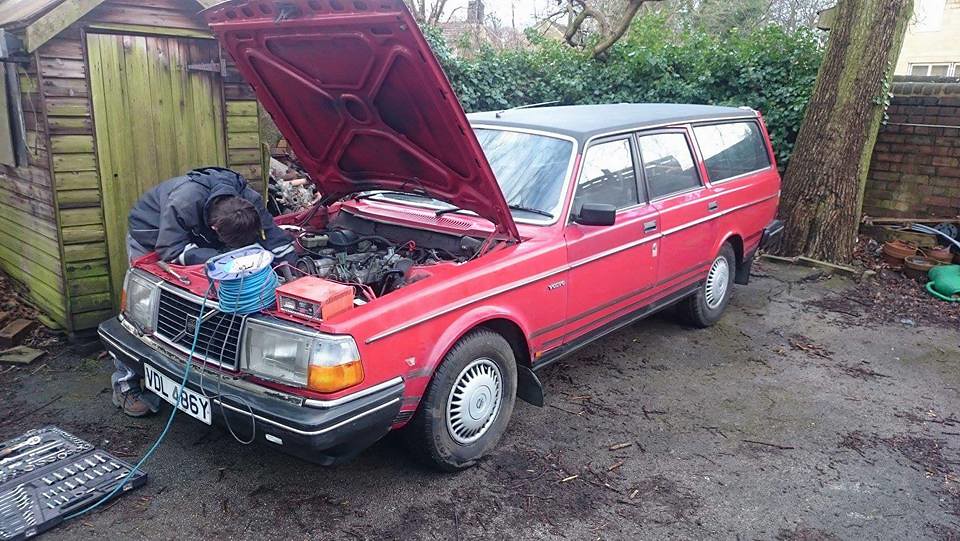 12 by ramawson, on Flickr
the vision for this car is a "what if volvo built a 265 turbo" with a 2.1 B21AT R sport carb turbo kit. anyway lets get on with it!
-------------------------------
so welcome to my new project! bought on a kind of blind knowing off john hughes. this being a early 240 (at least early scuttle) that was cheap. and maybe make a good project, the car got delivered early satday morning on the back of a old mitsubishi looking rather sorry for itself knowing prior the engine had "issues" we starter motored it up the yard and parked it in the naughty corner.
initial inspection was good verry minimal rust in the usual areas. some odd areas mainly caused by the prior owners stupidity. the fake cladding caused some rust. vinyl roof didnt help the rain gutters. but we got the engine to fire. and oh god it sounded like someone was smacking the block with a hammer. a real nasty *CLUNK CLUNK CLUNK* so what do you do? pull the engine. and start faffing. ill update each day as its been a few week since i owned this car but been too busy to start a thread!
out comes the old 2.1
1 by ramawson, on Flickrgot the wheel trims off to at least make it look semi respectable
2 by ramawson, on Flickrobligitory "no engine here" shot
3 by ramawson, on Flickrohhhh deary dear
4 by ramawson, on Flickryummy. thats some lovely gunk and brass in there
5 by ramawson, on Flickrdont think this poor engine's seen a oil change in a LONG time
6 by ramawson, on Flickrsomehow the A cam has survived!
7 by ramawson, on Flickrfitted GLT leathers i got off chesh. then turned it into a parts dump
8 by ramawson, on Flickrsorta a shot of the rear leathers
9 by ramawson, on Flickrriding high with no engine
10 by ramawson, on Flickrengine on the floor ready to strip down
11 by ramawson, on Flickrhow it looked when it arrived. with me faffing with the oil pressure switch
12 by ramawson, on Flickr