THolandsli
New member
- Joined
- May 24, 2006
- Location
- Norway
67" Amazon Turbo project
15 years ago I started with restoration / modifications on a 1967 Amazon. This project stagnated after a few years due to little money, other projects, women?s, long way to the garage and other things.
This past year I have been contacted by people who wanted to buy the Amazon. I found out then that I had to take a path. Sell it, wreck it or restore it. Since the Amazon was my first car, which I bought when I was 16 years I choosed the last option.
The car has matured a lot since I stopped the project appr. 10 year ago. In the last 3 years it has been stored outdoor. In this part of Norway that?s mean a lot of snow, rain, wind and salty climate. Enough about the story.
The car is a 1967 model with B18 engine, good ground clearance and 165 / 80-15 tires. Exciting? Hardly ... I had to find something a little more daring. The plan at the first restoration, hereinafter called "restoration phase 1" was B20 turbo, lowering and chrome wheels. The taste has not changed so much in all this years, but I has now slightly more resources and knowledge. The plan is something like this:
- B5204T2 engine, (180hp/220Nm)
- Tremec TKO 600
- IPD anti sway bar kit
- Air ride
- 18" wheels
- R-brakes
- Watt-link
- Seam welded body
- 1031 rear axle with Truetrac
- 240km/h speedometer
- Recaro seats with original Amazon look
- And a lot of details?.
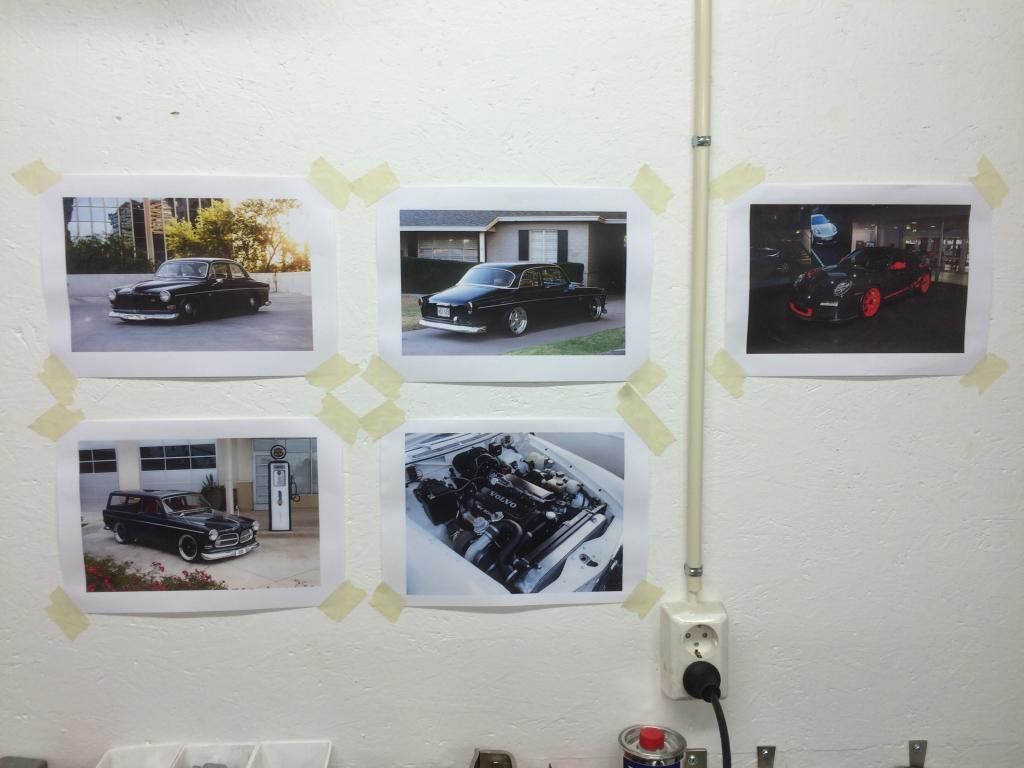
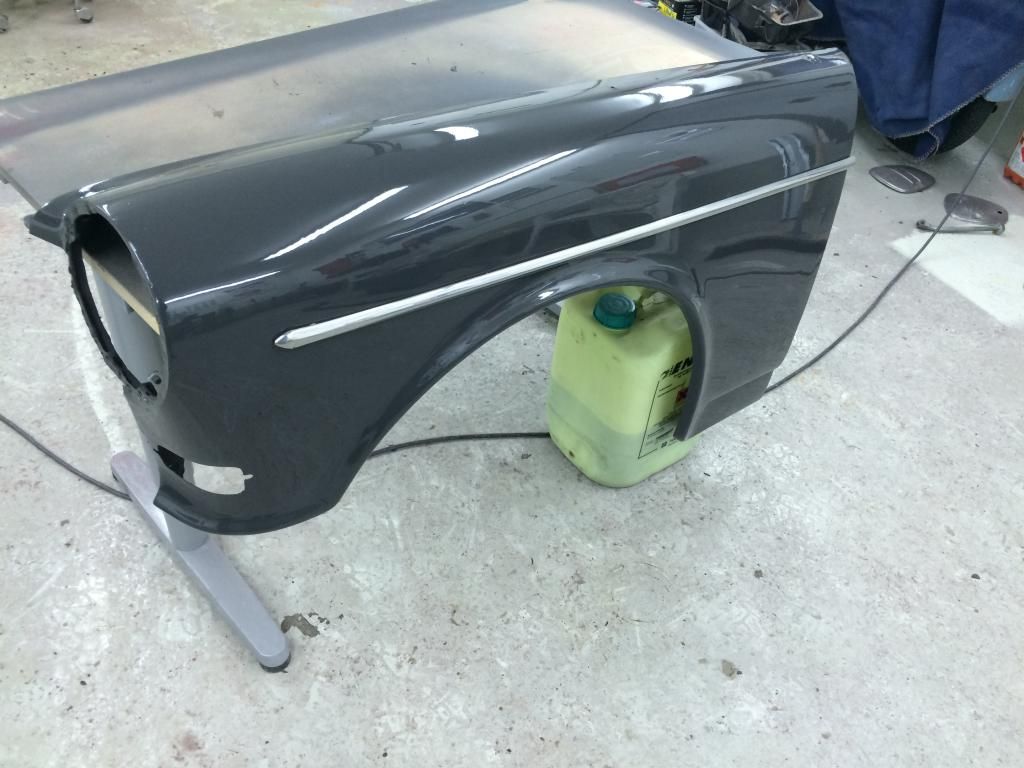
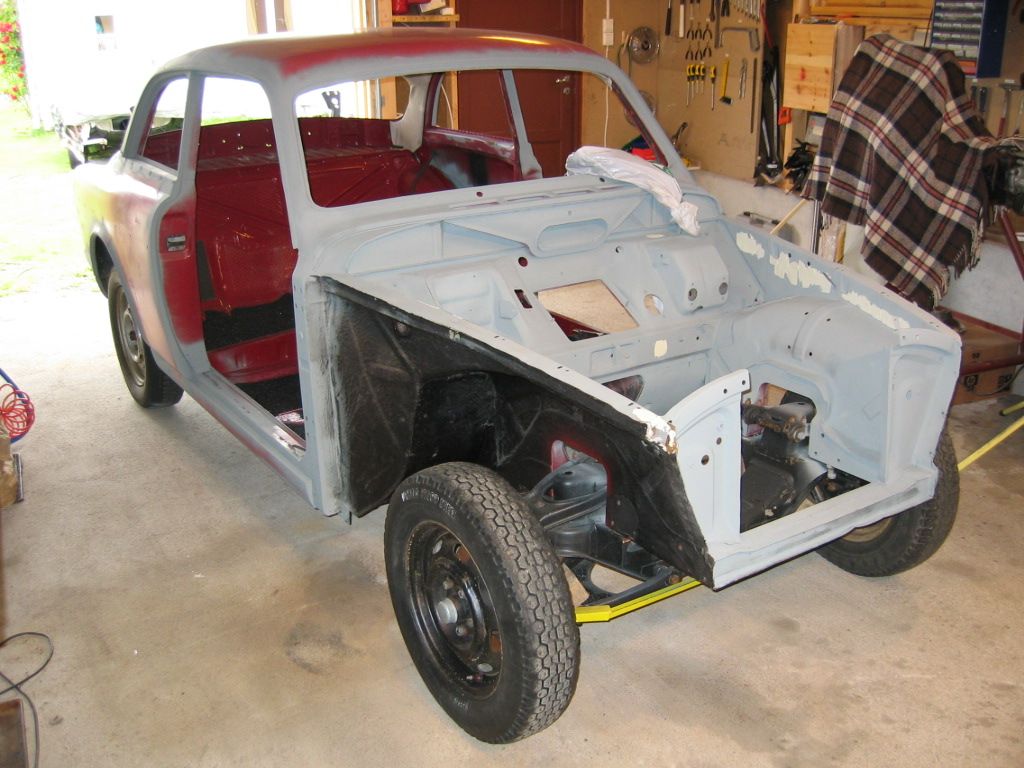
Cosmetic inside and outside I will run almost original desgn. As color, I think that it ends with Porsche 7A1 which is gray color that is often at the Porsche 911 GT3 RS. I have painted a front fender in this color to check if the color suits the car.
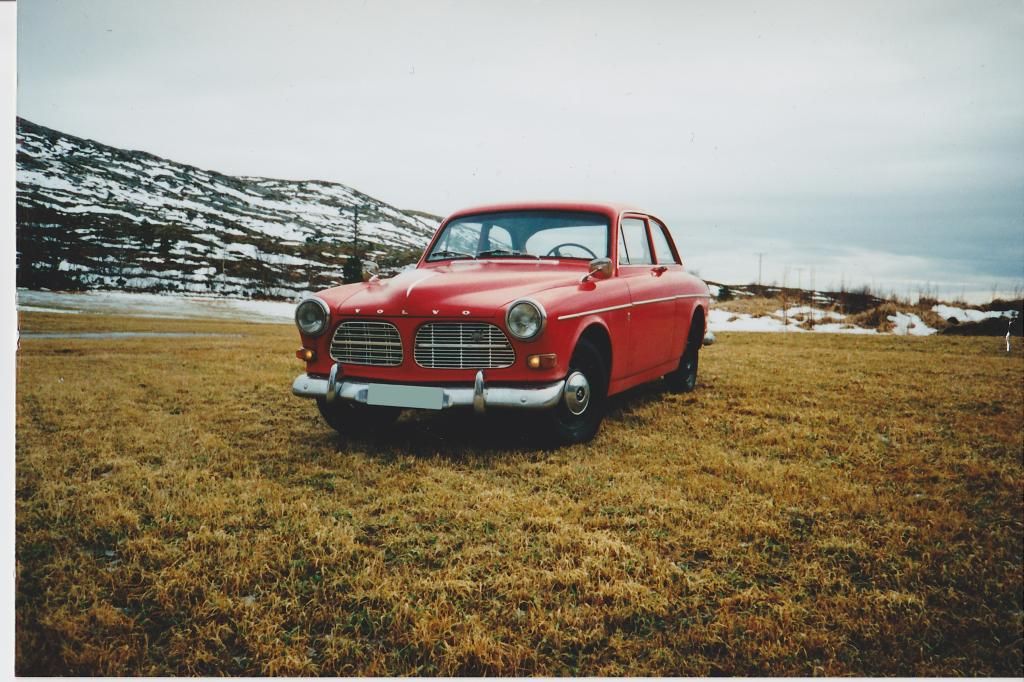
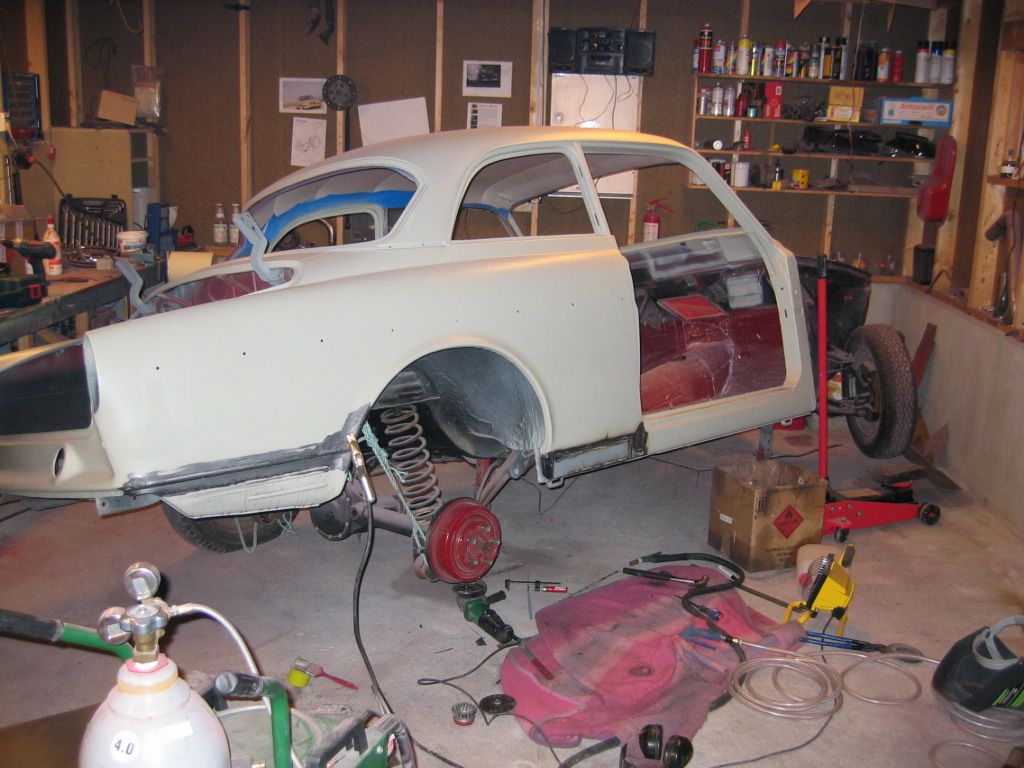
Here's car as it looked when I bought it. On that time it was painted in red enamel paint and in use condition, but nothing more.
A couple of pictures from the ?restoration phase 1?
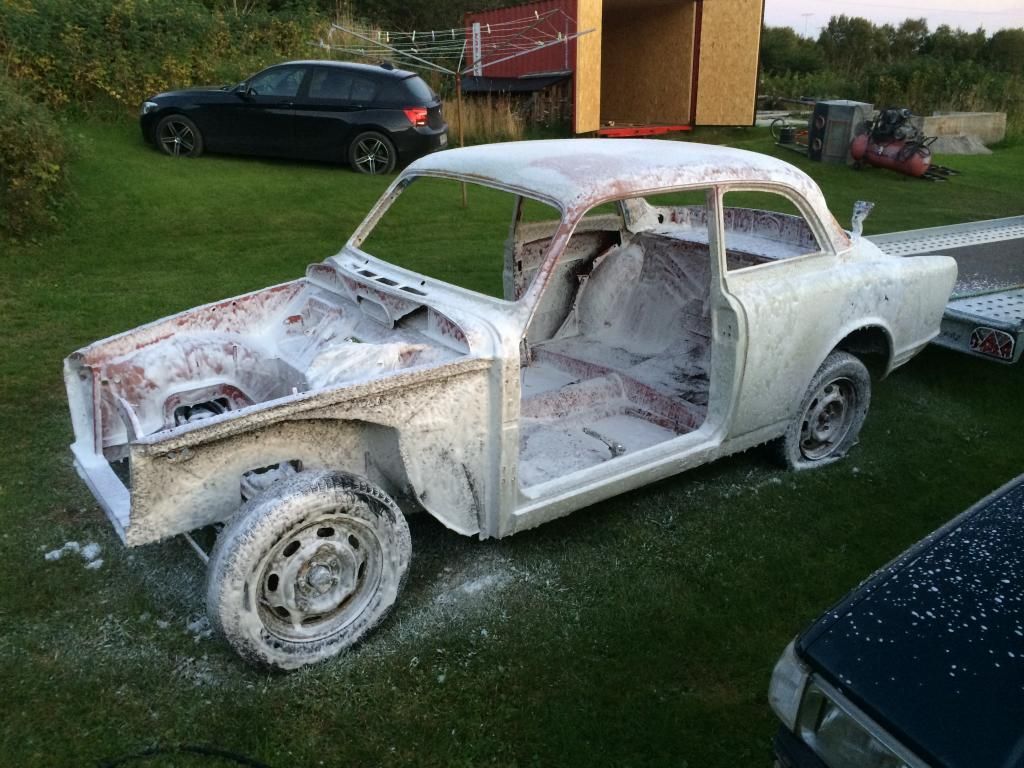
After many years of storage inside and outside it becomes much dust, dirt, grass stains etc. that must be removed. Foam and pressure washer could not possibly make it worse.
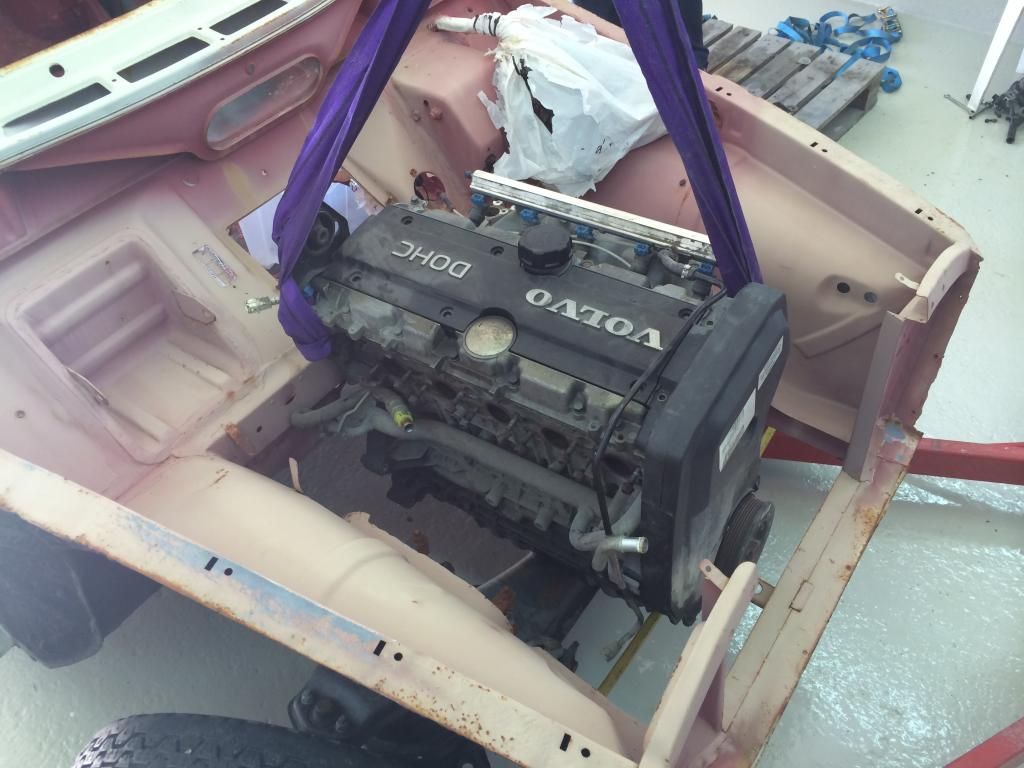
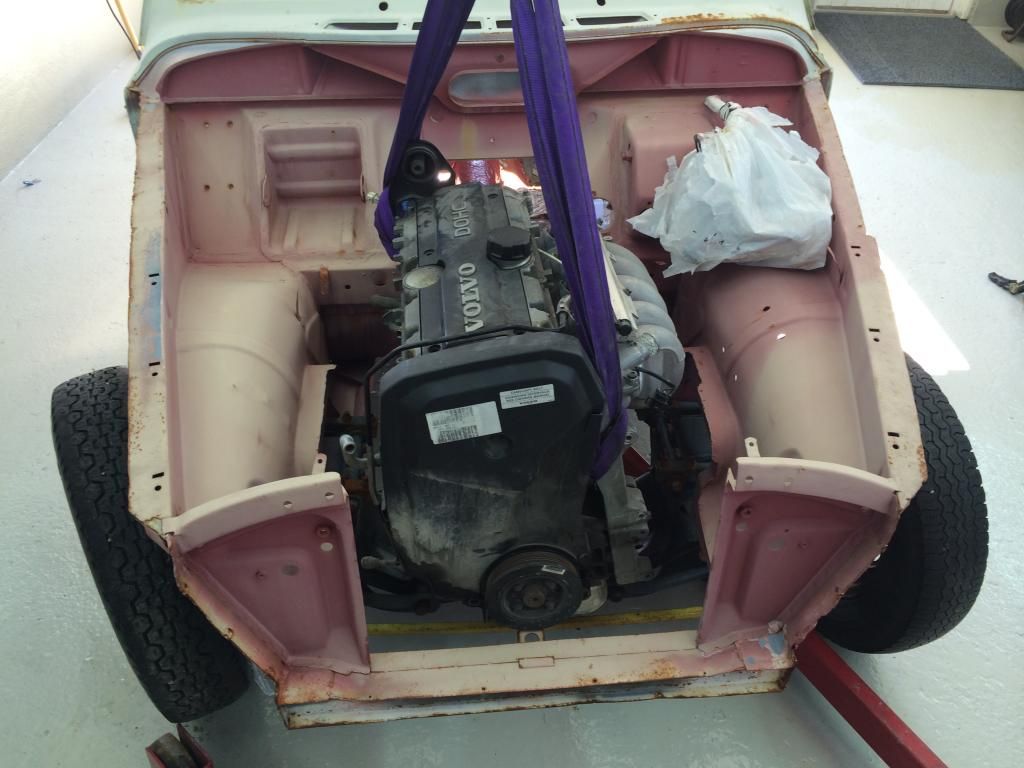
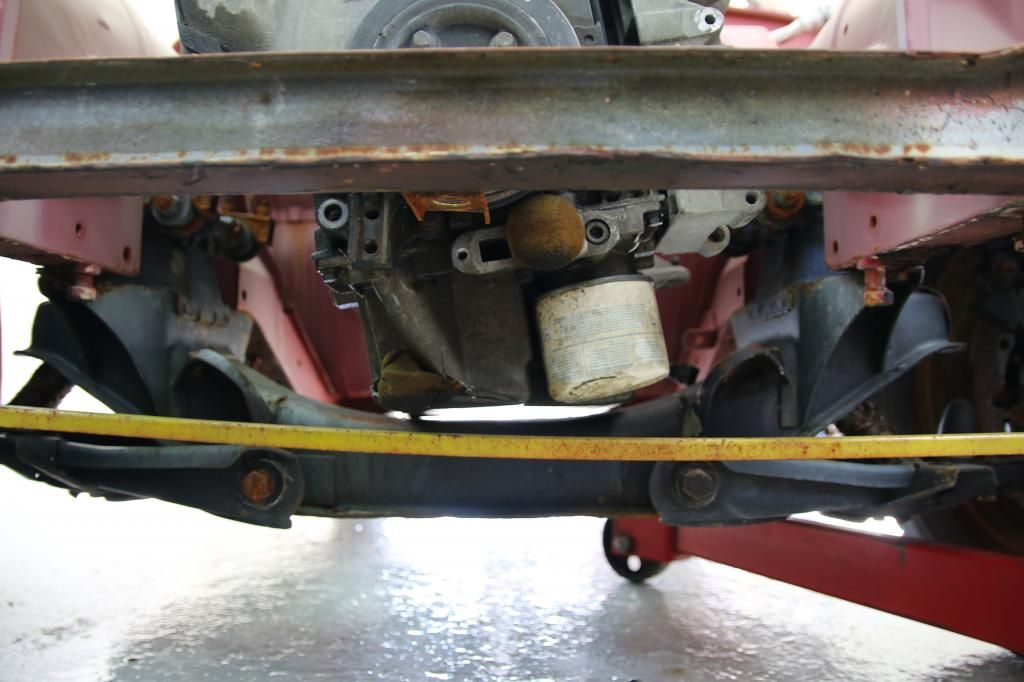
Since I had an old 5-cyl NA engine stored I had to see if there was space enough under the hood.
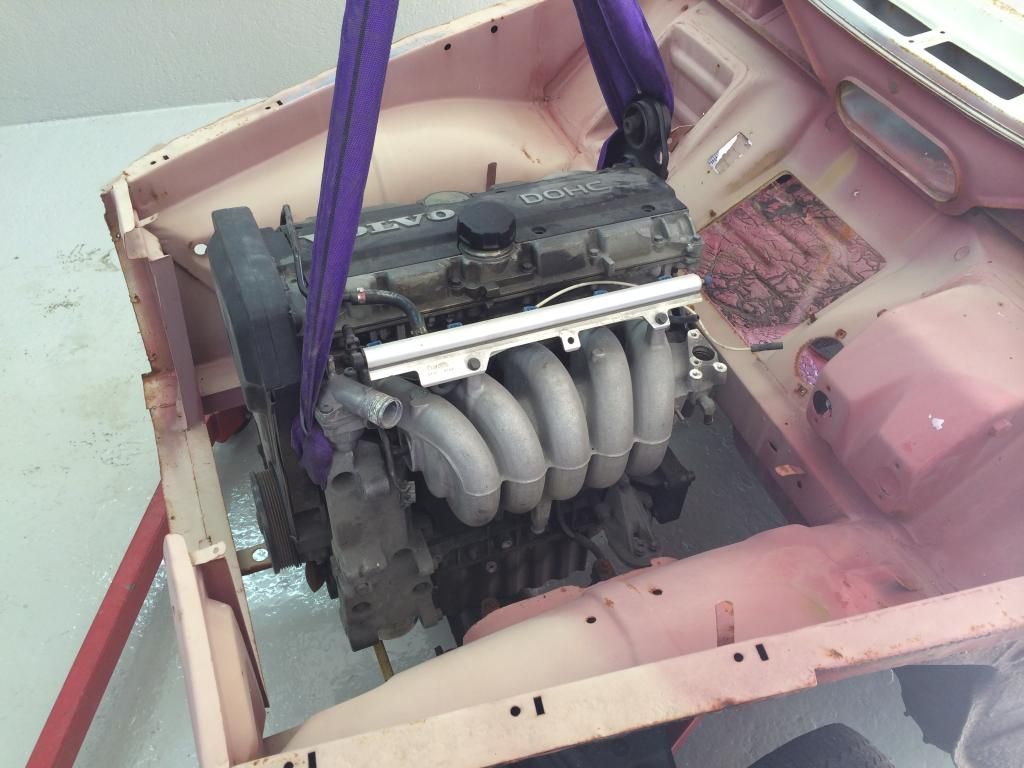
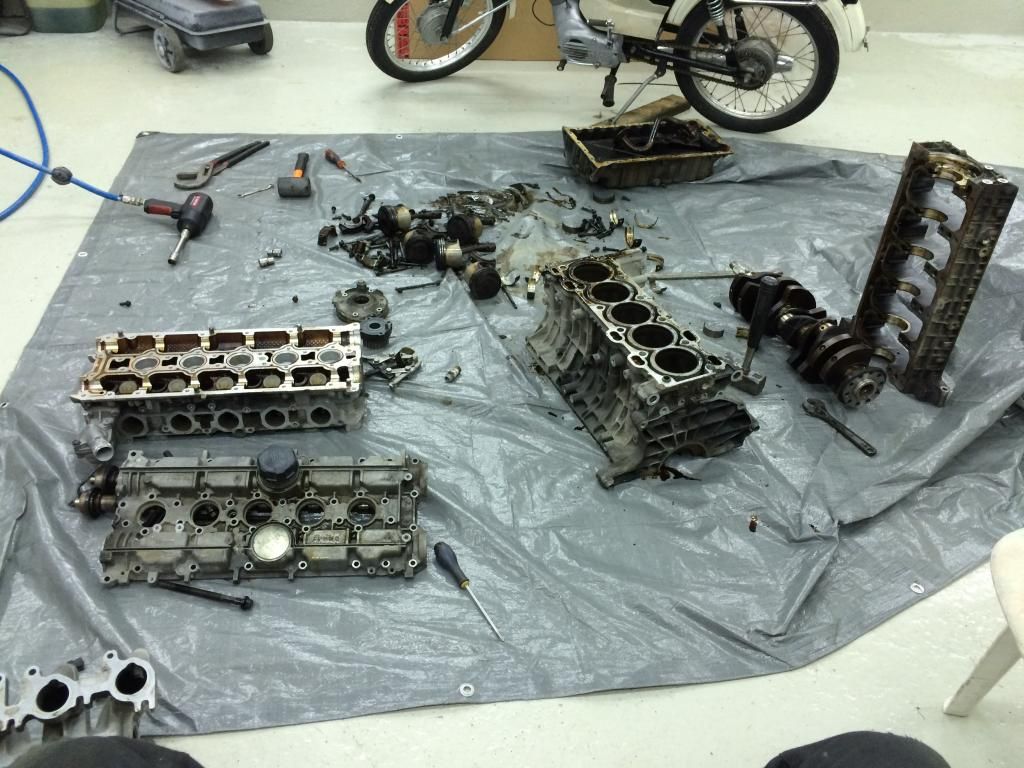
I disassembled the engine so that I can use it as dummy.
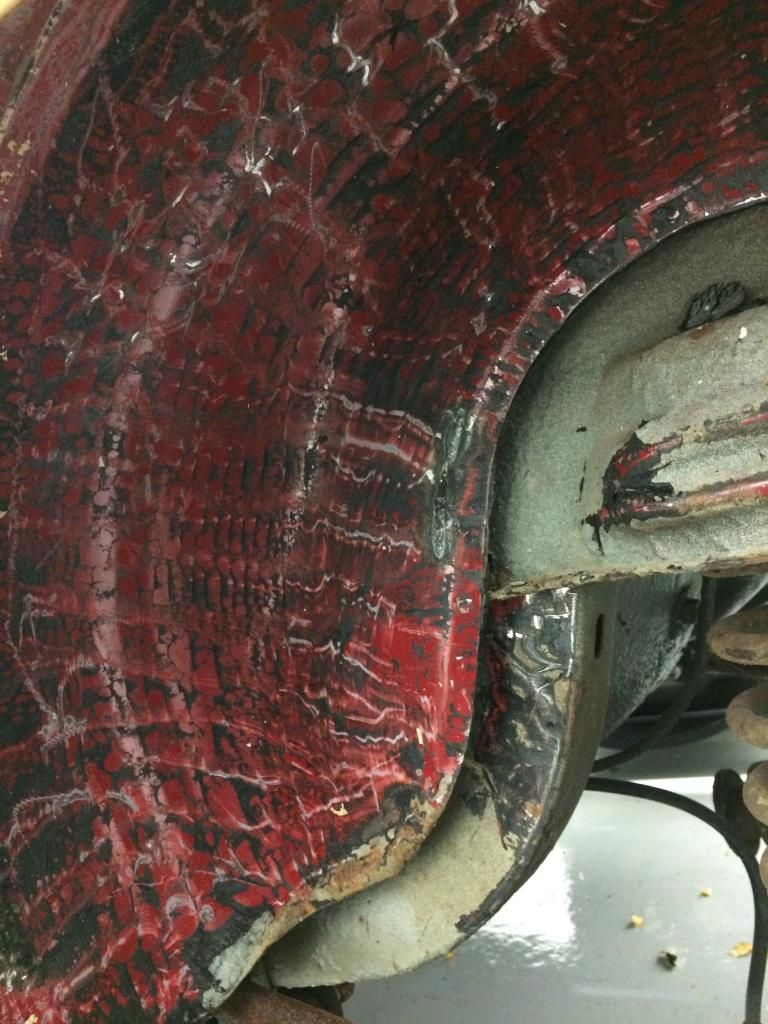
Further plan was to sand blast the whole car to get a clean body with no rust to work with. Before blasting all the underseal and the insulation had to be removed. A rottiserie is a must during such work.

Before scraping.
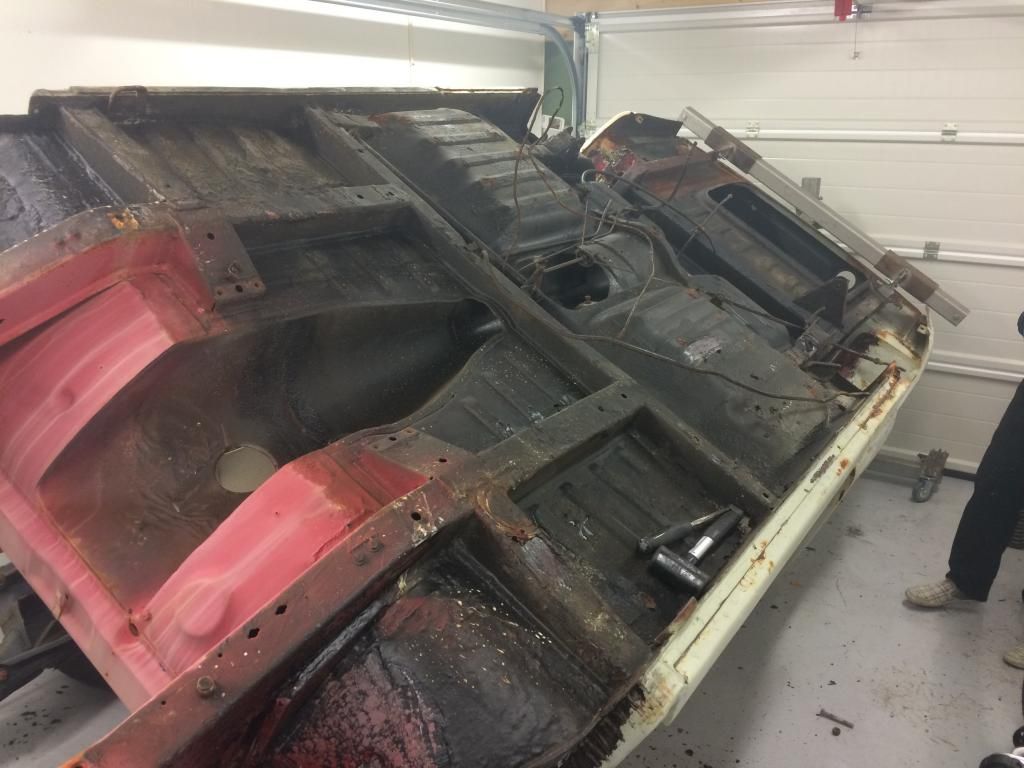
After scraping.
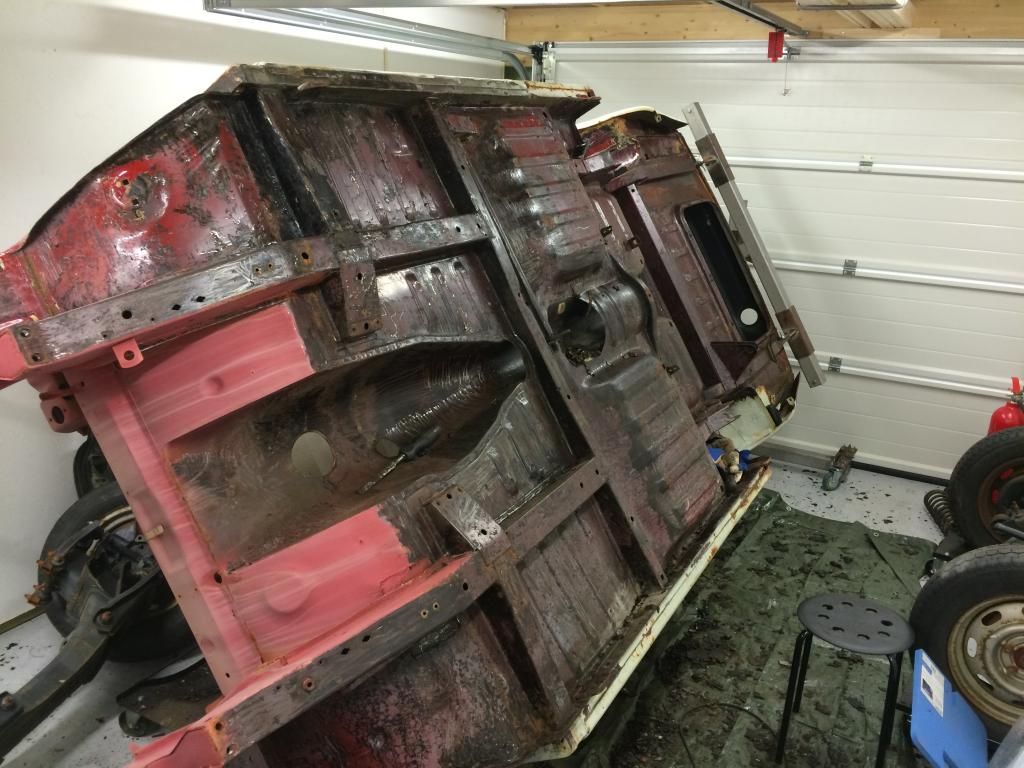
Before scraping.
After scraping.
Even more scraping.
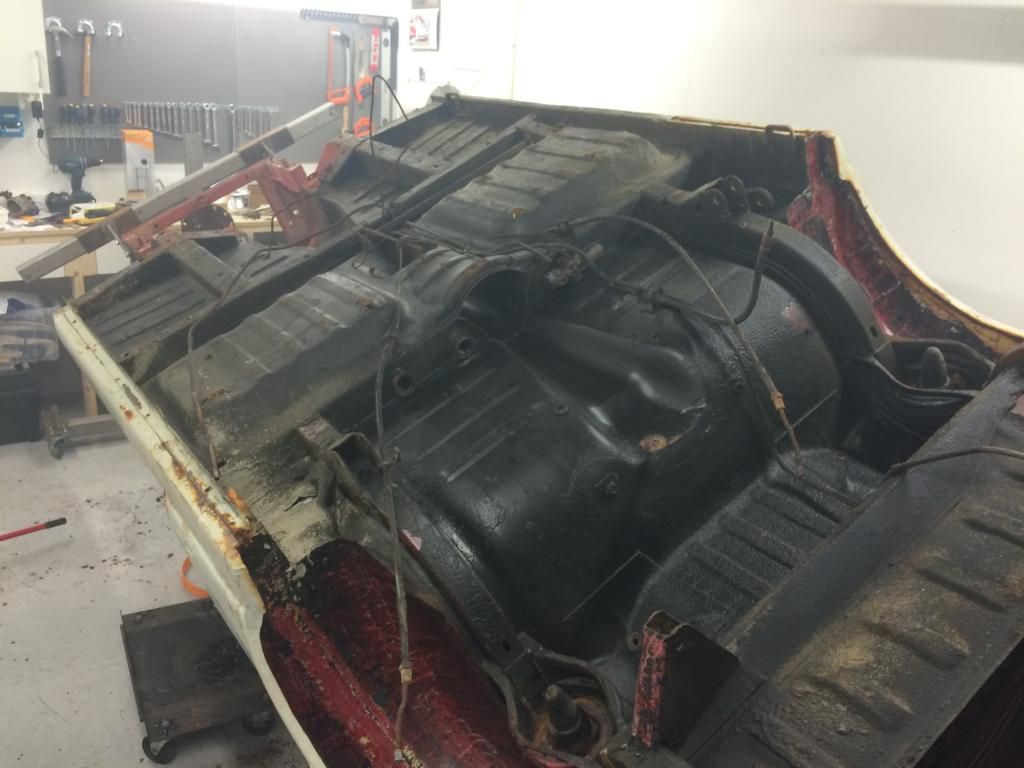
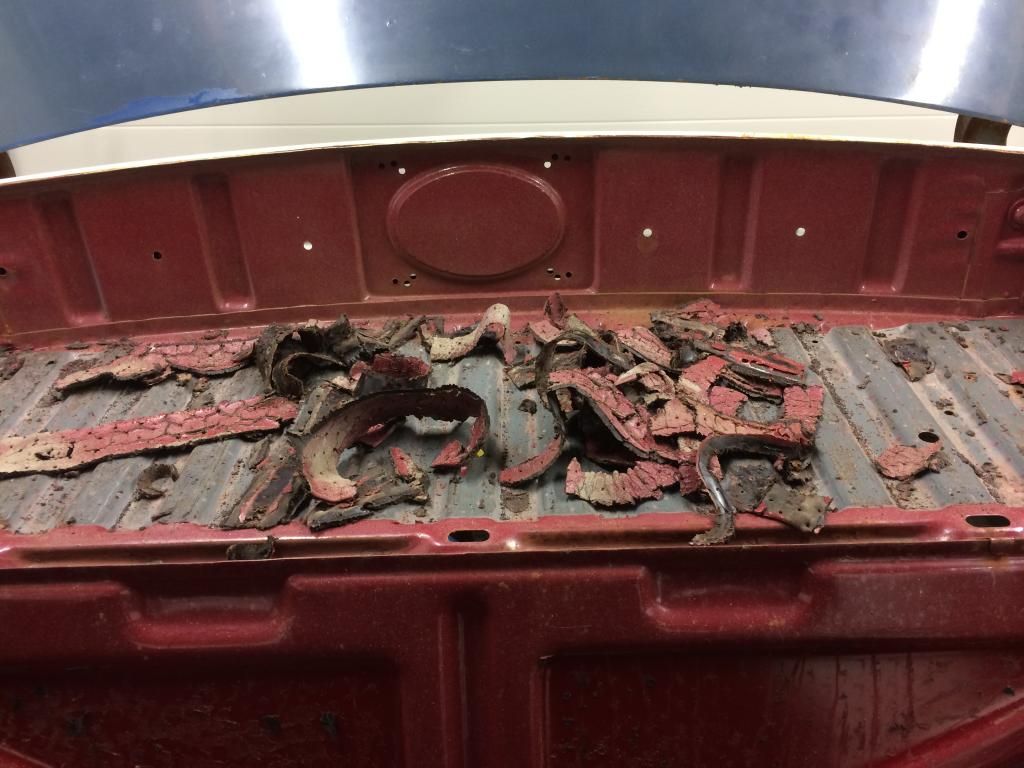
And some of the heaviest. Removal of insulation.
To make it easier to transport the car to and from sandblasting crafted a pallet.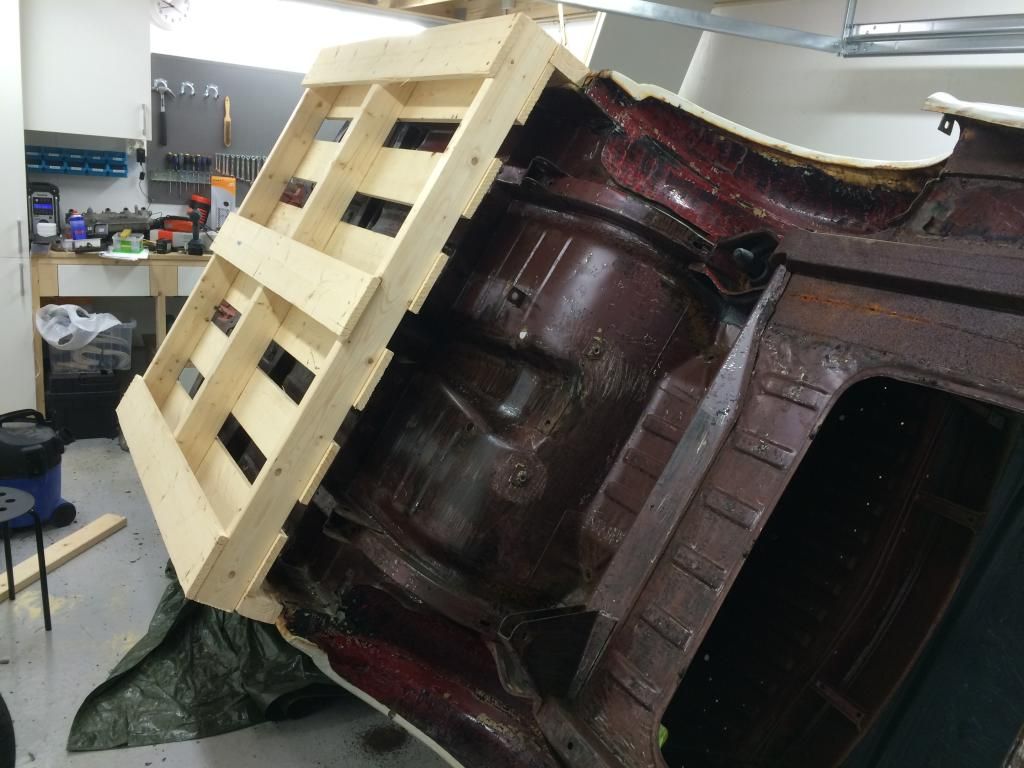
After many evenings with scraping the car was sandblasted.

After sand blasting a thin layer of primer was applied.
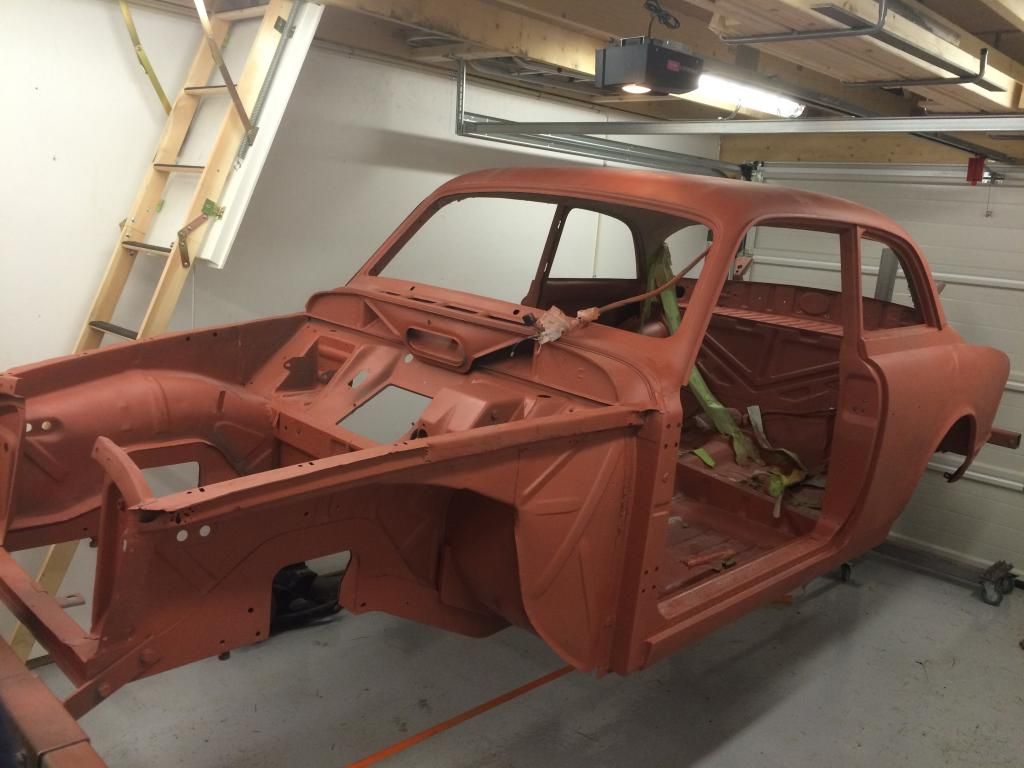
It is not shown as good in the pictures, but a lot of small rust holes here and there on the car appeared during the sand blasting. So there will be intensive rust welding for a few months this winter.
Since it was many years since I last welded thin sheet metal and I had a new unknown welding machine I started with a single small hole that will not be visible.
And then I jumped right to welding for intermediates. The front wing was in a bad condition on this car, like on the most of this cars that have been used on salty winter roads.
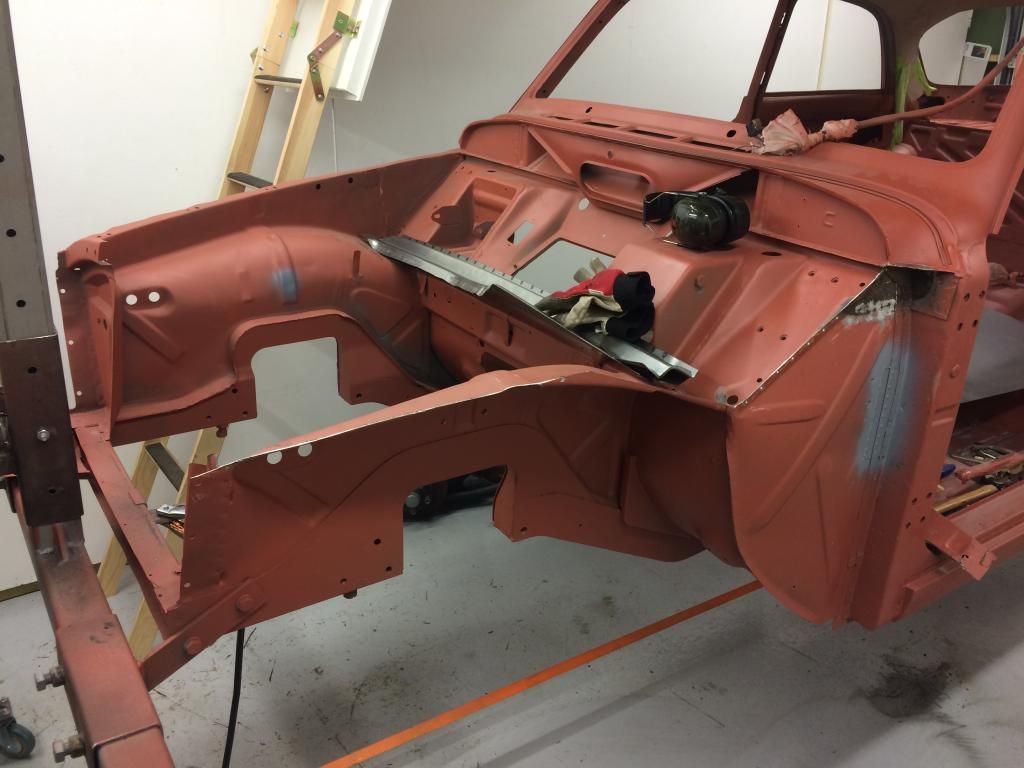
A lot of work to adapt this part to the car before the welding could start.
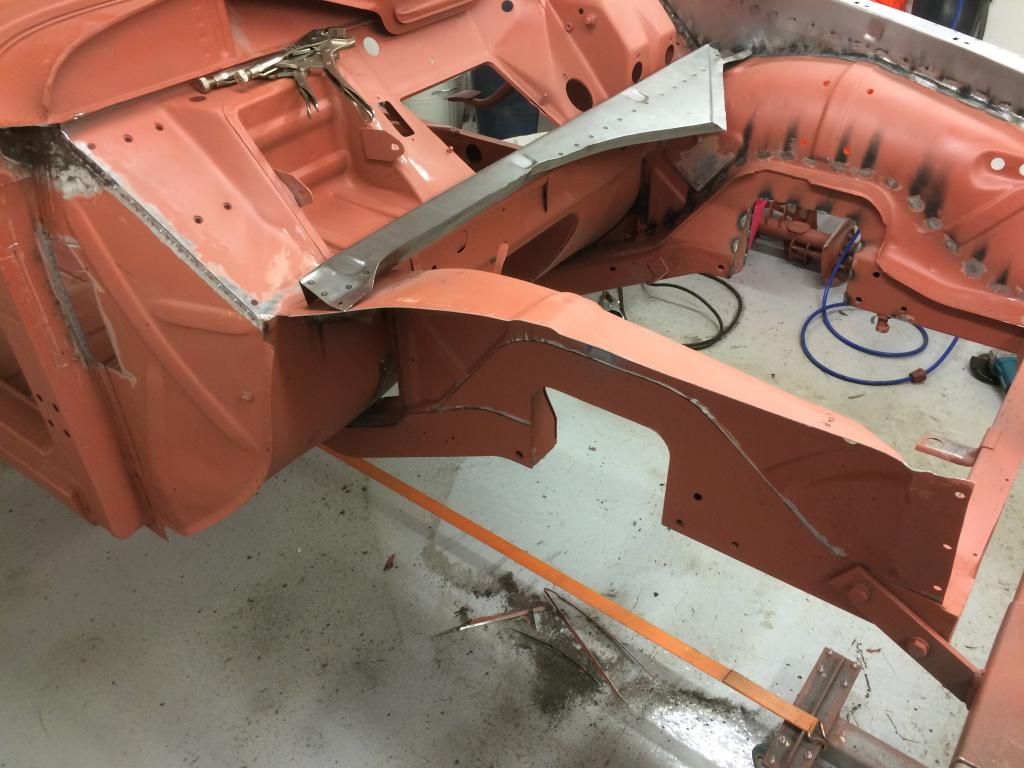
The front wing welded to the car and also started with the seam welding.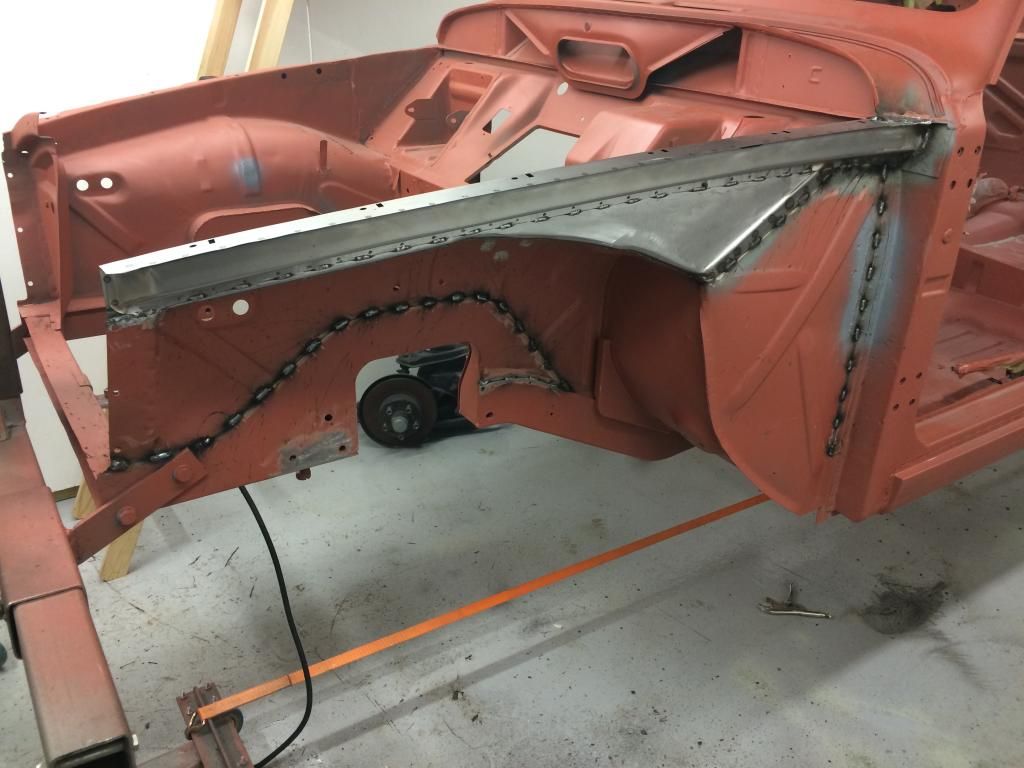
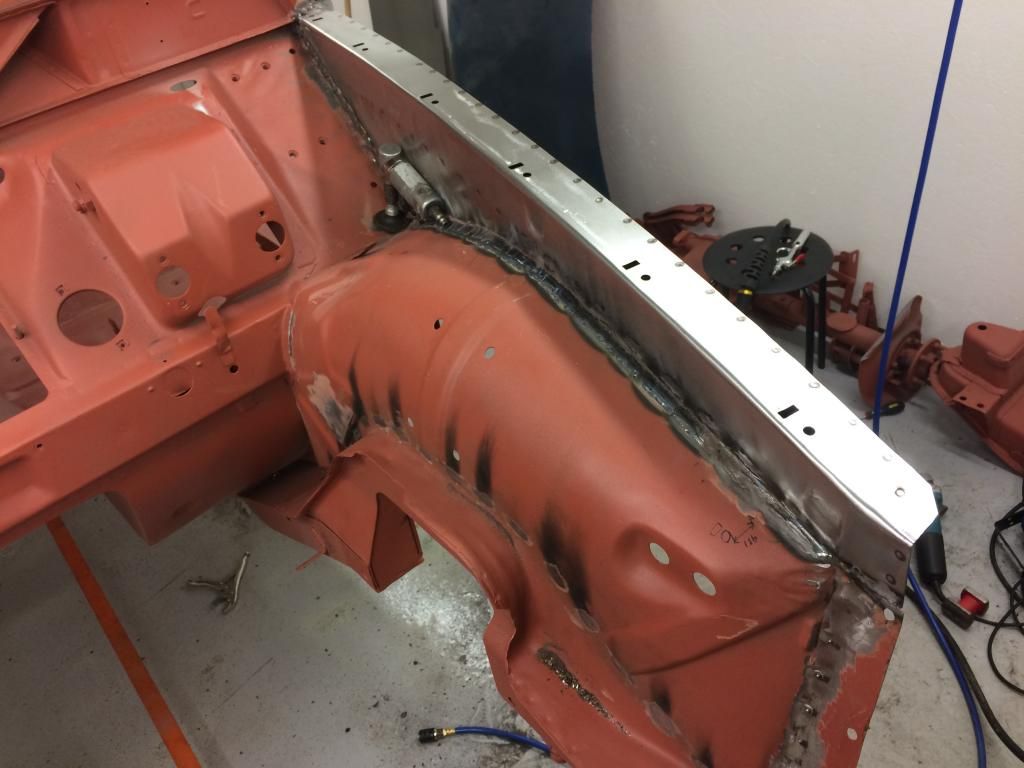
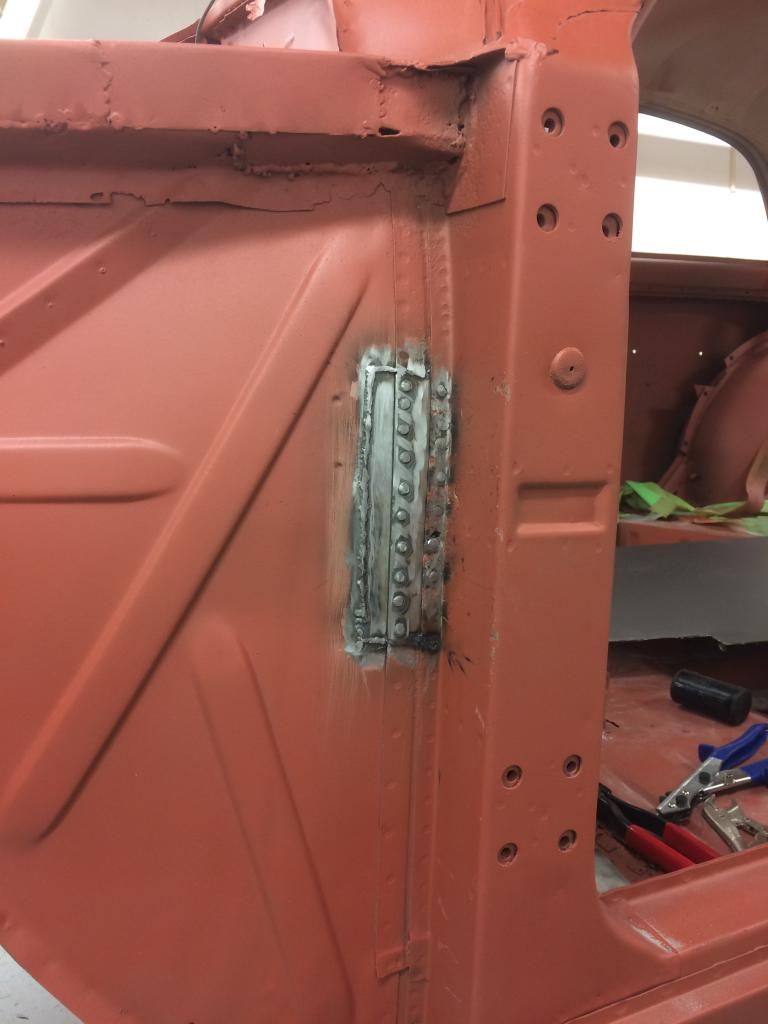
Removed a bracket in the wheelhouse to get access for seam welding.
When I first had the bracket off I did some modifications on it to get more stiffness in the body. From before the bracket was welded only to the bulkhead in the car. Now it is extended to towards the inner fender and prepared for spot welding at "frame beam" and got more welding points against the door / bulkhead. Applied Volvo welding primer on the surfaces before welding.
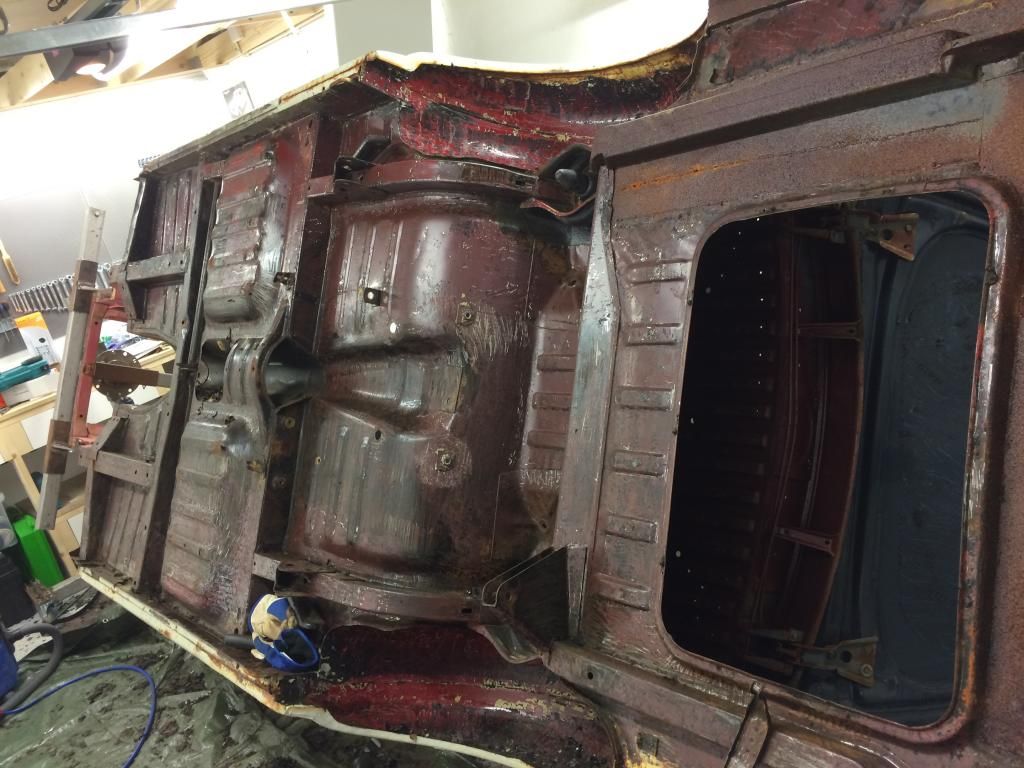
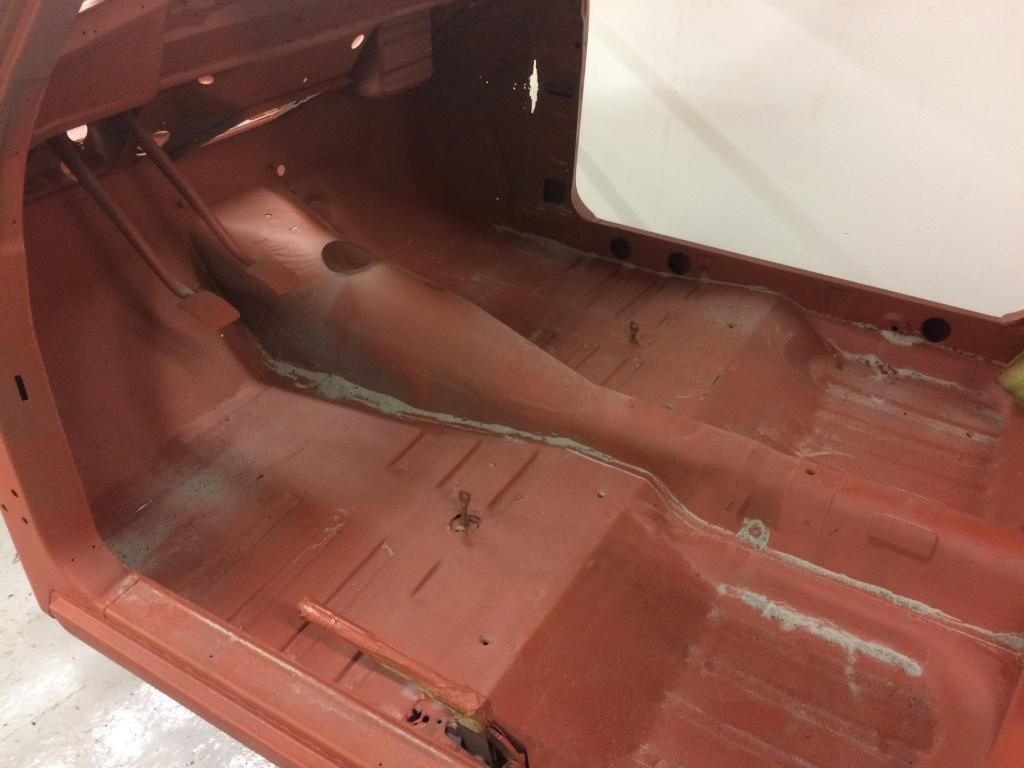
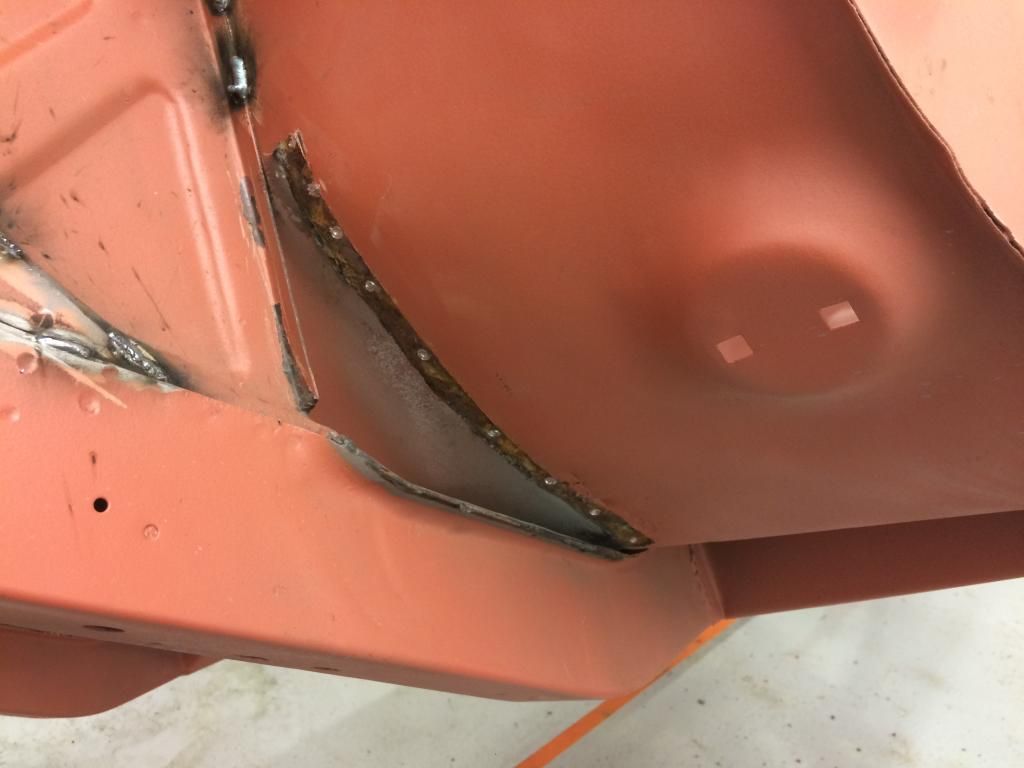
As you can see under the car there will be plenty of work here. Much of the panels in the floor and channels under shall be repaired / replaced.
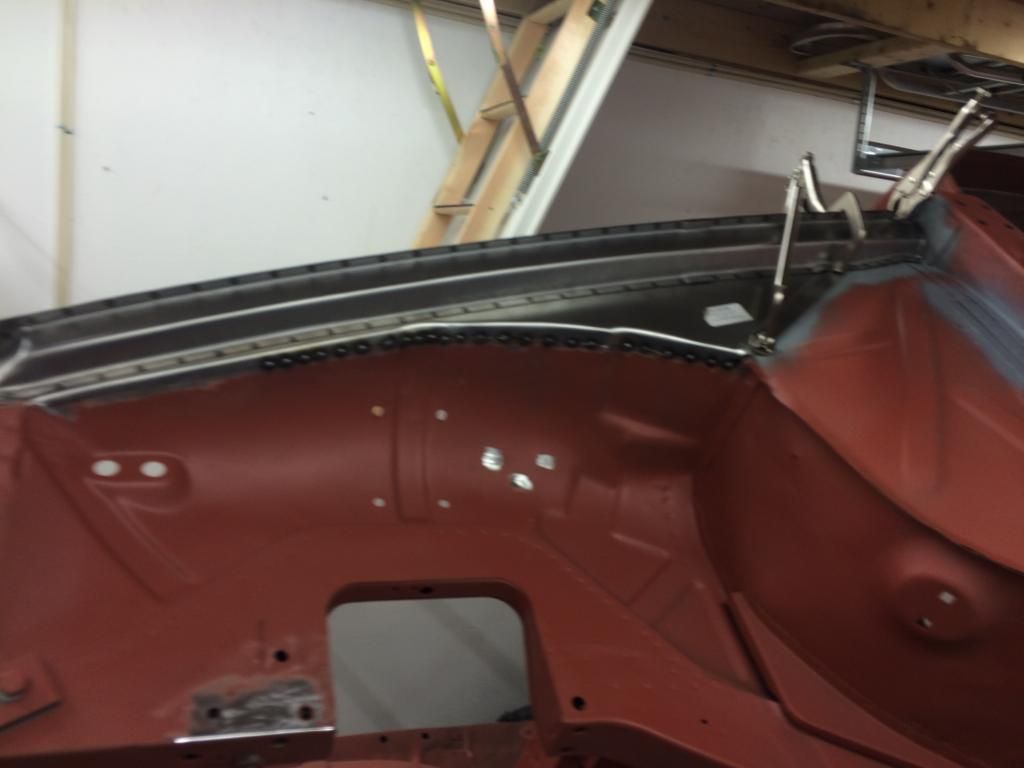
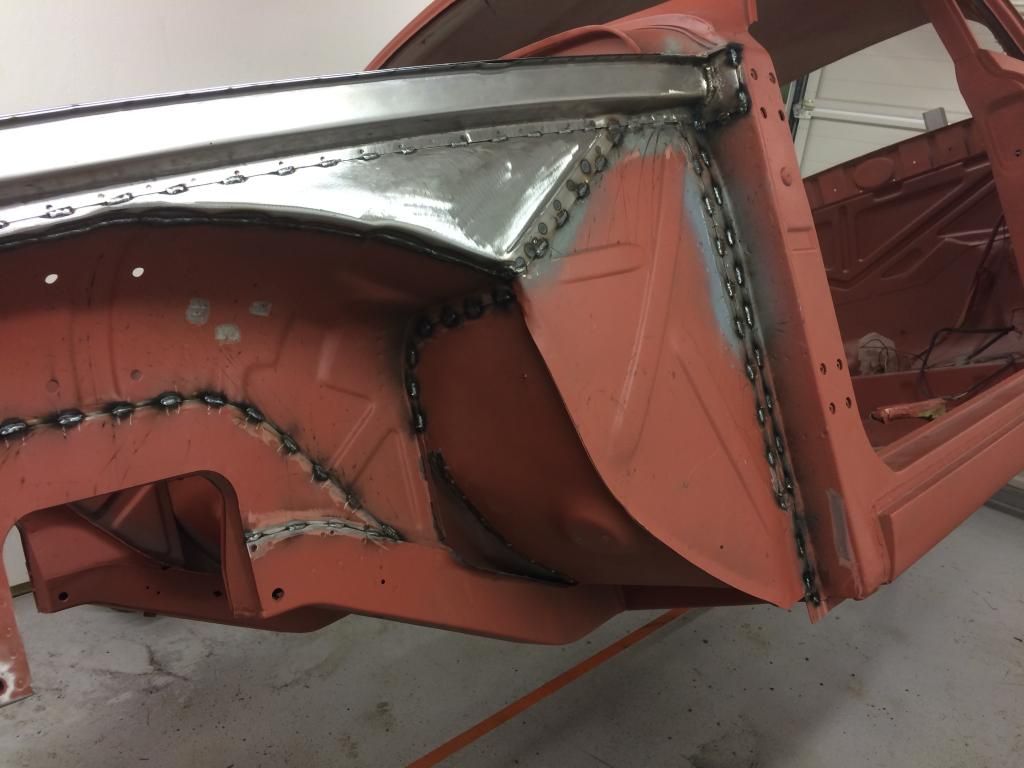
Even more welding in the wheelhouse. Almost finished with the welding in this corner of the car.
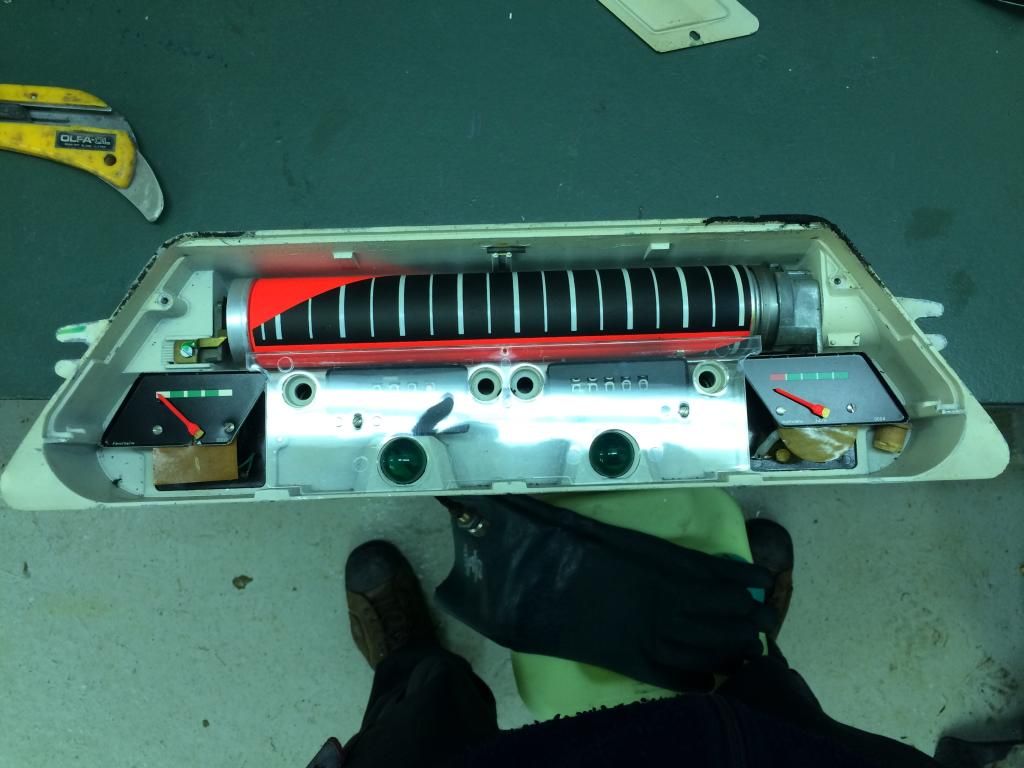
Today I took out a instrument housing and began to thinking about how I could get it work together with the new gearbox. Original is the wire from gearbox that drives the line ahead. When I no longer have any wire I need to find out something smart. Therefore I plan to mount a step motor that will drive the odometer and the speedometer based on a signal from the rear axle. Since the modifications on the car will increase the top speed, I will at the same time extend the range on the speedometer to max 240km/h. Since the numbers on the glass is milled and filled with paint I must make a new glass and the roll will need more streaks to correspond with the new glass.
Here I have mounted a tank measuring instrument where thermometer really should be. The back plate on a temp gauge was slightly modified to fit. The reason I do this is that I want away the old solution with capillary tube. I will use the original electronic temperature sensor on the engine and make an electronic circuit that can convert the signals into the old tank gauge.
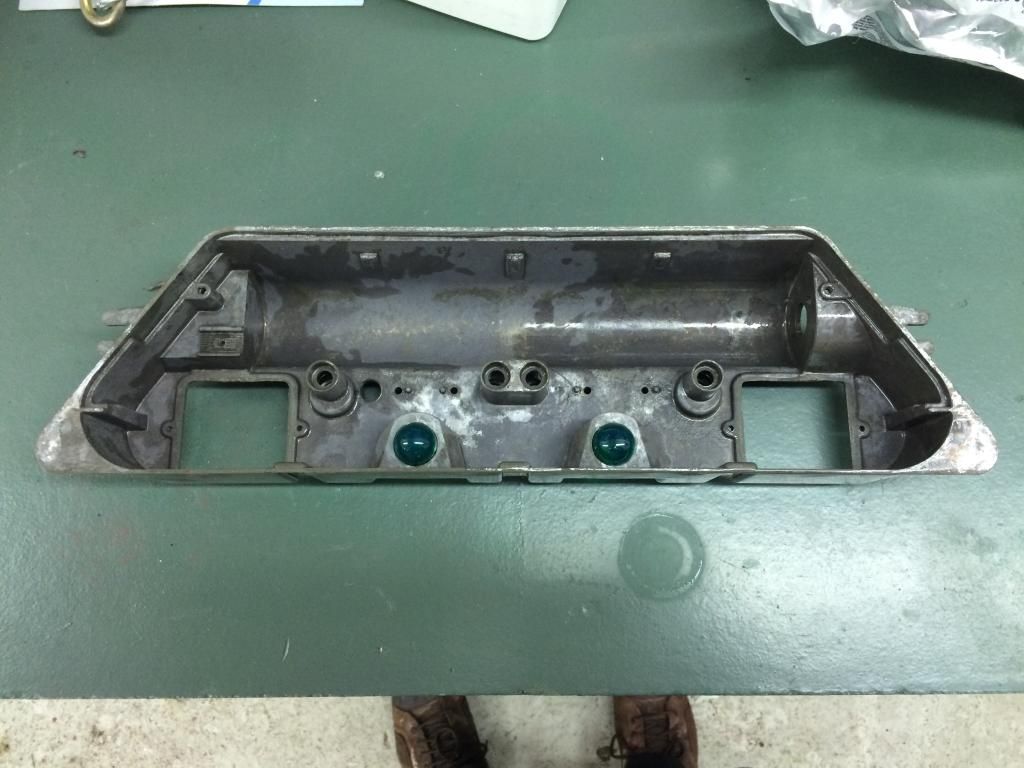
The roll in the speedometer is now delivered to an advertising guy that will make new streaks on the roll. The speedometer housing is now cleaned in ultrasonic cleaner and the old paint is removed. Next step is to paint it white again to ensure correct light scattering inside the instrument.
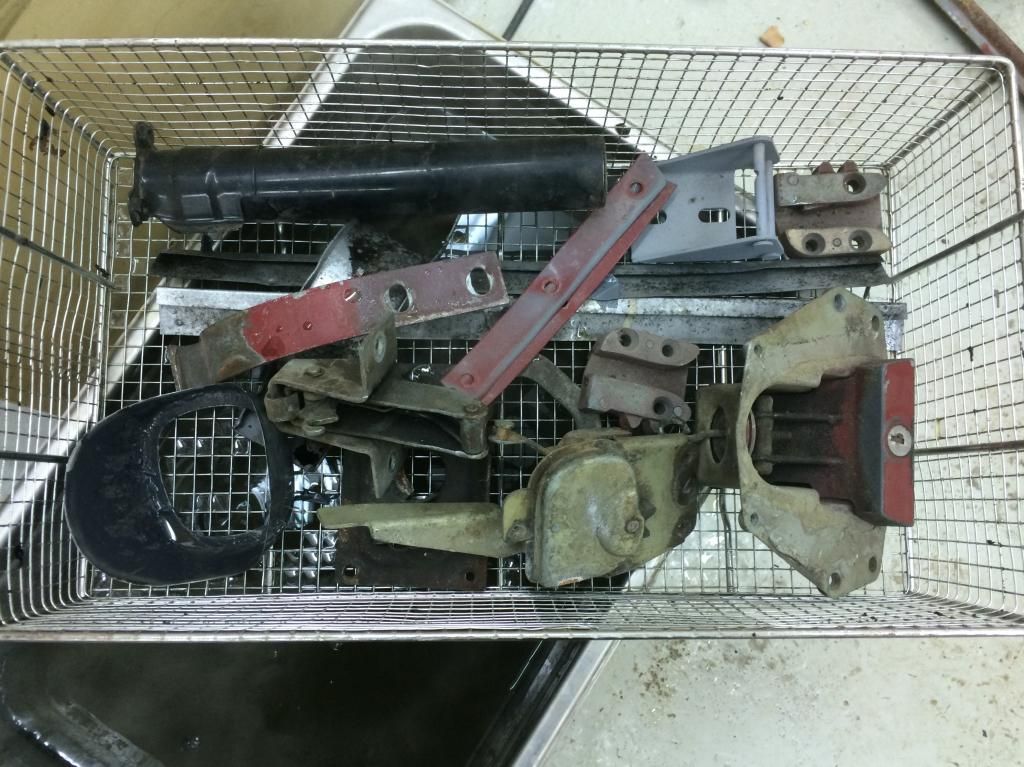
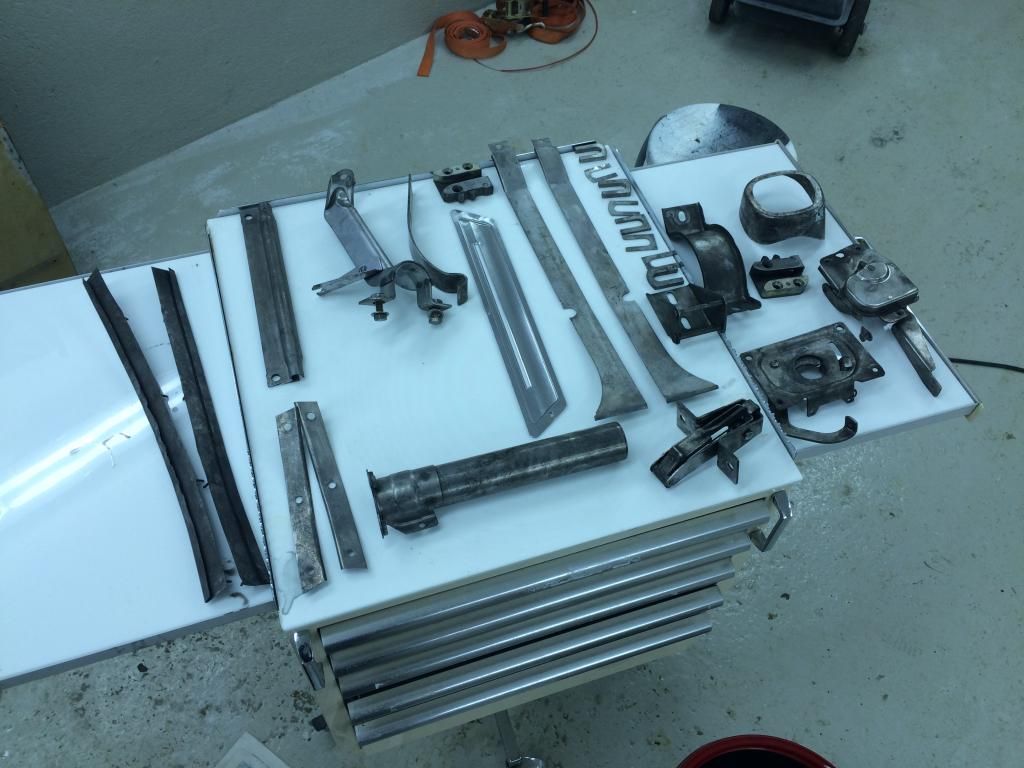
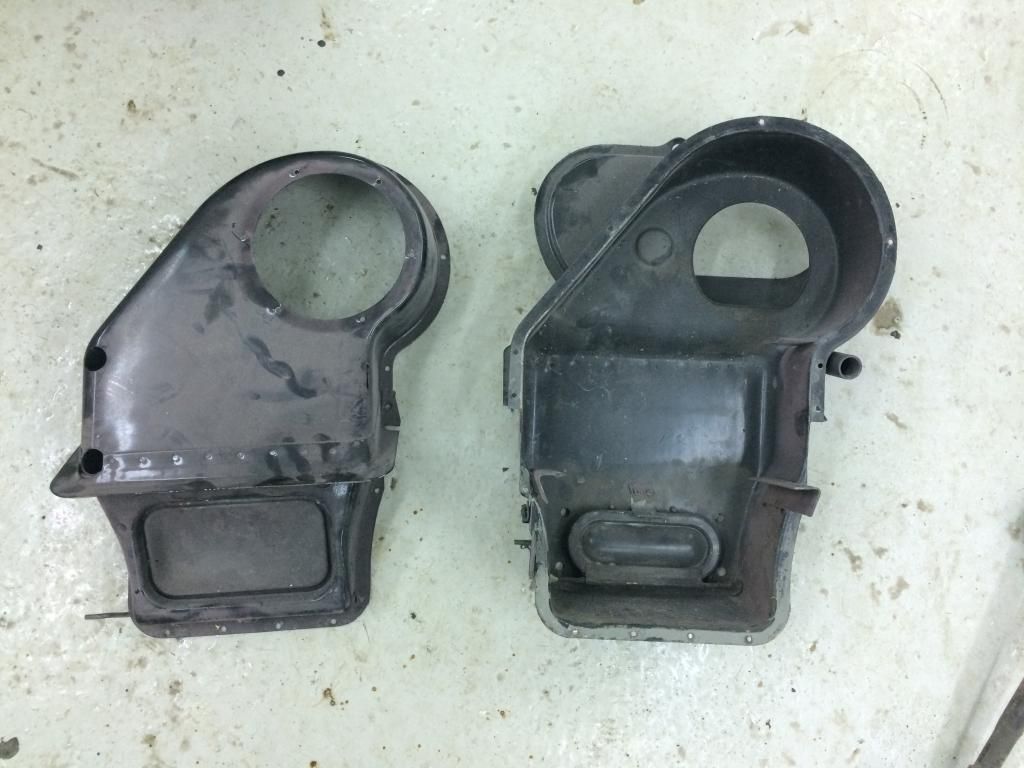
A lot of parts have been bathed in Strip All in a ultrasonic cleaner. This is a efficient way to get rid of paint and rust.
Before:.
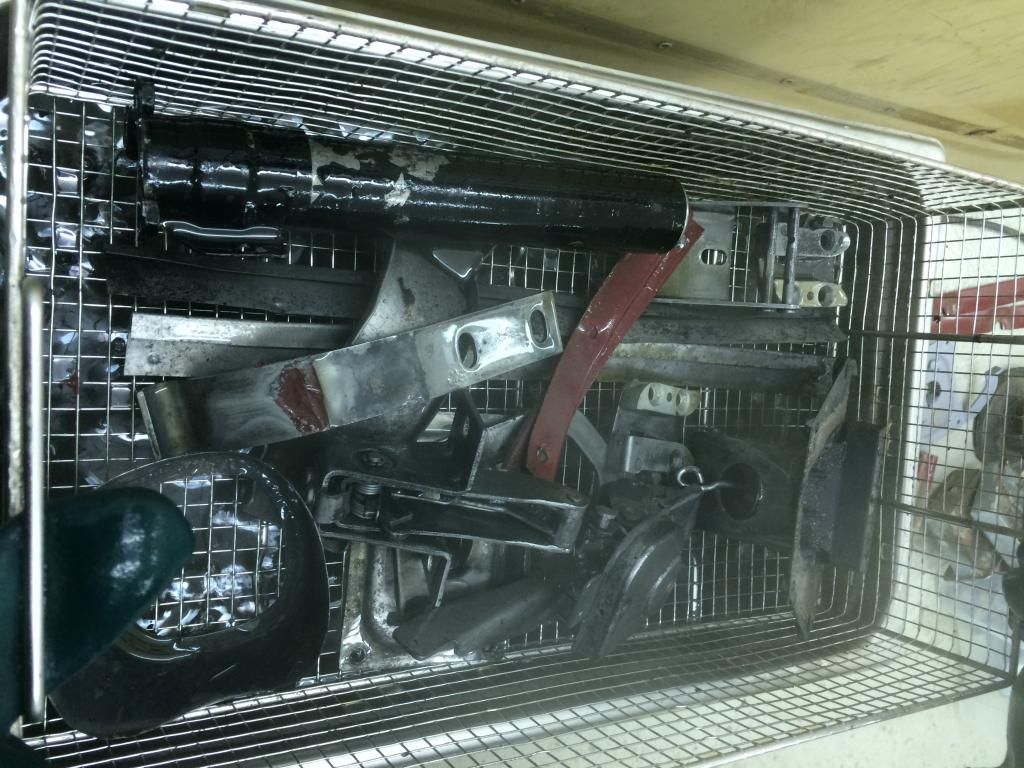
After 30 minutes.
Finished parts.
Parts waiting.
15 years ago I started with restoration / modifications on a 1967 Amazon. This project stagnated after a few years due to little money, other projects, women?s, long way to the garage and other things.
This past year I have been contacted by people who wanted to buy the Amazon. I found out then that I had to take a path. Sell it, wreck it or restore it. Since the Amazon was my first car, which I bought when I was 16 years I choosed the last option.
The car has matured a lot since I stopped the project appr. 10 year ago. In the last 3 years it has been stored outdoor. In this part of Norway that?s mean a lot of snow, rain, wind and salty climate. Enough about the story.
The car is a 1967 model with B18 engine, good ground clearance and 165 / 80-15 tires. Exciting? Hardly ... I had to find something a little more daring. The plan at the first restoration, hereinafter called "restoration phase 1" was B20 turbo, lowering and chrome wheels. The taste has not changed so much in all this years, but I has now slightly more resources and knowledge. The plan is something like this:
- B5204T2 engine, (180hp/220Nm)
- Tremec TKO 600
- IPD anti sway bar kit
- Air ride
- 18" wheels
- R-brakes
- Watt-link
- Seam welded body
- 1031 rear axle with Truetrac
- 240km/h speedometer
- Recaro seats with original Amazon look
- And a lot of details?.
Cosmetic inside and outside I will run almost original desgn. As color, I think that it ends with Porsche 7A1 which is gray color that is often at the Porsche 911 GT3 RS. I have painted a front fender in this color to check if the color suits the car.

Here's car as it looked when I bought it. On that time it was painted in red enamel paint and in use condition, but nothing more.
A couple of pictures from the ?restoration phase 1?
After many years of storage inside and outside it becomes much dust, dirt, grass stains etc. that must be removed. Foam and pressure washer could not possibly make it worse.
Since I had an old 5-cyl NA engine stored I had to see if there was space enough under the hood.


I disassembled the engine so that I can use it as dummy.

Further plan was to sand blast the whole car to get a clean body with no rust to work with. Before blasting all the underseal and the insulation had to be removed. A rottiserie is a must during such work.

Before scraping.

After scraping.

Before scraping.

After scraping.

Even more scraping.

And some of the heaviest. Removal of insulation.

To make it easier to transport the car to and from sandblasting crafted a pallet.

After many evenings with scraping the car was sandblasted.

After sand blasting a thin layer of primer was applied.

It is not shown as good in the pictures, but a lot of small rust holes here and there on the car appeared during the sand blasting. So there will be intensive rust welding for a few months this winter.

Since it was many years since I last welded thin sheet metal and I had a new unknown welding machine I started with a single small hole that will not be visible.

And then I jumped right to welding for intermediates. The front wing was in a bad condition on this car, like on the most of this cars that have been used on salty winter roads.

A lot of work to adapt this part to the car before the welding could start.

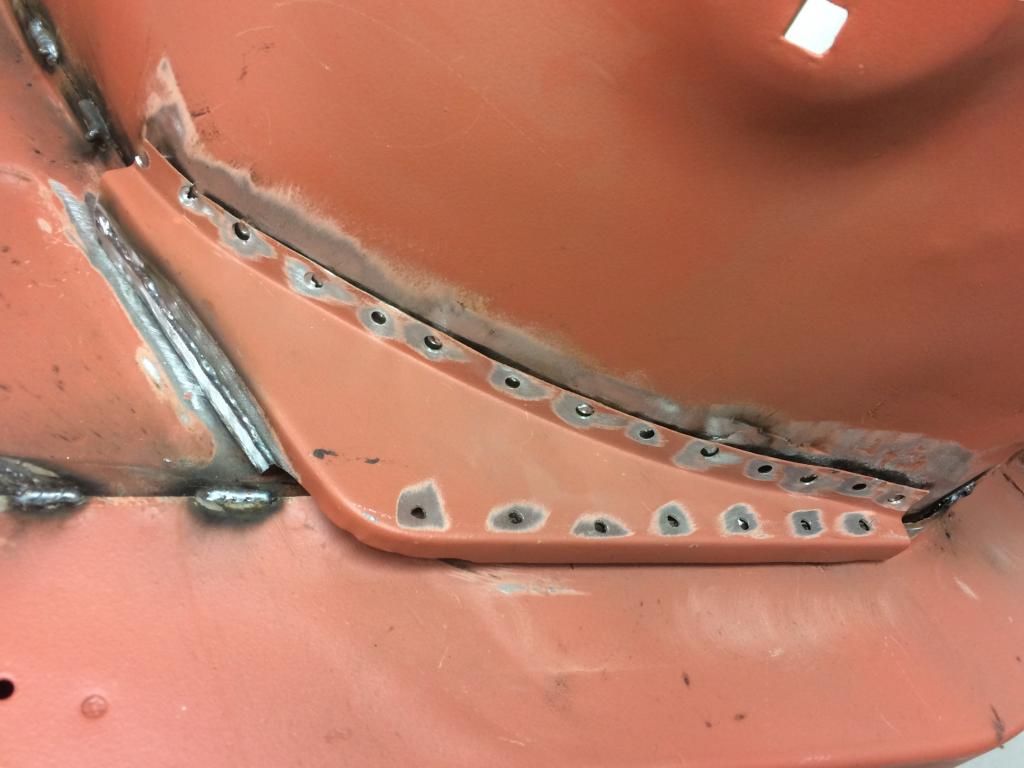
The front wing welded to the car and also started with the seam welding.


Removed a bracket in the wheelhouse to get access for seam welding.

When I first had the bracket off I did some modifications on it to get more stiffness in the body. From before the bracket was welded only to the bulkhead in the car. Now it is extended to towards the inner fender and prepared for spot welding at "frame beam" and got more welding points against the door / bulkhead. Applied Volvo welding primer on the surfaces before welding.

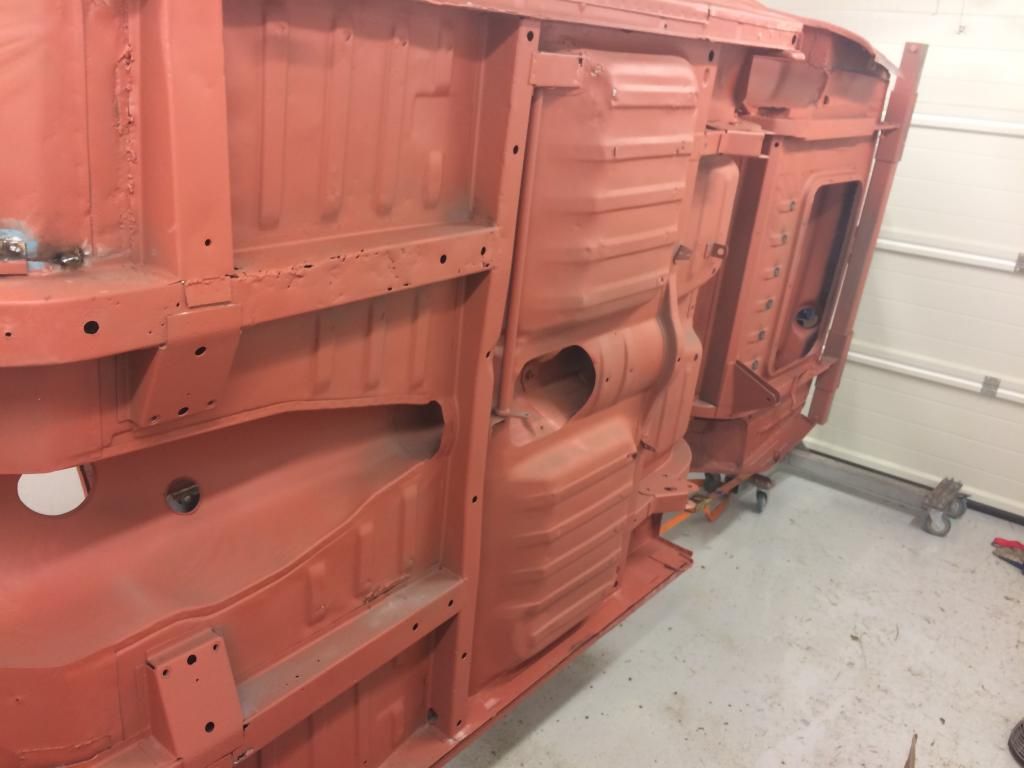
As you can see under the car there will be plenty of work here. Much of the panels in the floor and channels under shall be repaired / replaced.

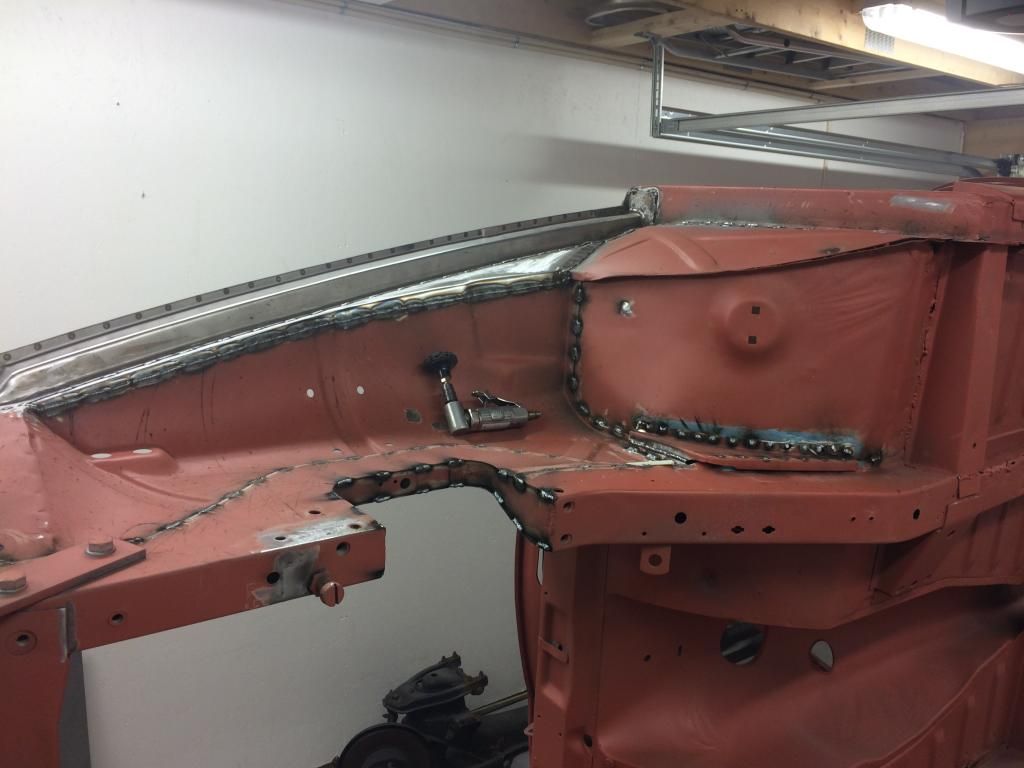
Even more welding in the wheelhouse. Almost finished with the welding in this corner of the car.

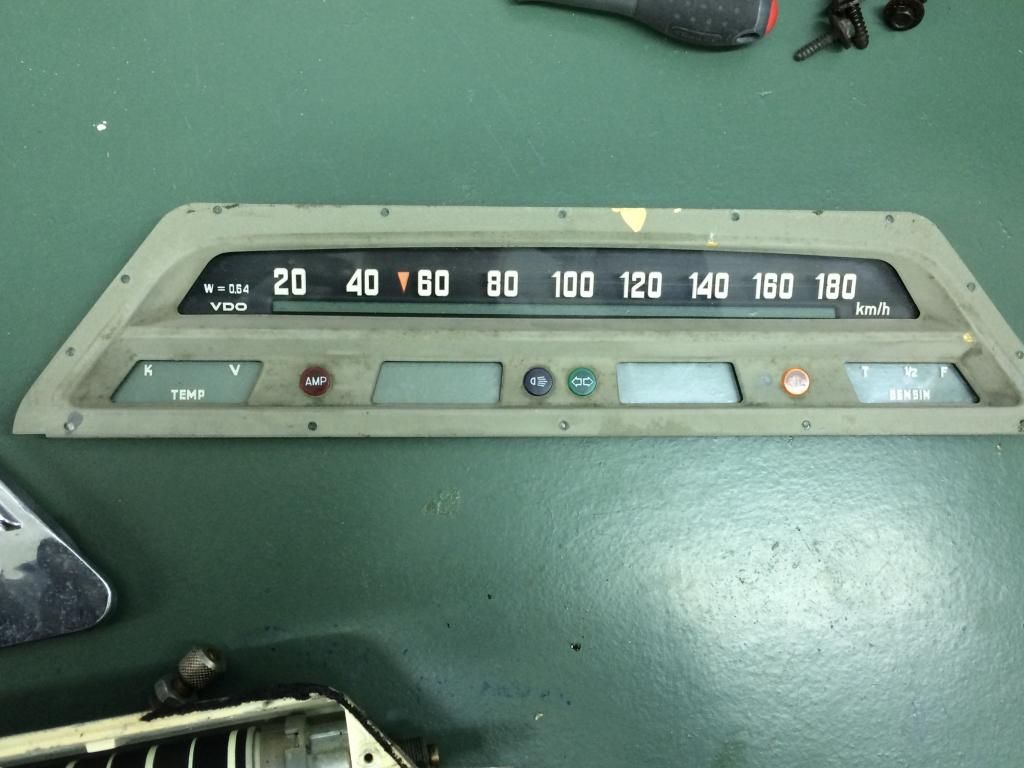
Today I took out a instrument housing and began to thinking about how I could get it work together with the new gearbox. Original is the wire from gearbox that drives the line ahead. When I no longer have any wire I need to find out something smart. Therefore I plan to mount a step motor that will drive the odometer and the speedometer based on a signal from the rear axle. Since the modifications on the car will increase the top speed, I will at the same time extend the range on the speedometer to max 240km/h. Since the numbers on the glass is milled and filled with paint I must make a new glass and the roll will need more streaks to correspond with the new glass.

Here I have mounted a tank measuring instrument where thermometer really should be. The back plate on a temp gauge was slightly modified to fit. The reason I do this is that I want away the old solution with capillary tube. I will use the original electronic temperature sensor on the engine and make an electronic circuit that can convert the signals into the old tank gauge.

The roll in the speedometer is now delivered to an advertising guy that will make new streaks on the roll. The speedometer housing is now cleaned in ultrasonic cleaner and the old paint is removed. Next step is to paint it white again to ensure correct light scattering inside the instrument.

A lot of parts have been bathed in Strip All in a ultrasonic cleaner. This is a efficient way to get rid of paint and rust.
Before:.

After 30 minutes.

Finished parts.

Parts waiting.

Last edited:


")