• Hello Guest, welcome to the initial stages of our new platform!
    You can find some additional information about where we are in the process of migrating the board and setting up our new software here

    Thank you for being a part of our community!

Kyle242GT's 1959 5.044

Thanks for the kind words! Been cold and distracted lately, but weather's warmed back up. Tomorrow I think I'll sort the rest of the rust repair and start on the tunnel. :x: now I'm calling myself out if I decide to drink beer and play Risk with my kids instead. :lol:
 
Did the kick panel clearance the other day, worked out well enough. In retrospect I went about it kind of ass backwards - should have just sliced the footwell top/bottom/rear and folded out...

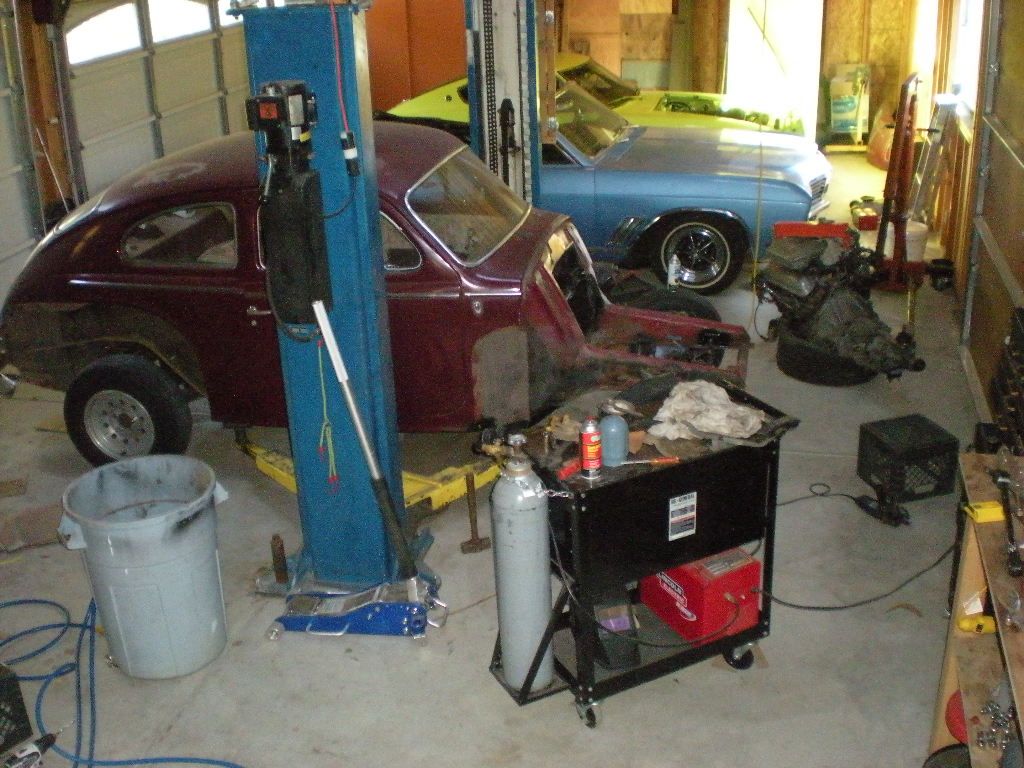
Got around to beadrolling the floors - had help from my kids and their friends running the roller (hence the wavy beads, haha). The HF tool is a pretty crappy flanger, but does a good enough job on the beads. Kind of wish it went bigger than 1/2" but you get what you get.

The driver's floor, and patch panel for the seat support, are done, but I pooped out after four hours or so and called it a day. I may be slow, but at least my work is poor! :-P
 

Attachments

  • DSCN2835.JPG
    DSCN2835.JPG
    198.8 KB · Views: 878
  • DSCN2832.jpg
    DSCN2832.jpg
    98.3 KB · Views: 875
  • DSCN2838.jpg
    DSCN2838.jpg
    70.5 KB · Views: 870
  • DSCN2839.JPG
    DSCN2839.JPG
    163.9 KB · Views: 873
  • DSCN2840.JPG
    DSCN2840.JPG
    163.4 KB · Views: 873
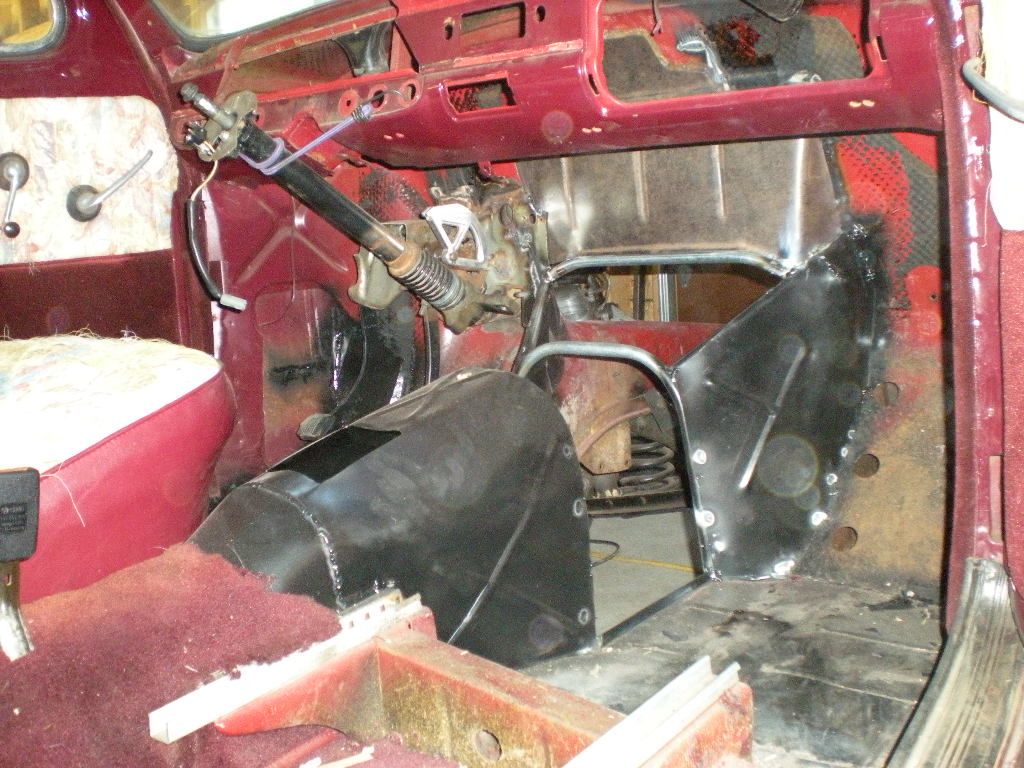
Floors are in and done, started work on the trans tunnel.

Using 1/2" emt to make the frame for it, then will cover with 16ga sheetmetal. Probably wind up rolling some beads as well.

Then comes the fun project of the firewall, mating it to the Mustang pedal section and what's left of the Volvo.
 

Attachments

  • DSCN2847.JPG
    DSCN2847.JPG
    196.8 KB · Views: 1,075
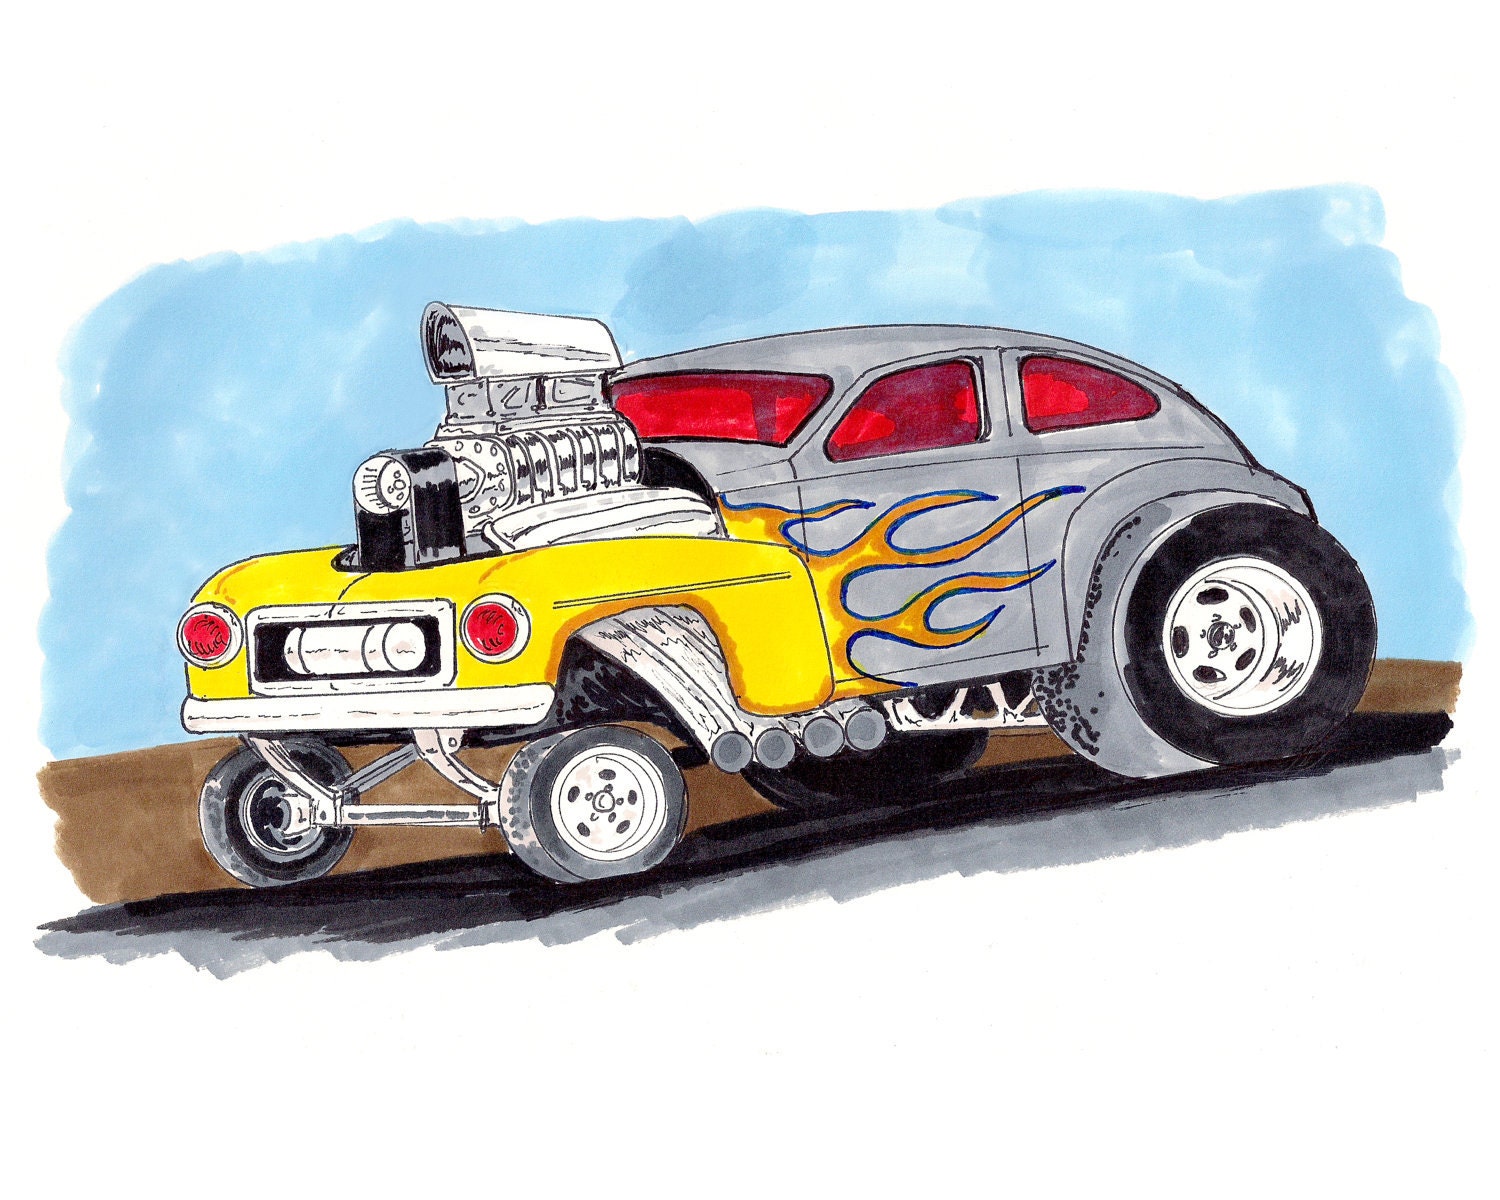
This came up on a random image search for old skool hotrod flames (I was talking to my younger son about the colors used). Going to leave it here as inspiration.
il_570xN.351049659.jpg
 
I don't know if gasser was the style you were going for, but it would be fun to build it exactly like the pic. Or just the paint scheme if you want to be more "conservative"!
Pretty cool that you found that pic either way!
 
Been making slow progress. More difficult than expected to reconstruct the trans tunnel. The EMT skeleton is very helpful...
 

Attachments

  • DSCN2876.JPG
    DSCN2876.JPG
    194.1 KB · Views: 653
  • DSCN2877.jpg
    DSCN2877.jpg
    96.2 KB · Views: 648


This has been a lot of work, much more than expected. There's so little room between the gas pedal/bellhousing, gas pedal/steering column, engine block/framerail, it's been a major project getting the firewall/floor/tunnel sorted out.


That said, the sheetmetal work pretty well wrapped up. The two remaining pieces will be pretty simple to make.


Not sure what to work on next:
  • Fuel tank/pump/lines
  • Brake lines
  • Wiring (like a whole car worth)
  • Headers
  • Cooling
 
Oooo, Oooo, I know! All of the above! I always thought it would be fun to swap out the king pin front end for one from a 122 so you could have ball joints. Just a little extra work, eh!
 
Ugh, trans tunnel is done. Have to weld the seam at the floor from underneath later.

Had an epiphany: now I can start the actual engine swap.

The last two years have been doing everything else - steering, axle, sheetmetal, pedals, floors, tunnel.
 
Feeling gassy?

The stock tank is small, rusted and coated with something that looks an awful lot like The Blob, and lacks an easy in-tank HP fuel pump and return option. Plus the OEM sender is toast.

Staying true to form, I'm being dollar-wise and time foolish. Since I have a perfectly good (if way too big) Mustang tank, pump, and sender, I'm going to modify and reuse these.

Some of this is the crazy cheap approach I'm taking, and some of it is keeping the car basically a stock 1990 Mustang.

I thought about grafting the Mustang sender and fuel pump flanges on, but the Mustang tank has this cool baffle setup I'd like to retain. And the Volvo tank, being a million years old, is probably too rusty and thin to work with.
 

Attachments

  • DSCN3065.JPG
    DSCN3065.JPG
    180.4 KB · Views: 453
  • DSCN3066.JPG
    DSCN3066.JPG
    185.2 KB · Views: 453
I measured, looked, looked, measured, thought, looked, measured, and then cut the Mustang tank into four sections.

It's just tacked for now, and I'm working on getting it to fit the existing trunkfloor flange as well as possible. Hope to use the Ford tank straps to mount it from underneath.

As it sits now, it's probably workable, but the buttcheek has a bit of roadrash on it, and the tank isn't much higher than that. Hope to get the car laid low so I want to keep the tender bits out of harm's way.

Progress, as always, is excruciatingly slow, but I'm doing my best to take it slow and easy and keep it fun.
 

Attachments

  • DSCN3071.JPG
    DSCN3071.JPG
    179.9 KB · Views: 455
  • DSCN3069.JPG
    DSCN3069.JPG
    176.6 KB · Views: 455
  • DSCN3070.JPG
    DSCN3070.JPG
    153.2 KB · Views: 453
  • DSCN3067.JPG
    DSCN3067.JPG
    161.4 KB · Views: 454
Last edited:
I really enjoy this build. I love putting **** into something it wasn't intended to fit in. Metal work looks great.
 
I love this thread, too. I need to see some updates!

Makes me want to start a thread for my Valiant project. But I would have to title it "Future 20 valve powered Plymouth....I promise to finish this one".
 
Tank is narrowed, sealed, painted, and done. Trunk floor modified to fit. Starting to sort out fuel line, will run it up the tunnel as originally done, then into the trunk and connect to the Ford pump. Going to use the Mustang fuel filter mounted under the trunk by the axle, in keeping with my task of using as much of the donor as possible.

Took a few pictures of the exhaust ports to get an idea of clearance and routing, since it's obviously helpful to try to think about all manner of things at the same time. :lol:

Driver's side will have to work around the brake master and booster, but shouldn't be too bad.

Passenger side will be tricky, as the rearmost exhaust port is tucked behind the firewall frame spar.

As I look at it, the idea of zoomie stacks pointed straight up sure becomes attractive. But will likely go up and over the frame rails and down behind the fenders.
 

Attachments

  • DSCN3225.JPG
    DSCN3225.JPG
    115.1 KB · Views: 326
  • DSCN3226.JPG
    DSCN3226.JPG
    123.8 KB · Views: 329
  • DSCN3222.JPG
    DSCN3222.JPG
    117.4 KB · Views: 327
  • DSCN3223.JPG
    DSCN3223.JPG
    121.7 KB · Views: 327
Is it dumb to think you could drill a sizeable hole in the frame rail and weld a piece of tubing in to make a clearance hole for that passenger side exhaust outlet? If you could find a v-band clamp small enough, you could use a removable tube on that port to make it possible to route it. So far the smallest v-band I can find is a 2" though....

Do you have enough clearance between the frame rails and the fenders to run exhaust without the tires hitting them at full lock?
 
Back
Top