
the poi
Has been
- Joined
- Jan 5, 2003
- Location
- Pasadena, CA
<object width="425" height="355"><param name="movie" value="http://www.youtube.com/v/B0JZF6EkhWE&hl=en"></param><param name="wmode" value="transparent"></param><embed src="http://www.youtube.com/v/B0JZF6EkhWE&hl=en" type="application/x-shockwave-flash" wmode="transparent" width="425" height="355"></embed></object>
Another in my grand tradition of weekend projects that take two weeks!
Basic premise regarding muffin cups:
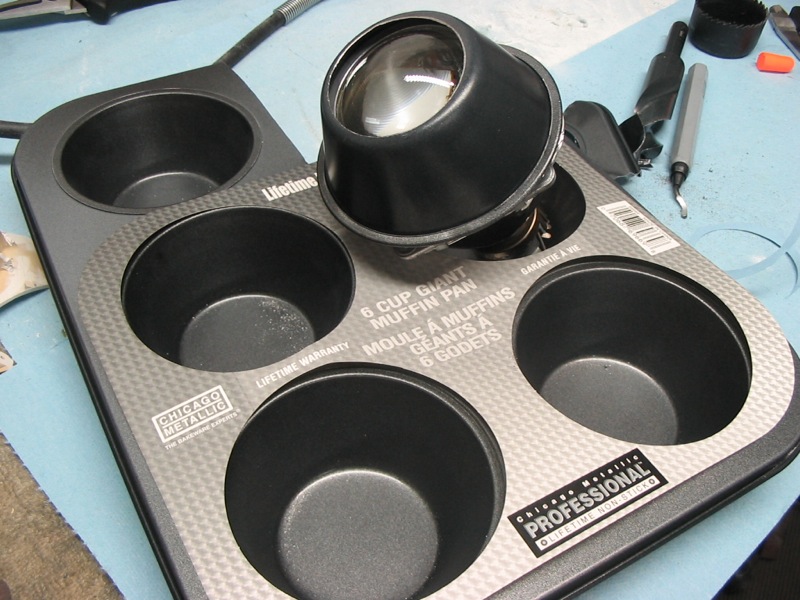
Light goes here:
But, lo! The muffin cups do not fit! Clearly this was the most reasonable solution (note: this was not the most reasonable solution)
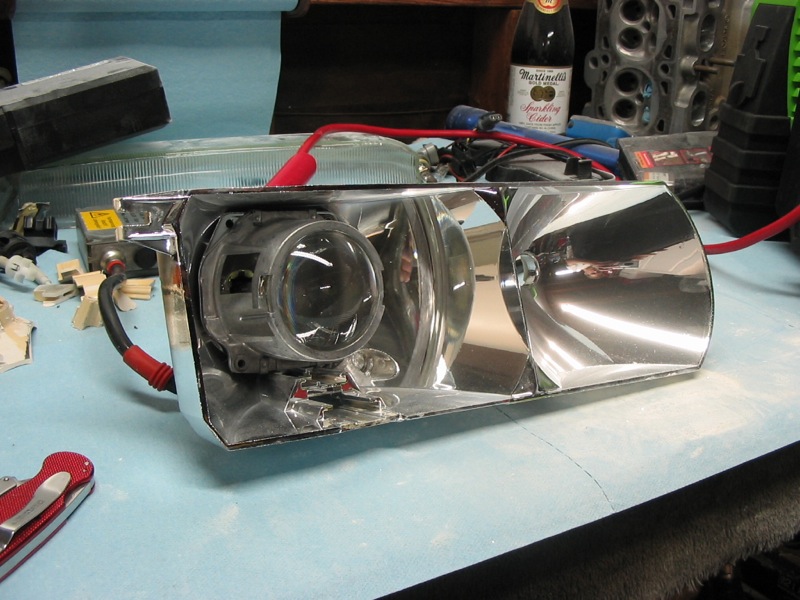
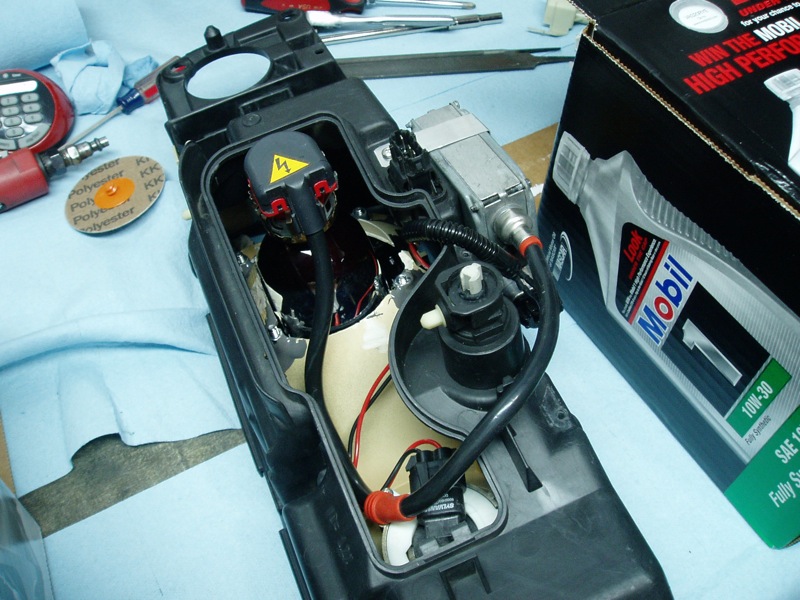
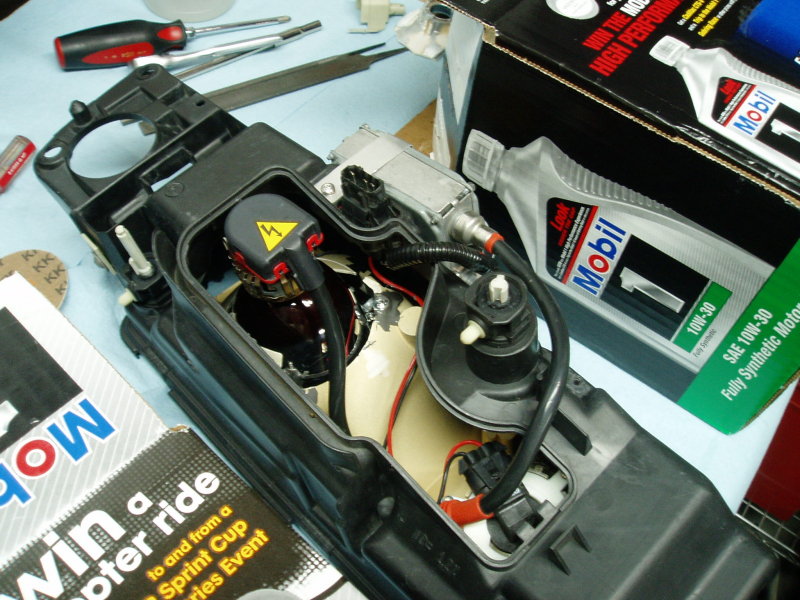
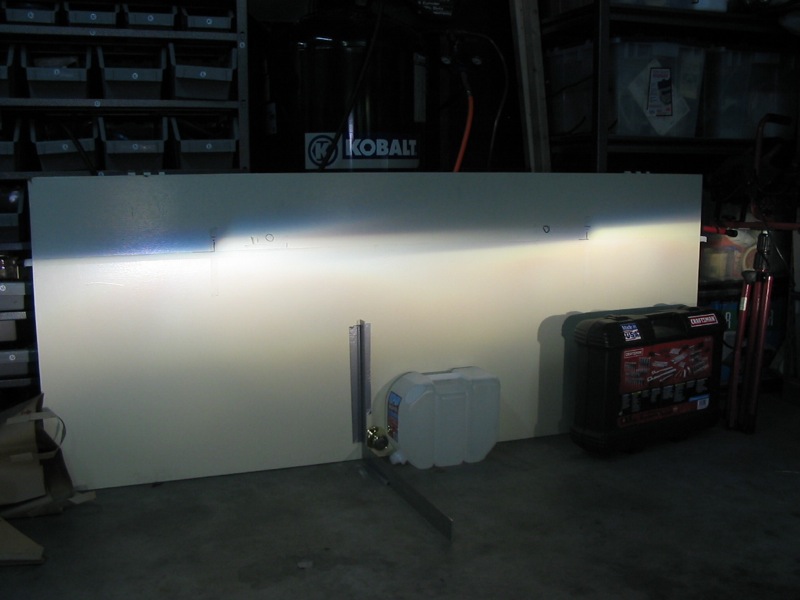
Because the highs and lows are connected, and must be aimed simultaneously, I had to first align the highbeams to the correct position with the built-in aligners, then, goop up some standoffs with JBKwik, and slide the lights in place. And then hold them ****ing motionless for 9 minutes. Dear god. On the plus side, it worked beautifully, and the assemblies just screw right in from the front, and are correctly aligned. For the visual learners:

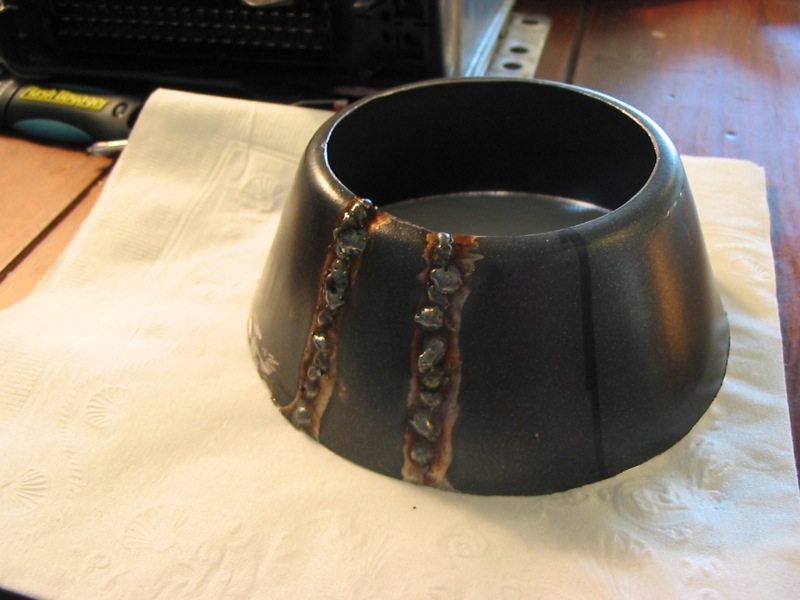
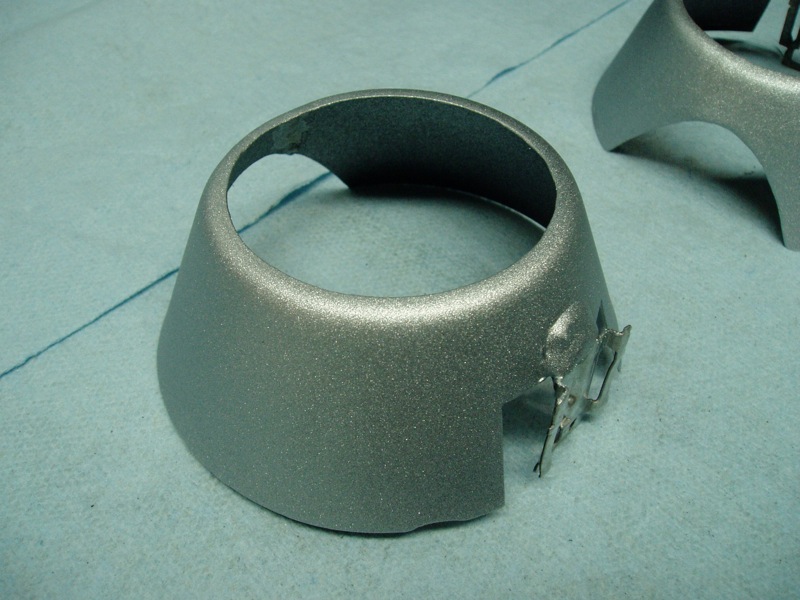
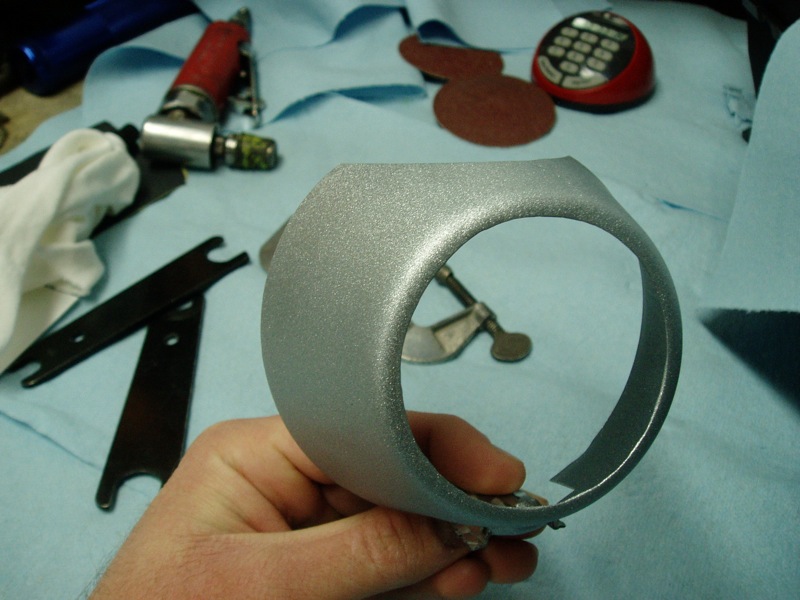
And then, came the muffin cup trimming, fitting, and installation. They use the stock halogen shield mount, so they clip right into place.
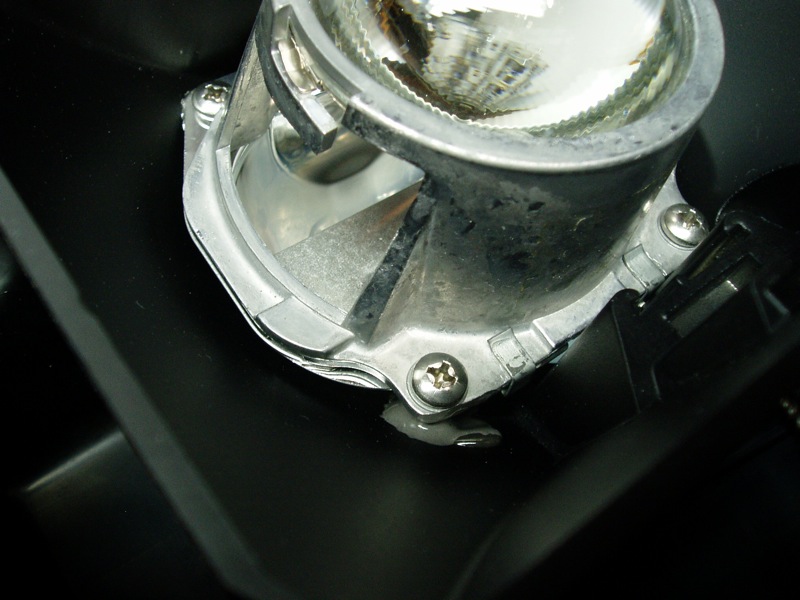
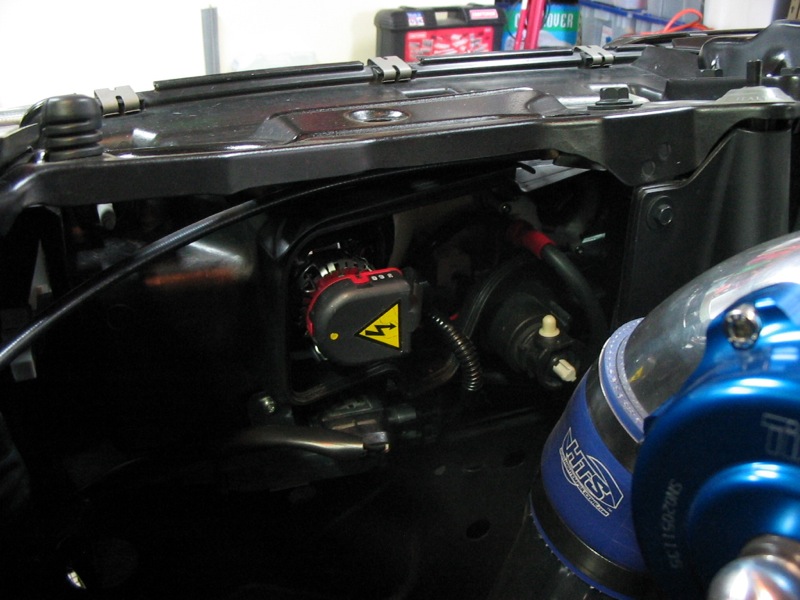
I had two camera failures here, so not many pictures of the guts removed from the car, but you can vaguely see the butyl tape sealing the projector reflector and the original reflector. This **** is awesome, and I now have a mile of it that I'm gonna have to find a use for.
The most time-consuming part, and ultimately the most expensive, these ****ers:
Ahhh, glass. You never appreciate just how awful it is to machine until you attempt it. All told, I exploded one lens, so I had to buy two replacements (because the aftermarket ones have a different flute pattern, and hey, they're a lot clearer!). For initial cutting, I used 40grit silicon carbide discs attached to a flat, 1/8" steel backing plate. Attached this to the drill press, filled the lens with some water, and started cutting. This stage just got the irregularities out of the flute pattern (particularly high spots). Then, I added a 3mm neoprene (wetsuit, actually) pad in between the disc and the backing plate. That allows more conforming, and faster cutting (and hopefully, a better match to the slight convex outer surface. From here, I found that getting all the flutes out is only really possible with a cutting slurry. I threw some aluminum oxide blasting compound into the water, and kept it agitated so the grit kept getting caught under the wheel. This really hauls ass through the glass.
Once that's finished, I finished final removing and smoothing with silicon carbide pads on a 2.25" die grinder, still lubricated with water of course, through grits 40-80-220-400-600-800-1500. Final stage was glass polishing with an eastwoodco rhodite polishing system, same thing I polished my old lenses with a while back. One of which I exploded when I was figuring this out. Woo.
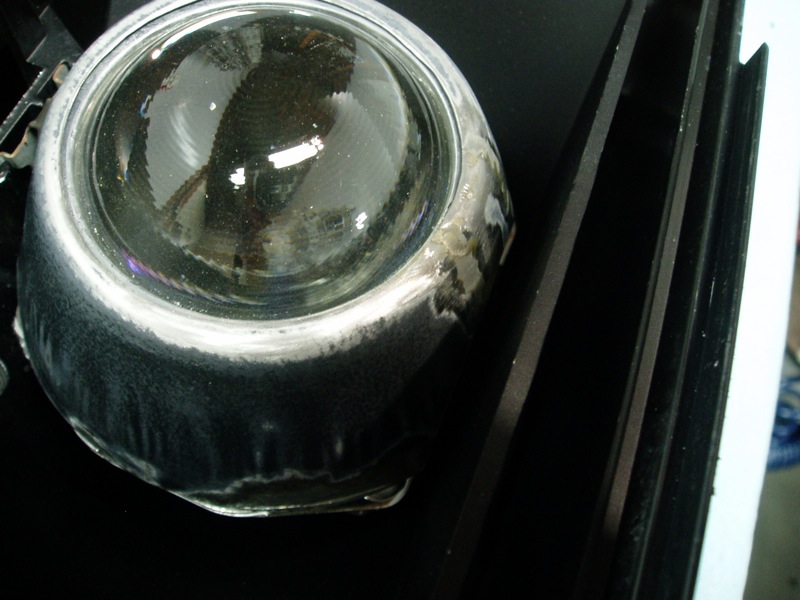
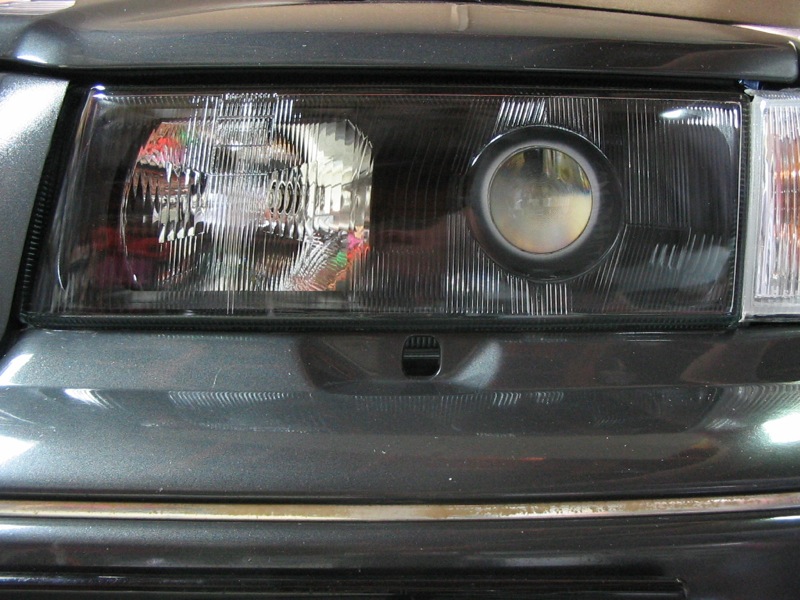
I wish some off-the-car photos survived, because I assure you, those things are ****ing clear as can be. That said, with the projector pumping a hilarious amount of light through them, the slightest imperfection is still visible, but it looks like its a problem with the casting of the glass itself. There's no conceivable way I can take pictures of the surface irregularities, but I assure you, that ****'s whack.
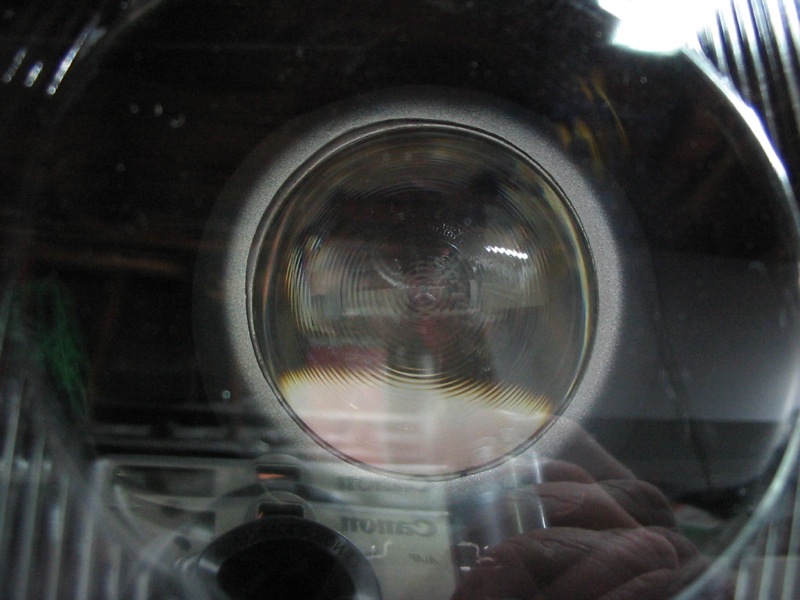
That however is mostly dust on the outside of the glass.
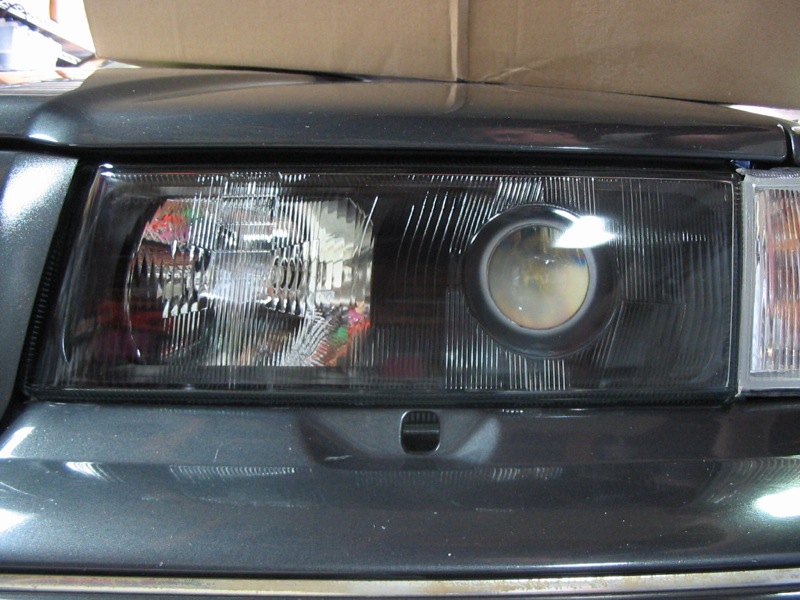
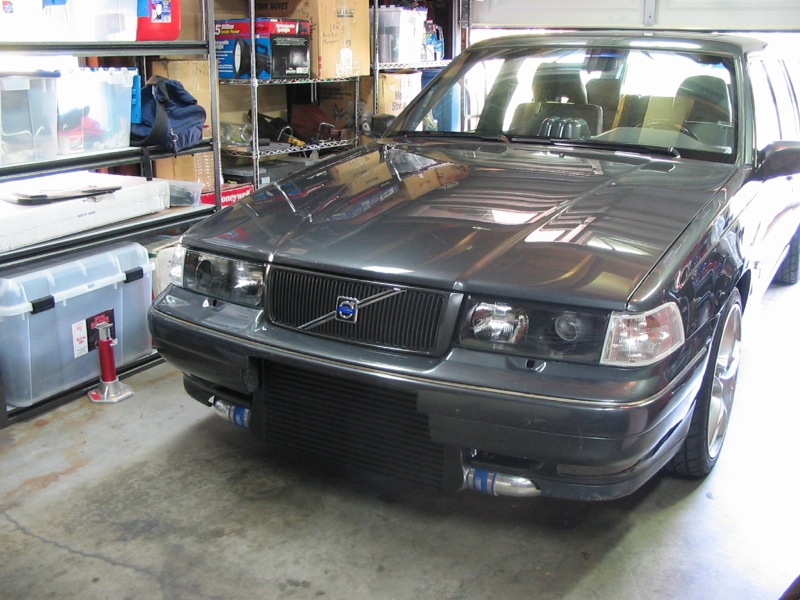
Full frontal:
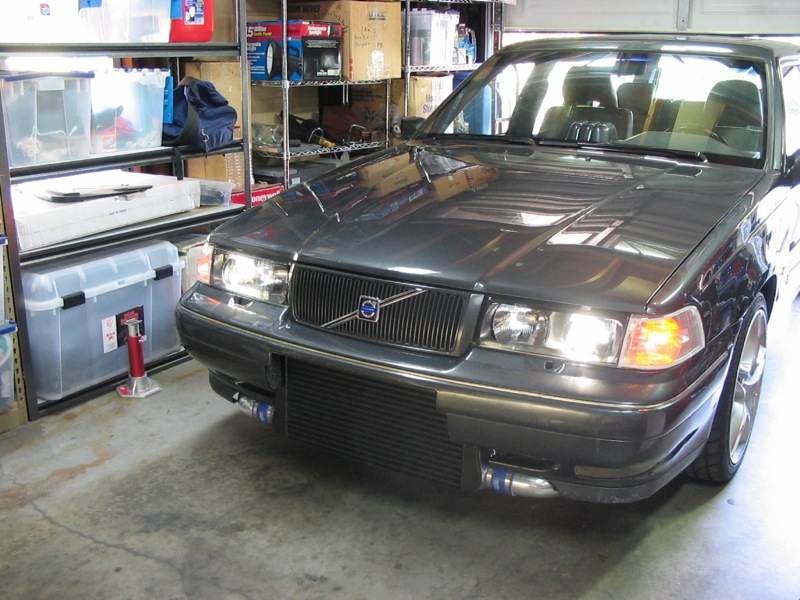
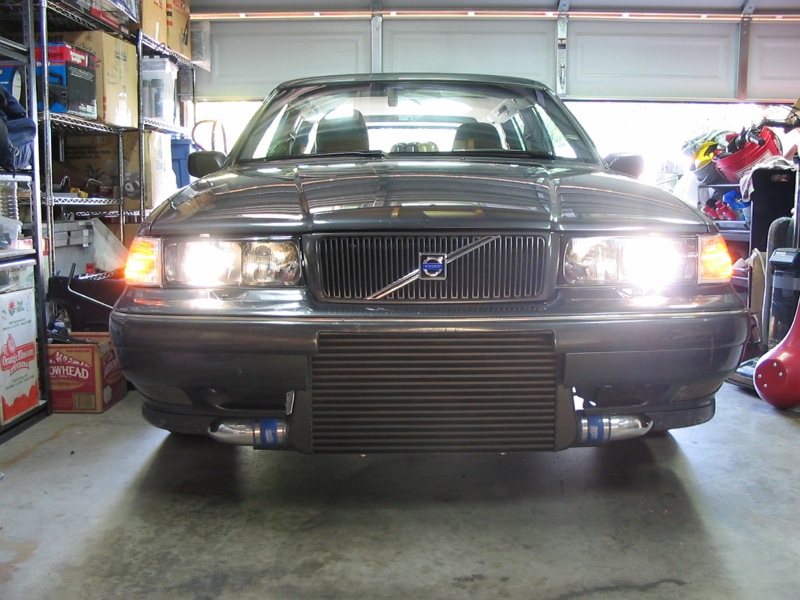
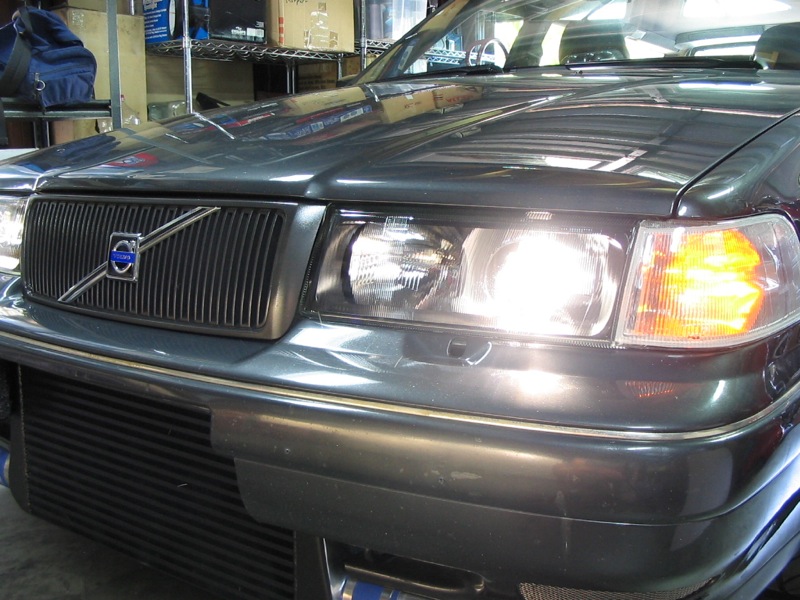
And of course:
Holla.
Another in my grand tradition of weekend projects that take two weeks!
Basic premise regarding muffin cups:
Light goes here:
But, lo! The muffin cups do not fit! Clearly this was the most reasonable solution (note: this was not the most reasonable solution)
Because the highs and lows are connected, and must be aimed simultaneously, I had to first align the highbeams to the correct position with the built-in aligners, then, goop up some standoffs with JBKwik, and slide the lights in place. And then hold them ****ing motionless for 9 minutes. Dear god. On the plus side, it worked beautifully, and the assemblies just screw right in from the front, and are correctly aligned. For the visual learners:
And then, came the muffin cup trimming, fitting, and installation. They use the stock halogen shield mount, so they clip right into place.
I had two camera failures here, so not many pictures of the guts removed from the car, but you can vaguely see the butyl tape sealing the projector reflector and the original reflector. This **** is awesome, and I now have a mile of it that I'm gonna have to find a use for.
The most time-consuming part, and ultimately the most expensive, these ****ers:
Ahhh, glass. You never appreciate just how awful it is to machine until you attempt it. All told, I exploded one lens, so I had to buy two replacements (because the aftermarket ones have a different flute pattern, and hey, they're a lot clearer!). For initial cutting, I used 40grit silicon carbide discs attached to a flat, 1/8" steel backing plate. Attached this to the drill press, filled the lens with some water, and started cutting. This stage just got the irregularities out of the flute pattern (particularly high spots). Then, I added a 3mm neoprene (wetsuit, actually) pad in between the disc and the backing plate. That allows more conforming, and faster cutting (and hopefully, a better match to the slight convex outer surface. From here, I found that getting all the flutes out is only really possible with a cutting slurry. I threw some aluminum oxide blasting compound into the water, and kept it agitated so the grit kept getting caught under the wheel. This really hauls ass through the glass.
Once that's finished, I finished final removing and smoothing with silicon carbide pads on a 2.25" die grinder, still lubricated with water of course, through grits 40-80-220-400-600-800-1500. Final stage was glass polishing with an eastwoodco rhodite polishing system, same thing I polished my old lenses with a while back. One of which I exploded when I was figuring this out. Woo.
I wish some off-the-car photos survived, because I assure you, those things are ****ing clear as can be. That said, with the projector pumping a hilarious amount of light through them, the slightest imperfection is still visible, but it looks like its a problem with the casting of the glass itself. There's no conceivable way I can take pictures of the surface irregularities, but I assure you, that ****'s whack.
That however is mostly dust on the outside of the glass.
Full frontal:
And of course:
Holla.


") , Looks awesome!!!
, Looks awesome!!!