Stiggy Pop
In the cool kids club
- Joined
- Feb 27, 2011
- Location
- Granville, MA
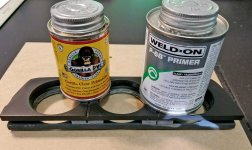
dried SEM trim paint is very flexible, you're not going to be able to sand any kind of finish onto it.
Hello Guest, welcome to the initial stages of our new platform!
You can find some additional information about where we are in the process of migrating the board and setting up our new software here
Thank you for being a part of our community!
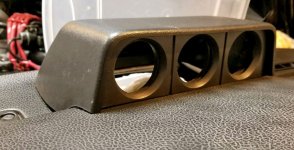
Hopefully you don't get too many $5k to $10k quotes for making an injection mold. I've inquired a few times over the years in Taiwan and other Asian countries for much, much smaller molds for reproducing harness connectors and the mold quotes pretty much cured me of ever asking again.
Dave
dried SEM trim paint is very flexible, you're not going to be able to sand any kind of finish onto it.
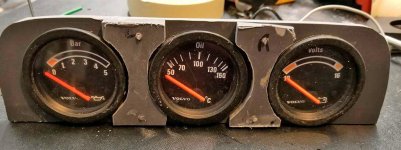
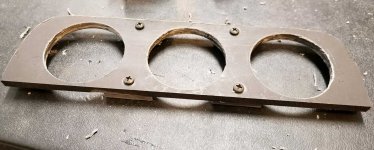
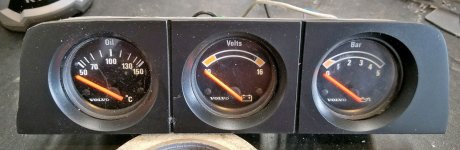
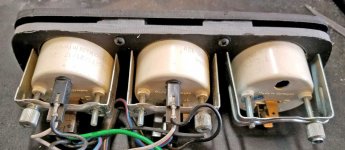
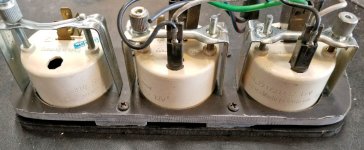
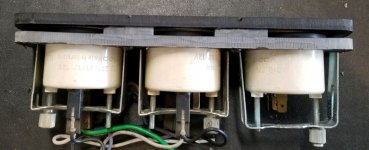
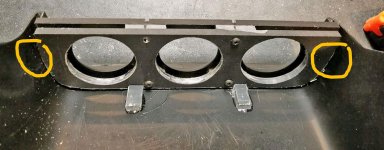
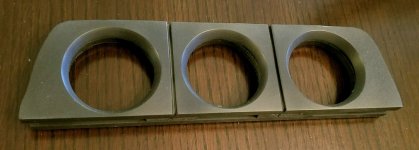
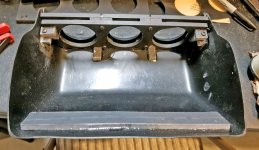
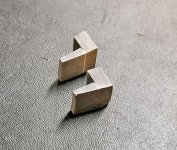
Does the real one have all these parts?
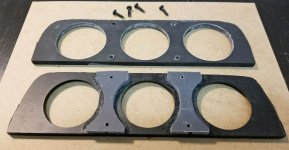
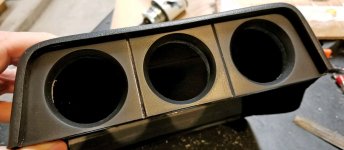
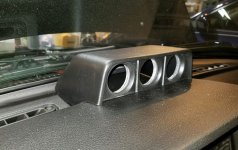
WOW. By the time you're done it's gonna be hard to tell it apart from a real one