volvobrage
Member
- Joined
- Jan 17, 2011
04.12.2011
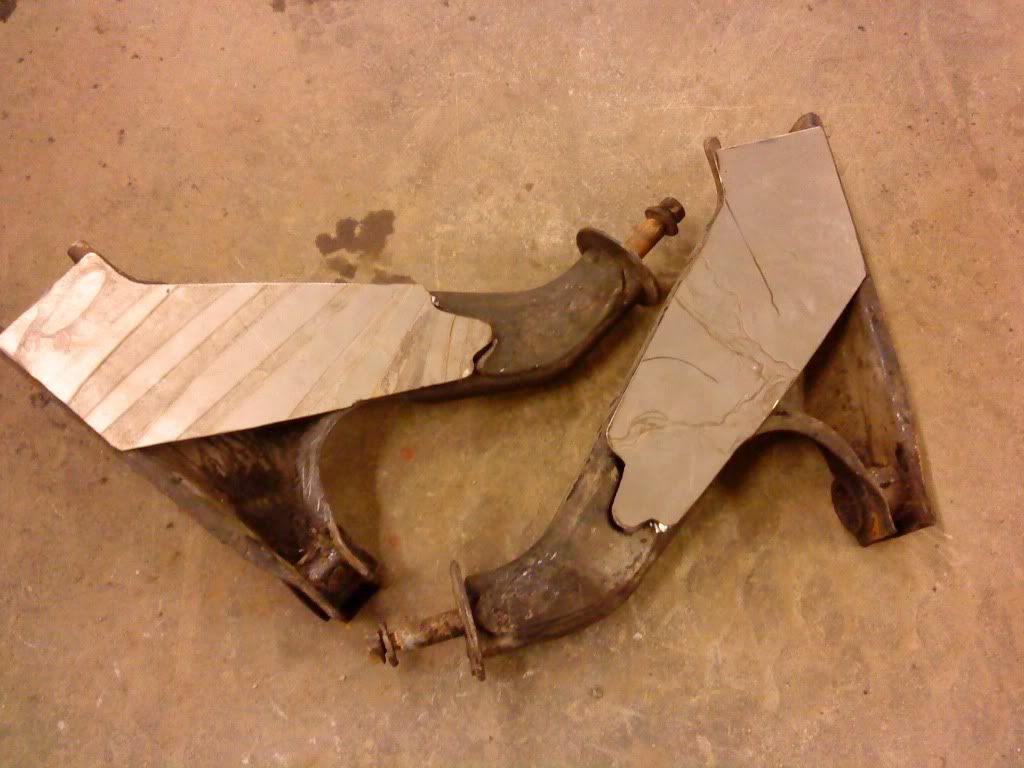
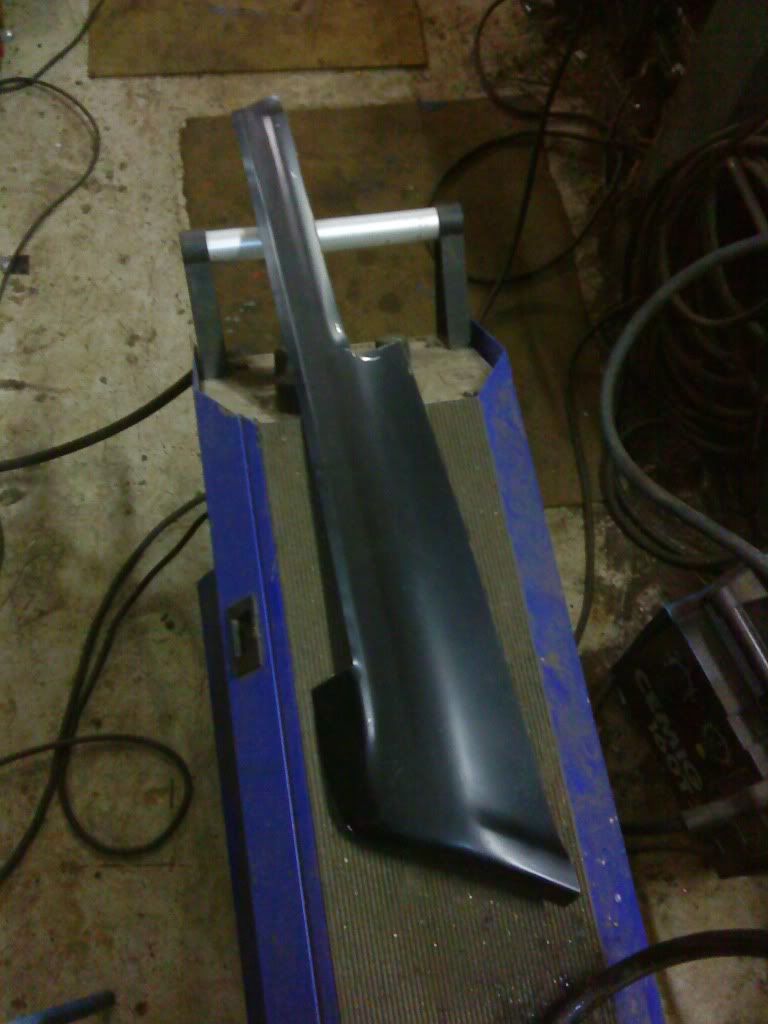
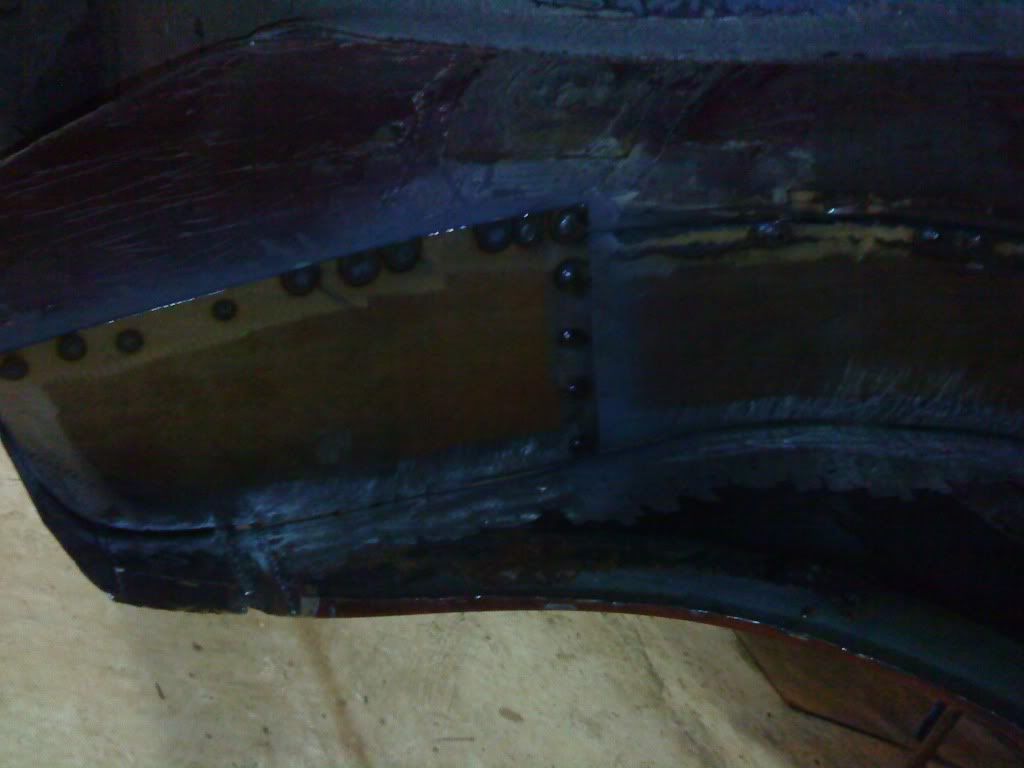
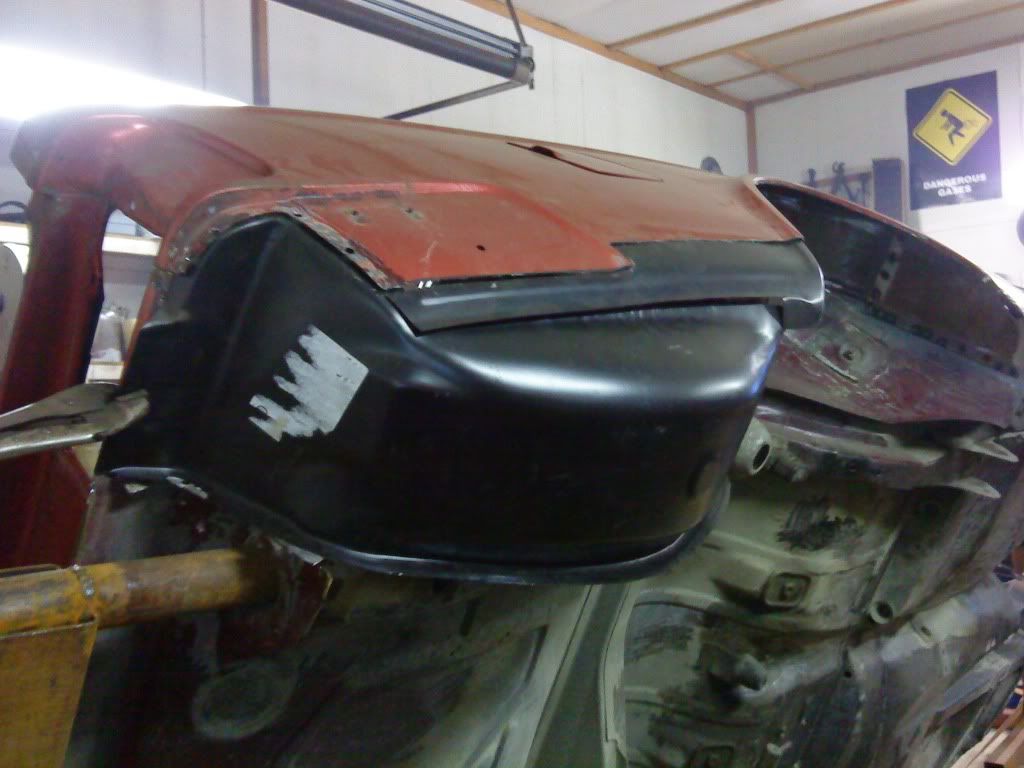
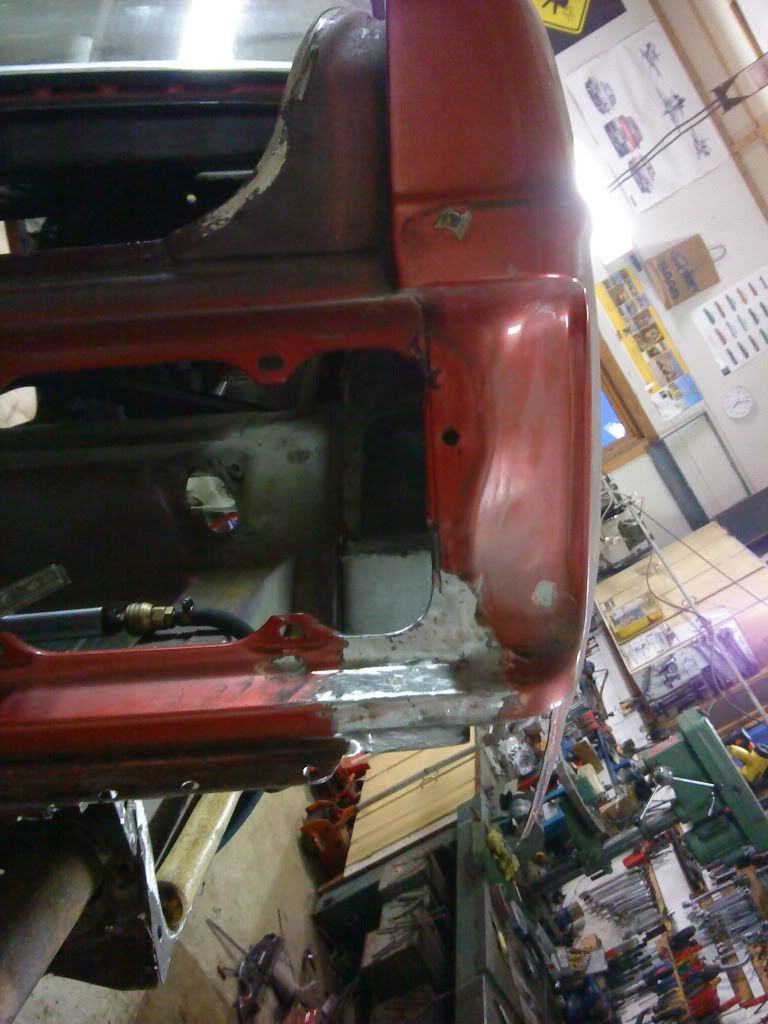
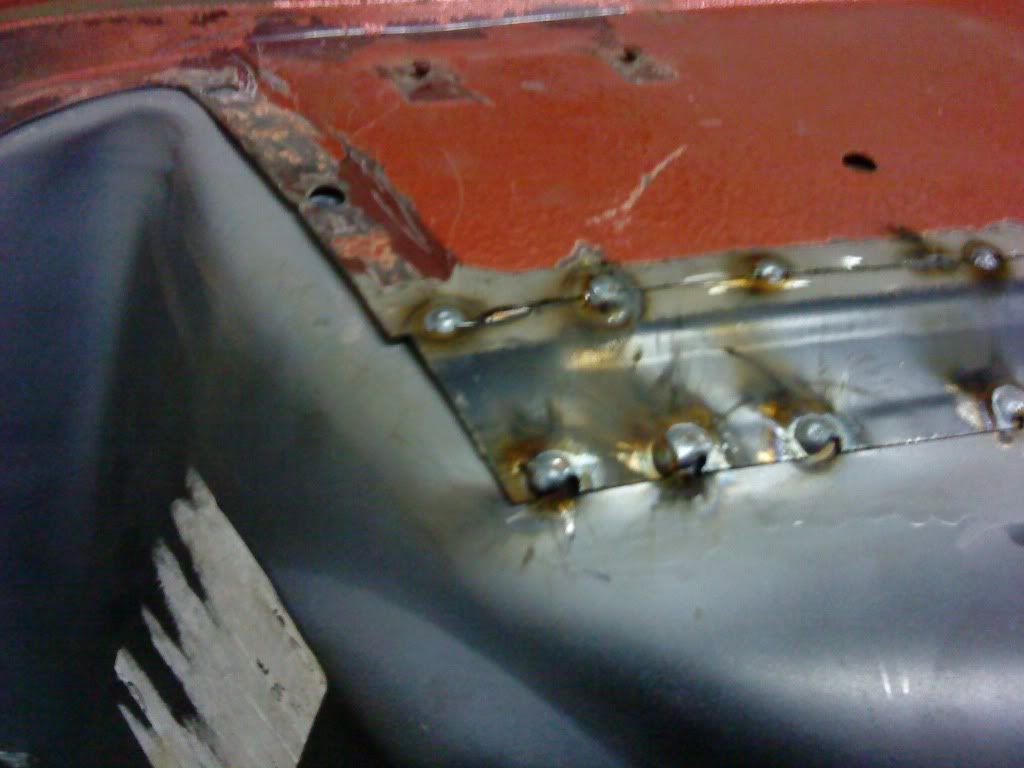
First in paper!I will make to pieces so it will be easier to shape it and put it in
And then in steelplate")
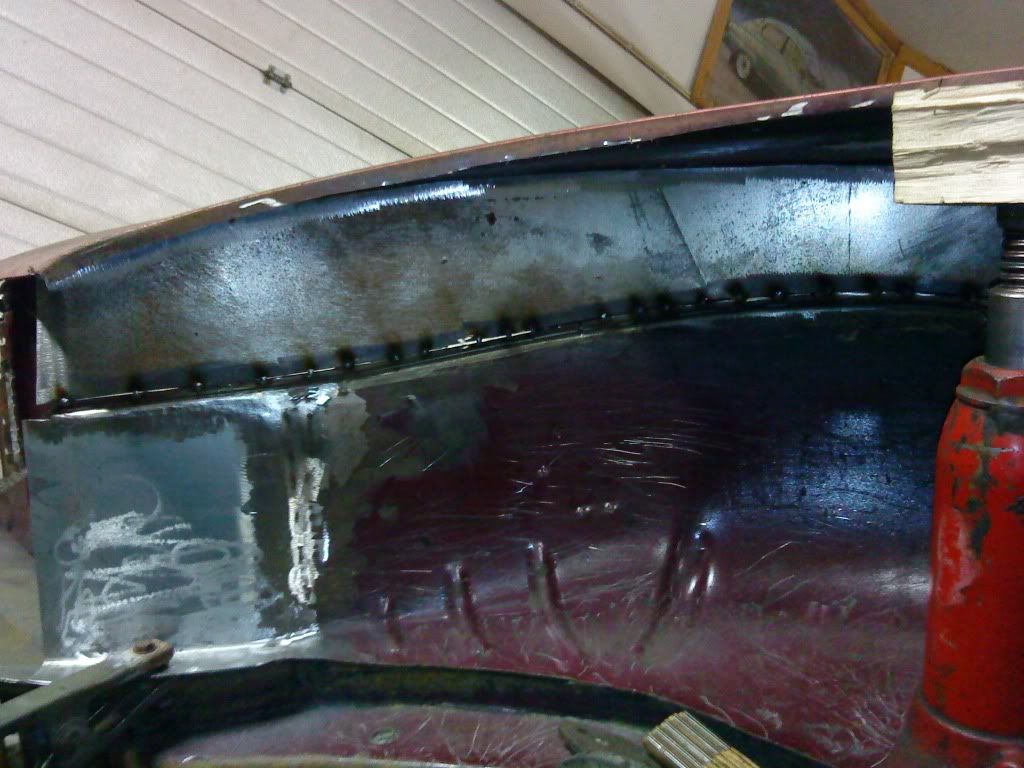
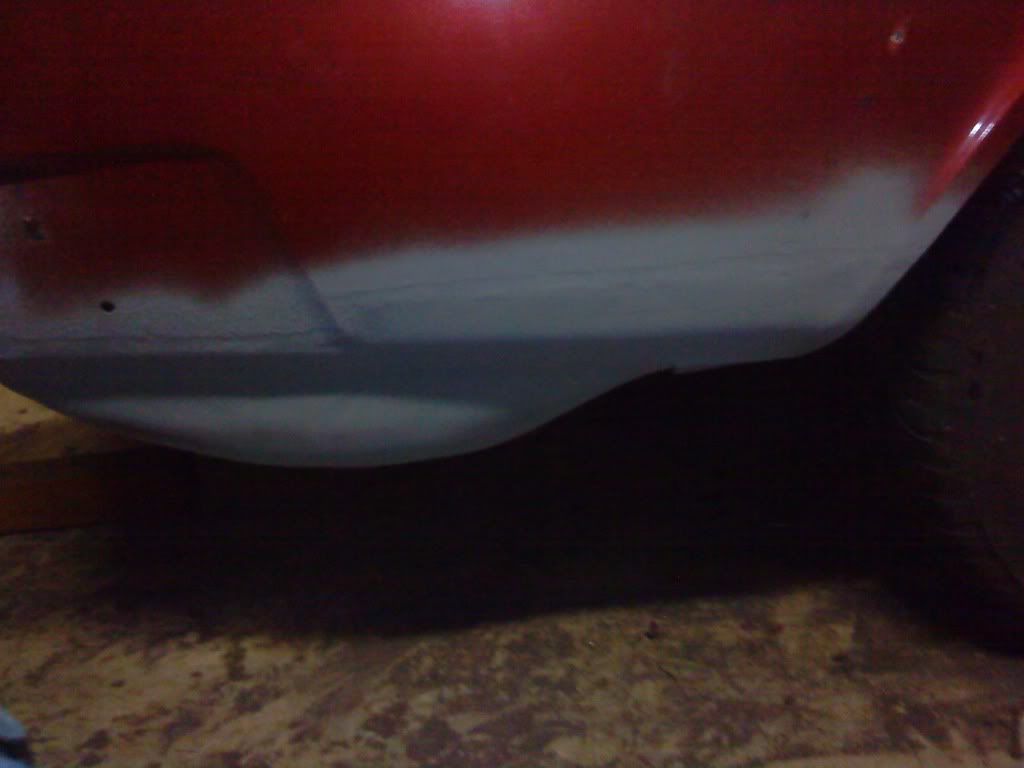
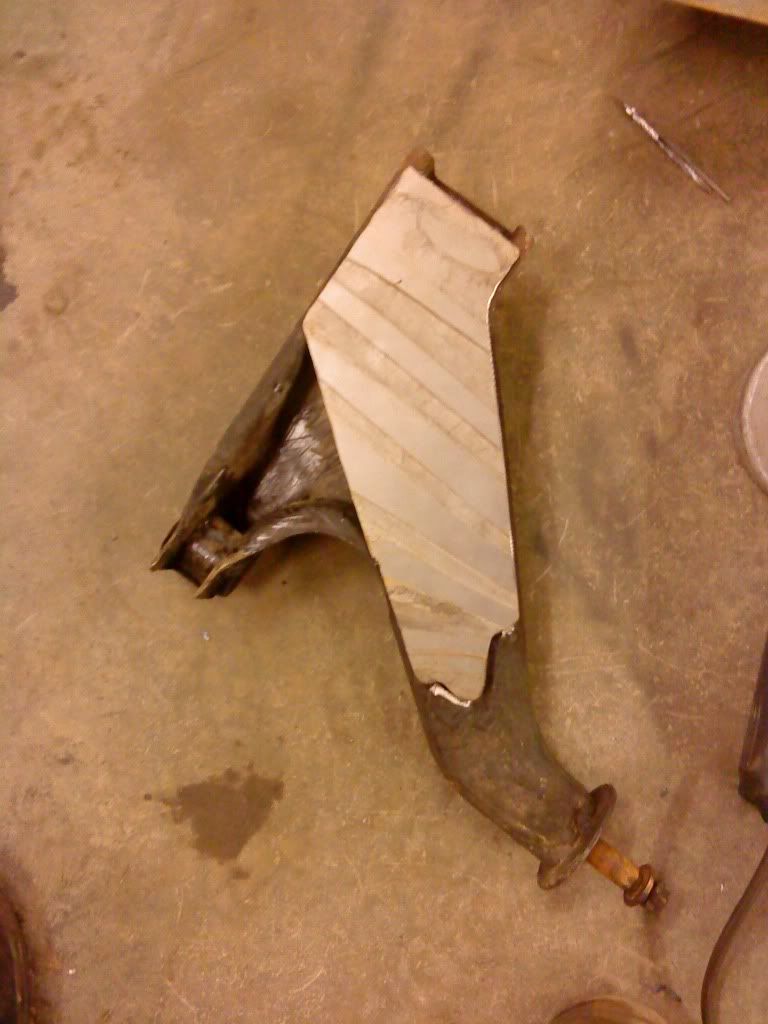
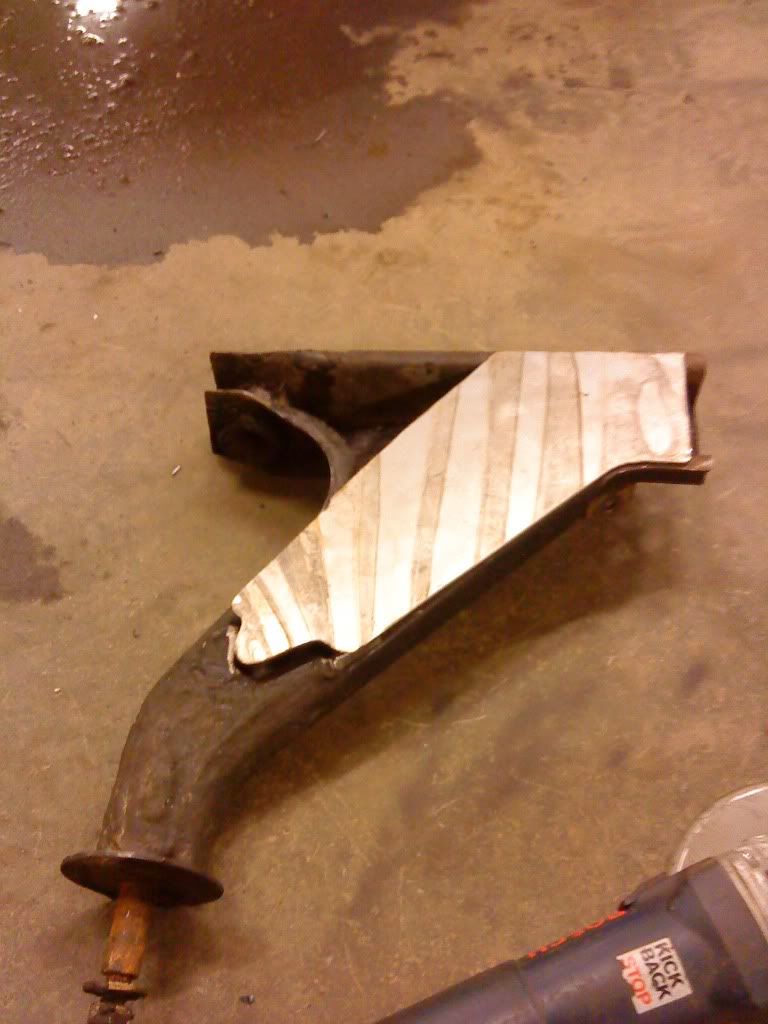
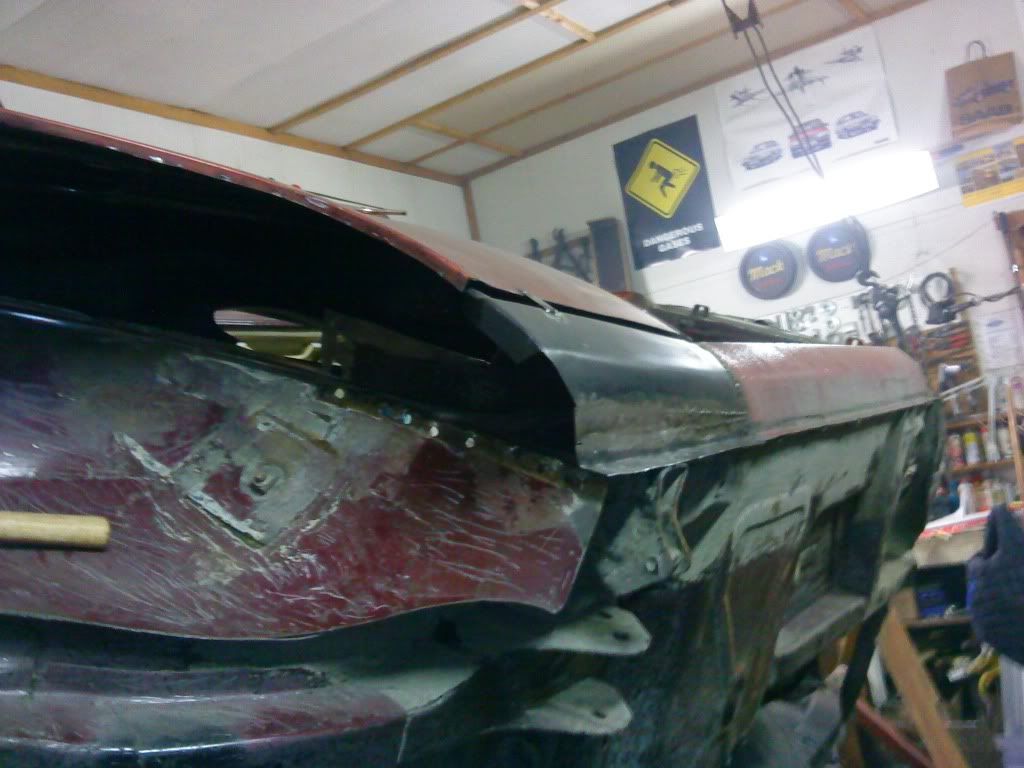
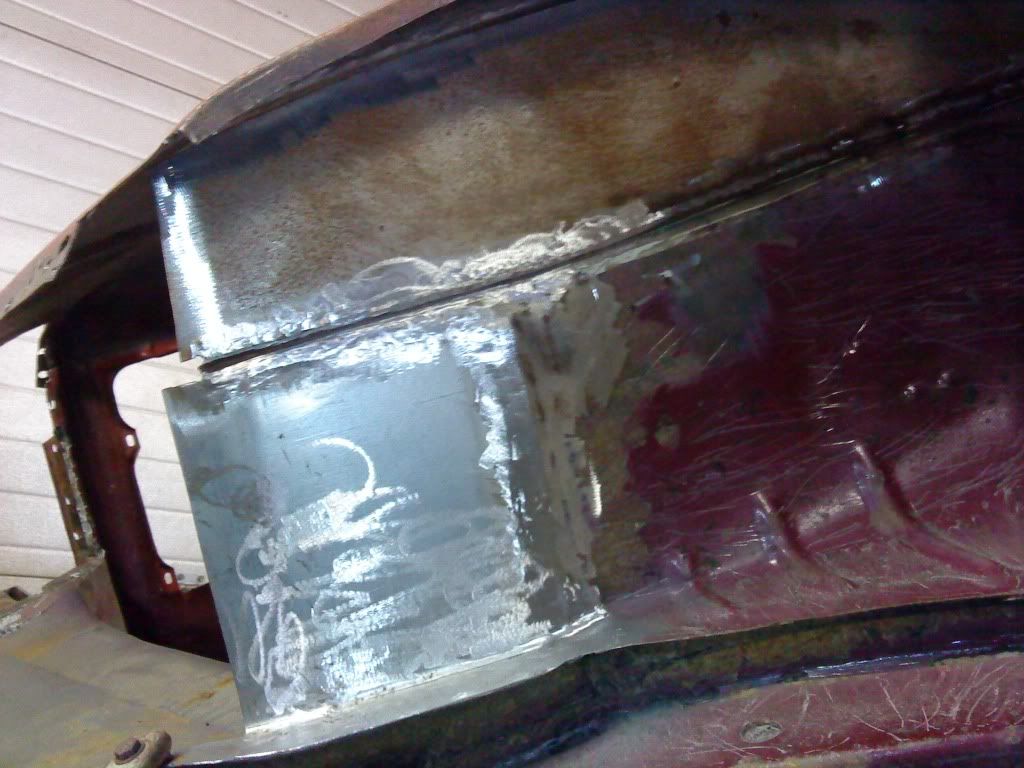
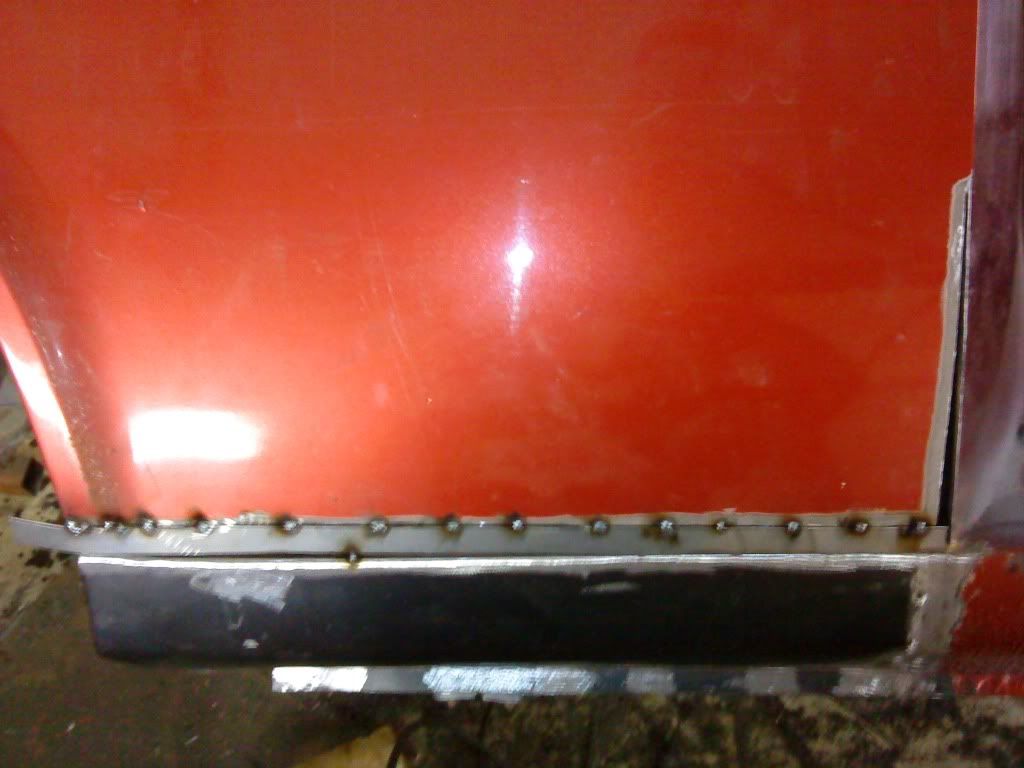
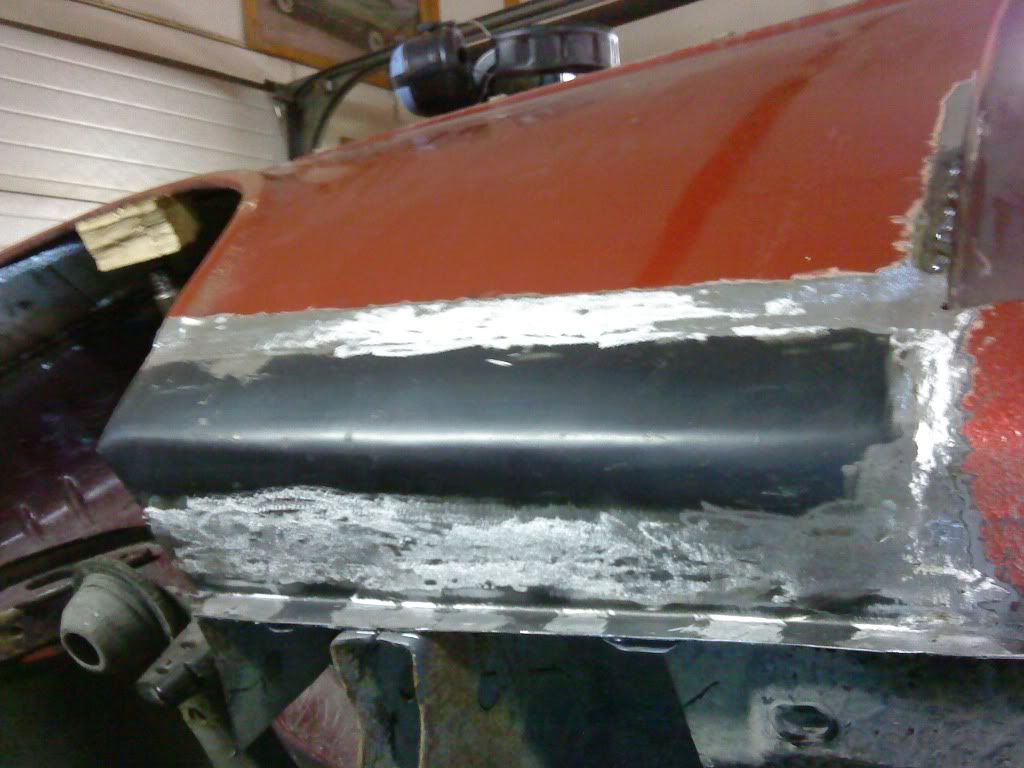
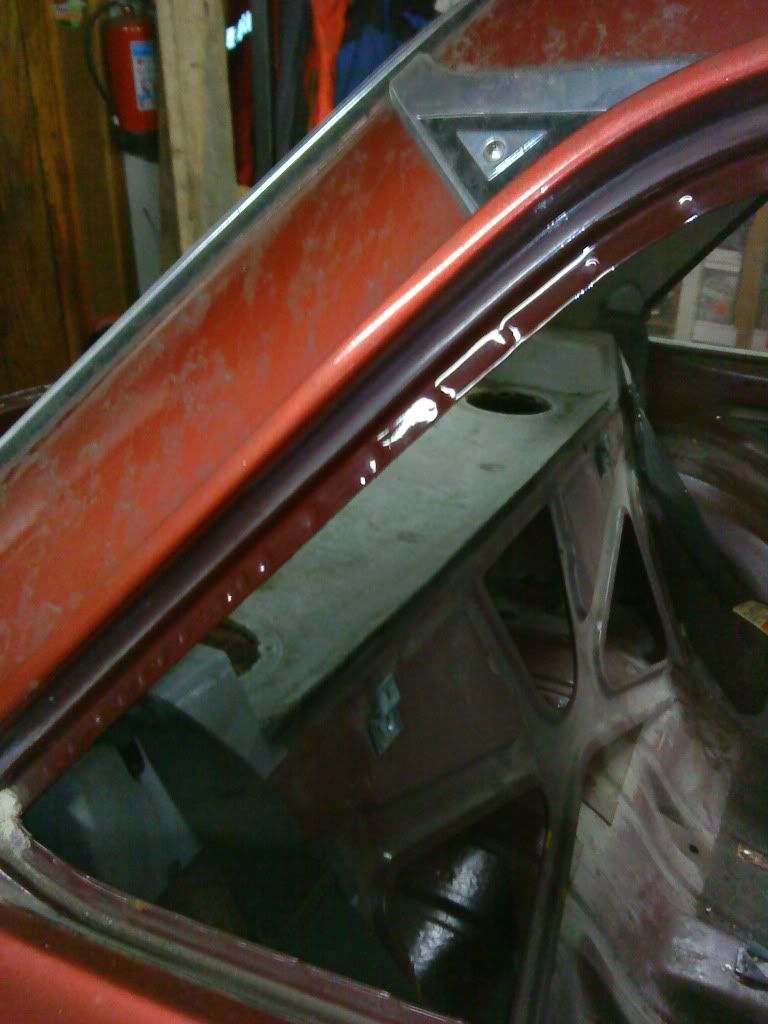
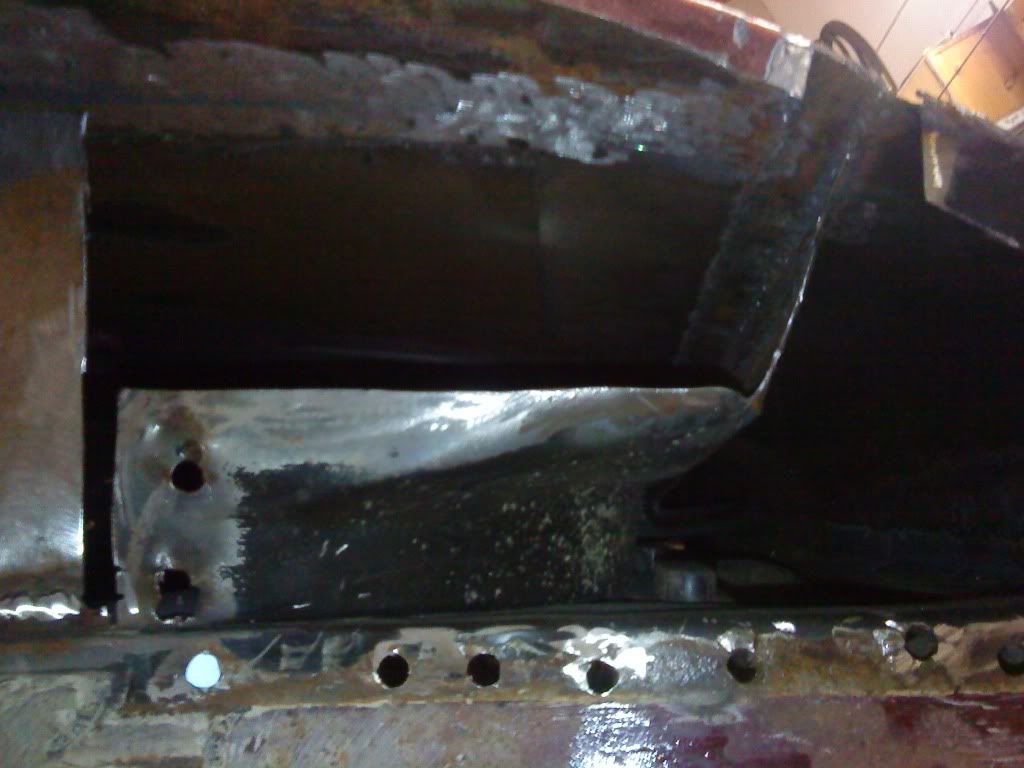
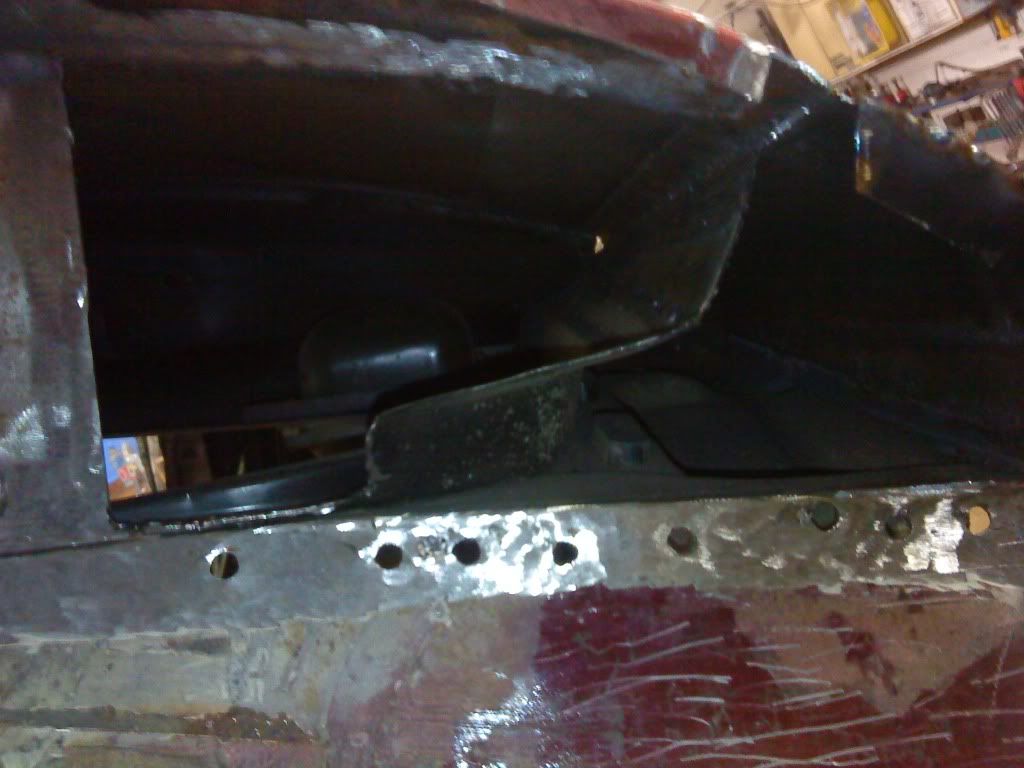
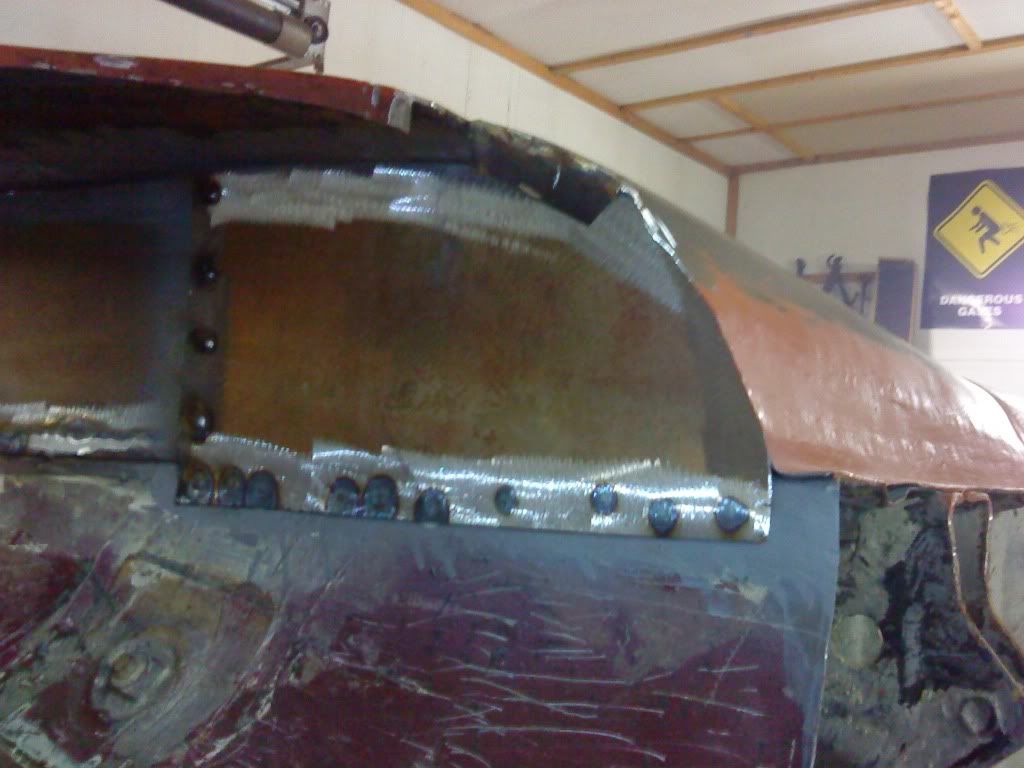
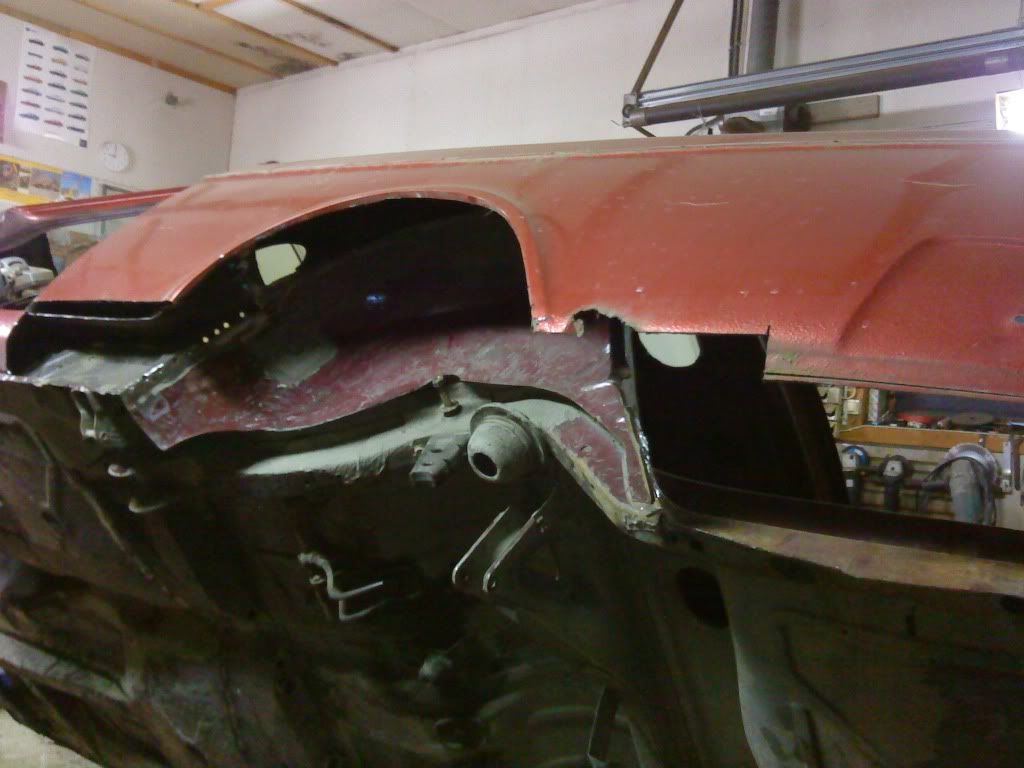
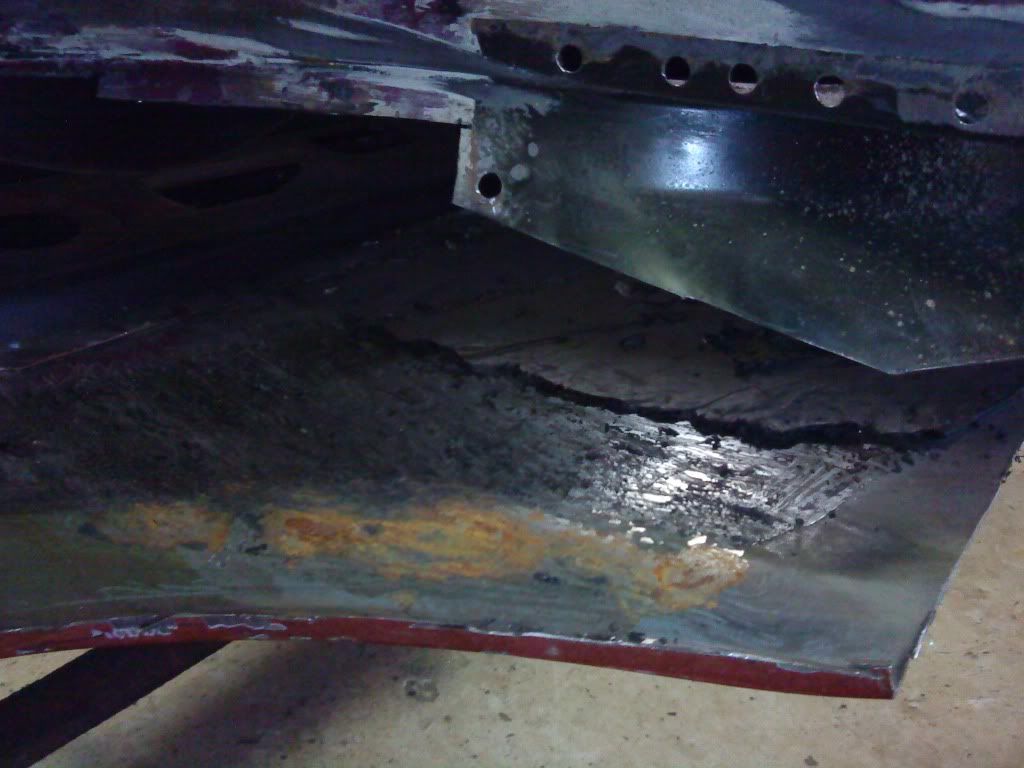
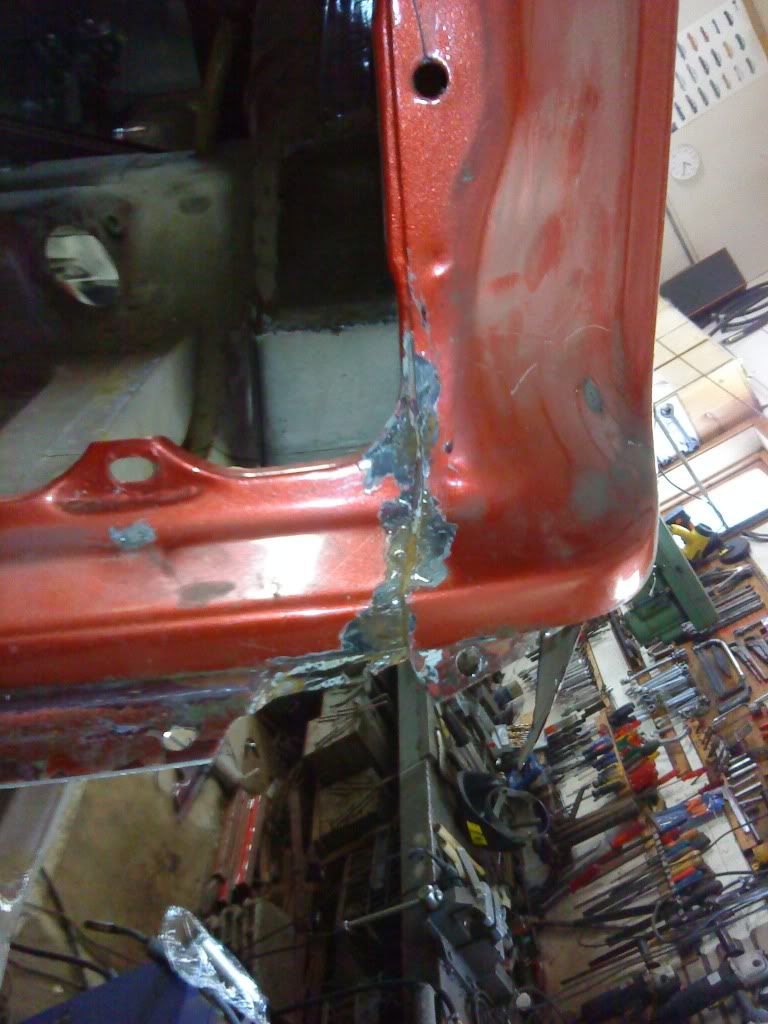
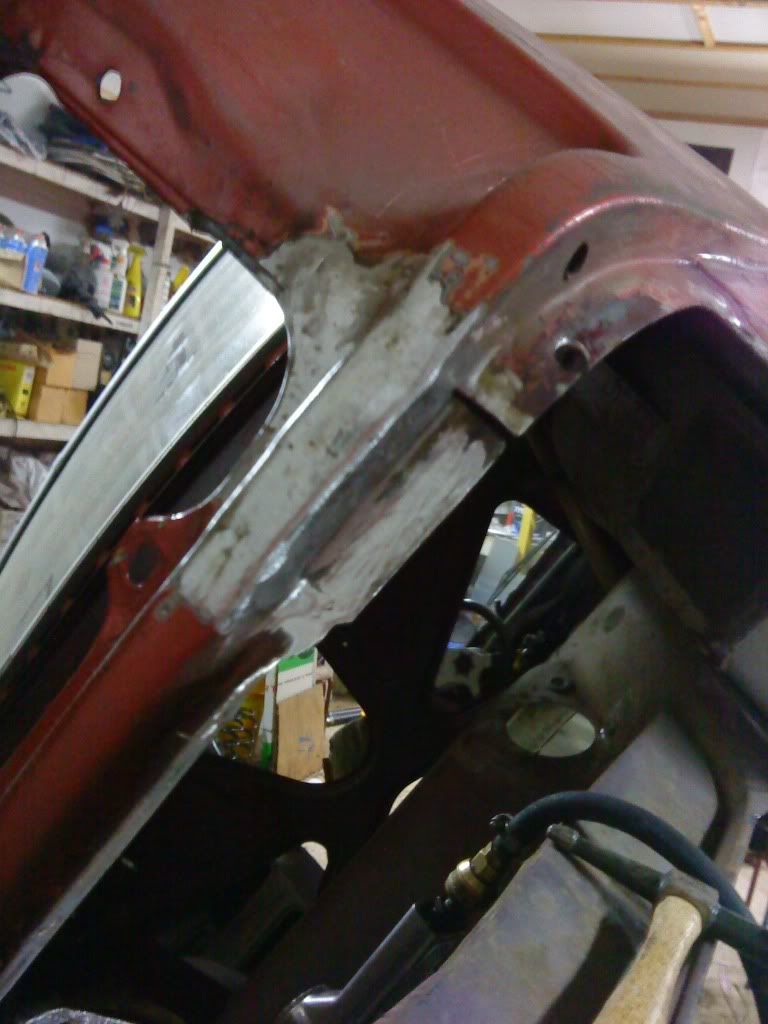
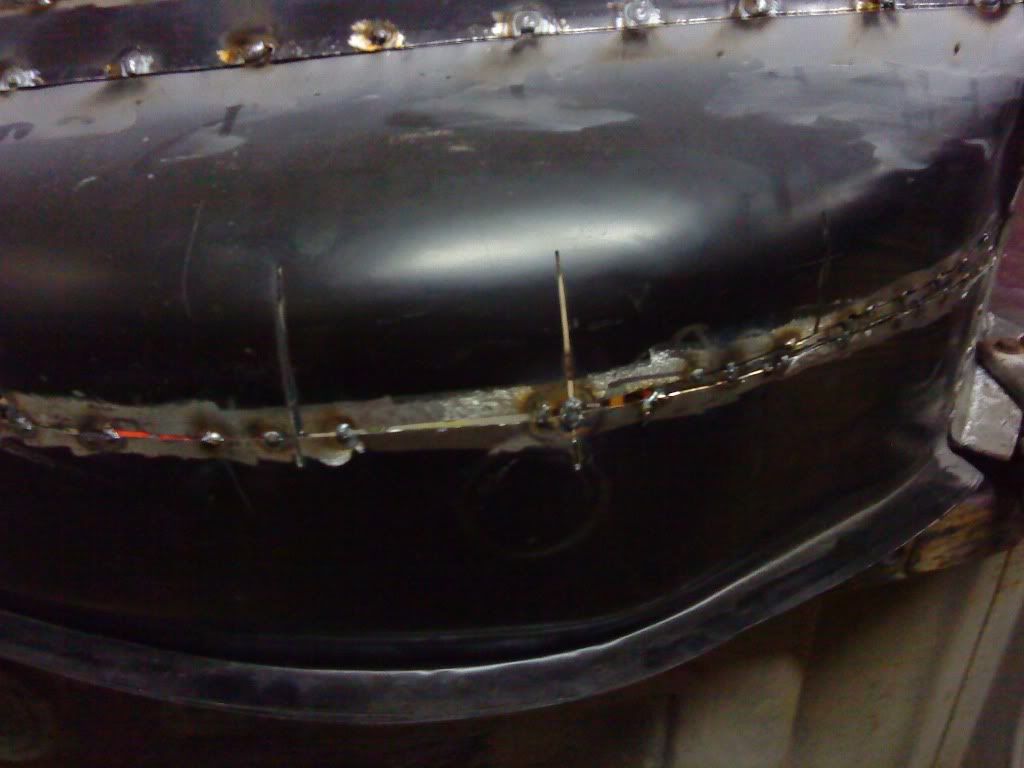
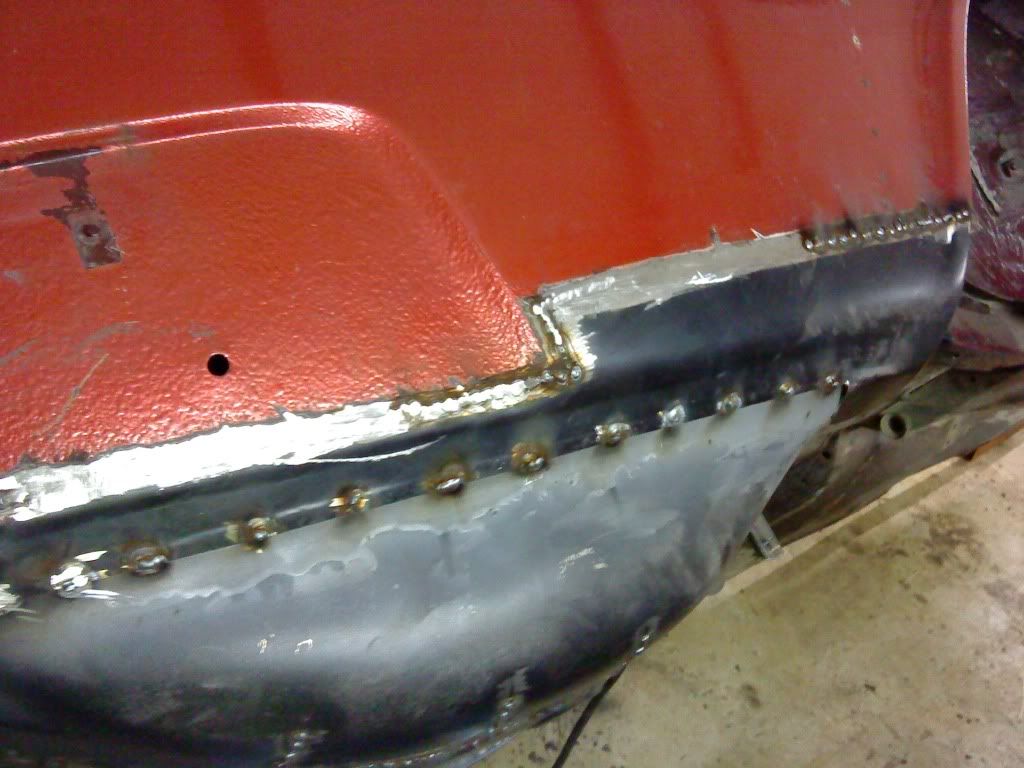
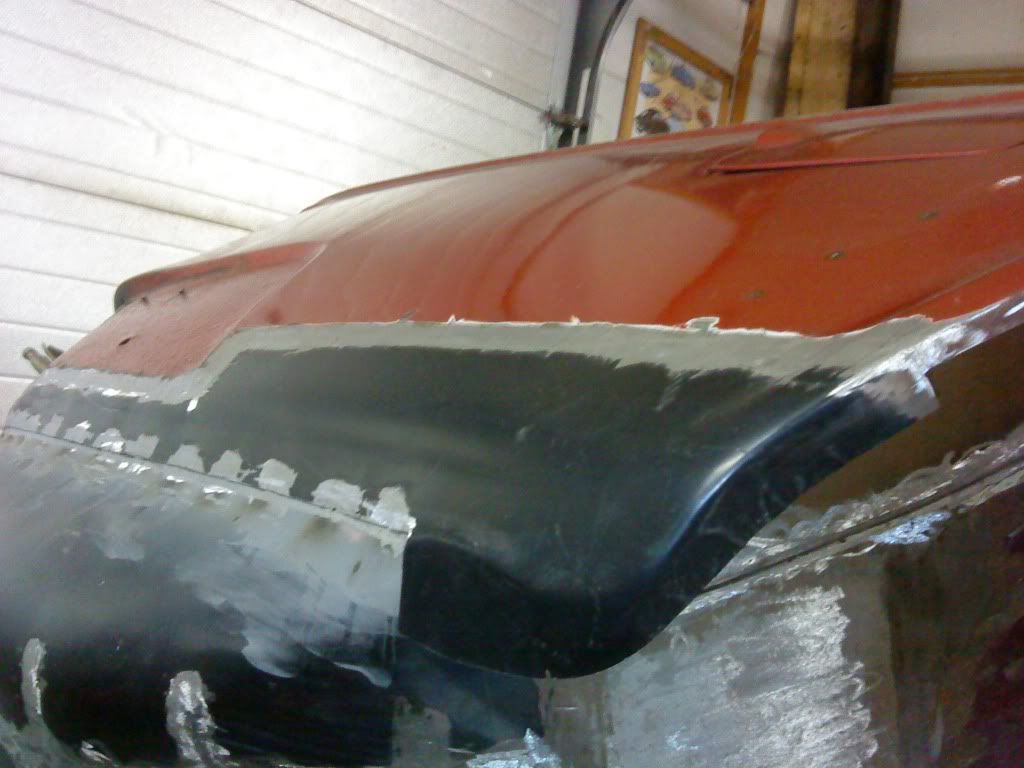
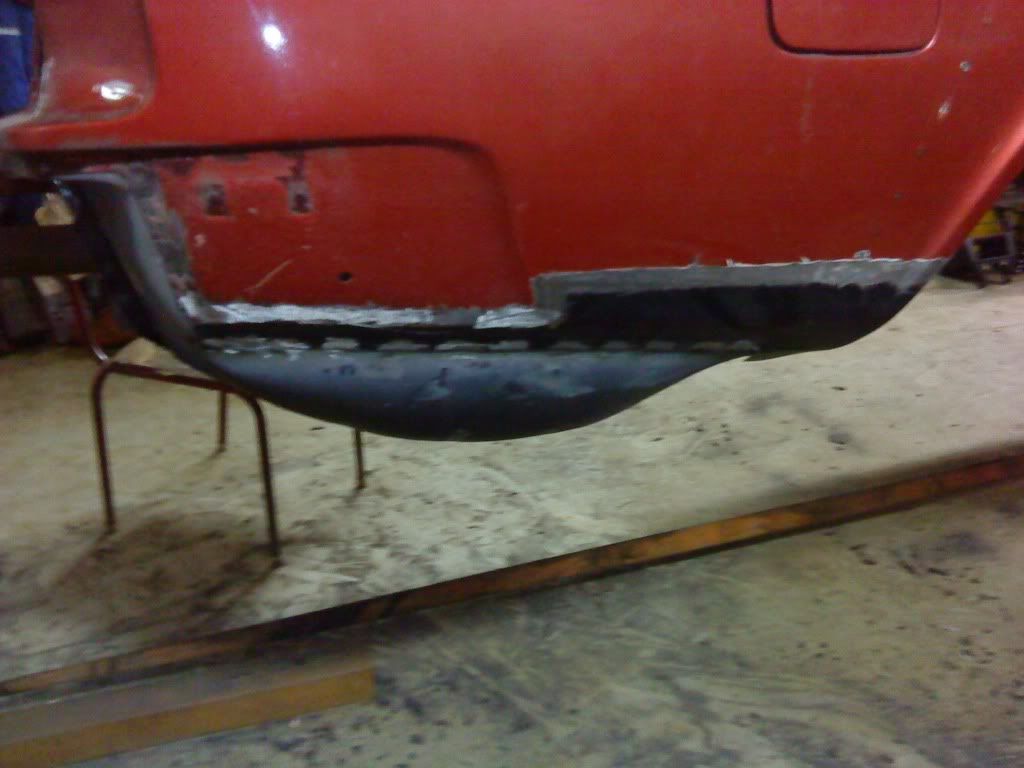
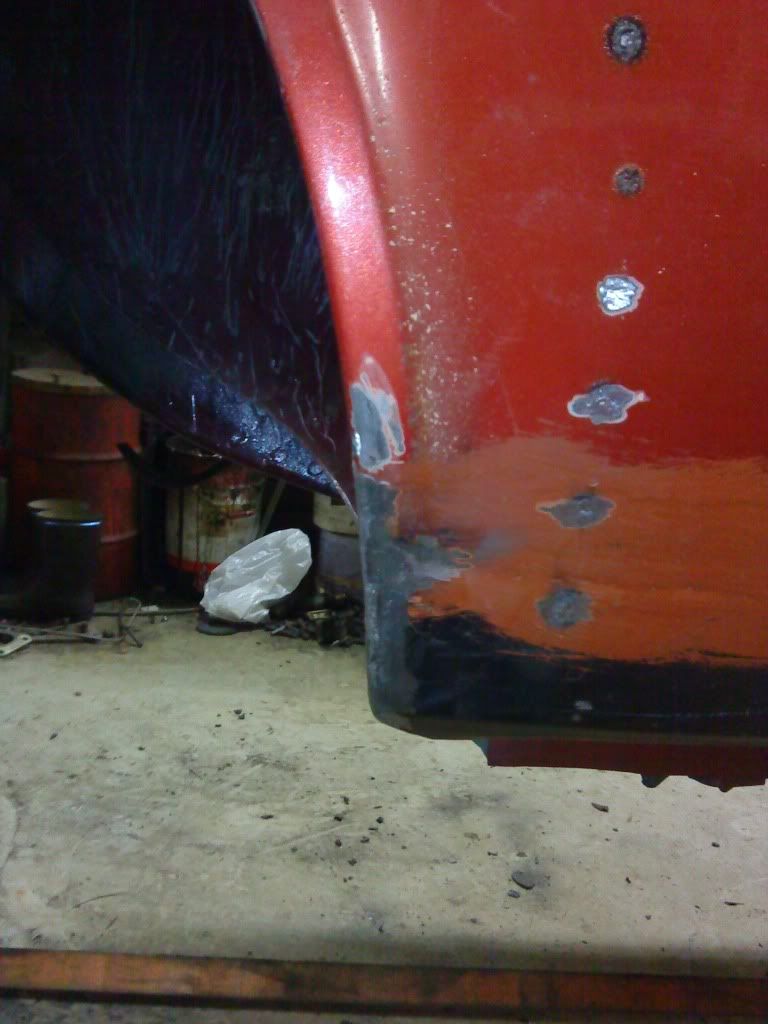
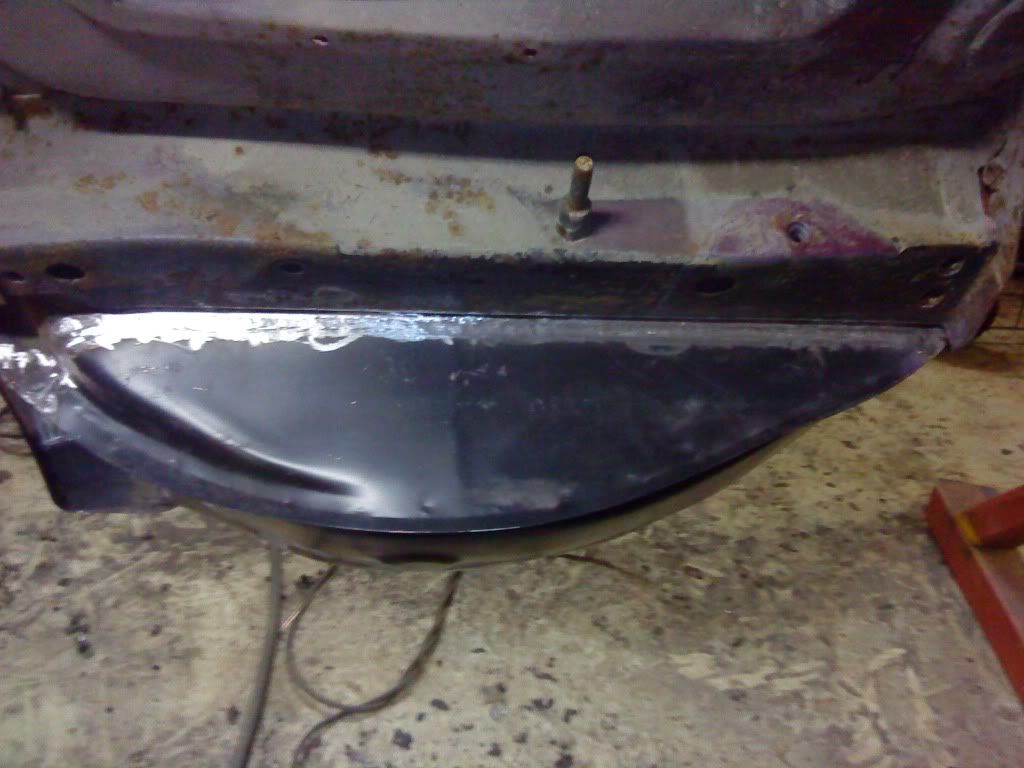
Made new plate her
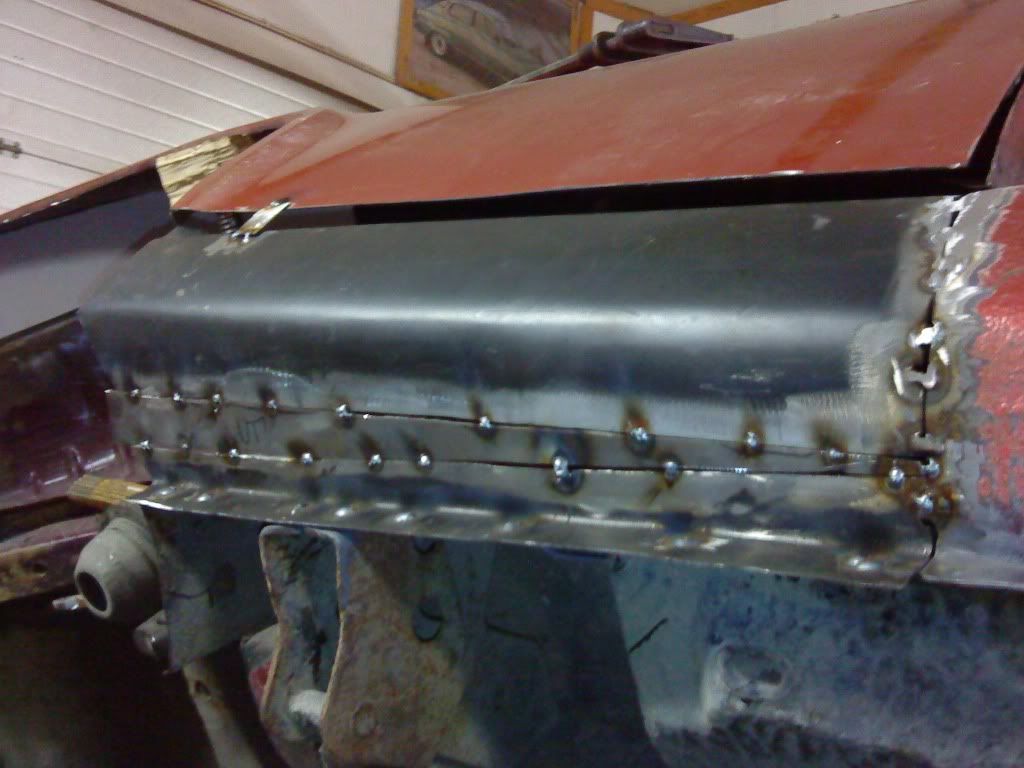
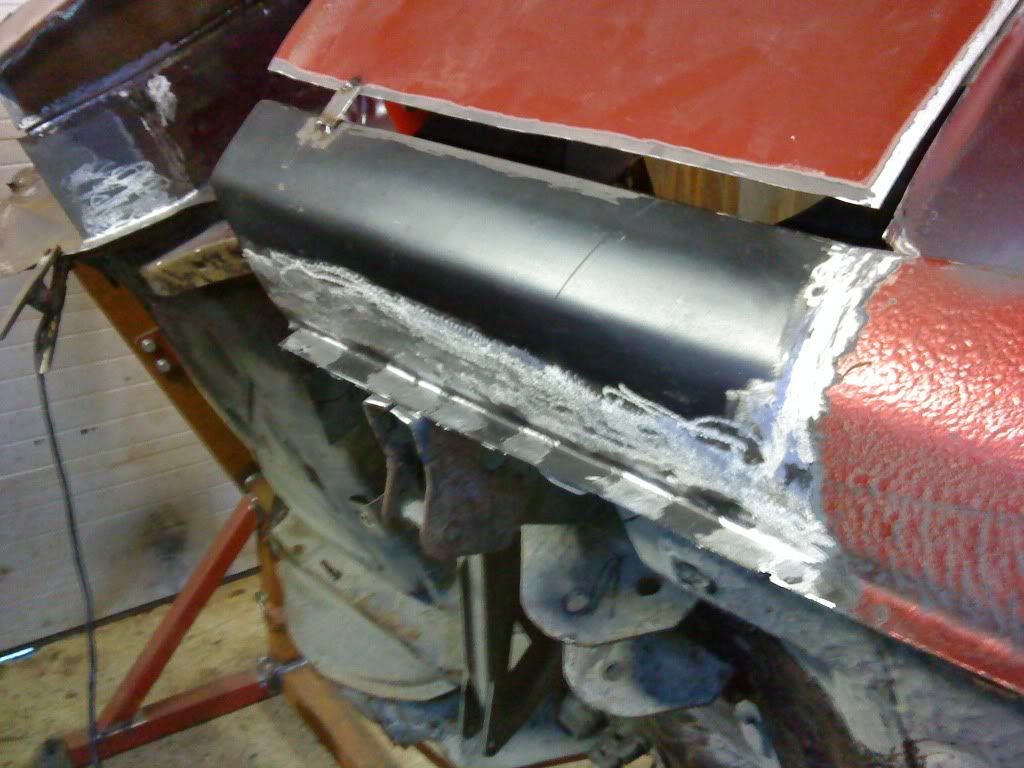
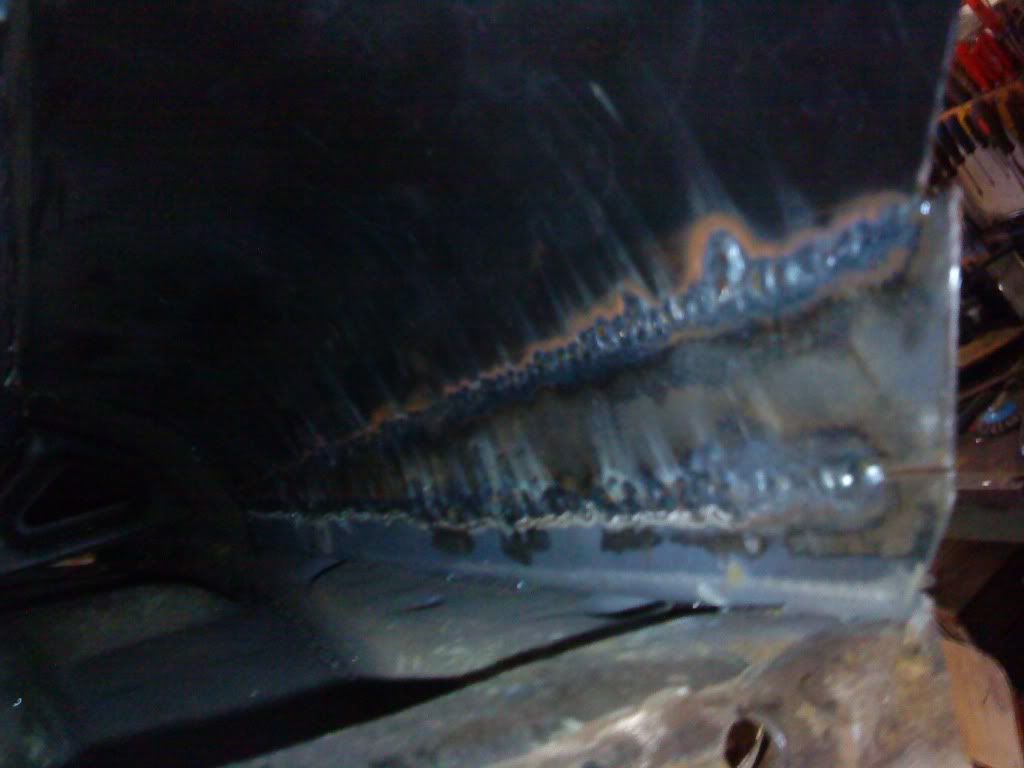
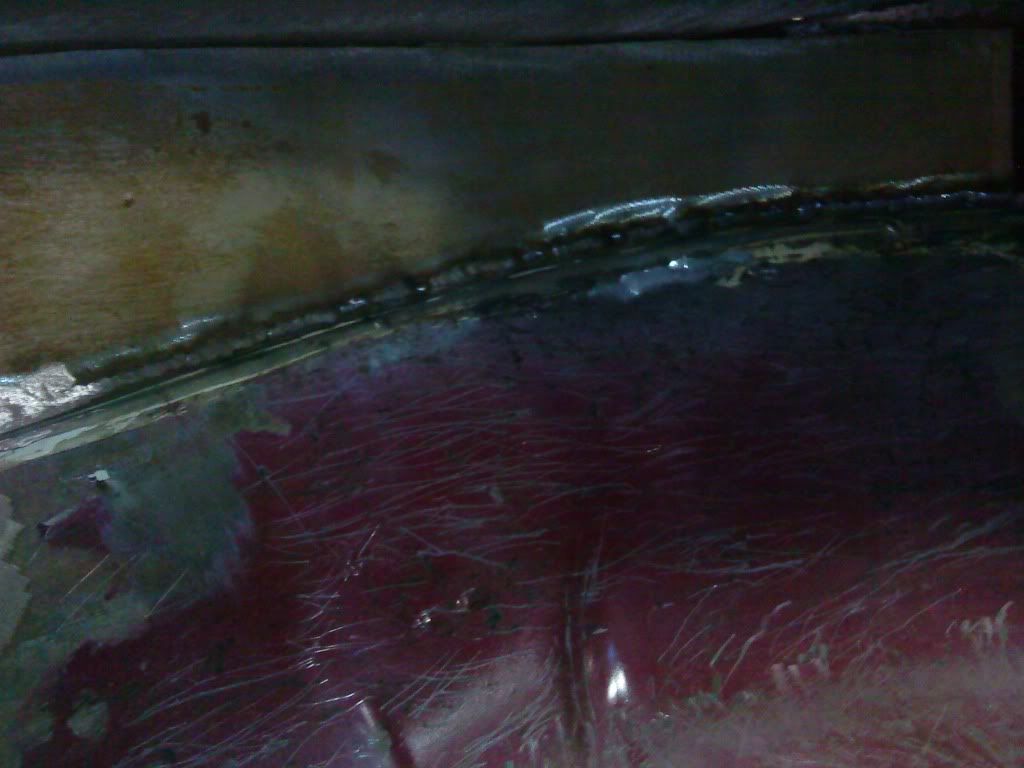
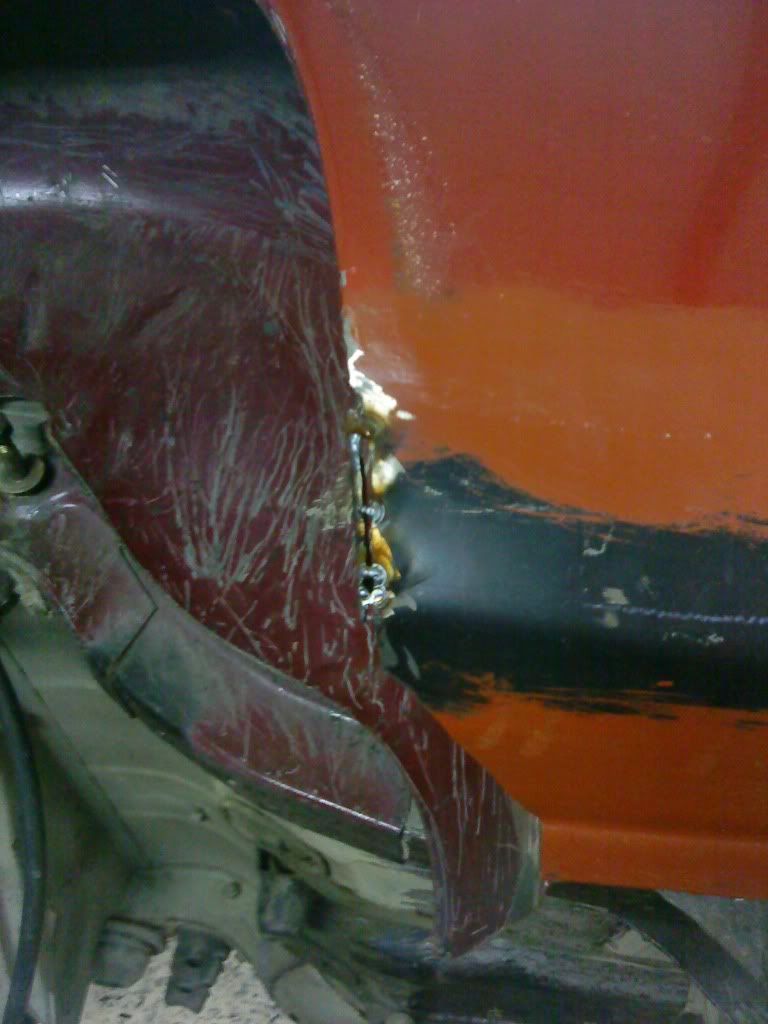
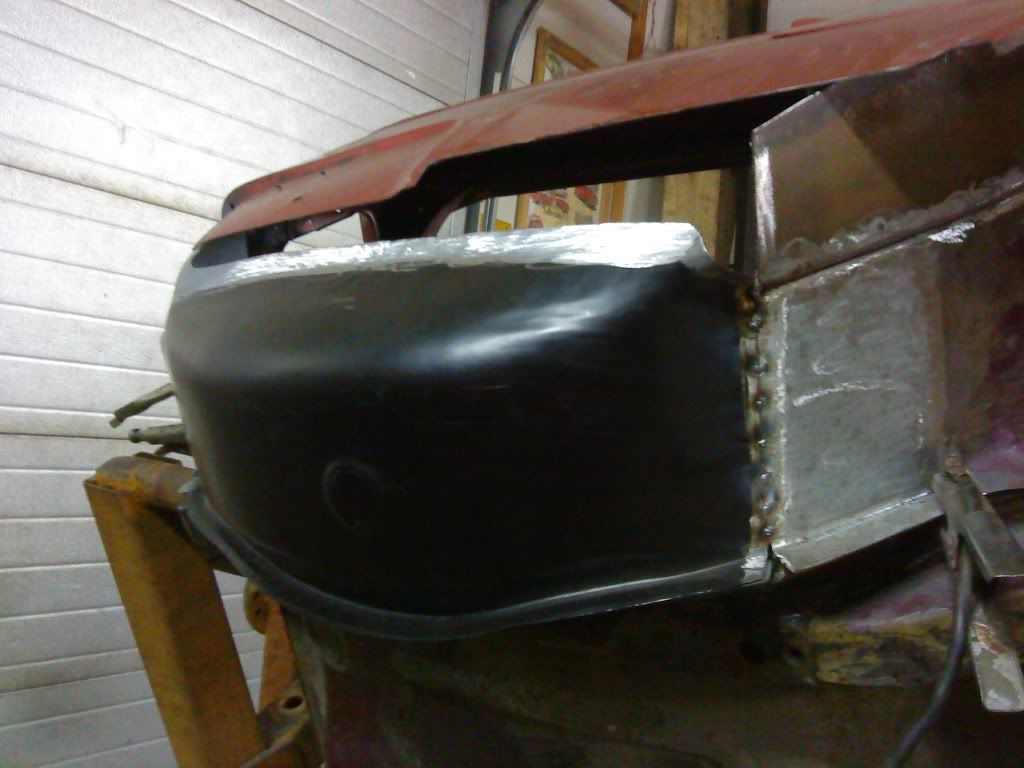
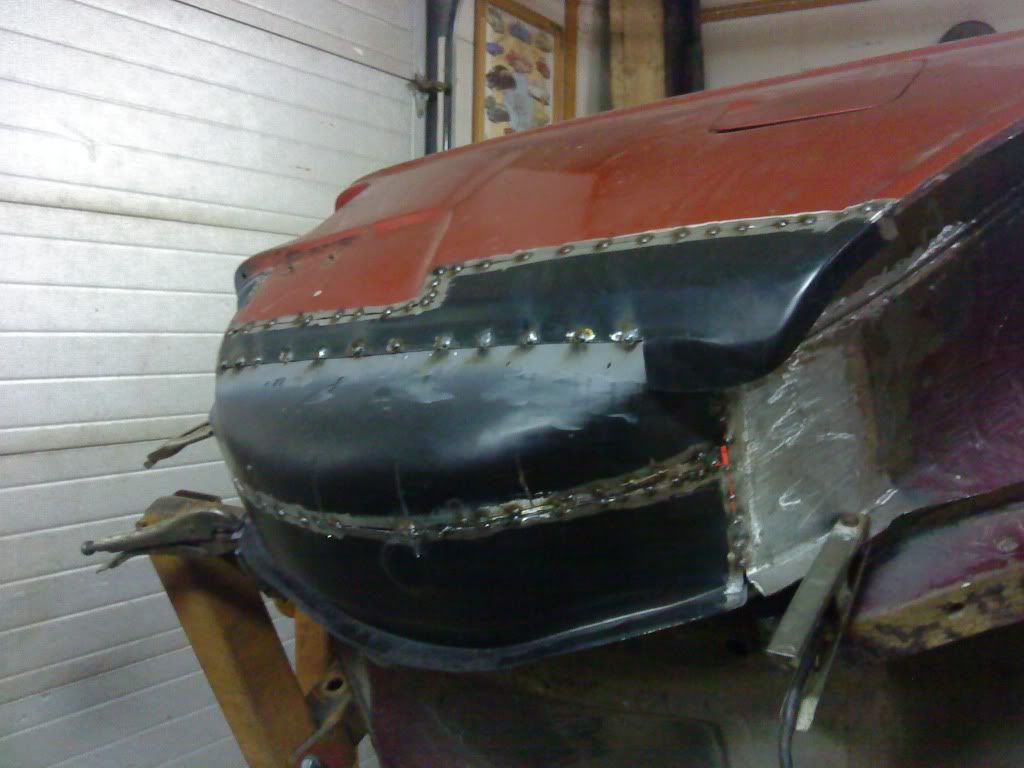
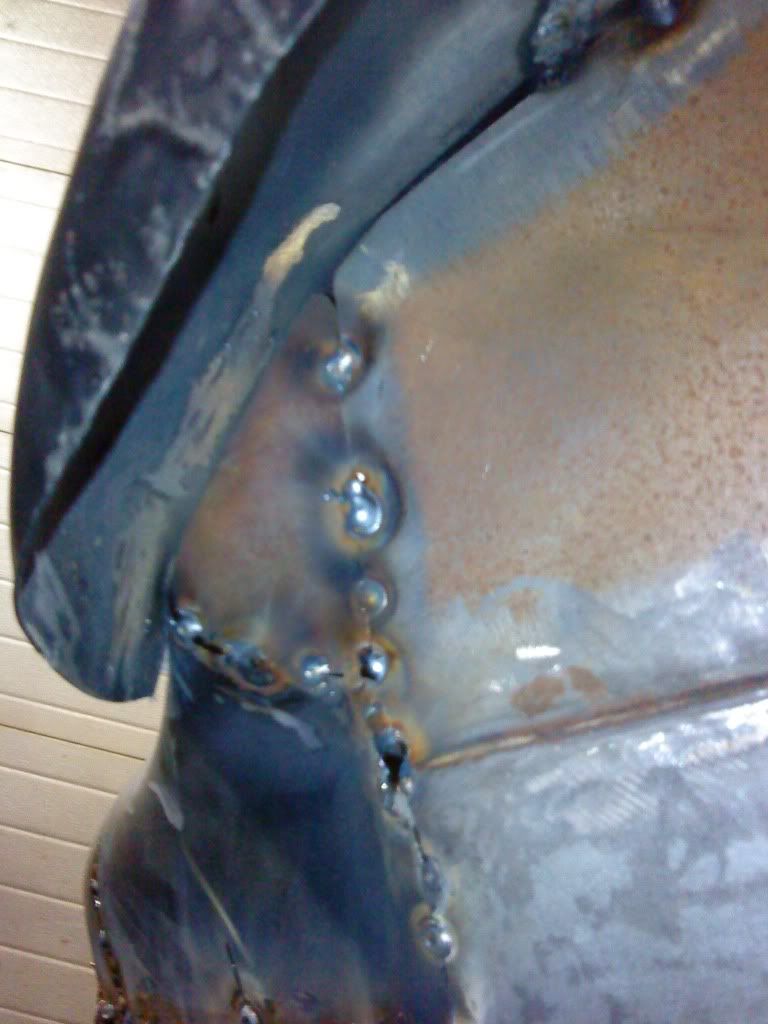
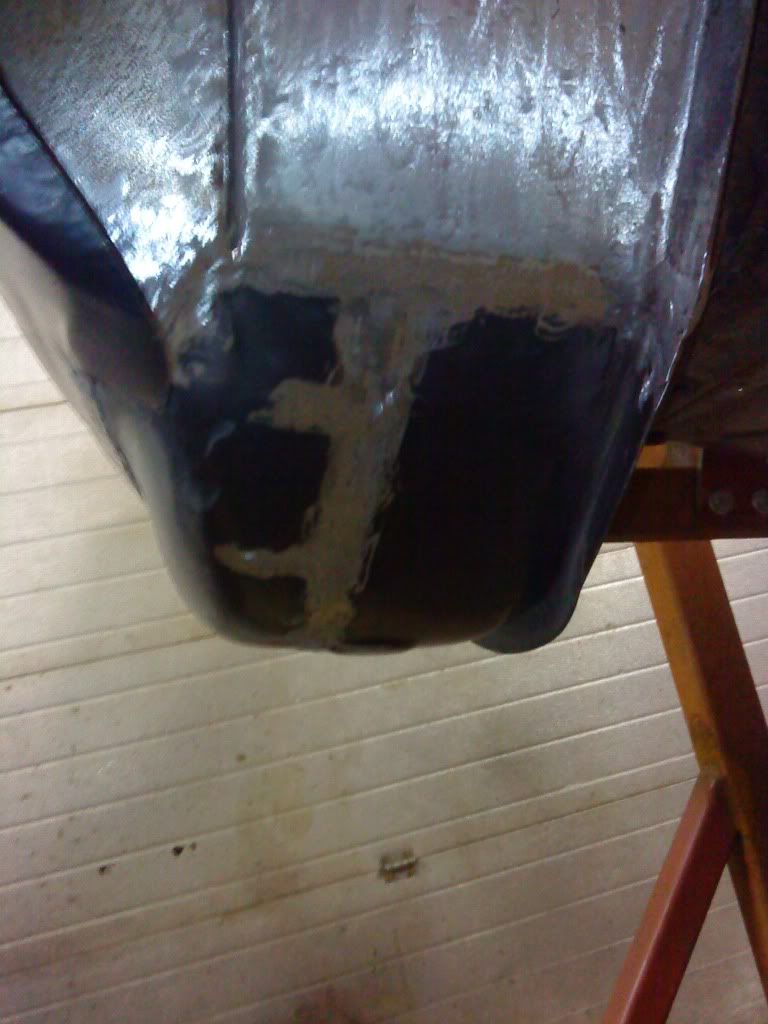
And welding
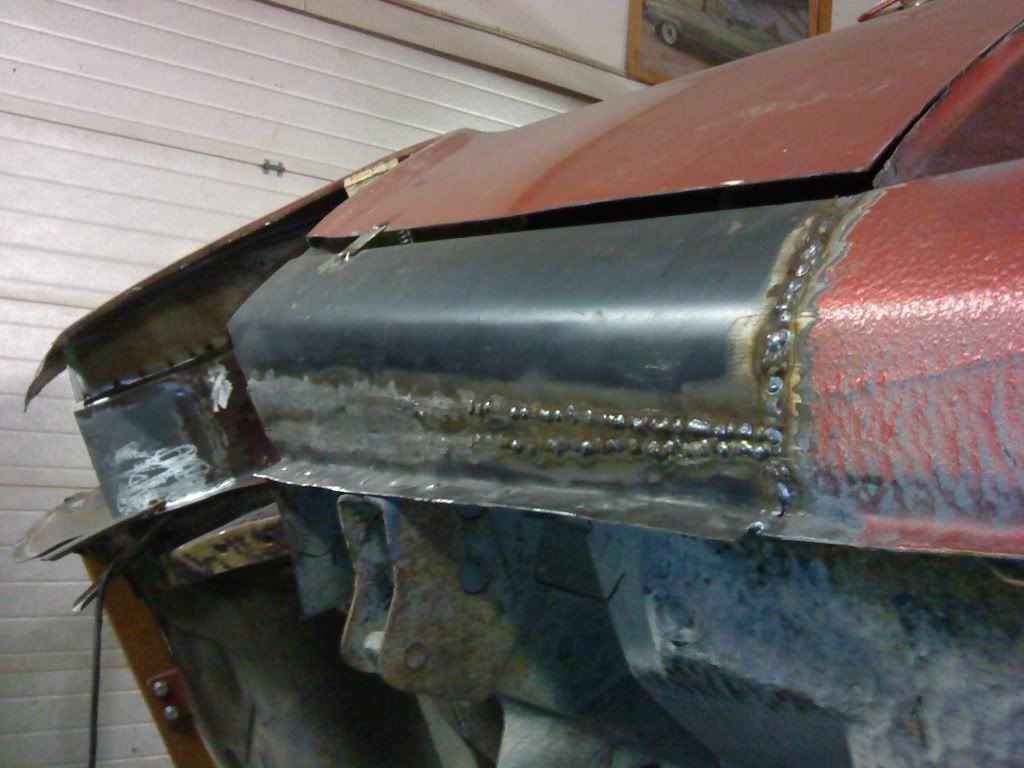
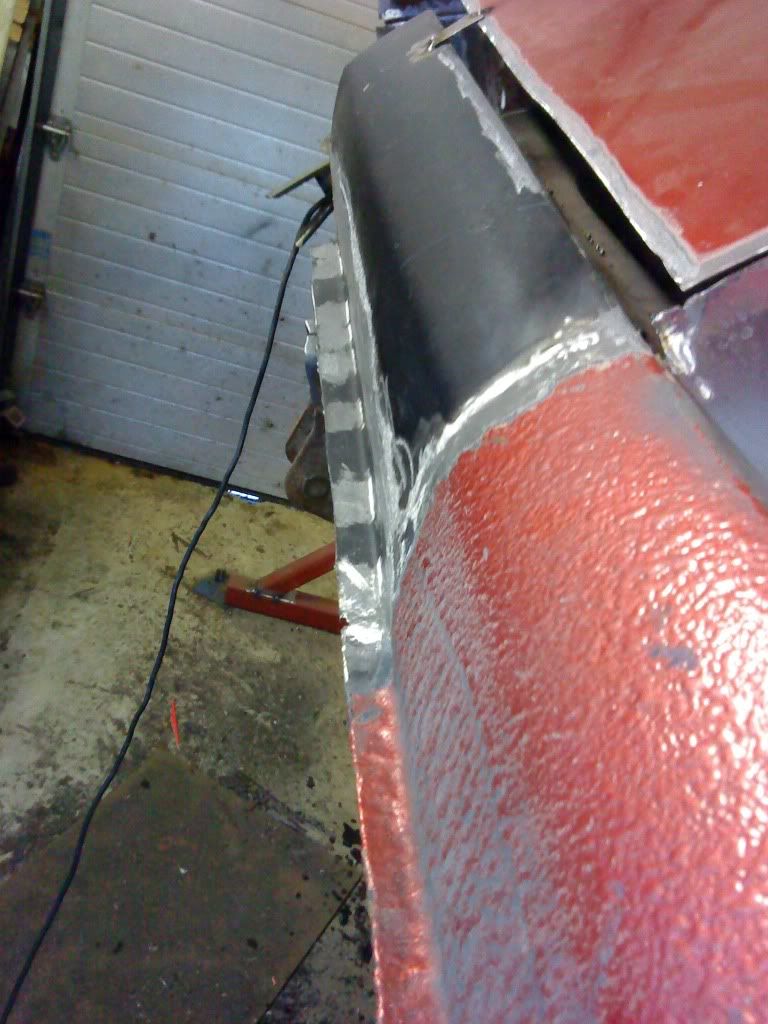
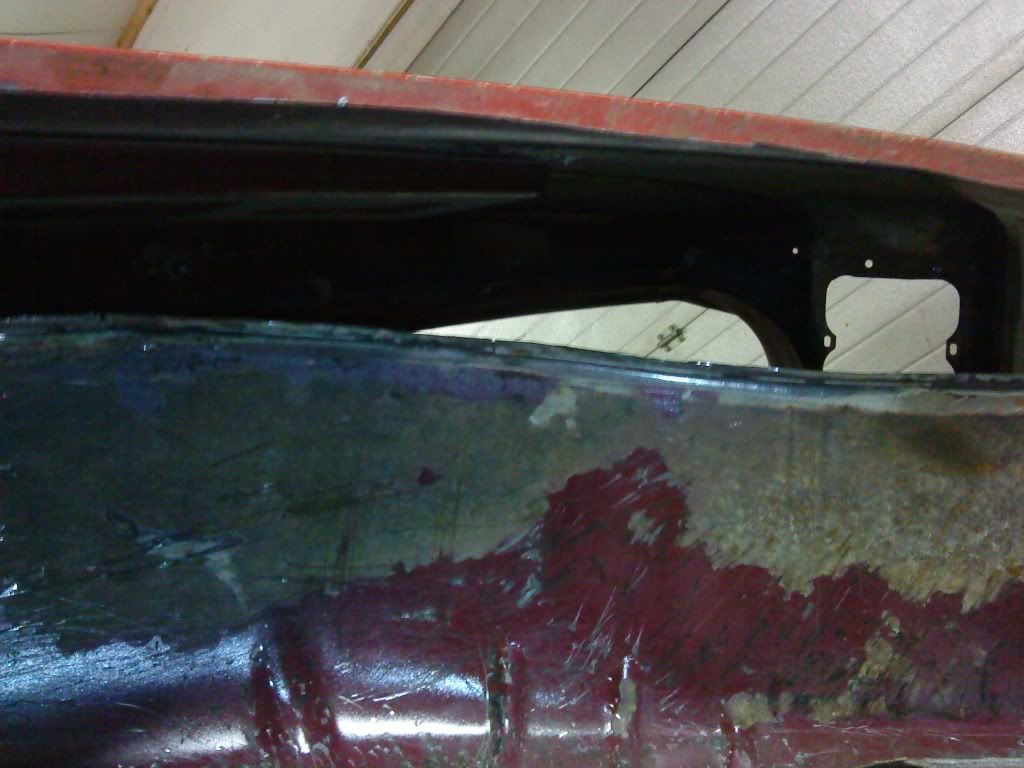
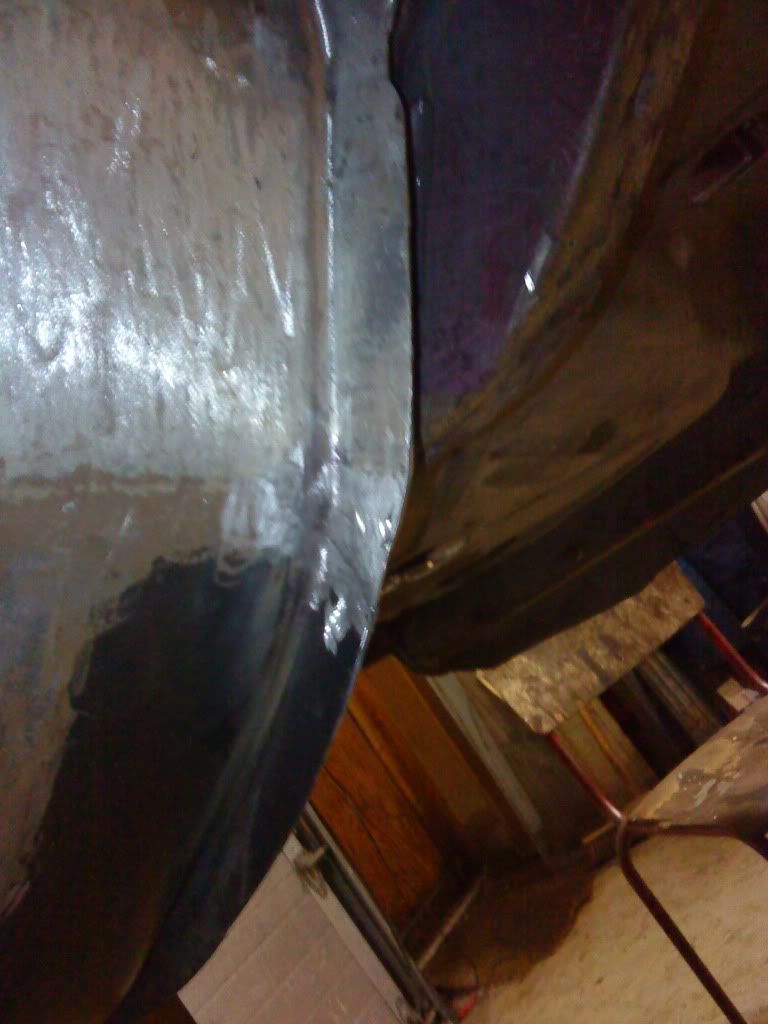
And grinding
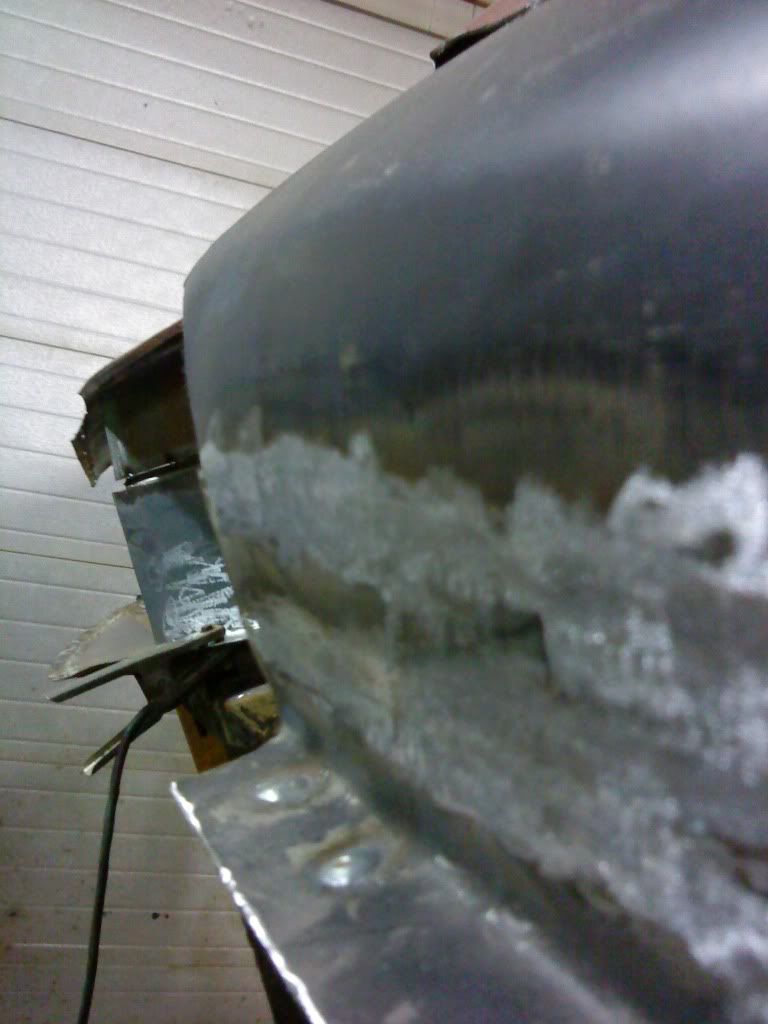
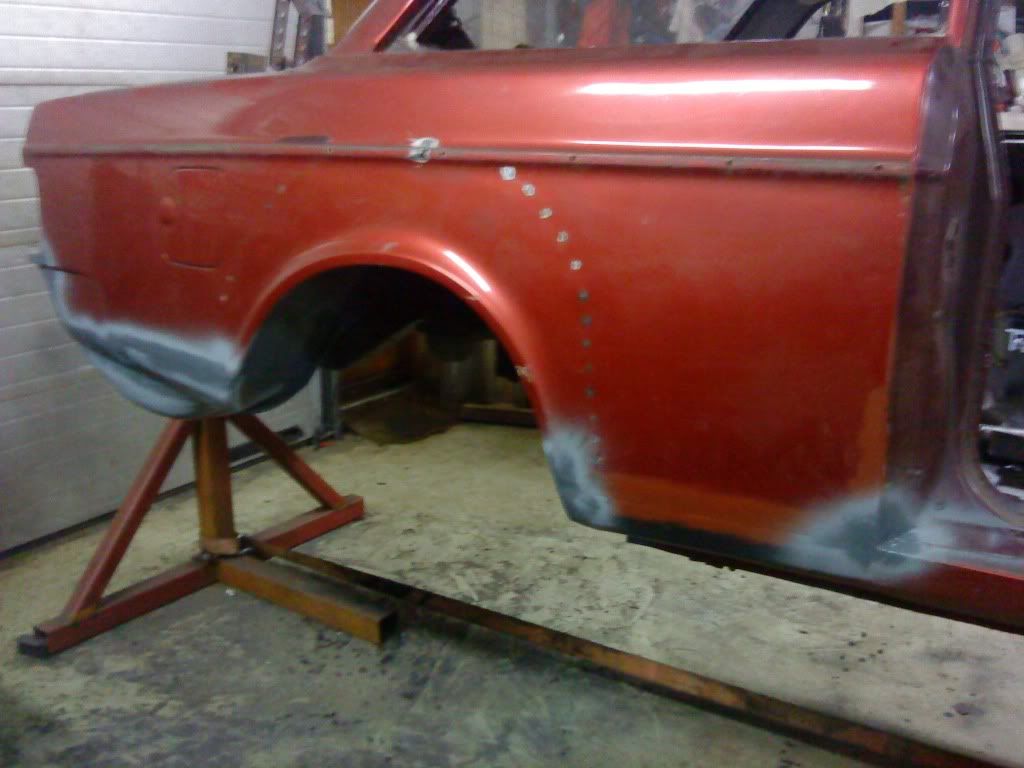
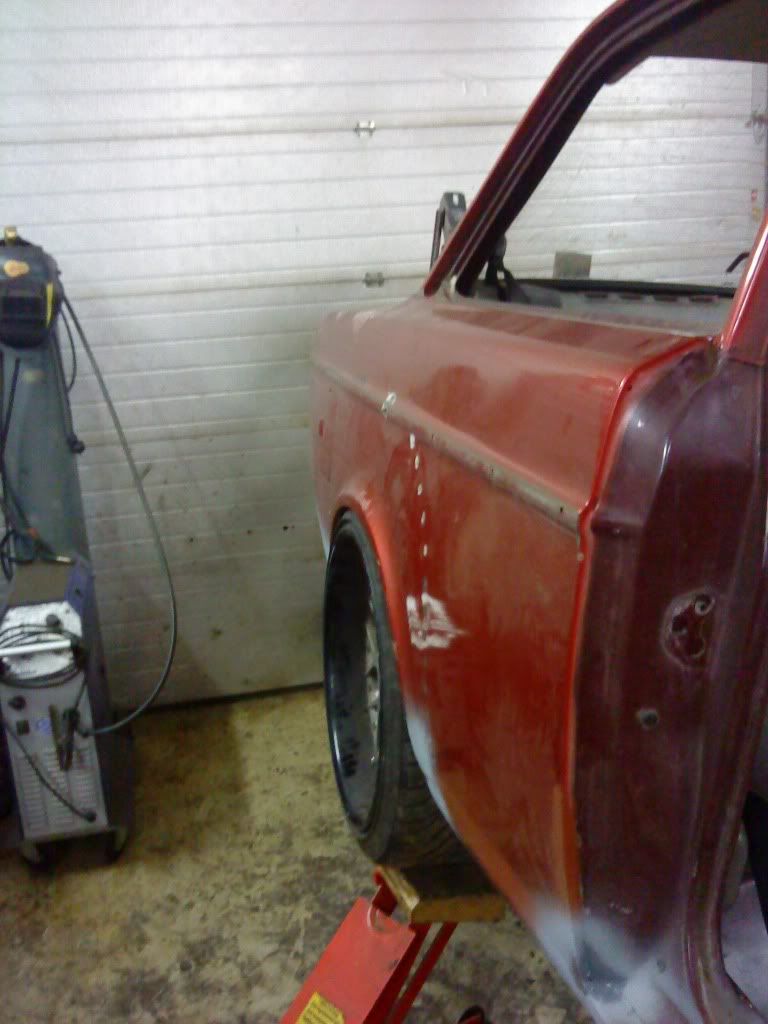
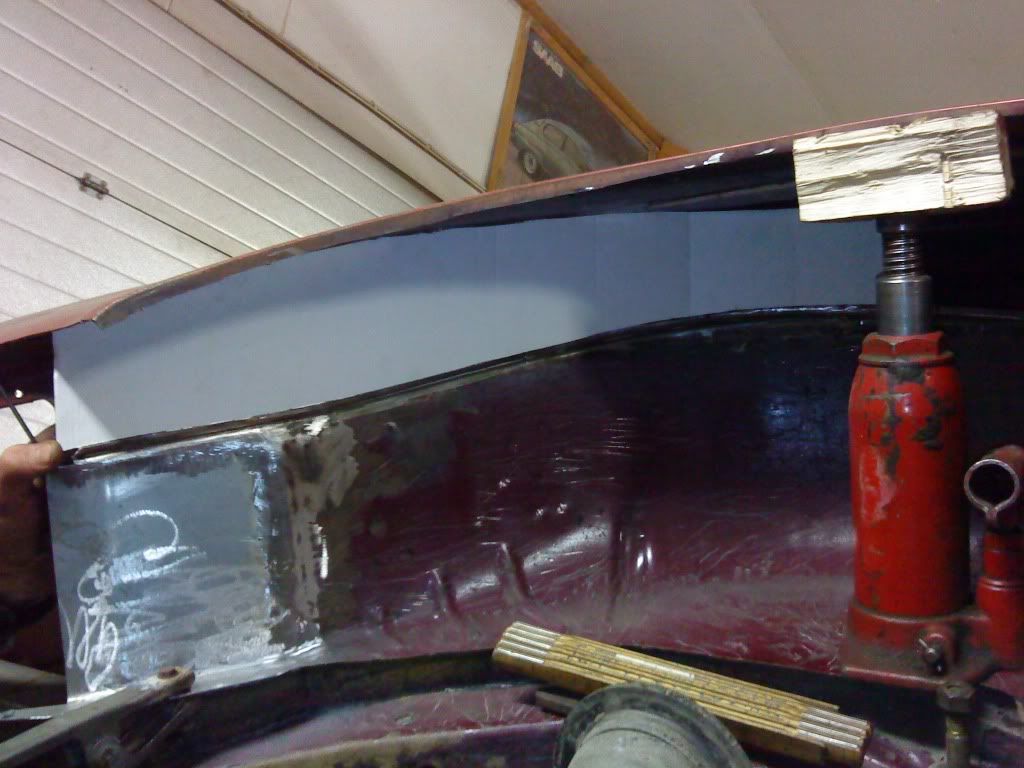
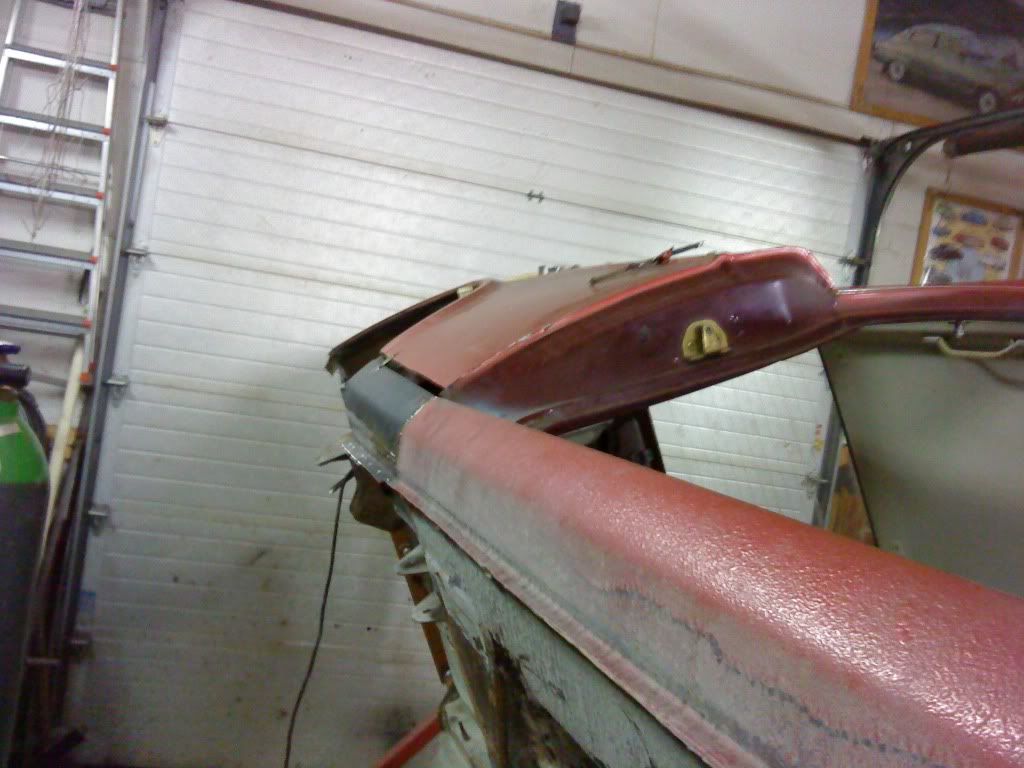
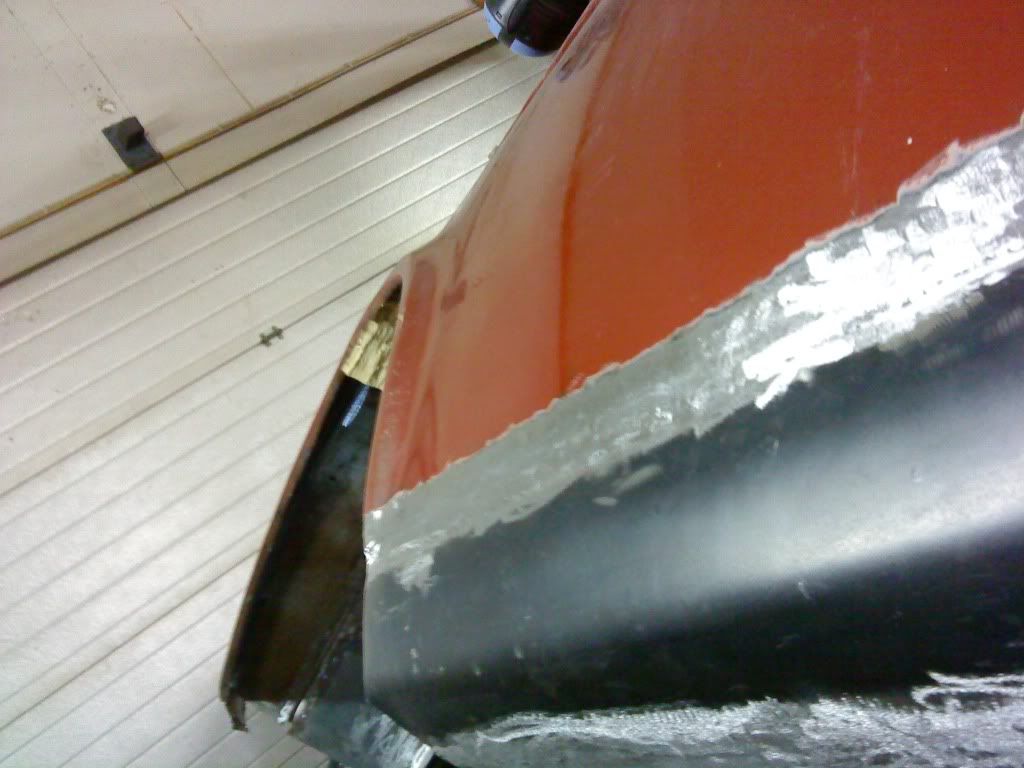
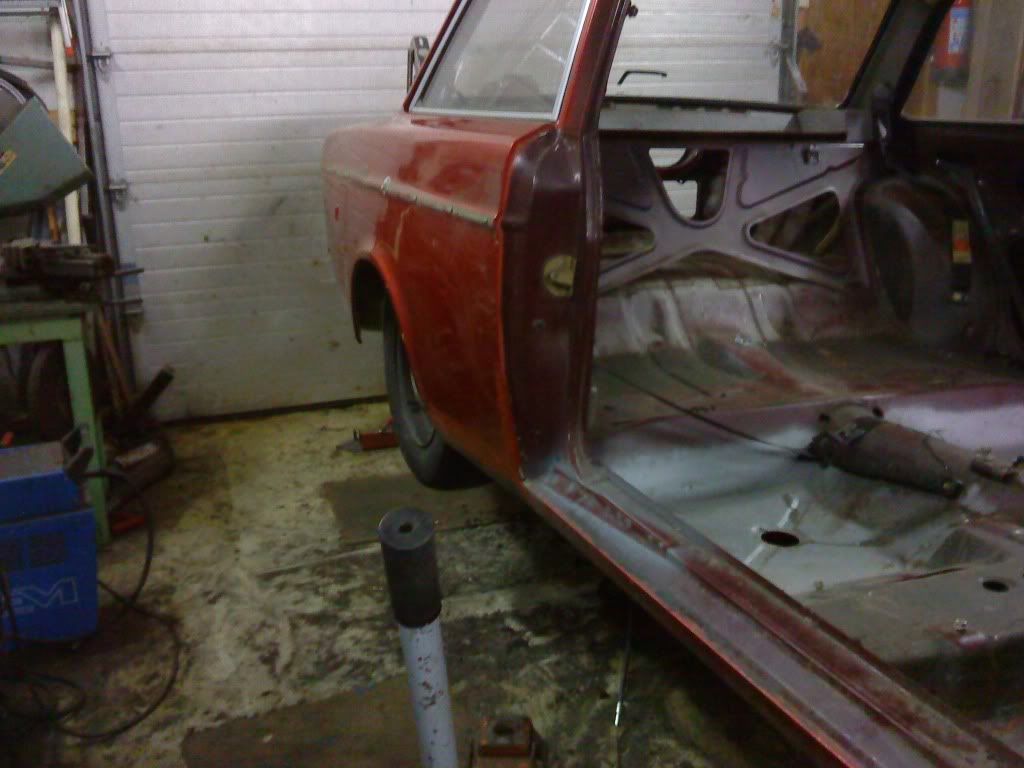
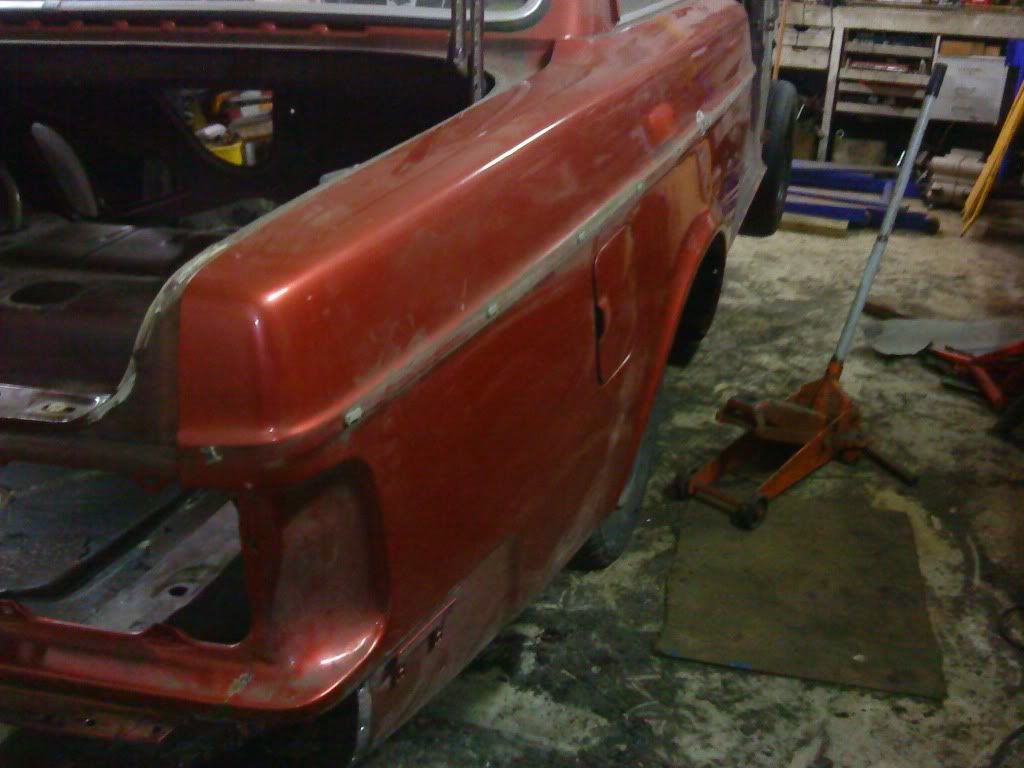
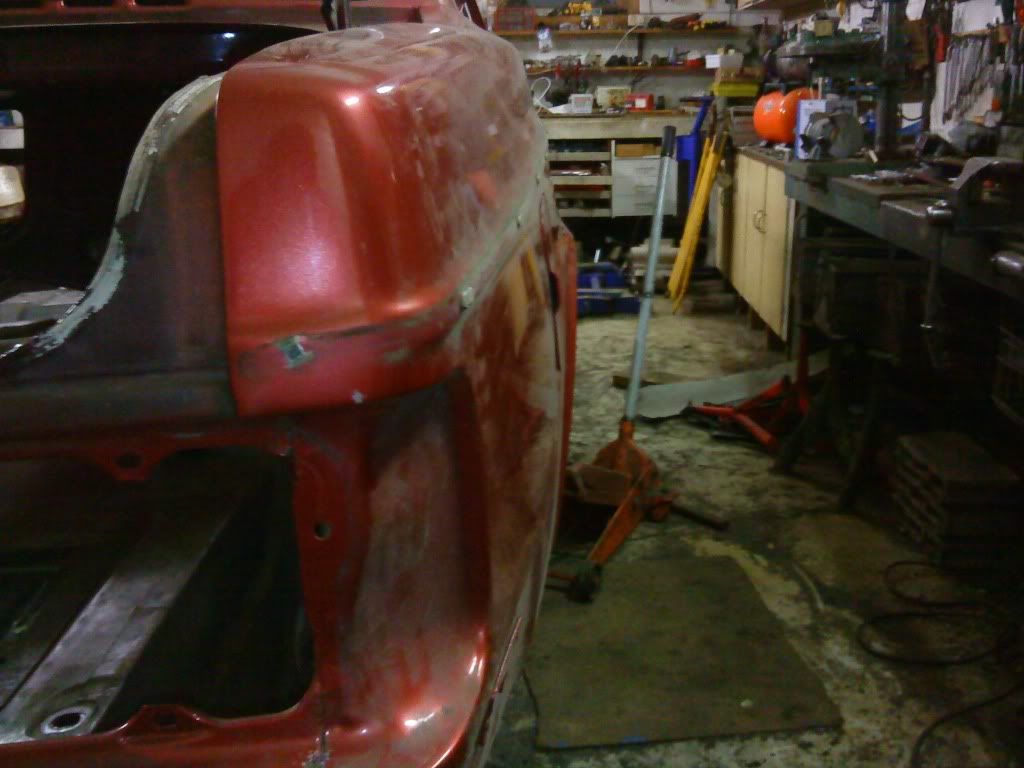
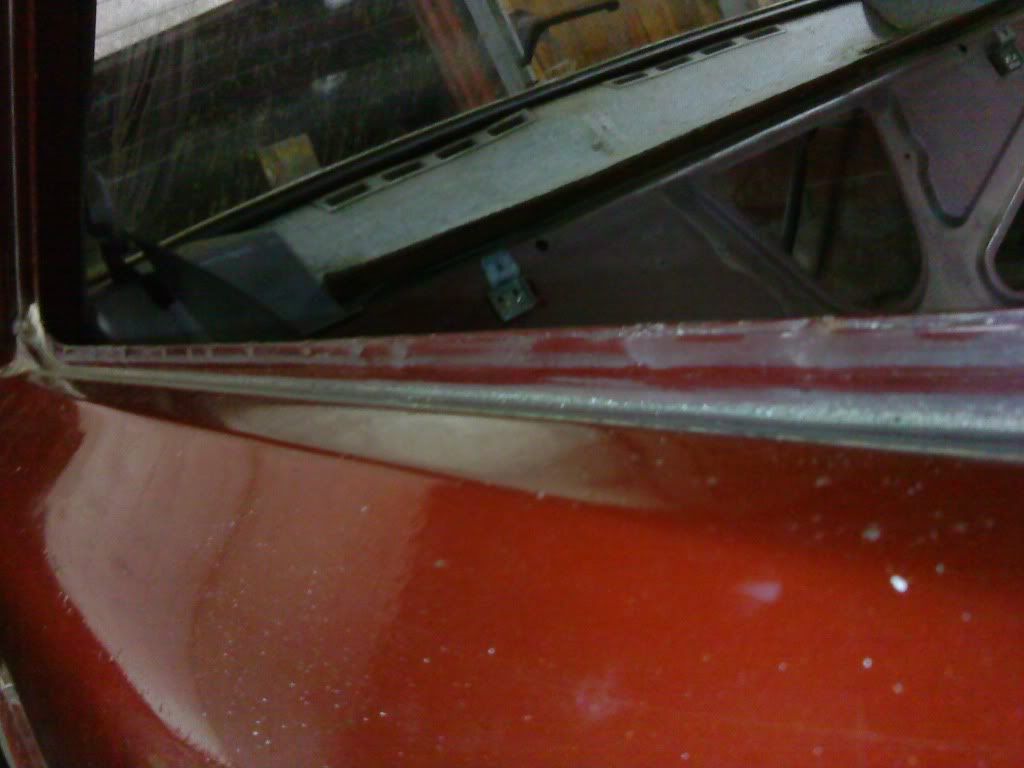
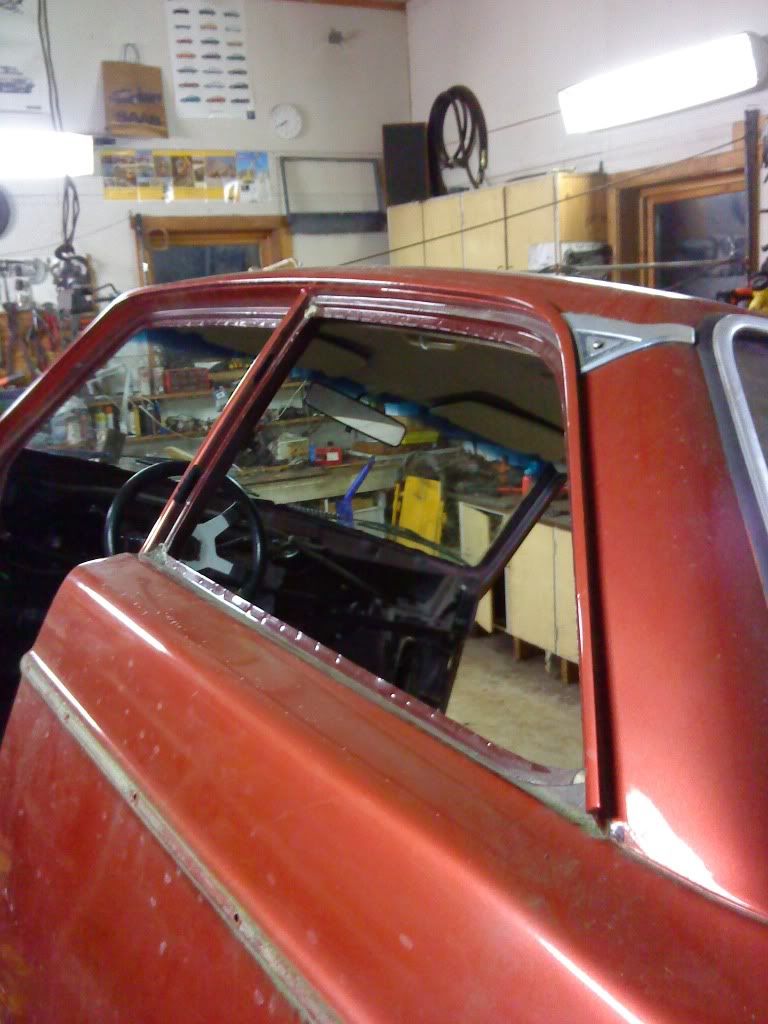
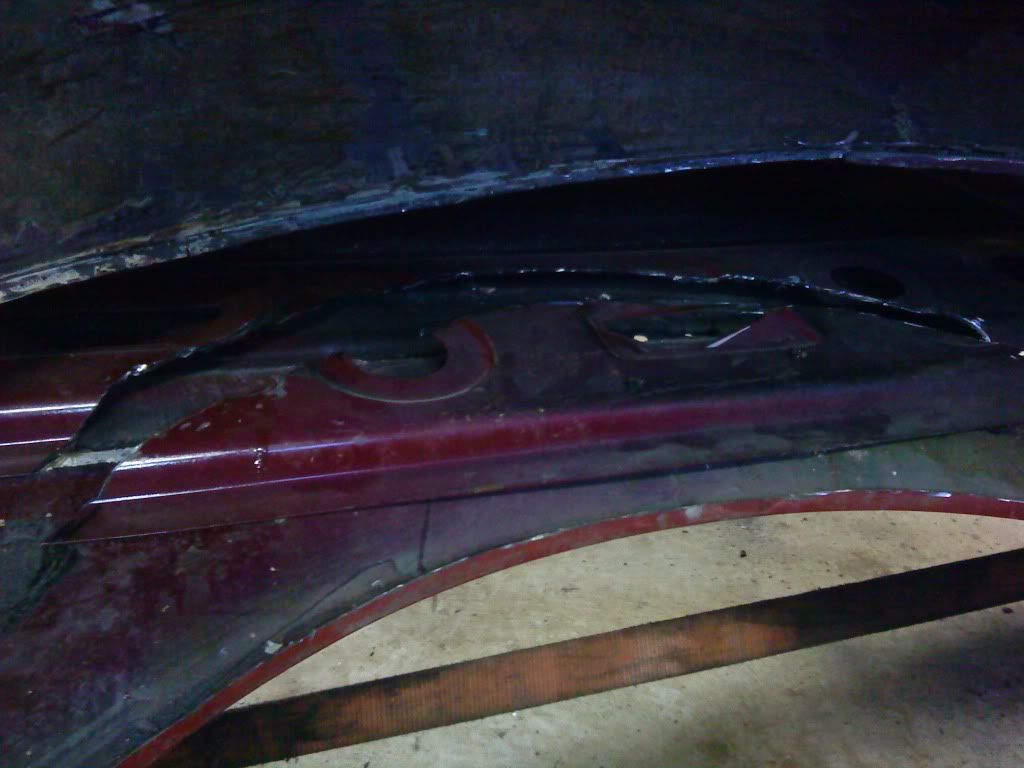
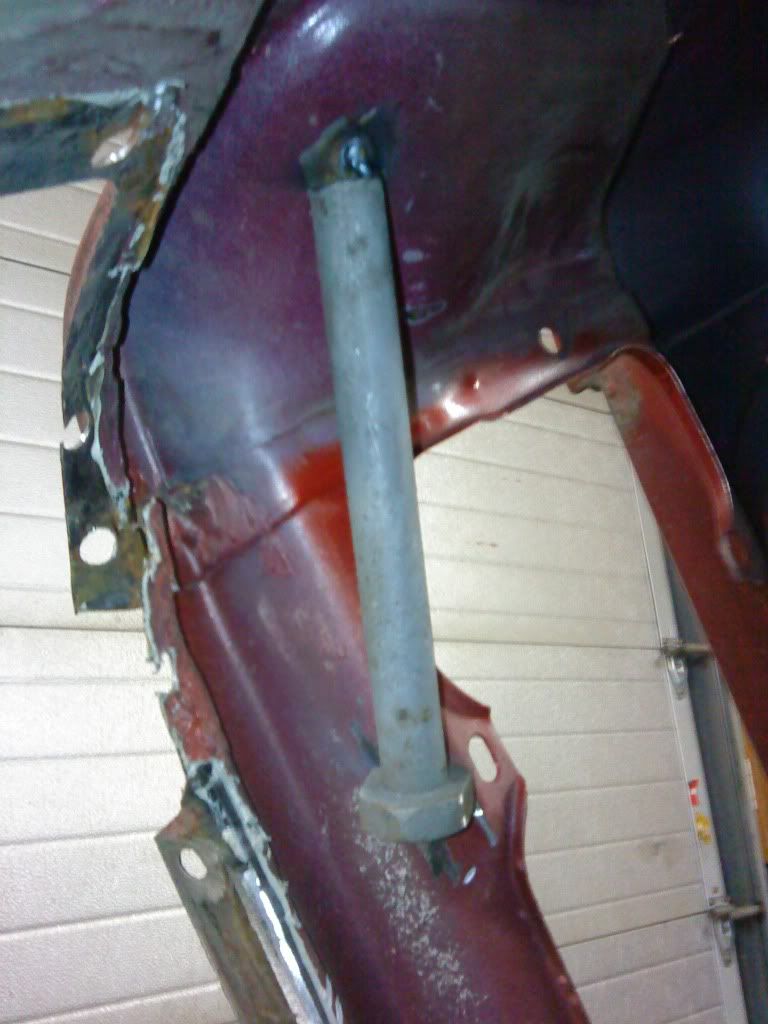
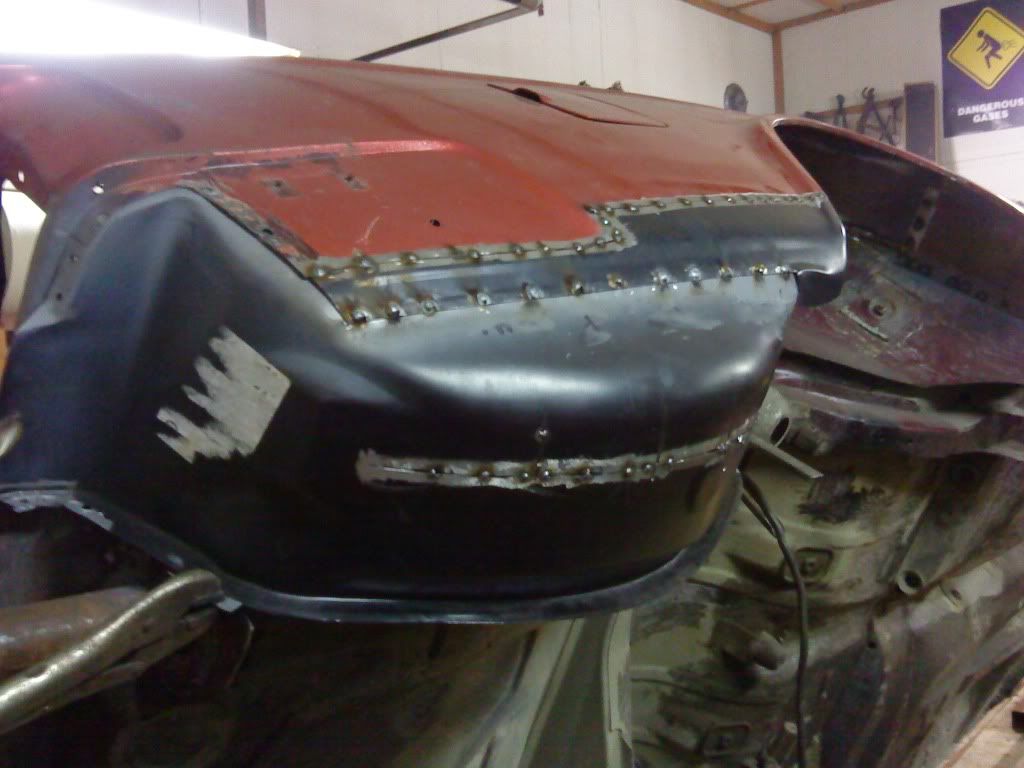
Tried to take some pictures to show the rear fender, but not easy to capture in photo yet..
First in paper!I will make to pieces so it will be easier to shape it and put it in
And then in steelplate
Made new plate her
And welding
And grinding
Tried to take some pictures to show the rear fender, but not easy to capture in photo yet..


 Nice to learn some new english words about the car
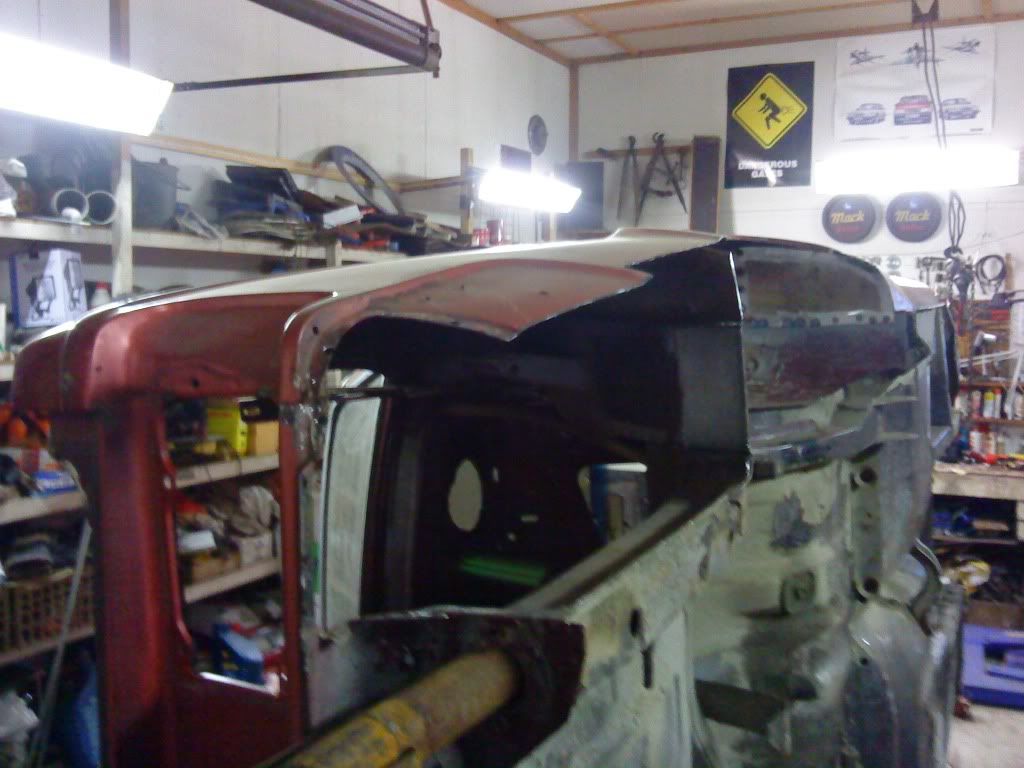
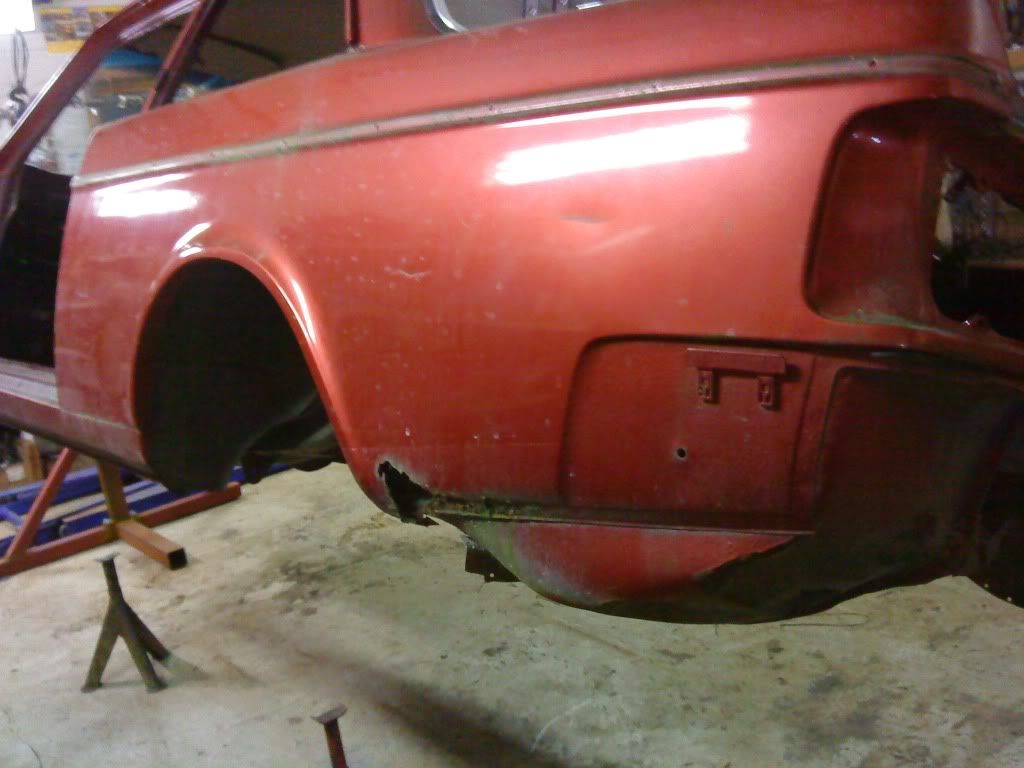


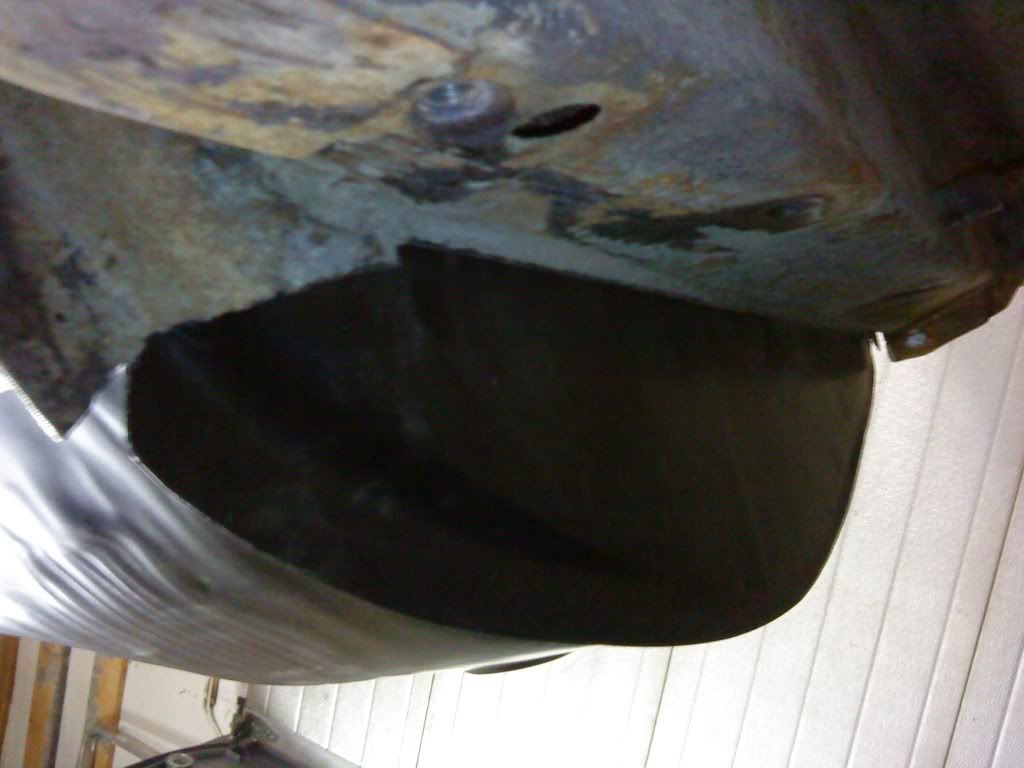

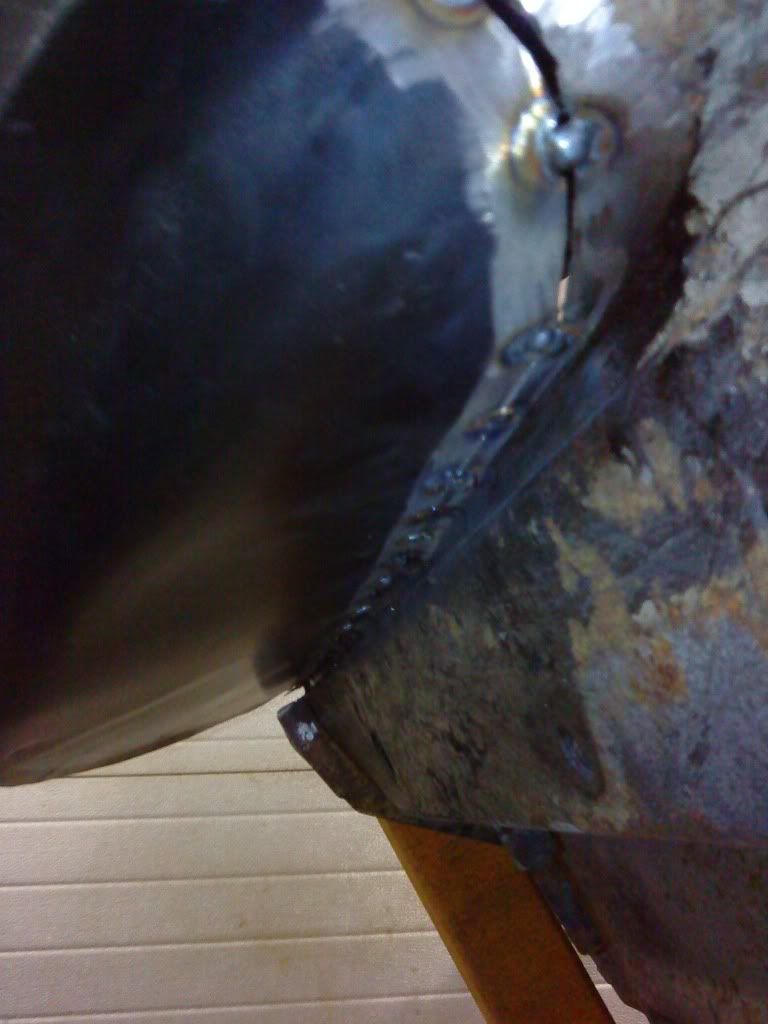


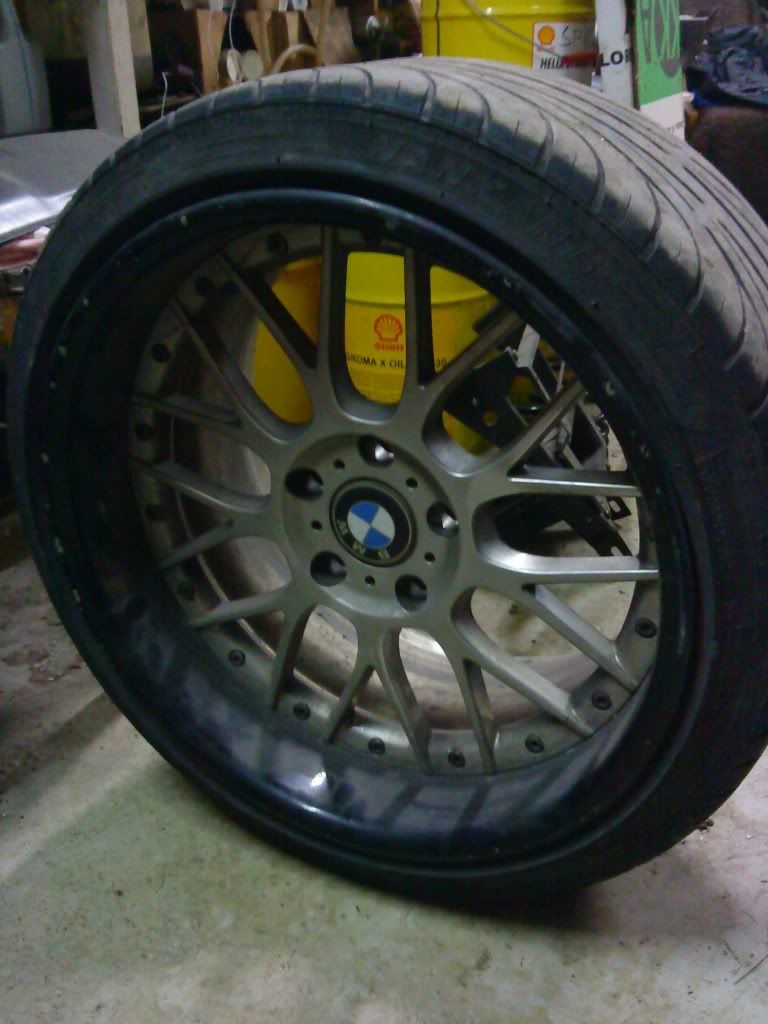
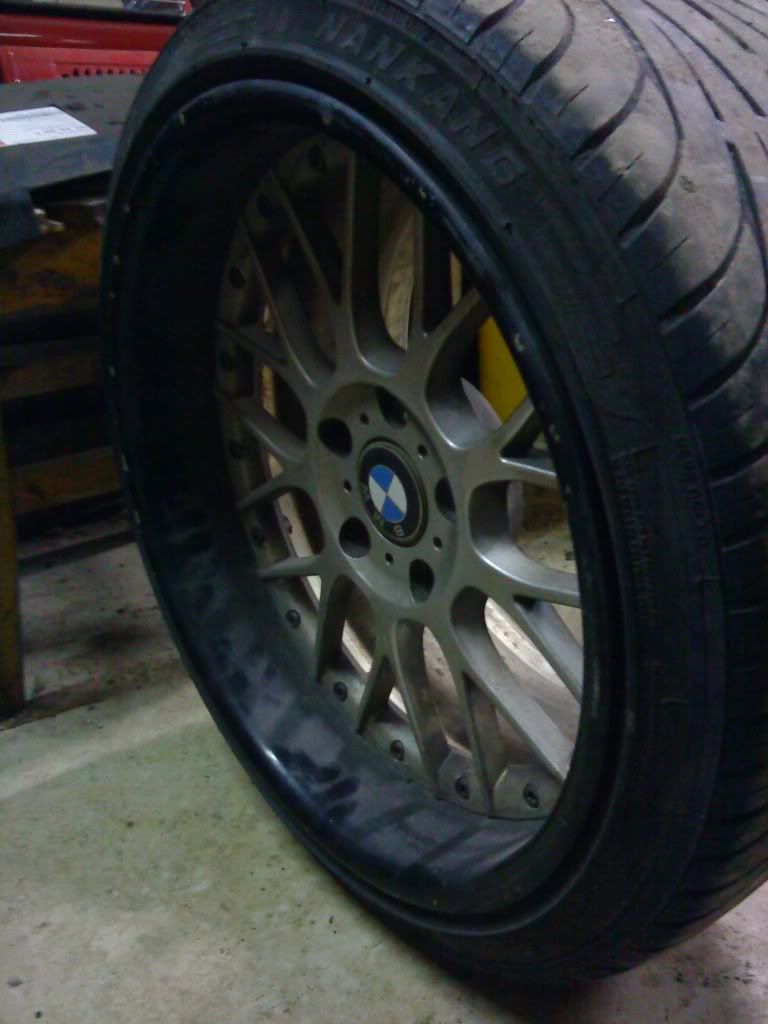
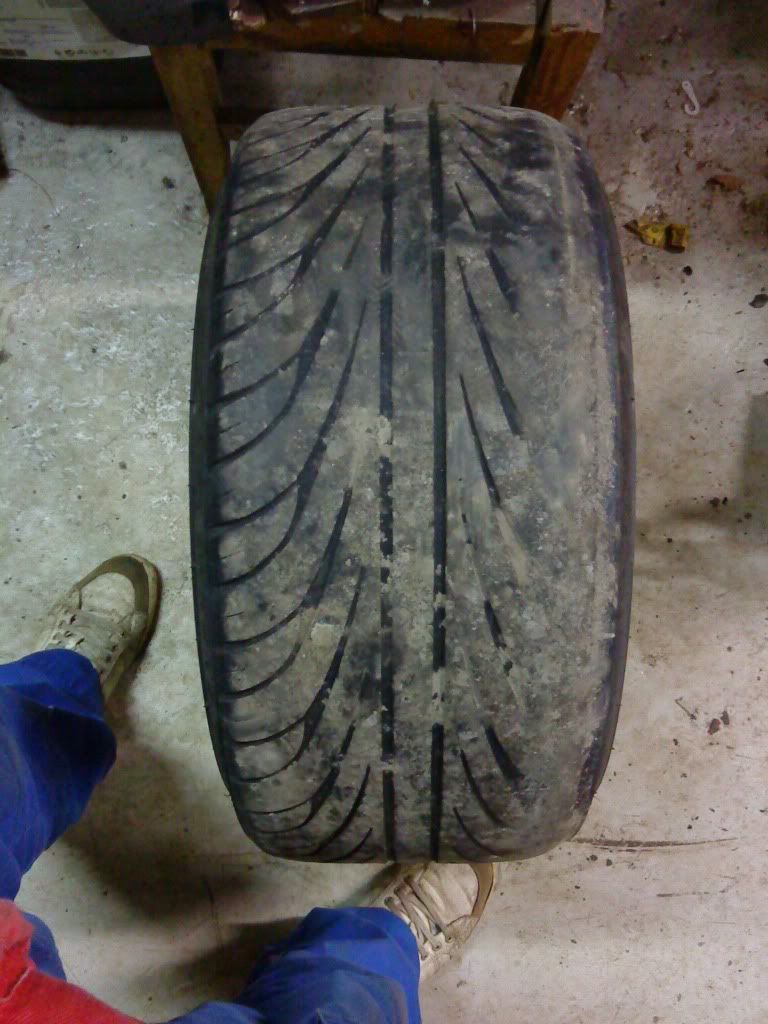
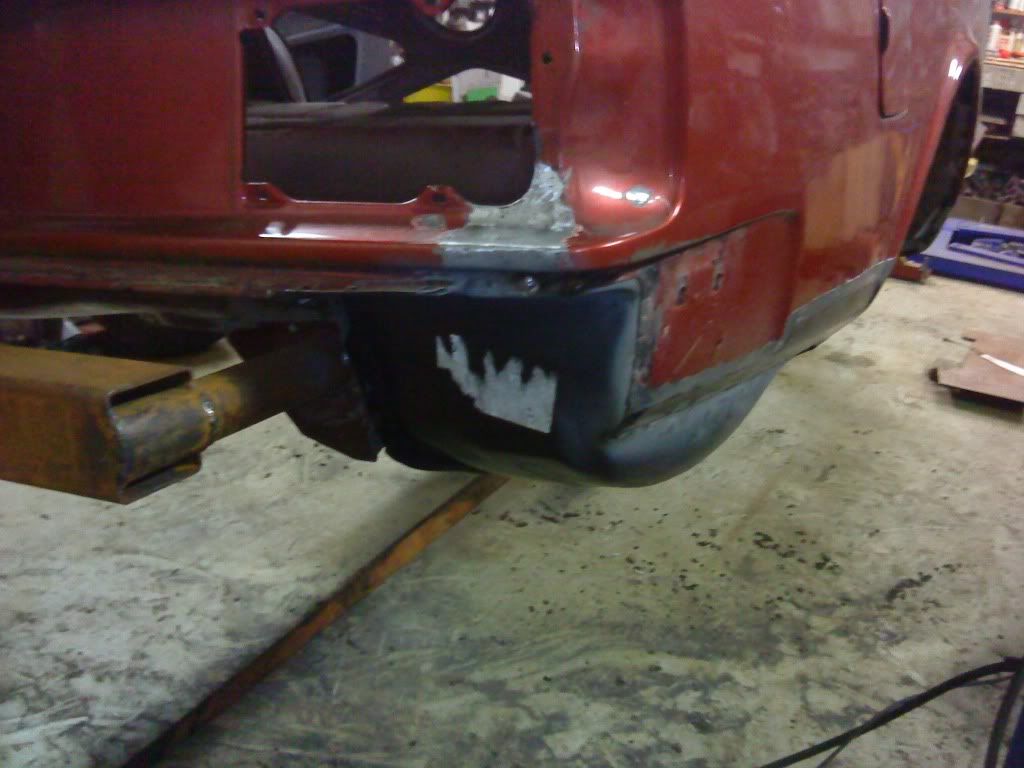
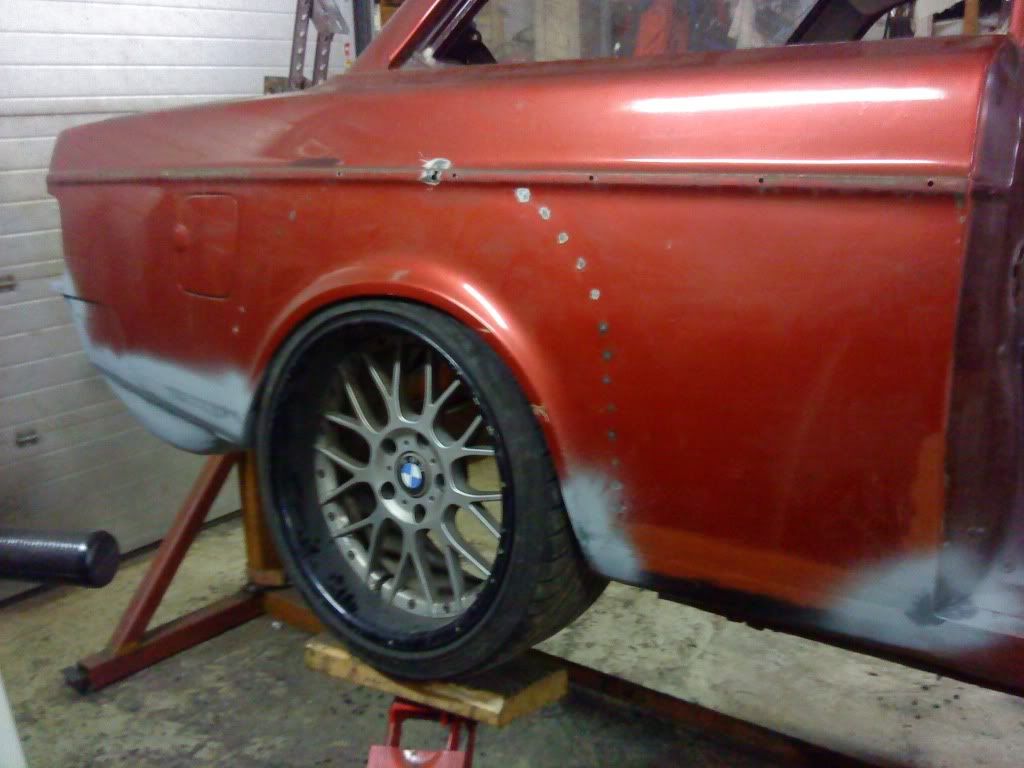
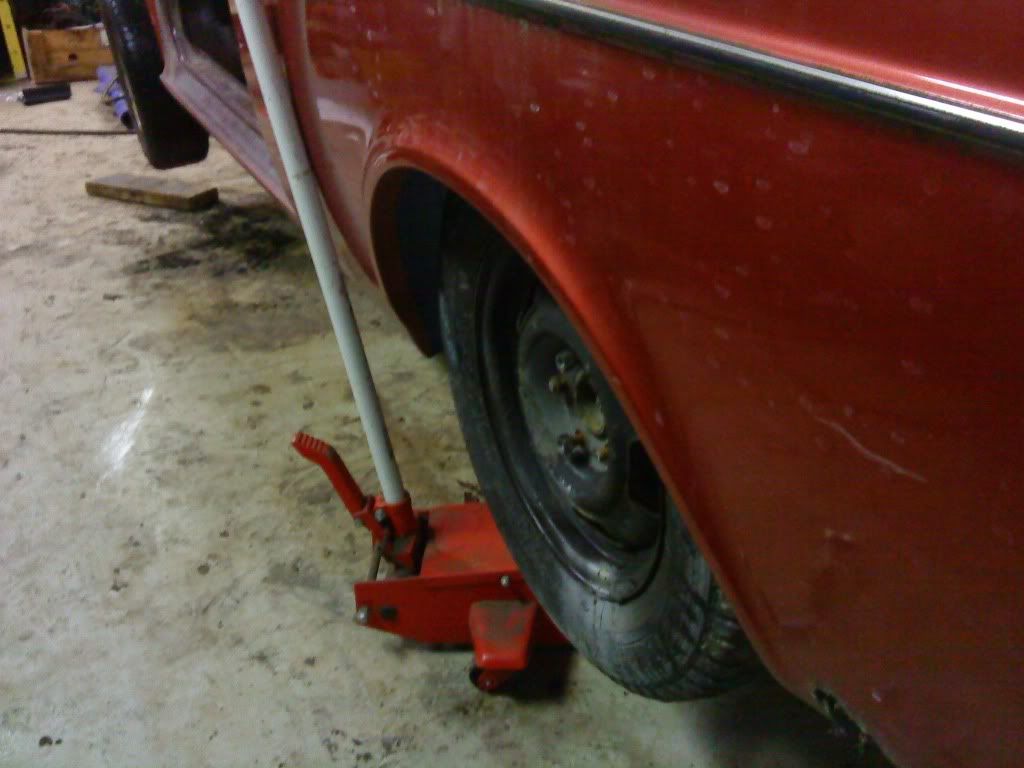
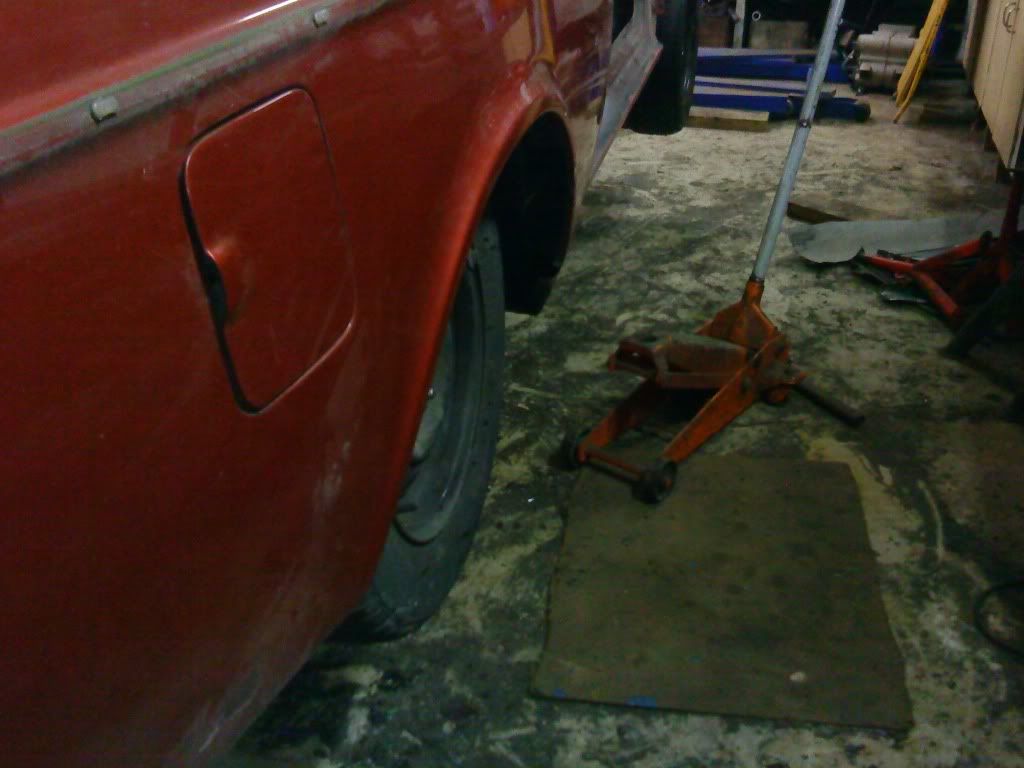
 Room for some fat rims!