• Hello Guest, welcome to the initial stages of our new platform!
    You can find some additional information about where we are in the process of migrating the board and setting up our new software here

    Thank you for being a part of our community!

Help! Trailing Arm Bushings

golddayton101

Member
Joined
Nov 3, 2009
Location
DFW
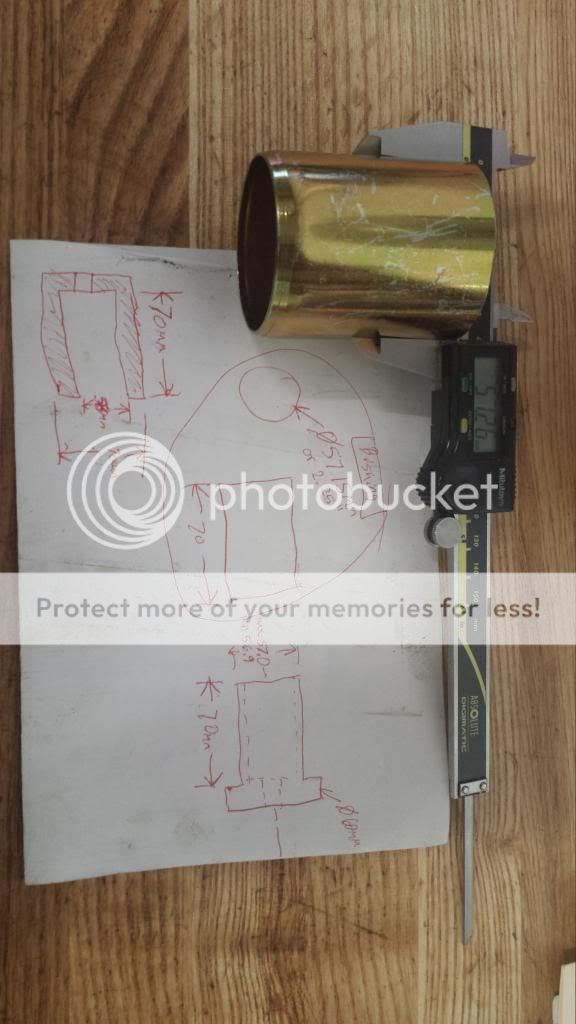
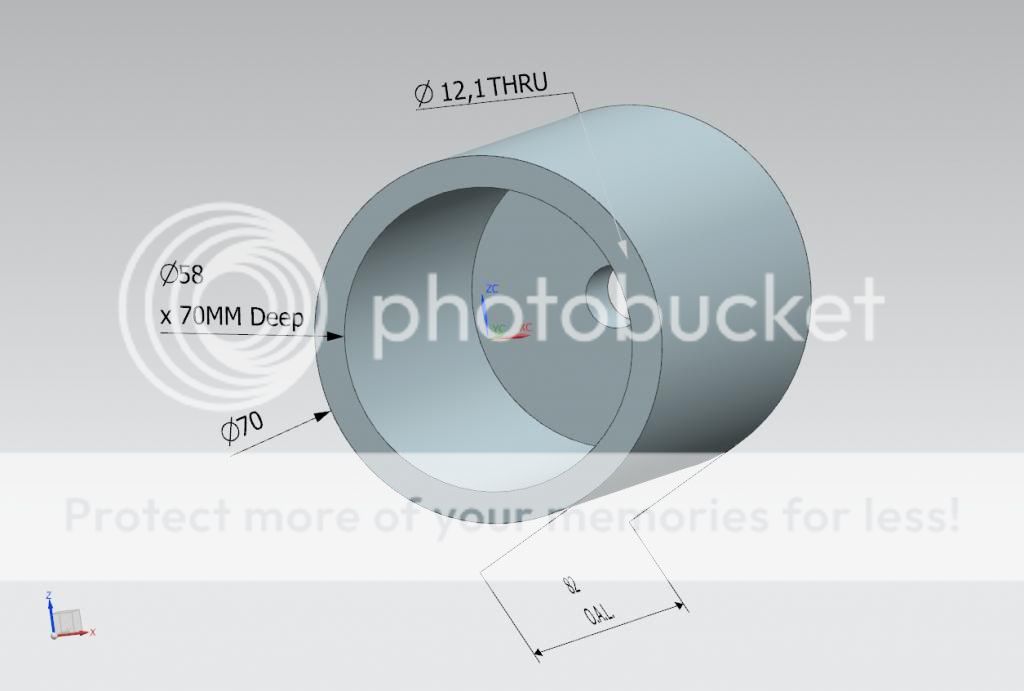
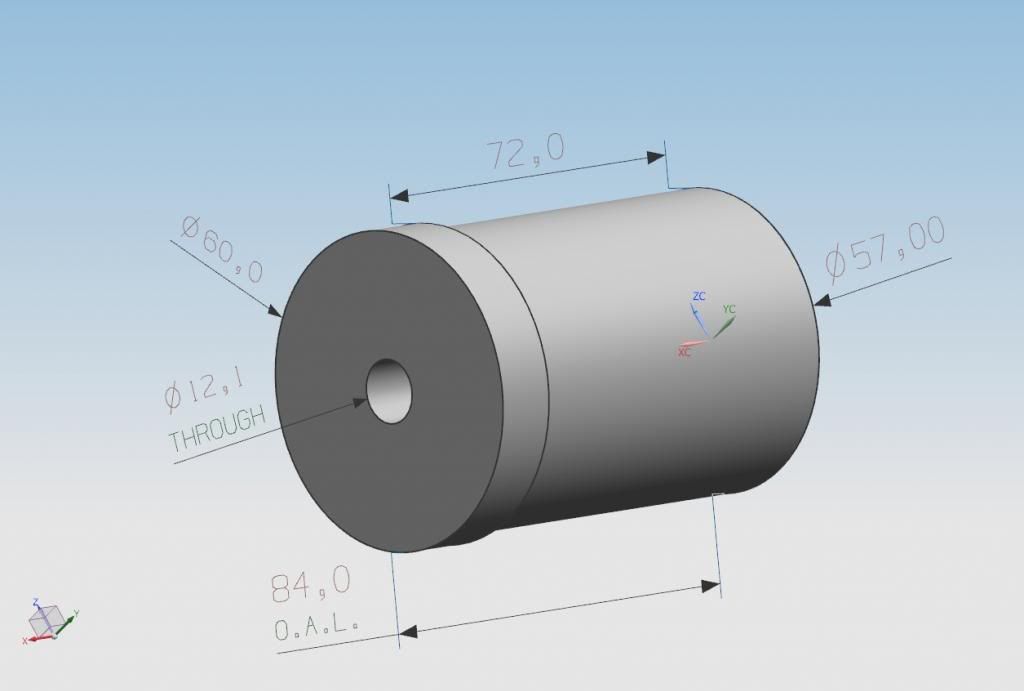
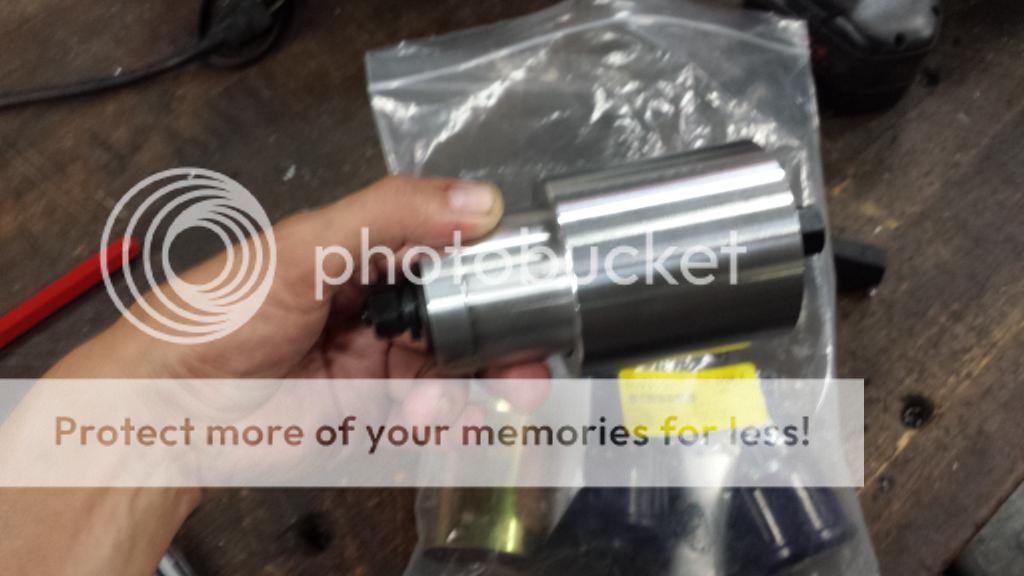
I needed to replace my trailing arm bushings since the original ones were shot. I purchased a tool made by Gregerivn and popped the original trailing arm bushing out (with some effort). After lubing the new case to install the poly bushing the case gets stuck and looks like the tool interferes with pressing it in. The smaller piece of the tool pops into the hole and prevents the sleeve from pressing further. Any tips or suggestions would be greatly appreciated. Here are some shots of the orientation of the tool ( middle piece excluded).


Last edited:
Ill start by addressing where is the middle piece helping NOT to bend the arm?
I will also point out that you should reverse the tool. Make sure the arm openings are clean and smooth and lube it up with WD40 or PB blaster.
 
I just took the photo to show the orientation of the tool; middle piece was on the ground during the picture. The issue I run into with reversing the tool ( bigger opening) towards the wheel is that the bolt is not long enough to reach the other side. Should I just buy a longer bolt and reverse the orientation? It also looks like the sleeve is pressing at an angle.
 
The tool is complete. I have the middle piece and both ends. The picture was uploaded to show the orientation that I was using to press in the sleeve.
 
I've had to take it out and try again some times. I've even shaved the outside of new ones to help get them in. Even with the right tools it's sometimes difficult YMMV
 
Last edited:
I ran into a similar problem on install, used a piece of 5mm plate steel with a hole big enough for the bolt/bushing hole to go through. Used that in front of the install end to push the new bushing in. Imagine it might be harder to keep things straight with the shells only... The OEM bushings kind of help to keep things level. Also helps if you de-burr the yolks before you install with a half round file or such.

A9vP2aXm.jpg

xWSGz9Jm.jpg
 
The position of the tool I see in the first post looks like how it gets oriented to remove a bushing. To install one it needs to be pulled from the inside, or toward the differential. I know this sounds like a simplistic answer, but you have me puzzled otherwise. Where did you get the unfilled shell (is it accurately made is my real question) and might it be harder to keep centered on the pusher without guts, like the OE bushings come with?

If the bolt doesn't seem long enough (might be true, I dunno your bolt) you just screw the threaded plug further into the receiver.

DSCN2532.JPG


Sorry about the huge pic, I just used the one from Neal's link.
 
I figure I need to get a longer bolt and change the orientation of the tool. The empty case is how the poly trailing bushing comes from IPD; after the case is in place you can pop in the bushing by hand. Maybe my error came from using the tool the same on to remove and install?
 
I'd be surprised if you get that shell to press into position at all since it's not tapered 1mm and it will bind in the smaller ear after it passes the round-over.

At the end of the day you'll probably have to clean out your old shells and reuse those anyway.
 
Back
Top