• Hello Guest, welcome to the initial stages of our new platform!
    You can find some additional information about where we are in the process of migrating the board and setting up our new software here

    Thank you for being a part of our community!

Just Can't Stay Away 1972 142S

Nice. So you didn't do upper control arm bushings at the same time?

Are you going to align to stock specs?
VP only had one upper ball joint in stock so I decided to do all the lower stuff now and then the uppers when I get the other ball joint.

I was going to use the stock specs unless you have some that you like better


Good to know about the upper control arm bushings. Maybe I'll do the same?
 
I don?t have that problem here even les Schwab can do it

It?s crazy I know adjusting more than toe

Have replaced a lot of these bushings over the years and its really not that bad after you get the hang of it.

Check this out on Facebook, non-rusted bushing out in mere minutes w/out any drama, of course I found it out not long after changing the 1800s lower bushings https://www.facebook.com/blaze.sk.5/posts/10155345895166453

that's awesome thanks for sharing!

Any reason not to reuse the sleeves?
 
Yep. Drill out one side and then the a-arm shaft comes out.
It's not fun, but it's nothing that you can't handle, if you got the lowers out / in.
Reinstall is put in one side, run the shaft thru the other side, then put in the 2nd bushing.
Steve
 
What's so hard about the upper arms? I had my bushings removed with a hammer and a washer cut into a C shape like the repair manual states. I borrowed a friend's shop press and it doesn't seem like they'll be too hard to press in.

I'm using OEM bushings, so the sleeve is integrated and must come out. Are you using poly?
 
I had a local shop install my a-arm bushing and they said it was the hardest ones they've ever done.
Not sure why

Also, when I took it to the alignment shop they told me they would have the correct shims, but they didn't.
I'd suggest making sure you have enough of your own shims to give the shop just in case.
 
What's so hard about the upper arms?

FYI, I'm currently eating these words. Getting the upper bushings back in is a nightmare. The only thing I can think to try is cutting a section of pipe that will span the inner faces of the bushing surfaces, then notching it to fit over the spindle that has to be there. Otherwise you're just flexing the control arm instead of pushing the second bushing in. I recommend never doing the uppers.
 
FYI, I'm currently eating these words. Getting the upper bushings back in is a nightmare. The only thing I can think to try is cutting a section of pipe that will span the inner faces of the bushing surfaces, then notching it to fit over the spindle that has to be there. Otherwise you're just flexing the control arm instead of pushing the second bushing in. I recommend never doing the uppers.

Thanks for the confirmation. I really might not do them. The lowers were 1000x worse looking but I have to take off the upper control arms to do the upper ball joints...
 
Thanks for the confirmation. I really might not do them. The lowers were 1000x worse looking but I have to take off the upper control arms to do the upper ball joints...

Interesting. My lowers actually looked alright, but the uppers were dry rotted and the rubber literally crumbled out. But if your uppers look ok, just skip the bushings. You can pull the arm and leave the bushings intact.
 
They were a PITA, for sure, but if you can do the lower's, you can do the uppers.
If I recall, I did get a kit for doing uppers. They are like older GM's, with the a-arm shaft.
Dangerkitty, I'm surprised that the shop didn't have the shims. Again, they look like the shims on my old Buick Wildcat, which are standard old shims. Hell, Harbor Freight sells a kit with several sizes.
Steve
 
Quick update. The second upper ball joint is on its way from VP!

Also decided to replace the spark plugs since they survived the pre-fuel pressure regulator life. Glad I did...

 
read entire thread, never knew much about these 140s till now. fun car for you non-salters. drive straight and careful and keep up the good work
 
Quick no photo update.

rewired the tach with black wire since for some reason I used green when installing the GT cluster.The green looked silly to me. Also properly sorted out the connection at the coil

Found a huge exhaust leak before the first muffler. The pipe wasn't in all the way so the expansion cut part was a huge hole. This involved hours of rolling around under the car and trying to wiggle the pipe in and out of the header. Very annoying but much improved. Still have a few more leaks down there. would benefit from some welding instead of c clamps.
 
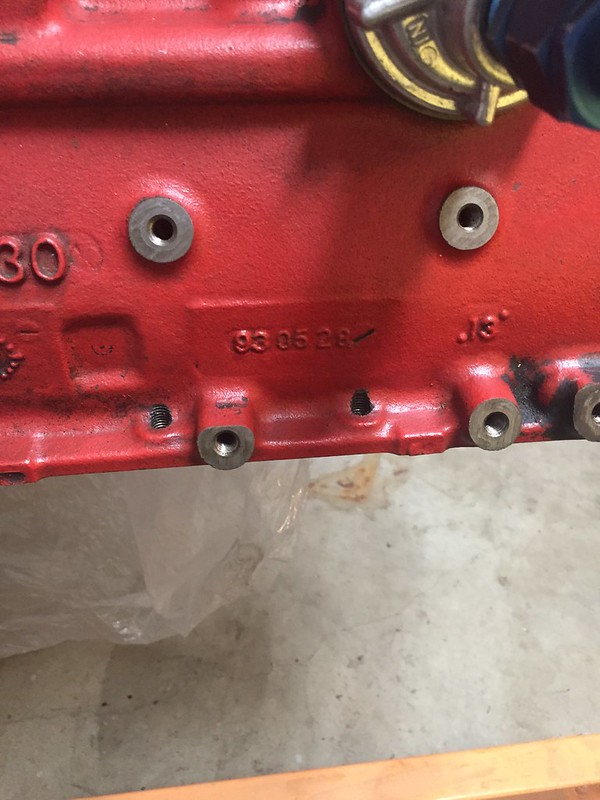
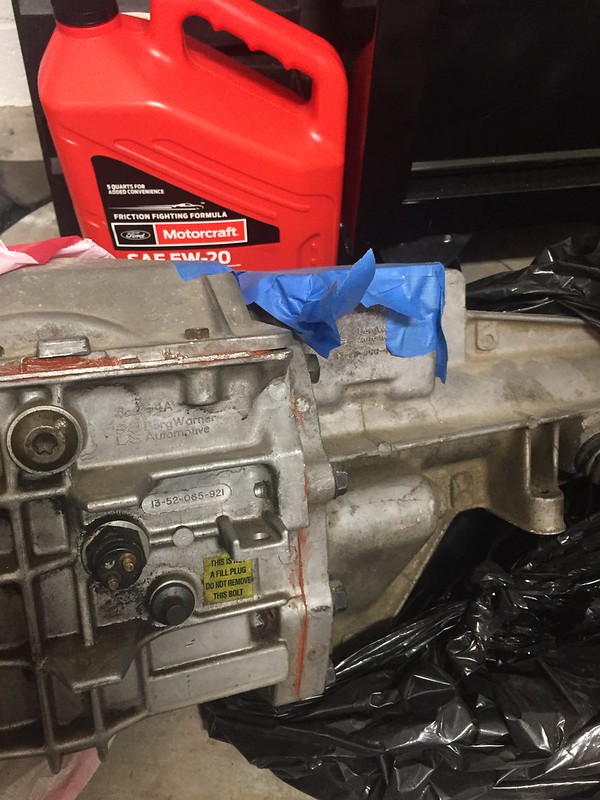
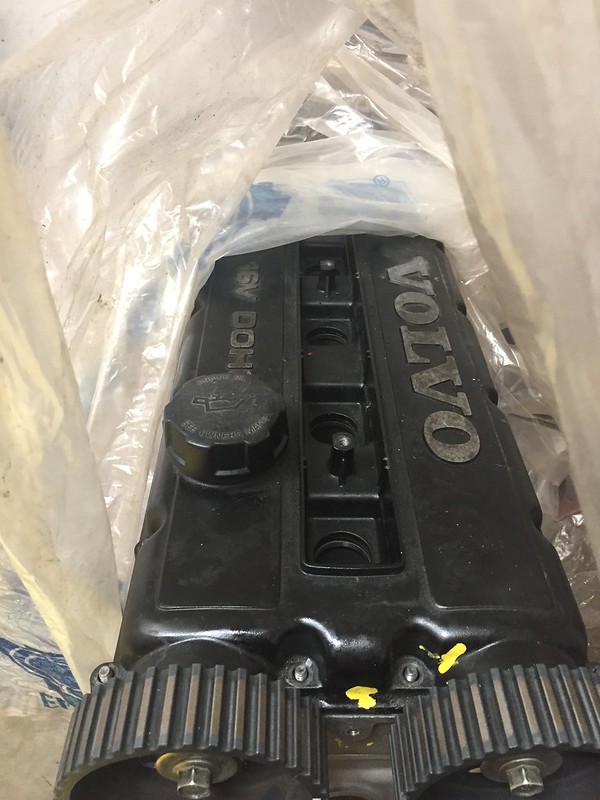
My good friend got tired of looking at this combo in his garage and graciously gave me a great deal so I can hopefully make something out of it.


B234 head with a B230 block and T5!


Hoping the "93" means 1993?


Here is the T5


This will be a long term project. Luckily the B20 and M40 are doing fine so I can piece together everything to make this into my dream car. Plan is to keep it NA, use a lot of Yoshifab magic and MS. My wife's cousin has an MS2 setup that he was planning to put on a BMW 2002 that he just sold so I will probably go that route for engine management.
 
Back
Top