
-
Hello Guest, welcome to the initial stages of our new platform!
You can find some additional information about where we are in the process of migrating the board and setting up our new software hereThank you for being a part of our community!
You are using an out of date browser. It may not display this or other websites correctly.
You should upgrade or use an alternative browser.
You should upgrade or use an alternative browser.
Mr.Borrie?s 242 LPG turbo project.
- Thread starter Mr.Borrie
- Start date
Mr.Borrie
The Sneaky F*ing Ukrainian
- Joined
- Aug 1, 2006
- Location
- Netherlands
Black paint looks cheap in an engine bay.
the ones i saw looked okay, anyway might just do colorcoded 0,5 liter less or more wont make a huge difference.
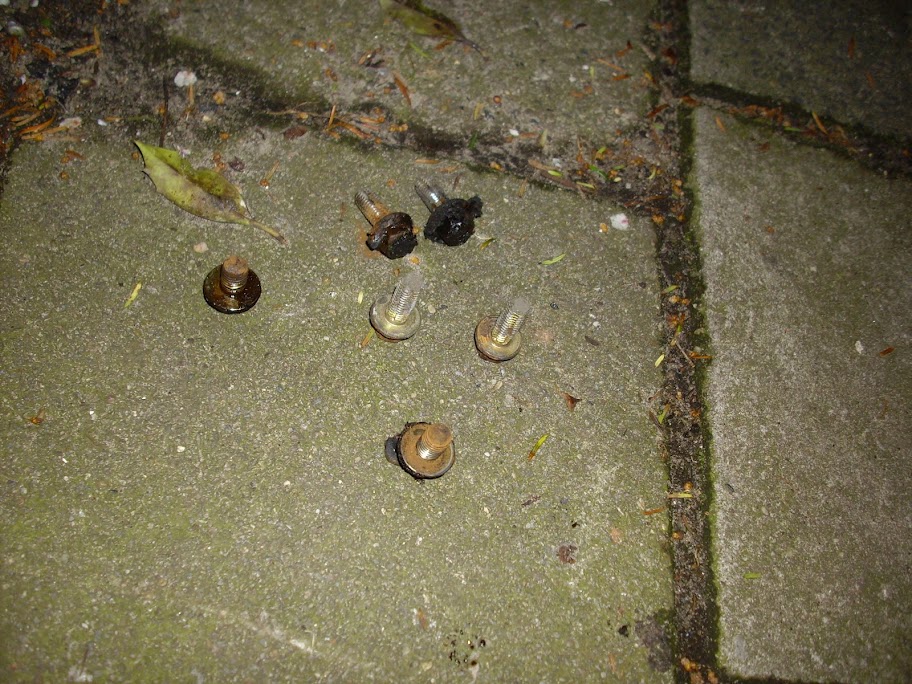
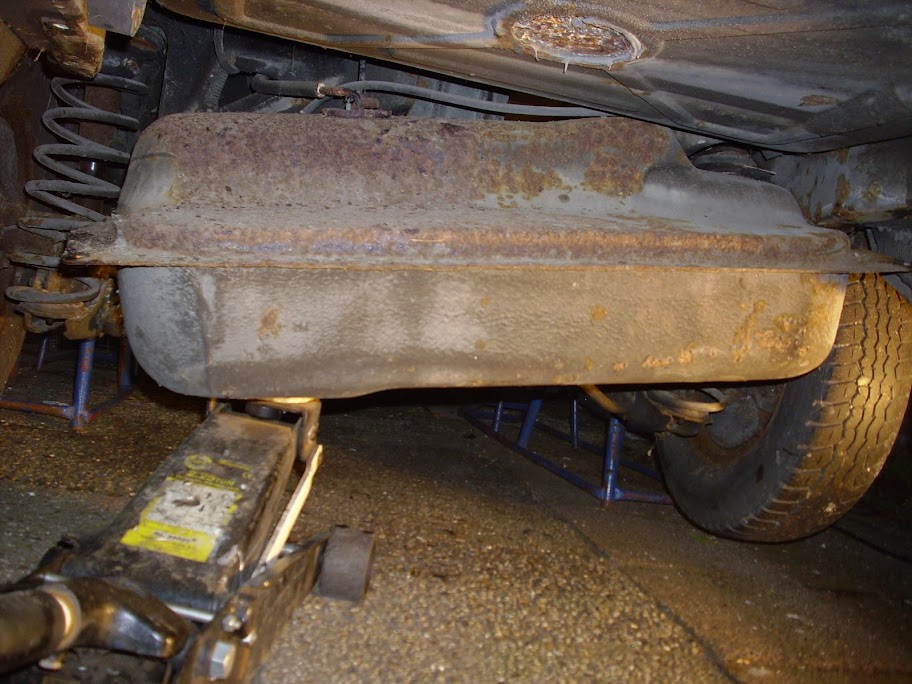
Tonight i unbolted the tank, (i need to replace the cap for a intake pump and return one) was much easier than i expected. The rust on the top of the tank however came as a surprise not trough but i do need to look into getting the tank off the lines. The one line connected to the front wont come off because its sealed with plastic and has a rubber cover. Tips on how to undo that are welcome.
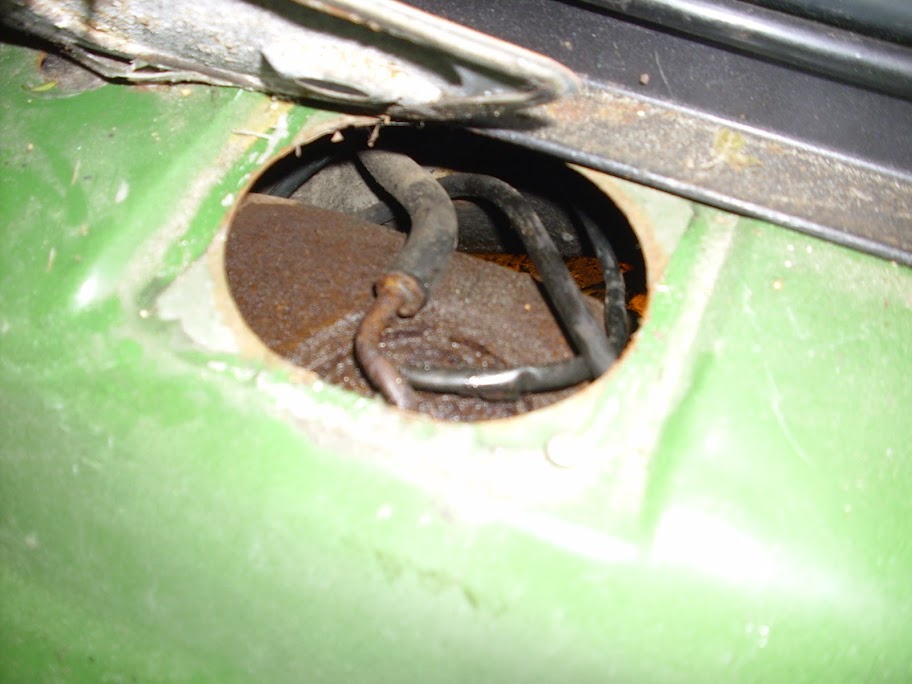
Also the fuel inlet hose does not seem to want to come undone, i removed the clamps in the trunk. Now this is a bit of a hassle because i cannot remove the plastic cover. Because the LPG tank holder is mounted over it. They do come loose but i dont have enough play to wiggle it off. Called it a day because i got annoyed and had a long day at the office too.

Mr.Borrie
The Sneaky F*ing Ukrainian
- Joined
- Aug 1, 2006
- Location
- Netherlands
Use a heat gun on those lines.. heat em up and wiggle.. turn on heat gun before getting close to tank area, incase of "ON" spark......
Thanks i will give that a go, Tank is empty already so thats one less thing to worry about
If you haven't found the sticker on the axle, you can check the axle gear ratio by rotating the flange where the driveshaft mounts and count how much revolutions it takes for the wheels to go round once. That'll be the ratio.
Thanks, not yet looked to be honest just derust and painted it. Thats a good tip tough.
On the petrol lines issue, i sort of forgot i need the lines from the tank to the engine with the Filter fittings etc. You prob will use those of the 940 for your new project?
Mr.Borrie
The Sneaky F*ing Ukrainian
- Joined
- Aug 1, 2006
- Location
- Netherlands
here's a fun read for people who might not have seen it. I see some stuff i'd like to do ")
http://www.vandors.com/240mods.html
http://www.vandors.com/240mods.html
Mr.Borrie
The Sneaky F*ing Ukrainian
- Joined
- Aug 1, 2006
- Location
- Netherlands
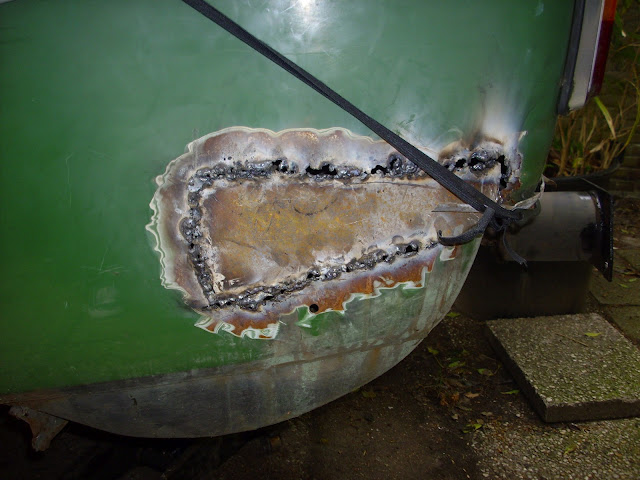
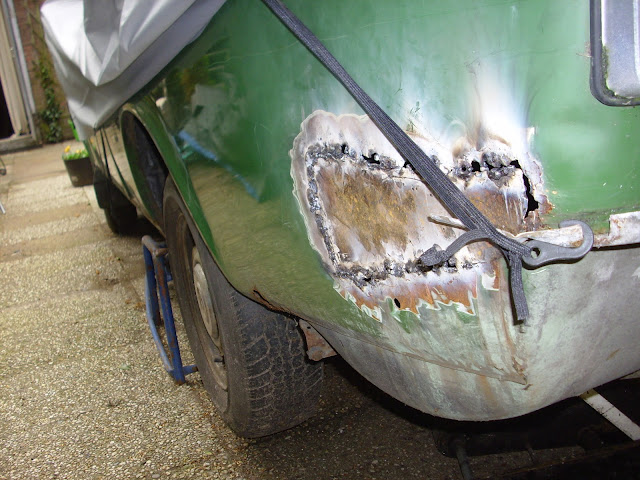
My dad gave a go on welding the 242 today with electrodes. Its really thin so the metal melted. He hates the result. Still progress in my eyes so i want to update.
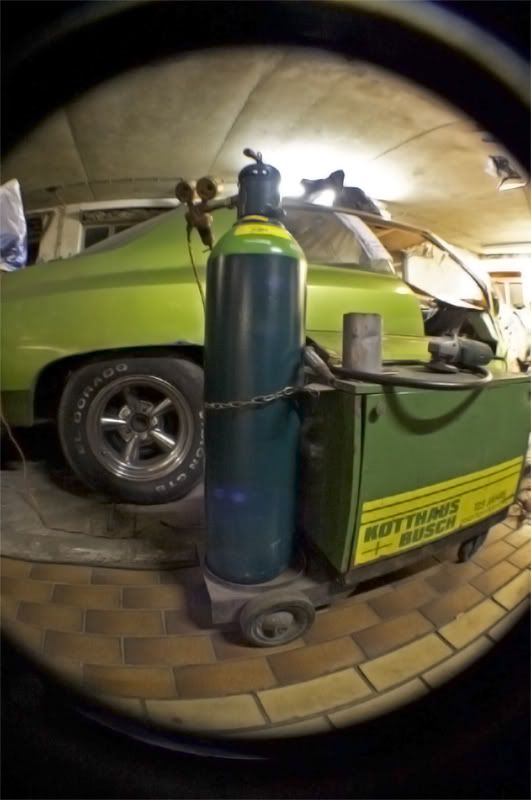
We are gonna look for a MIG with a bigger bottle soon. We have seen some nice ones used for around 500 euro?s of good brands and like the crappy italion ones for 500-700 new. Where not really sure what to do here what are the odds of a good brand (2000 euro new one) will brake down and what are the partscosts on those when they fail. I'm sure the italian ones will breake down and spareparts are nowhere to be found
We are gonna look for a MIG with a bigger bottle soon. We have seen some nice ones used for around 500 euro?s of good brands and like the crappy italion ones for 500-700 new. Where not really sure what to do here what are the odds of a good brand (2000 euro new one) will brake down and what are the partscosts on those when they fail. I'm sure the italian ones will breake down and spareparts are nowhere to be found
Mr.Borrie
The Sneaky F*ing Ukrainian
- Joined
- Aug 1, 2006
- Location
- Netherlands
It only takes little bottles, they are kinda expensive. Also considering the amount of welding we are going to be doing for the next few years its probabbly a good idea to get a better MIG
JW240
All idiot, no savant
- Joined
- Aug 15, 2004
- Location
- The Netherlands, Europe
yeah get a 10 or 20 l bottle of gas. shop around for gas prices, i've had quotes range between 250 and 400 euro for the same bottle of gas (20L ar/co2 mix).
bigger machine, 2nd hand, good plan. 2 years ago I got a barely used 280 amp Esab mig/mag for ~1/3 of new price, works prefect. you dont need one of the same size for car work, you only need 30-50 amps for most bodywork but you hardly find quality machines in that range so you'll probably want to aim for a 150-200 amps machine.
bigger machine, 2nd hand, good plan. 2 years ago I got a barely used 280 amp Esab mig/mag for ~1/3 of new price, works prefect. you dont need one of the same size for car work, you only need 30-50 amps for most bodywork but you hardly find quality machines in that range so you'll probably want to aim for a 150-200 amps machine.
Funkee
Active member
- Joined
- Feb 19, 2010
- Location
- Netherlands
Just have a look at marktplaats for a while and act fast when something pops up.
We have a fine MIG machine we've bought for 75 together with a compressor, I used it to completely restore my car.
Also we recently bought a good TIG welder with 12M of lines and torch for 150 or so, just from a nitwit who couldnt weld and bought a smaller and more expensive one.
Bought a (full) 20L bottle of Argon for €175 on MP, and go")
If you wanna buy a new one, a friend of mine who owns a professional autobody shop has a Cebora 165 from Rustbuster.nl and is really satisfied with it.
We have a fine MIG machine we've bought for 75 together with a compressor, I used it to completely restore my car.
Also we recently bought a good TIG welder with 12M of lines and torch for 150 or so, just from a nitwit who couldnt weld and bought a smaller and more expensive one.
Bought a (full) 20L bottle of Argon for €175 on MP, and go
If you wanna buy a new one, a friend of mine who owns a professional autobody shop has a Cebora 165 from Rustbuster.nl and is really satisfied with it.
Mr.Borrie
The Sneaky F*ing Ukrainian
- Joined
- Aug 1, 2006
- Location
- Netherlands
Great another setback, got the tank under the car. The holes do not agline and the intake hose is busted, good i spotted it.
Thinking of looking for a race tank of 25 liters. It will run on LPG most of the time anyway


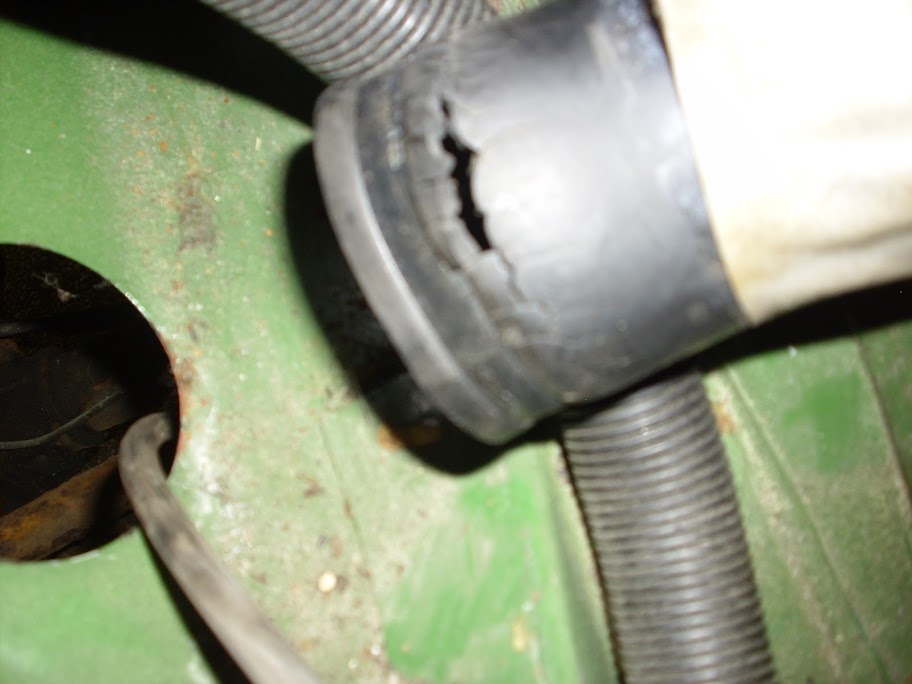
Thinking of looking for a race tank of 25 liters. It will run on LPG most of the time anyway
Mr.Borrie
The Sneaky F*ing Ukrainian
- Joined
- Aug 1, 2006
- Location
- Netherlands
This car just doesn't want to be put together, doesn't it?
I think its telling me to run away and get another grandpa 700 serie.. i think he's right

Picking up a MIG welder this weekend with big bottle. so rust be gone!
Mr.Borrie
The Sneaky F*ing Ukrainian
- Joined
- Aug 1, 2006
- Location
- Netherlands
Nice, that'll make your life a lot easier. Also, get an automatic welding helmet if you didn't already have one. They are not very expensive and worth every penny when you're working inside or underneath the car.
Got it!
<iframe width="420" height="315" src="http://www.youtube.com/embed/vm5lO-YA0TA" frameborder="0" allowfullscreen></iframe>
Mr.Borrie
The Sneaky F*ing Ukrainian
- Joined
- Aug 1, 2006
- Location
- Netherlands
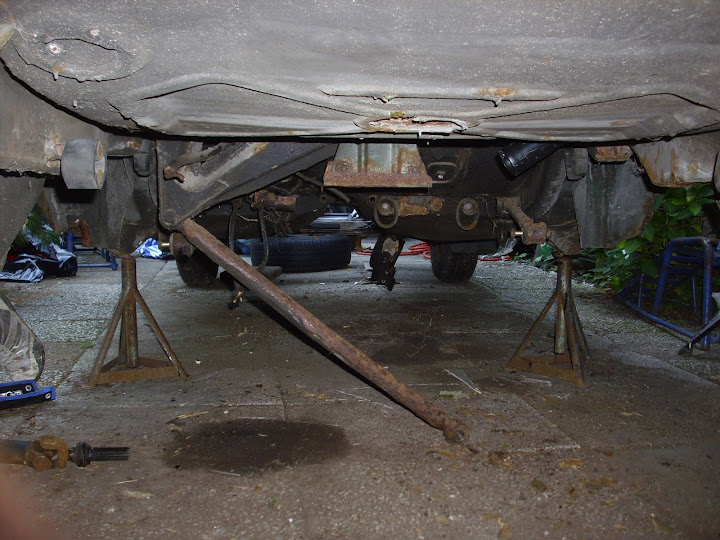
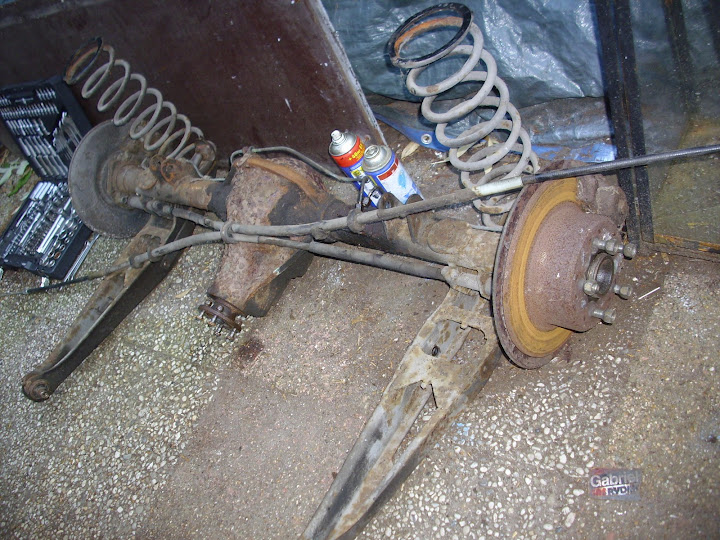
Collected allot of nice parts i will show over the next month or so. meanwhile i removed the axle from the car and started to build up the new one
Turbosteen
I was born at a young age
- Joined
- Sep 4, 2008
- Location
- The Netherlands, Europe
That probably took quite a while to clean, I'm also removing all the rust from another axle and it's really annoying work to do
Mr.Borrie
The Sneaky F*ing Ukrainian
- Joined
- Aug 1, 2006
- Location
- Netherlands
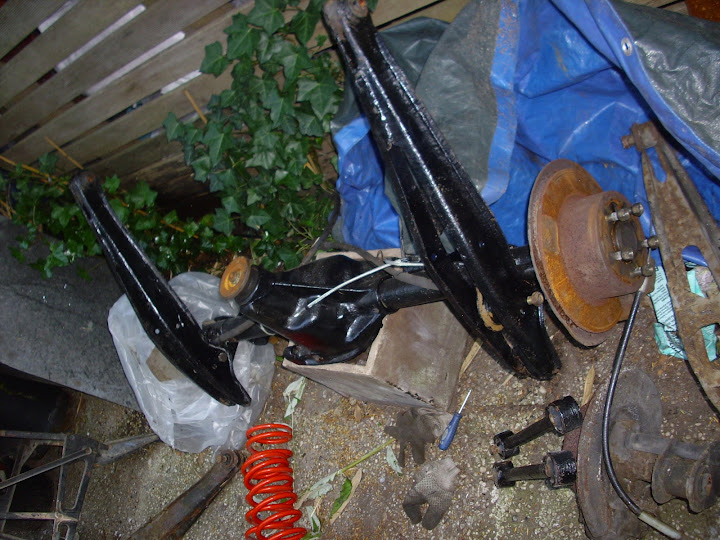
It was not that bad the new axle was in better shape rustwise, still when i got a part in my hand i might as wel make it pretty and last longer with a nice antirust treatment.
I used a paintscratcher thingy to get all the dirt off first. then i nice tick layer of hammerrite antirust stuff. Looks pretty neat too! looked less hot when it still was wet but now in back outside dried out i'm pretty pleased. I am just not sure when "reactiestangen" to use. the one on the car have a full sized bushing in them, the ones i got with the newer axle has holes in the bushing (suppouse to be there) it seems to me that those full sized bushings are stiffer == "moare better"
I used a paintscratcher thingy to get all the dirt off first. then i nice tick layer of hammerrite antirust stuff. Looks pretty neat too! looked less hot when it still was wet but now in back outside dried out i'm pretty pleased. I am just not sure when "reactiestangen" to use. the one on the car have a full sized bushing in them, the ones i got with the newer axle has holes in the bushing (suppouse to be there) it seems to me that those full sized bushings are stiffer == "moare better"
Mr.Borrie
The Sneaky F*ing Ukrainian
- Joined
- Aug 1, 2006
- Location
- Netherlands
Did not wanna do too much today. Cleaned up all the surface rust under the car and put on some iron/lead coating my dad gave me. After it dries i have to do it again and then i will put on new undercoating for stonechip and salt protection (though im not to sure if i should drive it in snow)
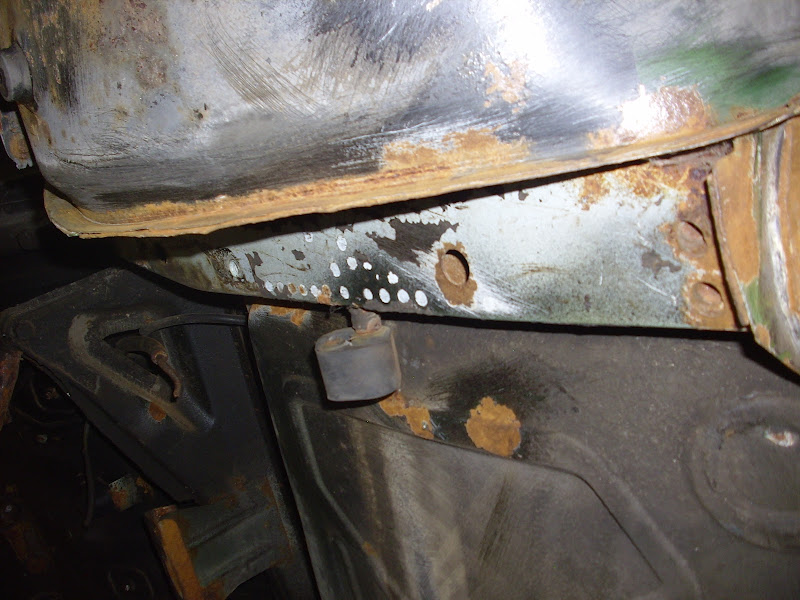
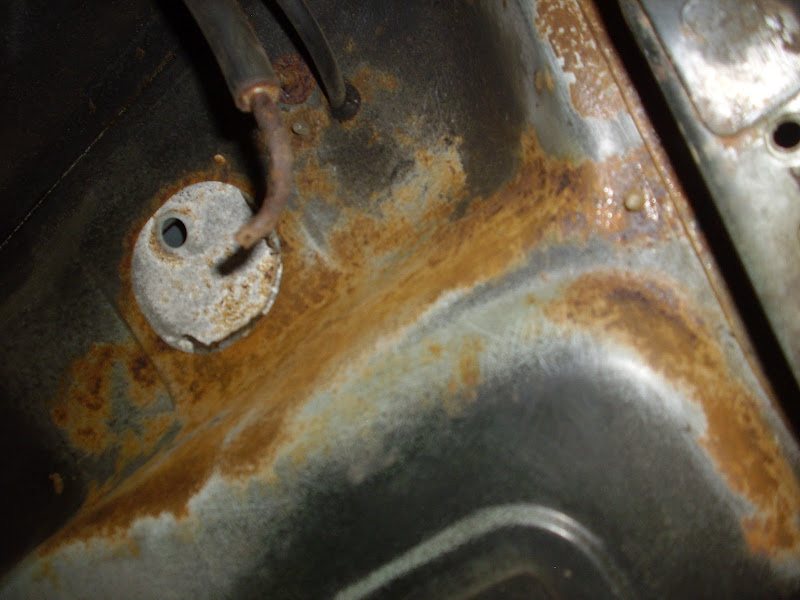
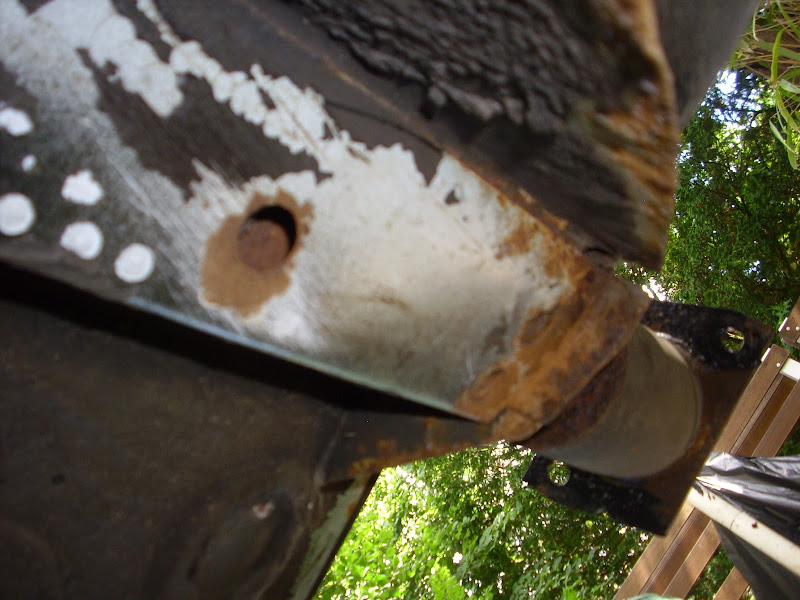

Then i started to poke the little holes that where not there when my friend bought the car 3 years ago been standing still ever since outside so all the places where water could stay still in corners and between bumpers had some bubbles. Sad to see they decay on those spots they could have been prevented if he just fixed the car and drove it.
Seems that the backside of the car (facing the wind in zandvoort) took the bigges hit all on the body. all littles holes..
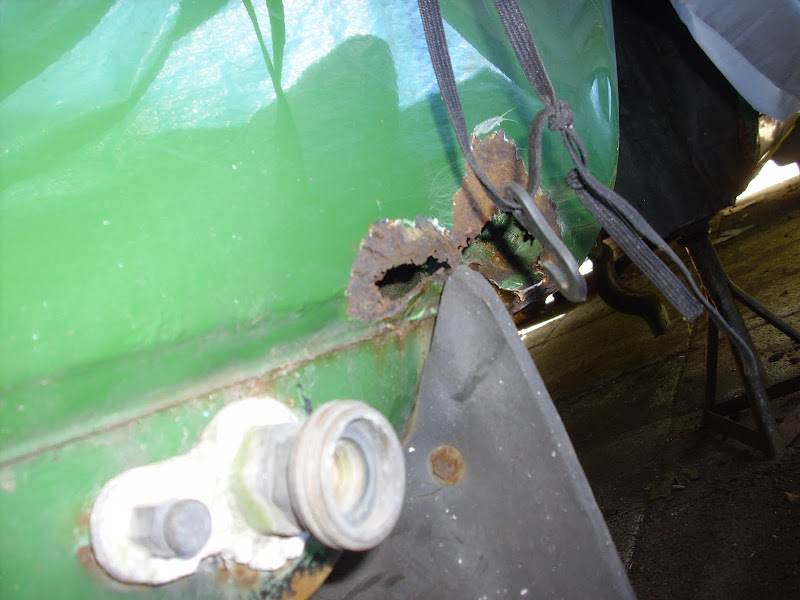
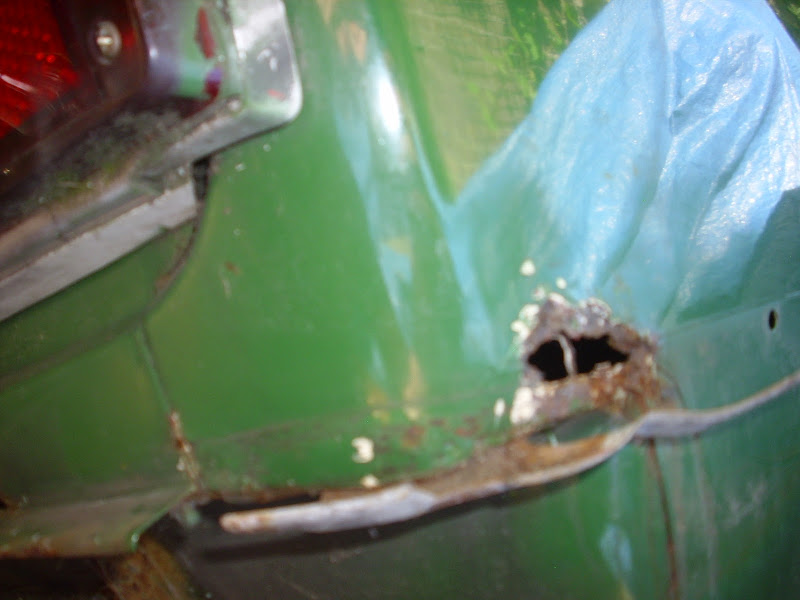
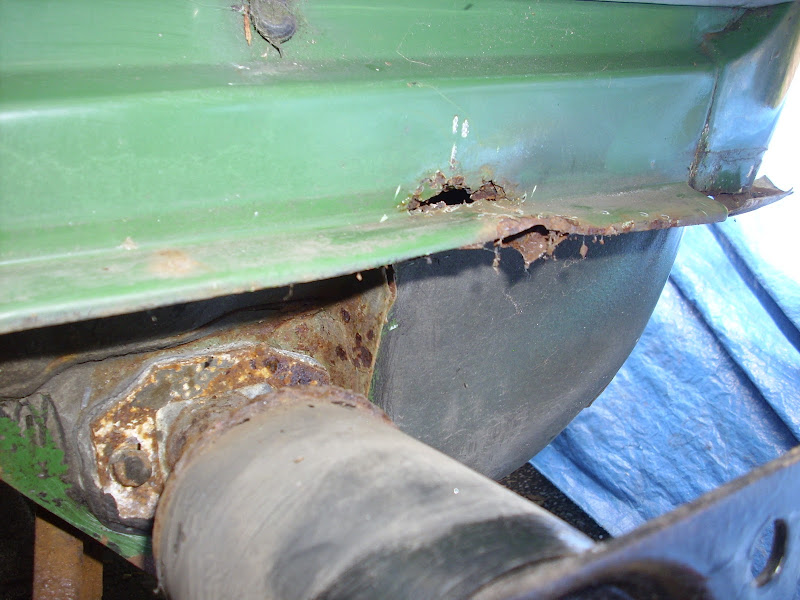