• Hello Guest, welcome to the initial stages of our new platform!
    You can find some additional information about where we are in the process of migrating the board and setting up our new software here

    Thank you for being a part of our community!

Interior Refreshening Project

Hi there - Really great project and pictures. Thank you for sharing all your hard work.

I'm thinking of using L seat for my 244 with burgundy interior. I'm wondering how your seats look now that they have had time to weather. Is the leather holding up? Did it tighten up from the sun?
 
The leather is holding up nicely as I would expect given how thick it is. The car leather has worn in nicely, but as far a tightening up I can't say that it has all that much, but the car doesn't see a lot of sun being garaged most of the time.

My advice is to buy the sample card of the colors that they sell especially if going with either of their three red kits. The 0021 Scarlet is very red, their 0022 Dark Red having almost a brown hue to it and 0023 Burgundy looking very close to the Dark Red, but with maybe a more purplish hue. I have always thought the Scarlet would look great in a black or white 240 with the rest of the interior redone to match.
 
My shifter cover is cracked and I went on the hunt for a new tan one and I found they are either not available or more money than I wanted to spend.

Another "project". I had a perfect cover in black, but clearly this would not match my interior. Looking at the cover's underside it looked like the top cover piece was pressed onto the main body while hot to retain the gear indicator and bushes. I drilled out the rivet looking things and the top cover came right off along with the brushes and gear indicator panels. Now I could paint everything and put it back together without getting paint where I didn't want it. I secured the top plate with gel superglue and it is holding perfectly.
Left unsaid if how you got the bottom half of the shifter knob off. I painted the shift surround the seat color because it could be done with a brush but it needs to be the console color which will require spraying with an oil based paint.

It appears that the lower half of the knob is held on with a 'security' type nut. I can envision creating a tool out of a cheap deep well socket to remove it if indeed that is how it is secured.

[edit] I think I have come to the conclusion that the lower plastic is not held on by anything other the downward force of the spring holding the button in place. But, I still cannot get it off.

Comments please.
 
Last edited:
msggrunt -

this is a truly impressive and inspirational post. very nice attention to detail.

as for the leather seat covers' fitment issue, i've installed several factory replacement leather covers on various cars at the dealership (mostly due to insurance claims) and can tell you, even in those as recent as 2018 models, when they're first hog-ringed and strapped on, they look about as tight and neat as a well-worn catchers mitt. especially the two-pieces-fit-everything rear seat jobs. fellas who've been doing it decades longer than myself advise that there's little to be done other than letting humidity and the sun run their coarse to draw things up.. unless you have a steam machine handy.. i've heard of such-equipped upholsterers who can work magic to tighten leather up, but i've yet to witness it, so can't give much insight.

this is all concerning factory-born leather, though, and it sounds like the lseat leathers are substantially thicker. but leather's leather, right? i can't blame you for pampering this babe, but i think a couple weeks out of the garage and baking in some sun would go a long way in giving your seats a little face-lift. also worth noting: for any customer who initially scoffed at their new-yet-puckered covers, we tell them what to expect, the nature of the beast, and to bring it back in a month if they're still unhappy, and i've yet to experience a single comeback on the issue.

as for the armrest fitment: it looks like a loose sock, and that's also common where leather covers meet these fixtures. it's also less susceptible to the atmospheric resolve bc of decreased surface/breathable area.

to tame these areas, mist the leather with clean (DISTILLED) water and either allow it to absorb or massage it in (depending on water penetrability/waxiness) followed by several minutes under a hair dryer (low is normal, medium is max, NOT a heat-gun,) and finally lightly massage again (with gloved hands) to assist seating and form of leather as it cools around the fixture. this is, i presume, the manual way to accomplish what the upholstery wizards do with their steam wands.

i didn't get a great look at the arm rest's stitching, but i've seen instances of upholstery that made me scratch my head and kinda wince when it's on the work bench, but then fit the bill nicely once it was installed and taut, so it might be worth a shot if you haven't started the return/rebuild process.

hey, speaking of the sun, how do you think that interior paint would hold up to exposure?.. say, on a daily driver that doesn't get garaged much other than free parking on the (occasional) weekends downtown? do they make any claims as to longevity long-term sun exposure conditions?

gotta be honest, when i read your comment about the new leather smell in the car, my first thought: how can he smell it with all the spray paint?! haha.. did it take a long time to dissipate? like i said, daily driver, but on the plus, power windows work, so i could stand wide open ventilation til summer hits at least..


testpoint -

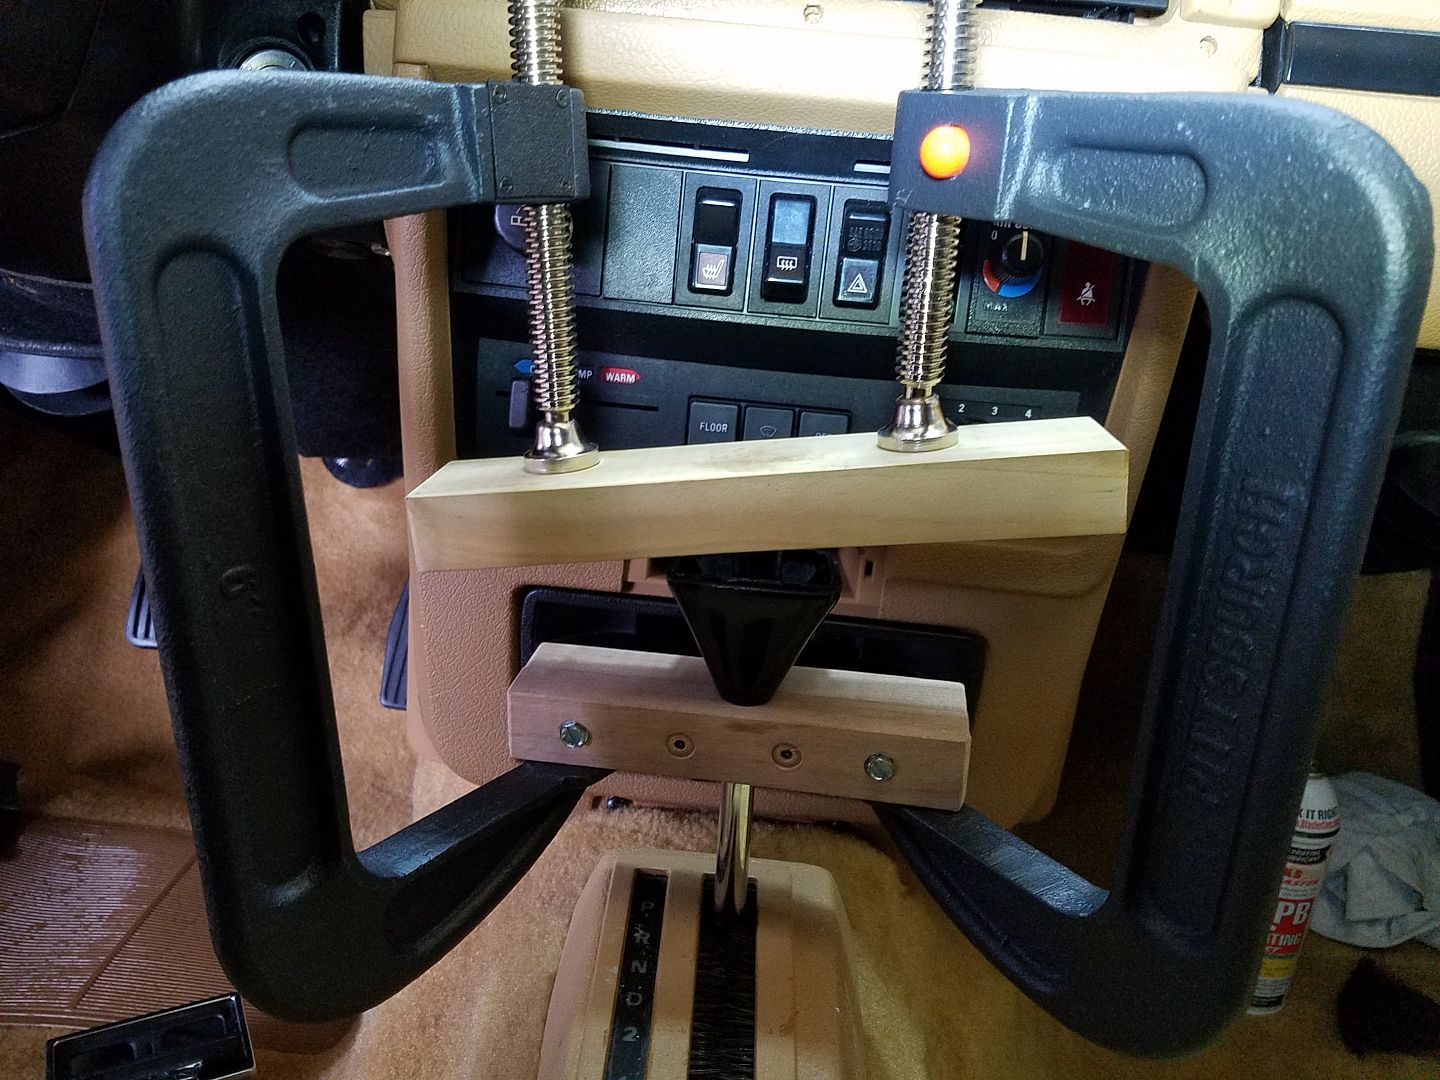
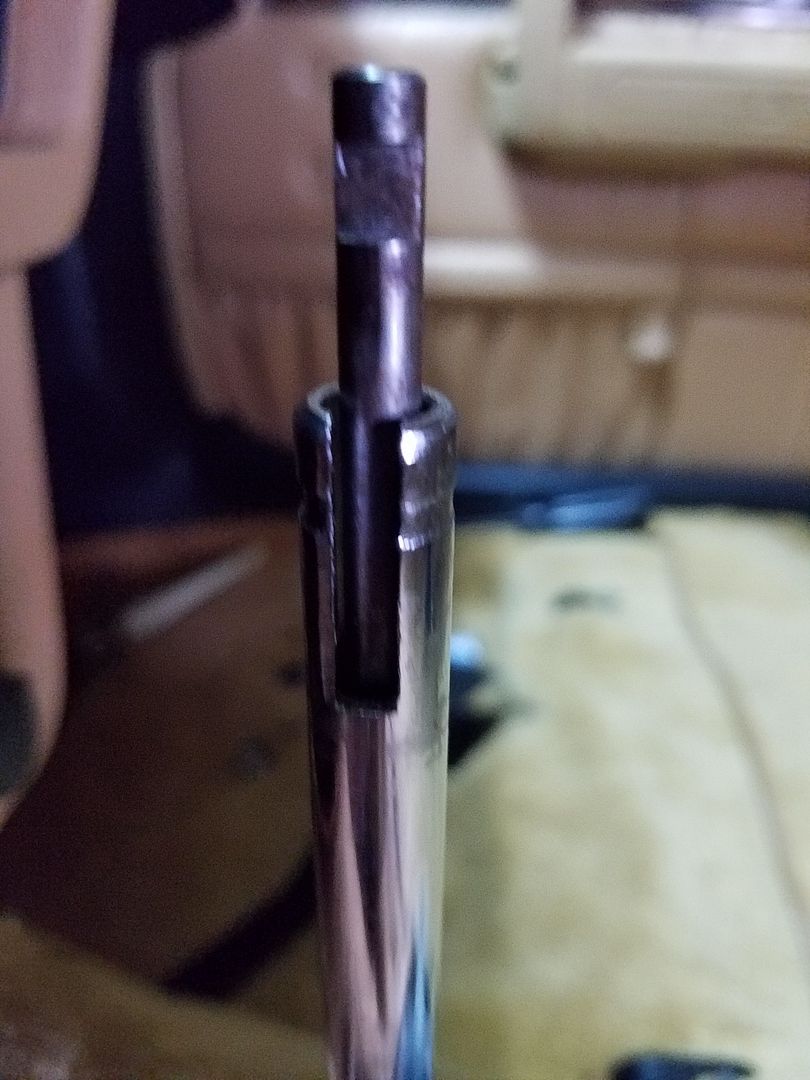
it's been a while since my automatic was totalled. M47 now fills her shoes, but i did have the wonderful opportunity to go digging for my slice o the pie safety switch during that brief love affair. i seem to recall the only thing holding the shifter knob on was some sort of friction/pressure fitting inherent to the knob itself..

so you basically have to knock it off from the bottom side using blunt force. i don't recall what size wrench is called for, but essentially one whose open end is wide enough to fit around (cradle) the metal shaft of the shifter lever, but small enough that it doesn't pitch and mar the bottom/sides of the knob when you knock it with a hammer. before knocking the knob off the shaft, grab the OD button with some pliers and pull it out/disconnect the wires. with the jaws of the wrench cradling the metal shaft, raise until the sides of the jaws are resting against the underside of the shift knob. take a hammer and tap upwards on the bottom/opposite side of the wrench until the knob pops up/off. it's helpful to wrap the knob/button in a shop towel or plastic baggy, as the button and a spring will shoot out of the knob once they disengage from the internals of the shaft if they aren't secured/contained within the knob. hopefully you've found an answer/solved your issue before now, but just in case.
 
Last edited:
You are correct in that the lower half of the shift knob is only a friction fit. But there is a lot of friction there. It took a couple of 8" 'C' clamps and some wood jigs to get it off.

20190204_162129.jpg


The top of the shift stalk has gaps to hold the knob straight and corresponding notches in the plastic. That made using a small deep well socket used to push the shaft down, or knob up difficult to push through.

20190205_103724.jpg


20190204_171005.jpg


To do it over again I would grind the throw-a-way 1/4" drive deep socket to match the shift shaft cuts and then it would have been easy to push off.

upload
 
Last edited:
what tha.. more than one way to skin a cat, eh?

sorry, didn't realize you had an '82 when i saw your question in the thread. a shifter redesign fell somewhere b/w your model and the 90s. mine was same style as OP's pictured @ post #106, which are one piece knobs. the hammer + wrench method is sufficient for the later design.

nice ingenuity going on there for extra persuasion. i bet the entailing acrobatics would be a pita for someone working solo.

there's probably a special tool out there somewhere, akin to your modified socket idea. glad you found a way to make do

attachment.php
 
Reviving an old interior is therapeutic to me. I am in the same process on a dark green 1992 wagon with tan interior that I am getting cleaned up and ready to sell and I just finished the "restoration" on a 1992 5-speed wagon with blue interior that will also be for sale. Removing, cleaning and re-dying the carpets is very easy, just time consuming and really wakes up a car's interior.

I also feel the original waffle floor mats are the only way to go.

I have used both Lseat leather and vinyl seat covers, but I wish someone would make them in cloth. I have a 1987 wagon that will be a keeper and I am thinking I'll spend the extra and have a local company make custom covers that mimic the factory cloth ones. That car is white with blue interior and I was thinking of a pack cloth type material.
 

Attachments

  • IMG_0101.jpg
    IMG_0101.jpg
    104.6 KB · Views: 488
  • IMG_0098.jpg
    IMG_0098.jpg
    94.7 KB · Views: 488
  • IMG_0097.jpg
    IMG_0097.jpg
    82.2 KB · Views: 489
Last edited:
Man you are making me want to do this to my 82 245GLT haha. I do want to redo the top of the dash and door panels because they are faded. But now I want to do all the plastic trim (carpet and seats are in very good condition). About how many cans did you use for all the trim? I'd attach pics but not sure how to do that lol.
 
Hi, I'm a little late to this thread but I am currently in the process of trying to replace my deteriorated interior knobs, how did you manage to remove your originals?
 
Dude, this thread is provoking a huge sickness inside of me. Love your work! Can I pay to ship you over to Australia and restore my 240? Do you have any final photos of the end product? Also, lovely looking wagon (y).
 
Excellent work! I'm in there process of refreshing the interior in my Classic wagon. So far it's been all about dynamat , dynaliner and dynapad, but now it's time to move into the SEM stage of the project. The coating on the underside of the carpet is a bit worn, so I'm going to see how FlexSeal does as a substitute, hopefully it looks this good when finished!
 
Back
Top