Fuel Drip & First Road Trip
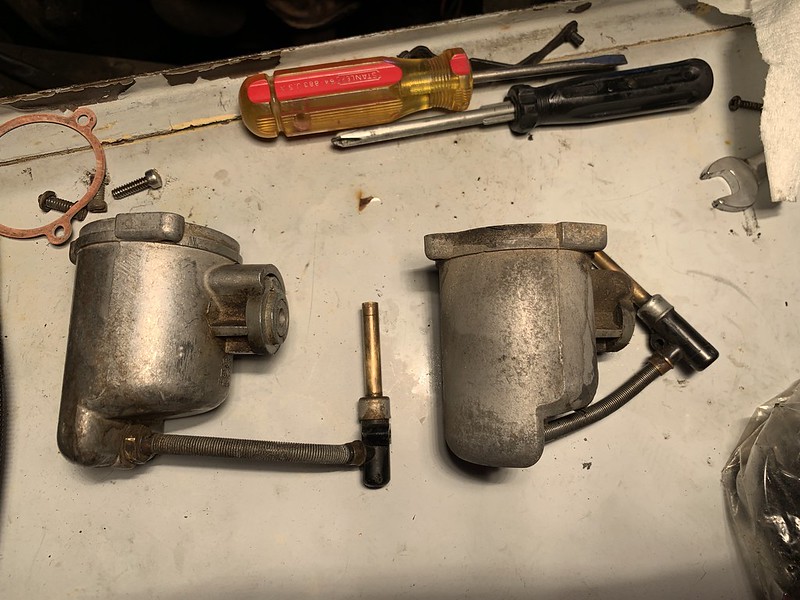
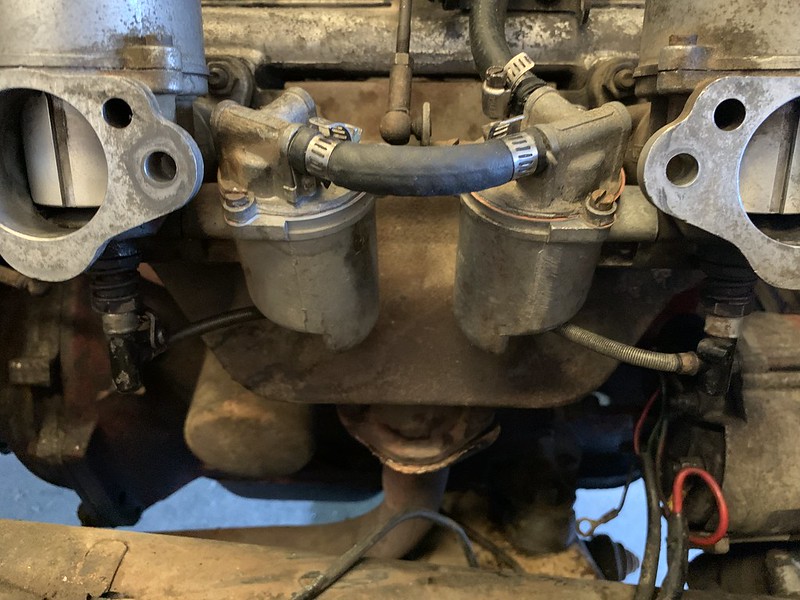
A few days later, dig out my box of spare SU carburetors and after assessing several candidates, locate a potential donor unit. This carb retains all of its pieces & parts and reverse that by loosen the line from the bottom of the fuel bowl. Undoing the nut, pull lightly on the line and it will not detach. After several unsuccessful attempts the main bolt holding the fuel bowl onto the carburetor is loosened and this separated off as a unit. The same procedure is performed on the front carb of the 544, removing the fuel bowl and line. When going to attach the new one, that is when a issue arises. The spare unit is a rear carb and the fuel bowl will not align correctly on the front one. Looking at the bowls for a little bit, make the educated guess they are the same except for an alignment disc. The discs are swapped out and the bowl is mounted to the carb body without any problem. Hopefully this will quell the fuel leak once and for all.

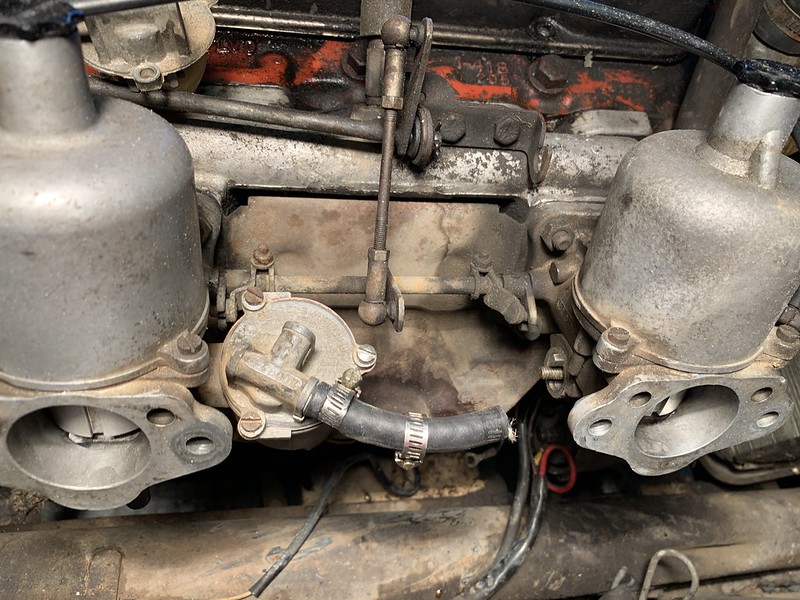

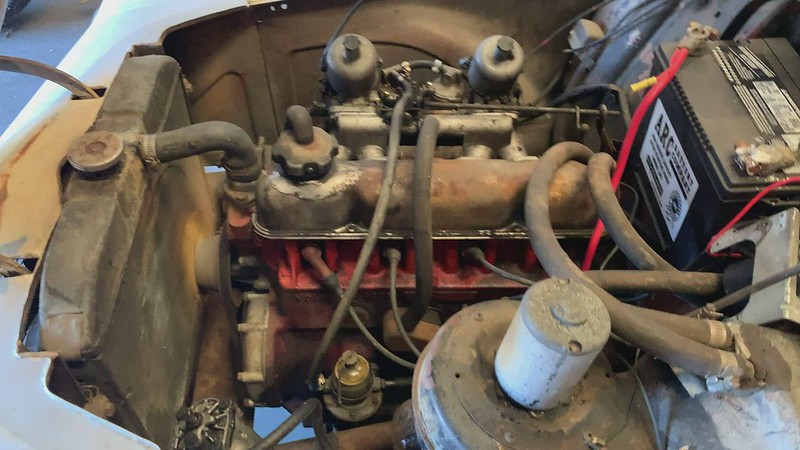
The bowl caps are reinstalled, the fuel lines reattached and all three hose clamps are tightened. Refill the mini fuel tank and nestle it into the cavity next to the radiator. On the carbs themselves, adjust the idle screws until the throttle position just stop moving. Hook up the battery, turn the ignition key and the engine turns over. Continue this for about 8-10 seconds before stopping to let the starter have a rest. Spray starting fluid into the carbs and resume cranking. The engine catches and runs for a second until the ether has been combusted away. Repeat this and after the second spray the engine starts, first a bit tentatively but almost immediately smooths out to a steady idle. Looking across the engine compartment, gasoline is dripping off the top of the front fuel bowl. Shut down the engine to investigate the source of the ongoing leak.
 IMG_6315
The end of the fuel line going from the pump to the carb is wet as is the top of the fuel bowl along with the transfer hose from the front carb to the rear one. Remove the main hose to inspect the end and decide to remove about an inch of the line as it is looking a bit stressed. Reattach the main line and tighten all three hose clamps on the carbs. Spray some brake cleaner around the carb bowls and lower shield in order to disperse the leaked gasoline quicker. After letting it sit for a couple minutes, everything looks dry and restart the engine. The B18 runs smoothly and finally the carbs are leak free. Keeping it running for another minute and seeing the temp gauge start to register, it is time to take it for a test drive.
 IMG_6316
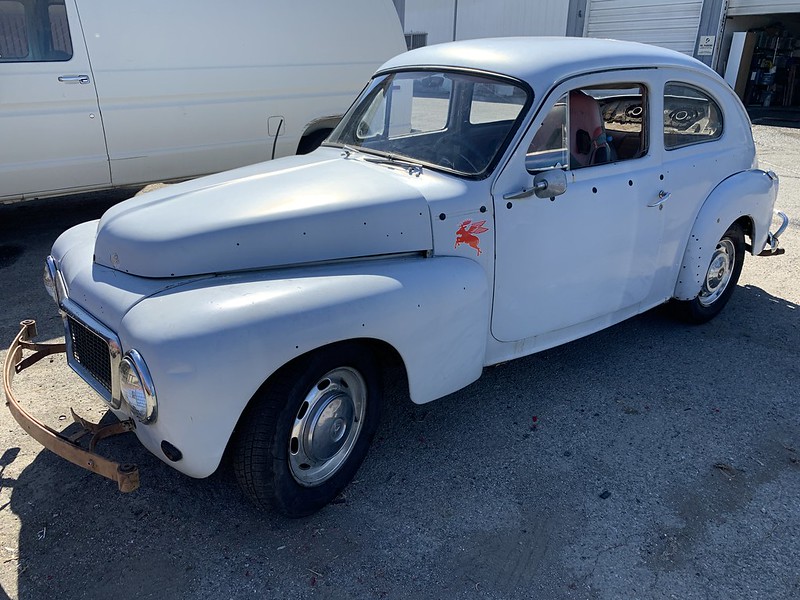
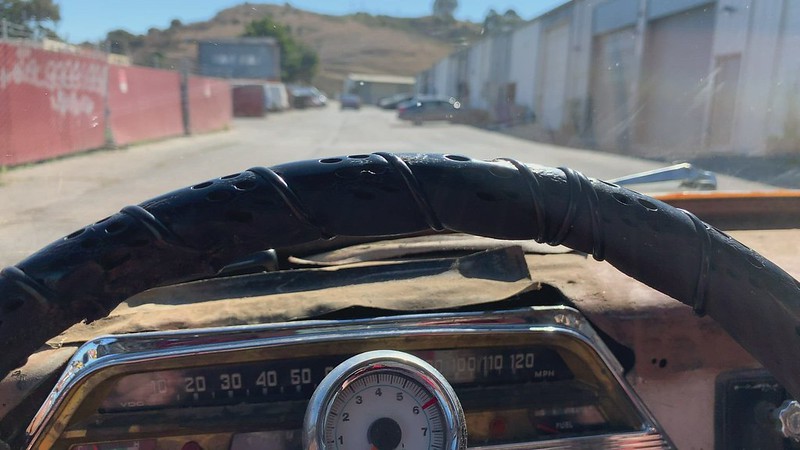
Pressing on the gas pedal, the engine races a bit while placing the transmission into first gear momentarily and the 544 emerges through the garage door. There is a slight decline from the garage and as the 544 rolls down it I keep the clutch pedal depressed. Straightening out, I get out my phone to document the upcoming journey. Putting the car into first and letting the clutch out, the engine goes from a steady idle to snorting and hesitation as the output is transmitted through the gearbox and into the rear wheels. The cars does start to pick up a small bit of speed though the B18 continues to complaining about having to do this. Sitting in the drivers seat realize the unsteady 544 is sounding like an World War I biplane which has just taken a couple of hits. After about a tenth of a mile, make a u-turn and head back towards the garage, the engine still running rough and unsure. Go past the garage just a bit then put the car into reverse and while still not running smoothly the car backs into the garage entrance with no problem. Shut the car down and give it once over to see if any other fluids are leaking, which it is not.
 IMG_6319
 IMG_6322
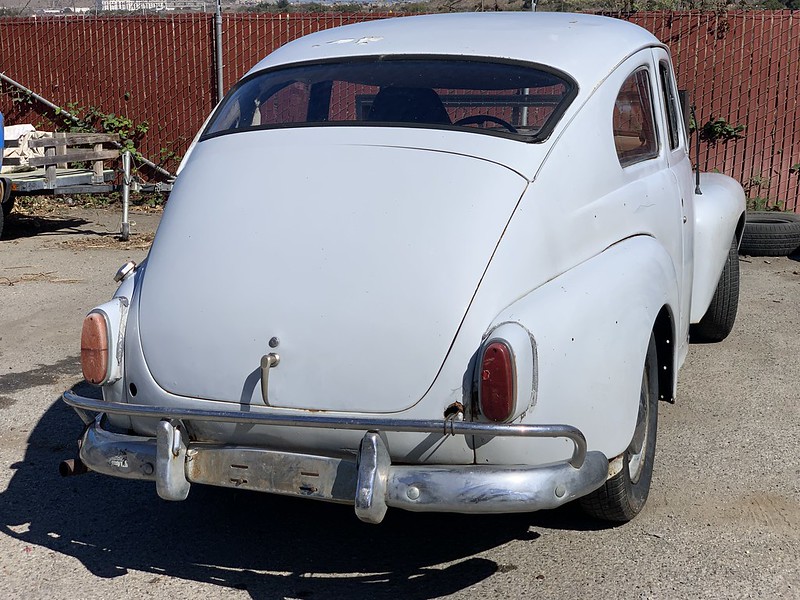
Give the car a much needed bath with a pressure washer as I was only able to do the front end, hood and fenders when first acquiring the car almost two months ago. After letting the car sit and drip dry, take several pictures of the 544 now that it has been able to shed the dirt and dust on its exterior. Once finishing up documenting the car, it is time to venture onto the pavement for another excursion. Once again the car moved though seemingly under protest, but not as much as the first trip. During this run the take the car into second gear and up around 20 mph. Back the car into the garage and into its parking space in front of the 1967 122 awaiting an engine transplant.
 IMG_6330
While putting my tools away, feel a sense of accomplishment the 544 has achieved the minimum requirements for a running car, it starts, drives and stops when I want it to. In having revived the car this far, I have also come to the conclusion my time is about done working on it. Want to turn my attention to the 122S as getting that back to operational and driving worthy status is where I plan on spending time and efforts on. The 544 was picked up as part of a catch and release program, a project rather than a keeper. Now its time to find its new home.
_