• Hello Guest, welcome to the initial stages of our new platform!
    You can find some additional information about where we are in the process of migrating the board and setting up our new software here

    Thank you for being a part of our community!

"Brick in a box" - (1991) 245 "stealth" project car

Crank seals, water pump and head bolts

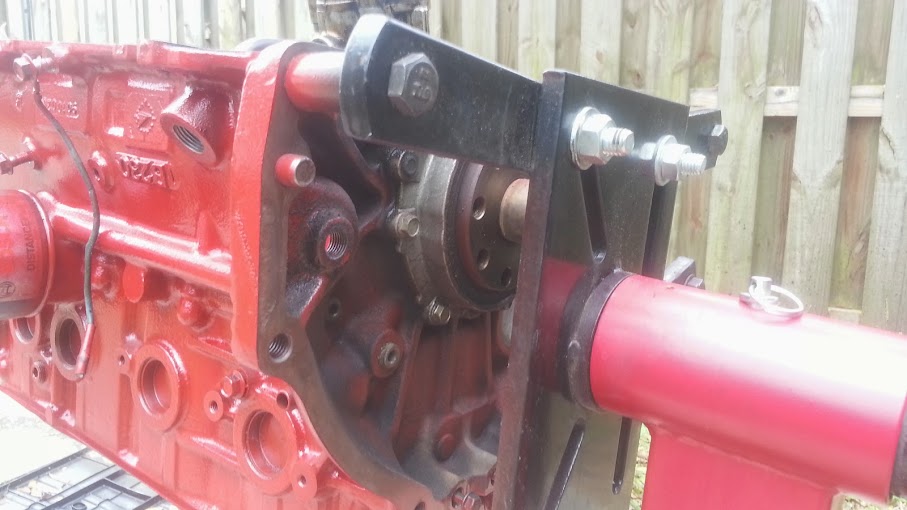
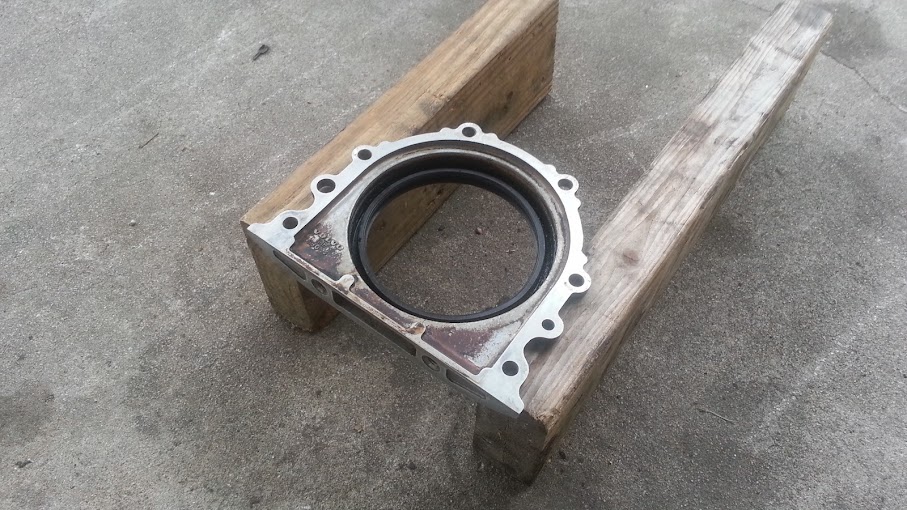
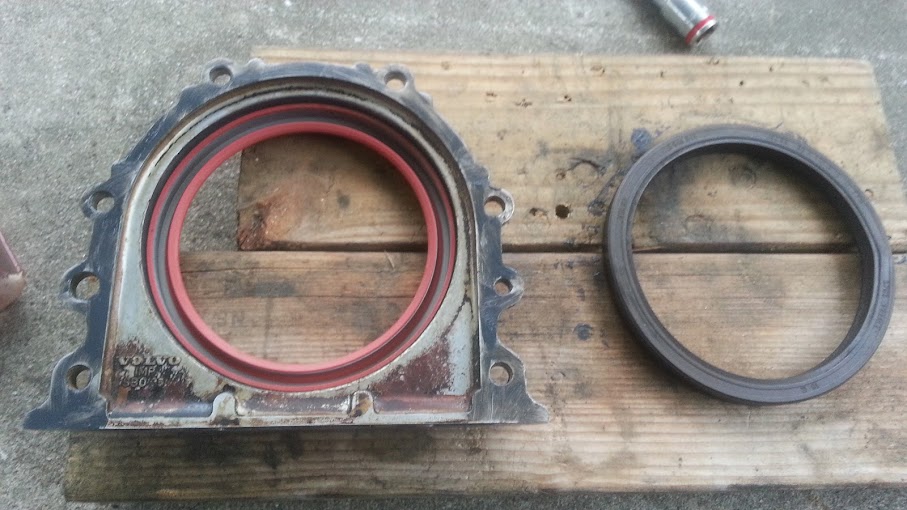
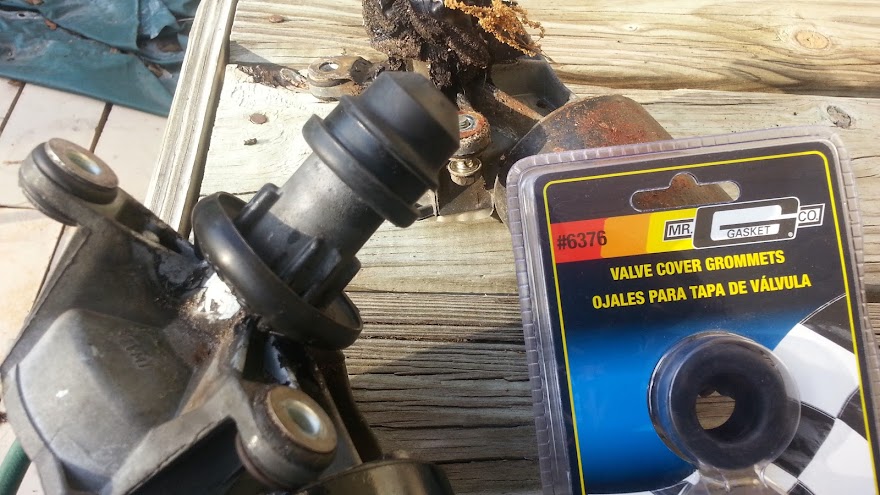
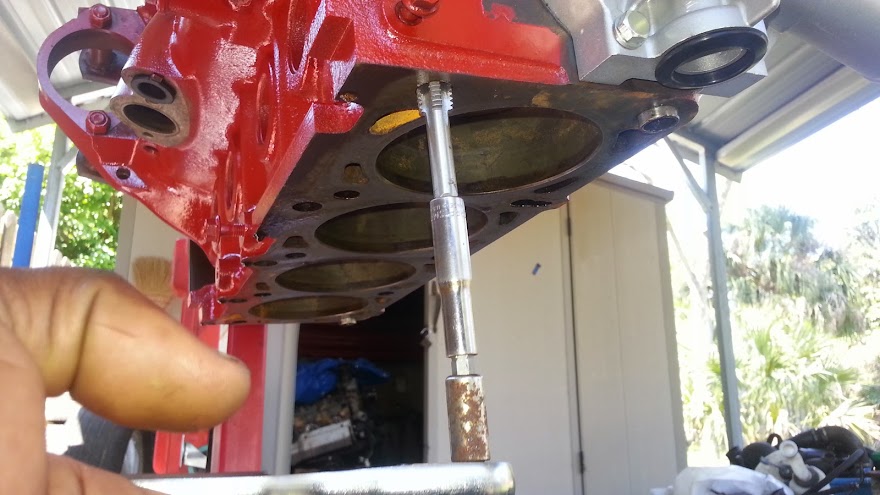
Glad Volvo decided to make the entire rear main seal plate removable, otherwise it might have been difficult knocking it out with the engine still on the stand. Did the front / aux shaft seal too, but didn't take pics...basically looks the same anyway.
20140316_171806.jpg

20140316_183856.jpg

20140316_190345.jpg


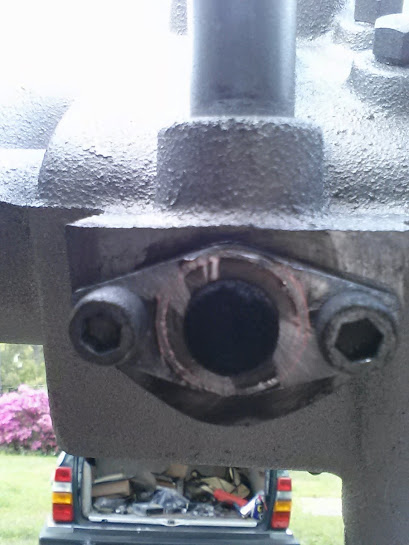
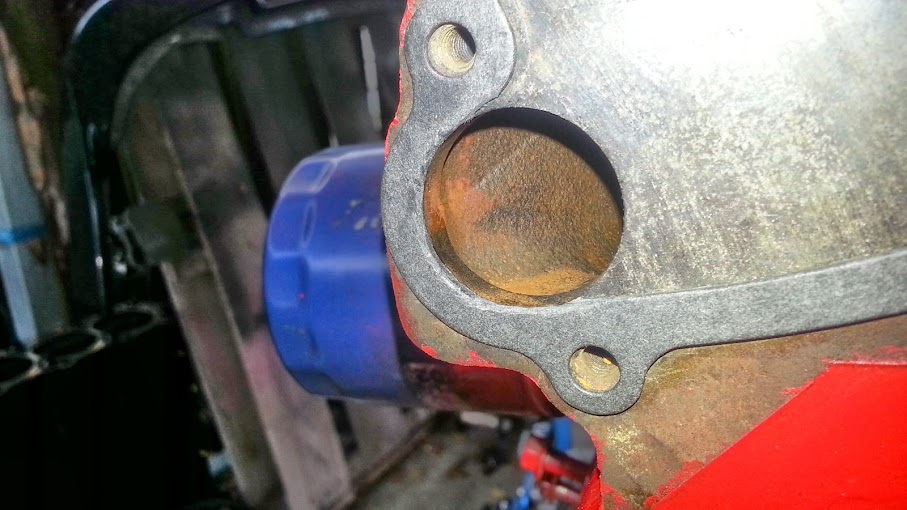
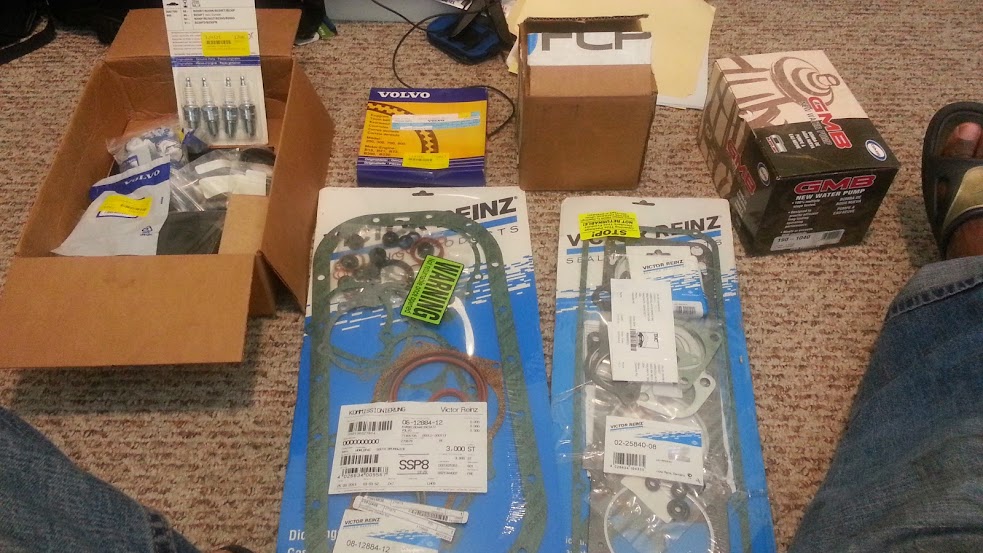
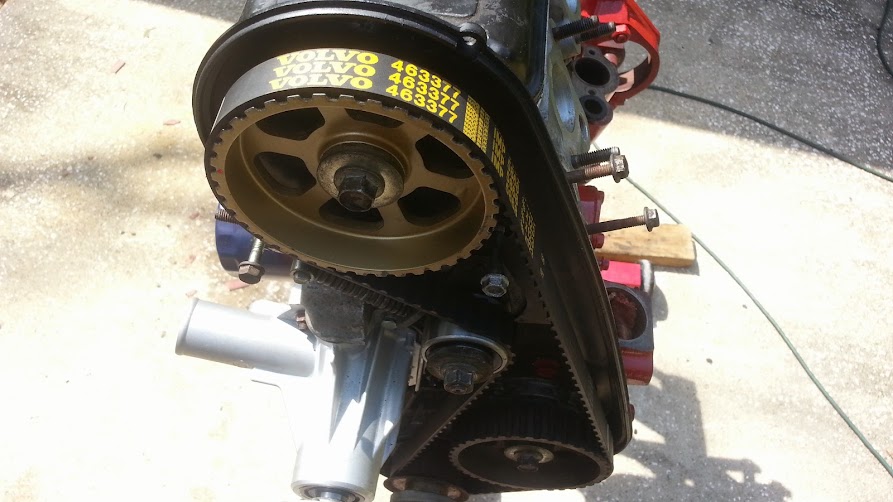
Installed the brand new water pump too. It came with new hardware , seals, and a gasket, witch I like better than the flimsy one that came with my V.R. conversion set, so I used that instead. Only problem (and this was true of the V.R. as well) was that the gasket seemed to obstruct a portion of the entrance to the water pump.
20140317_153726.jpg

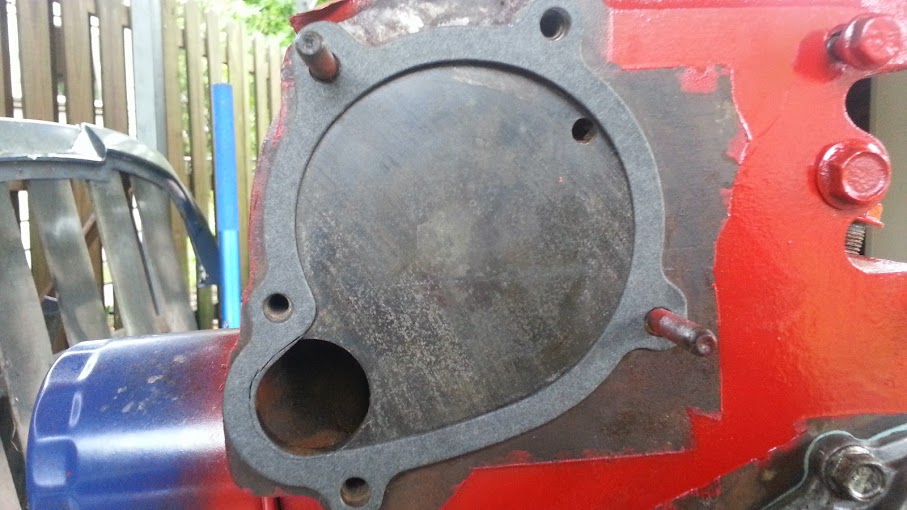
Nothing a little exactly knife work can't remedy however...
20140317_153925.jpg


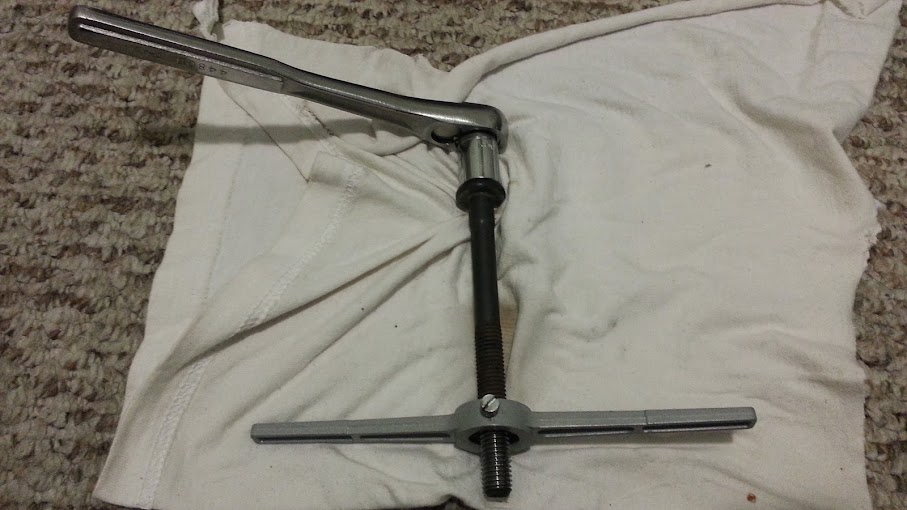
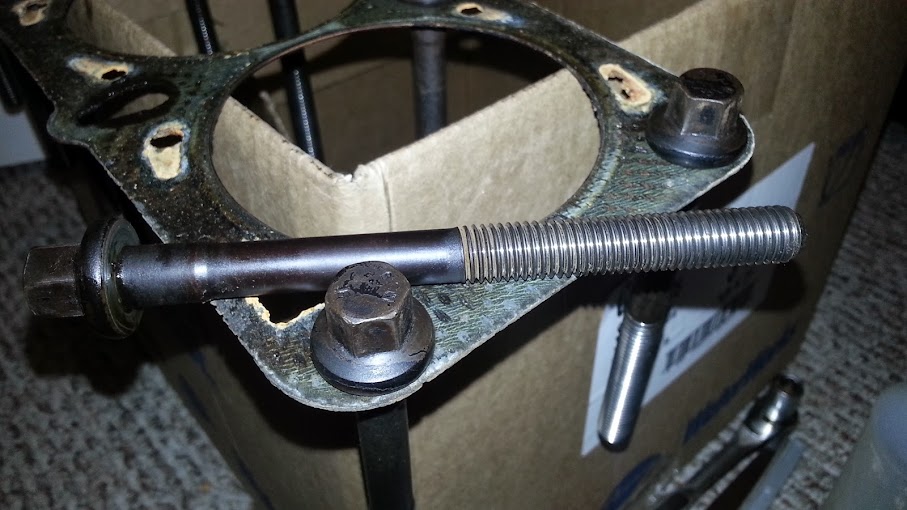
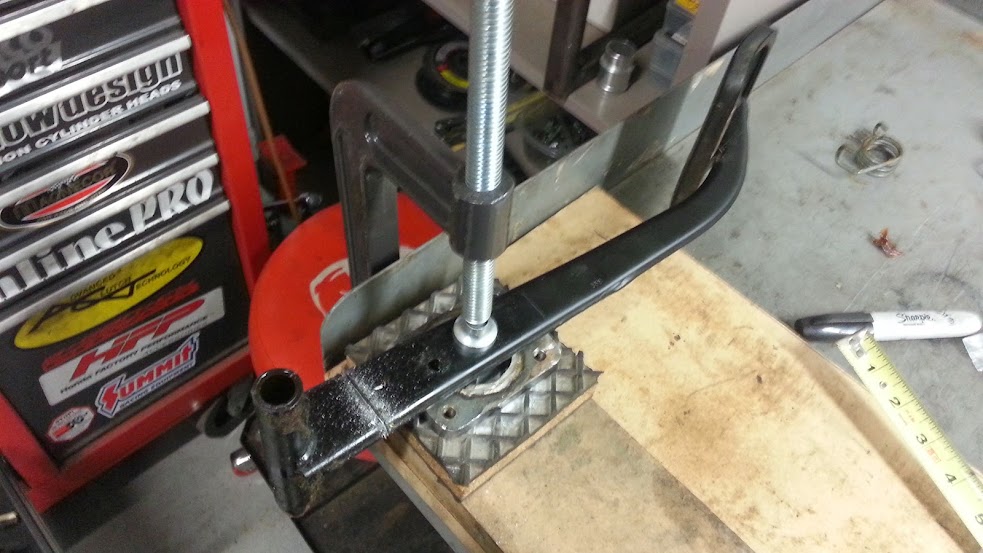
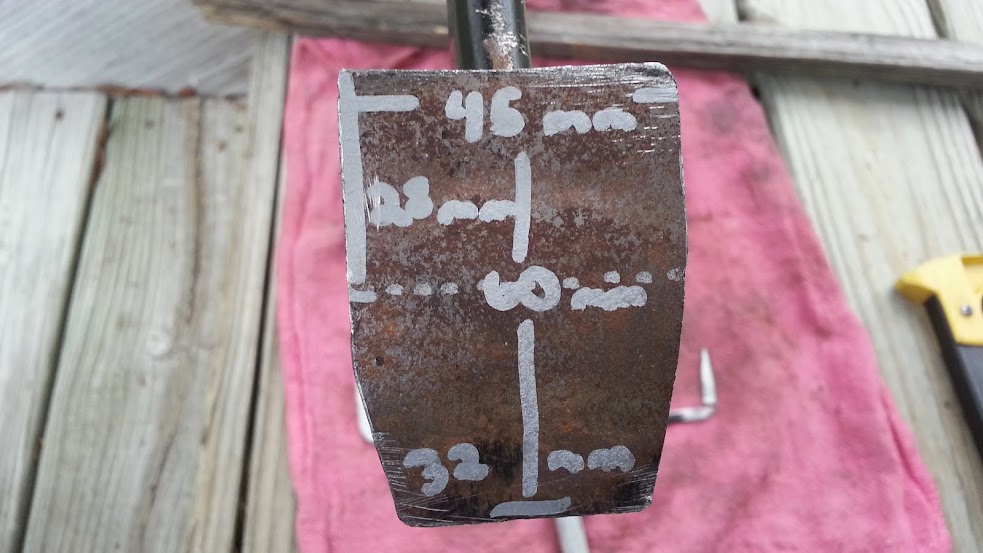
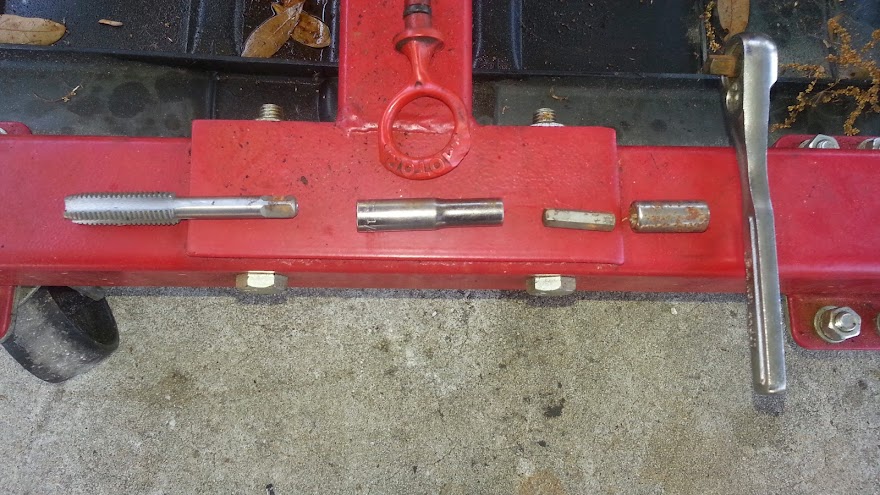
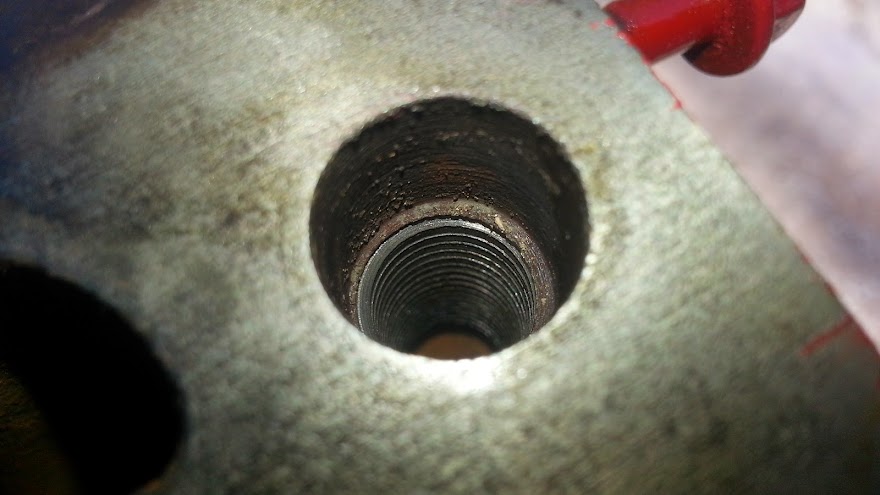
Then the sky opened up so I spent the rest of the day inside reconditioning the head bolts....next time I think I'll just buy new ones, This was a bit more than $30 worth of effort.
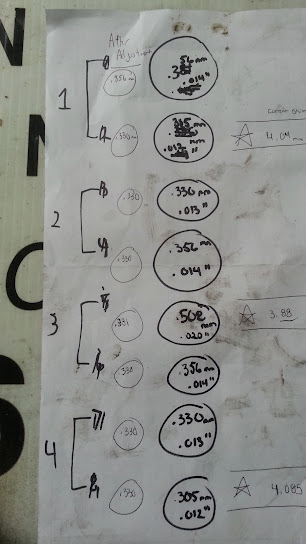
20140317_185643.jpg

The handy organizer
20140318_010911.jpg

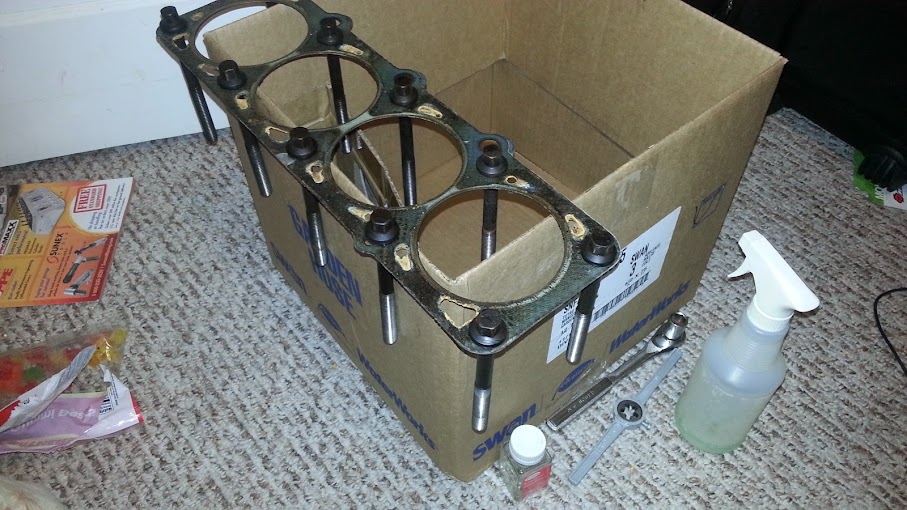
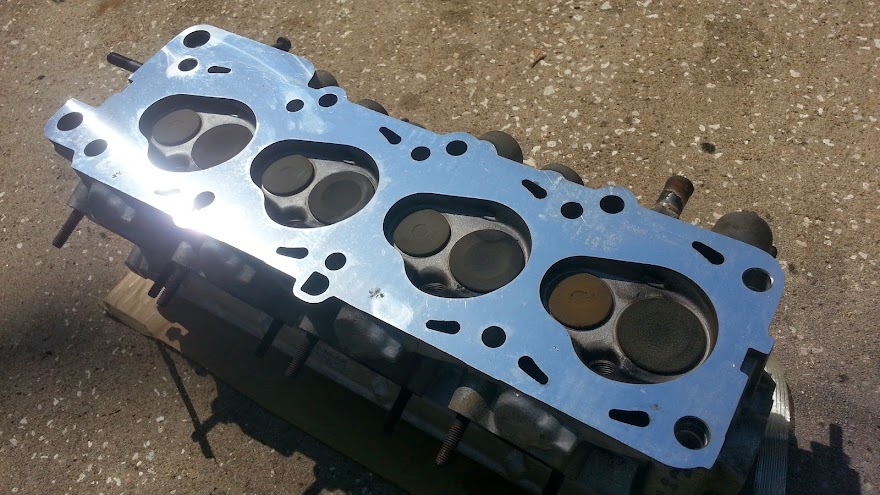
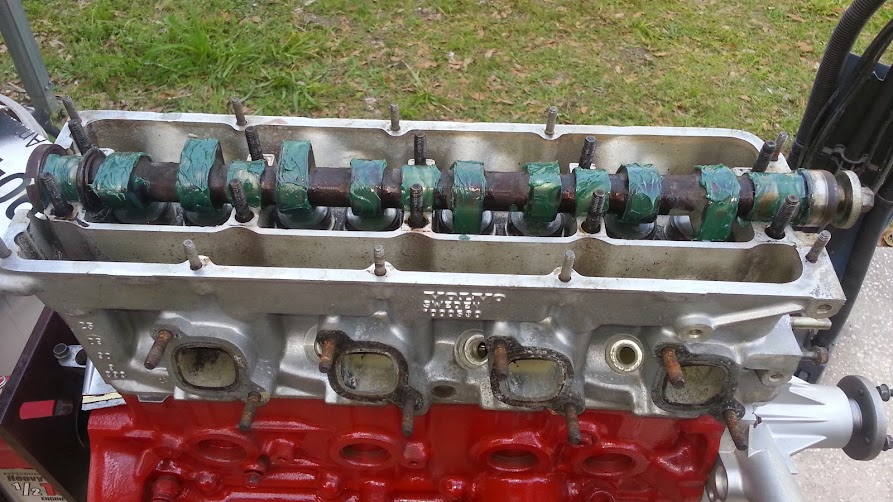
Ready to bolt down the head!
20140318_012601.jpg
 
Looking great! Some people say to not reuse head bolts due to the possibility of stretching, but it seems like u are going the budget rout

Indeed.

This build is all about efficiency, if "cutting corners" can save a buck great! but if it means reducing performance or durability (on something that can't easily be swapped out later ;-) ) then I'll bite the bullet and do it right the first time.

According to my research, Volvo says they can be used 5 times, I'm pretty sure using then a second time couldn't be that bad.

On that note, I didn't actually get to bolt on the head today, because that same research convinced me to abandon my "it looks pretty good and the HG didn't fail so just slap it back together"- approach and actually take it to the machine shop...just in case.

I would be immeasurably pissed if cheaping out on a $50 process caused me to redo all of this in a couple months. I figure, the money I'm not wasting on head bolts could go to something useful.
 
Last edited:
Hydro Clutch Progress

What I DID however accomplish today, was a step in the right direction on the clutch front :zeeall:
The basic procedure can be found here, we made a few different choices, and I'm happy with the result.
20140318_184537.jpg


Stating with an M47 pedal assembly and my auto brake pedal, we pondered how to lengthen the pedal, because scrap metal was scarce and the method used in the link seemed like more work. Eventually we decided to cut a section from the brake pedal at it's thickest point.
20140318_192706.jpg


The plan being to split it in half and make a "clam shell" extension for the clutch pedal. This alleviated any need for forming metal, and provided plenty of easily accessible welding area. The pedal was lengthened by 2.5" so we cut a 4.5" section from the brake pedal to give us 1" overlap on either side.
20140318_193502.jpg

20140318_194929.jpg


Once the outer shells were mocked up they were clamped and tack welded into place.
20140318_205446.jpg


It was then boxed in (mostly; I actually think it looks pretty cool this way, and considered just throwing some clear coat on and leaving it like that) and the actuator tab was cut off and re-welded to the under side of the mounting tube.
20140319_014301.jpg

20140319_010630.jpg
 
More fun with pedals, Now with more mazdaspeed!

Since the weather wasn't cooperating with getting things done outside, I figured I'd work on finishing up the pedals, the goal being to fit some mazdaspeed pedals I snagged at the junkyard on the stock Volvo pedals
20140319_185048.jpg

Finished, with the pedals at least
20140319_202038.jpg


Now to get them to fit...First step was to make some rough estimates and sketch it out
20140319_155654.jpg

Then some quick work with the hacksaw and the metal file and this is what we arrived at (This was actually the second one I did, and as you can see be the trimmings both the measurements and the hacksaw work got a lot more precise the second time around)
20140319_180034.jpg

20140319_175237.jpg

Another reason for the offset of the brake pedal to to shift the pedal ever so slightly closer to the gas pedal to facilitate heel-toe if ever one were inclined to do so.

Installed.
It's not so easy to see in this picture, but the clutch pedal sits at least 2" further back than the brake pedal. I'm not sure if that's normal for 240's but it certainly seems odd to me. I'll work on a remedy for that after the car is running.
20140320_140716.jpg
 
Turtleism: Thanks, that's the plan make it as reliable as possible, and rack up the miles!

While I was waiting to get the head back from the machine shop I installed the late model wiper motor I picked up and decided to to write an article on engineering a modern solution to sealing , which eliminates the need for that stupid black goo.
20140320_182115.jpg


Just as I was finishing up, I got a call to pick up this...
20140320_174542.jpg

Bling Bling!
20140321_151011.jpg


Apparently clean threads are essential to proper torque ratings, the head bolts having been handled already it was time for the block. Most write ups suggest the use of compressed air, since I didn't have that I figured I'd use gravity to my advantage
20140321_125952.jpg

It's a damn shame what you have to do to get a little mechanical advantage on a tap!
20140321_125347.jpg

And done
20140321_143524.jpg


A little copper HG spray for good measure
20140321_153656.jpg

And it's time to bolt it together. Some say it doesn't matter if you keep the head bolts in the same position, some swear it makes a difference, since I already had them organized I just put them back in the same spot.
20140321_163713.jpg


The only problem I had was that the #1 and #2 bolts were torqued to 40+ ft/lbs on the first pass ( It was difficult to determine 15 ft/lbs on my click-type torque wrench, as the strength of the click is apparently proportional to the level of torque applied) so I torqued the remaining bolts to 15. and on the second pass, bumped them all up to 45, then did a 90 degree turn on the final pass.
 
Last edited:
It's not really higher (maybe a few mm) it's that it sits too far back , or close to the firewall. I may pull the master apart to have a threaded end welded on so I can adjust it to a proper position. However if I can rig up some kind of linkage adapter that may not be necessary.
 
Engine looks good, you might want to ditch that gmb pump for a better one though. Hepu or a Graf or something of better quality
 
Engine looks good, you might want to ditch that gmb pump for a better one though. Hepu or a Graf or something of better quality

Is that so? Looking on FCP and IPD i wasn't able to discern the difference, so I just found this on ebay for about half what they charge for the same pump. If it leaks within the first few thousand miles, I'll bite the bullet and go OEM.
 
Timing belts, T-Cams, and Torque wrenches

Started buttoning things up
20140321_183447.jpg

20140322_144549.jpg


After a lot of back and forth I decided to just toss in the the T-Cam I picked up despite having no extra shims. I figure, the car I pulled it from had roughly the same amount of miles, so the shims should be pretty close. Turns out they were all spot on (between .3-.4mm).....all except for one! Guess it probably would have been wise to check this before putting on the timing belt and torquing down the pulley :grrr:.
20140323_125900.jpg


Well, guess it's time for a trip to the shim store...with any luck I'll be able to pull the shims from the car the came came from....
 
Last edited:
First time valve adjustment, and its not even running yet

Well, the plan was to install the valve husher's when i went back in to make adjustments, problem is the rubber things I got with my gasket kit d on't come anywhere close to fitting....oh well. No hushers this time around. I plan to install an IPD or RSI cam before too long, so maybe I'll get some then.

I raided two engines for shims, the 90' 740 I pulled the T cam from and an 89' Bertone turbo, ended up with a pretty decent range of sizes. One of them must have had a recent adjustment, because two of the shims were marked "4" over "10" :???: when I measured them they came out to 4.12 mm.
20140324_170825.jpg

20140324_170934.jpg


When I got everything apart I was relieved to find that the #3 exhaust valve w/ the super loose clearance had a very thin shim, so that was an easy fix. I also decided to loosen up the #1 and #4 intake valves, since there were just a hair tight. After adjustment everything was between 0.330 mm - 0.381 mm, not perfect, but good enough to get it on the road.
20140324_184154.jpg
 
I picked up a newer fuel rail without the capacity for a cold start injector, so I figured I'd tidy up by making a blockoff plate. Factory fitment guaranteed :lol:
20140325_180748.jpg

Plugged both ends with RTV , just in case, and found a cap to stick in there just for good measure.
20140325_191839.jpg
 
Last edited:
welded brake pedal, bad juju

and the seals for the wiper motor are still available from volvo, $8 a piece iirc

also, the headbolts are supposed to be oiled, not coated in copper spray

furthermore, the clutch pedal just sits at the top of the stop because of the return spring.
 
Woke up this morning and went to check on the handy work
20140312_121700.jpg

Then, because Florida is Florida...
20140312_123126.jpg

Rain lasted all of 7 minutes and it was back to business

We have the same color 245s. And seeing your engine bay resprayed makes me feel ashamed. Who mixed it for you? I haven't tried to get any for my gun, but I found a spray can of it in the trunk (In German) when I bought the car a few years ago.
 
welded brake pedal, bad juju

and the seals for the wiper motor are still available from volvo, $8 a piece iirc

also, the headbolts are supposed to be oiled, not coated in copper spray

furthermore, the clutch pedal just sits at the top of the stop because of the return spring.

What welded brake pedal?

Perhaps; but that seal is still in decent condition, I would prefer however that all manner of leaves and moisture not make it into that inner area between the outer and inner panel in the first place.

Headbolts are supposed to be "lubed" , ARP for instance sells a grease to accomplish that task. Once of the listed uses of copper spray is as a thread lubricant, so I figured, why not. Guess we'll see how it holds up lol. If it causes my head bolts to come loose, I guess it's time for a 531 and a ported manifold, haha

Interesting.... I never noticed a return spring in any of the other hydraulic clutch vehicles I have worked on, simply the hydraulics forcing pedal into the proper position (hence why it drops to the floor if the master were to fail). Furthermore, the pedal, as pictured is with the clutch master at the end if its travel, to pull it out any further would damage it I'm sure.

In retrospect, the actuator tab is not 180 degrees from the stock location, it needs to sit further back (for the 740 master) or you should just get the 260 master with the adjustable rod from the get go.
 
Last edited:
We have the same color 245s. And seeing your engine bay resprayed makes me feel ashamed. Who mixed it for you? I haven't tried to get any for my gun, but I found a spray can of it in the trunk (In German) when I bought the car a few years ago.

Indeed, I've read through most of your thread, good stuff!

Nobody mixed it, that's actually a rattle can job. Duplicolor OEM color match, sage green metallic. It''s a very close match, but it's got more flake than the volvo paint, so I didn't re-spray the entire bay. Instead, I re-finished the top of the strut towers and sides of the bay using a light rubbing compound and then nu finish wax, as to "blend" it into the newly painted areas.

I'll probably get some real paint mixed up for the exterior, since I don't have the sharp lines and multiple shadows (or rather I don't have the skill, lol) to pull off the blending trick.
 
Not that it makes a difference now, but a hole saw for the MC would have saved you a bunch of time, and headache from what it looks like. I did mine in about 10 mins.
 
Back
Top