• Hello Guest, welcome to the initial stages of our new platform!
    You can find some additional information about where we are in the process of migrating the board and setting up our new software here

    Thank you for being a part of our community!

"Thor" 1980 244 R-Sport

More progress this weekend :D

Been doing allsorts of corrections and alterations, including the fairly difficult job of profiling the front doors to the front wings. This is made hard by a) volvos pressings between the two panels being complately different shapes, and b) because the drivers side wing is a pattern replacement panel which has some odd shapes in it.

John has also been doing work on the spare wheel wells and lower wings for me


This has all been several weeks of hard work.

Saturday night I got the next coat of filler primer on. I put a little extra thinners in the mix in an effort to make the paint flow out better, which worked really well.


I also put some seam sealer in the joints where the new inner arches are welded. Its a but scruffy but its all going to be stonechipped in there and rustproofed and its better to be properly sealed than risk having pinholes etc.


Today saw some proper wet flatting of the primer. All major shaping has finished apart from the passenger side wing, so im now flatting with 400 grade wet.

One technique I use to see if a panel is shaped correctly is to use slow evaporating panel wipe. Once a panel has been flatted satisfactorily, the panel wipe is put on the panel, and it flows out in seconds but sits on the panel for ages, giving an artificial shine enabling you to check the shape of the panel using reflections from strip lights and other straight lines in the reflections.


(note the picture on the wall :) )


Ive flatted about half of the car and plan to continue through the week.

Left to do before you get tangoed:

Stonechip wheel arches. (half hour)
Neaten rear wheel arch lips (half hour)
Door shuts to clean and sand (3 or 4 hours I should think)
N/S/F inner door repair still to finish. (Ten mins)
Front door stress cracks on inner frame to weld (One hour)
Various corrections as flatting progresses (Hopefully a few days worth, but could be 2 or could be 20)
Radius all the panel edges (One hour)

2k primer to ALL. (one evening)
Wet flat the lot with 600 grade wet (One weekend)
Paint it and spend a month admiring it!

More soon!

Steve
 
Right then, not too much progress this weekend, but hey, it progress :D

Stonechipped those rear arches.


Did a lot of cleaning on the door hinges and shuts, still plenty to do but getting there. They need to be primered soon.

Also got the filler sanded to shape on the drivers side rear door shut where the inner wheel arch is welded on the back of it.


Flatted down the bulkhead panels (i primered them ages ago)


and painted with halfords gloss black followed by a decent coat of 2k lacquer, which seems to work well.


Cant quite get my head around how close it is to being painted!

steve
 
Update...

The wheels I have been and bought. They come on a base model ford focus mk2 ;)

except on those, they have ugly wheel trims over them. On Thor they are going to be banded and beautifully painted :D

They need to be machined very slightly to make the centre bore correct for a volvo, and because there is a rough edge around the centre bore which would be difficult to make a centre cap fit nicely to. Here is one just mocked up with some crappy silver paint thown at it.


I saw this picture which made me research what they were...


Now, I dont like a lot of aspects about that car and its wheels. Its too low, the black bonnet looks ridiculous, and the wheels are a sickly colour scheme and far, far too wide. Im not going for the "stanced" look as it seems to be called these days (stupid low, stupid wide wheels, and stupid camber), I just want a sporty, slightly low and period kind of "stance" if you like.

The wheels on that car are 16x9.5 on the front and 16x11's on the rear.

Im thinking something along the lines of 16x8 (volvo polaris wheels like on johns car are 8" wide AFAIK). I may do it so the rear wheels have a different offset to make the wheels fill the arches better and make the rear wheels appear to be slightly wider/more dished.

Aside from that I have been just carrying on with more and more corrections and sanding...

I got to a point where i realised i was making things difficult for myself because i was working mainly on the front end of the car with it tucked into the corner of the garage. Time for a mega tidy up, let Johns 164 see some daylight, and admire Thor a bit from a distance and look at panel gaps and stuff.


Love the saloon back end!


Some superDTM p0rn ;)


Aside from that I have also fitted the bulkhead panels. Please excuse the stupidly long bolts on places. They are only there for the sealant to set and i have an order of ?130 of stainless M5/M6/M8 nuts bolts and washers arriving soon to keep in stock for when im fitting various things to the car.


Soooooooo loving that orange!!!


And then I spent the rest of the evening getting the left front wing profiling done, and ready for that, the last bit, to get some 2k primer. Its almost done and I might go and finish it off and primer it tomorrow night.

Once thats done, its careful flatting and guidecoating, and very very soon, some orange!

Steve
 
I really like the work you do With the car!Its gonna look really cool with the New Wheels!And Your bodywork skills and patient are amazing:)
But I really cant understand why you put the ugly airintakes on the frontfenders..They do not fit the car at all and the way this Project is going it doesnt seem to fit the "style" of this car either
 
I don`t like those vents at all, but thats my opinion only.

You have done very big and good job with car and it is gonna be awesome with that orange colour. I had orange 142 few years ago and i liked it very much.
 
Truly amazing how someone would take the time to make an old 240 that immaculate, what with the gaps and finish and everything. I really like the Focus steelies idea as well. :urgod:

Looks like someone may have borrowed some sheetmetal from your otherwise perfect front wings though. :ninja:
 
Thanks for the comments guys :D

Another update :)

Not got a huge amount done recently due to catching up with some maintainance on the GLT and Christmas etc, but some things have happened.

Firstly though, this was my Christmas present to myself. A new professional grade spraygun. Japanese made by Iwata, and when researching it has a lot of good reviews saying it sprays like a gun worth twice the price. It was ?120.


Finished off the front nearside wing, to the point of being ready for filler primer (the last panel that needed priming)


Made a few corrections


Flatted the bonnet, which luckily is in almost perfect shape. Just a tiny wobble at the front edge to deal with


Welded two cracks in the drivers door. 240s are prone to cracking here due to stresses on the door when it is pulled shut with the interior door handle. Its amazing how much flex there is in the door when the cracks have developed. Its a bit of a bodge really on Volvos behalf because it is where the 100 series would have a quarter light window with an extra pillar that was bolted to the door frame, therefore strengthening it.


Now a part that has been getting me down and a bit demotivated was the roof. There are a few wobbles in it where the panel has been sanded and the metal flexes over the strengthening bar. Given that so much work has gone into the roof swap and the fact that the roof is such a visible panel, I wont settle for anything less than perfection here. I might need to make some sort of strengthening jig to put inside the car pressed against the roof to stop the panel flexing. I have left this job for the time being though as it was demotivating me.


In an attempt to bring my motivation back up I decided to restore and modify my rear lights. These are USA spec rear lights I bought off ebay last month. Its amazing how much better looking they are compared to the UK spec equivalents. The reason they are different is because UK regulations state that the brake light has to be 100mm from the fog light, but I have a plan ;)

I picked up this LED rated at the equivalent of a 21W bulb that is intended for fitment inside existing lights. Luckily the reverse light lens of the offside light was already detatched from the light So I refurbished the reflector with chrome paint and drilled the hole for the foglight.


I noticed that the side of the lens was quite ugly because Volvo had oversprayed the original chrome paint when assembling the light, which can be seen through the lens. I made some black panels and attached them with badge tape to cover this, and I think it looks quite cool actually! If I decide I don't like them black, I can always take them out and paint the white or silver.


Flatted the lights with 600 wet to remove some casting marks, poor shape, and the numbers and markings from the surface. Then flatted with 1200 wet and buffed them. They look lovely now!


This is how they look fitted.


And with the foglight on


Im also going to do some modified wiring to make the tail lights a 21/5W stop and tail light, in addition to the standard brake light for a more visible brake light. This needs to be de-activated though when the fog light is on to make it legal as it will be next to the fog light.

Hopefully some more progress soon.

Steve

P.S:

Some motivation I found on the internet :) Imagine it lower with bigger wheels :D

 
Nice work, good to see your enthusiasm. :nod:

But i'm not so sure about your roof change method. Will that bonding be strong enough to not crack up the bondo?

My brother has the same story with his Audi Coupe, except the one who cut the roof, missed up the first cut, and they had to weld up the quarter... They used epoxy bonding with welding, as i know. Here is a picture after sandblasting: Roof

Well, that cracked up the bondo, so bad: Crack

So he purchased a whole roof. :lol:

Then this happened.

We still have to weld up the roof, waiting for a guy with a spot welder to make it good enough. We did not think in any other way, because the roof is a special area in our opinion. :roll:
 
Last edited:
So, bit of an update, and a bit of a moan.

We'll start with the update.

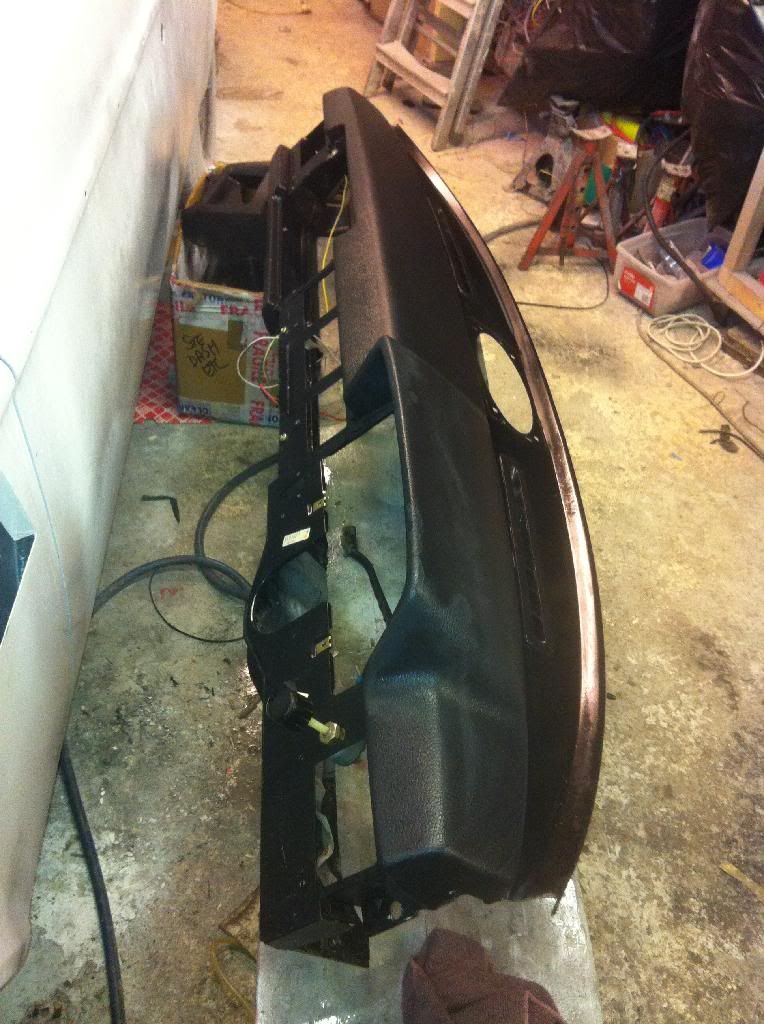
I sorted out all my wiring loom, removed some dodgy previous connections and inspected and repaired a couple of previous scotchlok joints (the work of the devil). I also removed any engine related stuff (not that there was much, being originally a B21A carburettor engine) because I wanted to keep the engine wiring loom seperate and so that its easily removed as and when Thor phase 3 happens ;)

I also properly deep cleaned my dashboard with a scrubbing brush and vector soap. In doing this I also removed some overspray from when i painted the engine bay.


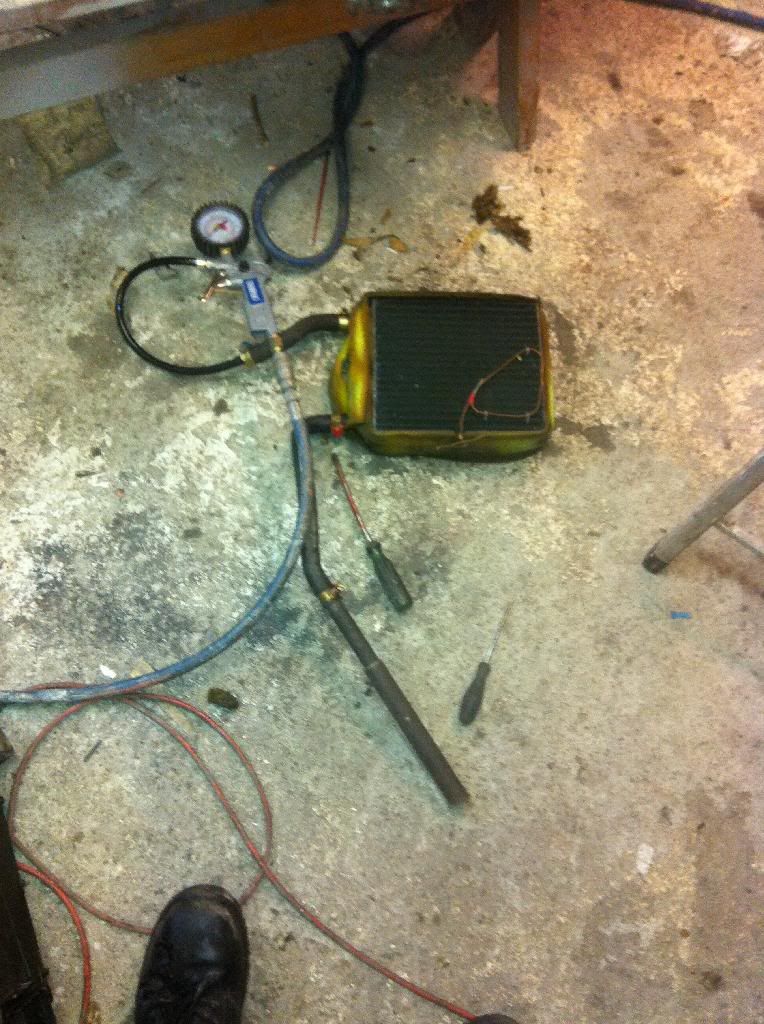
Also pressure tested (with air, though someone told me off for this on facebook, but hey i like to live life on the edge :p
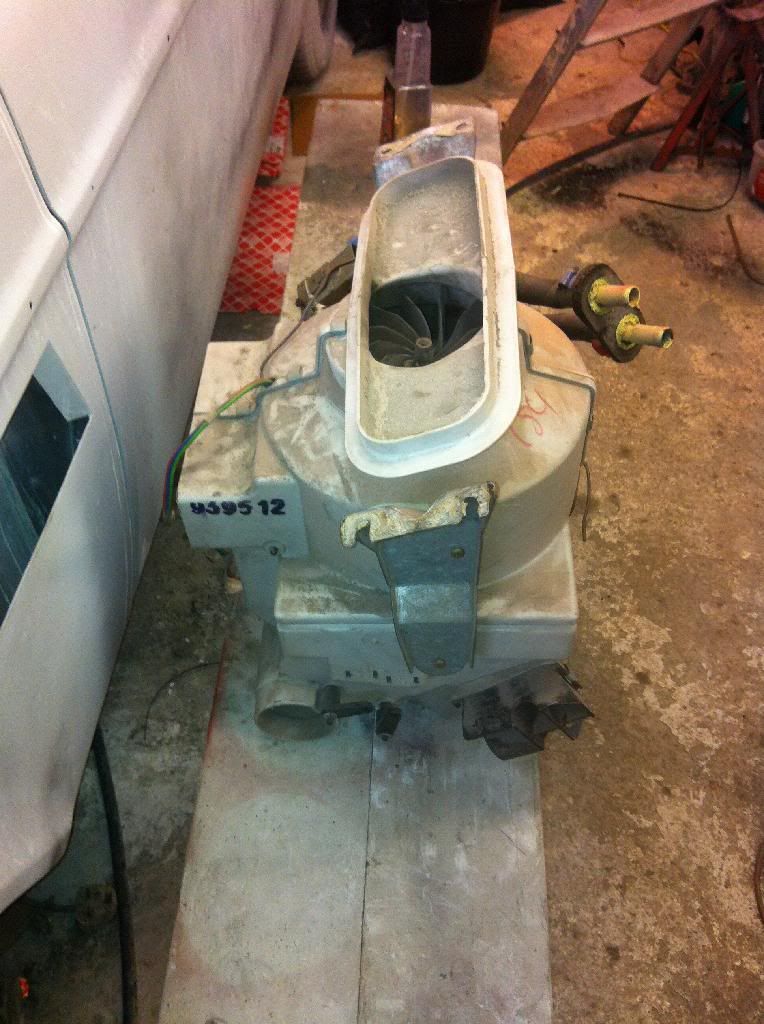
) the heater matrix, which is fine and I have refitted in the heater box and also oiled the fan bearings with some ATF as has been recommended


Dashboard partly fitted


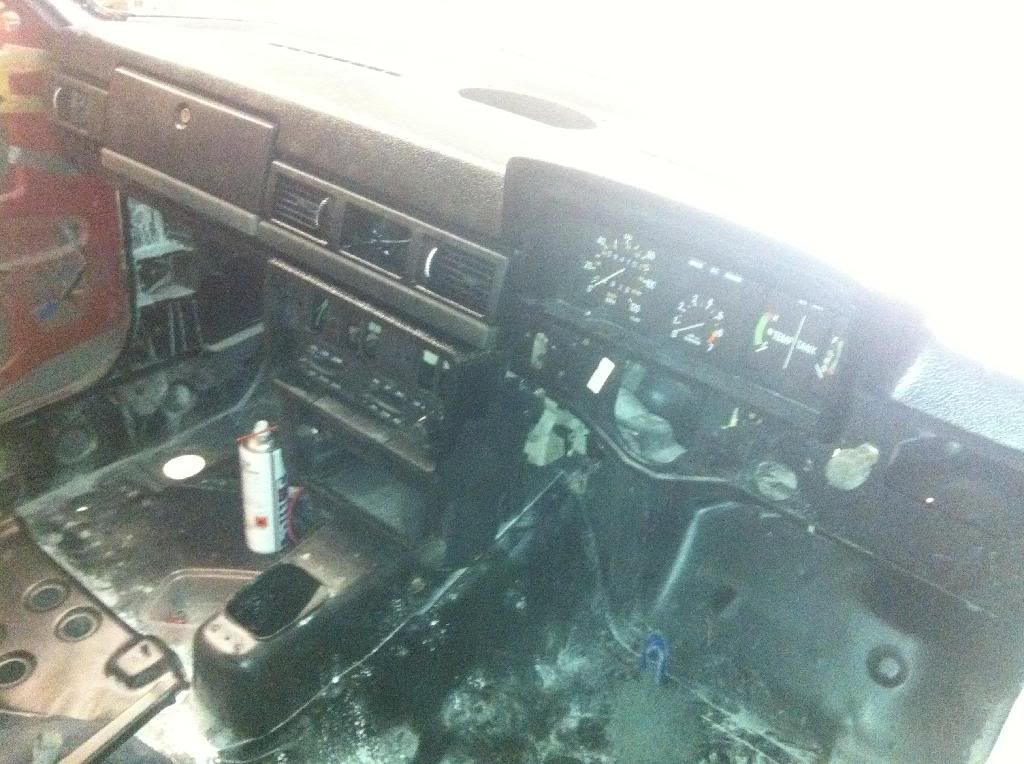
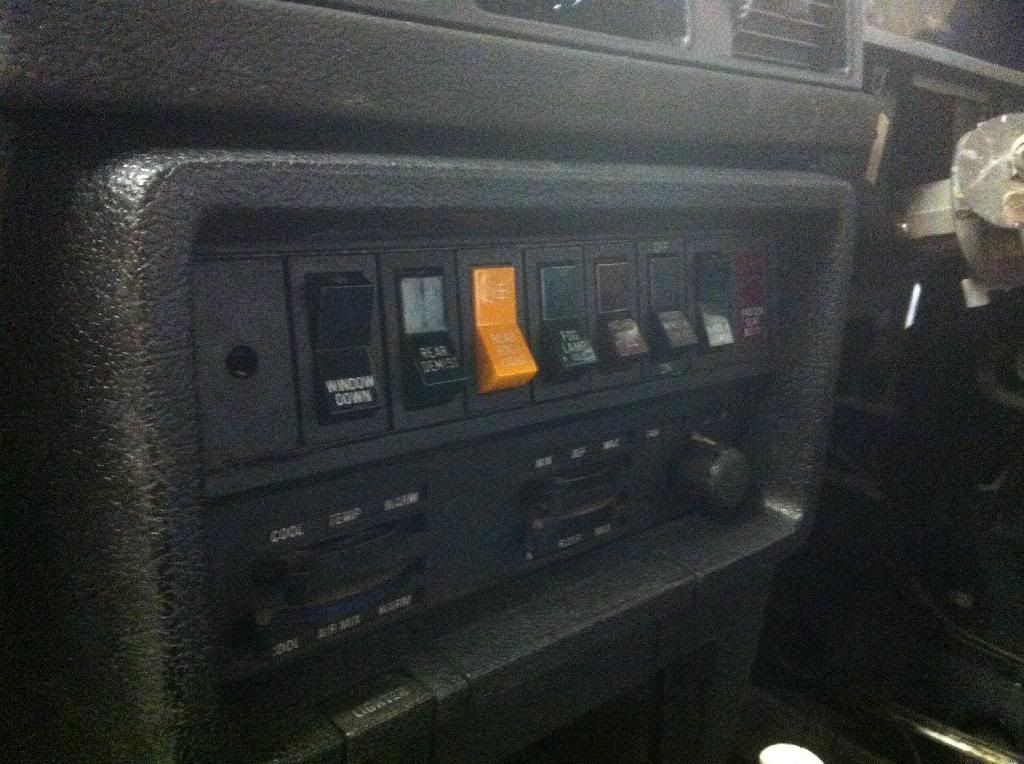
Fitted the centre console and found a full row of switches. I love those early style multicoloured clunky switches!


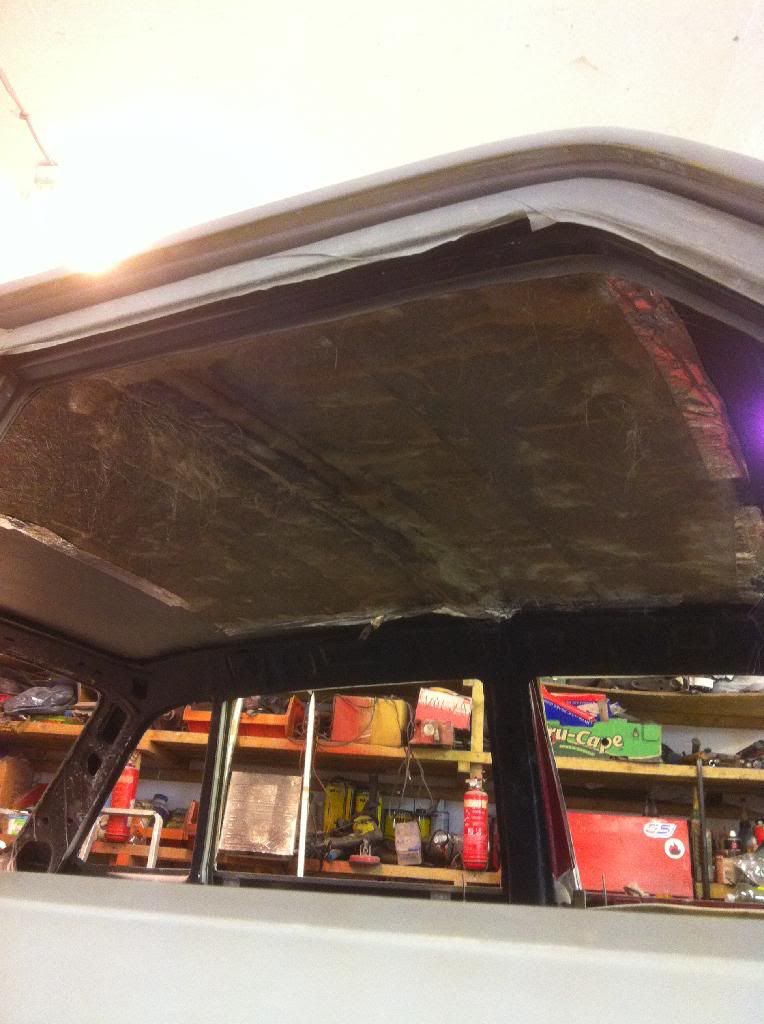
One thing that had been annoying me was the roof - I was still struggling to get the shape right with the roof moving around about the strengthening beam. We decided we needed to either strengthen the roof panel, or build somesort of temporary structure to support it while it was flatted.

We decided on strenthening the panel with fibreglass. At first I was a bit dubious about this idea as I always think of fibreglass as a bit of a bodging material. After some thinking though it was decided that this would actually be a good idea, because fibreglass is very strong, and would if anything only add extra sound proofing to the roof panel.

No photos, but this has definitely worked. I re-primered the roof and put some stopper in some wobbles, and ive got it much much better now. Still a little bit more work to do, but it has almost certainly solved the problem.


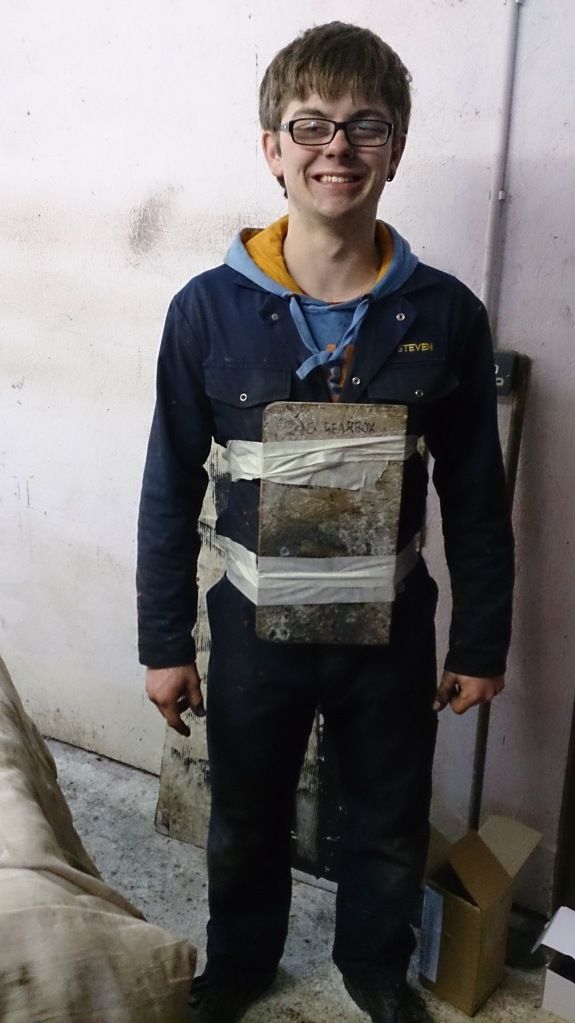
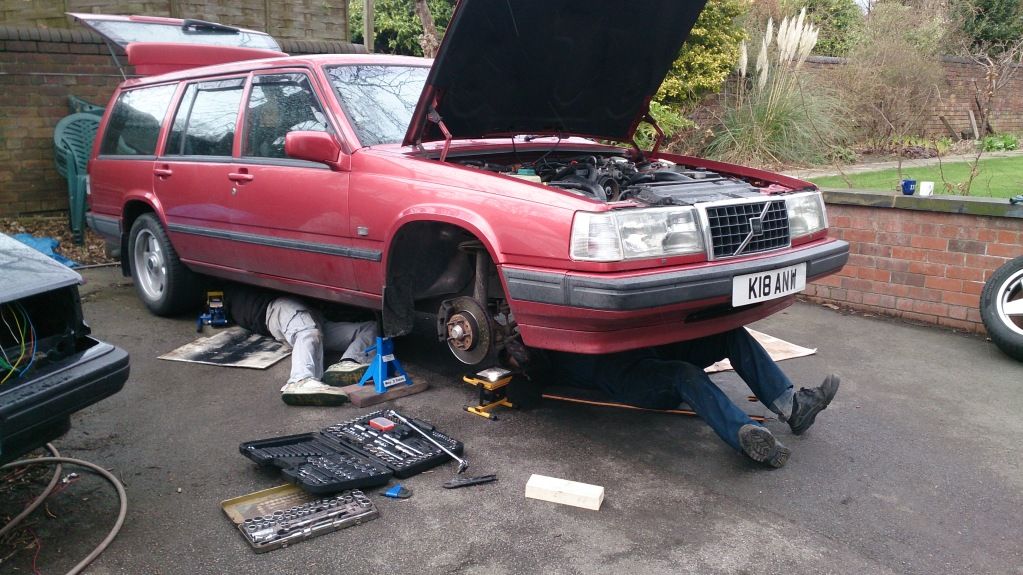
A bit of humour - the volvo gearbox removal tool coming in to use yet again to do kirans clutch upgrade. He is mega impressed with the upgrade to a solid dogdish flywheel and diesel clutch Vs his standard clutch and dual mass flywheel. I will definitely be doing this on Thor.


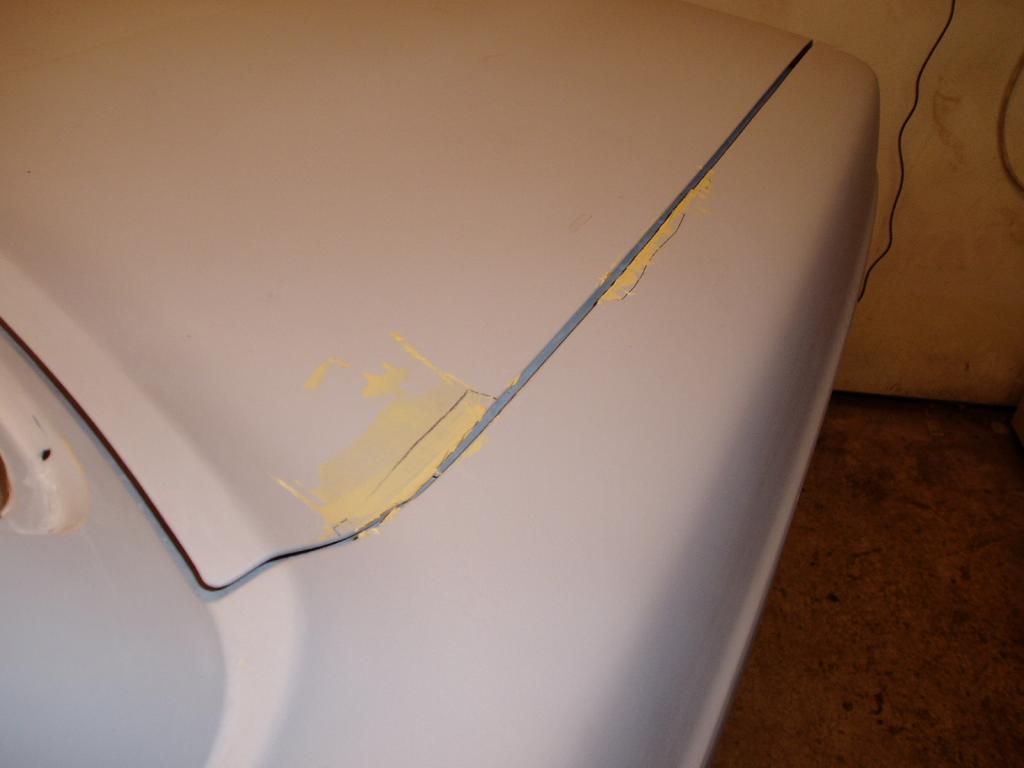
And a few little corrections and filling pin holes


I fitted my R-sport cluster temporarily for some inspiration. They look absolutely brilliant. Cant wait to see that rev counter spin up for the first time!


Now the complaint - im at a point now where I really want to see Thor in paint. Im bored of having a car and a half now (i.e. the GLT and a shell in various states of paint prep and no engine). I keep having little bursts of motivation and getting a little bit done here and there, but then it feels like 2 months passes in between, and at that rate its going to be 5 years before it even sees paint. I need my mojo back!

Give me some motivation! Tell me how awesome it is going to be, post some pictures!

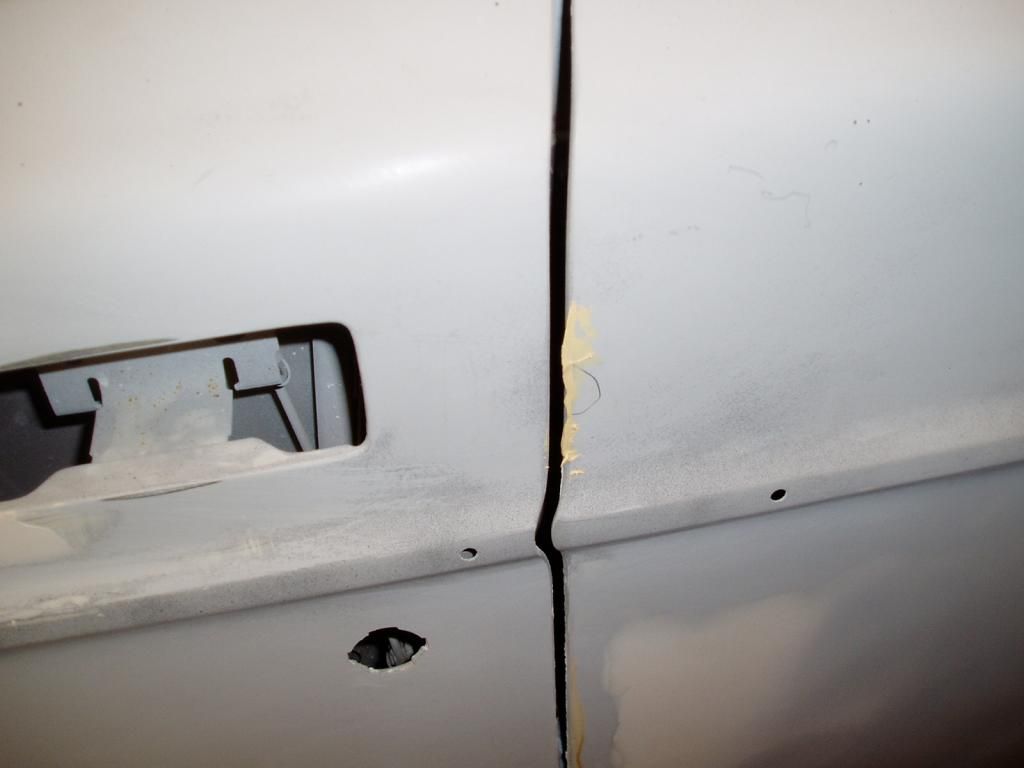
In the meantime, what im going to do is try and prep a rear door and 6 inches of surrounding paint, just so i can do a test patch of painted orange that i can look at for motivation. I know its a waste of paint and materials, but if its costs me ?40 in materials, but it gets me my mojo back, its well worth it.

GO!

Steve
 
Maybe so, but it's nowhere near any standard I would settle for right now.

If I could have two weeks off work and be super motivated and spend 14 days of 8am til 9pm solid work, I could paint it. So it is close, just not close enough!
 
Back
Top