• Hello Guest, welcome to the initial stages of our new platform!
    You can find some additional information about where we are in the process of migrating the board and setting up our new software here

    Thank you for being a part of our community!

24D's 242 "build"...yea...I know it's late

24DinCT

Don Juan De La Nooch
Joined
Jan 27, 2008
Location
Rusty buttcheeks and busted doorhandles,CT
This thread is a bit late...but I will try to keep up with it as I go. I have a bunch of pics I will try to organize into something somewhat chronological (for my own records/sanity)...as this has been ongoing...and I have been lazy as to not start a thread years ago. That's just how I roll.

Here is the original FS thread for the car.
http://forums.turbobricks.com/showthread.php?t=157702

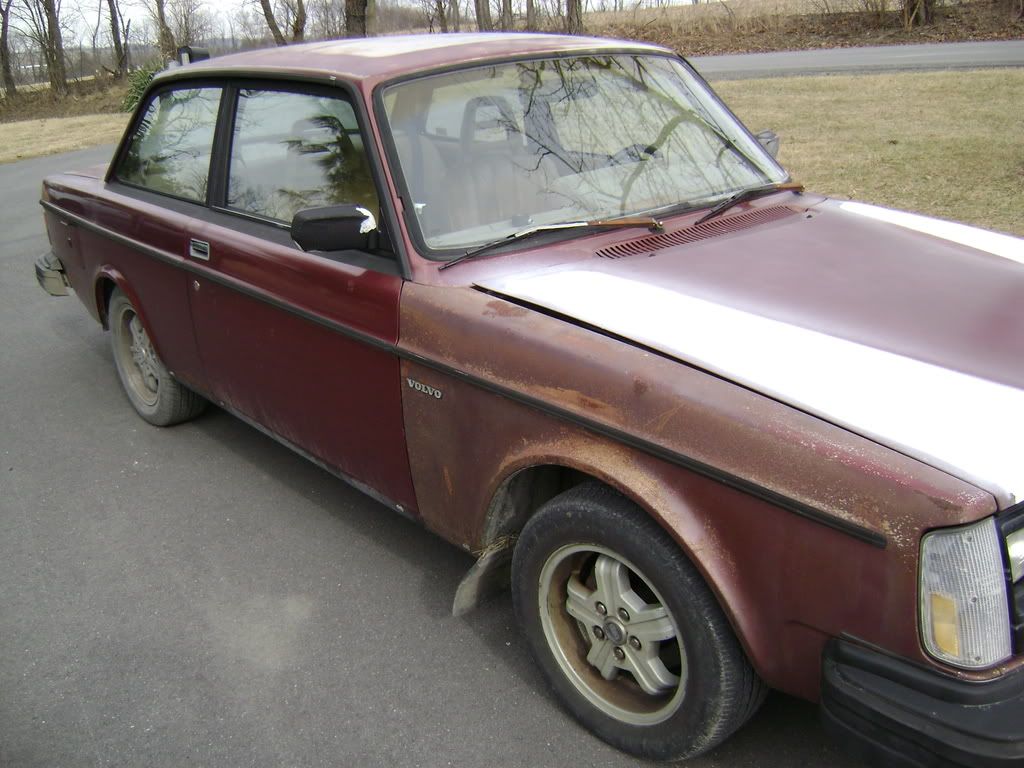
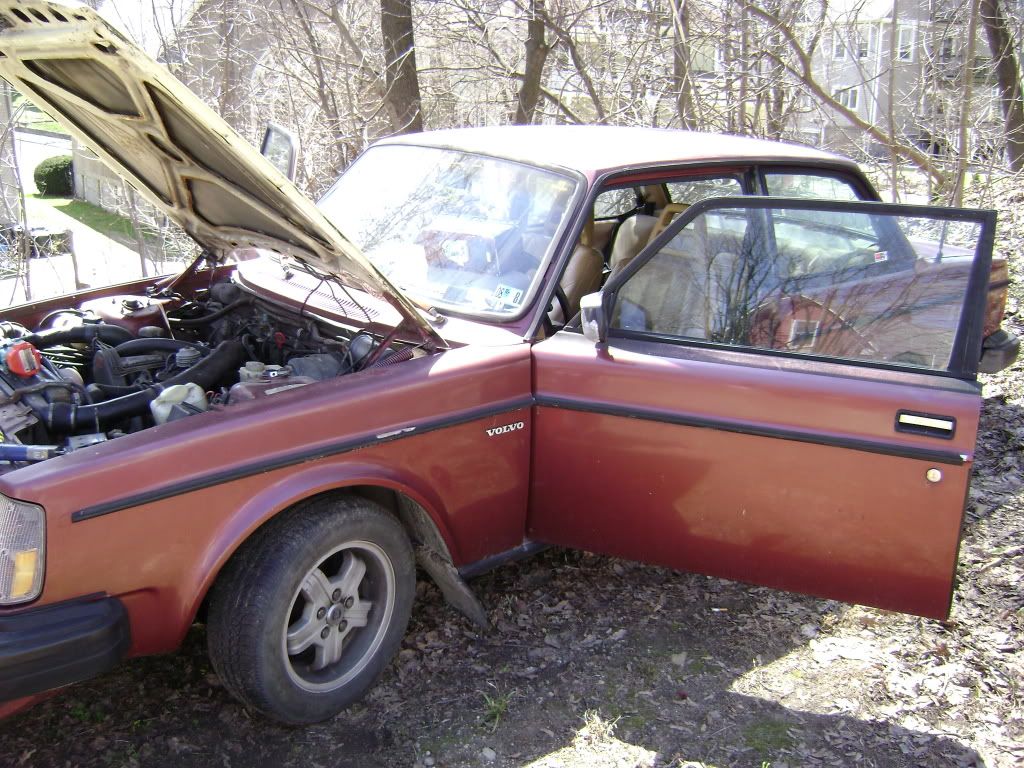
Pics from when I picked her up...early March 2009. I liked the murdered out nose.


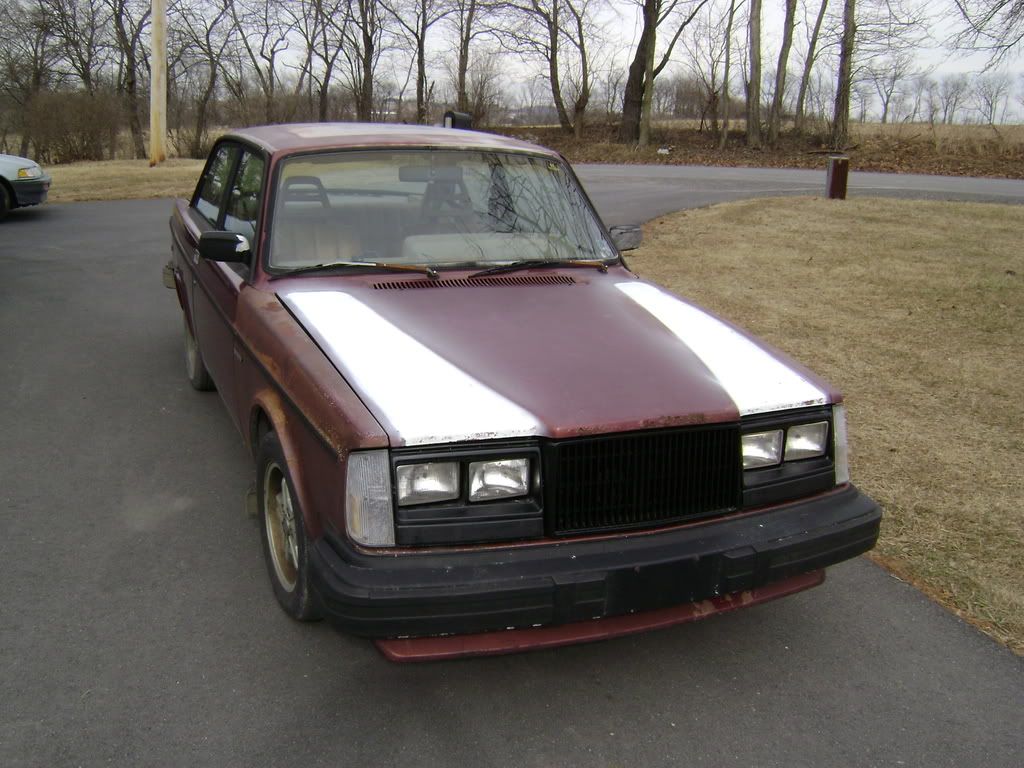
A few hundred miles and a few hours later...she's home. Finally made it within about 30 minutes of being home and the weather turned into heavy snow...which wouldn't have been an issue IF the wipers worked.

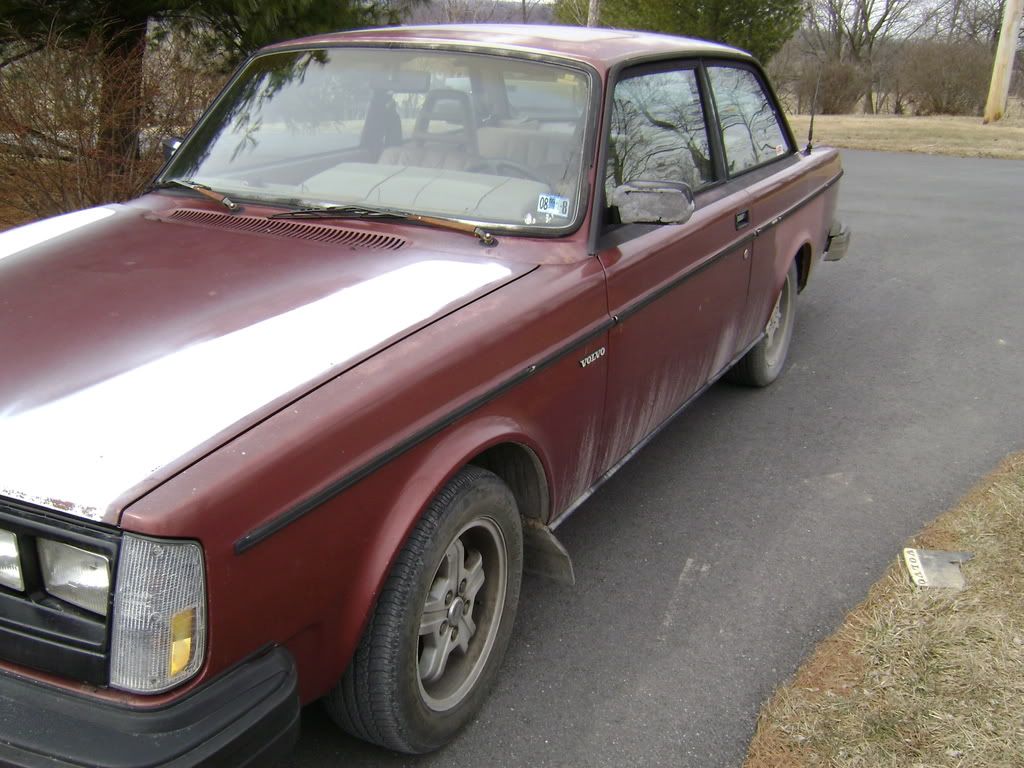
A road trip to VT for some growlers from Magic Hat Brewing helped to add a nice white flat hood from Bob...Thanks again!

The work begins!
First order of business...swap on a flat hood. When that was done...I got onto fixing a few of the small issues the car had at the time. The power windows didn't work due to a bad relay...so that was a quick fix. The passenger side power mirror wasn't working...but it was simply disconnected under the dash...thank god for easy fixes. The aforementioned wipers were also a quick fix due to the nuts on the wiper arms just being too loose.


Skunk-striped coffinhood had to go...with the quickness.


I had big plans for this car (widened, bagged, shaved, tucked, turbo 6 cyl swap) but I'll most likely end up keeping it somewhat stock and just getting her cleaned up/repainted with basic bolt on mods here and there.

I'll be editing and adding pics that I can dig up as I go along.
 
Last edited:
Nice, glad to see a showroom thread on this thing finally! You are underplaying how much work you have put into this thing!


Still a work in progress, eh!

I haven't done much...if anything...to the body at all.
It's always been a WIP...and as far as Travis's comment...there's still plenty of ugly left on it.

Its tricky to post pics and edit shtuff through my phone with a small screen. My home computer sucks and my internet is slow. Lol
 
A few more pics from acquisition time.


Filthy engine...can barely tell there's an IM bolted up!


Yanked the AC lines, drier, and condenser. Left the compressor in for the time being. Insert crappy firewall wiring pic here.
 
Last edited:
So this is more or less where she sat for a couple years. I'd occasionally pull her out and wash her down...but she's basically stayed the same. She's patiently waiting for me to get some work done to her.
 
Last edited:
Fast forward to around mid-2011 with bad windstorms...stupid hurricanes. Same storm dropped an 80 foot oak tree on my grandfather's house the same day!


Pic taken from inside my house. Yes...that's a tree that fell on 2 of my cars...including the 242. :-(

Luckily...there was very little actual damage. A small dent where the trunk meets the rear fender, another small dent on the driver's side roof rear corner, and the falling limb also snapped off the driver's side view power mirror.
 
Last edited:
Hahah okay just thought I'd ask :p
Can't wait to see where this one goes bro!
Doesn't hurt to try!

I wanna know where this goes too! Haha

Shortly after the storm...I started dicking around with the front grilles a little bit. Modified the stock coffinhood piece to sit flush for a flat hood...just for shiggles. I had sold the blacked out headlight bezels and replaced them with shiny ones. I have a full single-round front for it, as I was thinking that route...but I'm holding out for TVs. I had also sold the plain white flathood in lieu of a vented black one from Kitty & Shane in MA. And although all the original black belt-line trim was present and accounted for...it was in rough shape. It was dry and cracking causing it to disintegrate if you so much as sneezed if you were too close to the car...so it made its way into the trash. I was entertaining the thought of shaving all of the waistline trim anyway for a cleaner look.

Apparently...Bill was here.


Copped this bad boy from Mr. Buchka a while back. You can see how the falling tree decided to snap off the driver's side mirror. Yay


Got this one too....probably be up for sale soon.
 
Last edited:
2012-2013 work

Really couldn't get too much done on the 242 because the RMS on my 244 decided to let go...so I spent most of the summer like this.


And this...


Then...my buddies Camaro V6 decided it wanted to do things like this...


And this...


So "first order" to try to get to Stage 0 was to try and tackle the rotted electrical harness and any/all vacuum leaks. Replaced a bunch of vac hoses with red silicone hose I had left over from the +T on my 244. Also pulled the vacuum canister because the little valve on top had decided to totally fall off...as well as the hoses being shot.

The state of CT makes cars emissions EXEMPT after either 20 or 25 years (can't recall right now) so take THAT CA residents! Have fun with your "referees." I plugged the TB fittings where the hoses previously resided. The idle smoothed out much better and the pedal was definitely more responsive.


Aaaaaaaand the dreaded grey firewall plug
I was really surprised as the car started and ran decently well that this didn't cause more issues than it did....


Disintegrated starter connections


Overall greasy, leafy mess.
So the IM had to come off to not only clean but to also replace the harness and heater hoses. The hoses were OK but while I was already in there I decided to replace them anyways. You can see the yellow wire for the coolant temp gauge JUST above the plug for the CPR...completely gone. No wonder the gauge didn't work!

 
Last edited:
Got some fresh wires and plugs for the firewall from DaveBarton.com to replace the stock crap.


All soldered and heat-shrinked up...nice nice


Onto the main engine harness...I sourced an updated replacement harness...but it needed a little work.
All of the main plugs were good and the insulation was good as well...but the female spades for the oil pressure sender and alternator were mashed...as well as the main alternator lug...so fresh insulated properly sized female spades went on with heat shrink. I also did the same on the intake side with the yellow and grey wires (no pic of those though)...and the 2 wires for the microswitch at the TB.
 
Last edited:
Onto the IM...
All this nastiness was bothering me...so it had to go...


Put a wire brush to it...and it cleaned up a little bit.

Not too bad...
But I can do better


Too late to go back now
A little deeper in...

A little more...almost there


Aaaand we're good!
 
Last edited:
Polish it!
I was gonna...considering that it was only a little more cutting and then polishing...but then I remembered how much of a PIA it is to keep clean. Plus...I like the baby smooth matte finish it has now. You can see in the following pic I STARTED to polish it a little (toward the "front" side of the manifold plenum) just to see how it looked. It DID look good and really shiny...but I didn't wanna go that far. I had already had hours upon hours of grinding and sanding down the casting marks. Getting rid of all the "webbing" wasn't too fun either...but it definitely makes servicing those hard-to-reach areas between the runners a little more pleasant...as they no longer cut into the knuckles. :-)

Nice clean manifold temp fitted to dirty head.
Now the rest looks like crap...lol.

 
Last edited:
Now that the head looked like absolute dog poo in comparison...it was time to clean it up. I didn't have access to a pressure washer before everything was apart...so I started with degreaser...CANS of it...it works but it takes forever, involves scrubbing, and stinks to high hell.

Then I tried brake cleaner...which was way more effective than degreaser...but still involves some scrubbing time.

So I went this route instead...


Super fast results (literally less than a minute)... and ZERO scrubbing! Got into all the little cracks and crevices (like around the injectors/holders) where grease buildup likes to collect and is a PIA to try to scrub out.

This stuff works FAST...but it CAN and WILL eat at/through anything it touches. The red paint on the block (repainting anyways), the heater hose clamps, and the CPR show contact with the cleaner. At least a couple of my sensors look brand new though! :cool:

If anyone else should choose to go this route...I highly recommend it...but you need to work fast and do small sections at a time. Spray a little area...wait NO MORE than 30 seconds at MAX and rinse the area and surrounding areas VERY liberally with fresh water and then move onto the next area. If of doesn't clean out the area...you can always repeat the process.
 
Last edited:
Supa-clean! Looks much better against the manifold.


Now onto this ugly nonsense...


I pulled the spool off the bracket, hit the bracket with a wire brush, and painted it silver. Hit the spool with with my HF hand blaster with some aluminum oxide powder. Cleaned up nicely.


Followed suit on the TB...quick blast and clean the bore out with brake cleaner. This thing was black and caked up with gunk inside. Not anymore!

 
Last edited:
A little block painting...


CPR needed a little attention after it came in contact with the Easy-Off...so it got blasted as well. Also put in some fresh black silicone vacuum hoses.


Scrubbed up the breather box and put in a new o-ring while I was at it and bolted stuff back in.


Dizzy got blasted and a fresh o-ring because the original was brittle and cracked.

 
Last edited:
Injectors and holders were next on the list.
The bosses were pretty dirty.


And the holder o-rings were probably the originals to the car as well...they were cracked and falling apart. Probably contributing to the funky high idle.


So fresh ones were acquired and installed. The smaller "inner" rings were in decent shape (perhaps previously replaced) but I replaced them anyways. After replacement they went in with a nice, tight, positive click.

 
Last edited:
Back
Top