AllisonCustoms
New member
- Joined
- Sep 3, 2012
- Location
- New Mexico
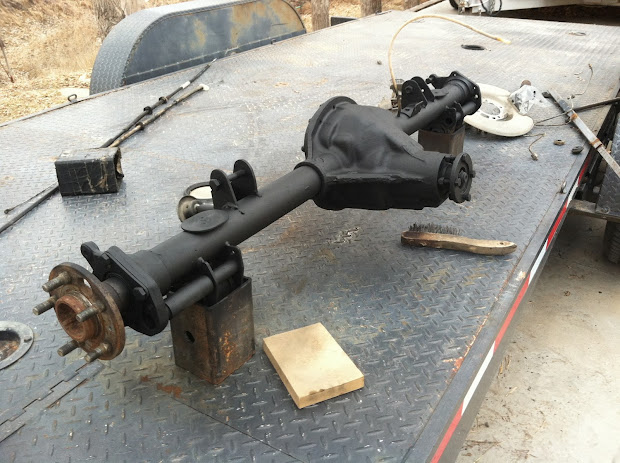
Neat 242 build...that Chevy is pretty cool as well.
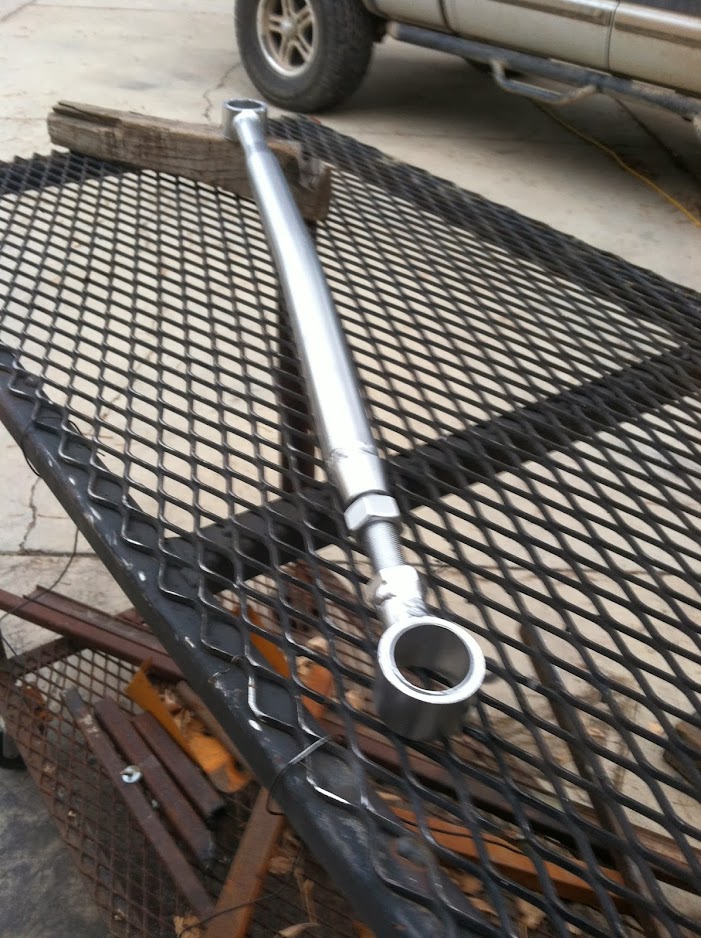
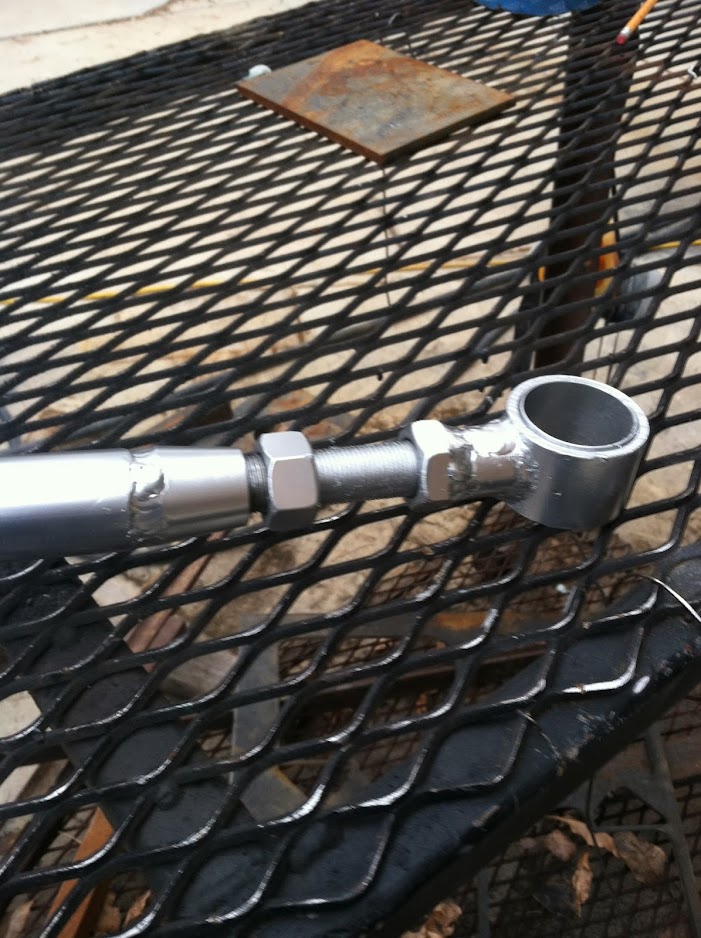
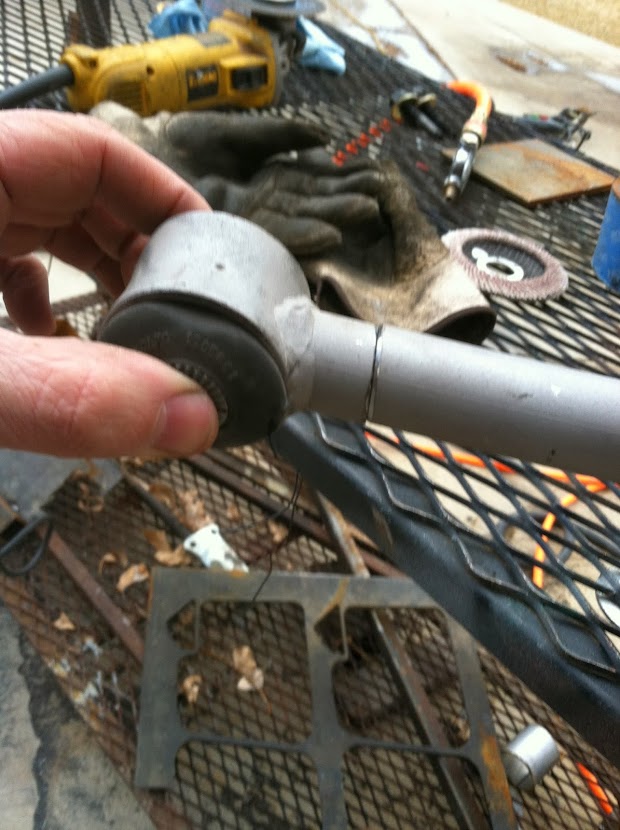
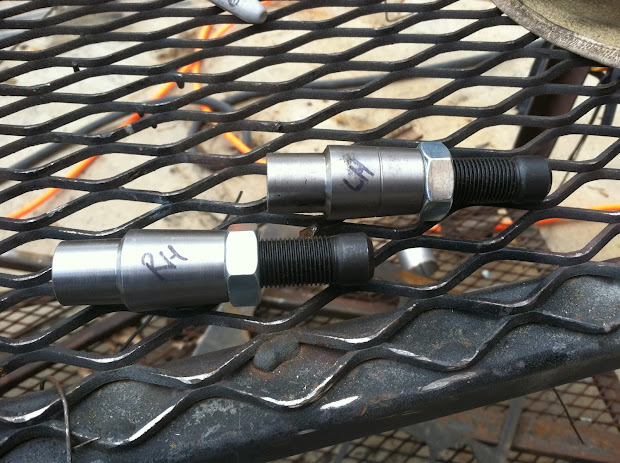
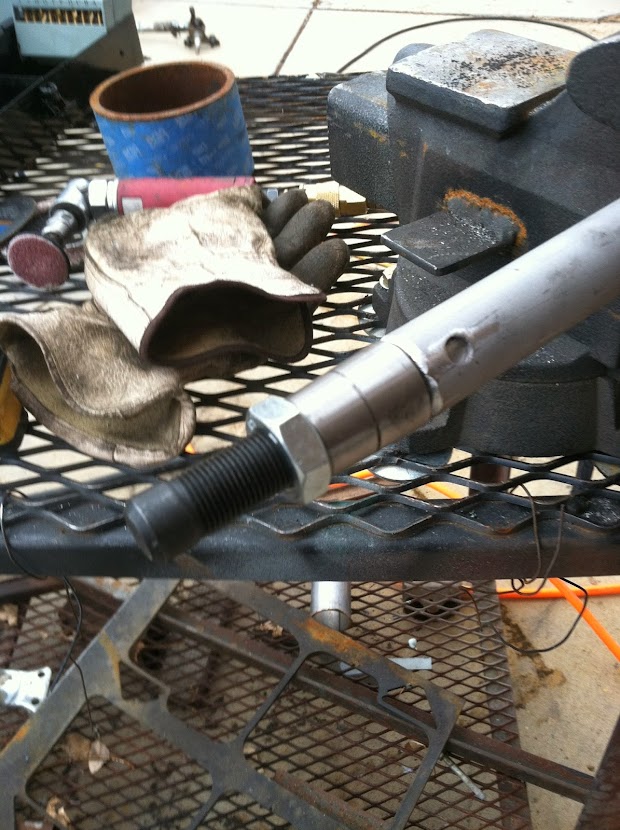
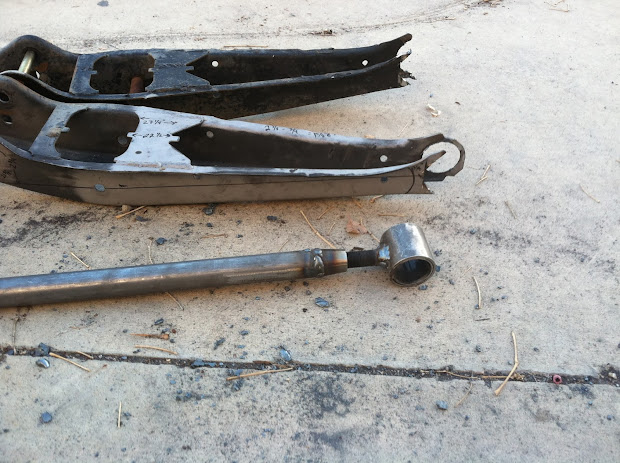
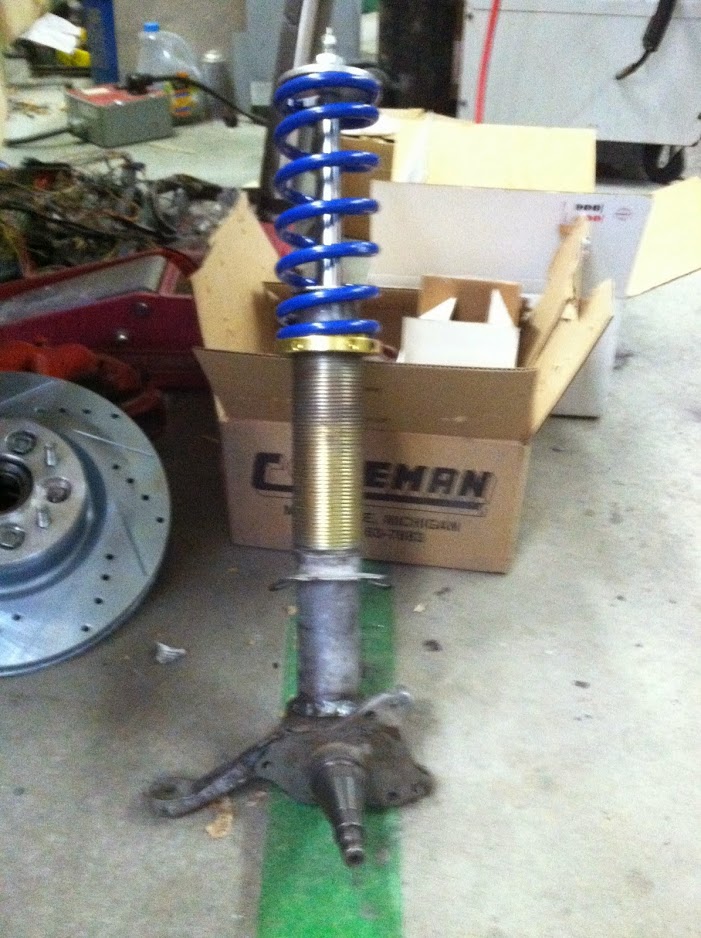
As for the strut... a "normal" person would go out and buy a lathe just so they could single point cut the threads...more tools man!
Your probably right about the lathe - should of thought more long term. No honey, we really NEED this very heavy and not at all complicated tool so that I can ____________(fill in the blank)