Canuck
Frozen Garage Hell
- Joined
- Feb 1, 2006
- Location
- Lethbridge, AB, Canada
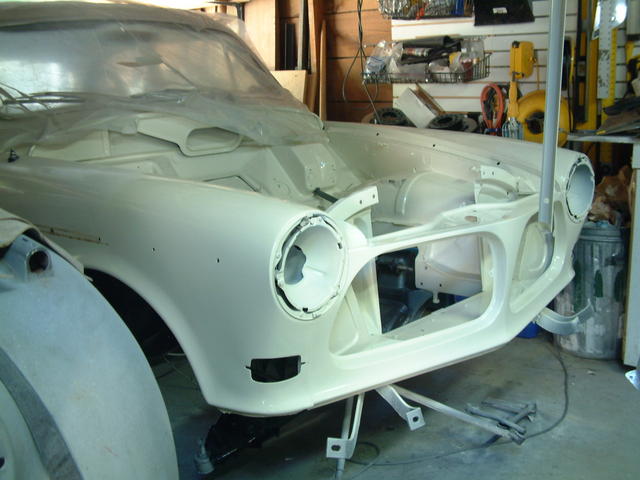
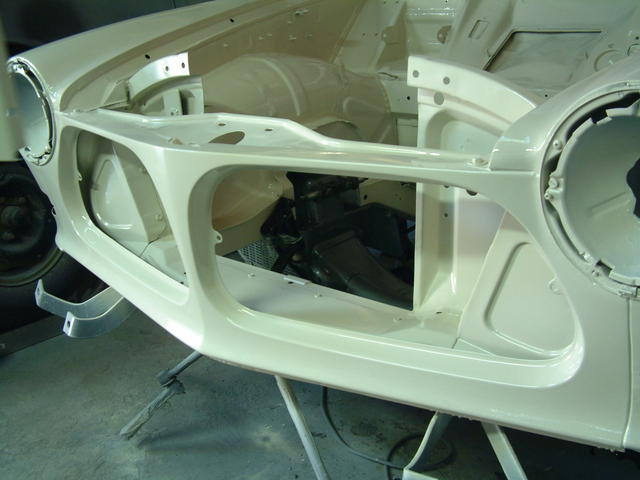
Not to sure where to begin with all this nonsense, but I thought I should get a project thread started. I'm midway through my engine swap and still have a way to go, but there is no turning back at this moment. The tired B18 came out of it's home last weekend. No photo's were taken of the process, but lets just say I'm glad my garage rafters are strong and exposed.

I decided to pull the head to make removal a little easier, and to be honest I was interested to see what the insides looked like. To my surprise, everything looked pretty darn good. No cross-hatch left on the cylinder walls, but I wasn't expecting any. The valves were not recessed, and while #4 looks rich, the rest were burning OK. #3's combustion chamber was oily - lots of carbon on everything.


One to the new engine...after spending hours polishing the block and head I wanted to make sure the paint was going to last. POR to the rescue again. I cleaned all the parts a dozen times and they were about as clean as it gets. This took a full day - not kidding. Then they were acid etched with the POR metal prep and given a coat of POR-15 sprayed right from the tin. It sprays very well - nice shiney black.
Then after it flashed off - I top coated it with POR engine enamel. This stuff is so thick it can't be sprayed...had to thin it with laquer thinner. Then it would come out of the gun! While the regular POR flashes in a couple of hours, the engine enamel takes 24 hours to recoat :shock: It was still tacky after a full day of drying. On with the second coat - even better. The gloss is crazy.


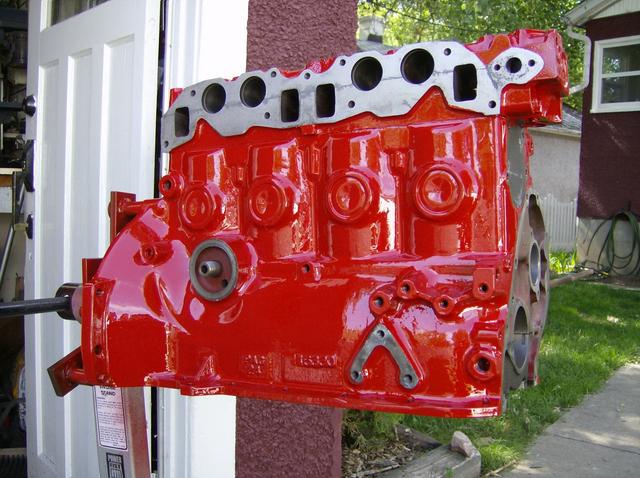
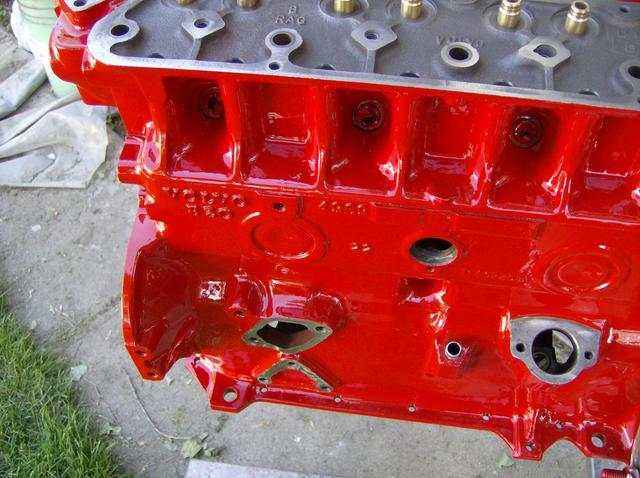
The paint had better hold up - I'm not planning on doing this again! Since the block and head were polished, the resulting paint is very smooth and shiney.
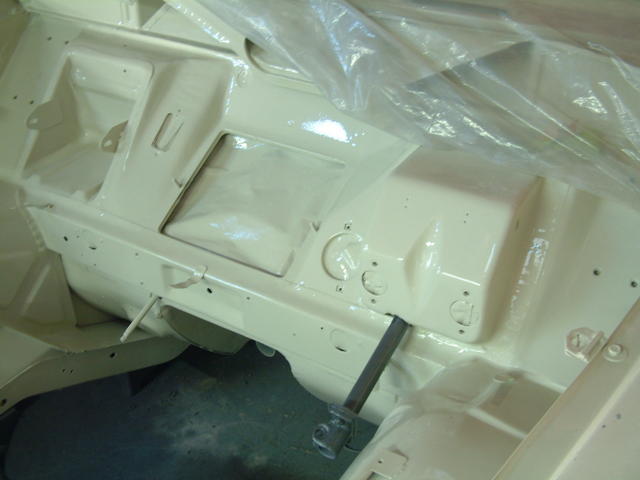
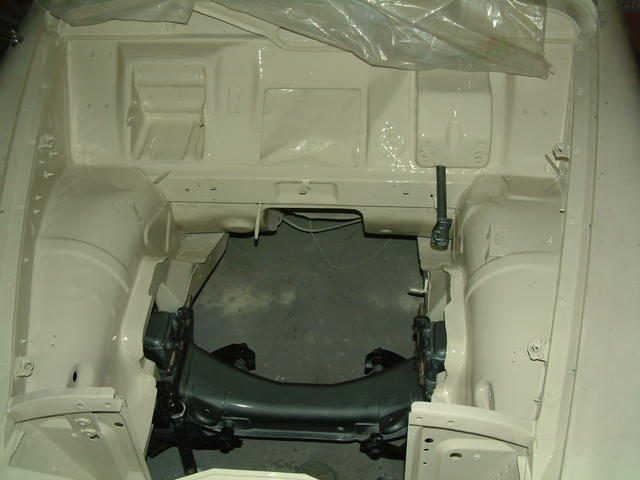
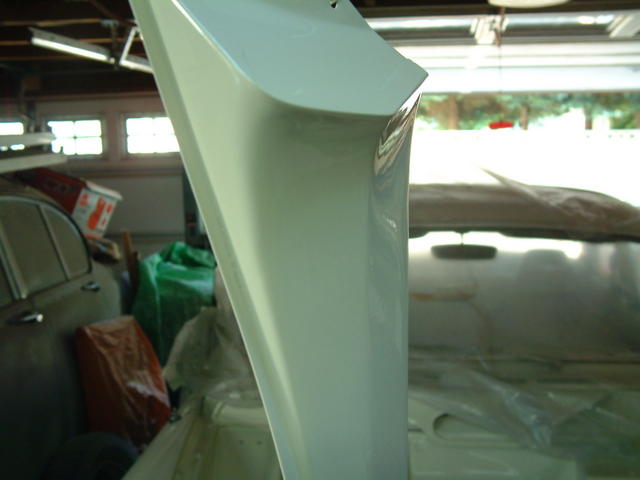
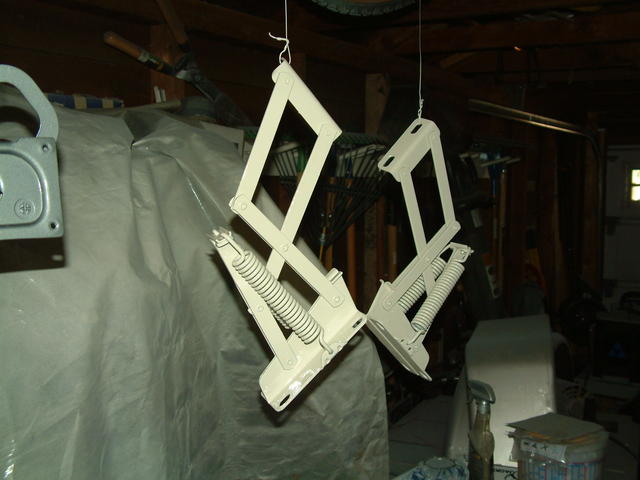
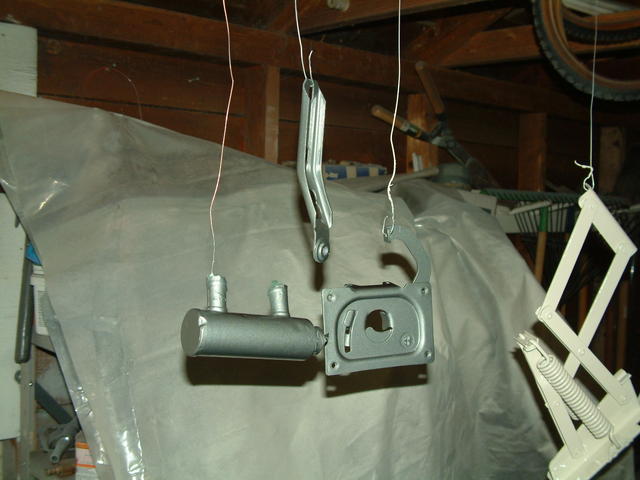
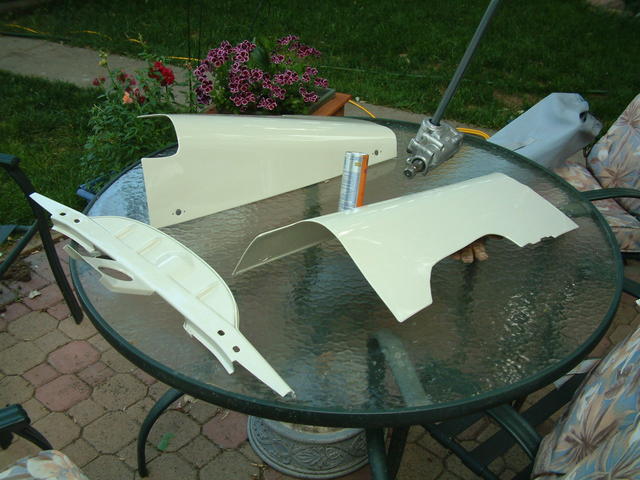
I've spent a lot of time getting everything else either polished or powder coated. Now I just have to get it assembled and put back in the car.


Engine details:
1975 B20 bored 0.030 over
Vintage Performance Head with 44/36 intake and exhaust valves -swirl polished
VPD Street Performance cam
ARP head studs
Polished and ceramic coated dual down cast manifold
Other Details:
The exhaust is 2.25" mandrel bent stainless steel.
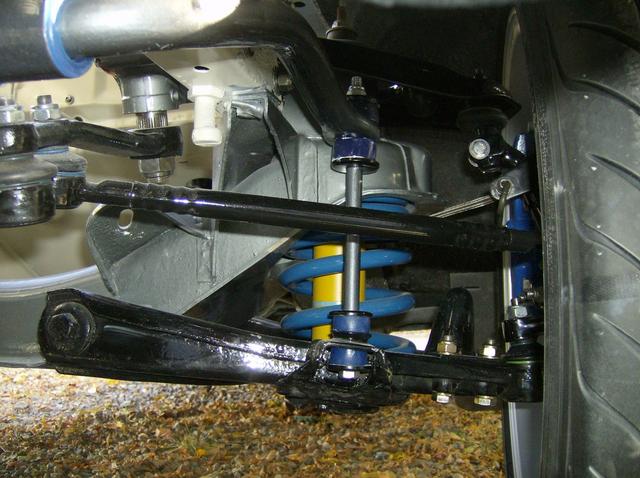
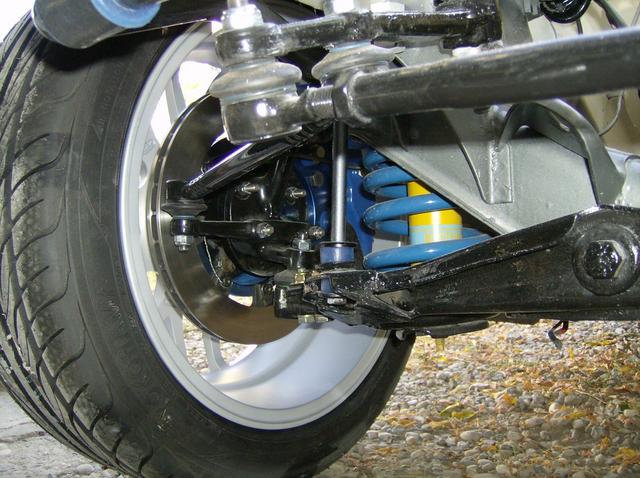
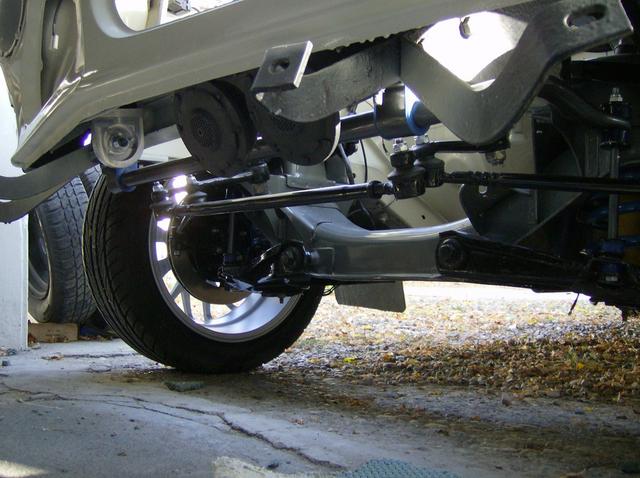
VPD suspension
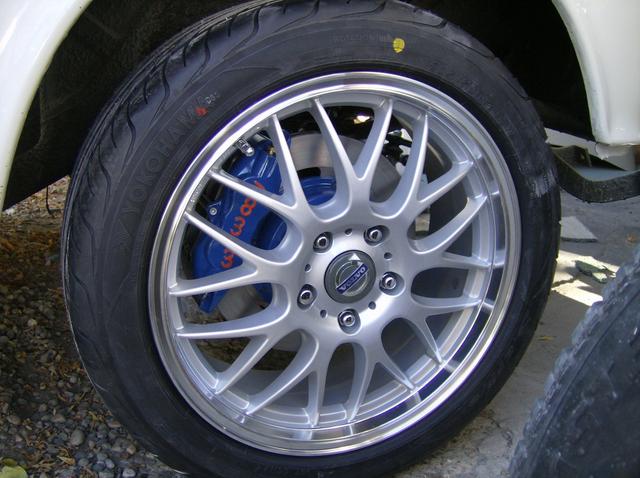
17X7 Wheels with Yoko S-Drive tires
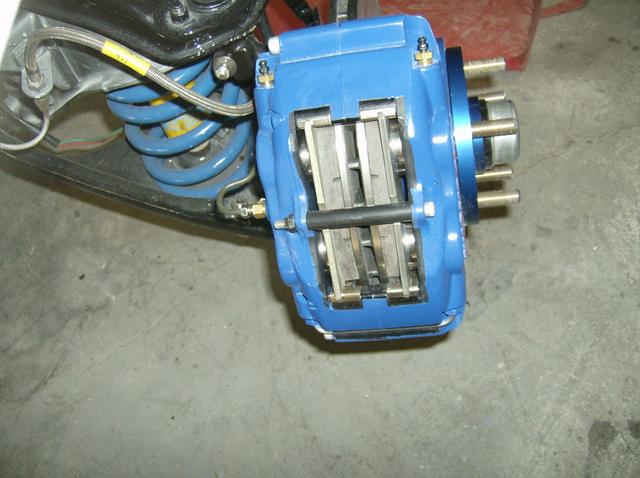
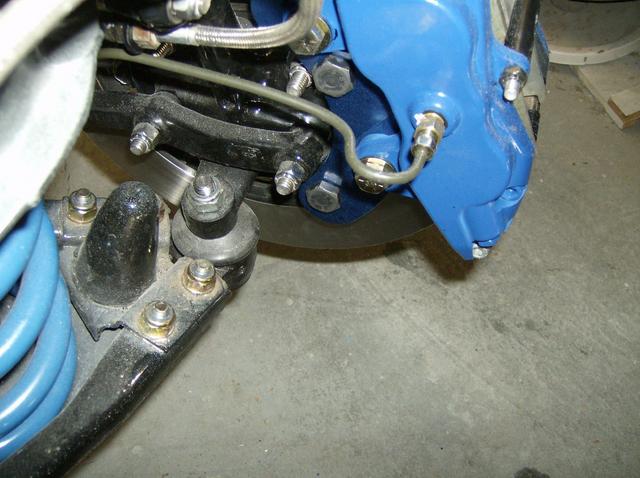
Wilwood brakes up front - 11.75" vented disks with FSL-4's with Q compound pads.
Rebuilt M41
240 1030 (smooth bottom - I know they don't exist) differential with TrueTrac 3.73:1 gears.
And a bunch of othe custom stuff that I've built.
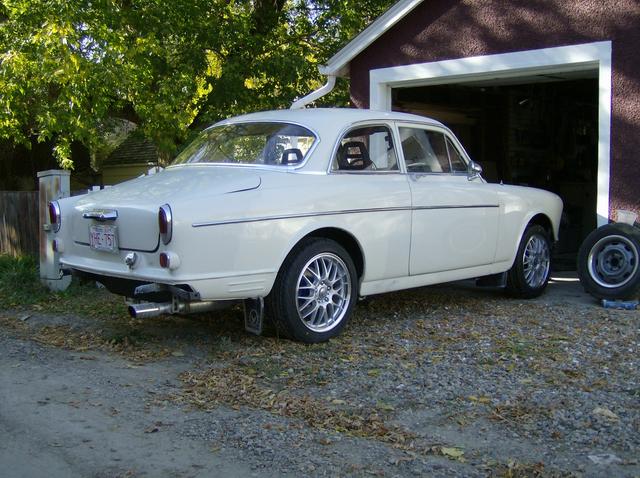
Here are some more photo's:
Dual down manifold


240 rear end install


Smaller stock wheel.

I decided to pull the head to make removal a little easier, and to be honest I was interested to see what the insides looked like. To my surprise, everything looked pretty darn good. No cross-hatch left on the cylinder walls, but I wasn't expecting any. The valves were not recessed, and while #4 looks rich, the rest were burning OK. #3's combustion chamber was oily - lots of carbon on everything.
One to the new engine...after spending hours polishing the block and head I wanted to make sure the paint was going to last. POR to the rescue again. I cleaned all the parts a dozen times and they were about as clean as it gets. This took a full day - not kidding. Then they were acid etched with the POR metal prep and given a coat of POR-15 sprayed right from the tin. It sprays very well - nice shiney black.
Then after it flashed off - I top coated it with POR engine enamel. This stuff is so thick it can't be sprayed...had to thin it with laquer thinner. Then it would come out of the gun! While the regular POR flashes in a couple of hours, the engine enamel takes 24 hours to recoat :shock: It was still tacky after a full day of drying. On with the second coat - even better. The gloss is crazy.
The paint had better hold up - I'm not planning on doing this again! Since the block and head were polished, the resulting paint is very smooth and shiney.
I've spent a lot of time getting everything else either polished or powder coated. Now I just have to get it assembled and put back in the car.
Engine details:
1975 B20 bored 0.030 over
Vintage Performance Head with 44/36 intake and exhaust valves -swirl polished
VPD Street Performance cam
ARP head studs
Polished and ceramic coated dual down cast manifold
Other Details:
The exhaust is 2.25" mandrel bent stainless steel.
VPD suspension
17X7 Wheels with Yoko S-Drive tires
Wilwood brakes up front - 11.75" vented disks with FSL-4's with Q compound pads.
Rebuilt M41
240 1030 (smooth bottom - I know they don't exist) differential with TrueTrac 3.73:1 gears.
And a bunch of othe custom stuff that I've built.
Here are some more photo's:
Dual down manifold
240 rear end install
Smaller stock wheel.