GTJordan
Been here for too long
- Joined
- Jul 6, 2002
- Location
- Edmonton AB
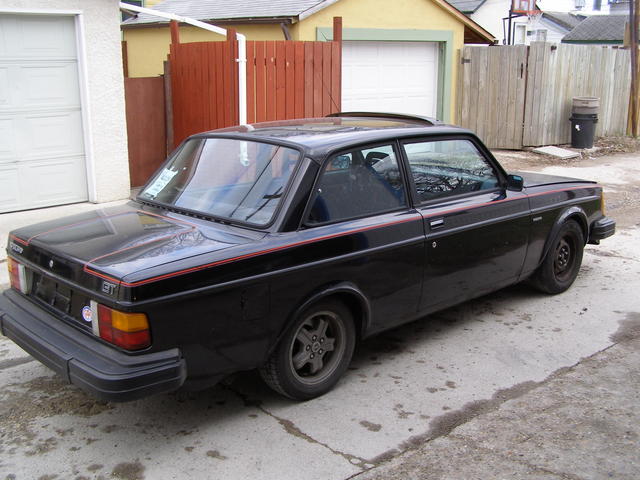
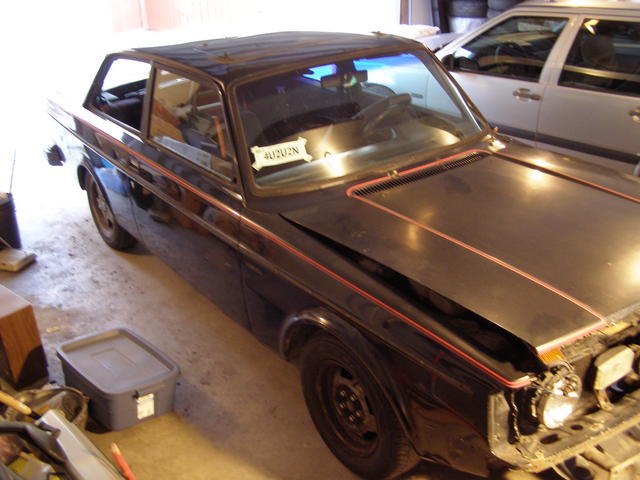
Welp, another GT, this is my second one. This one started life as an 80. Canadian market BLACK GT.
Easter of 2008 the wife and I were in Vancouver for a vacation and I started looking for a 242 for a project. Since my dad and my step dad, know a bunch of Volvo club guys since they have both been in there for YEARS I got to work calling some of thier contacts.
The day we left, I stopped and looked at a black 242 GT that the guy had used to get his SCCA license.
When we got to the car, it was covered in moss, had been sitting in the shade side of the guys apartment in the rain for 2 years or something. He assured me it ran, and that it had IPD suspension in it. Told him I would think about it.
When I got home (2800Km away) I had sort of decided that I wanted it, the guy said he would get it ready for the trip, and I started thinking about getting my brother to drive it out here. But 2 days later, I found out I was going to Vancouver for Volvo Factory training for a week. After a class of 8 Volvo techs laughed at me and gave me some phone numbers incase something happened I headed out on a 2800Km drive in a car that was last on the road in 1996, but was driven at a couple track days since then. Should also mention that the speedometer stopped working in the early 90's at 450K Km
Got it home, saftied it so I could register and insure it. Thats when the tear down started
The car is fairly rust free, the arches have some rust on them and one of the rockers has a small hole.
When I got it home
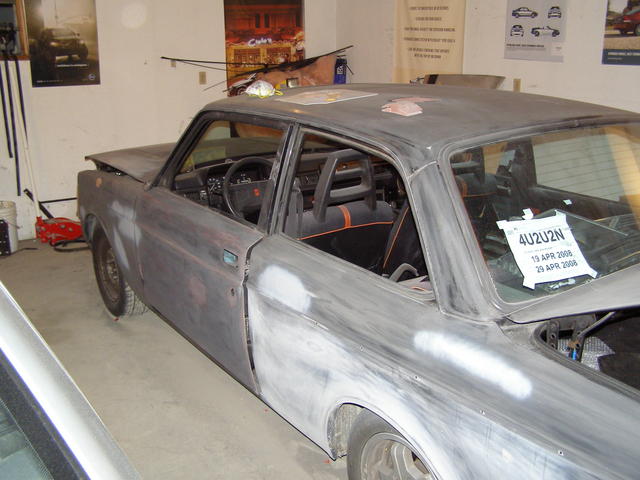
Started to stip it down to a rolling body
A little work to make it somewhat smooth
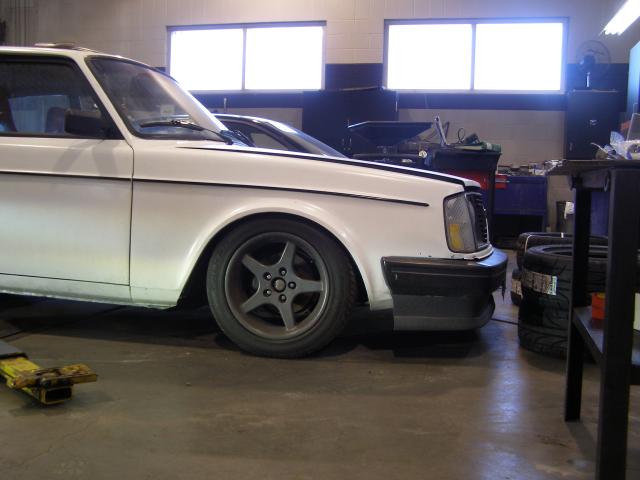
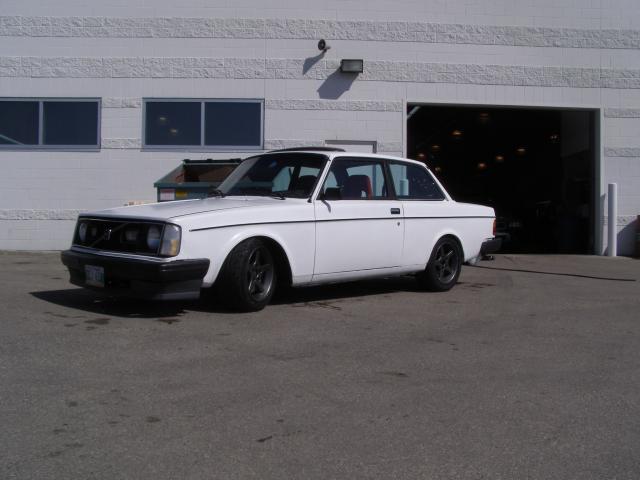
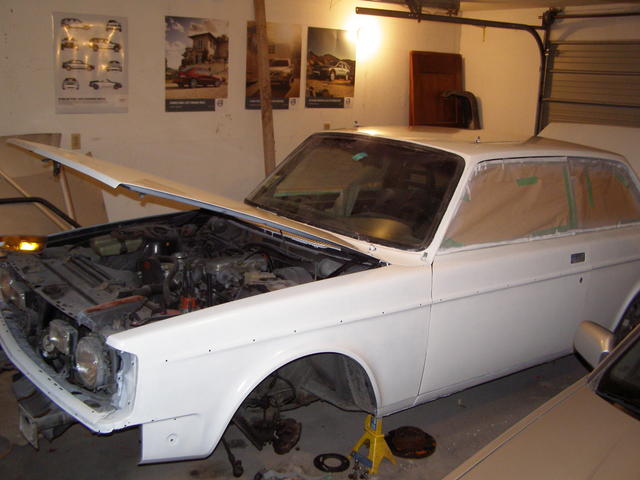
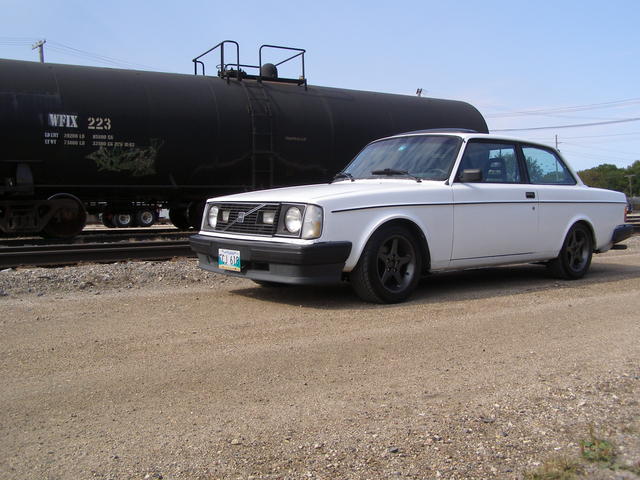
Then about 20 coats of white Tremclad (Rustoleum) later I had a white 242
But at the same time I wanted to put some goodies on there since I wanted to get into autocrossing
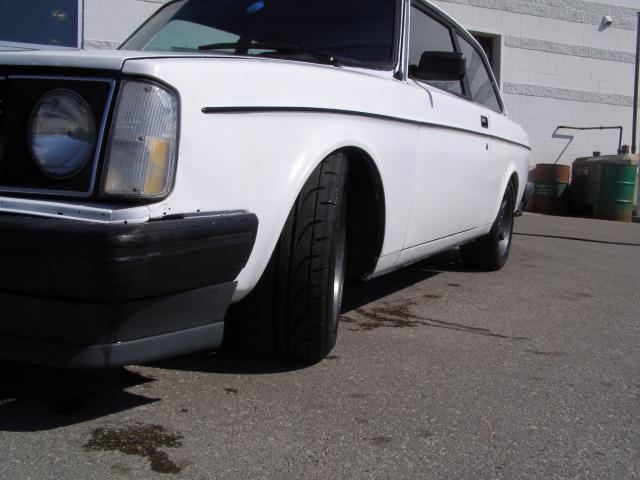
The car ended up only getting coil overs and Bilsteins installed, the wheels/tires also. But I didn't get around to putting anything else in since summer is short here and I wanted to enjoy the car. Spring rates were 250 front and 200 rear.
Also had Bens V1 camber plates. I'm not 100% happy with the design, not nearly as nice as the newer version. But I ended up with -2.2 Degrees of camber.
Front air dam is from a 93 850.
Took some pretty pictures
Over the winter I collected/did
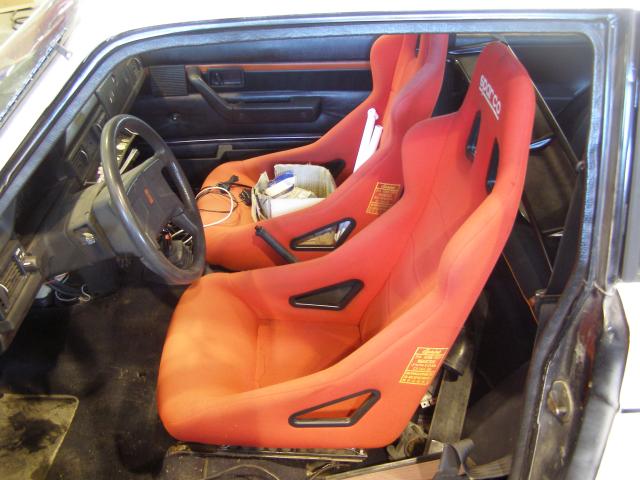
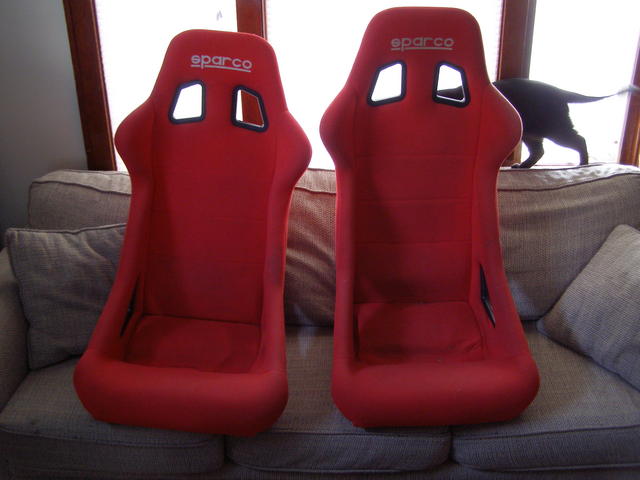
Installed Sparcos
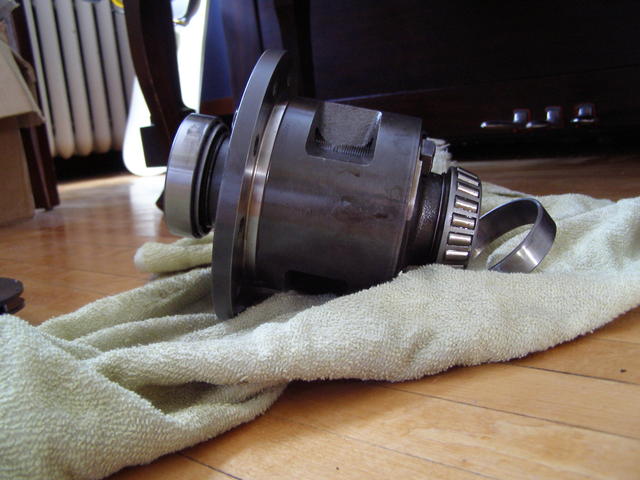
Installed True track with 3.91 rear ratio
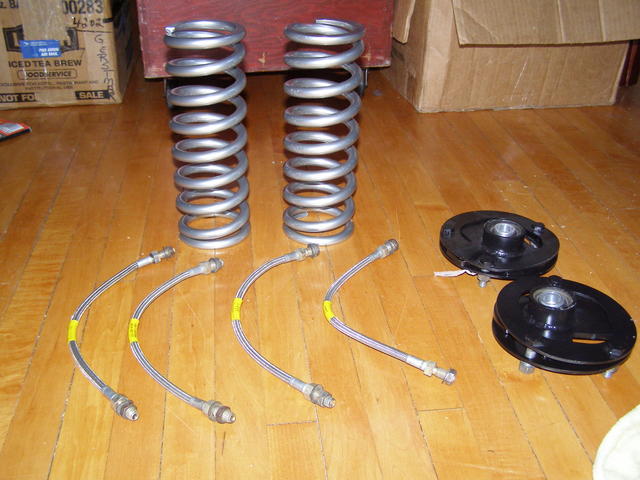
Went to a 300lb 8" spring in the front
Installed Poly bushings
Installed IPD Torque rods
Installed IPD Panhard Rod
Stahl Header
RSI Stage 1 NA Cam
Rebuilt 405 cylinder head
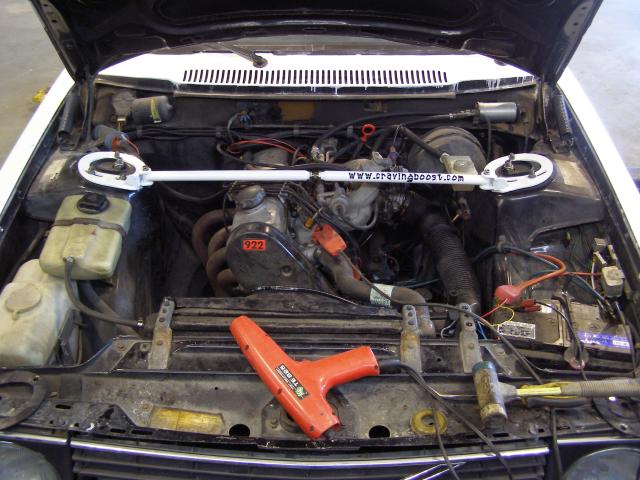
Craving boost Strut braces
Timing belt and front seals
Group-A wing
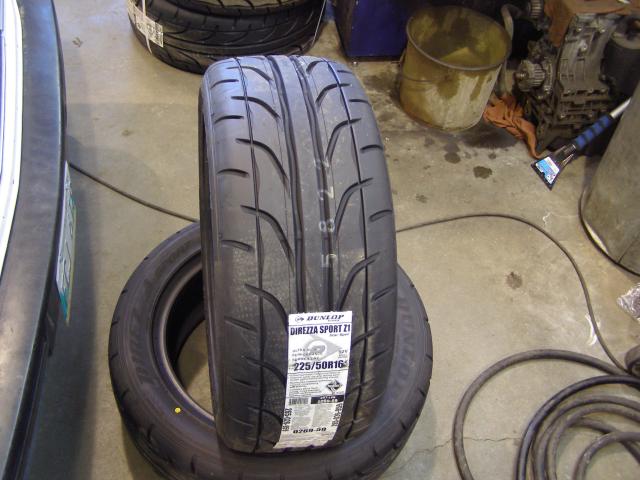
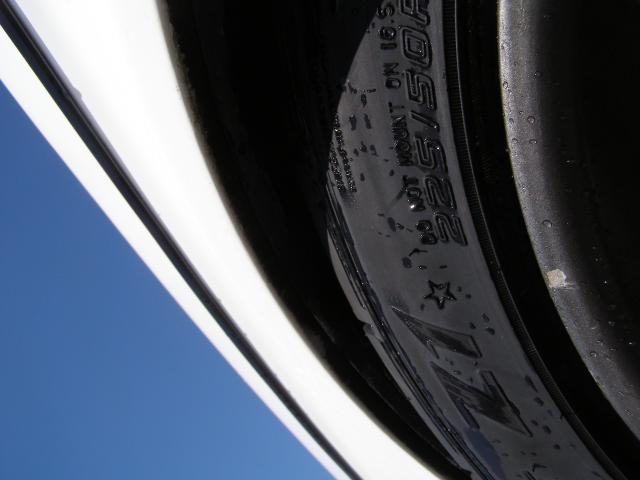
A set of Dunlop Dirreza Star Spec 225-50-16s
And right now I'm just getting ready to start the car on the MegaSquirt V3 MS2-Extra.
Thats how it sits now, at work. Haven't had much time to work on it the past couple weeks due to health issues.
On the agenda for next year I hope is
I have:
16V head
B230ft bottom end
GM T5 gearbox
Wilwood rear brake stuff Hope to have the fronts also by next year
You can see where that is going. But having a wife at school trying for Med school, I guess is a good enough reason to put off my car for her (I'm thinking long term here).
I'll get more pictures/updates the way the car is sitting now this week.
Jordan
Easter of 2008 the wife and I were in Vancouver for a vacation and I started looking for a 242 for a project. Since my dad and my step dad, know a bunch of Volvo club guys since they have both been in there for YEARS I got to work calling some of thier contacts.
The day we left, I stopped and looked at a black 242 GT that the guy had used to get his SCCA license.
When we got to the car, it was covered in moss, had been sitting in the shade side of the guys apartment in the rain for 2 years or something. He assured me it ran, and that it had IPD suspension in it. Told him I would think about it.
When I got home (2800Km away) I had sort of decided that I wanted it, the guy said he would get it ready for the trip, and I started thinking about getting my brother to drive it out here. But 2 days later, I found out I was going to Vancouver for Volvo Factory training for a week. After a class of 8 Volvo techs laughed at me and gave me some phone numbers incase something happened I headed out on a 2800Km drive in a car that was last on the road in 1996, but was driven at a couple track days since then. Should also mention that the speedometer stopped working in the early 90's at 450K Km
Got it home, saftied it so I could register and insure it. Thats when the tear down started
The car is fairly rust free, the arches have some rust on them and one of the rockers has a small hole.
When I got it home
Started to stip it down to a rolling body
A little work to make it somewhat smooth
Then about 20 coats of white Tremclad (Rustoleum) later I had a white 242
But at the same time I wanted to put some goodies on there since I wanted to get into autocrossing
The car ended up only getting coil overs and Bilsteins installed, the wheels/tires also. But I didn't get around to putting anything else in since summer is short here and I wanted to enjoy the car. Spring rates were 250 front and 200 rear.
Also had Bens V1 camber plates. I'm not 100% happy with the design, not nearly as nice as the newer version. But I ended up with -2.2 Degrees of camber.
Front air dam is from a 93 850.
Took some pretty pictures
Over the winter I collected/did
Installed Sparcos
Installed True track with 3.91 rear ratio
Went to a 300lb 8" spring in the front
Installed Poly bushings
Installed IPD Torque rods
Installed IPD Panhard Rod
Stahl Header
RSI Stage 1 NA Cam
Rebuilt 405 cylinder head
Craving boost Strut braces
Timing belt and front seals
Group-A wing
A set of Dunlop Dirreza Star Spec 225-50-16s
And right now I'm just getting ready to start the car on the MegaSquirt V3 MS2-Extra.
Thats how it sits now, at work. Haven't had much time to work on it the past couple weeks due to health issues.
On the agenda for next year I hope is
I have:
16V head
B230ft bottom end
GM T5 gearbox
Wilwood rear brake stuff Hope to have the fronts also by next year
You can see where that is going. But having a wife at school trying for Med school, I guess is a good enough reason to put off my car for her (I'm thinking long term here).
I'll get more pictures/updates the way the car is sitting now this week.
Jordan
Last edited:
 . Looks like an awesome base to work with.