
SLOTh_244
Member
- Joined
- May 6, 2009
- Location
- Las Cruces NM
Please keep us informed as to what settings and installation you use with the Abbott, would be nice to be able to reproduce it ")
Hello Guest, welcome to the initial stages of our new platform!
You can find some additional information about where we are in the process of migrating the board and setting up our new software here
Thank you for being a part of our community!
Please keep us informed as to what settings and installation you use with the Abbott, would be nice to be able to reproduce it


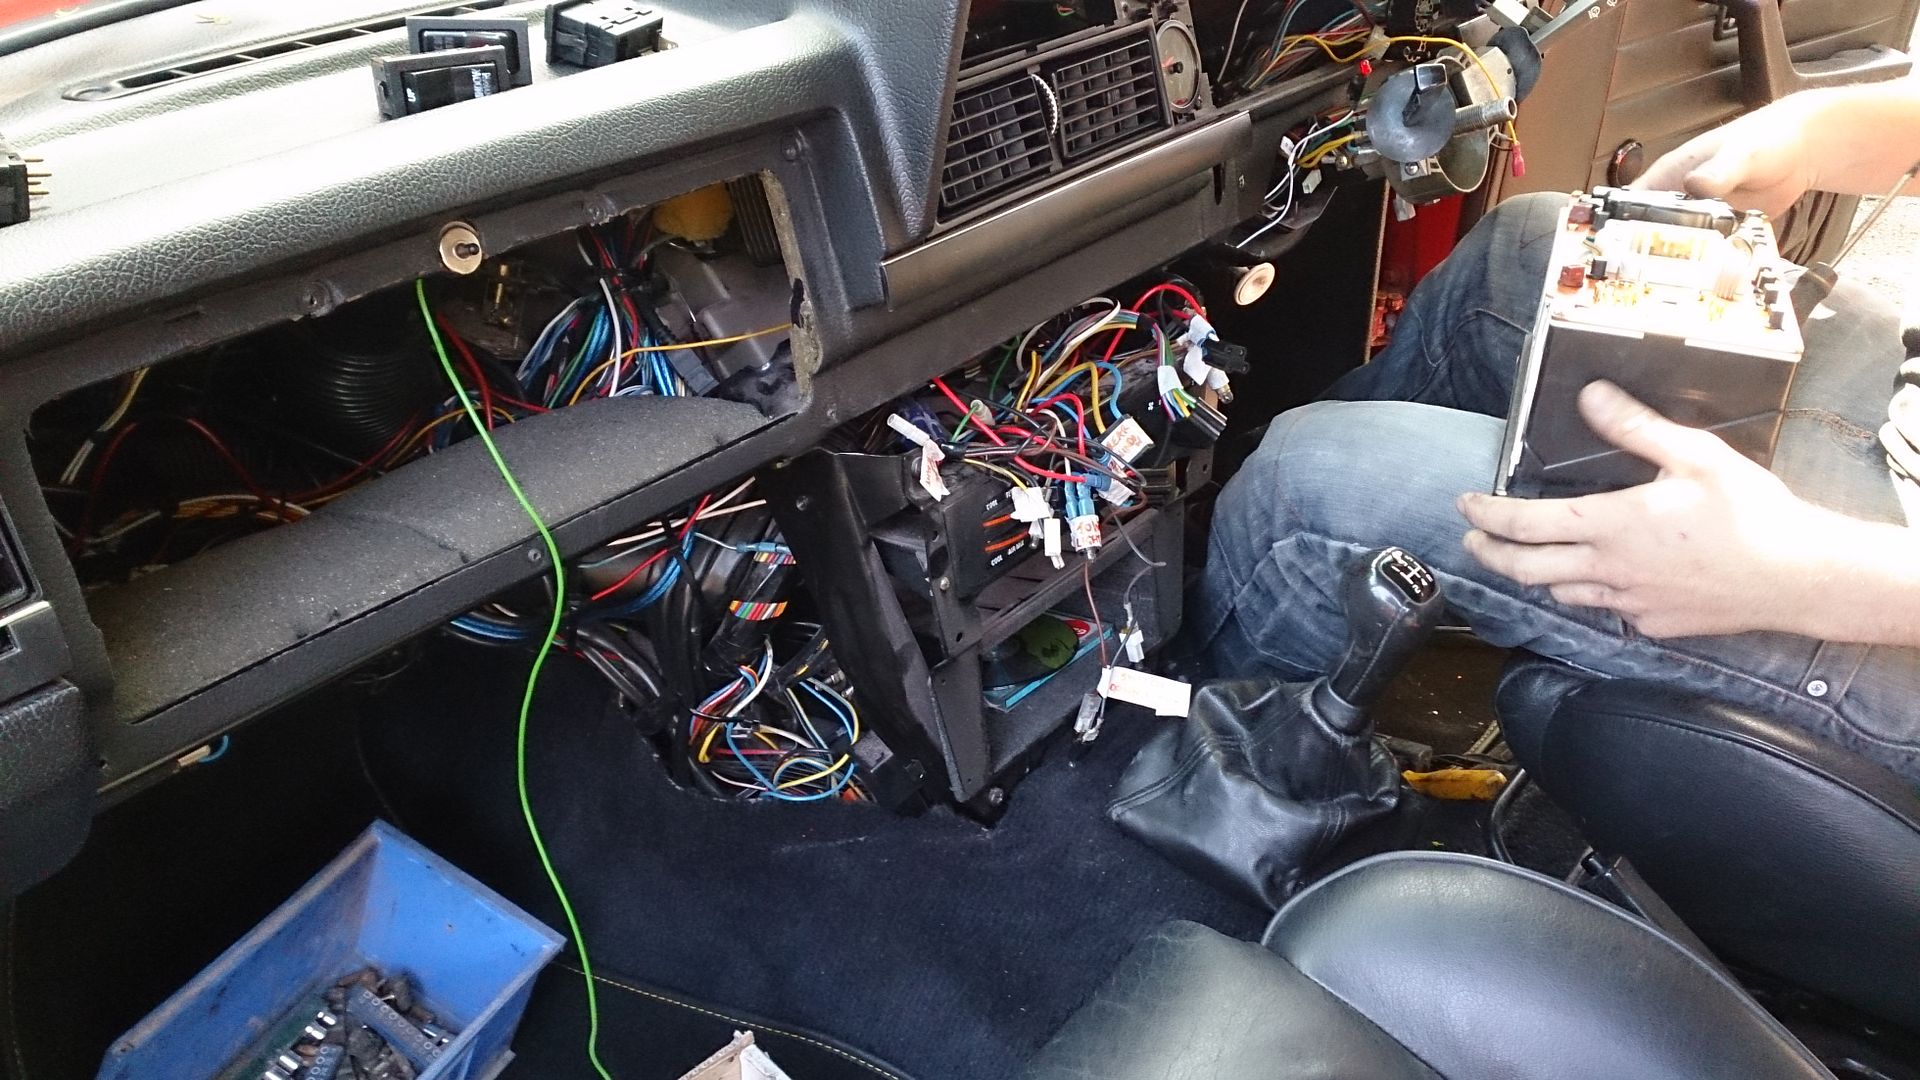
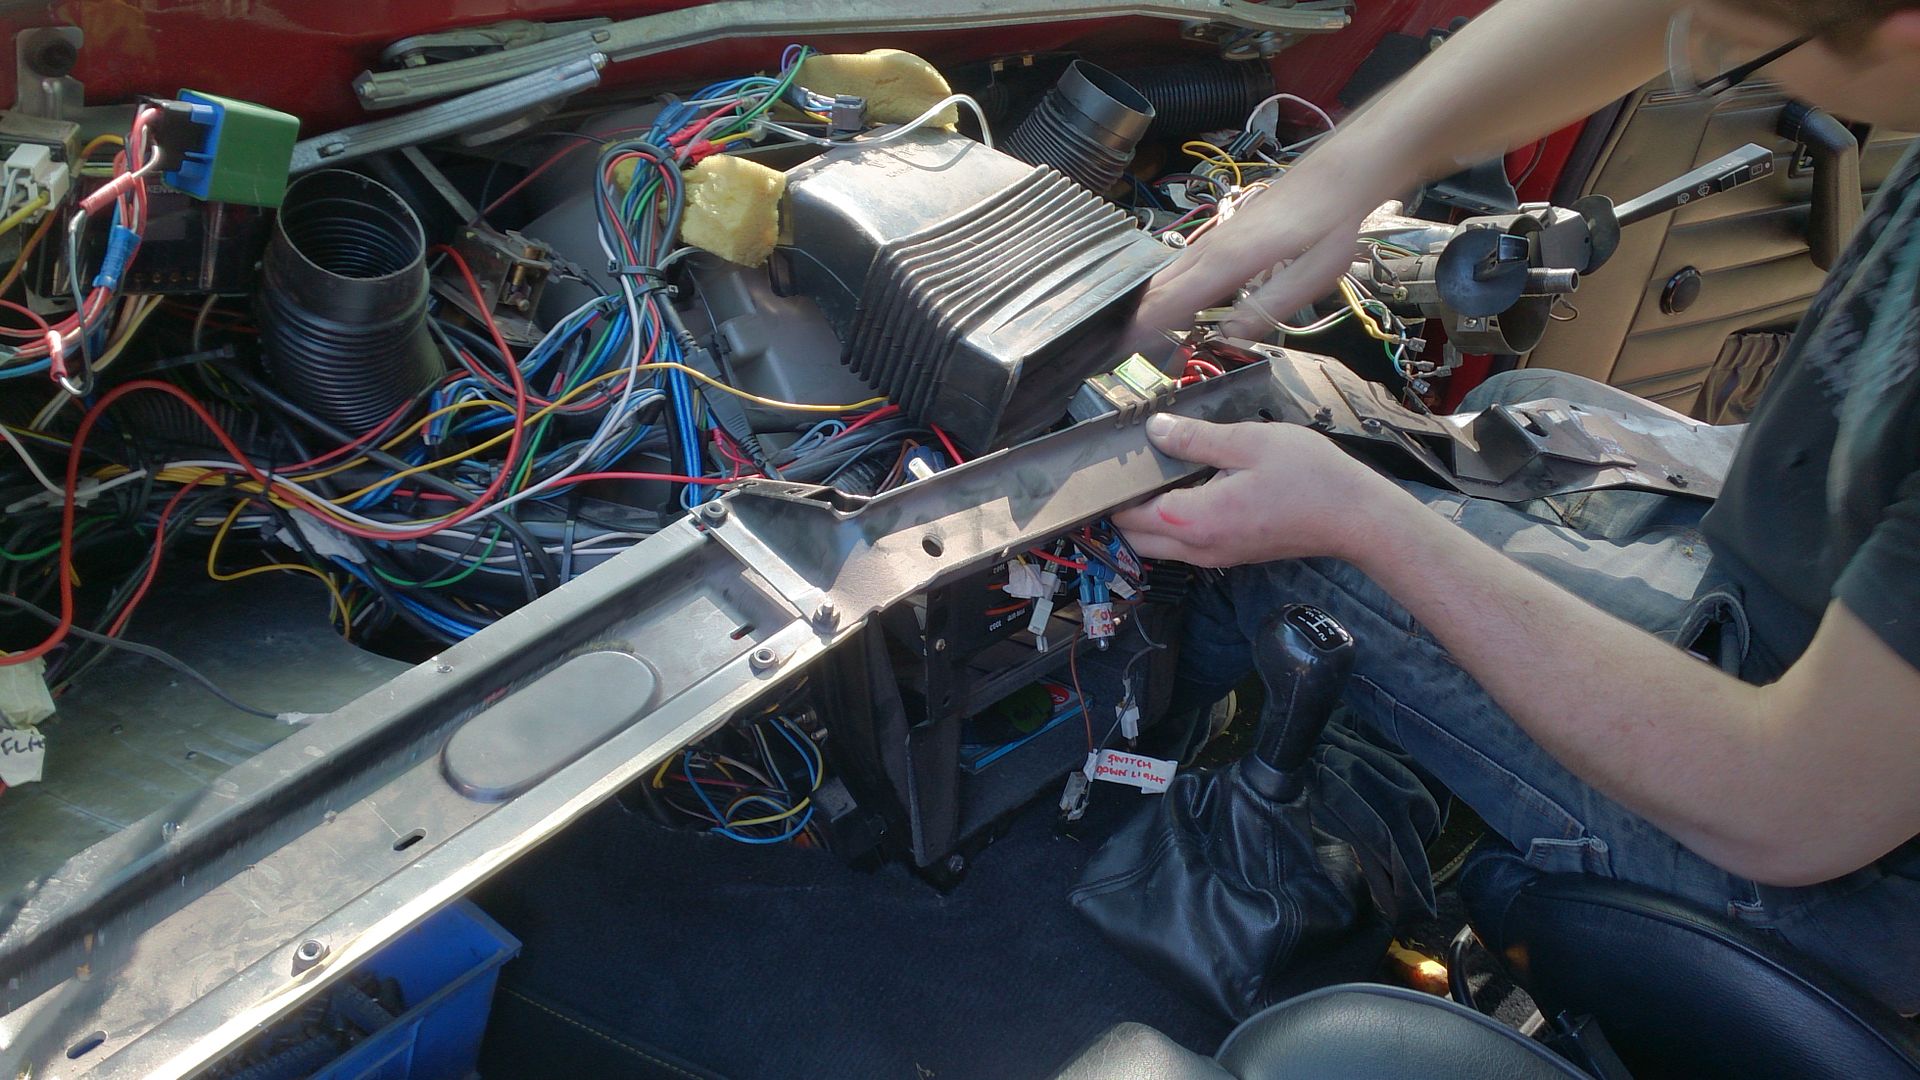
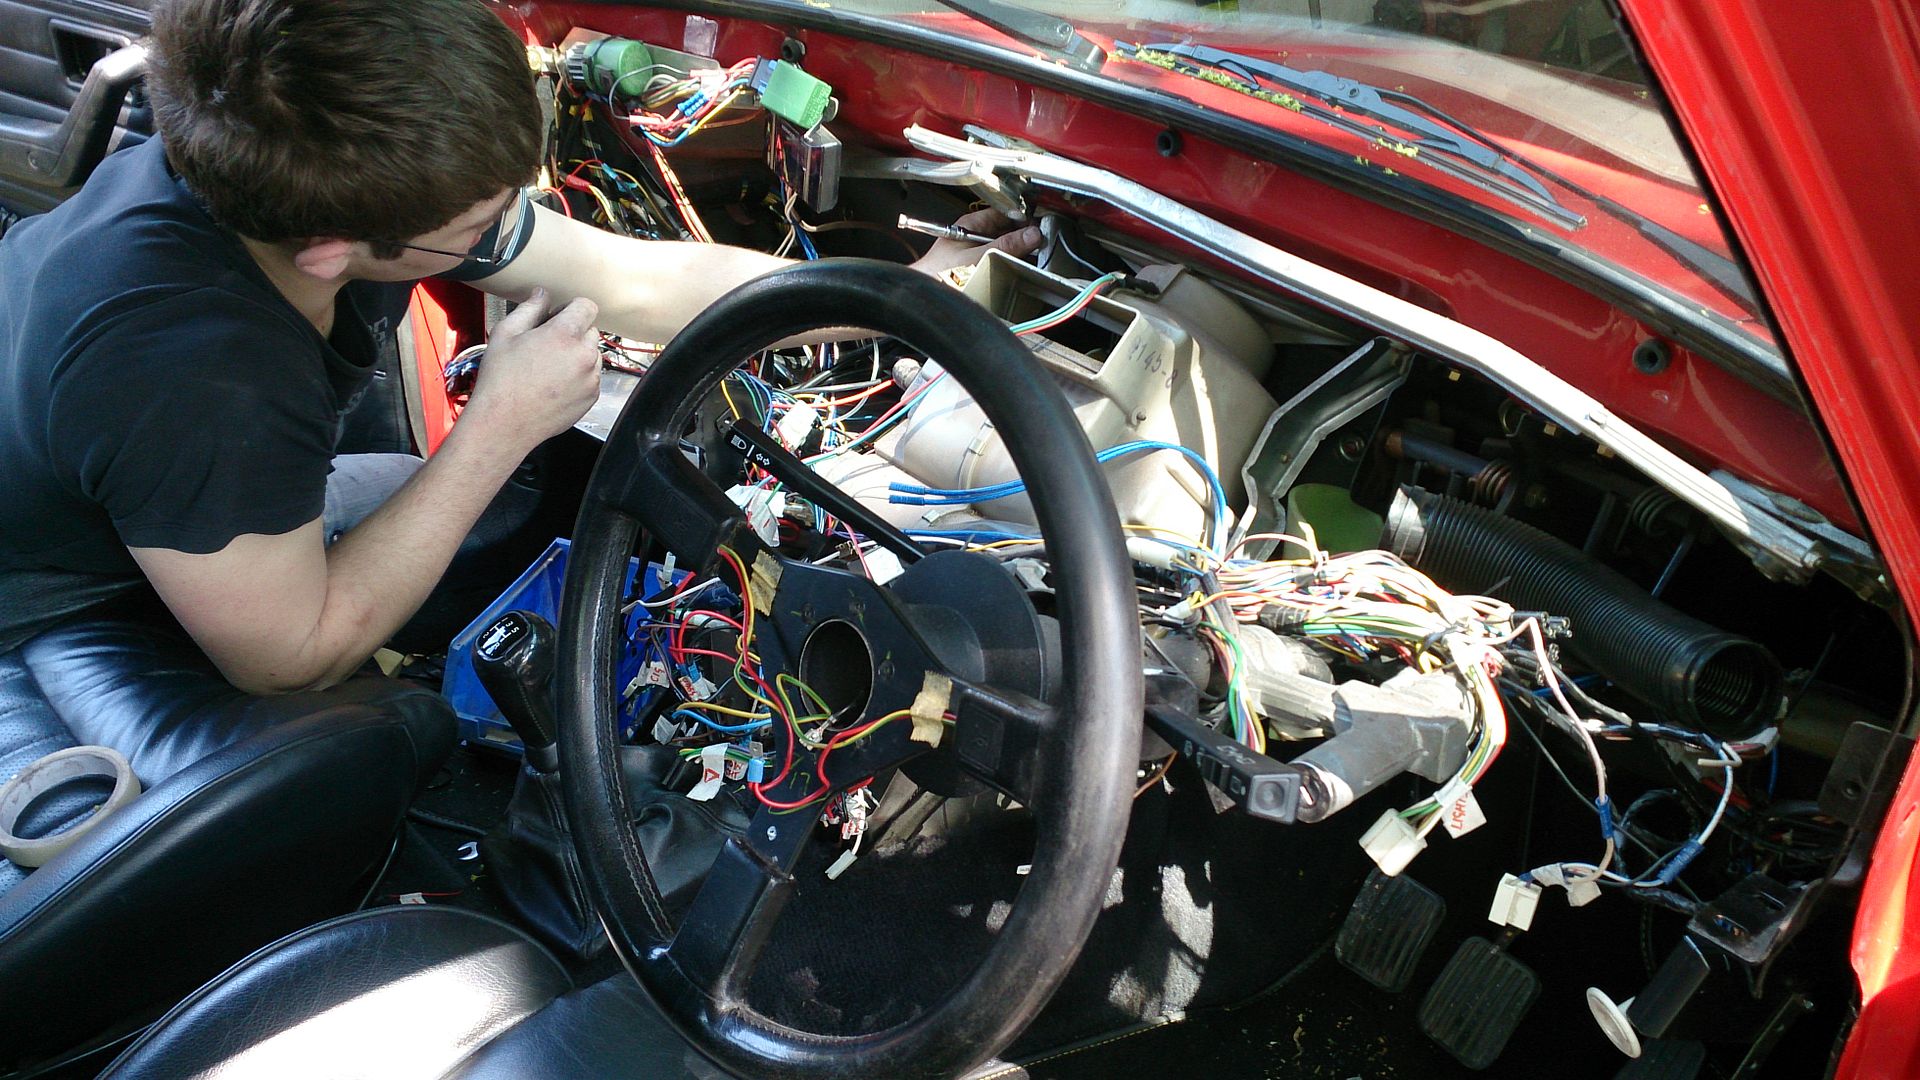
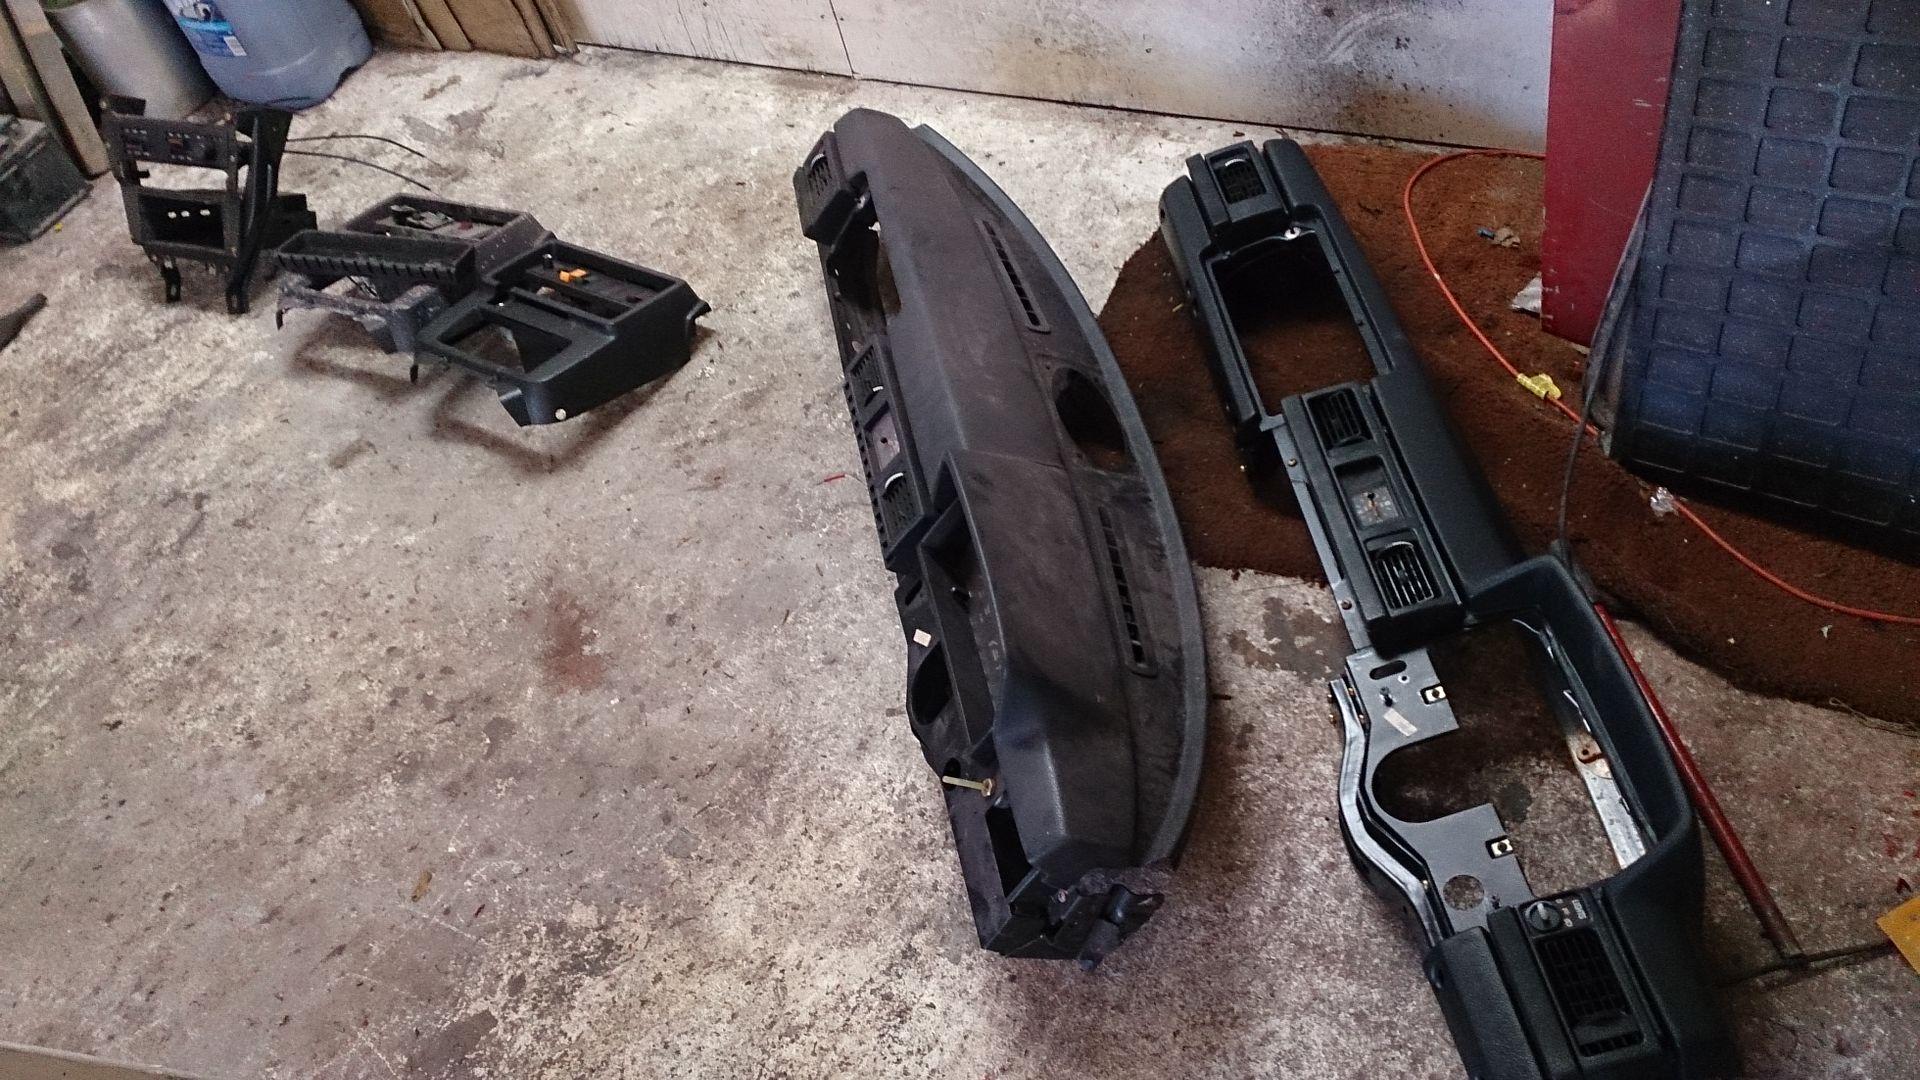
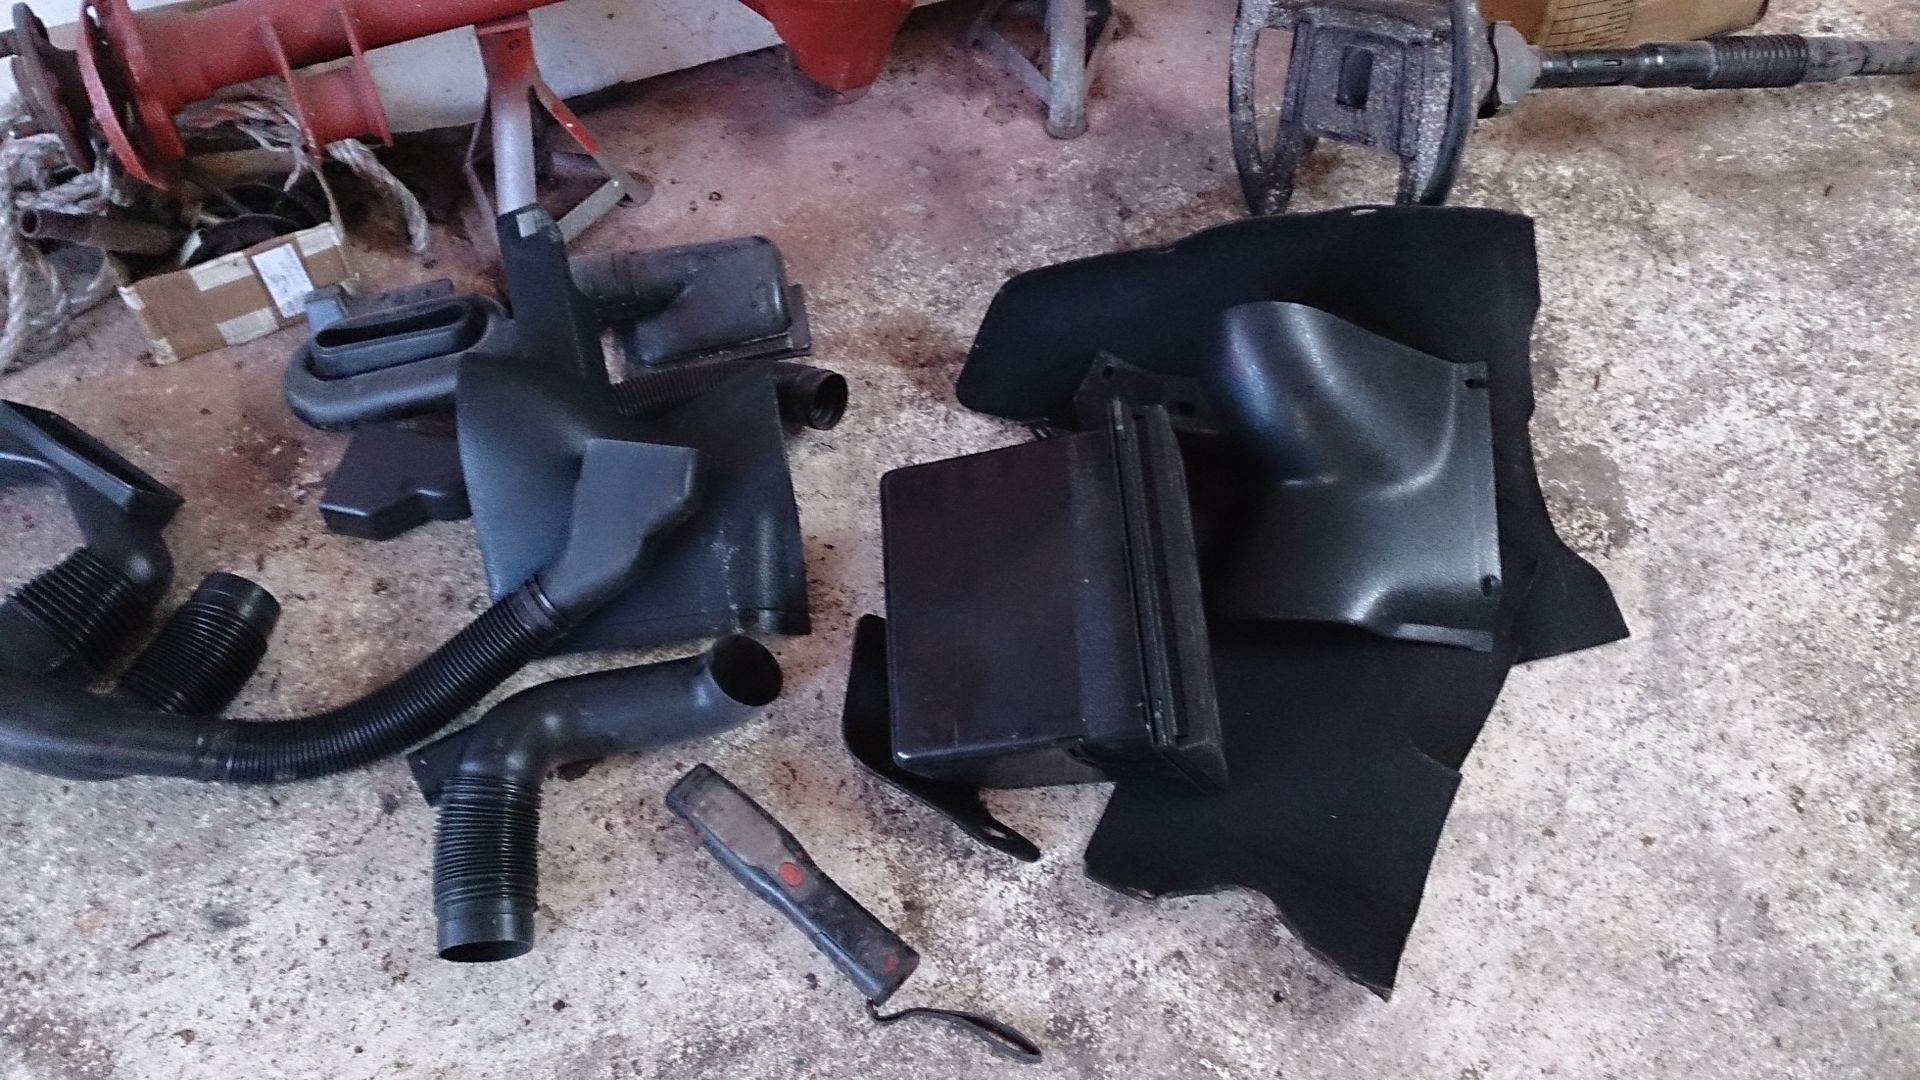
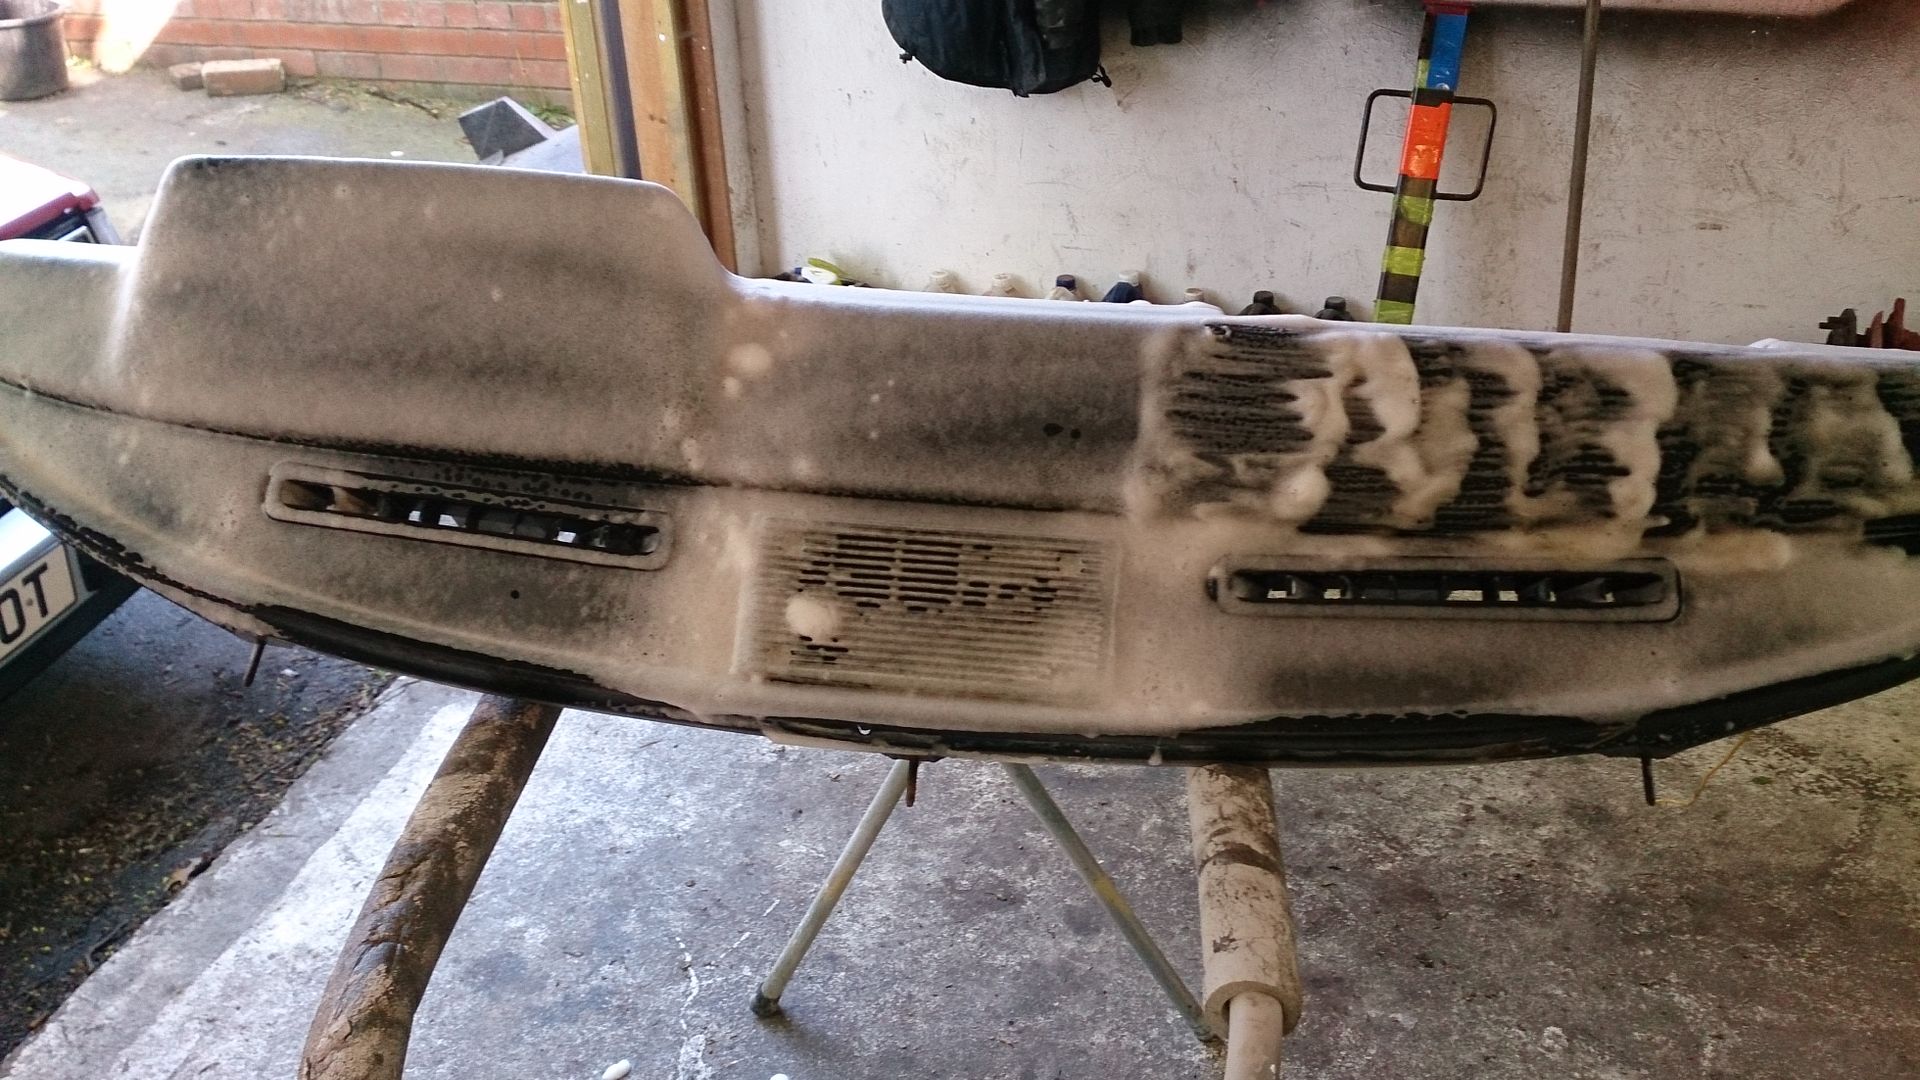
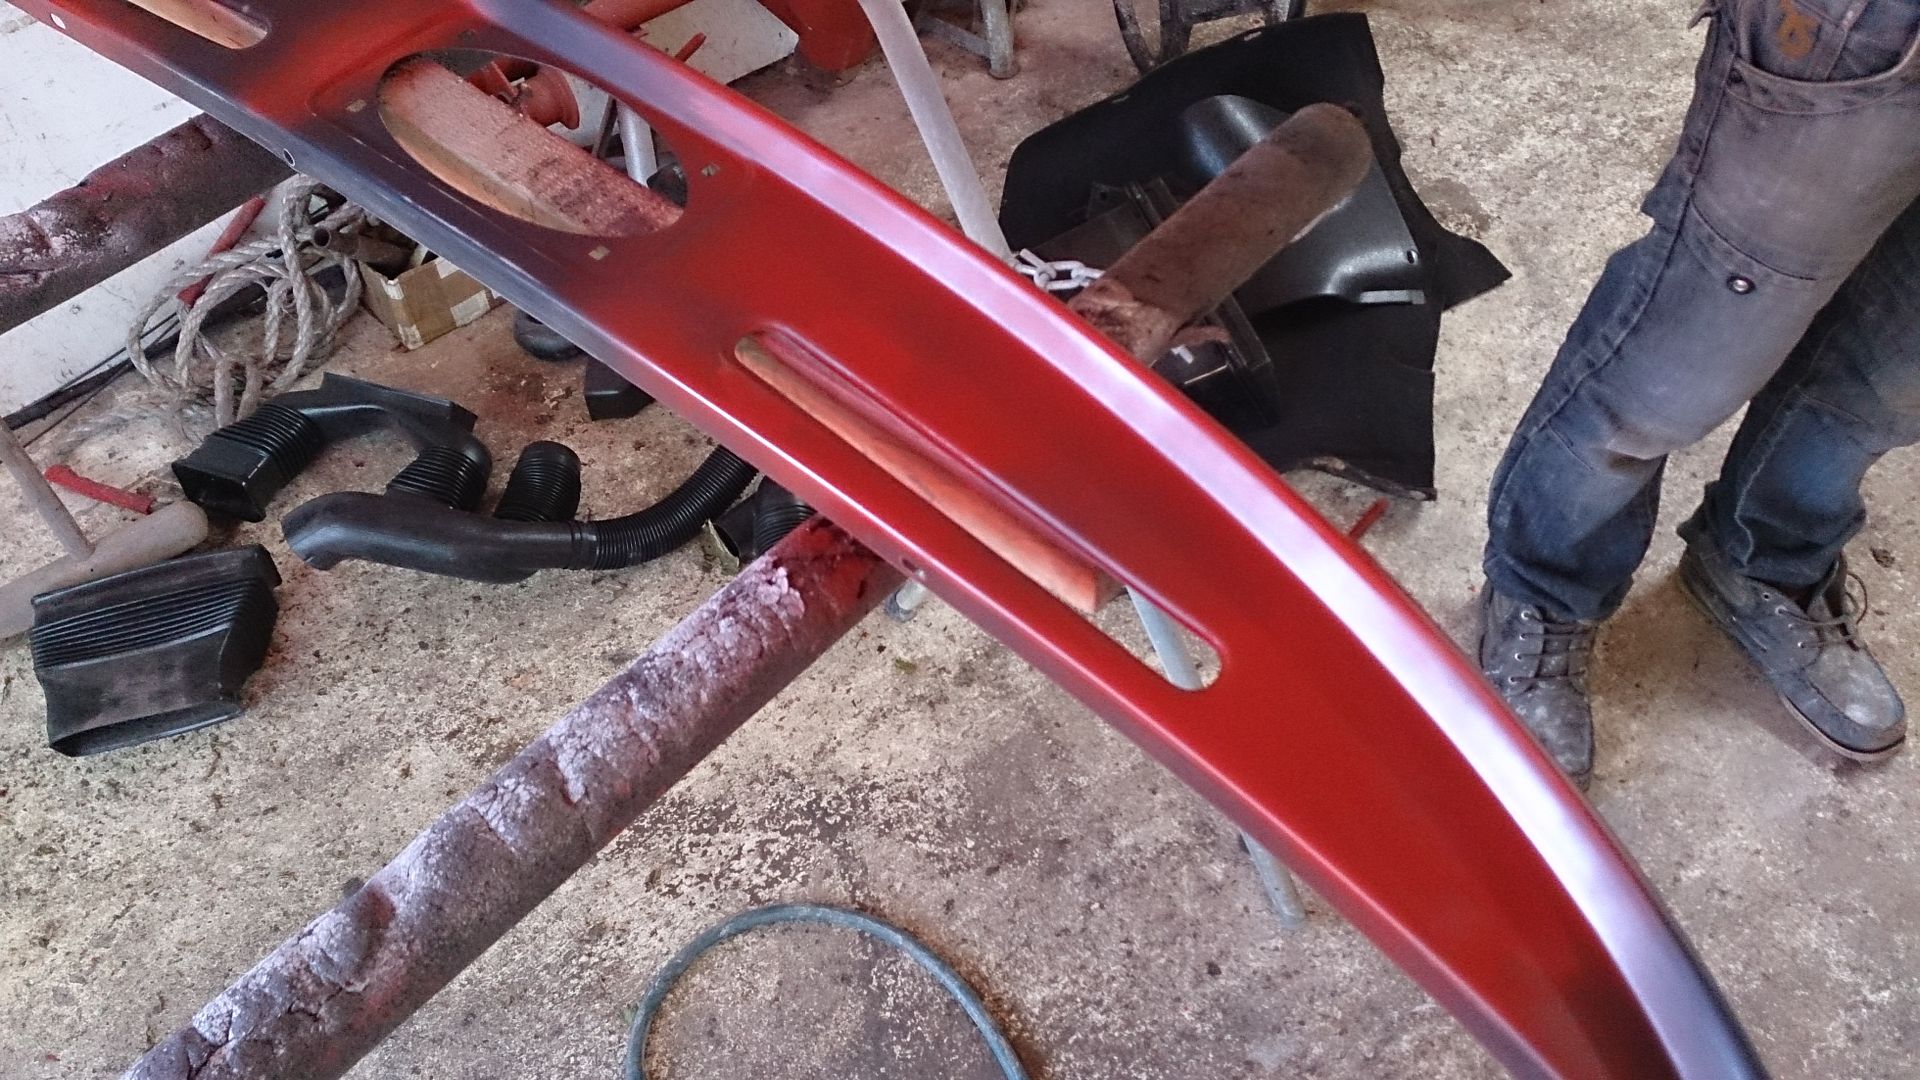
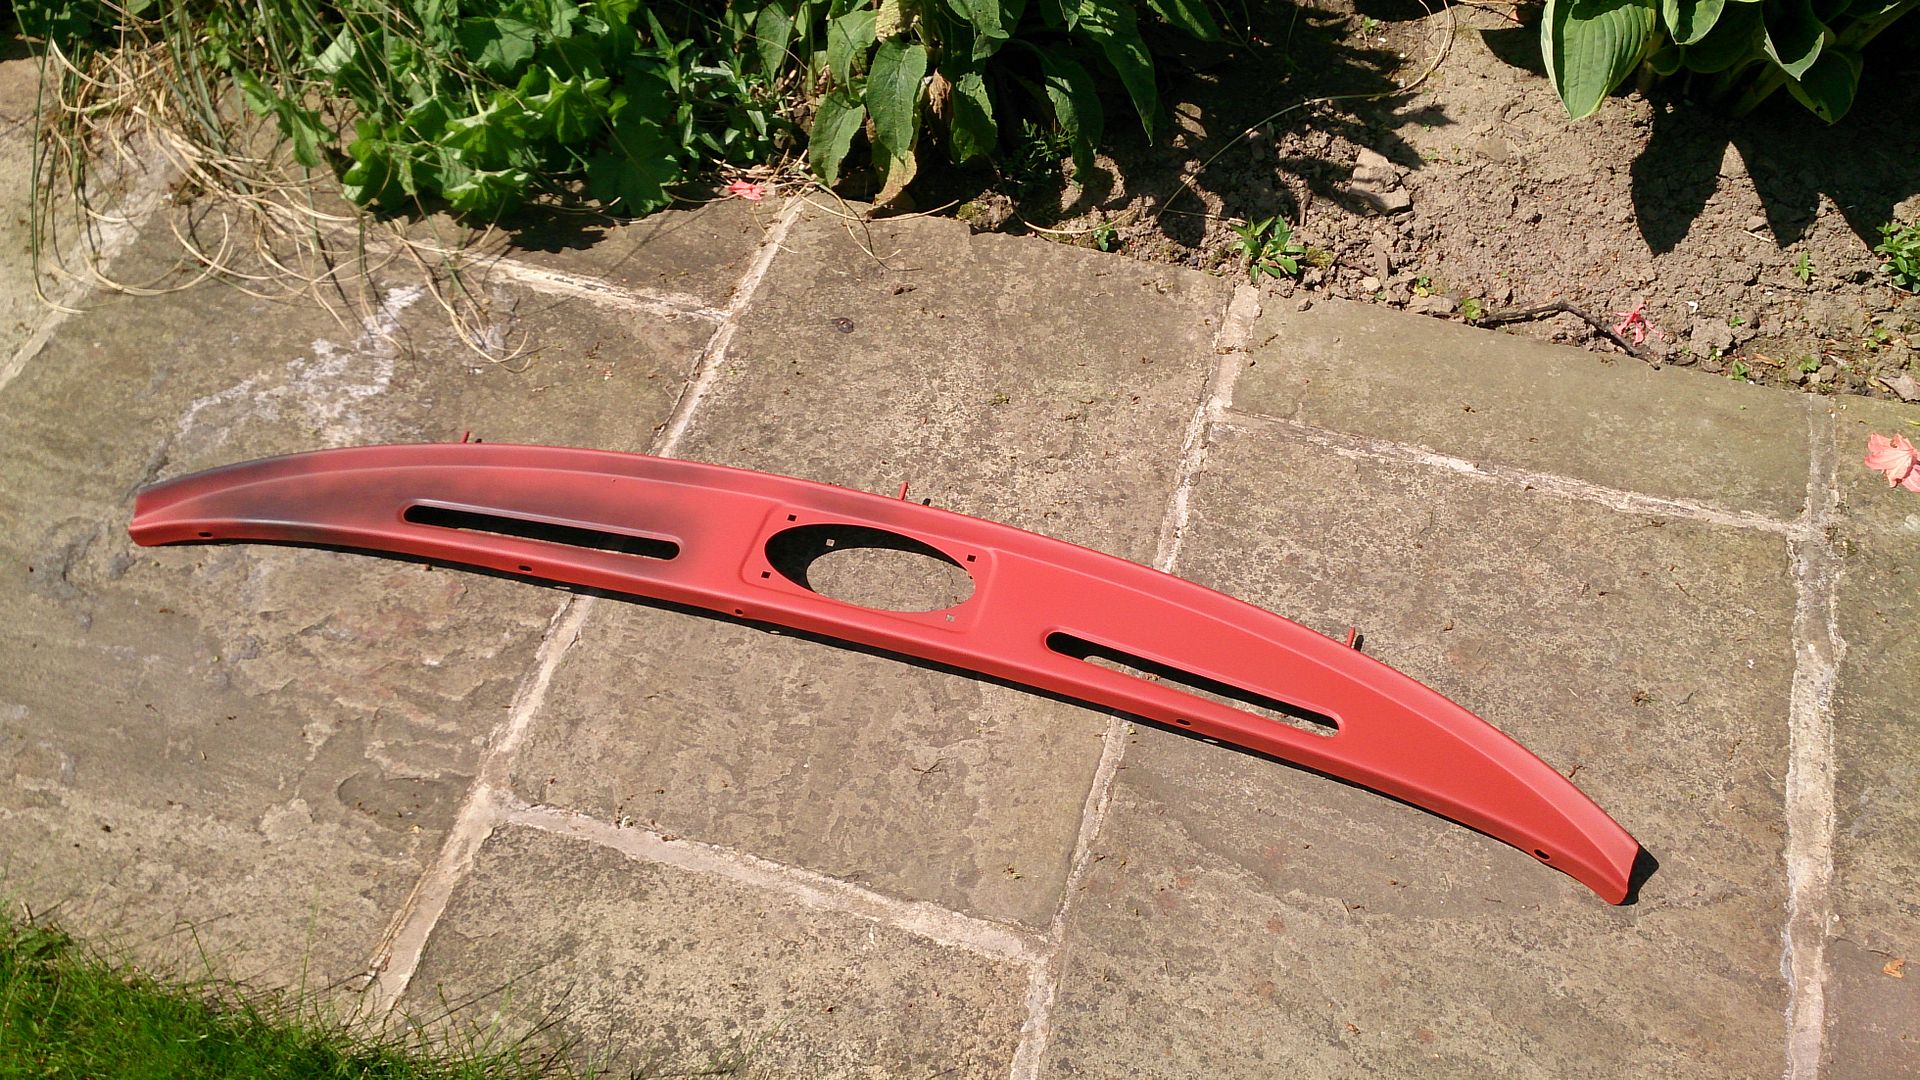
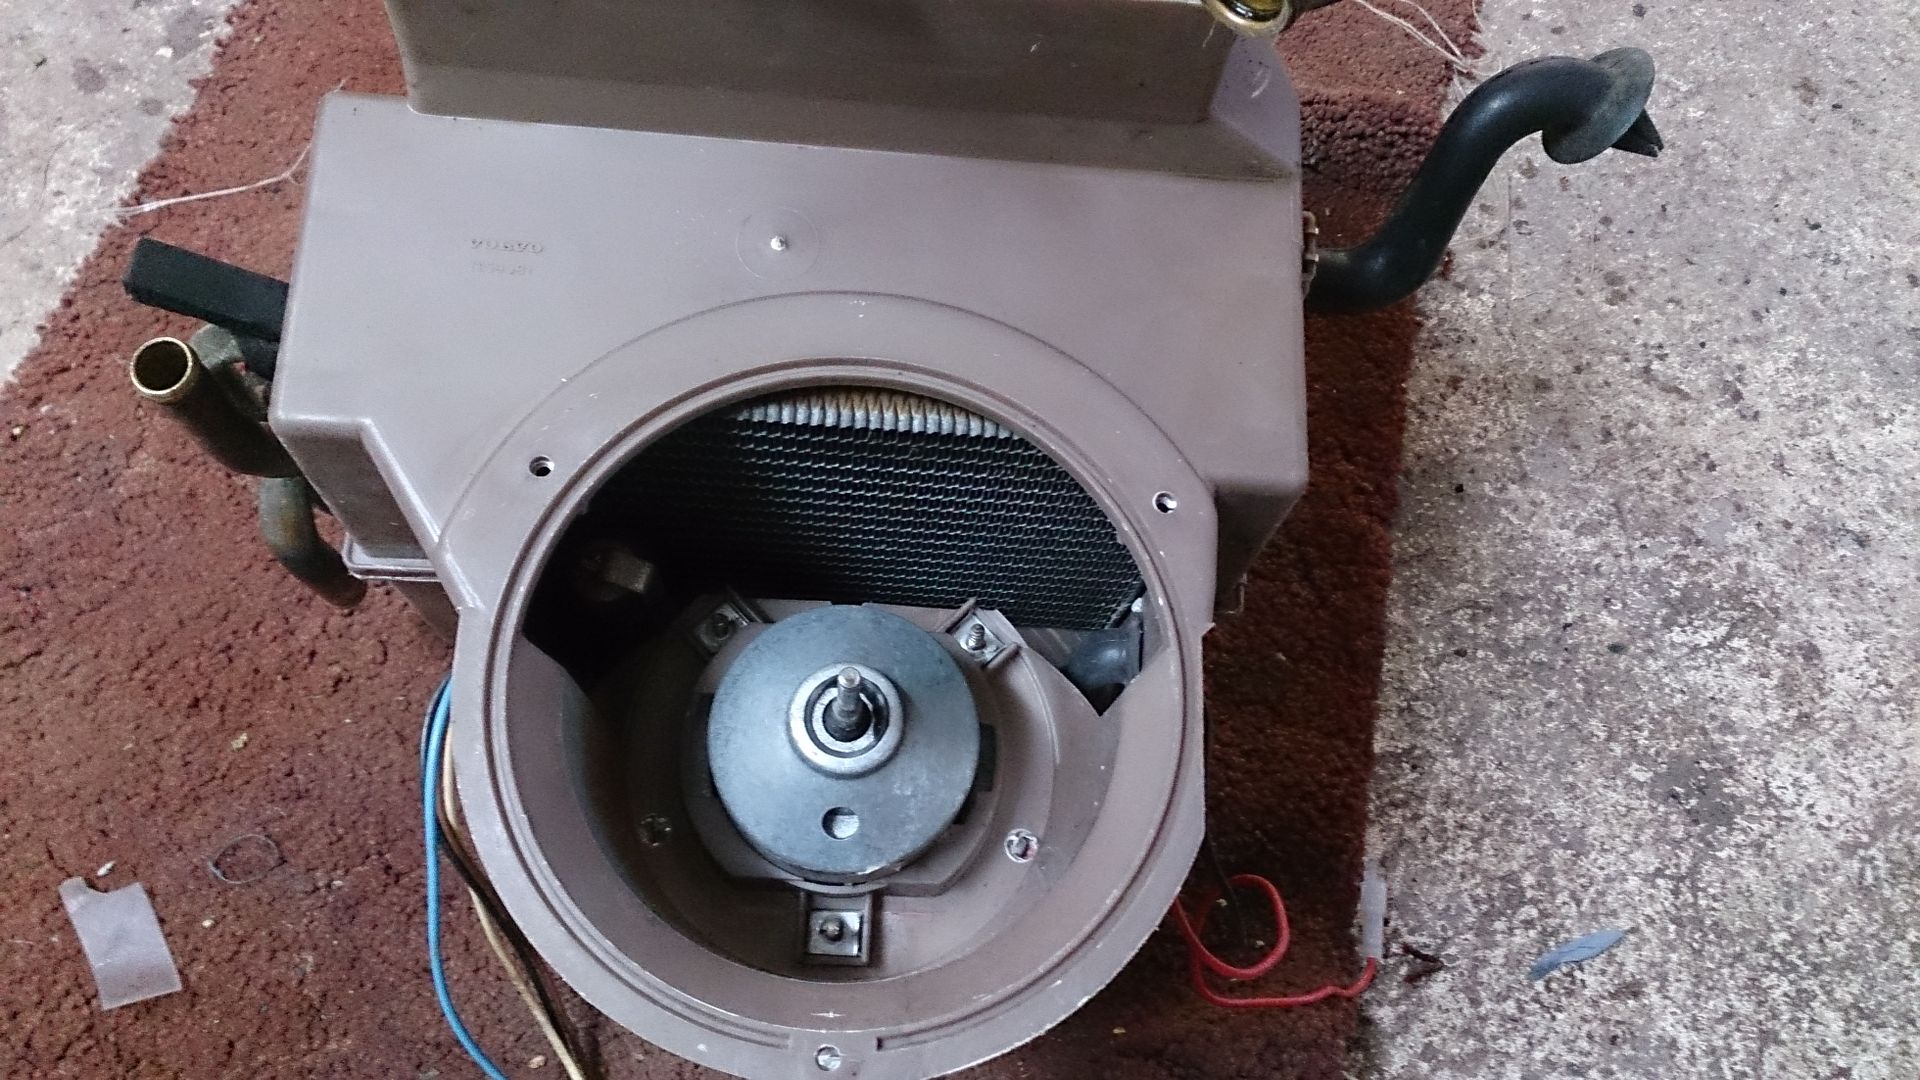
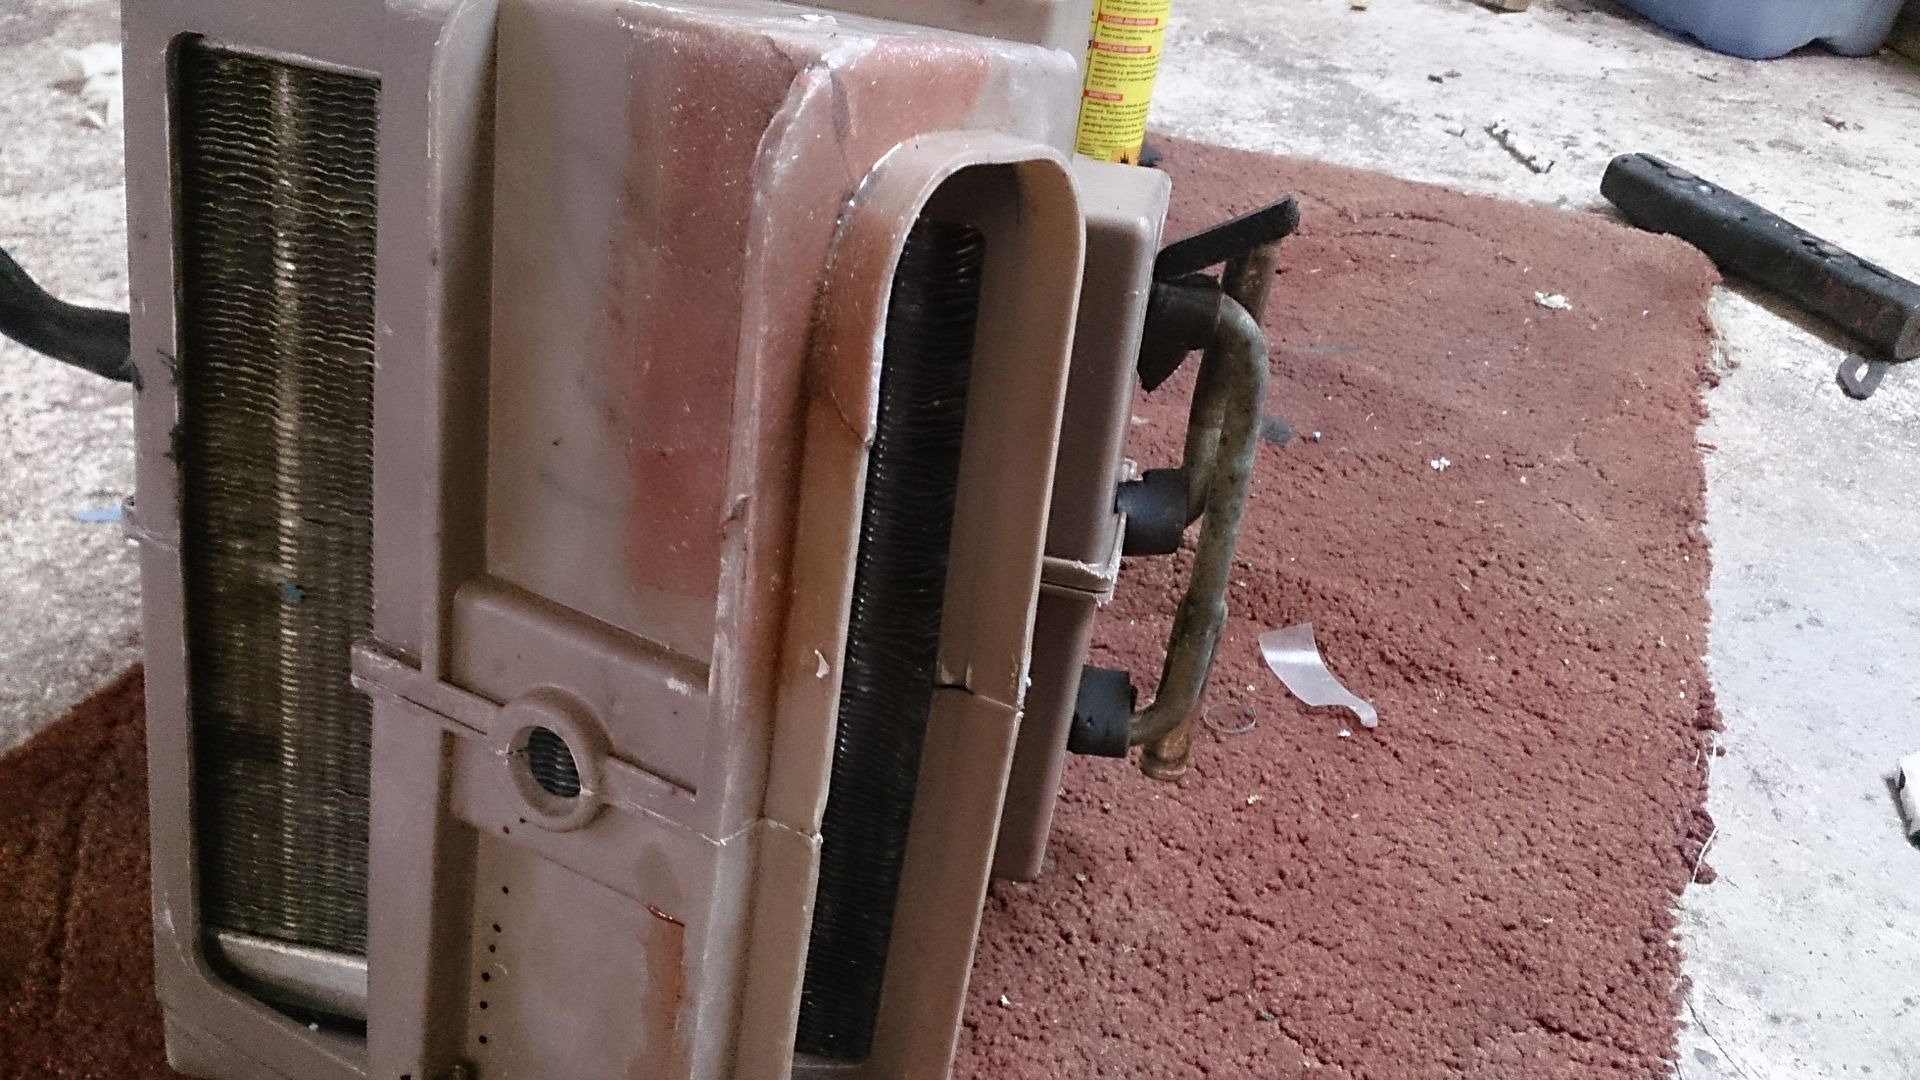
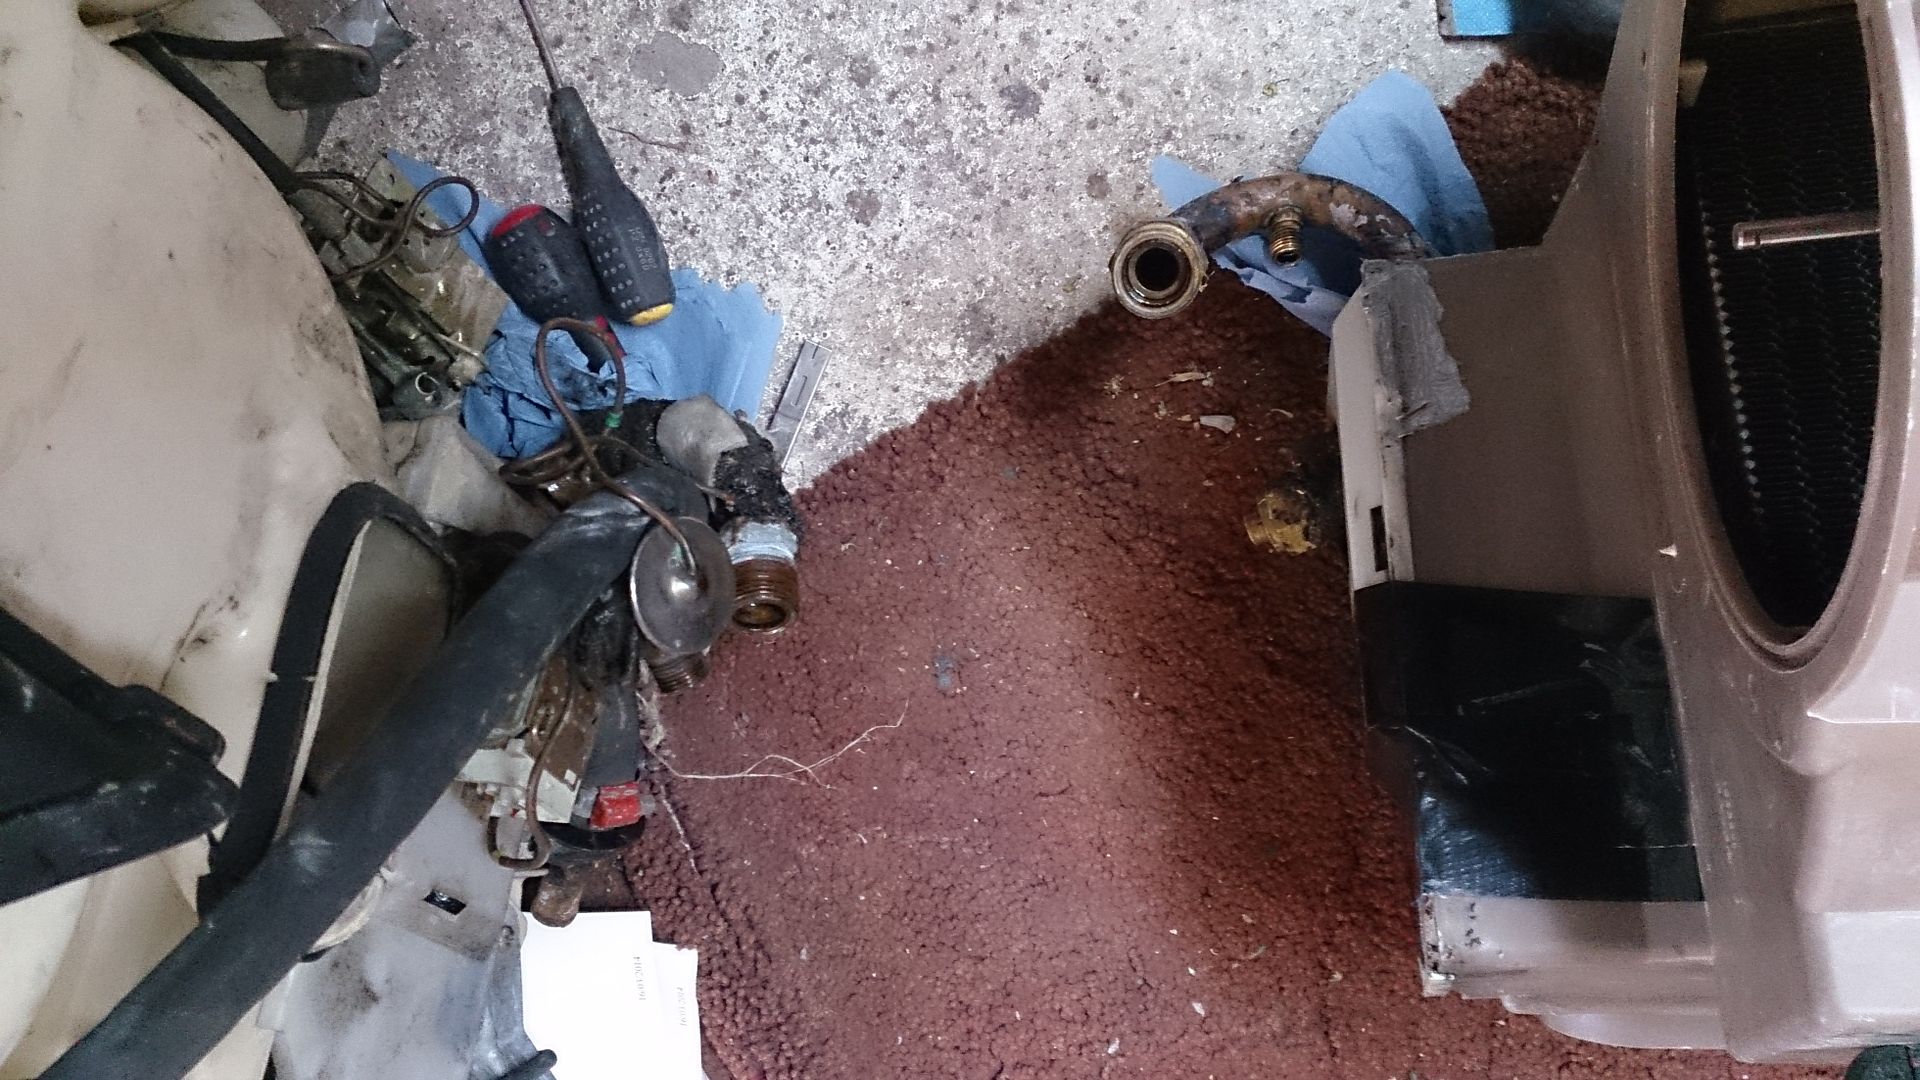
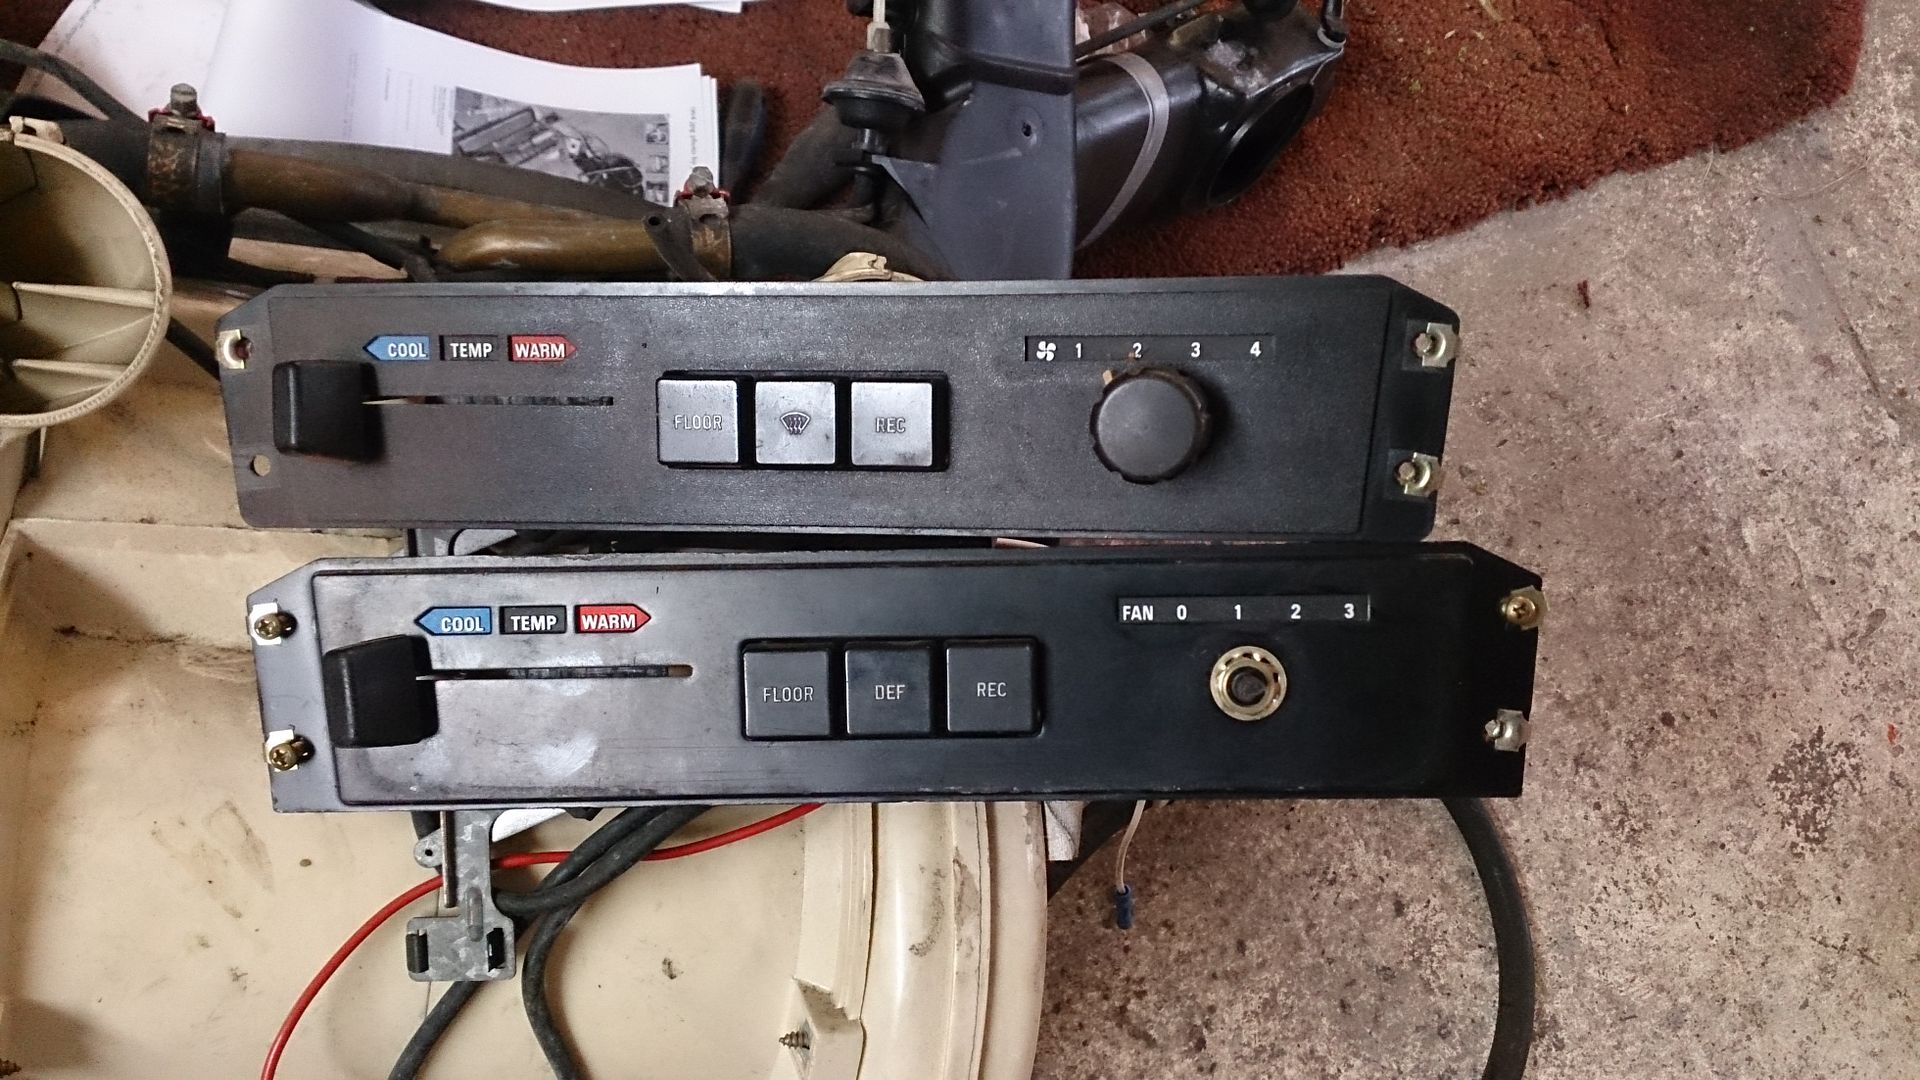
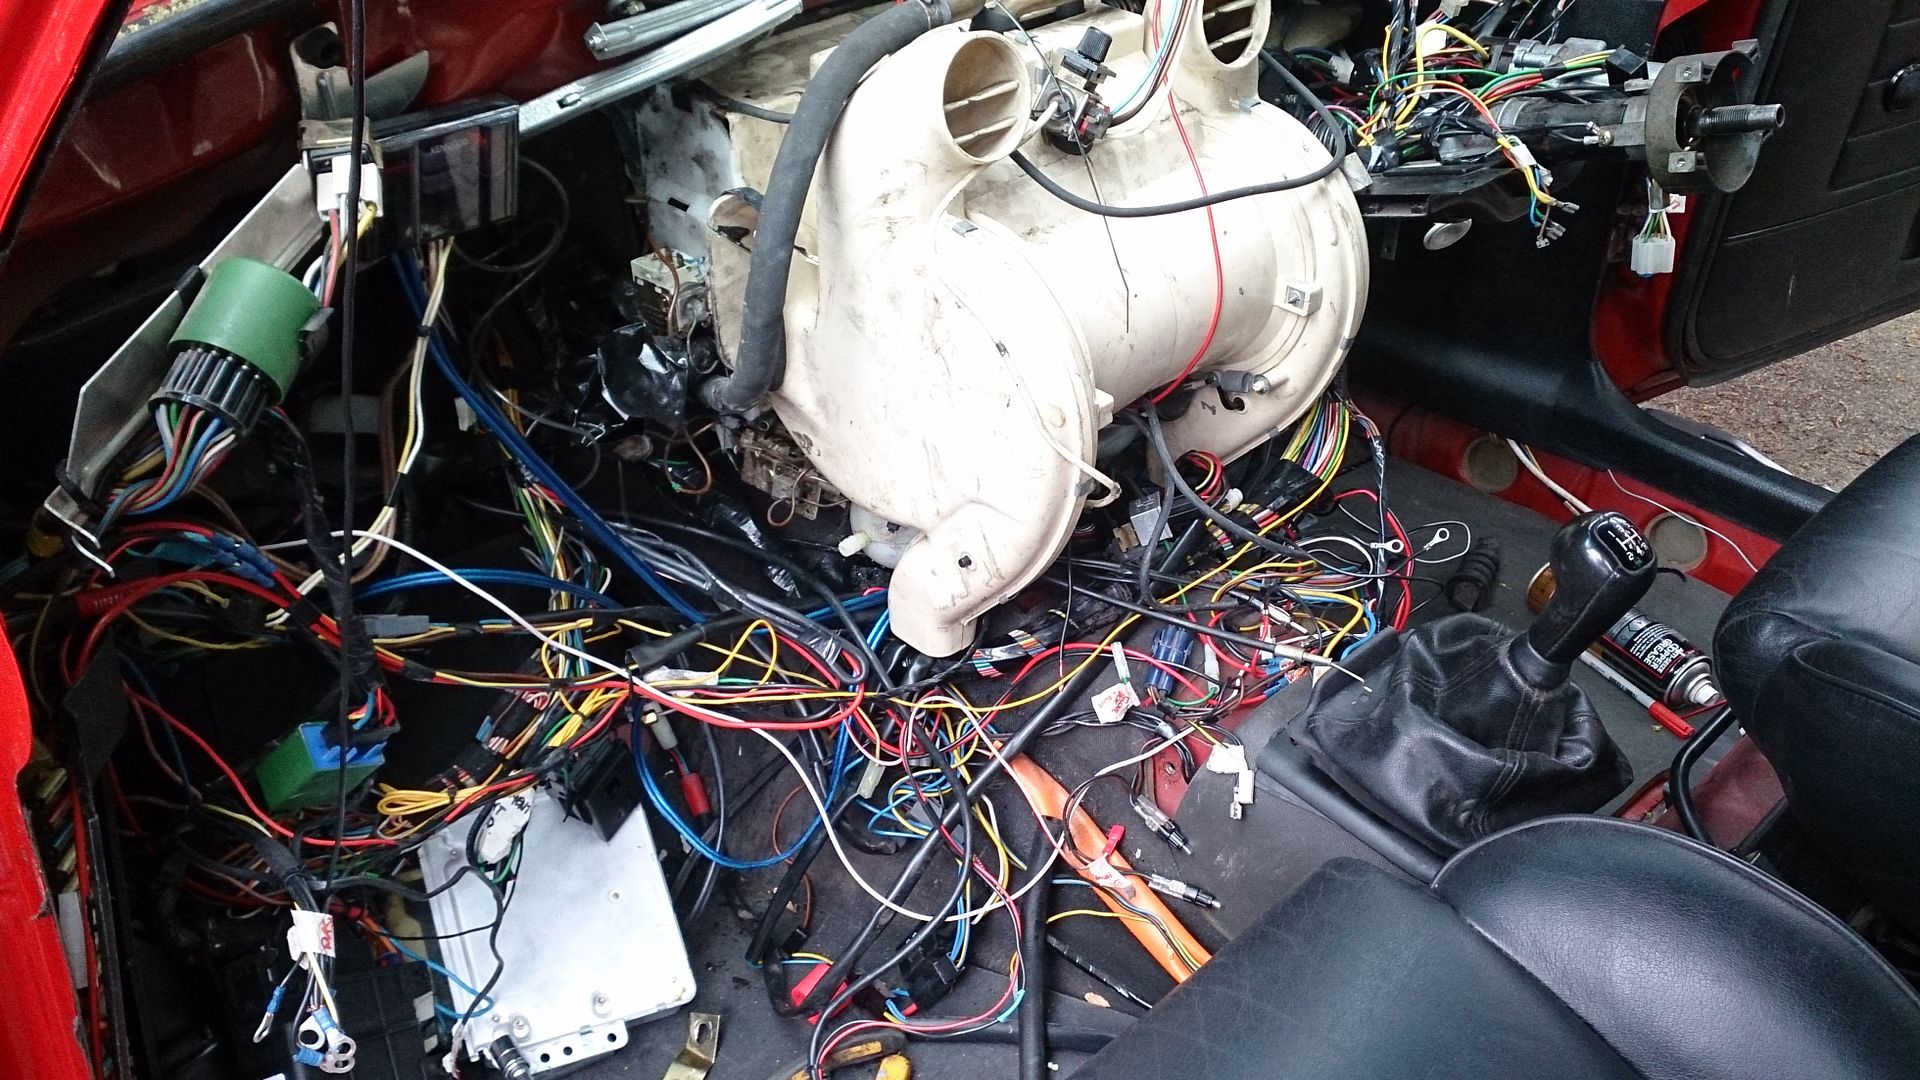
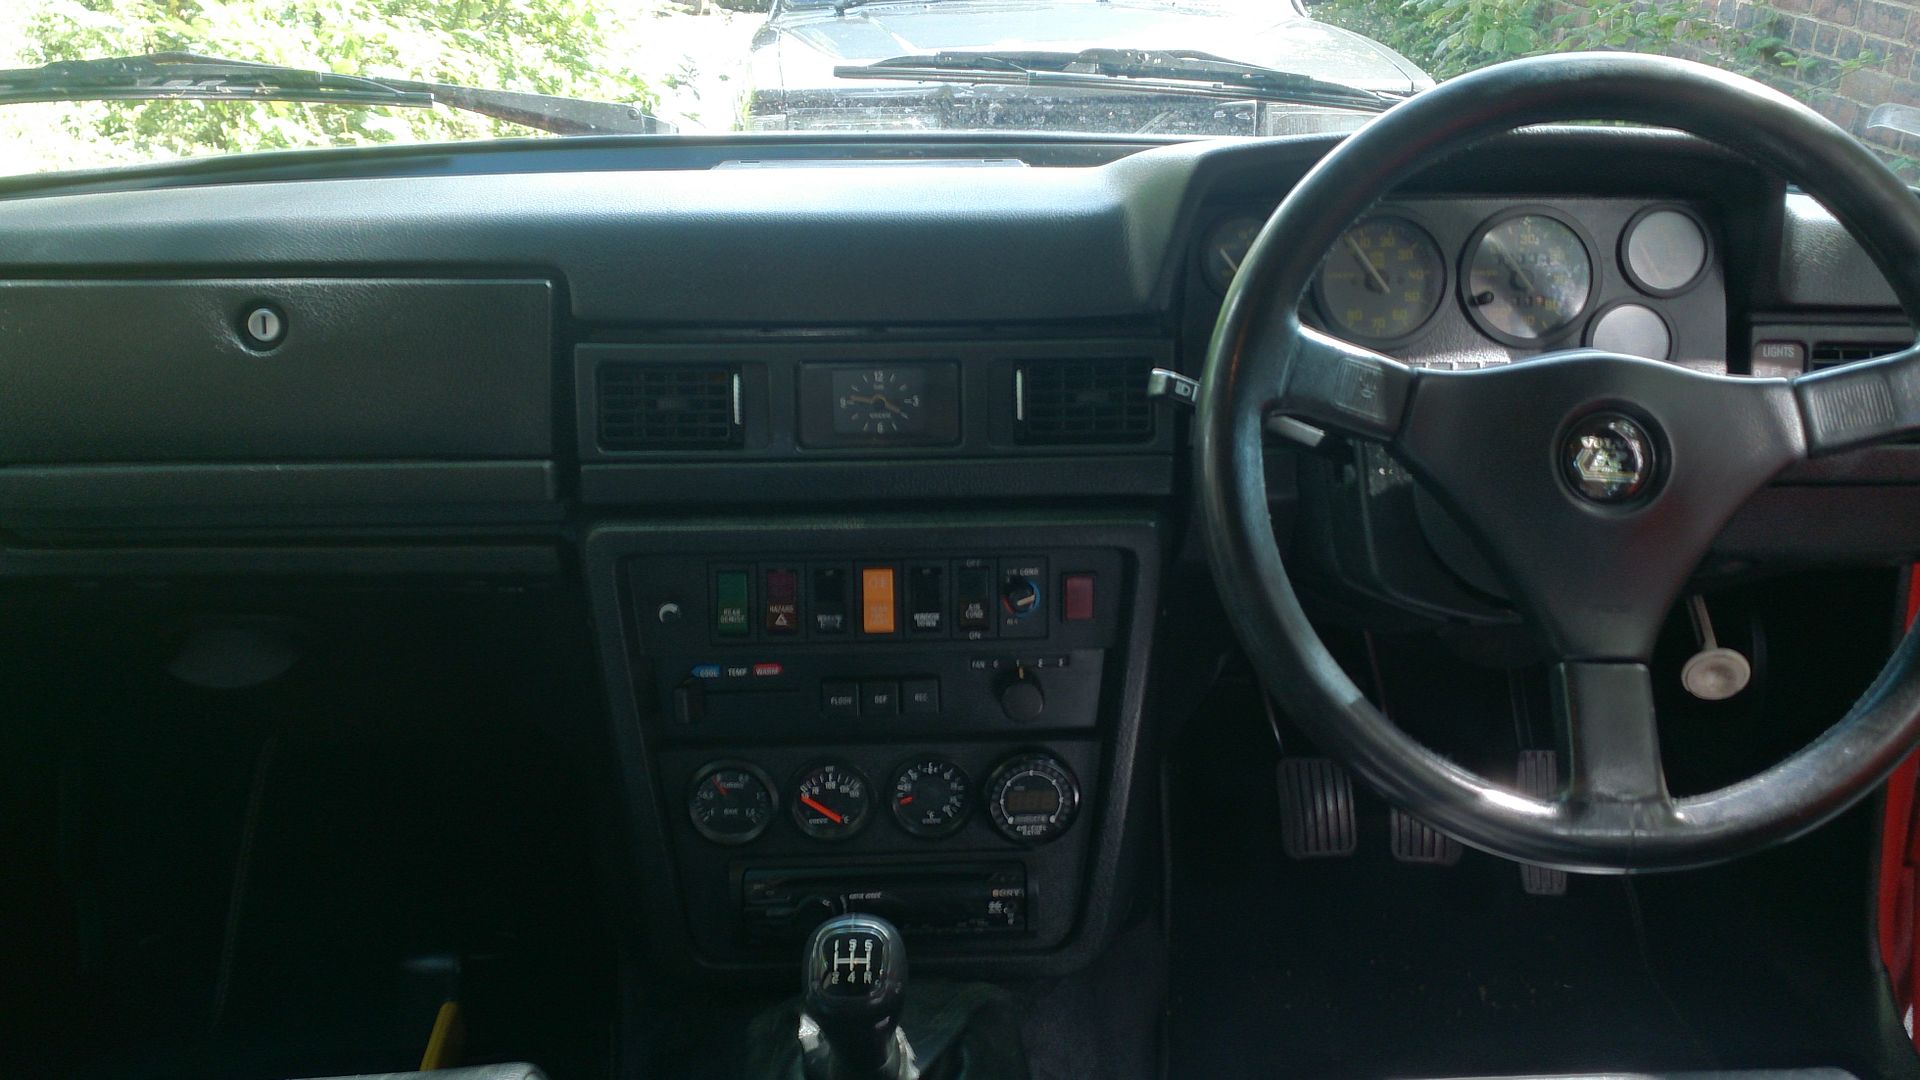
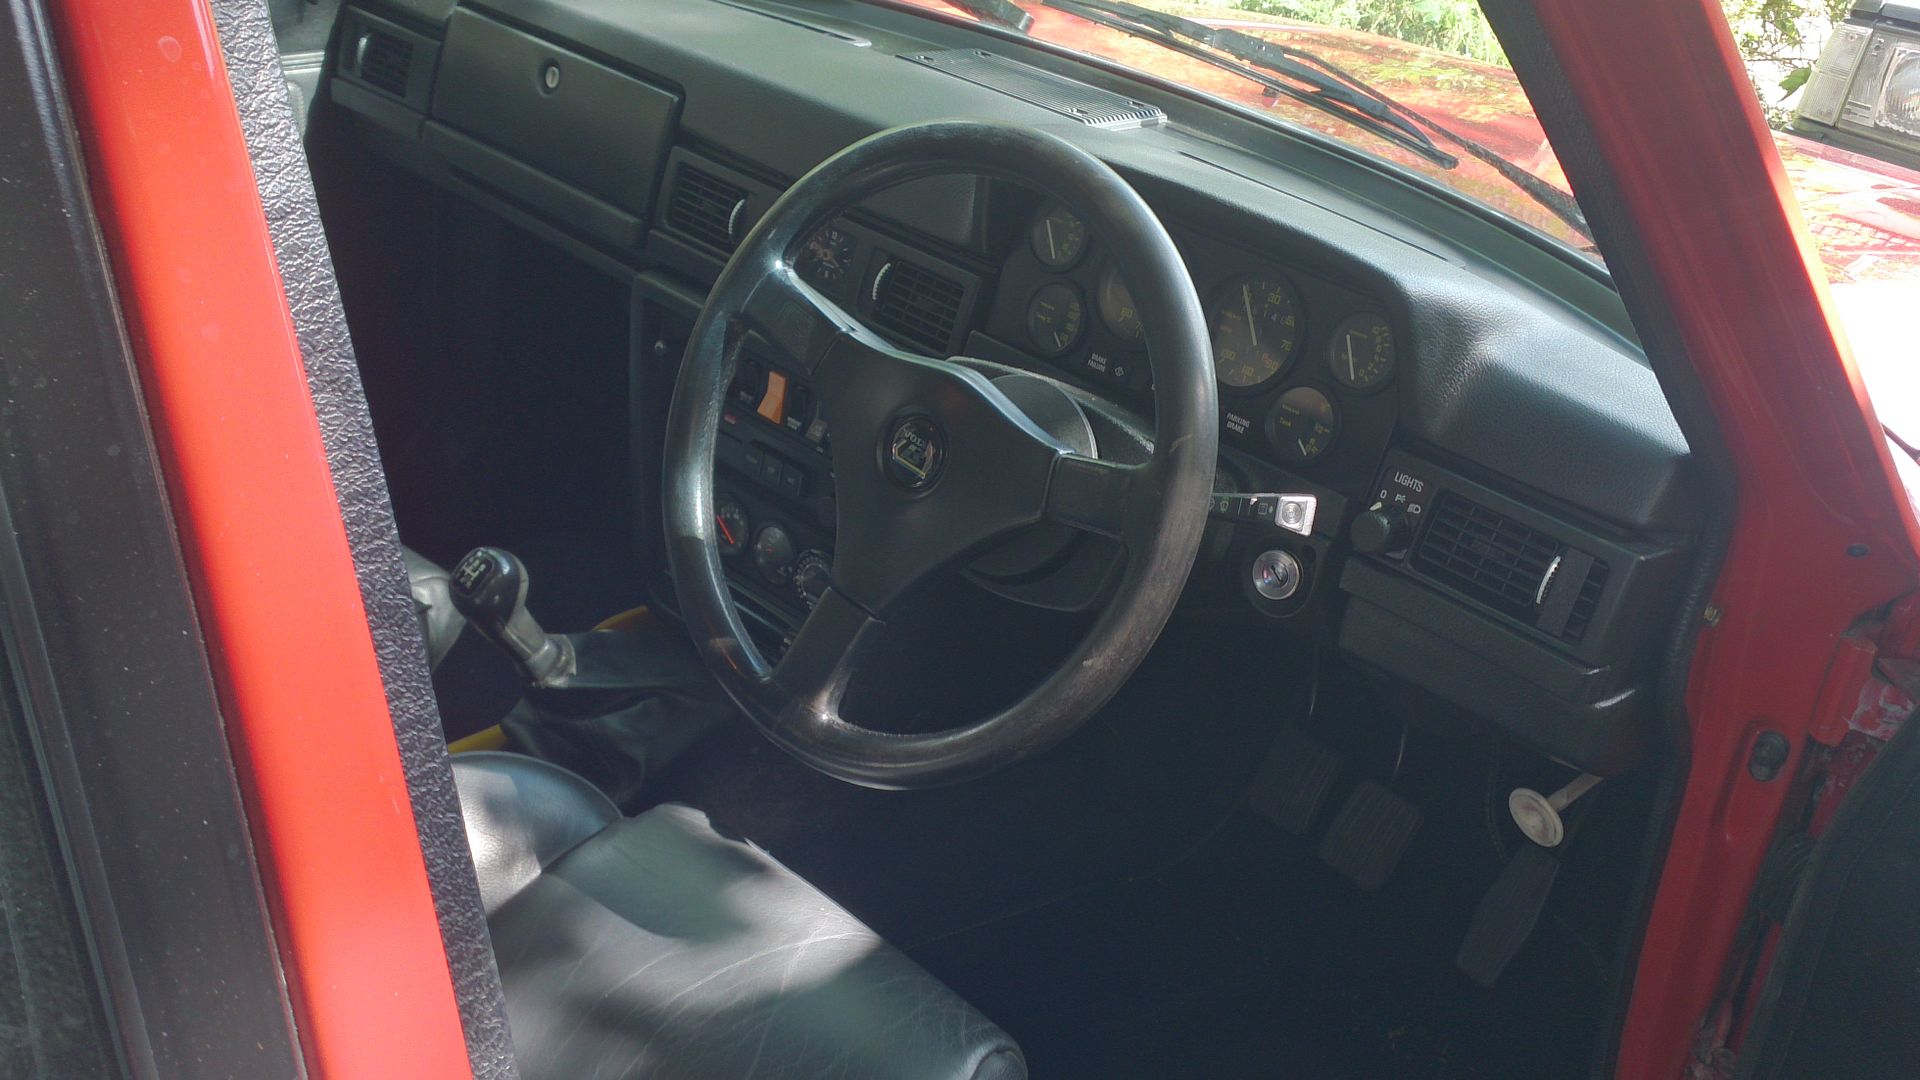
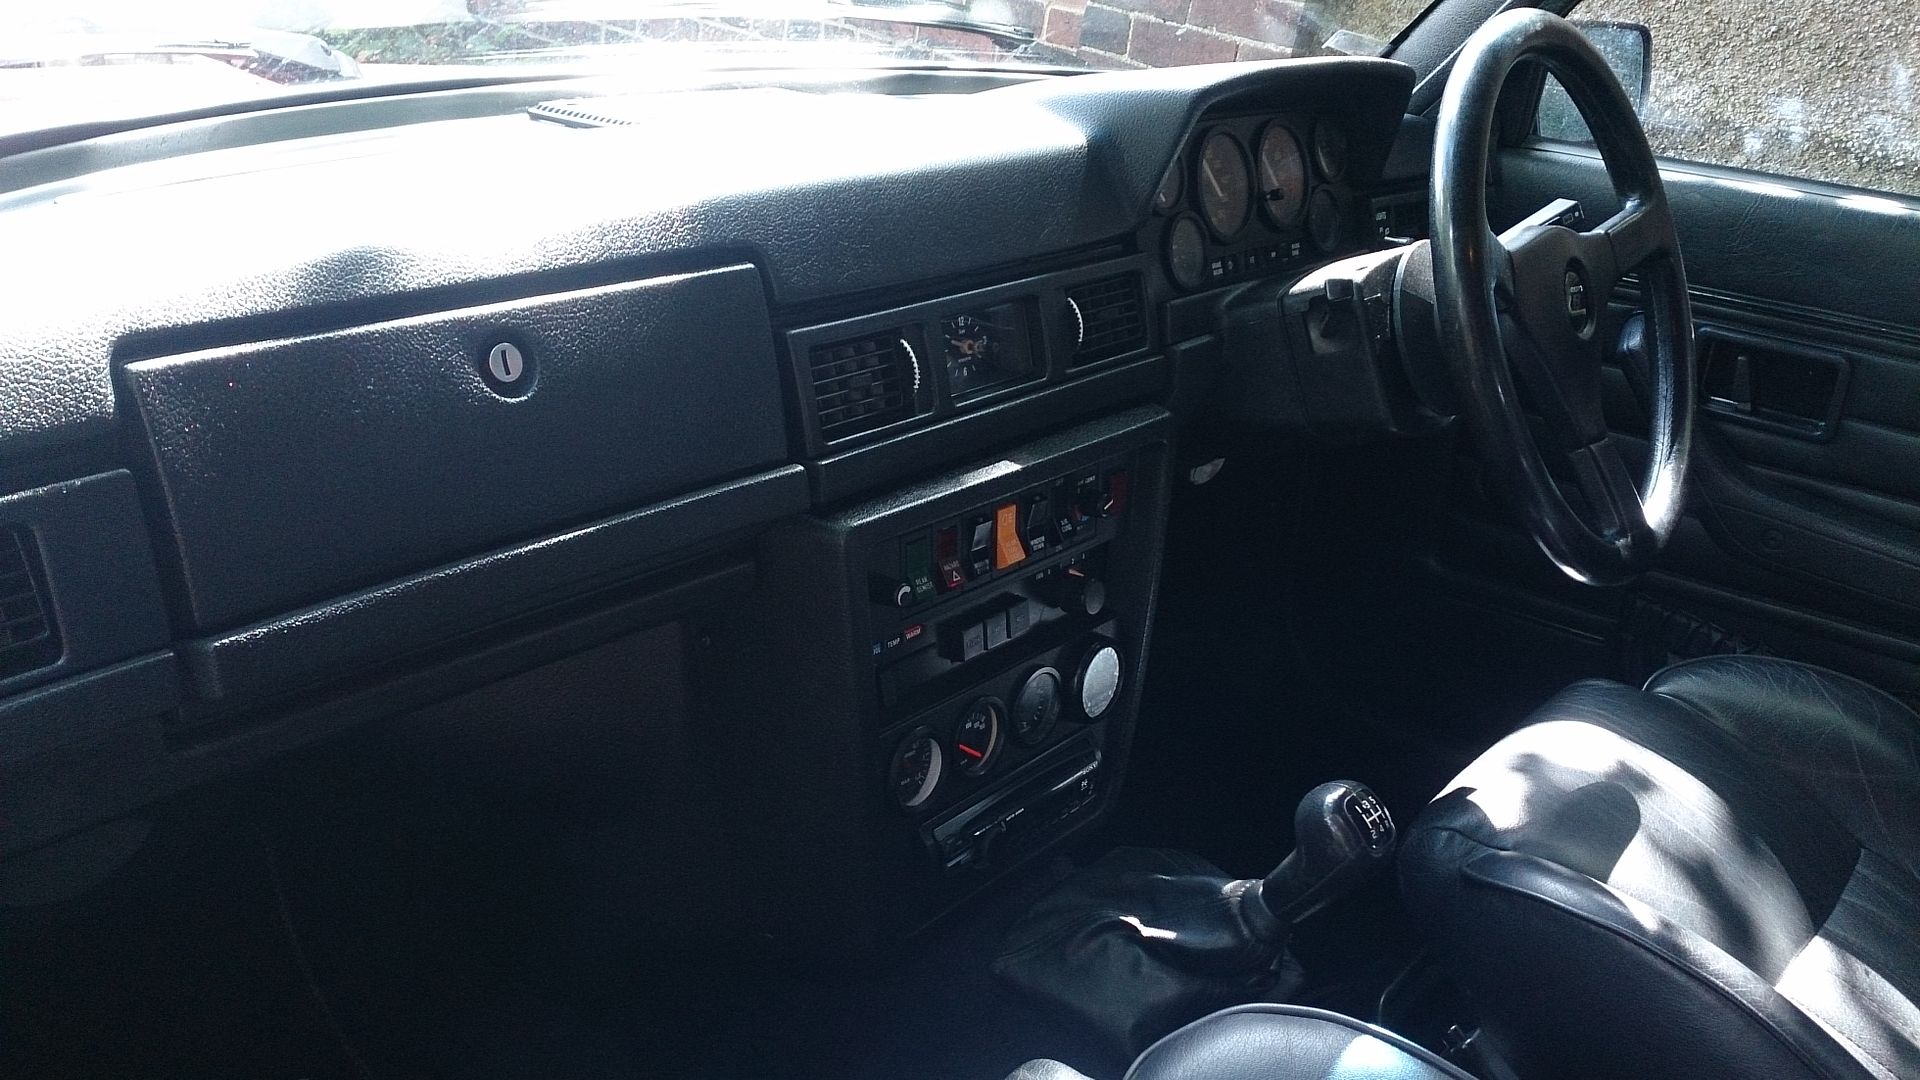
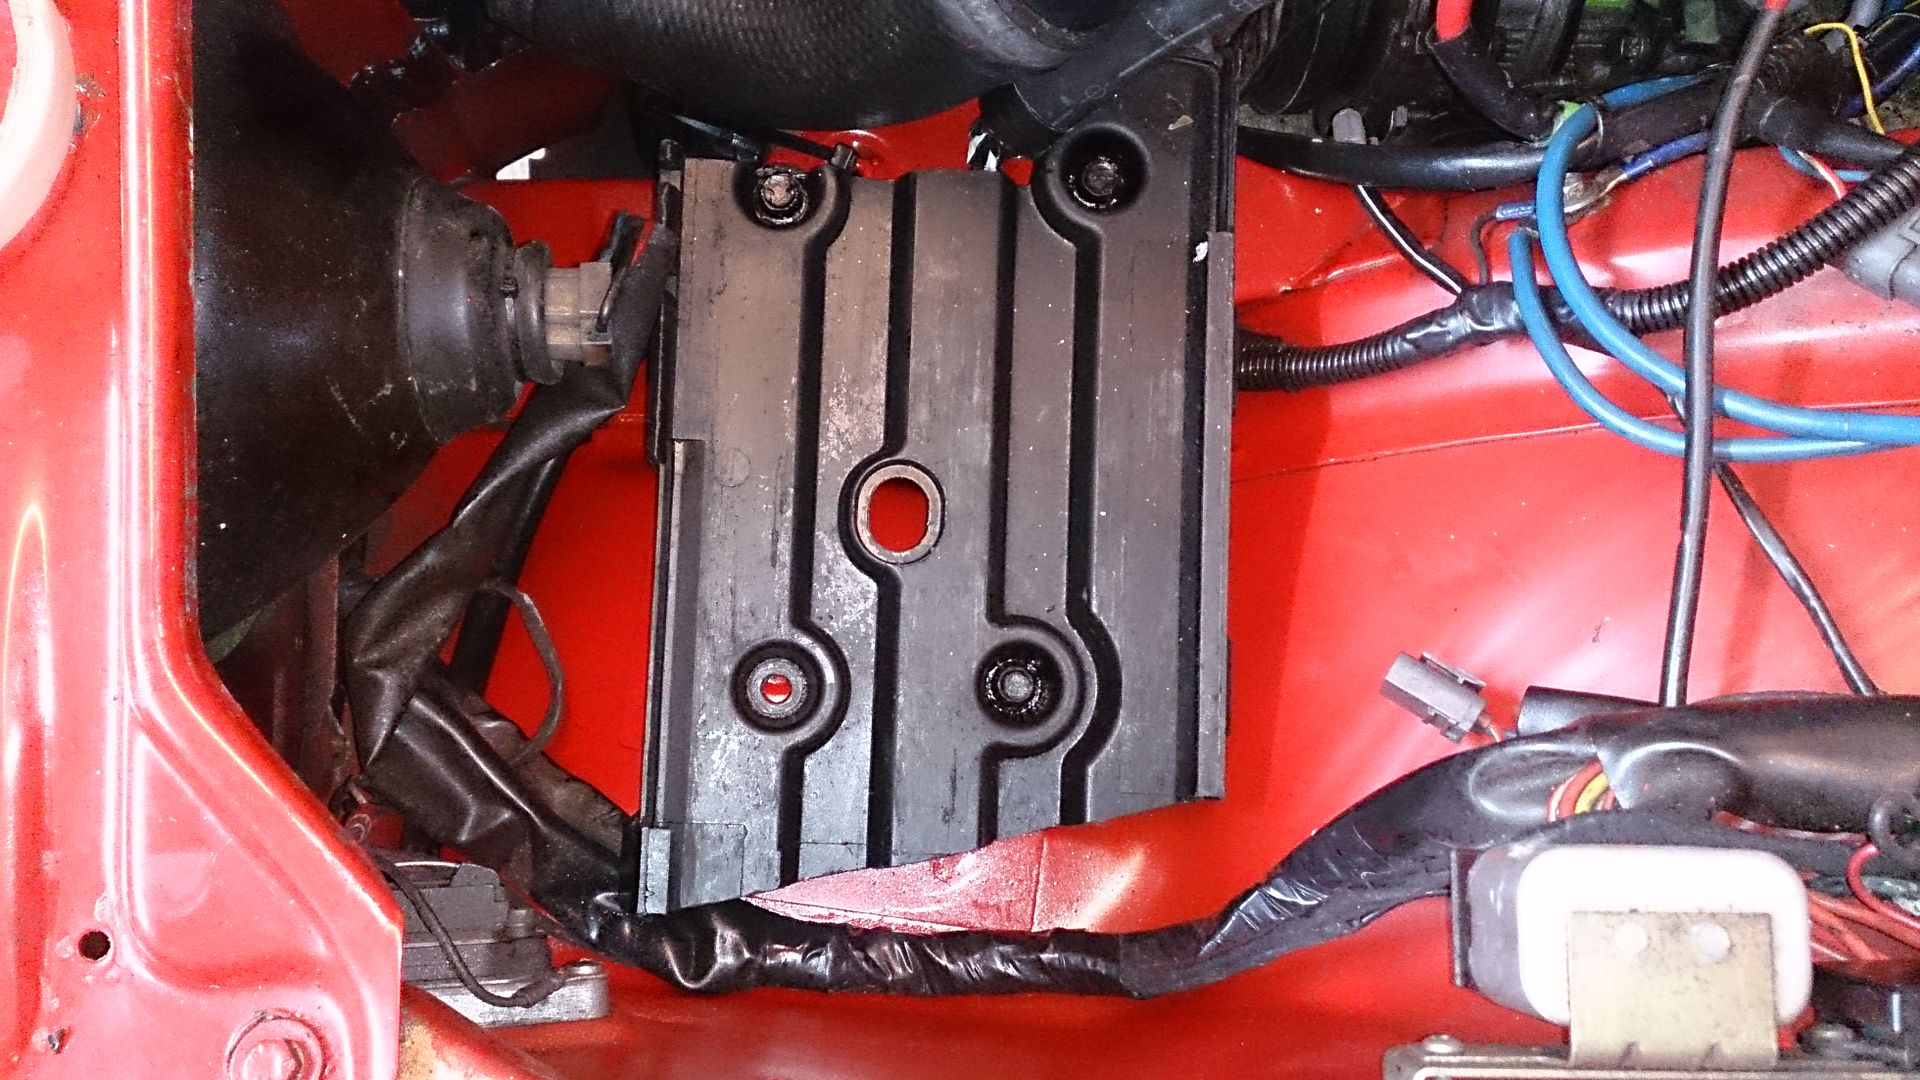
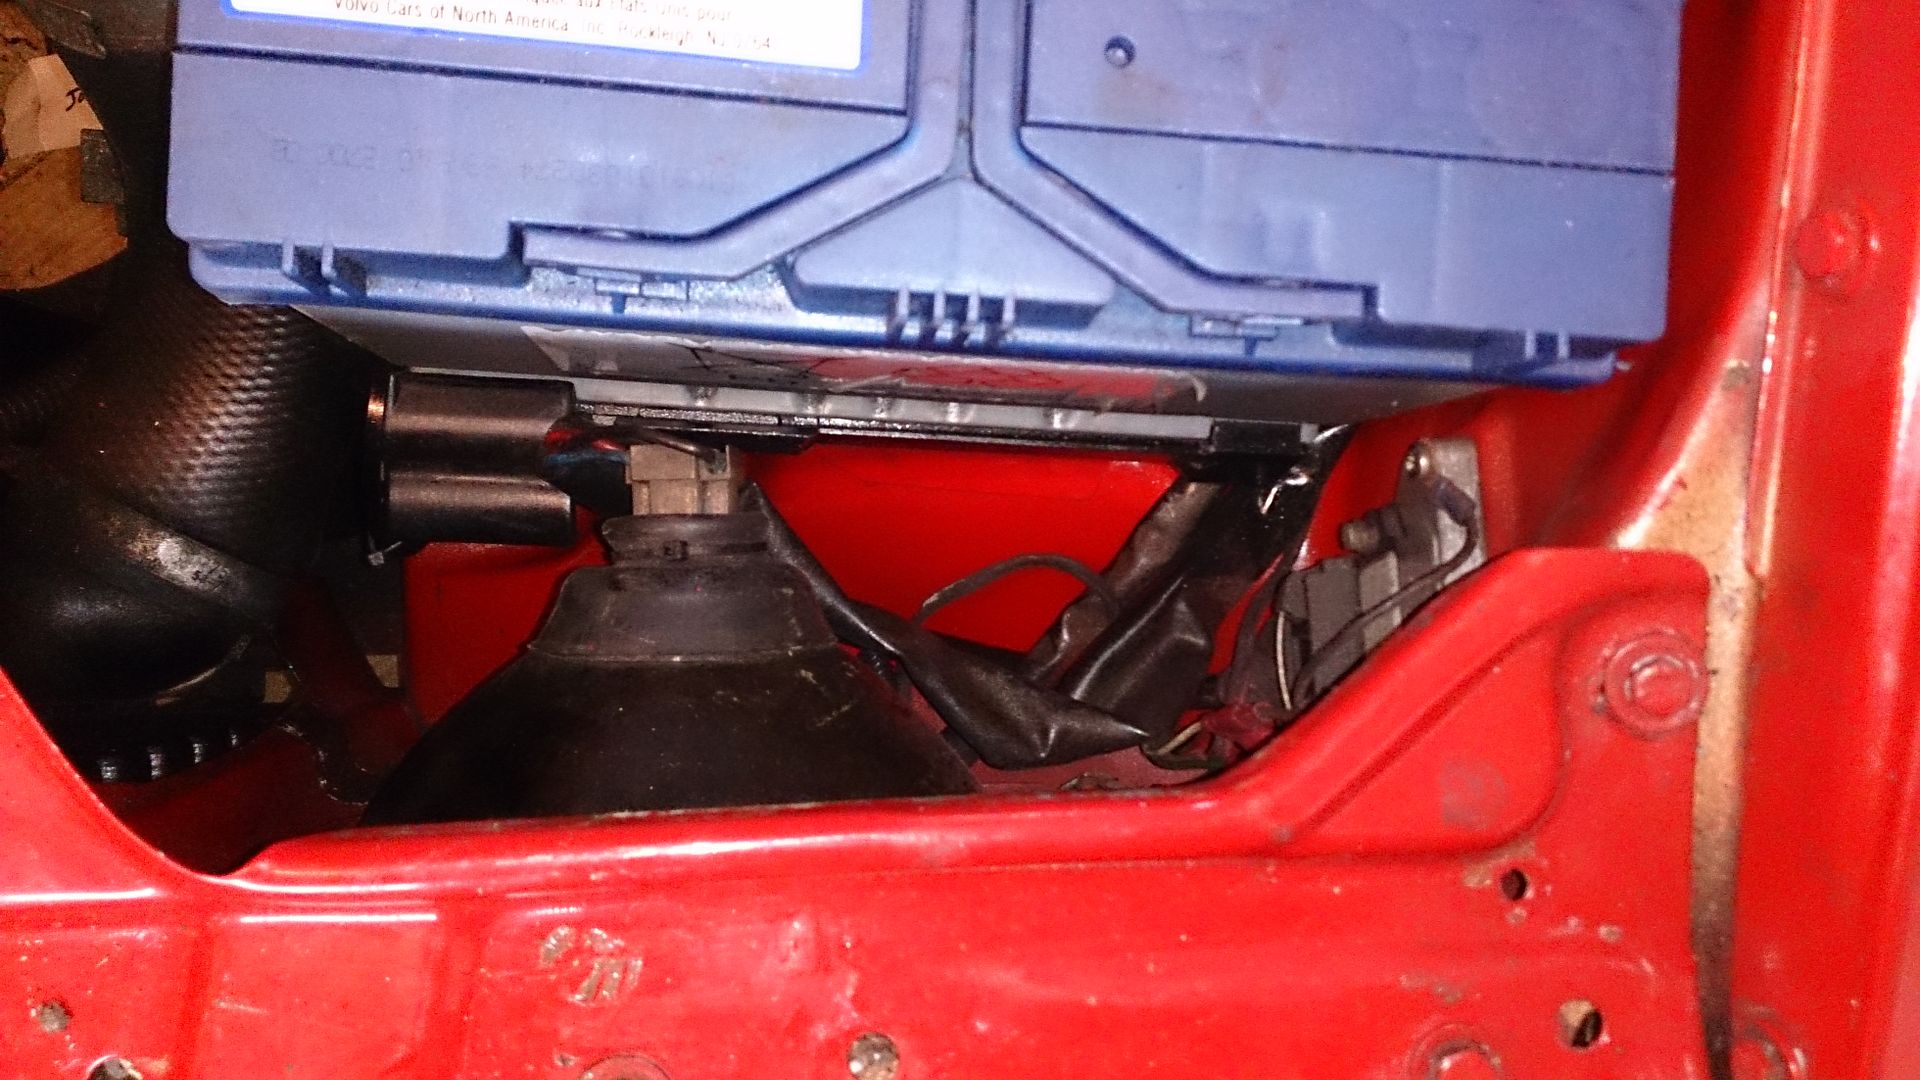
Fine mess! I just have almost finished my 245 '90 heater swap, it was non-AC unit, and now I have vacuum controlled unit. In my project I kept "modern" dash. My CombuHeater was from much older car, maybe 77, and there was minor issues with lower brakets. Also center vents are placed differently.
Heater kick-panels are different, and rear channels too, when comparing AC and non-AC heaters.
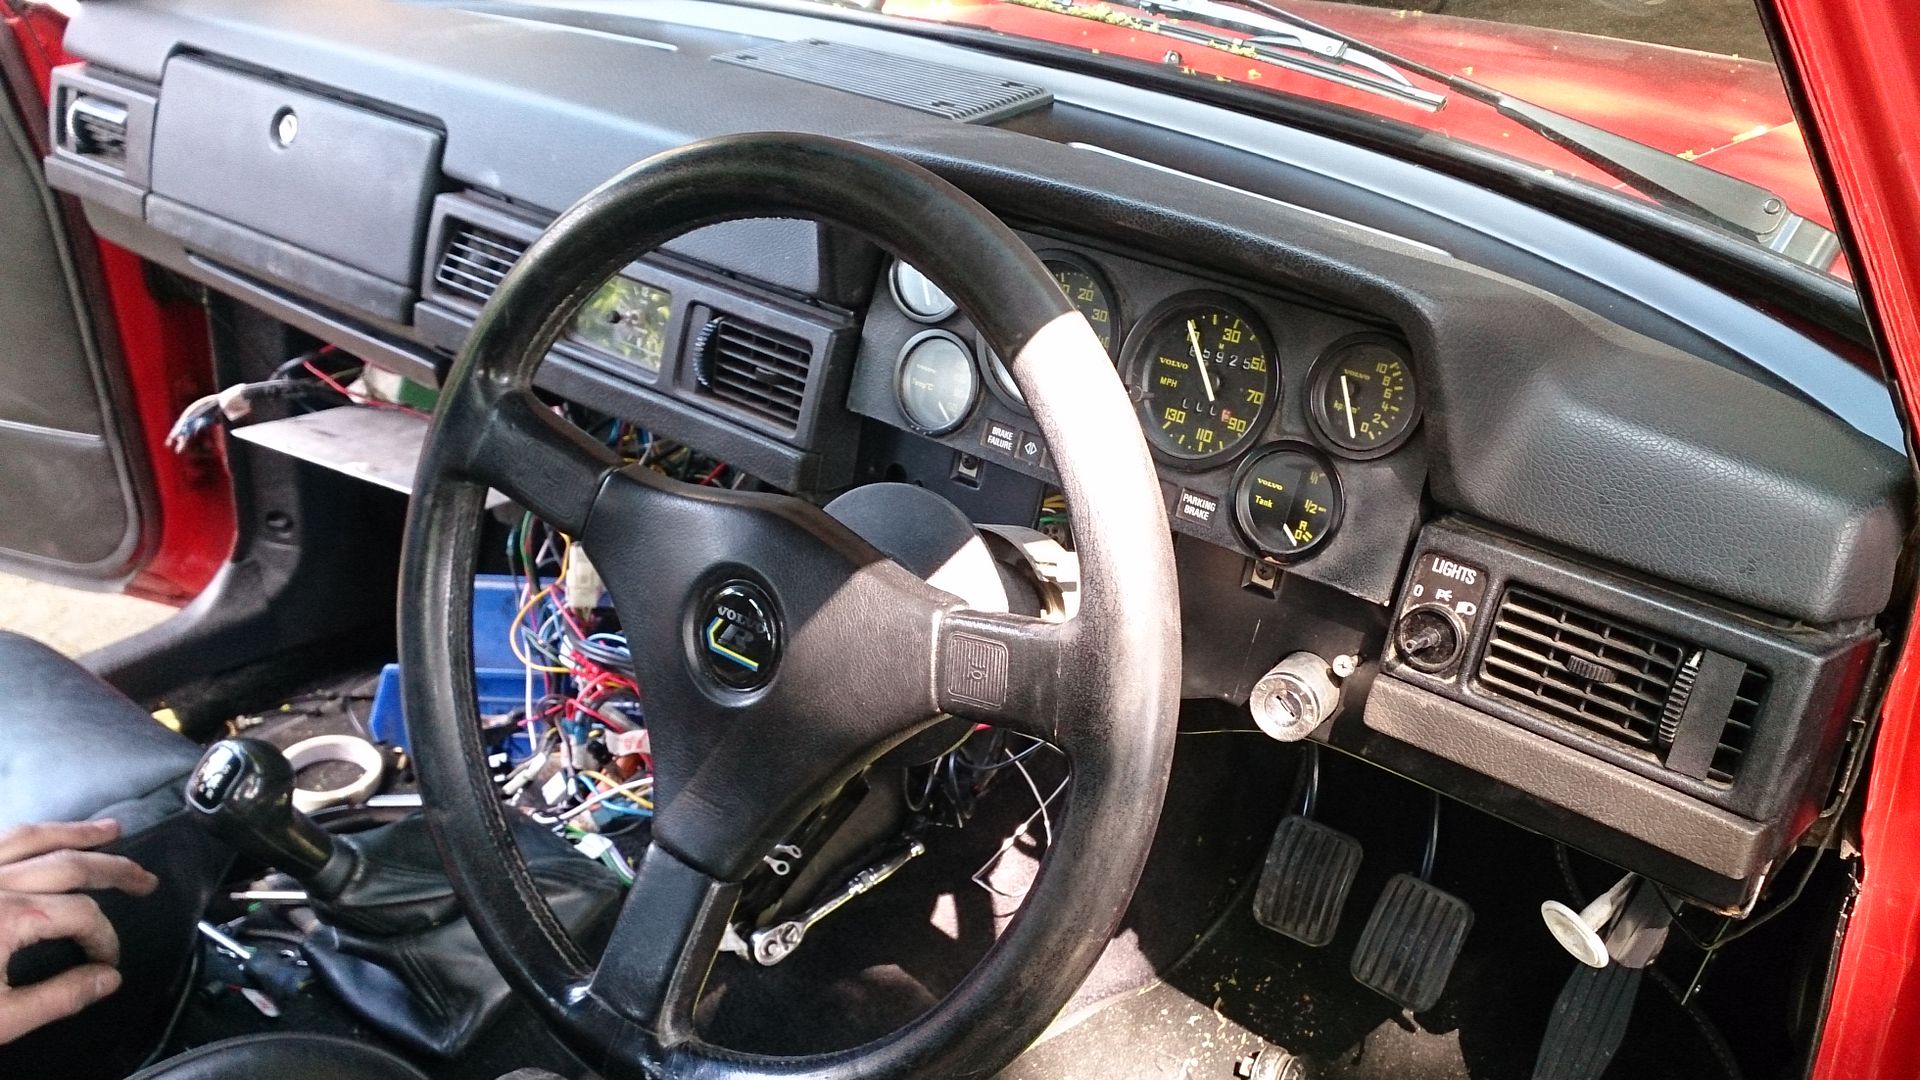
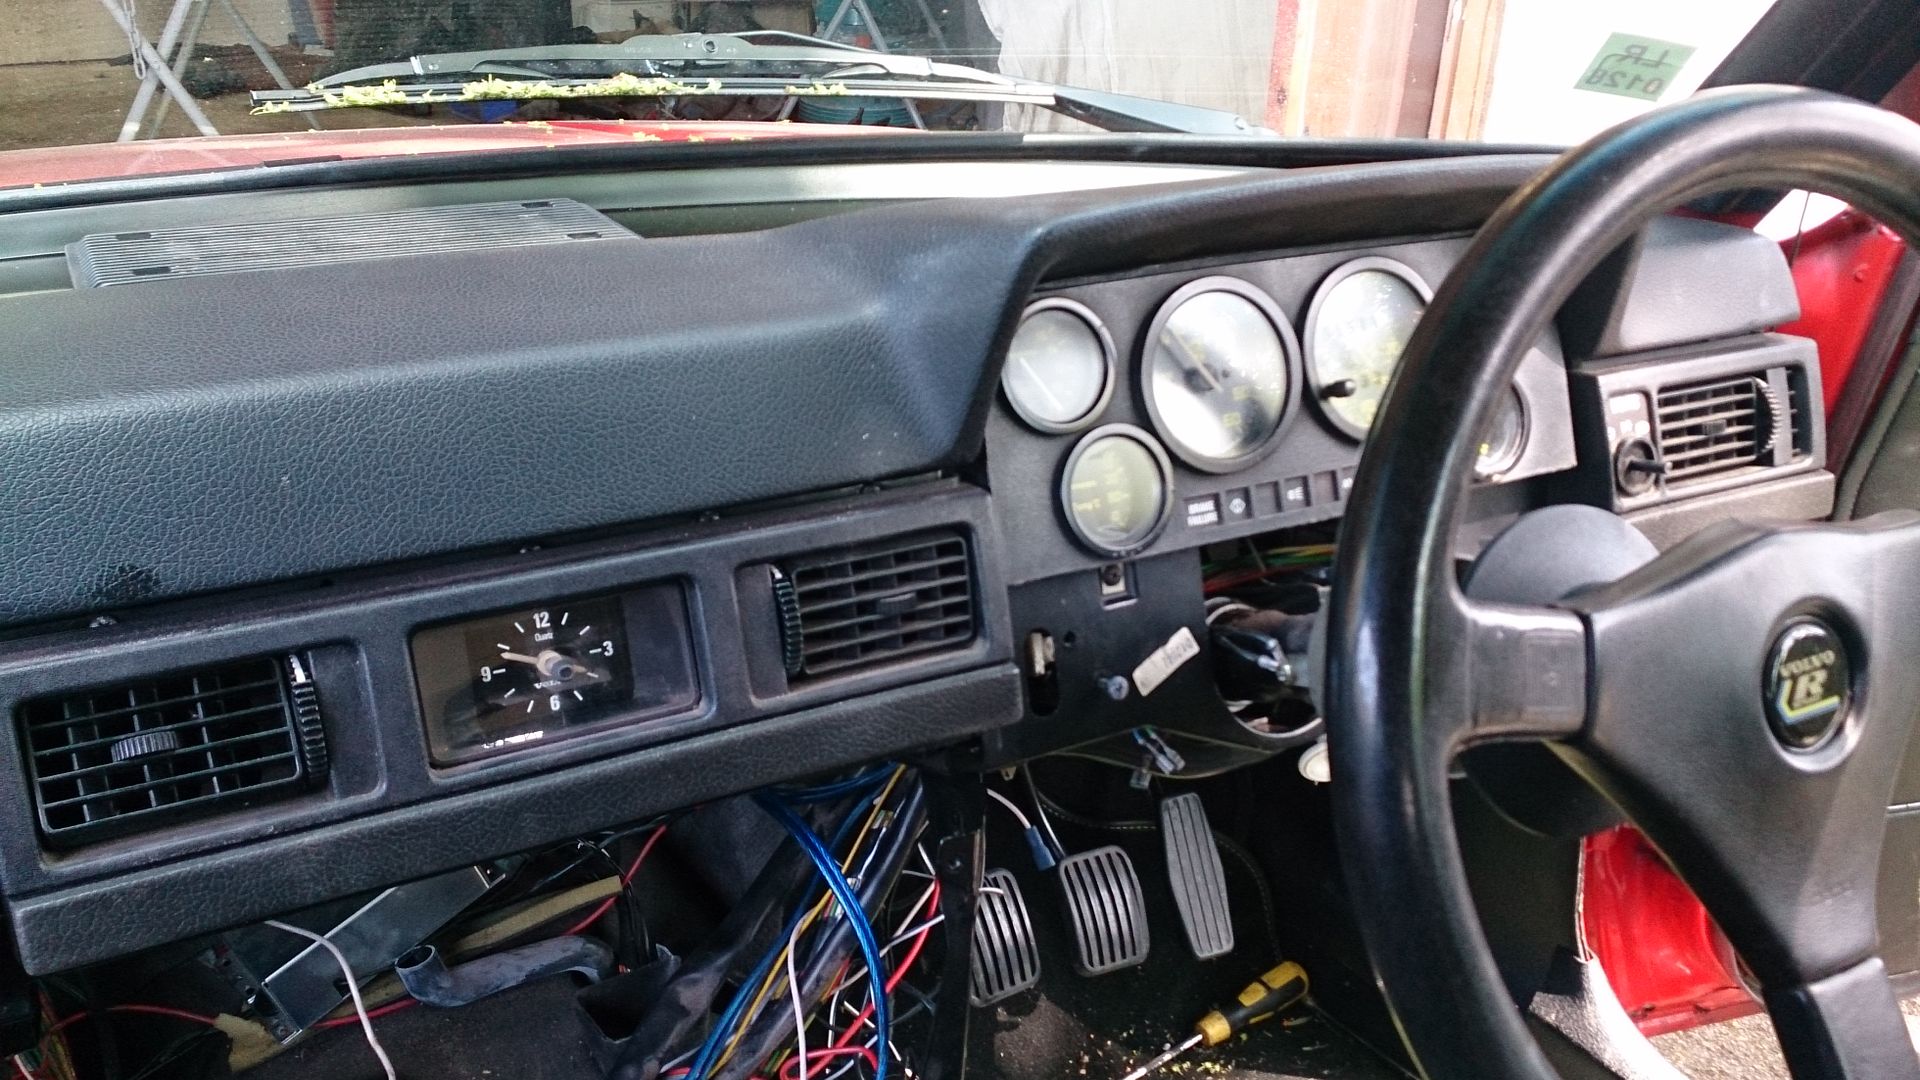
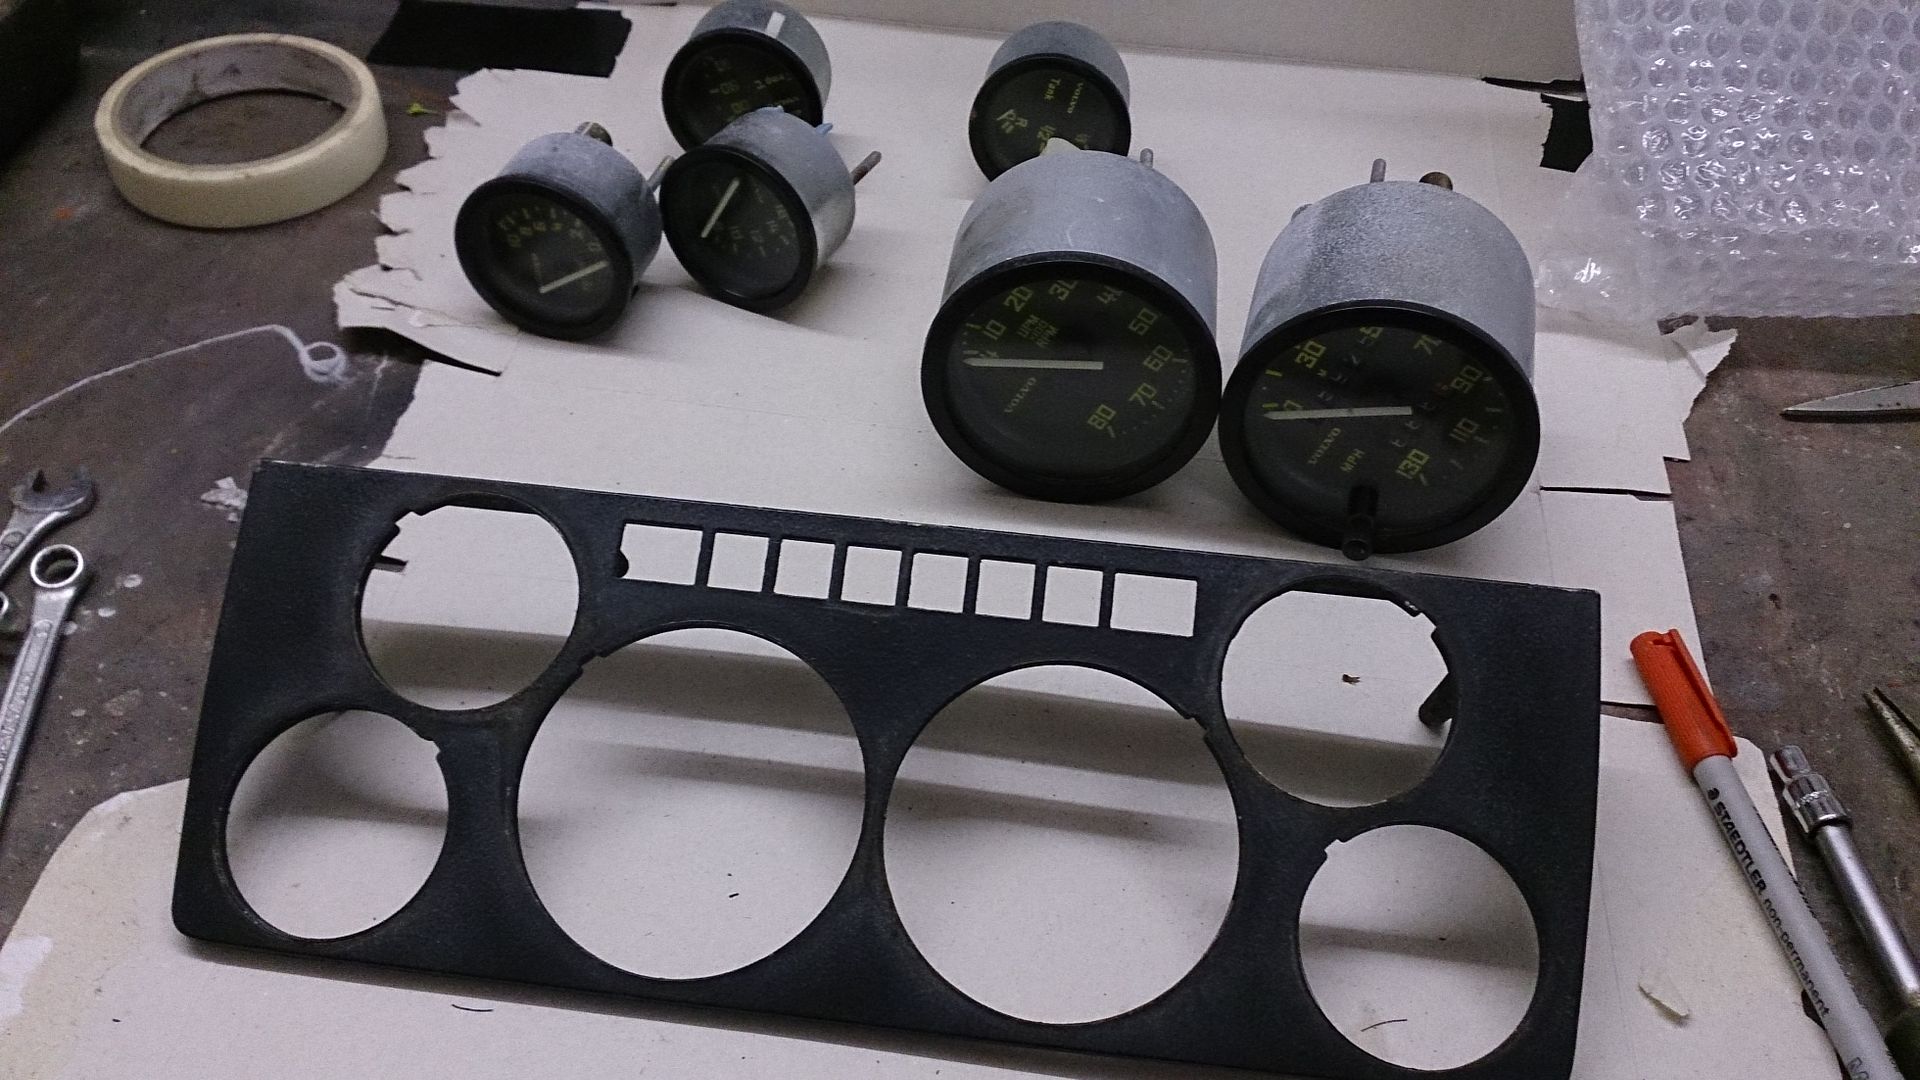
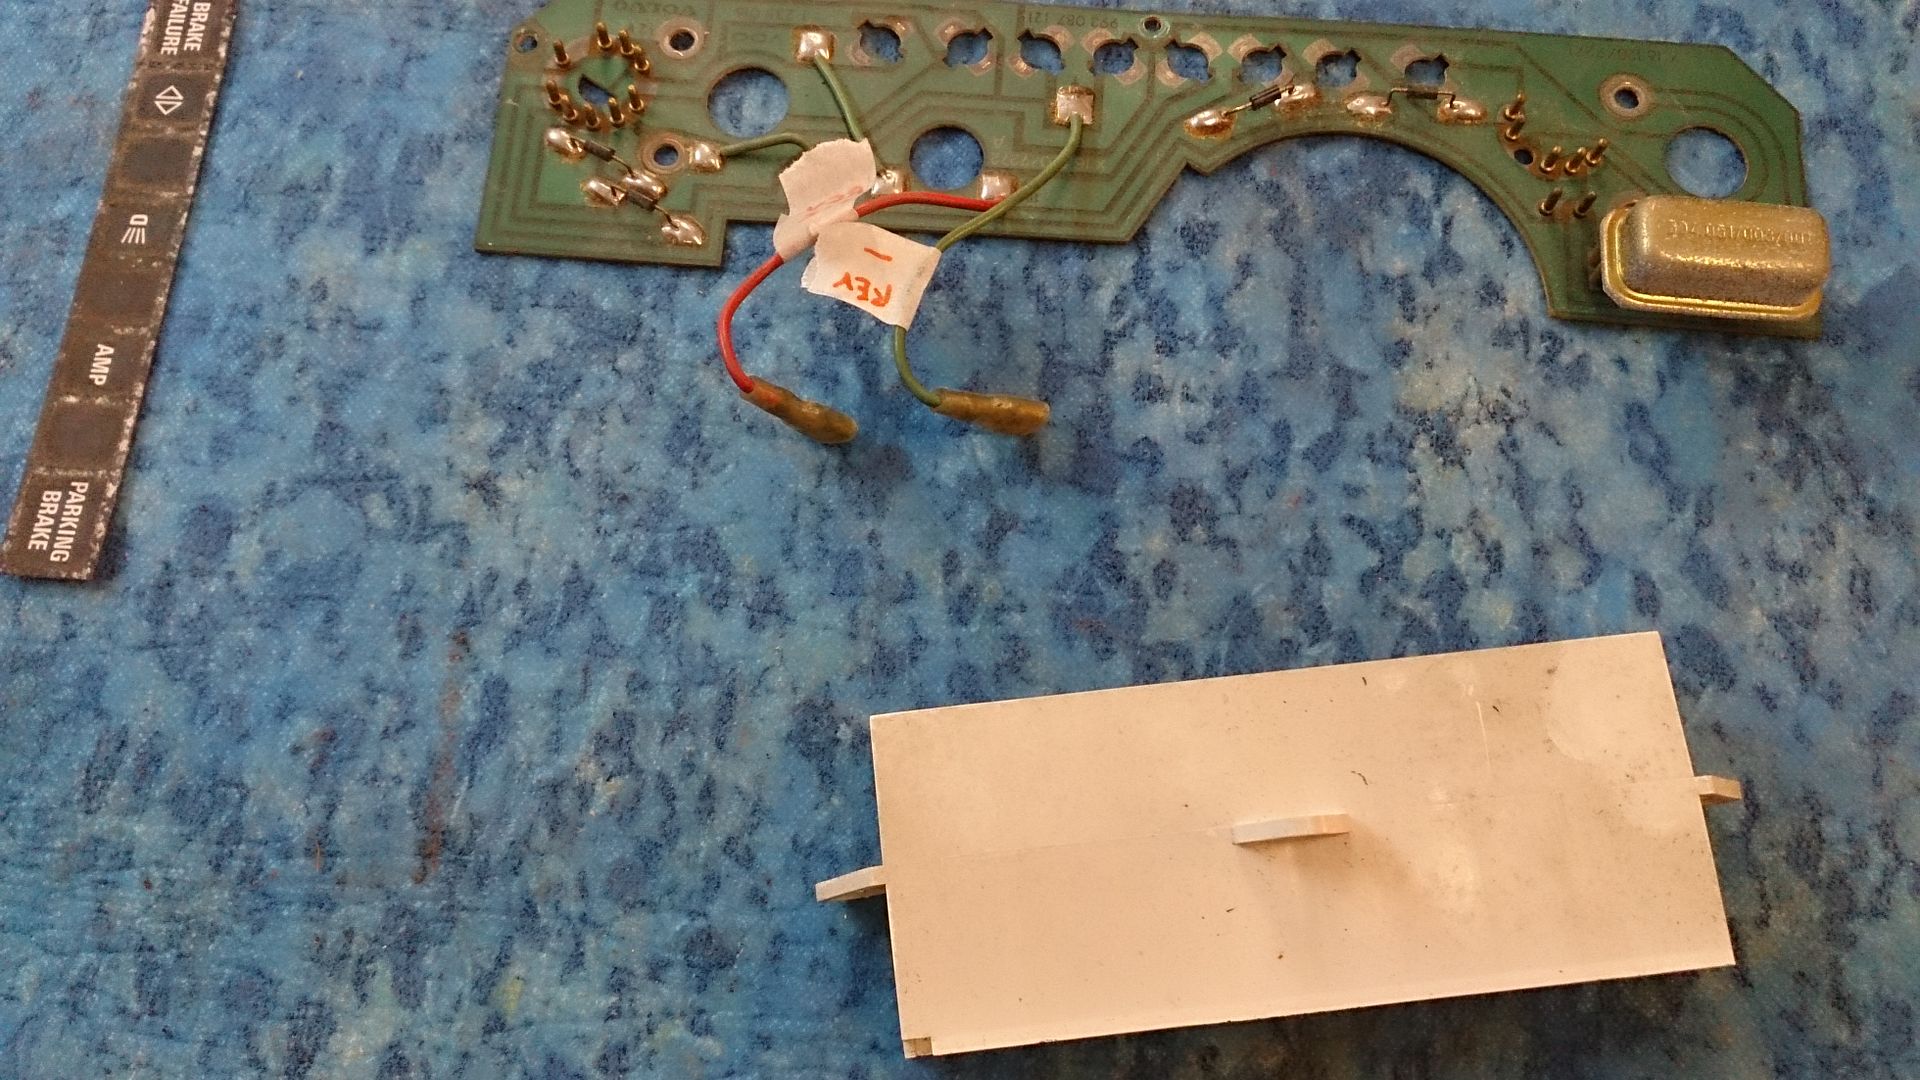
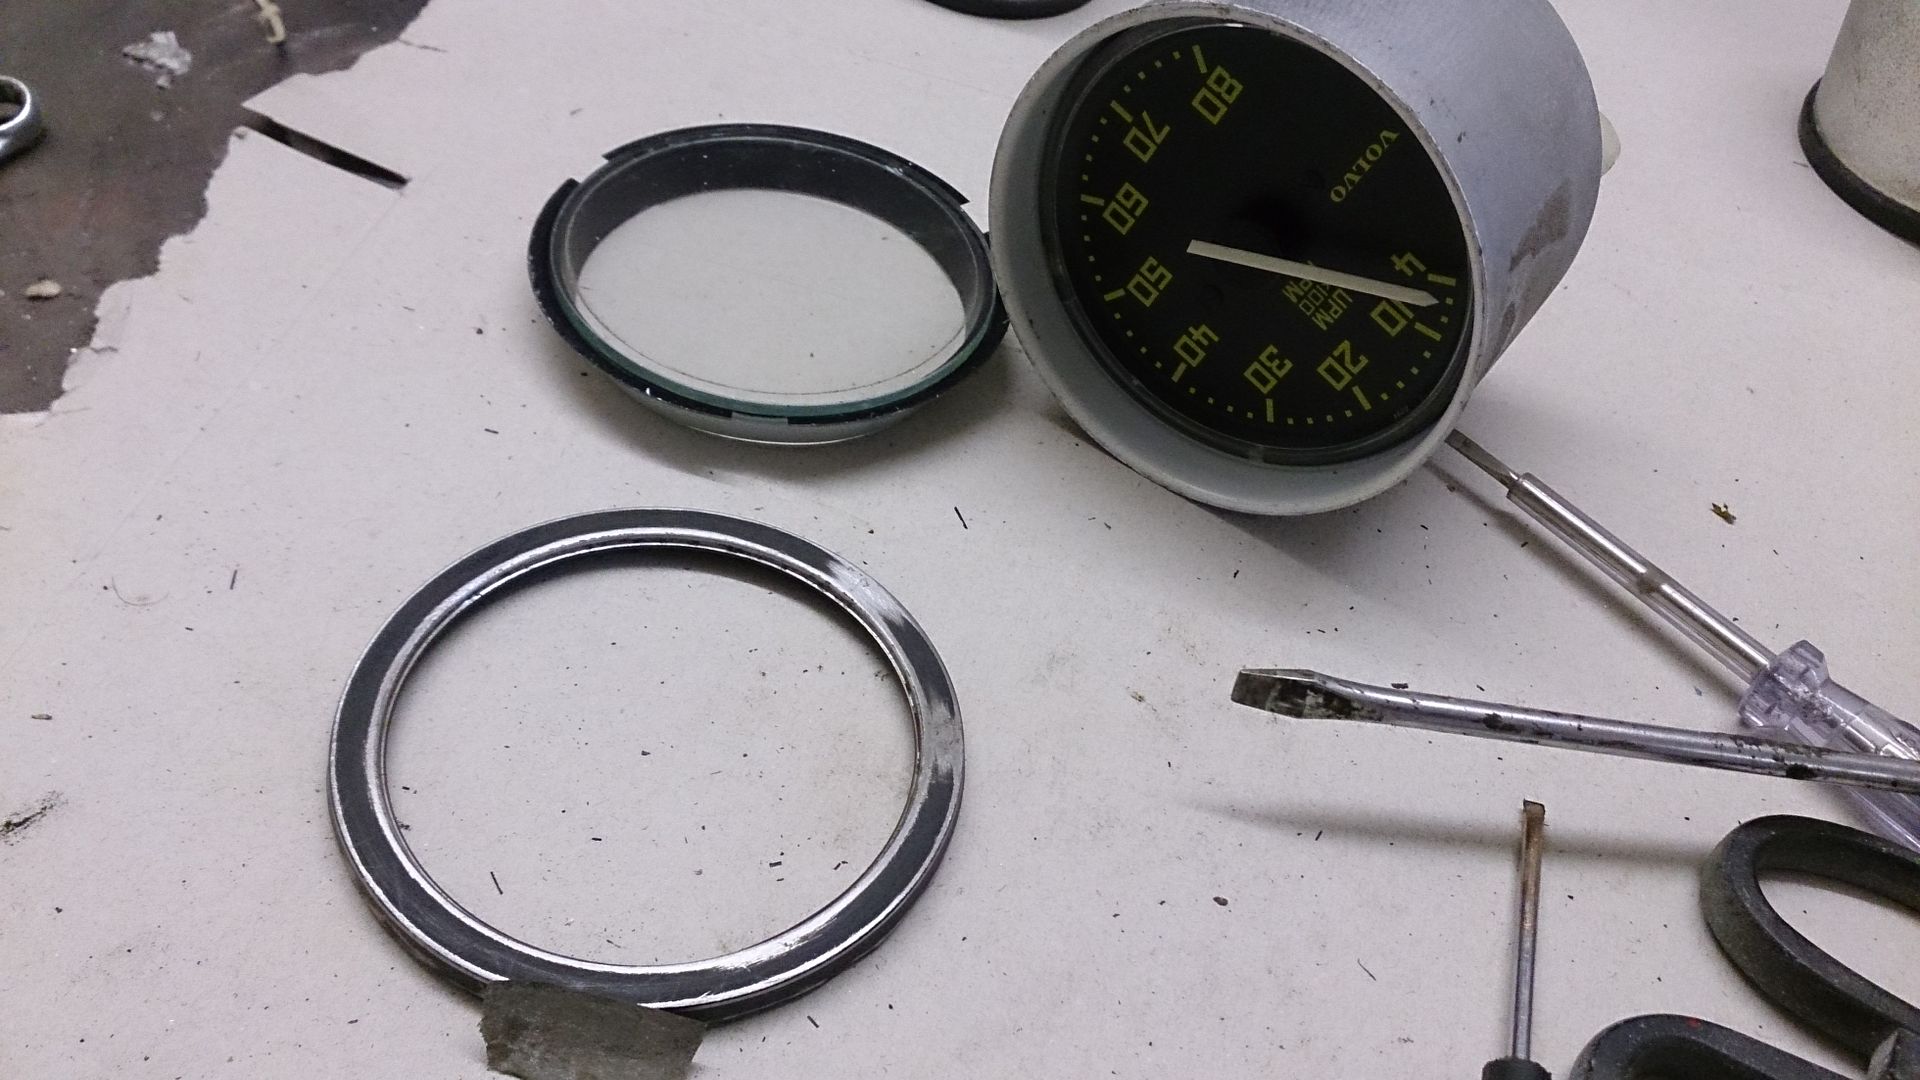
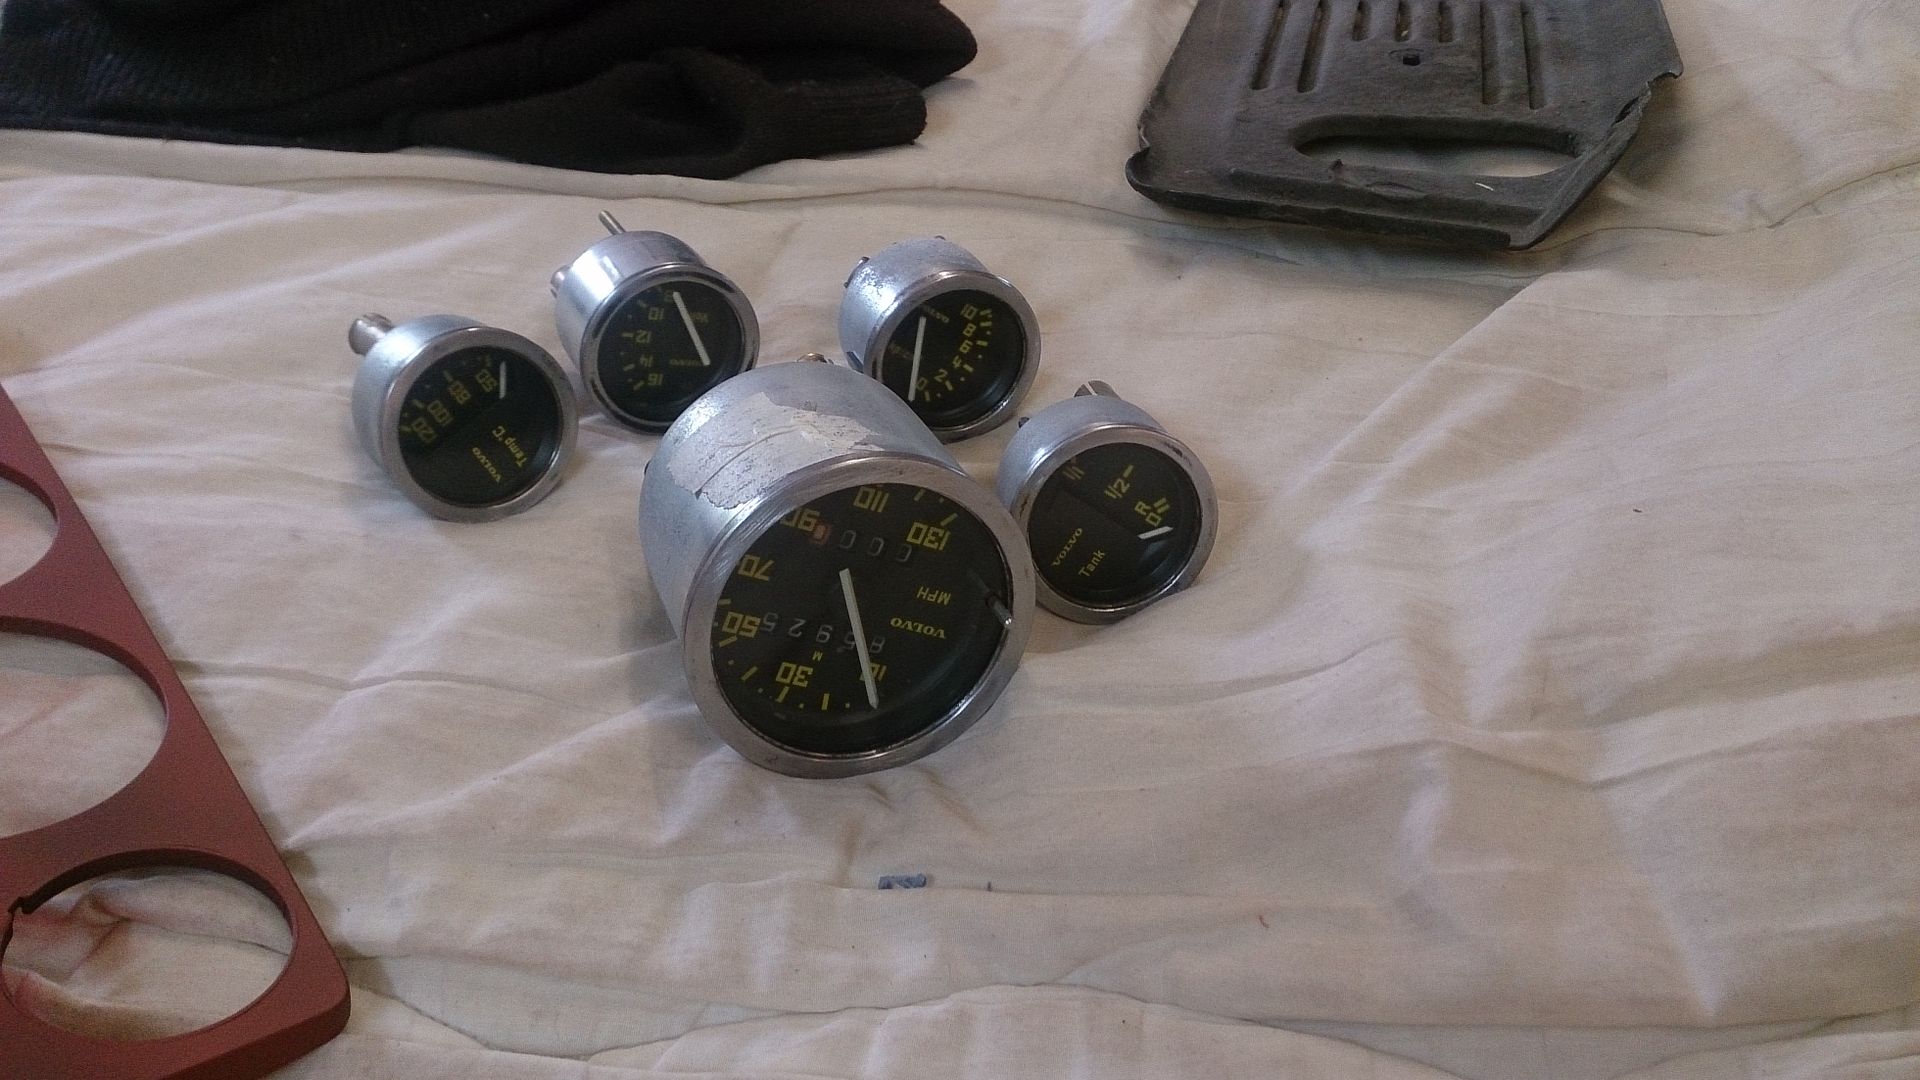
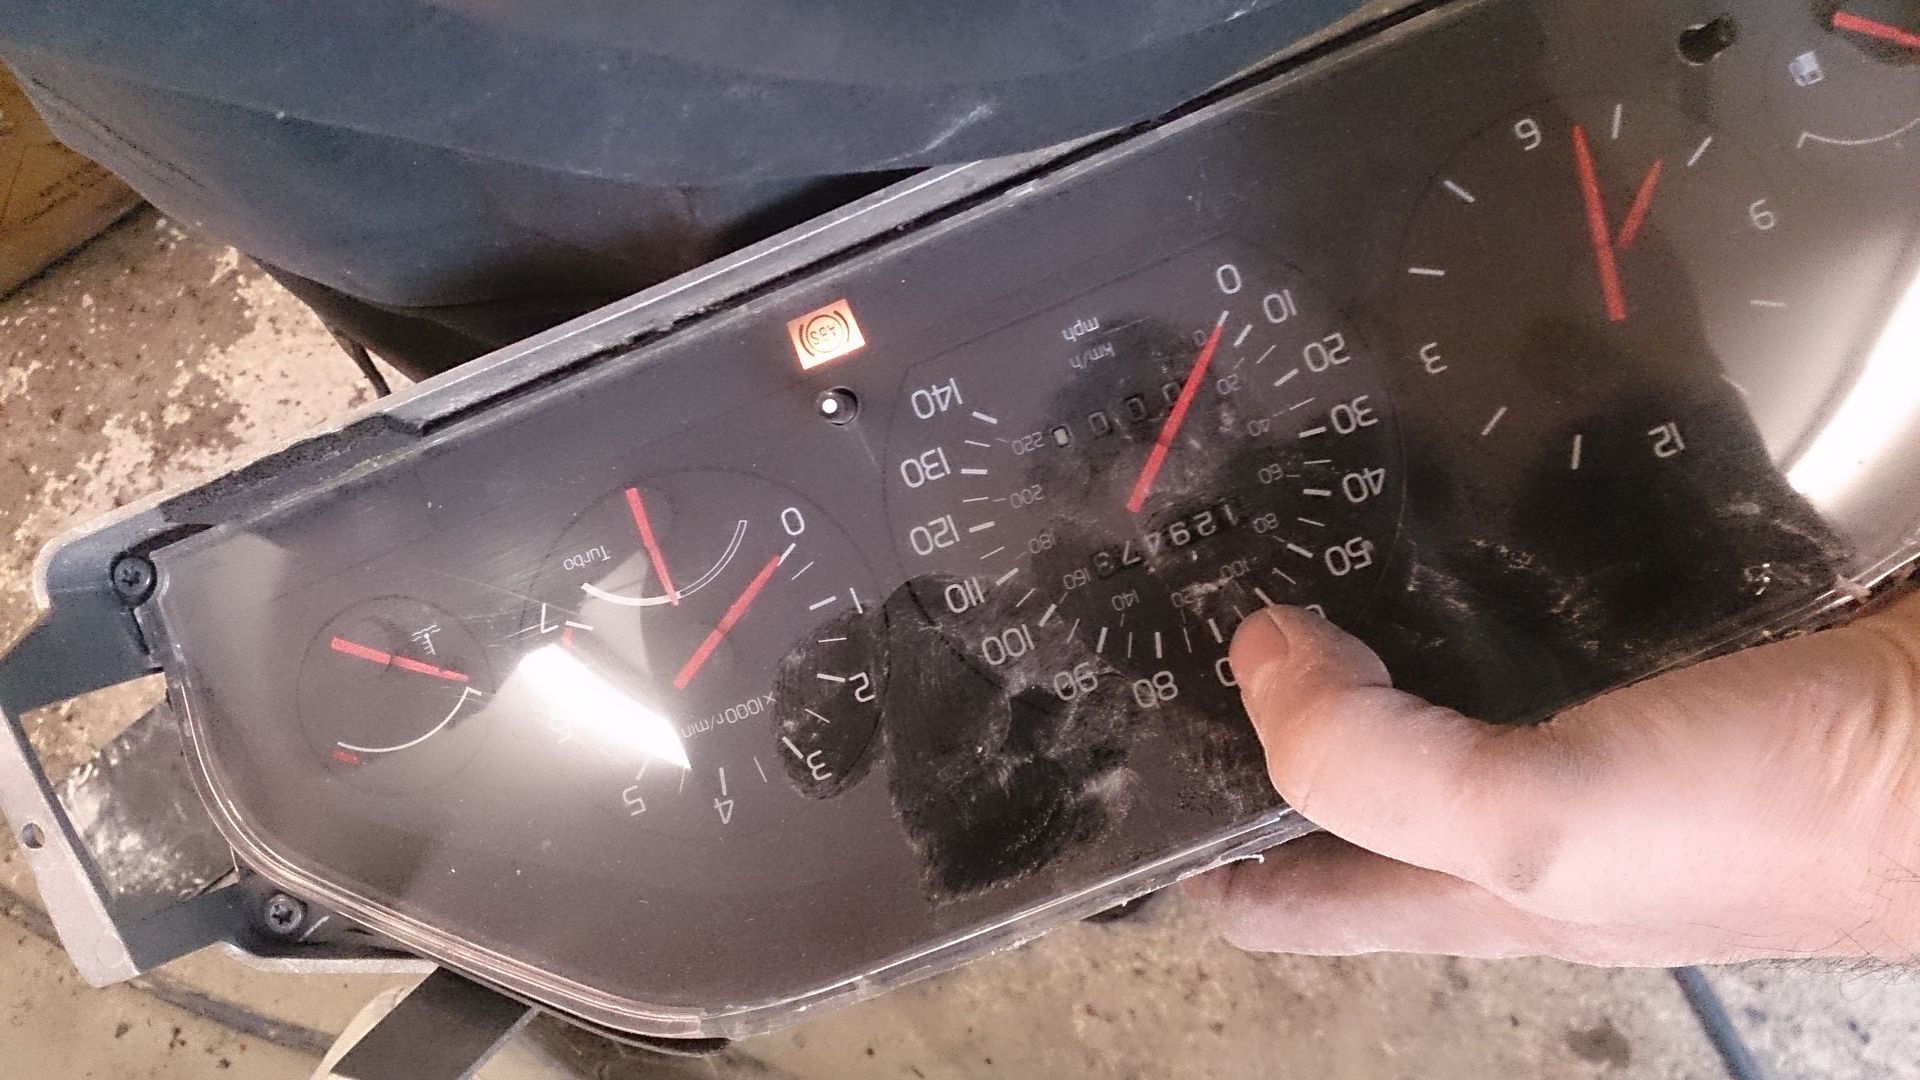
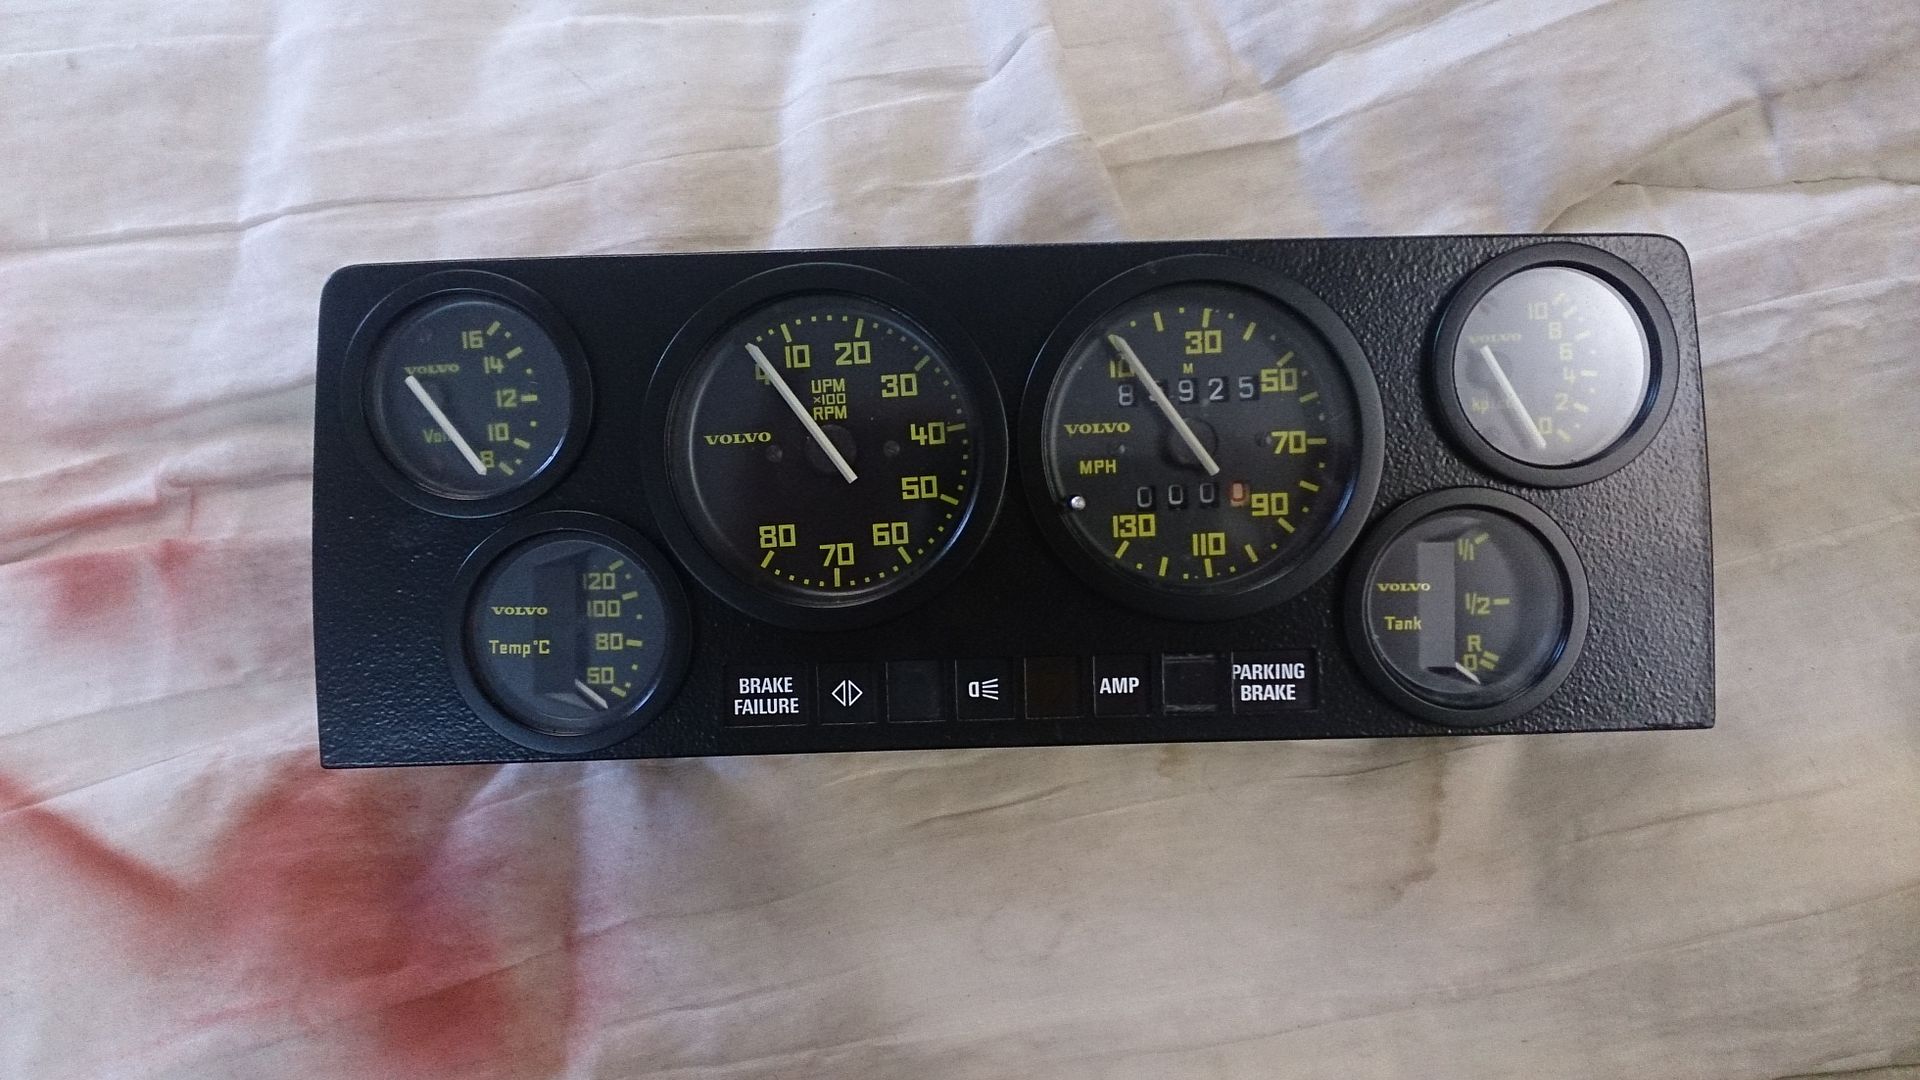
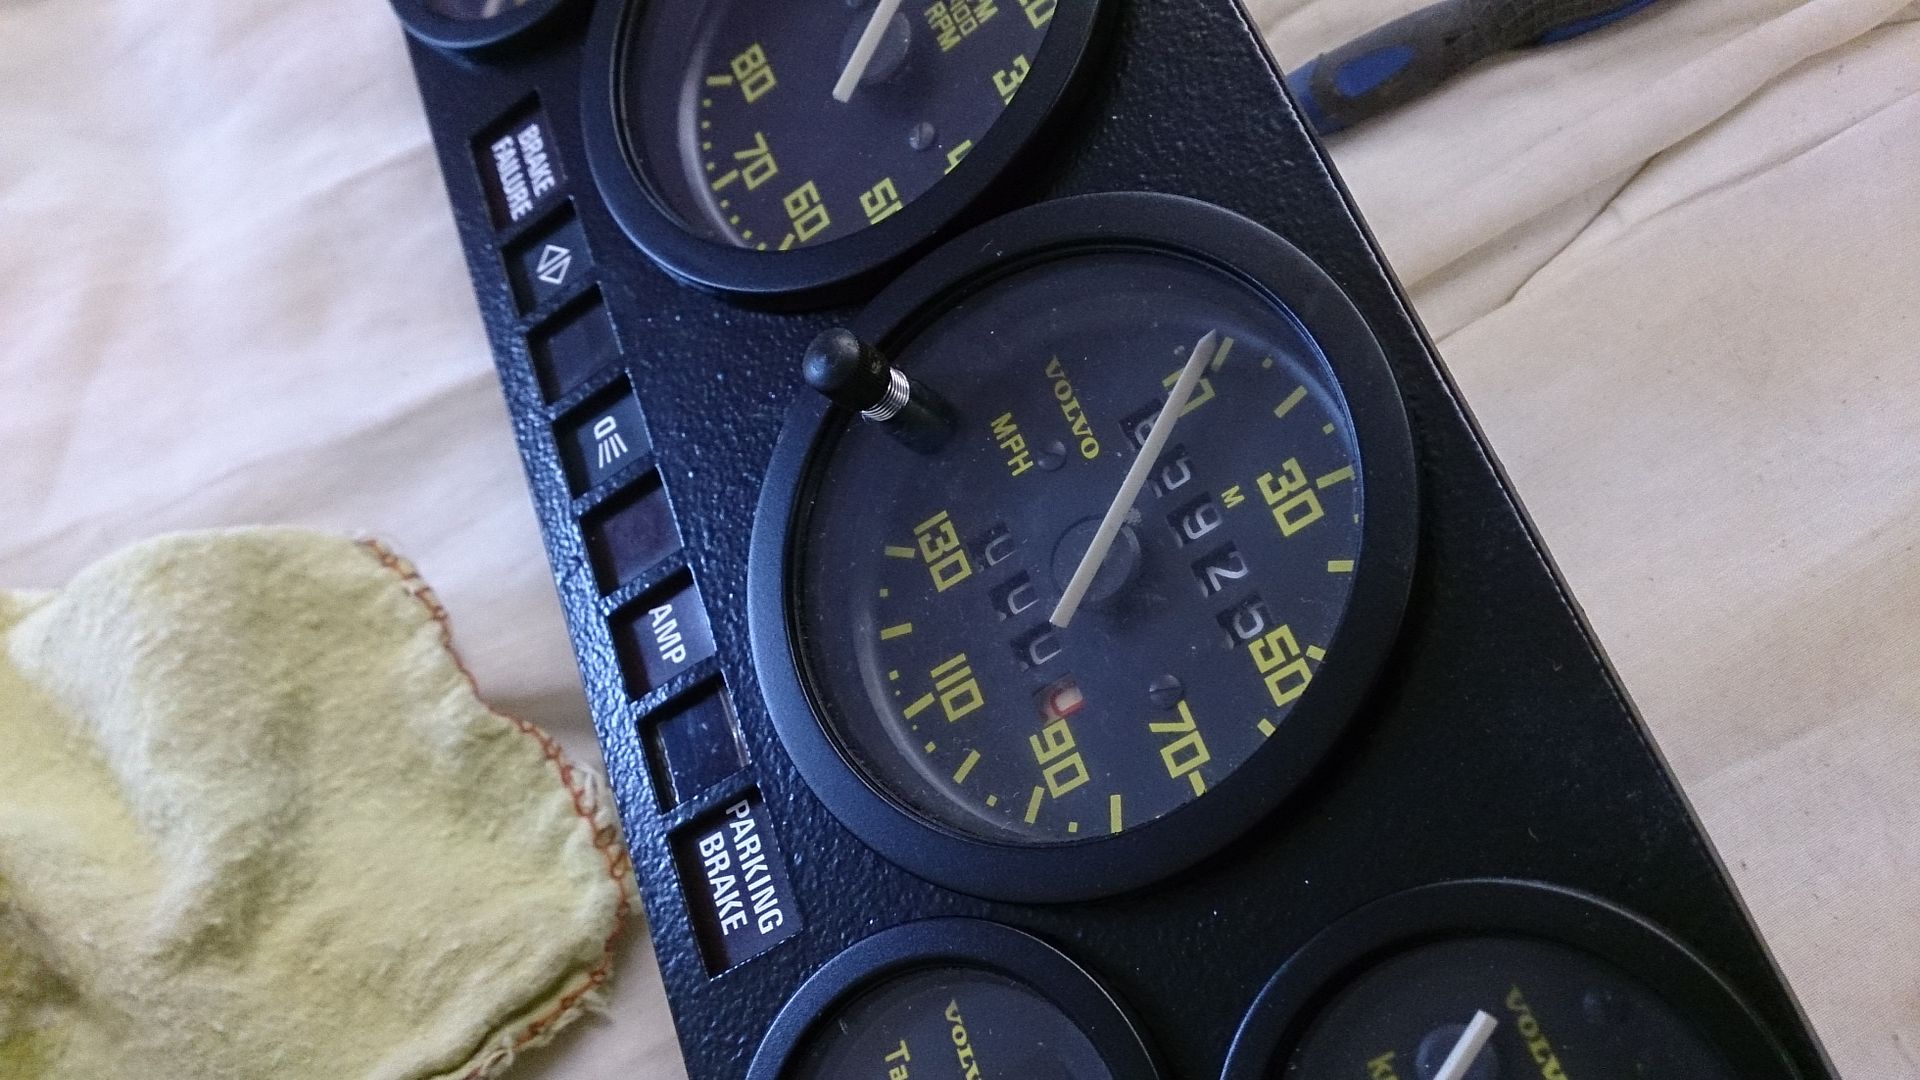
BTW, get yellow numbers and tics for the clock, maybe 90 degrees rotated CW.


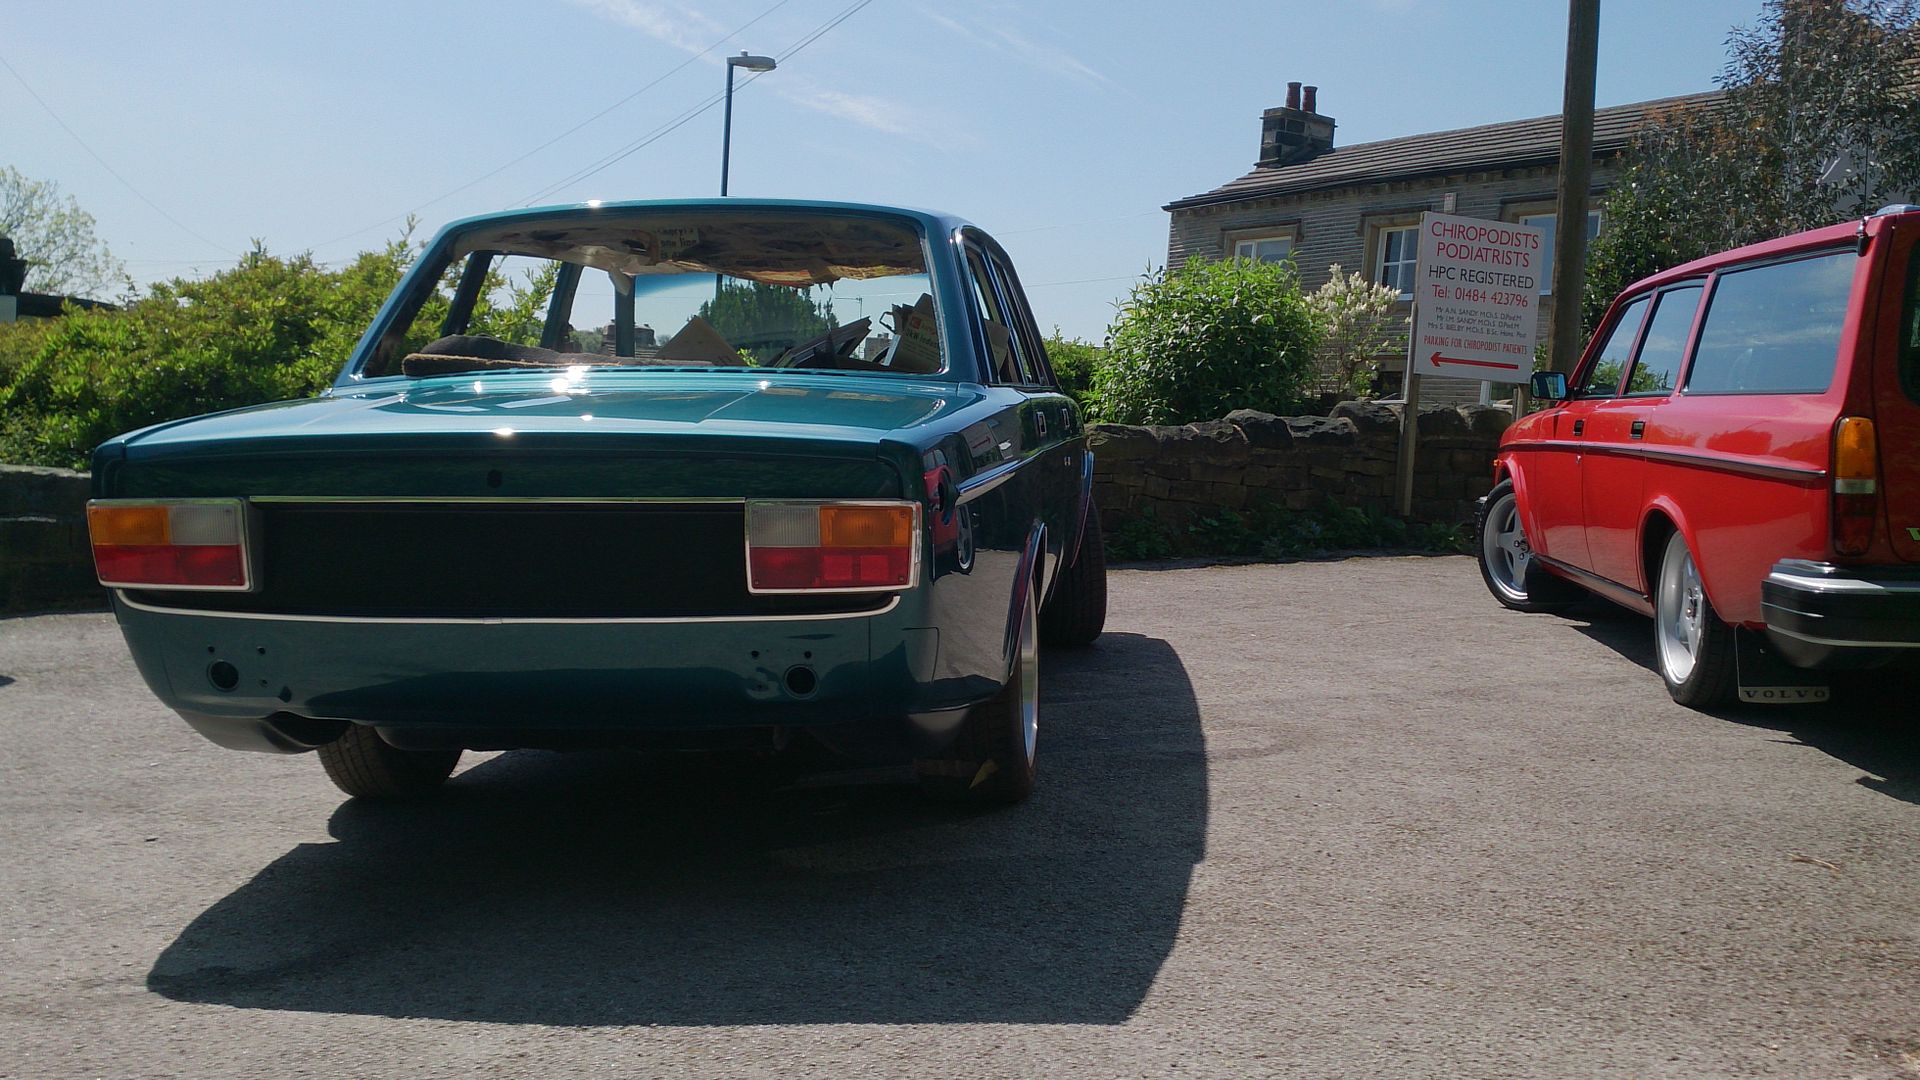
Good work John! Can't wait till the Shellsley walsh meet!
Keep up the amazing work buddy!
ADam


Looks good!

