• Hello Guest, welcome to the initial stages of our new platform!
    You can find some additional information about where we are in the process of migrating the board and setting up our new software here

    Thank you for being a part of our community!

Volvo 122S Build Thread: Scope-creep the Sequel

Sorry for the delay - I've been busy. Back on the project now.

<iframe width="560" height="315" src="https://www.youtube.com/embed/aE5FmcaUjW0" frameborder="0" allow="accelerometer; autoplay; encrypted-media; gyroscope; picture-in-picture" allowfullscreen></iframe>
 
<iframe width="560" height="315" src="https://www.youtube.com/embed/gynE4ndyHg4" frameborder="0" allow="accelerometer; autoplay; encrypted-media; gyroscope; picture-in-picture" allowfullscreen></iframe>
 
We're making carbon fibre parts for the car.

<iframe width="560" height="315" src="https://www.youtube.com/embed/YdaAbfHsqHs" frameborder="0" allow="accelerometer; autoplay; encrypted-media; gyroscope; picture-in-picture" allowfullscreen></iframe>
 
In this episode, I take a beating with molds that didn't work and my efforts to fix them and make these parts.

<iframe width="560" height="315" src="https://www.youtube.com/embed/QfJ59LItvUw" frameborder="0" allow="accelerometer; autoplay; encrypted-media; gyroscope; picture-in-picture" allowfullscreen></iframe>
 
Just checked out a couple of videos (they're great!). Subscribed on YouTube and will be following closely. Thanks for documenting!
 
The next episode - I change it up a little and try my hand at making a few carbon fiber parts.

<iframe width="560" height="315" src="https://www.youtube.com/embed/4F--ihPDJ3M" frameborder="0" allow="accelerometer; autoplay; encrypted-media; gyroscope; picture-in-picture" allowfullscreen></iframe>
 
<iframe width="560" height="315" src="https://www.youtube.com/embed/v2A8rVYITFw" frameborder="0" allow="accelerometer; autoplay; encrypted-media; gyroscope; picture-in-picture" allowfullscreen></iframe>
 
You're a madman. I'd get about 20 minutes in to that and just quit.

LOL - that's a pretty accurate description. Even tonight as I try to get the final mold done, there was another two blisters that popped up during the 400 grit wet and dry. Should be polished tomorrow. Hope I can get the first one done right away.
 
Sorry folks...I've been a bit busy. Time for an update post. After three weeks of hard work getting the molds prepped (see above video's) it was time to move on.

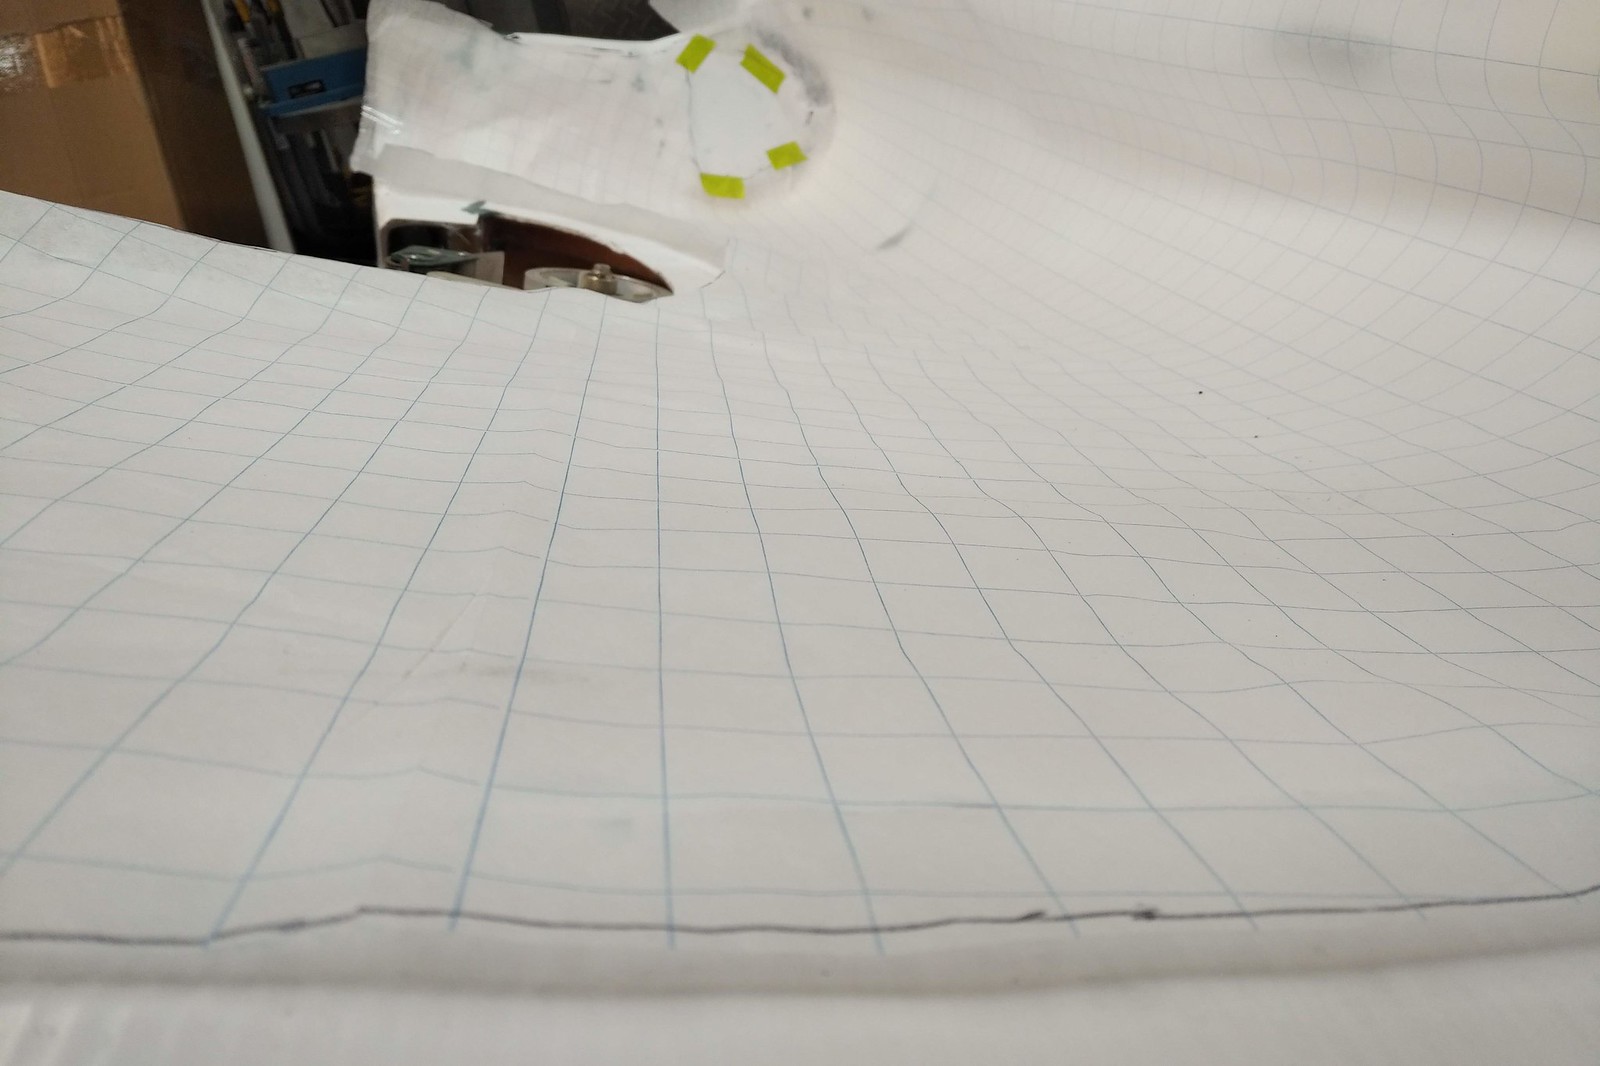
So a few patterns got made...

48782780323_b01204bb19_h.jpg


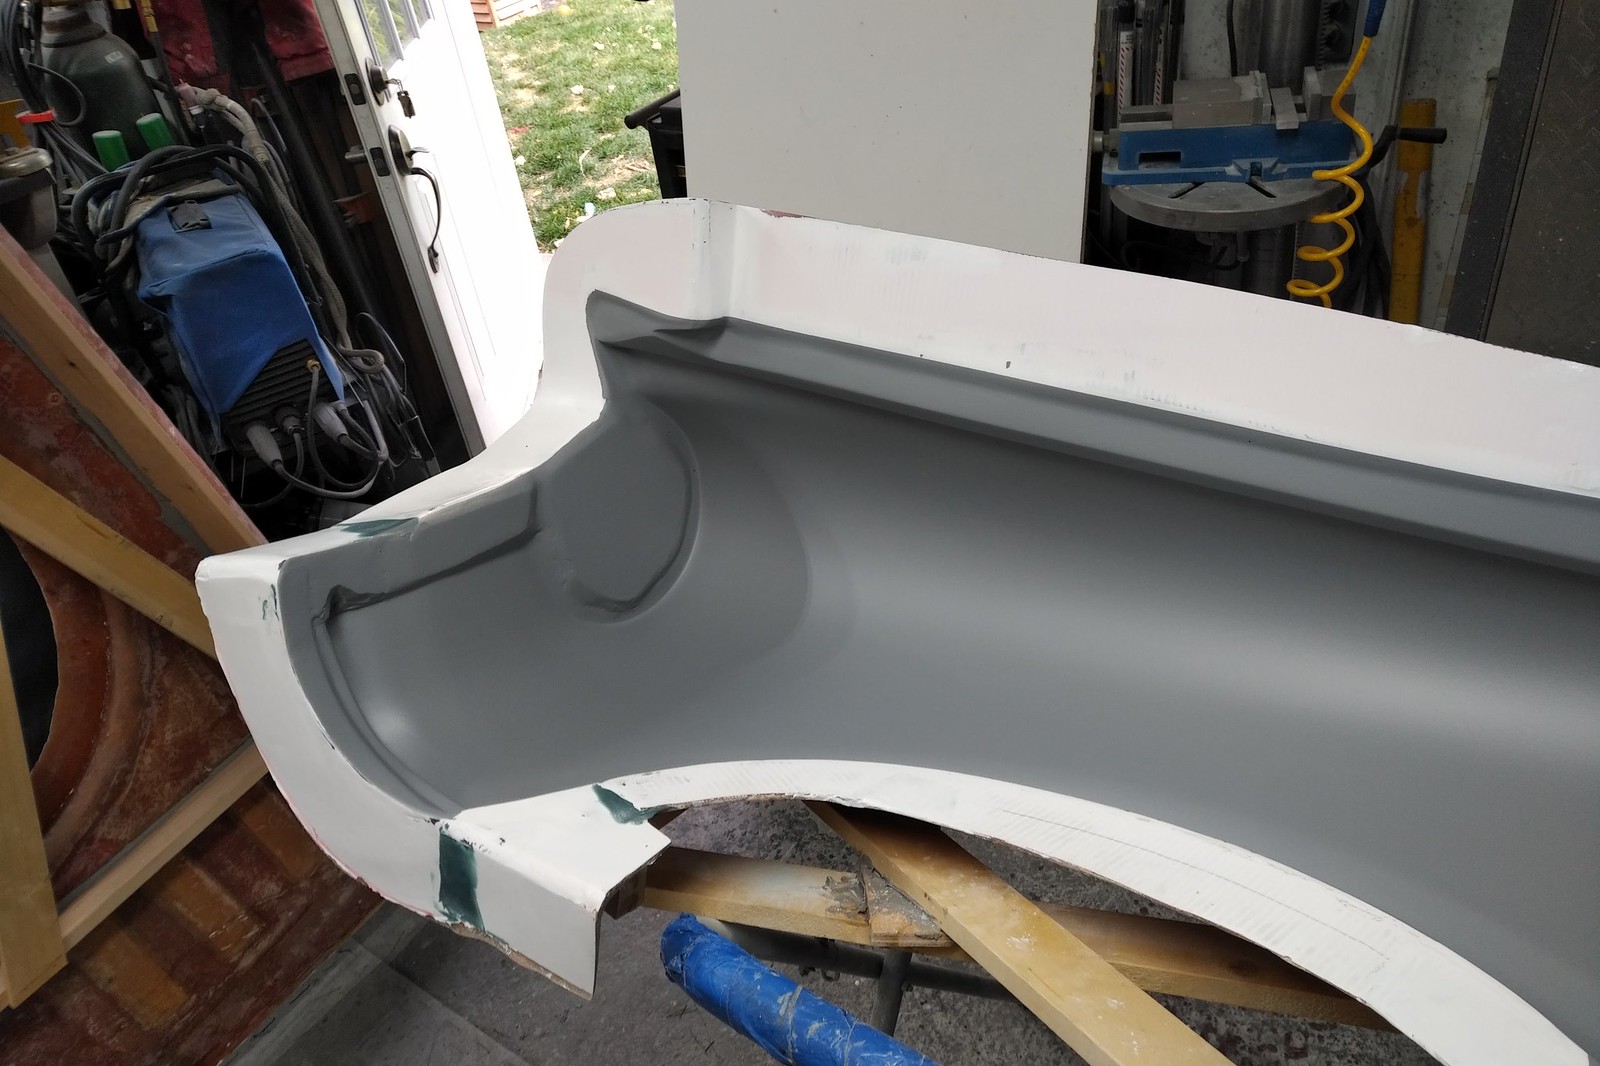
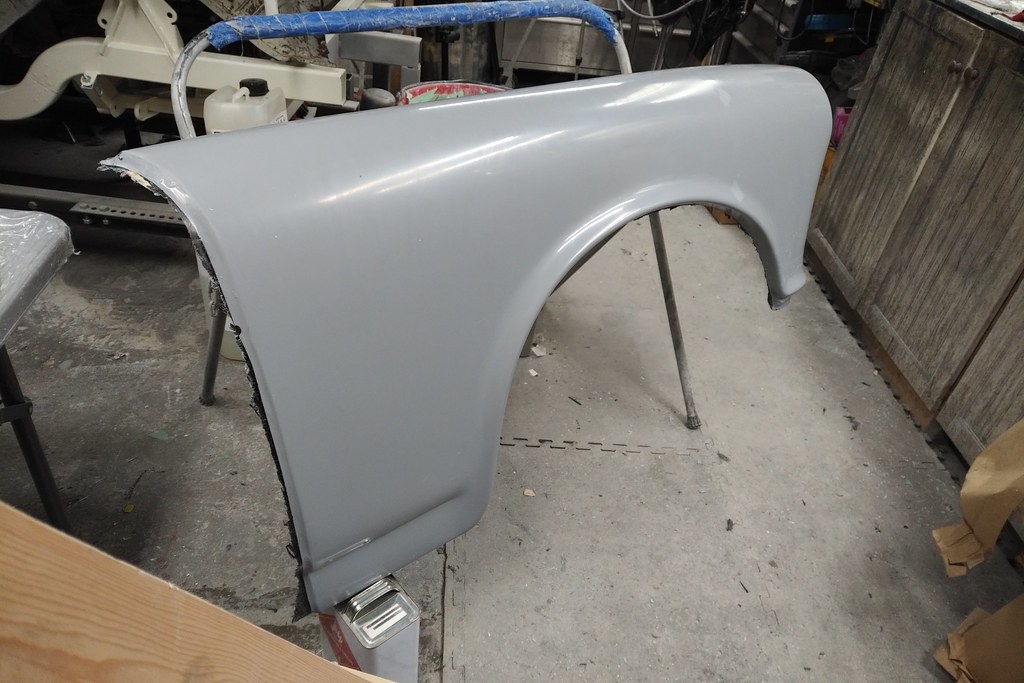
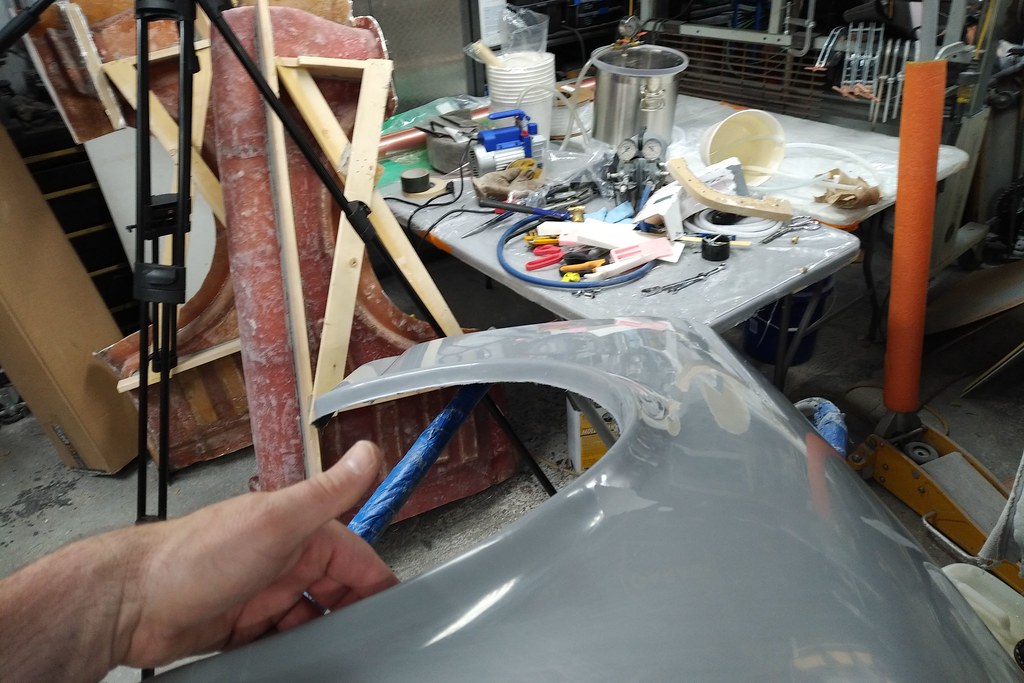
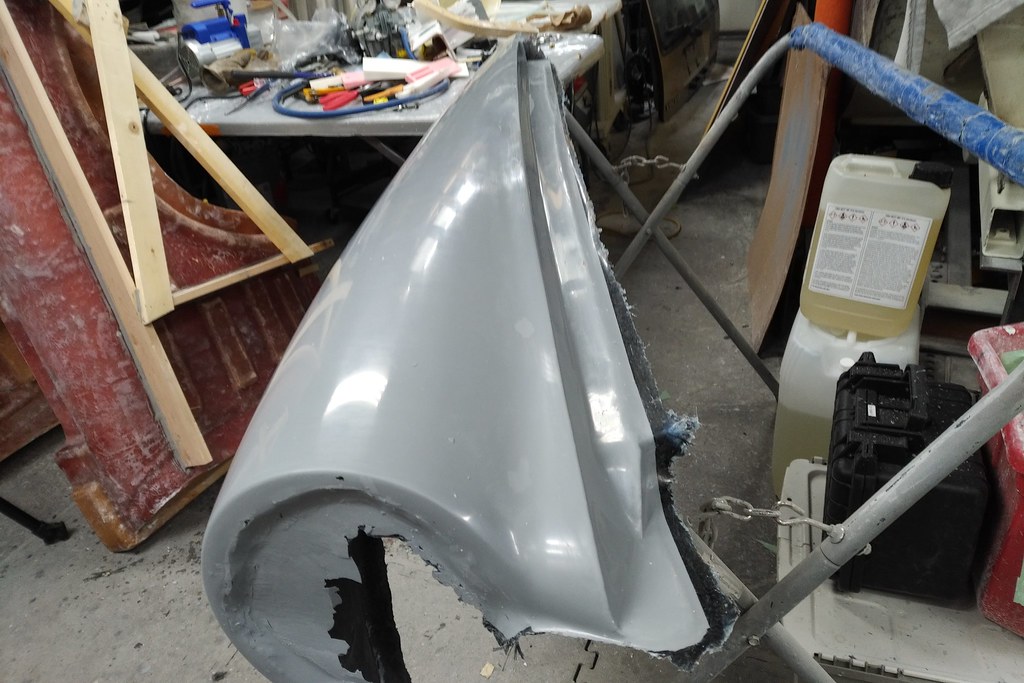
I sprayed a few coats of Duratec VE Primer (with a 2.3 mm fluid tip gun...this stuff is thick) in the mold once the surface was coated with mold release.

48783312832_87ca1f1d11_h.jpg


It dried nicely. Revealing a few small flaws that I decided I don't care about (just a few pin holes).

48783312717_e985178fb4_h.jpg


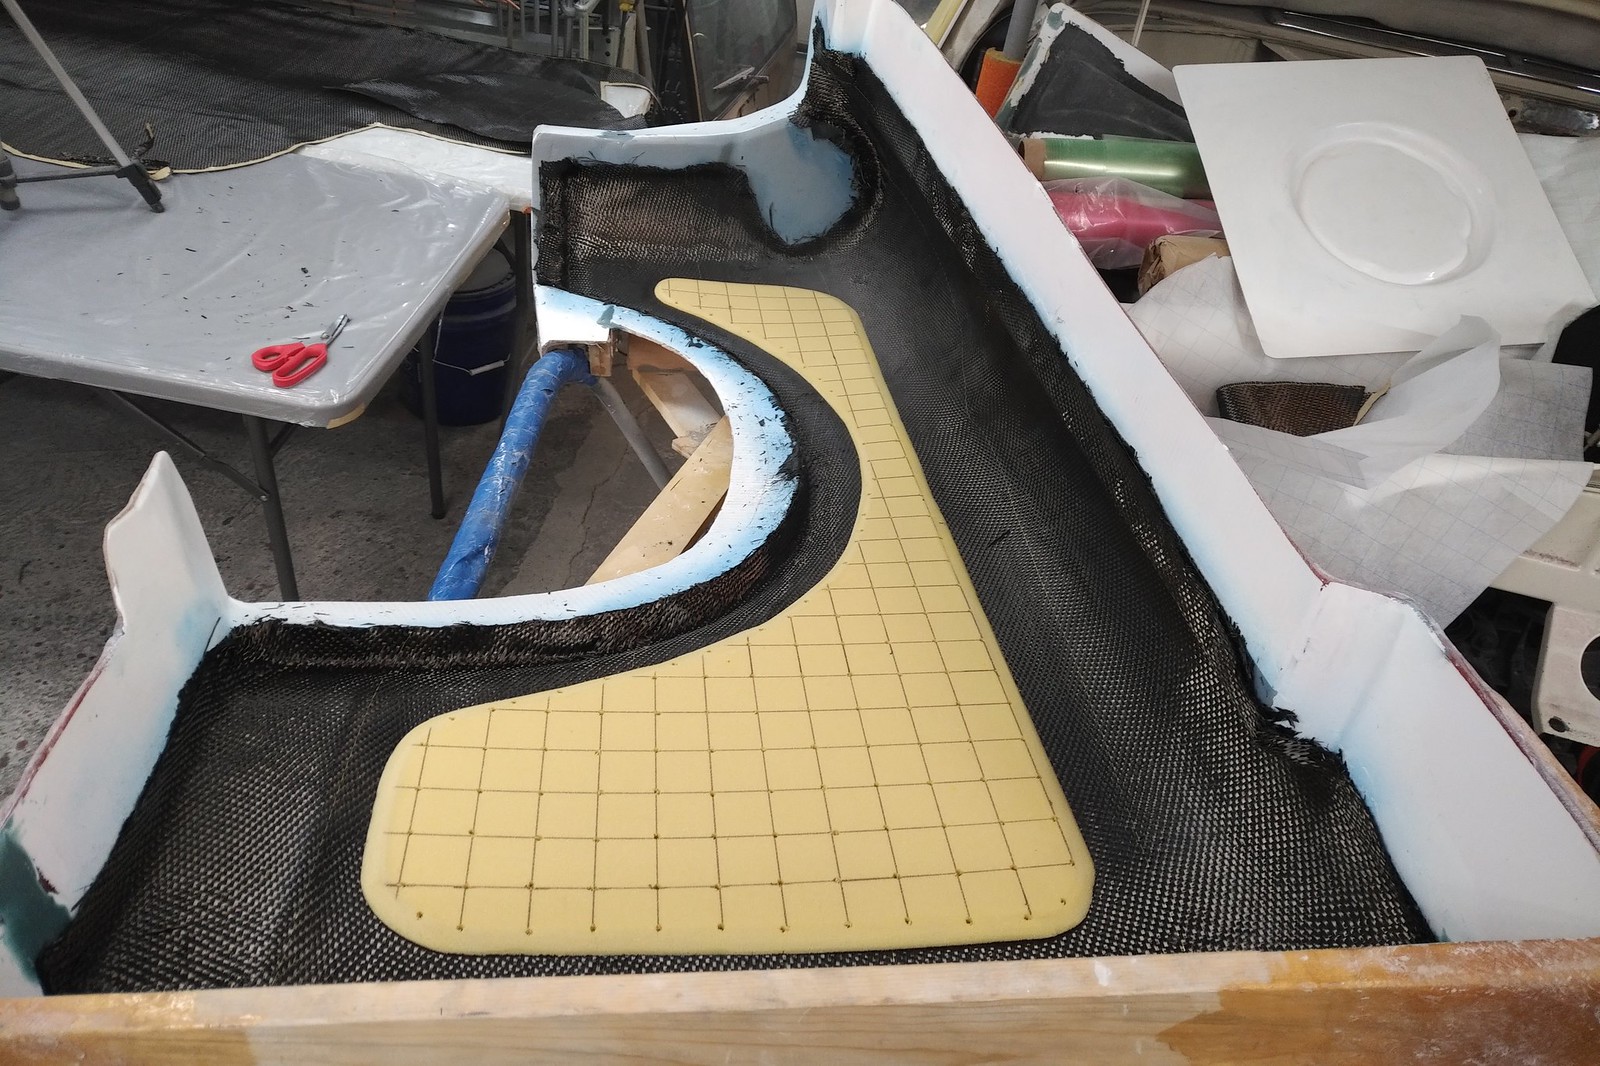
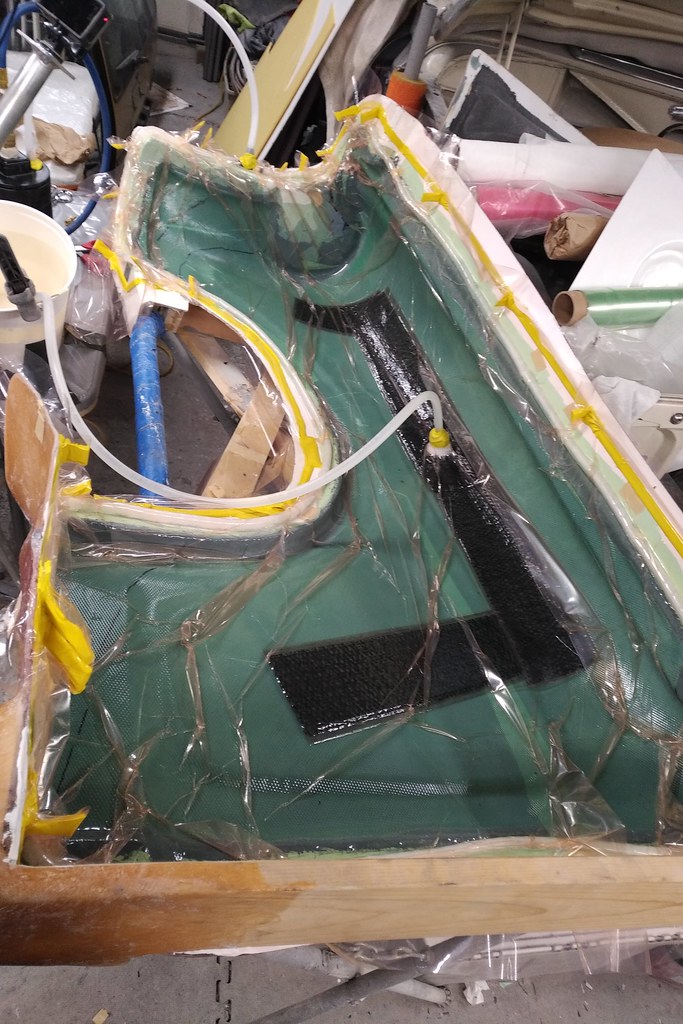
Then it was time to start loading the carbon fabric. I'll try to keep this part sensible - it's harder than it looks to do a fender. Lots of compound curves and flanges and stuff in the way. I'm also down to working in about 2 square metres in my garage.

The fabric is a 6K 369 gsm 5S Harness weave. It's got some good strength properties and drapes nicely, but was shifting a lot, so I'm glad I'm painting this stuff. Twill is far easier to work with.

48783144461_61ac39b82e_h.jpg


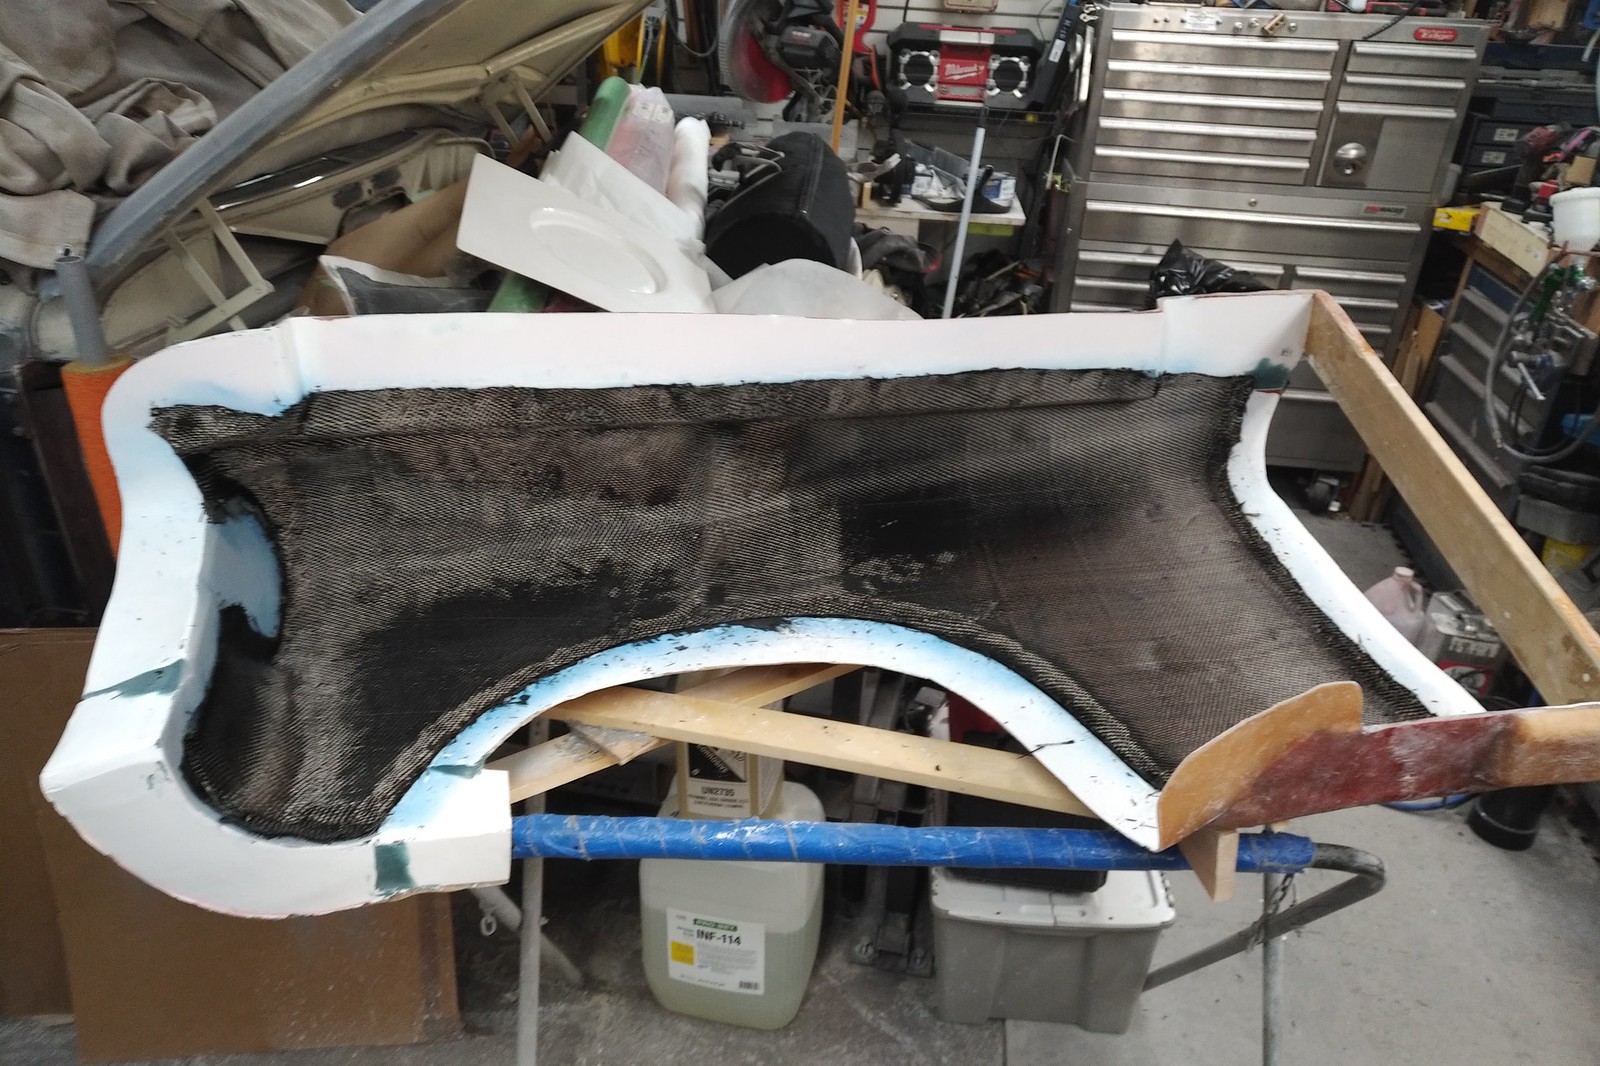
This layer is laid with the "strength" going along the panel. Next up some 12K 150 gsm ?45? biaxial cloth. It's not woven - and the angles were placed off set to the first layer (so they're going across the panel at ?45?. Make sense?

48783312537_c8394e1077_h.jpg


Then another layer of the harness weave 90? to the first layer. It went in easier than the first.

48783312447_de803eb849_h.jpg


I then added a urethane foam core (mycell) - 6 mm thick with 1/8" holes drilled on a 1.5" grid.

48783312347_c99cef7376_h.jpg


Another layer of the ?45? biaxial cloth over that...we're starting to have some bulk here.

48782779758_616eb3022d_h.jpg


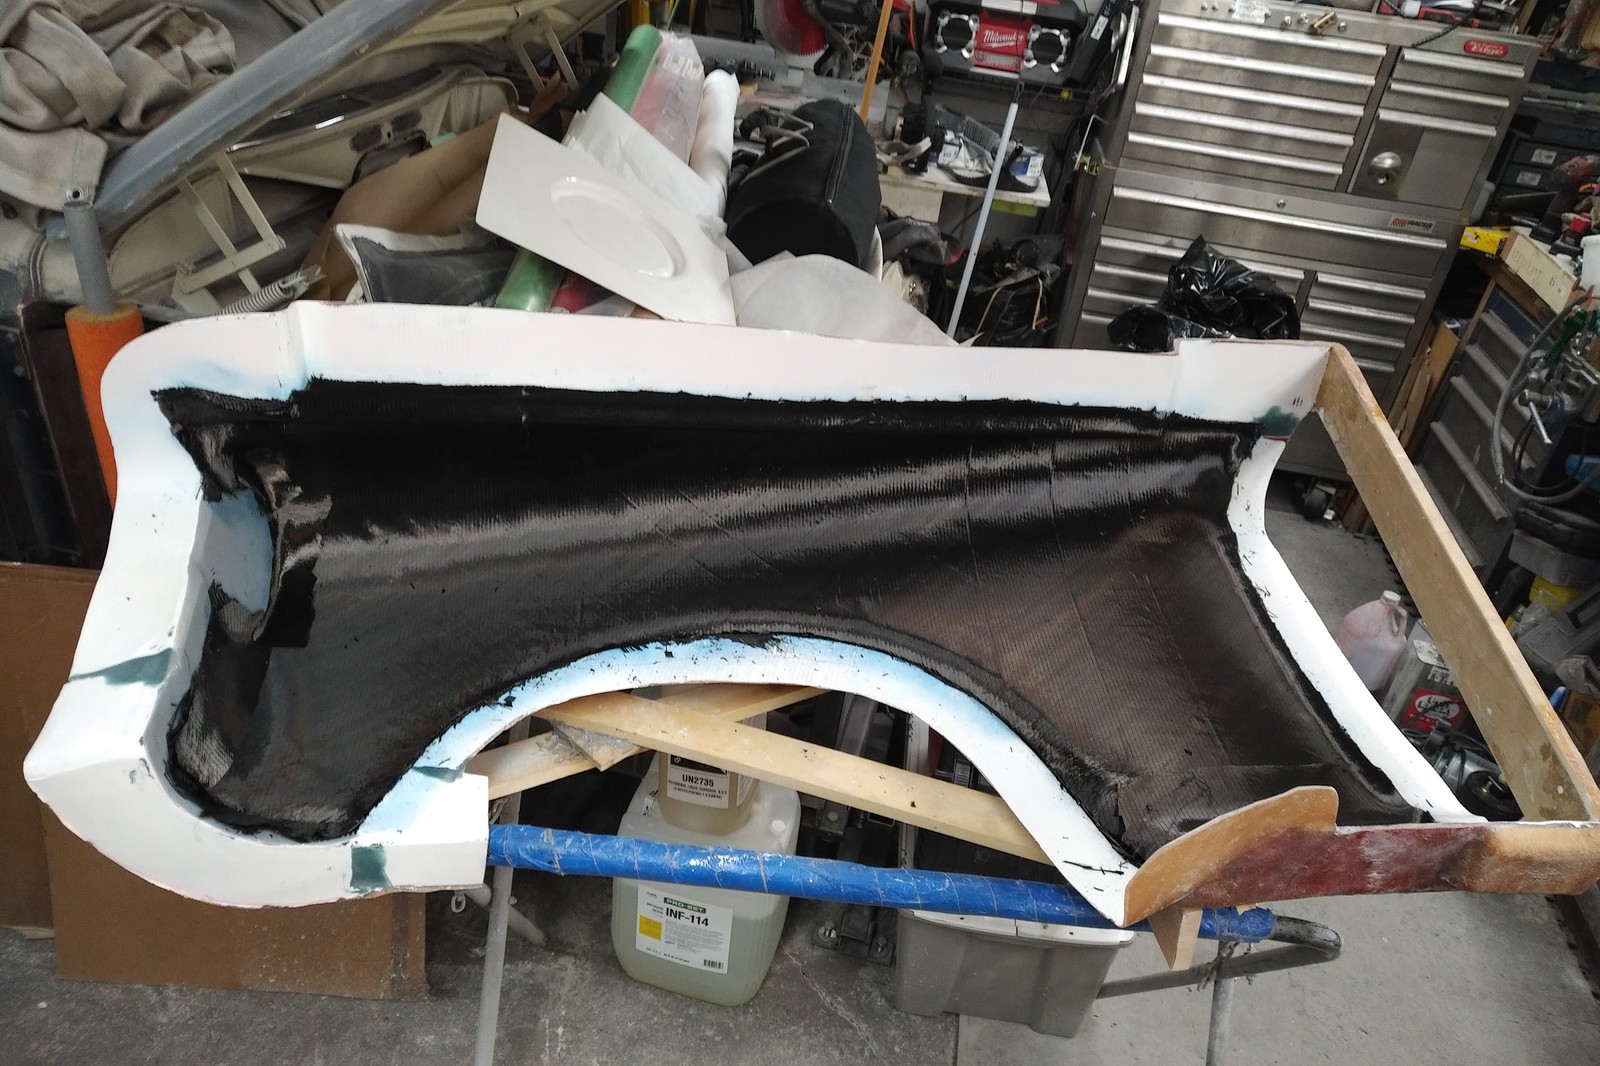
And a final layer of the harness weave.

48783144021_430bf78fb7_h.jpg


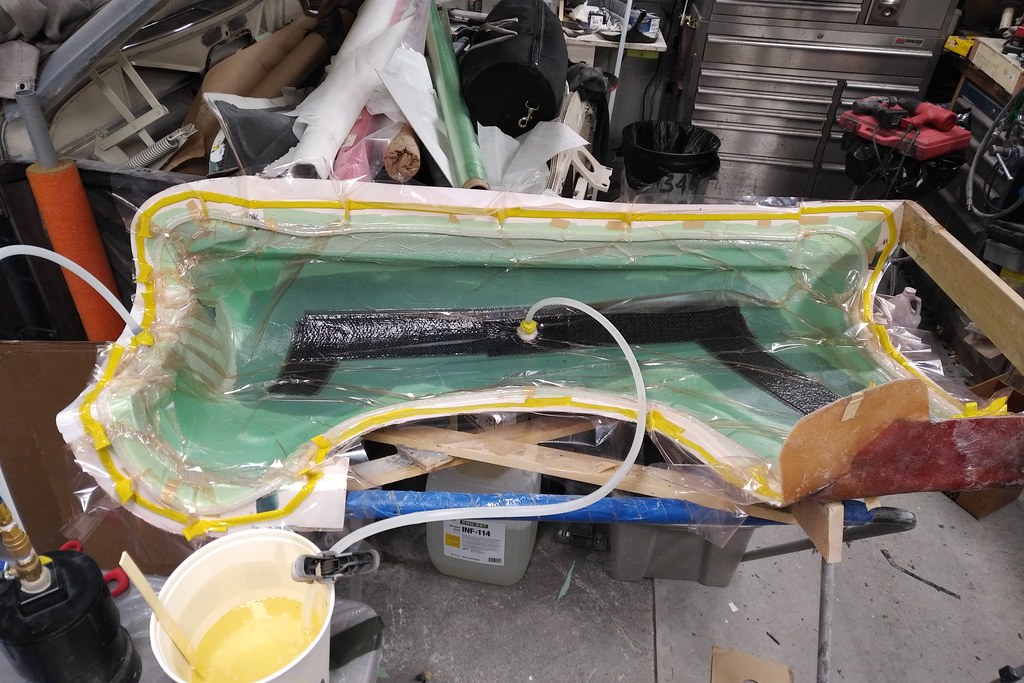
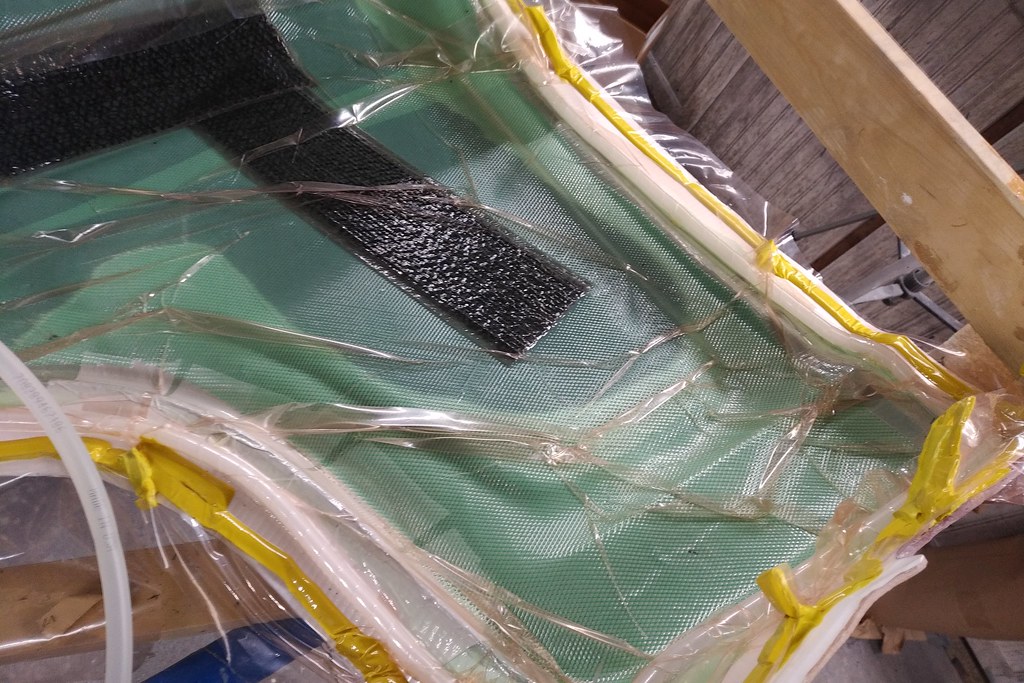
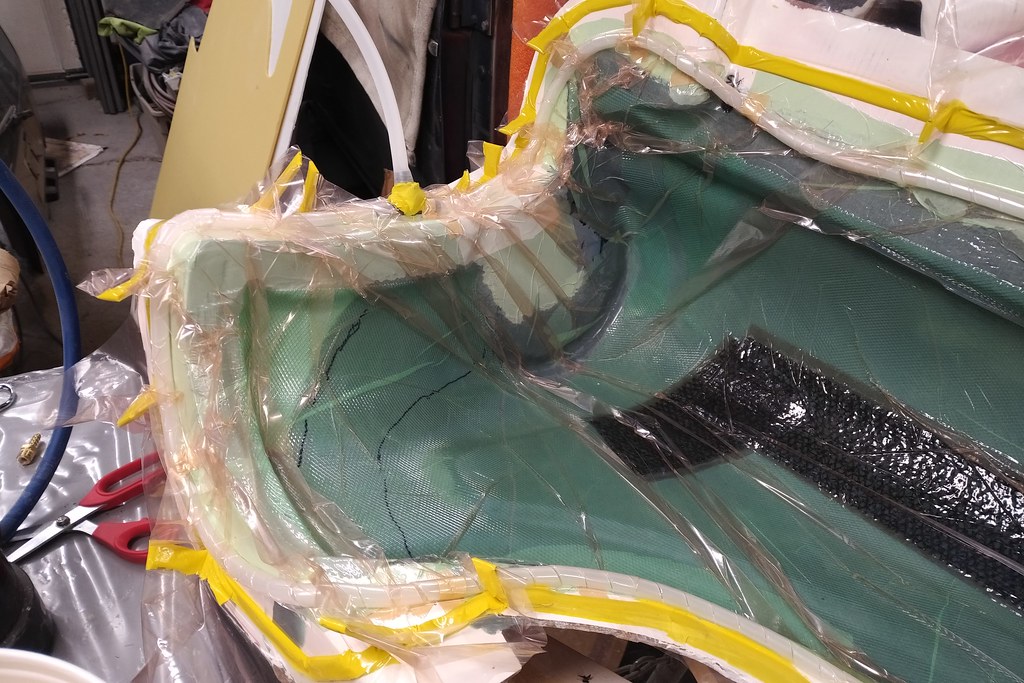
I'll be bagging this all up later tonight and then infuse it with epoxy later this week. Total weight of the finished part is 1.7 kg of carbon = total around 2.8 kg when done.
 
Last night (after a failed bagging attempt the day before) I got the fender infused. The bag pulled a vacuum without much trouble and in one hour it was finished. I'll demold it tonight - so stay tuned. Video will follow - I'm providing complete details there if you're crazy enough to give it a whirl.

First up - the infusion resin channel (the dark thing in the middle) worked great. Better than expected. I'm glad the guys on the DIY Carbon Facebook page convinced me to shorten it up a little.

This is about 10 minutes into the infusion.

48803667186_fd6d94efa2_b.jpg


The hard part is getting around all the curves in this fender. Here you can see the core material - should be overkill strong.

48803318323_f7d9d6d005_b.jpg


As the flow came around the headlight bucket, progress slowed - it has to draw through and increasingly saturated stack of materials, so takes more time. A few lines help me see that it's still working...and I was fidgeting.

48803808417_bac6d6428c_b.jpg


Clamp that sucker off - it's all over now. It was suggested that I use release fabric as a resin "stop" - so areas up by the headlight for example. There is no carbon under these areas and the resin doesn't like flowing through the release cloth. So it stalls the flow while the resin finds a new path of least resistance. Same along the part edge mount flange. You can see the wet line and it doesn't get to the vac line. I may add a little fabric over the suction line in the next fender to keep my catch pot from doing silly things.


48803318148_68bc2cdbd5_b.jpg
 
Back
Top