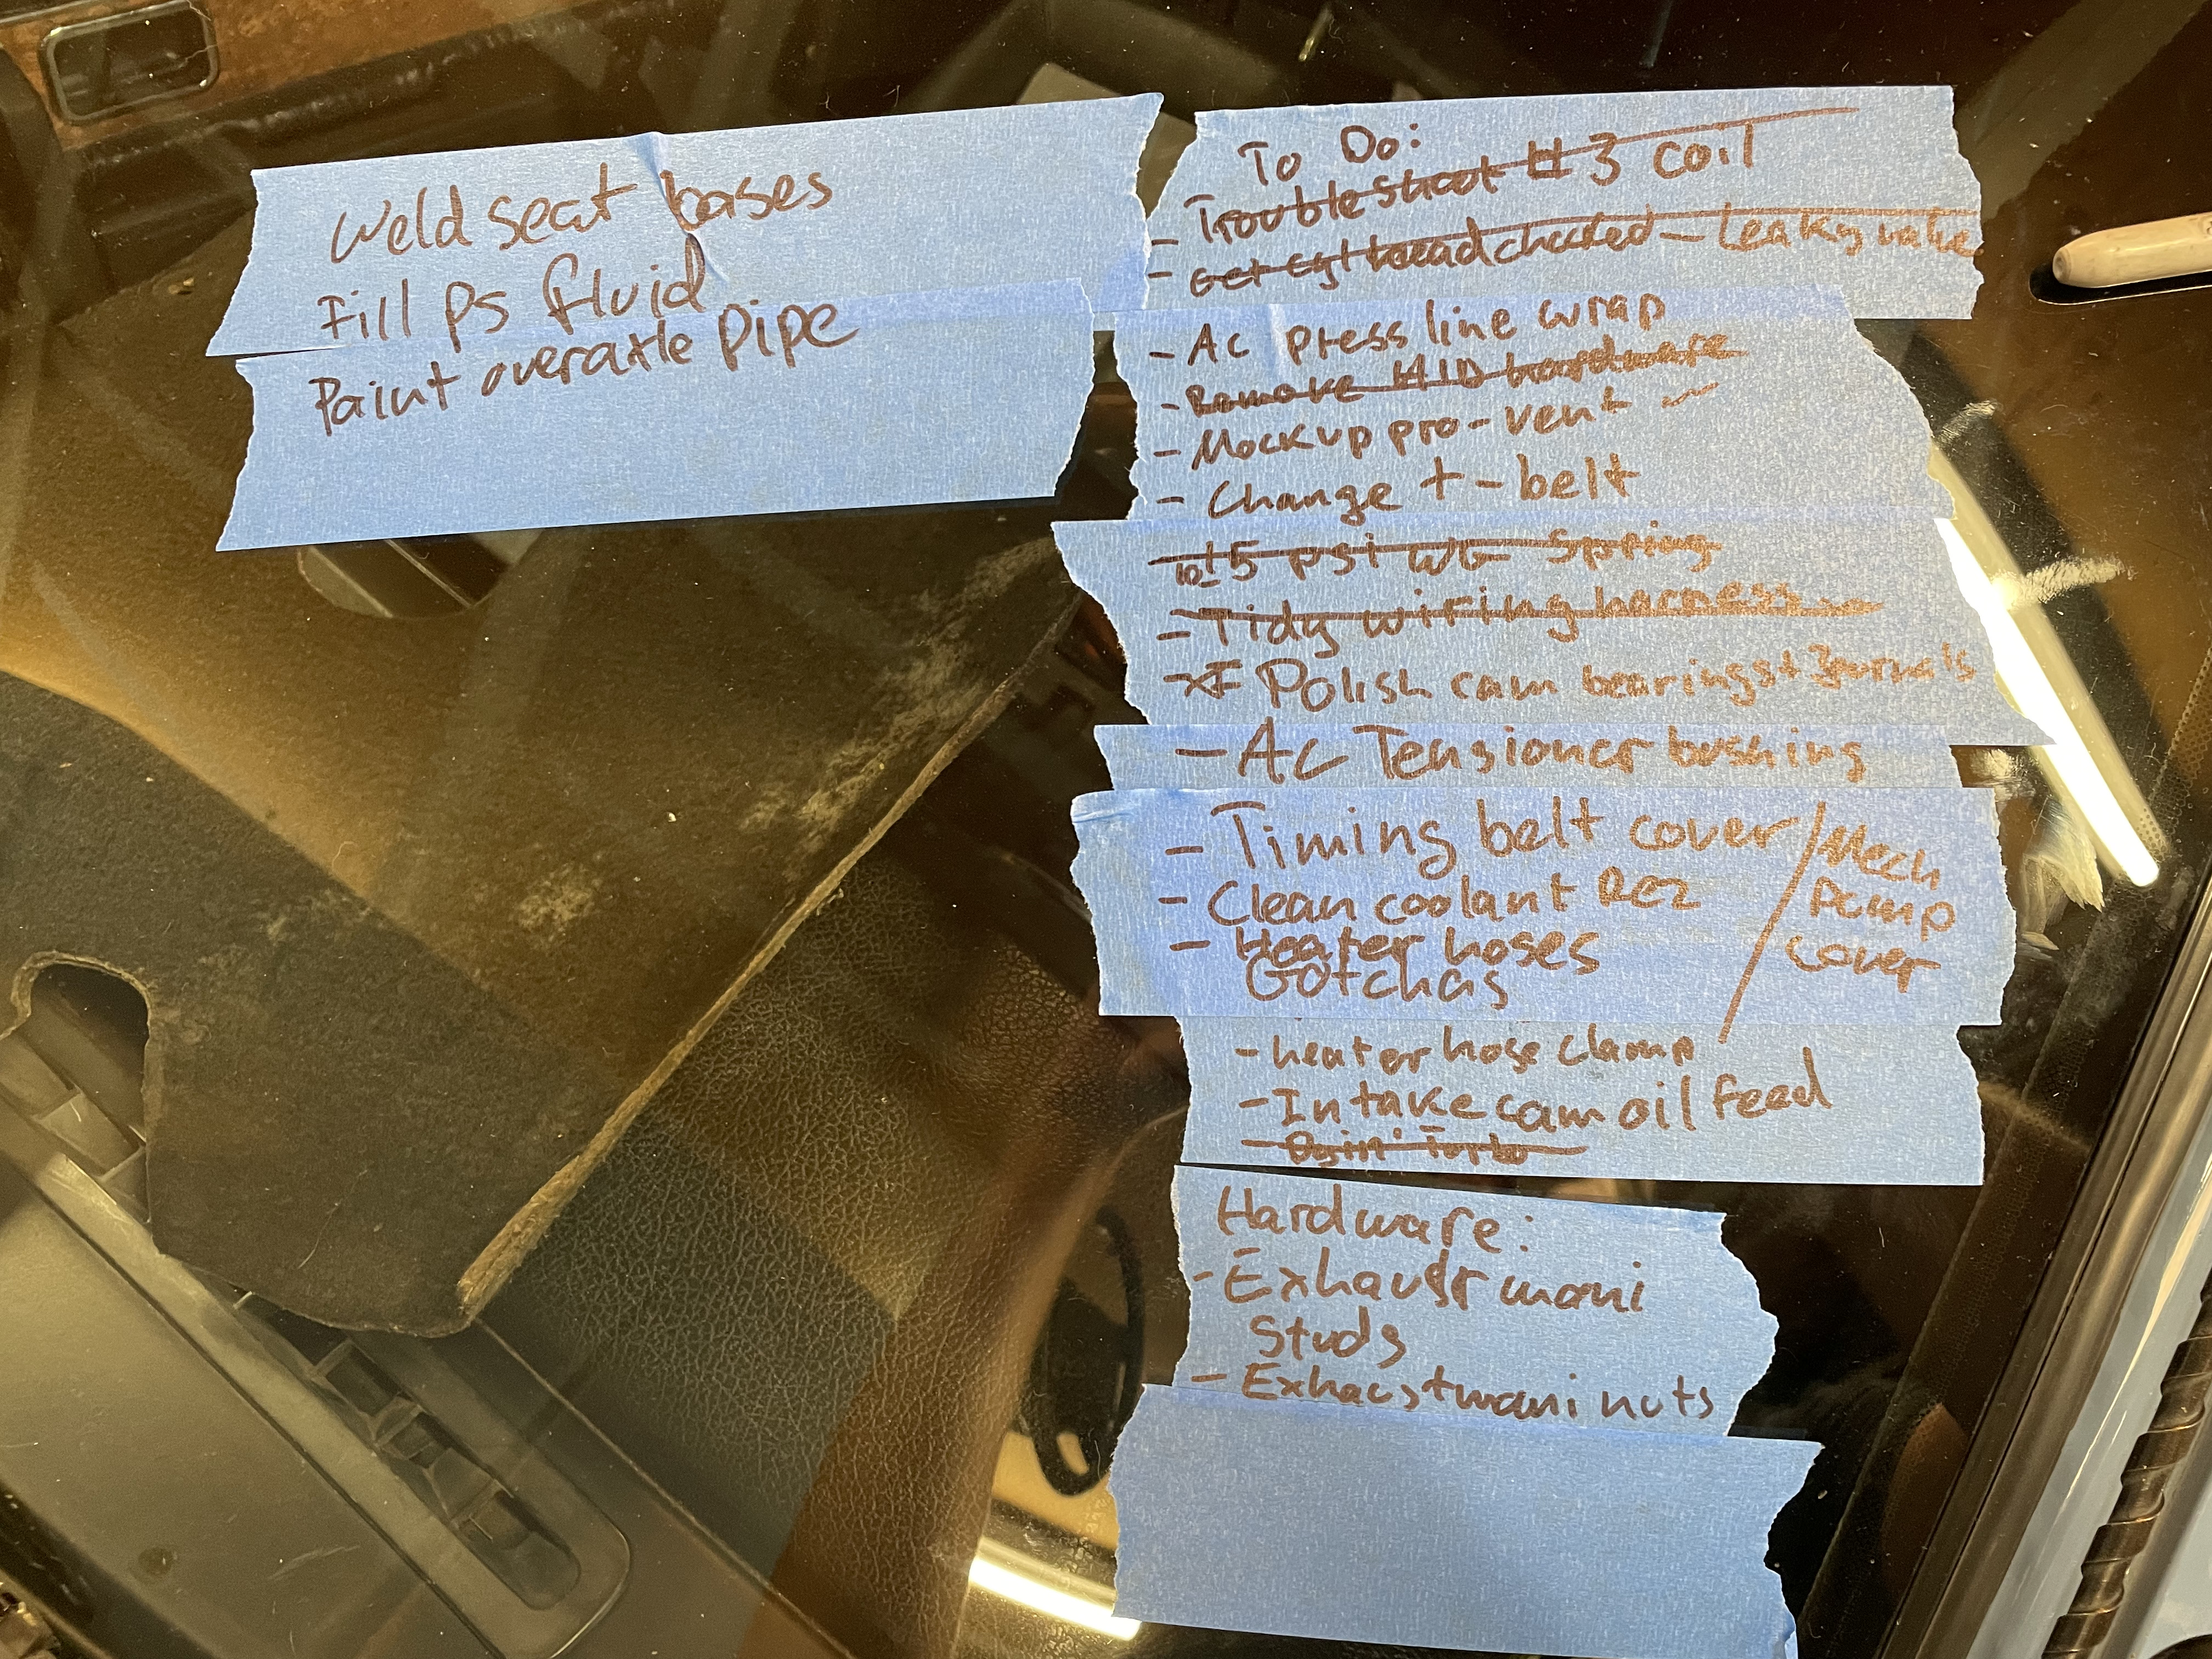
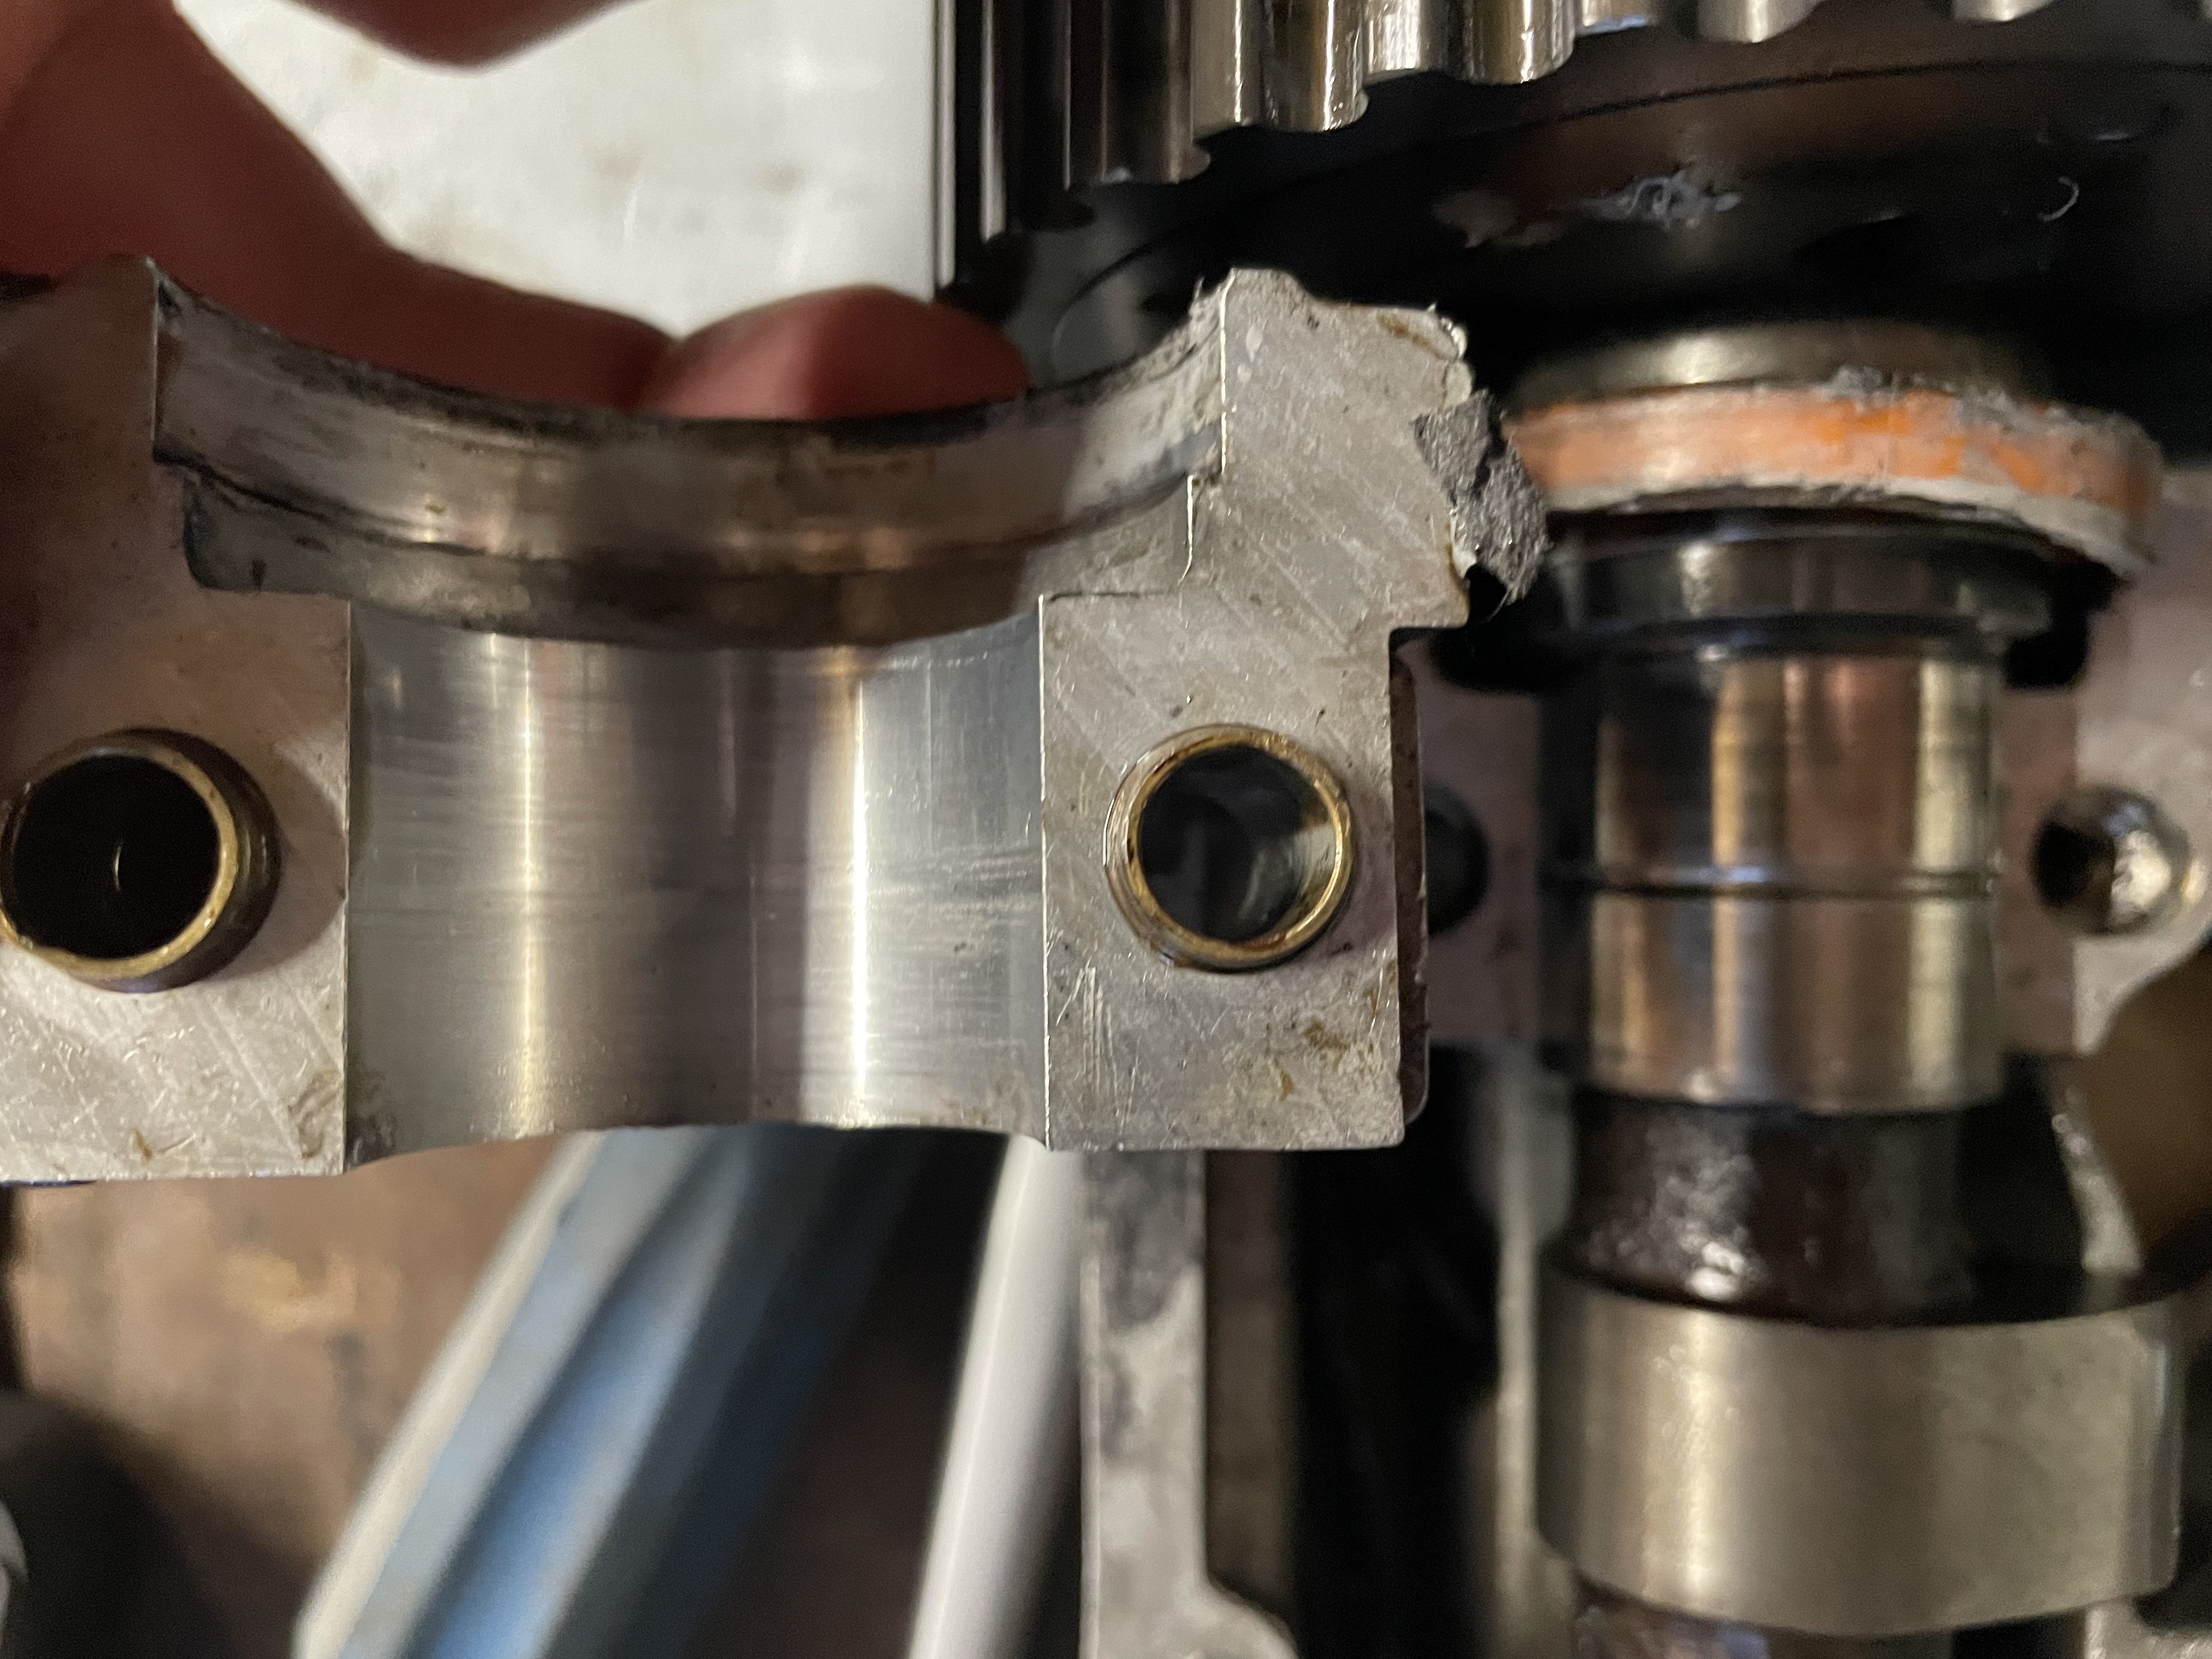
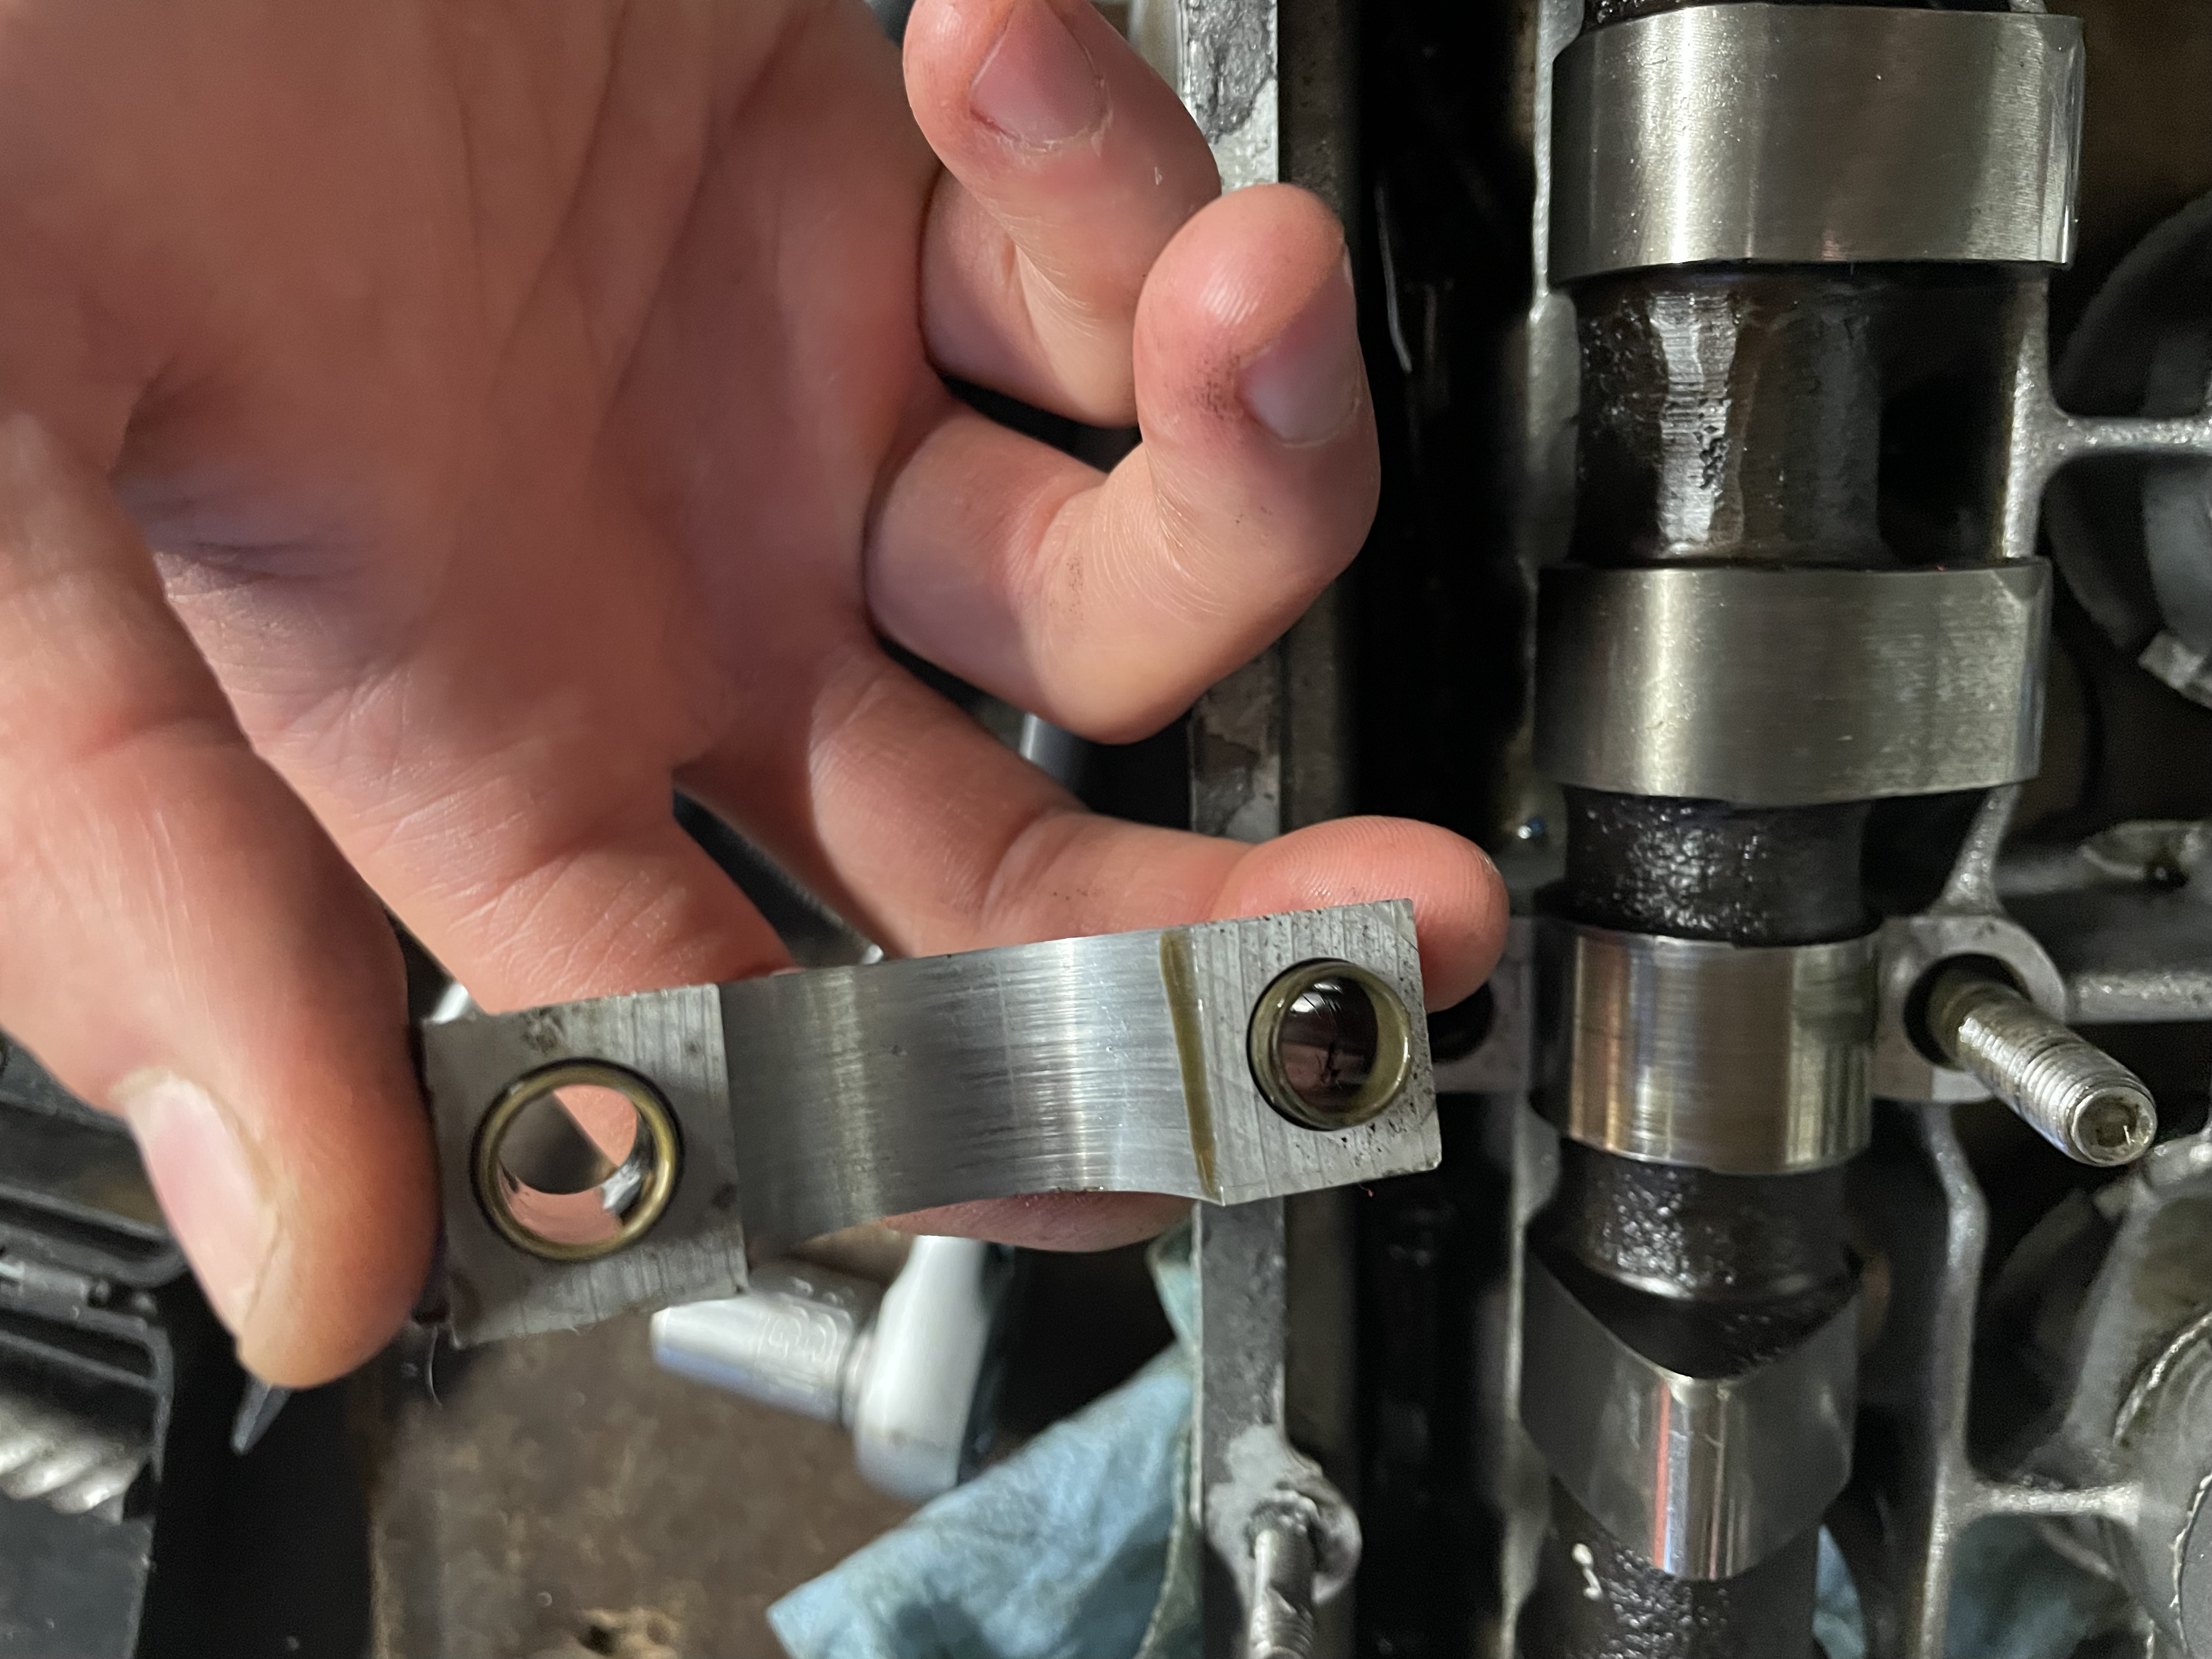
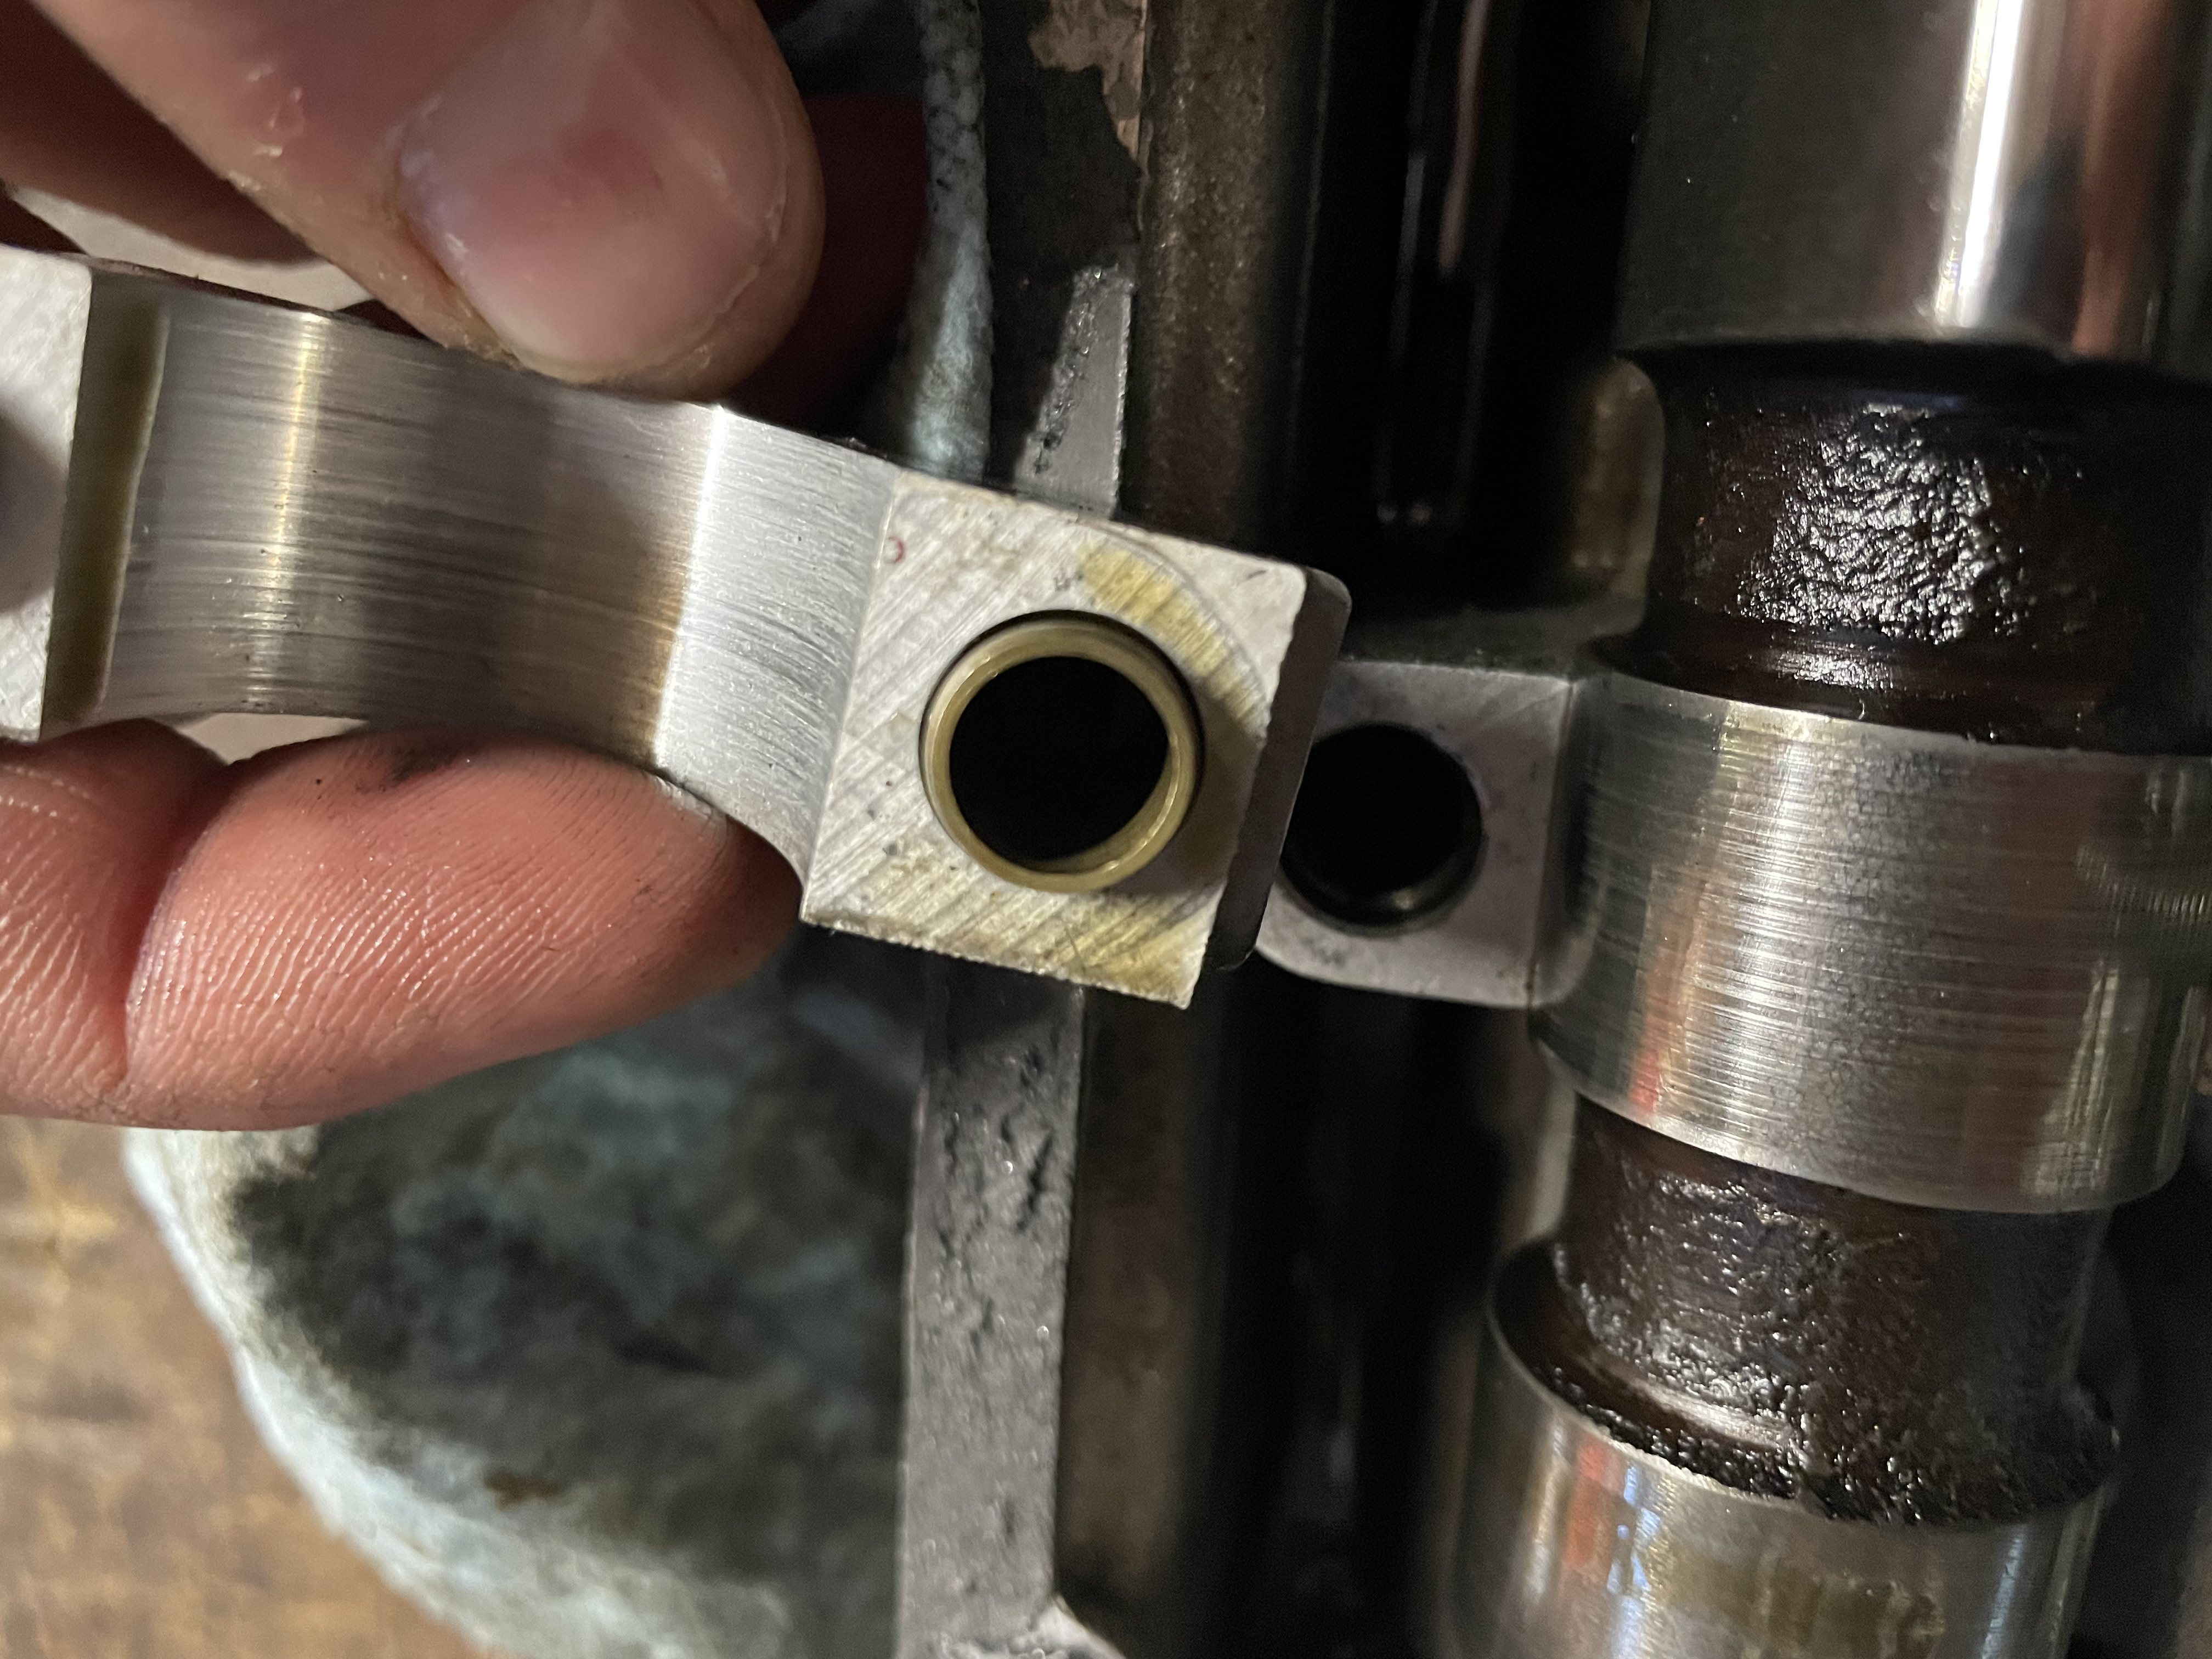
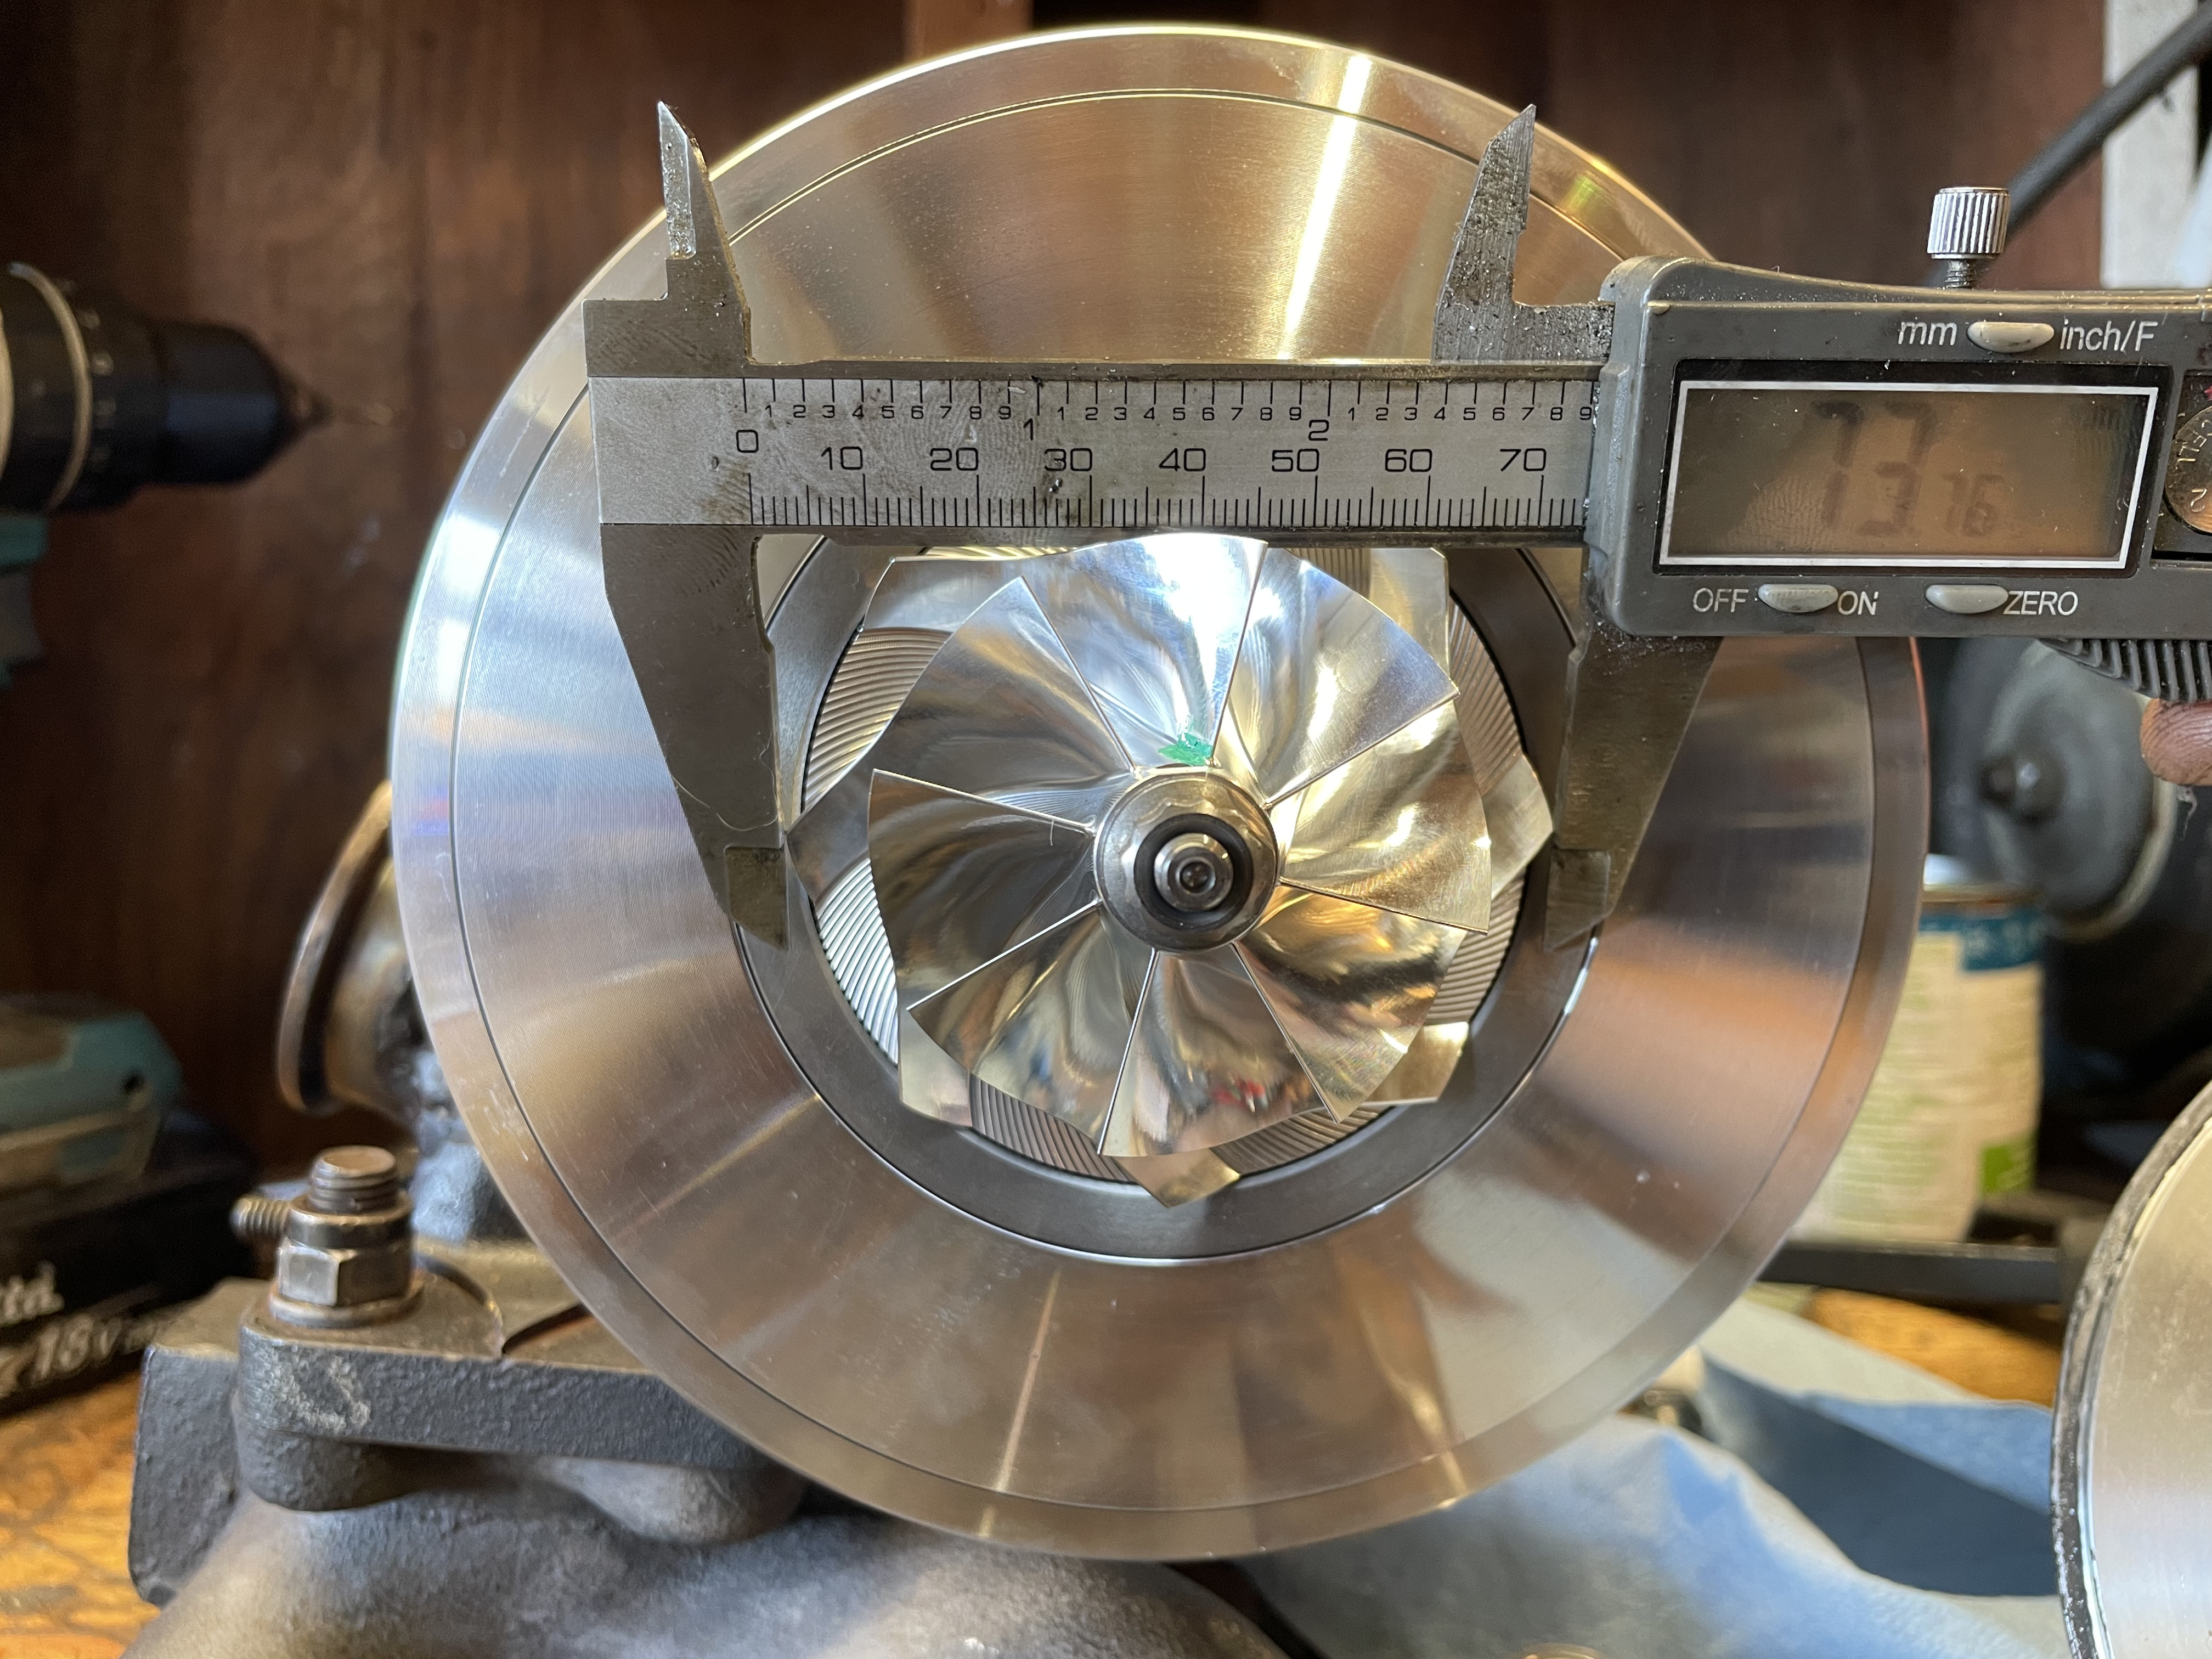
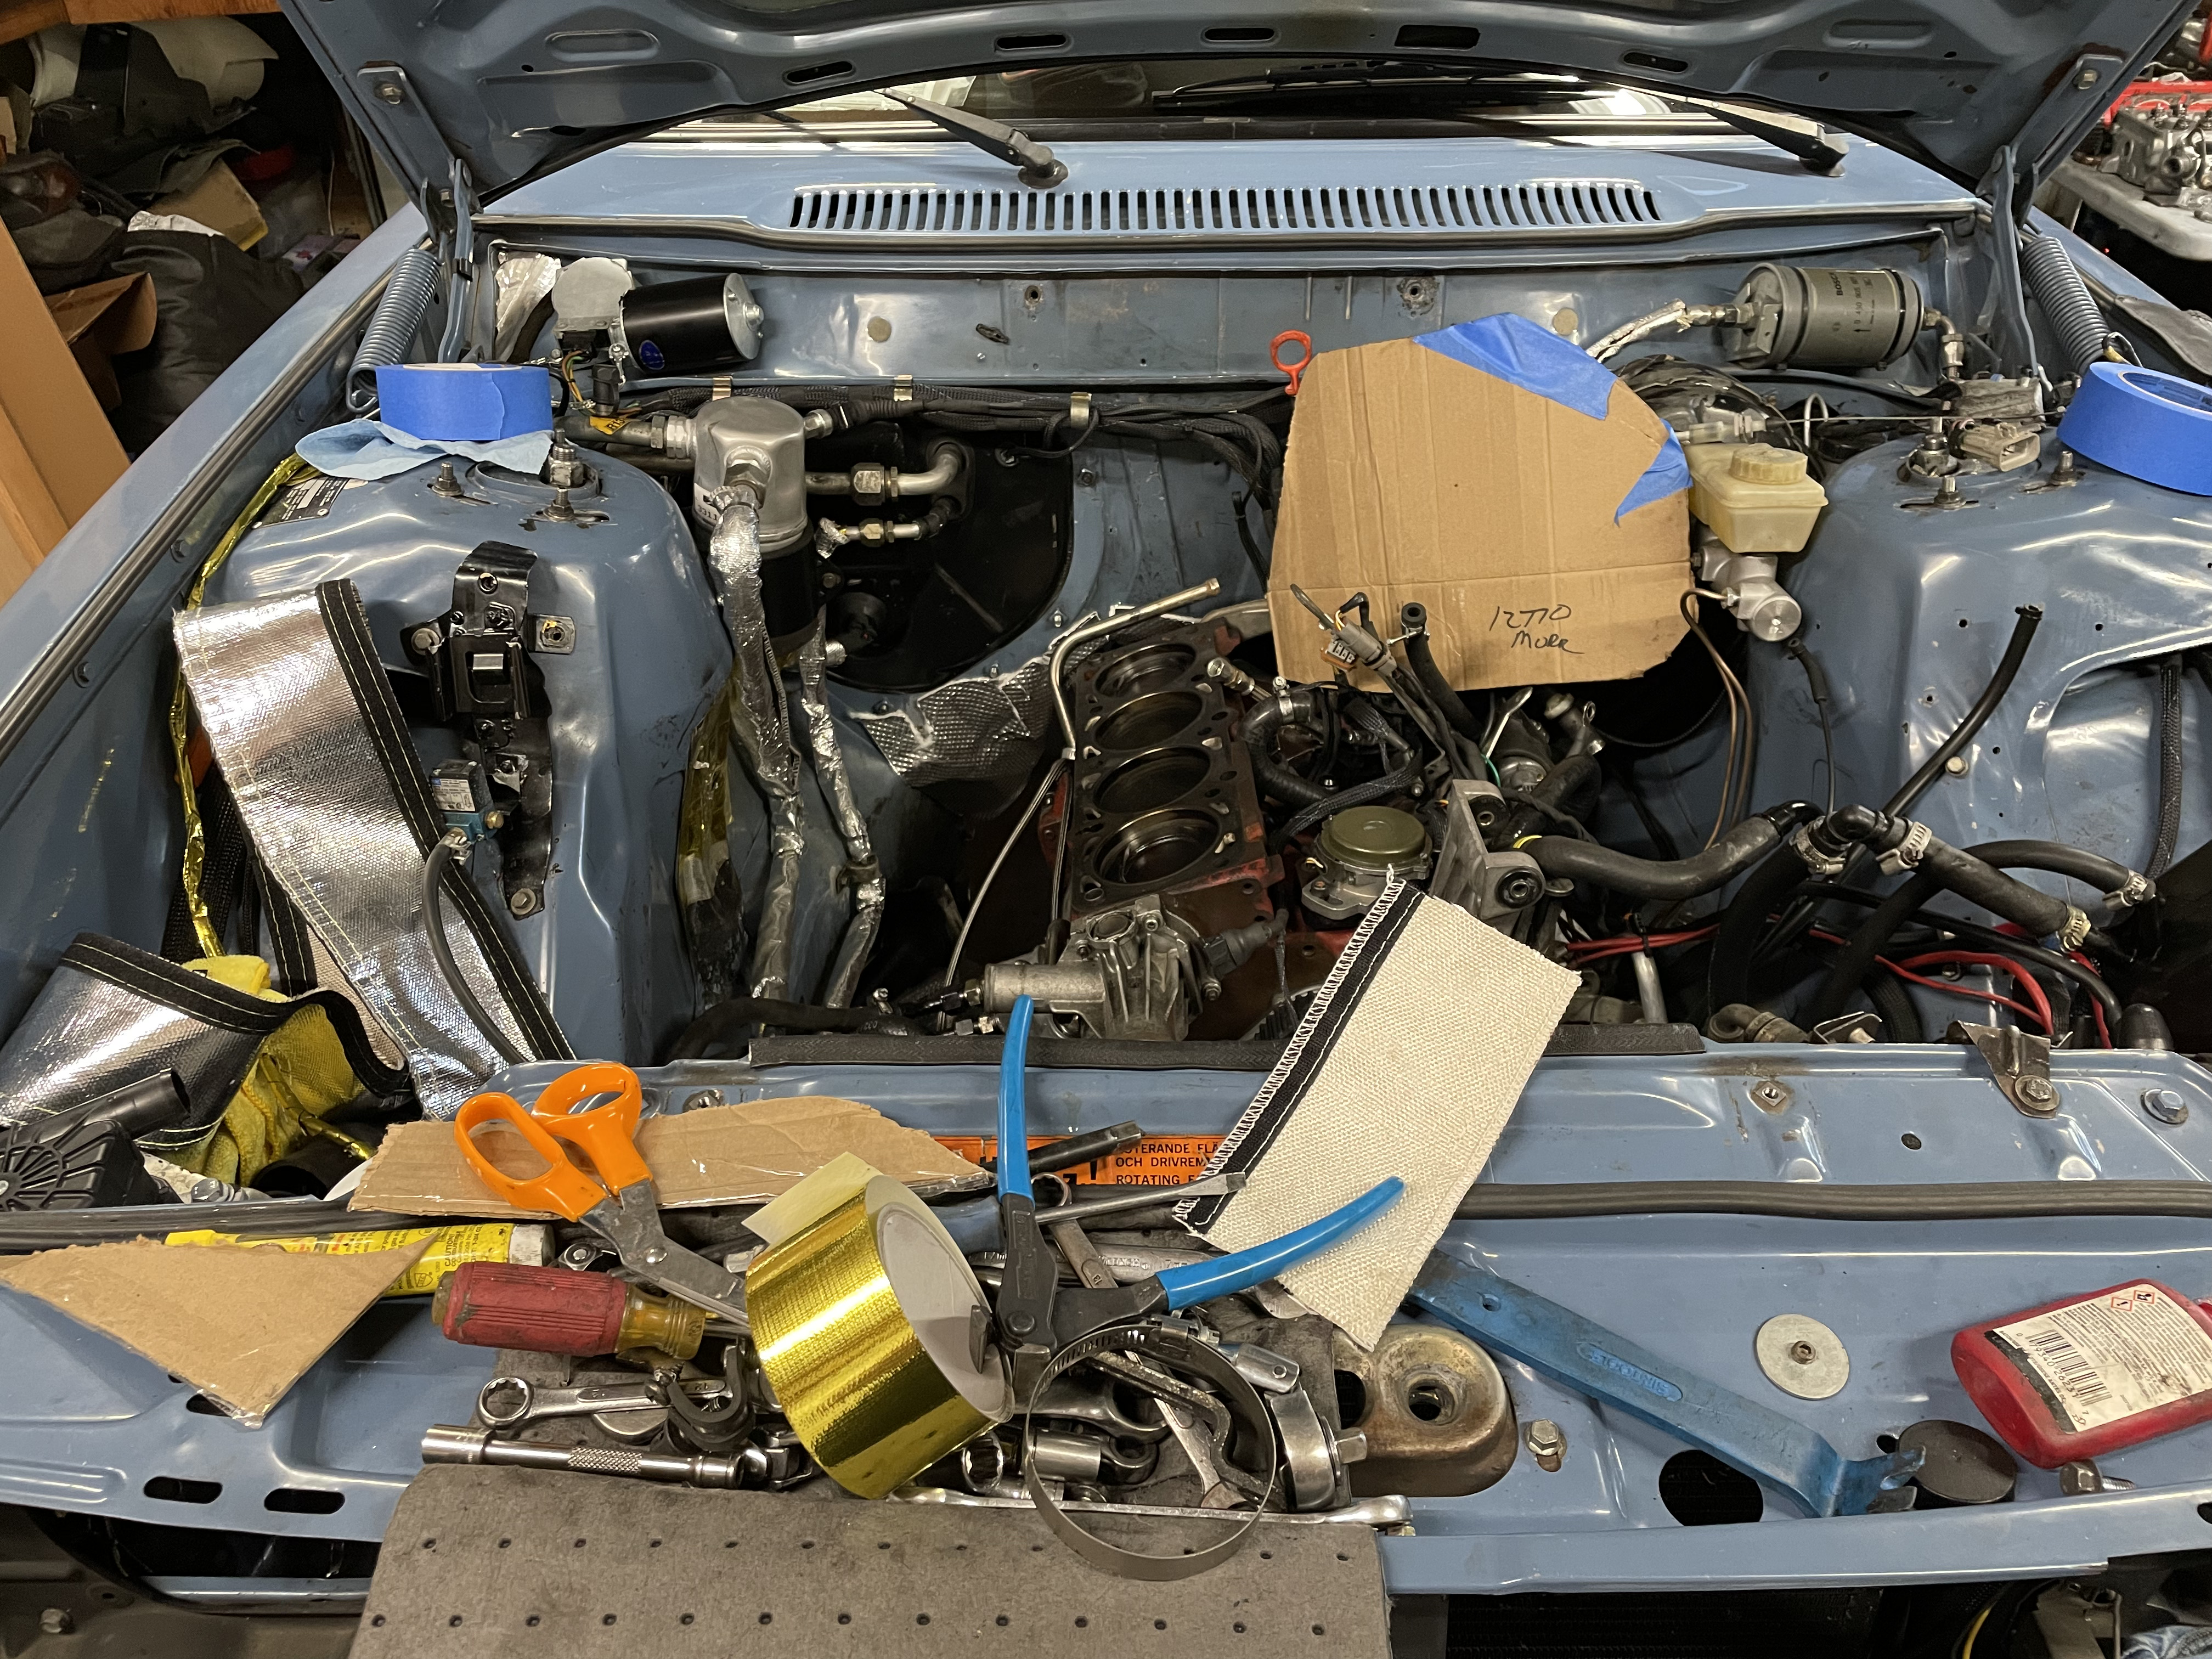
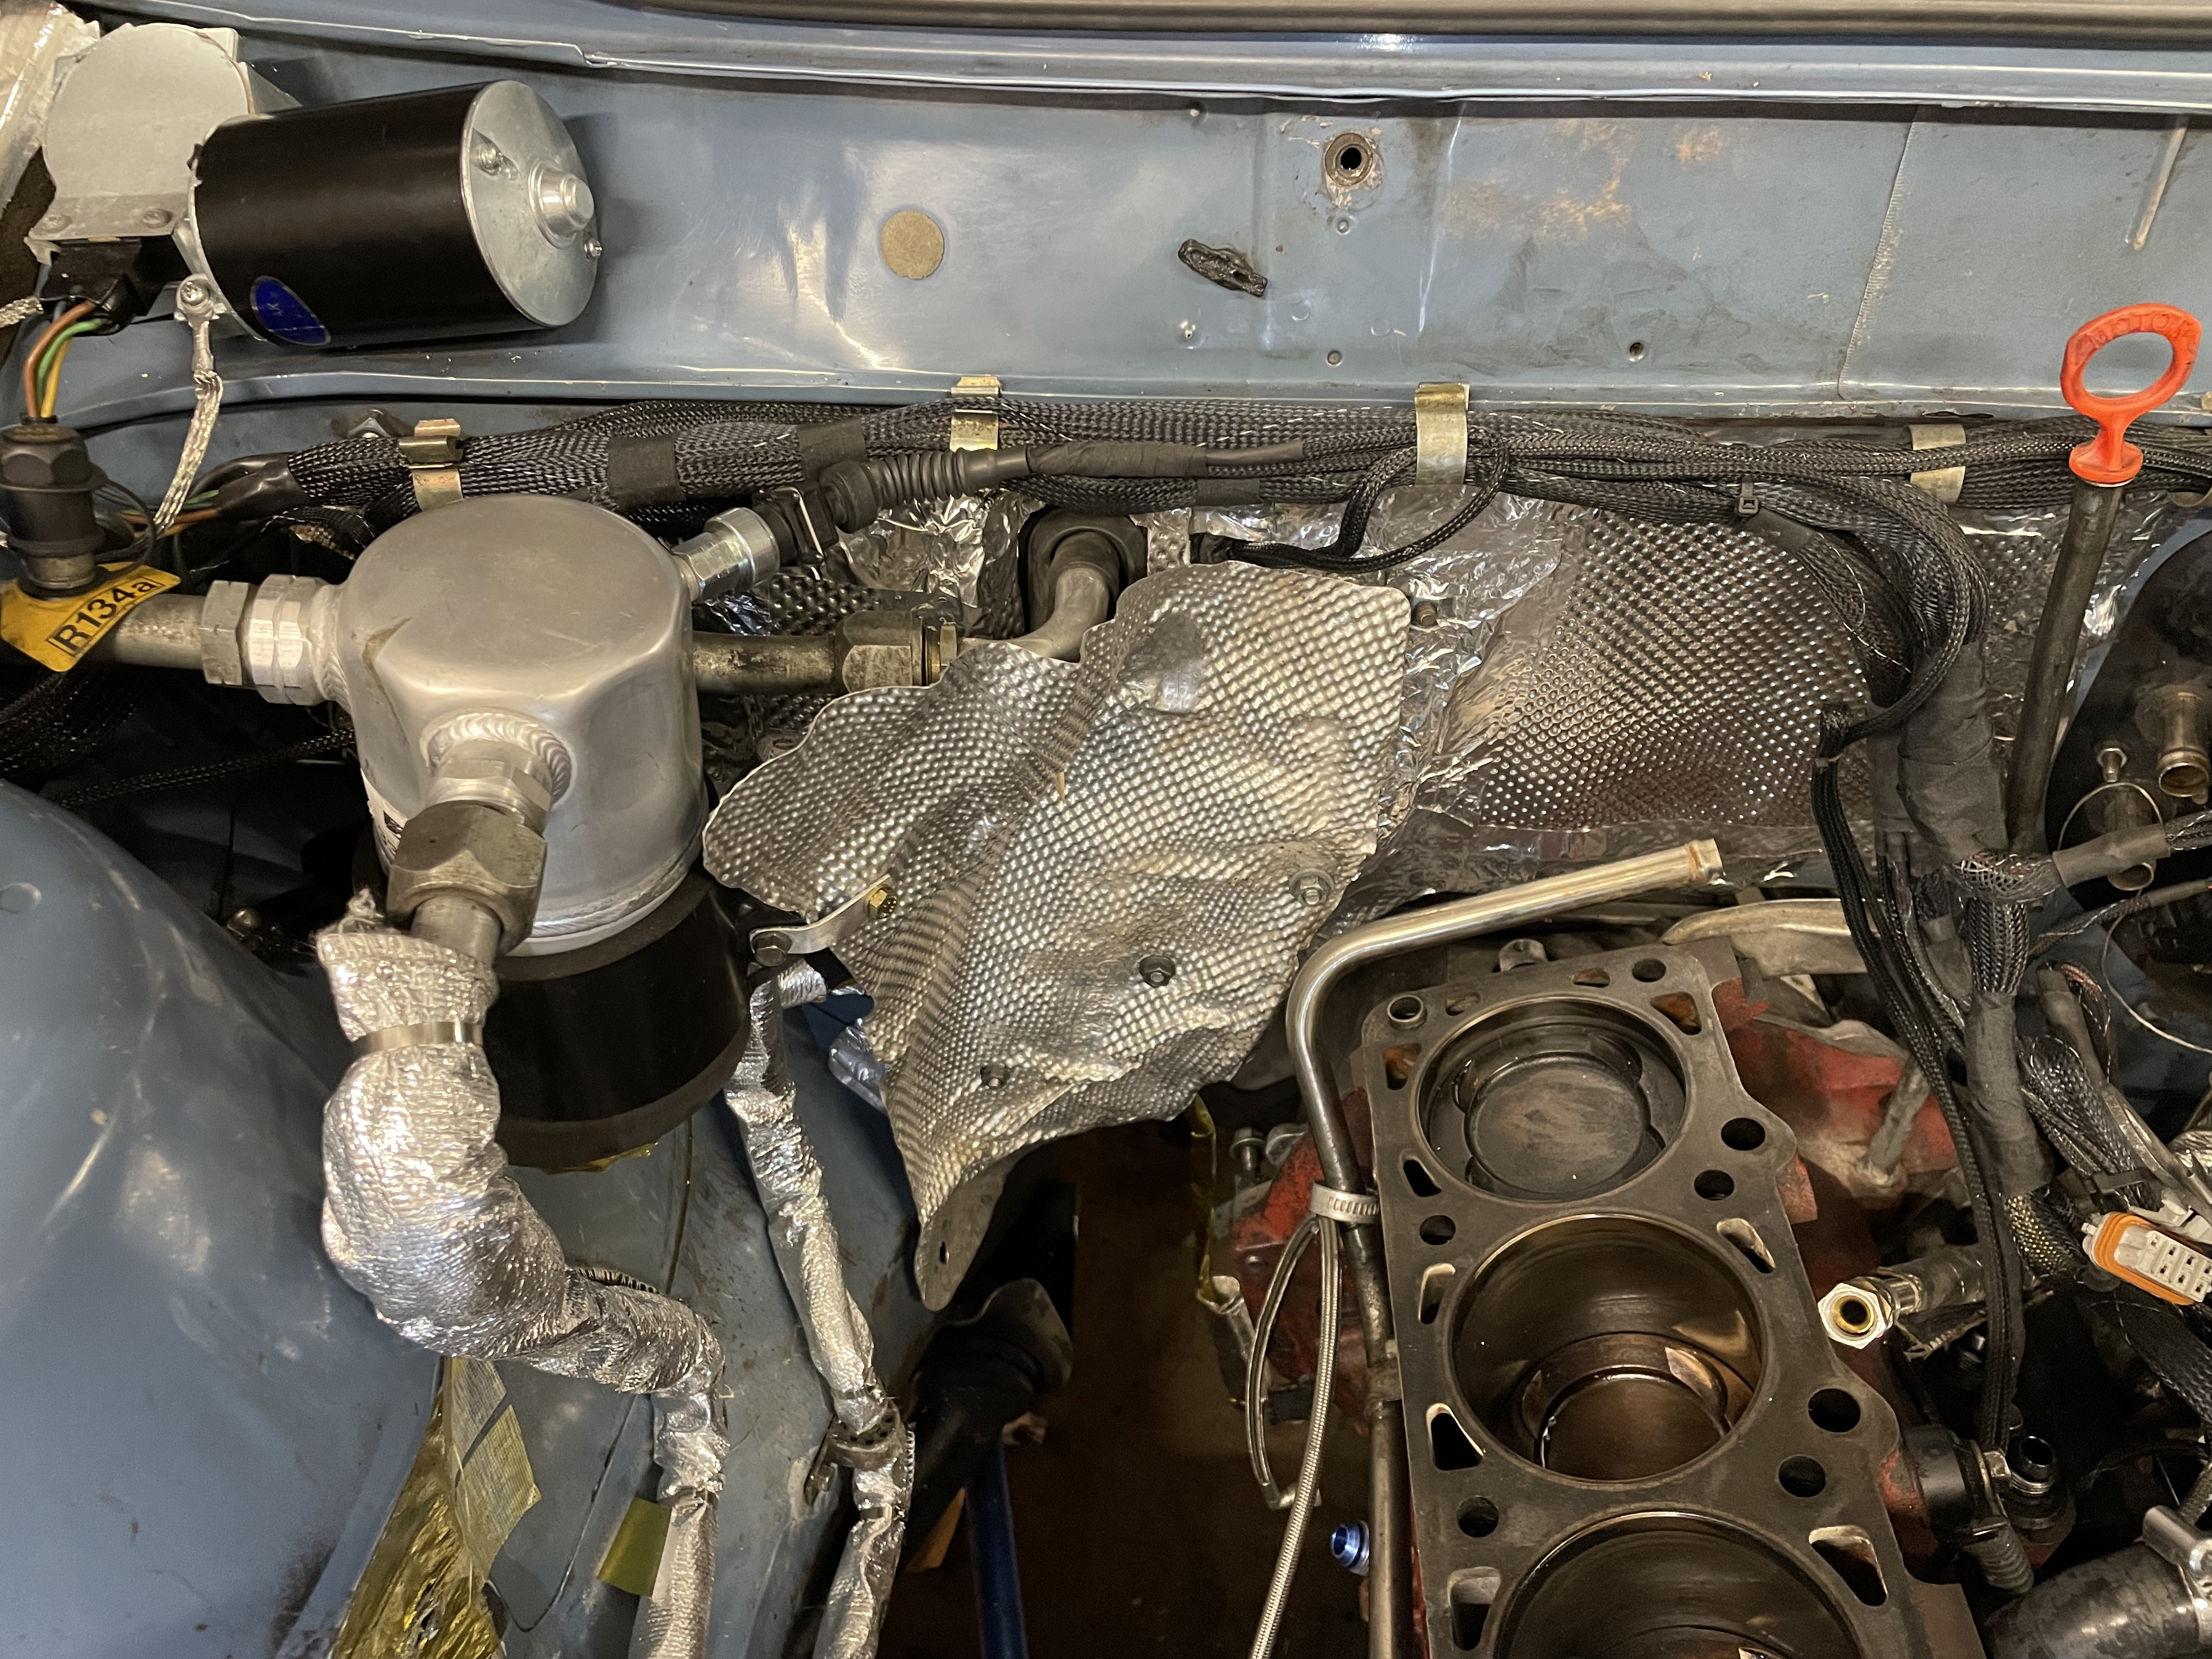
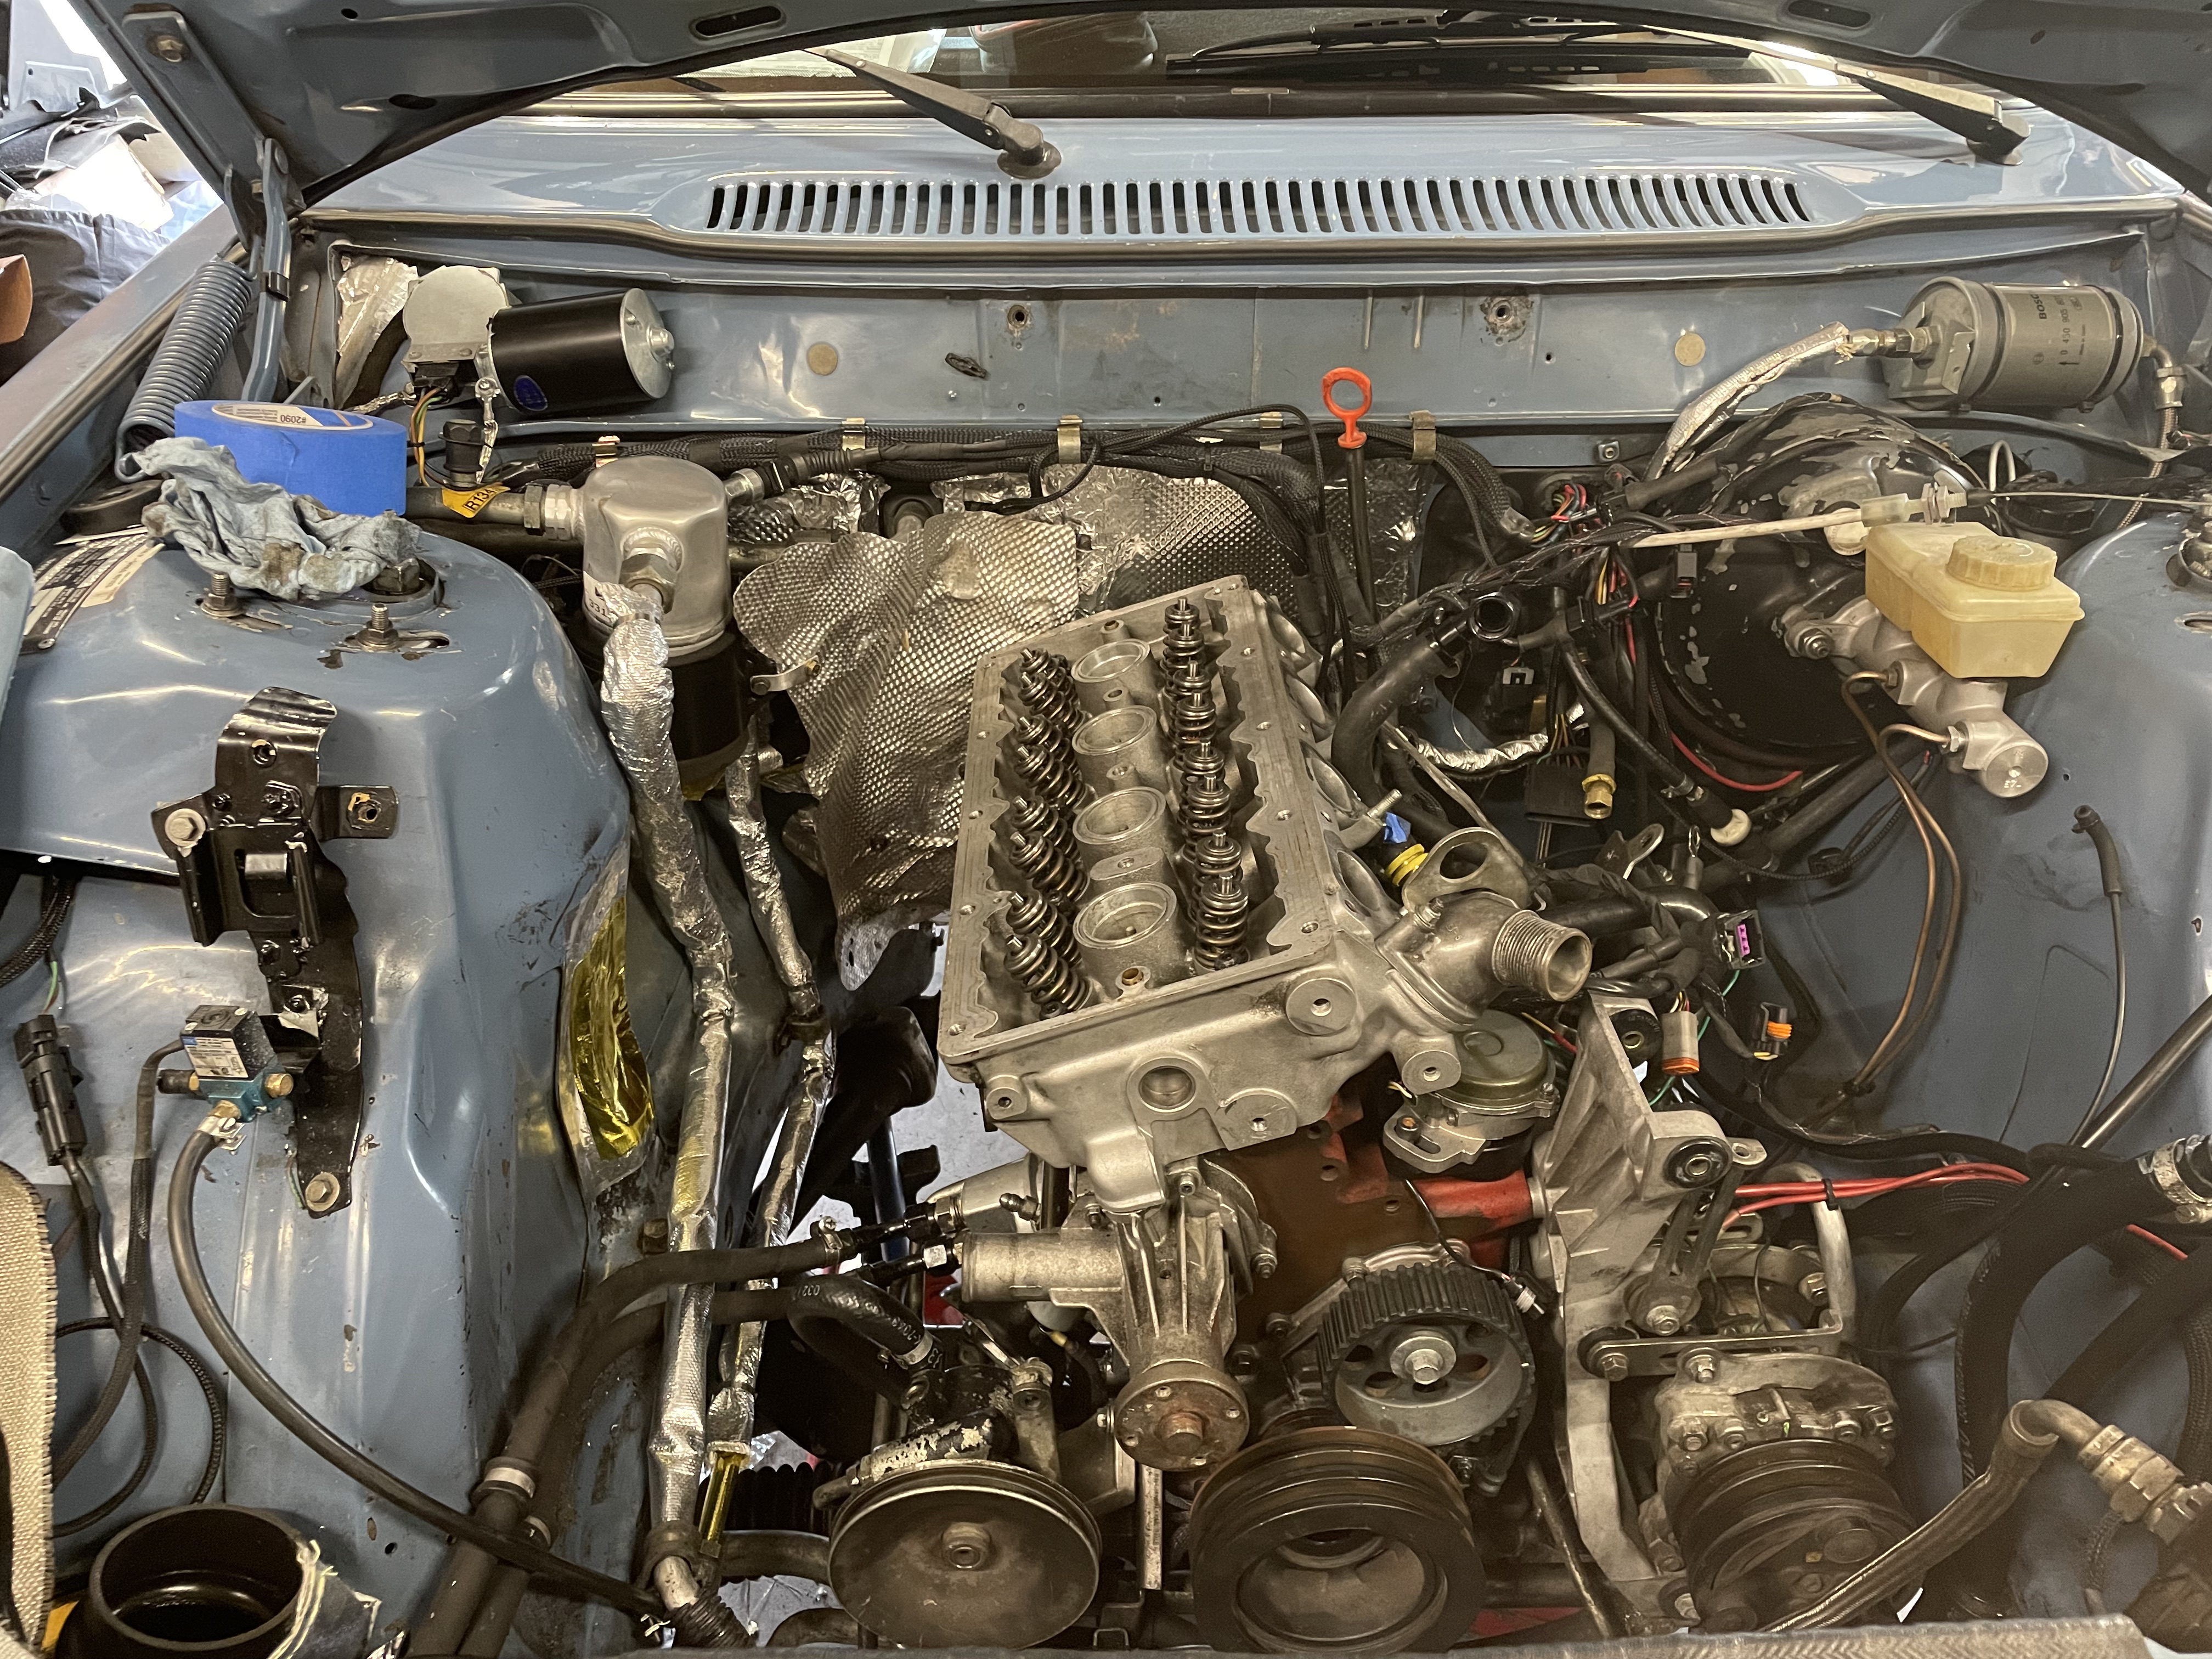
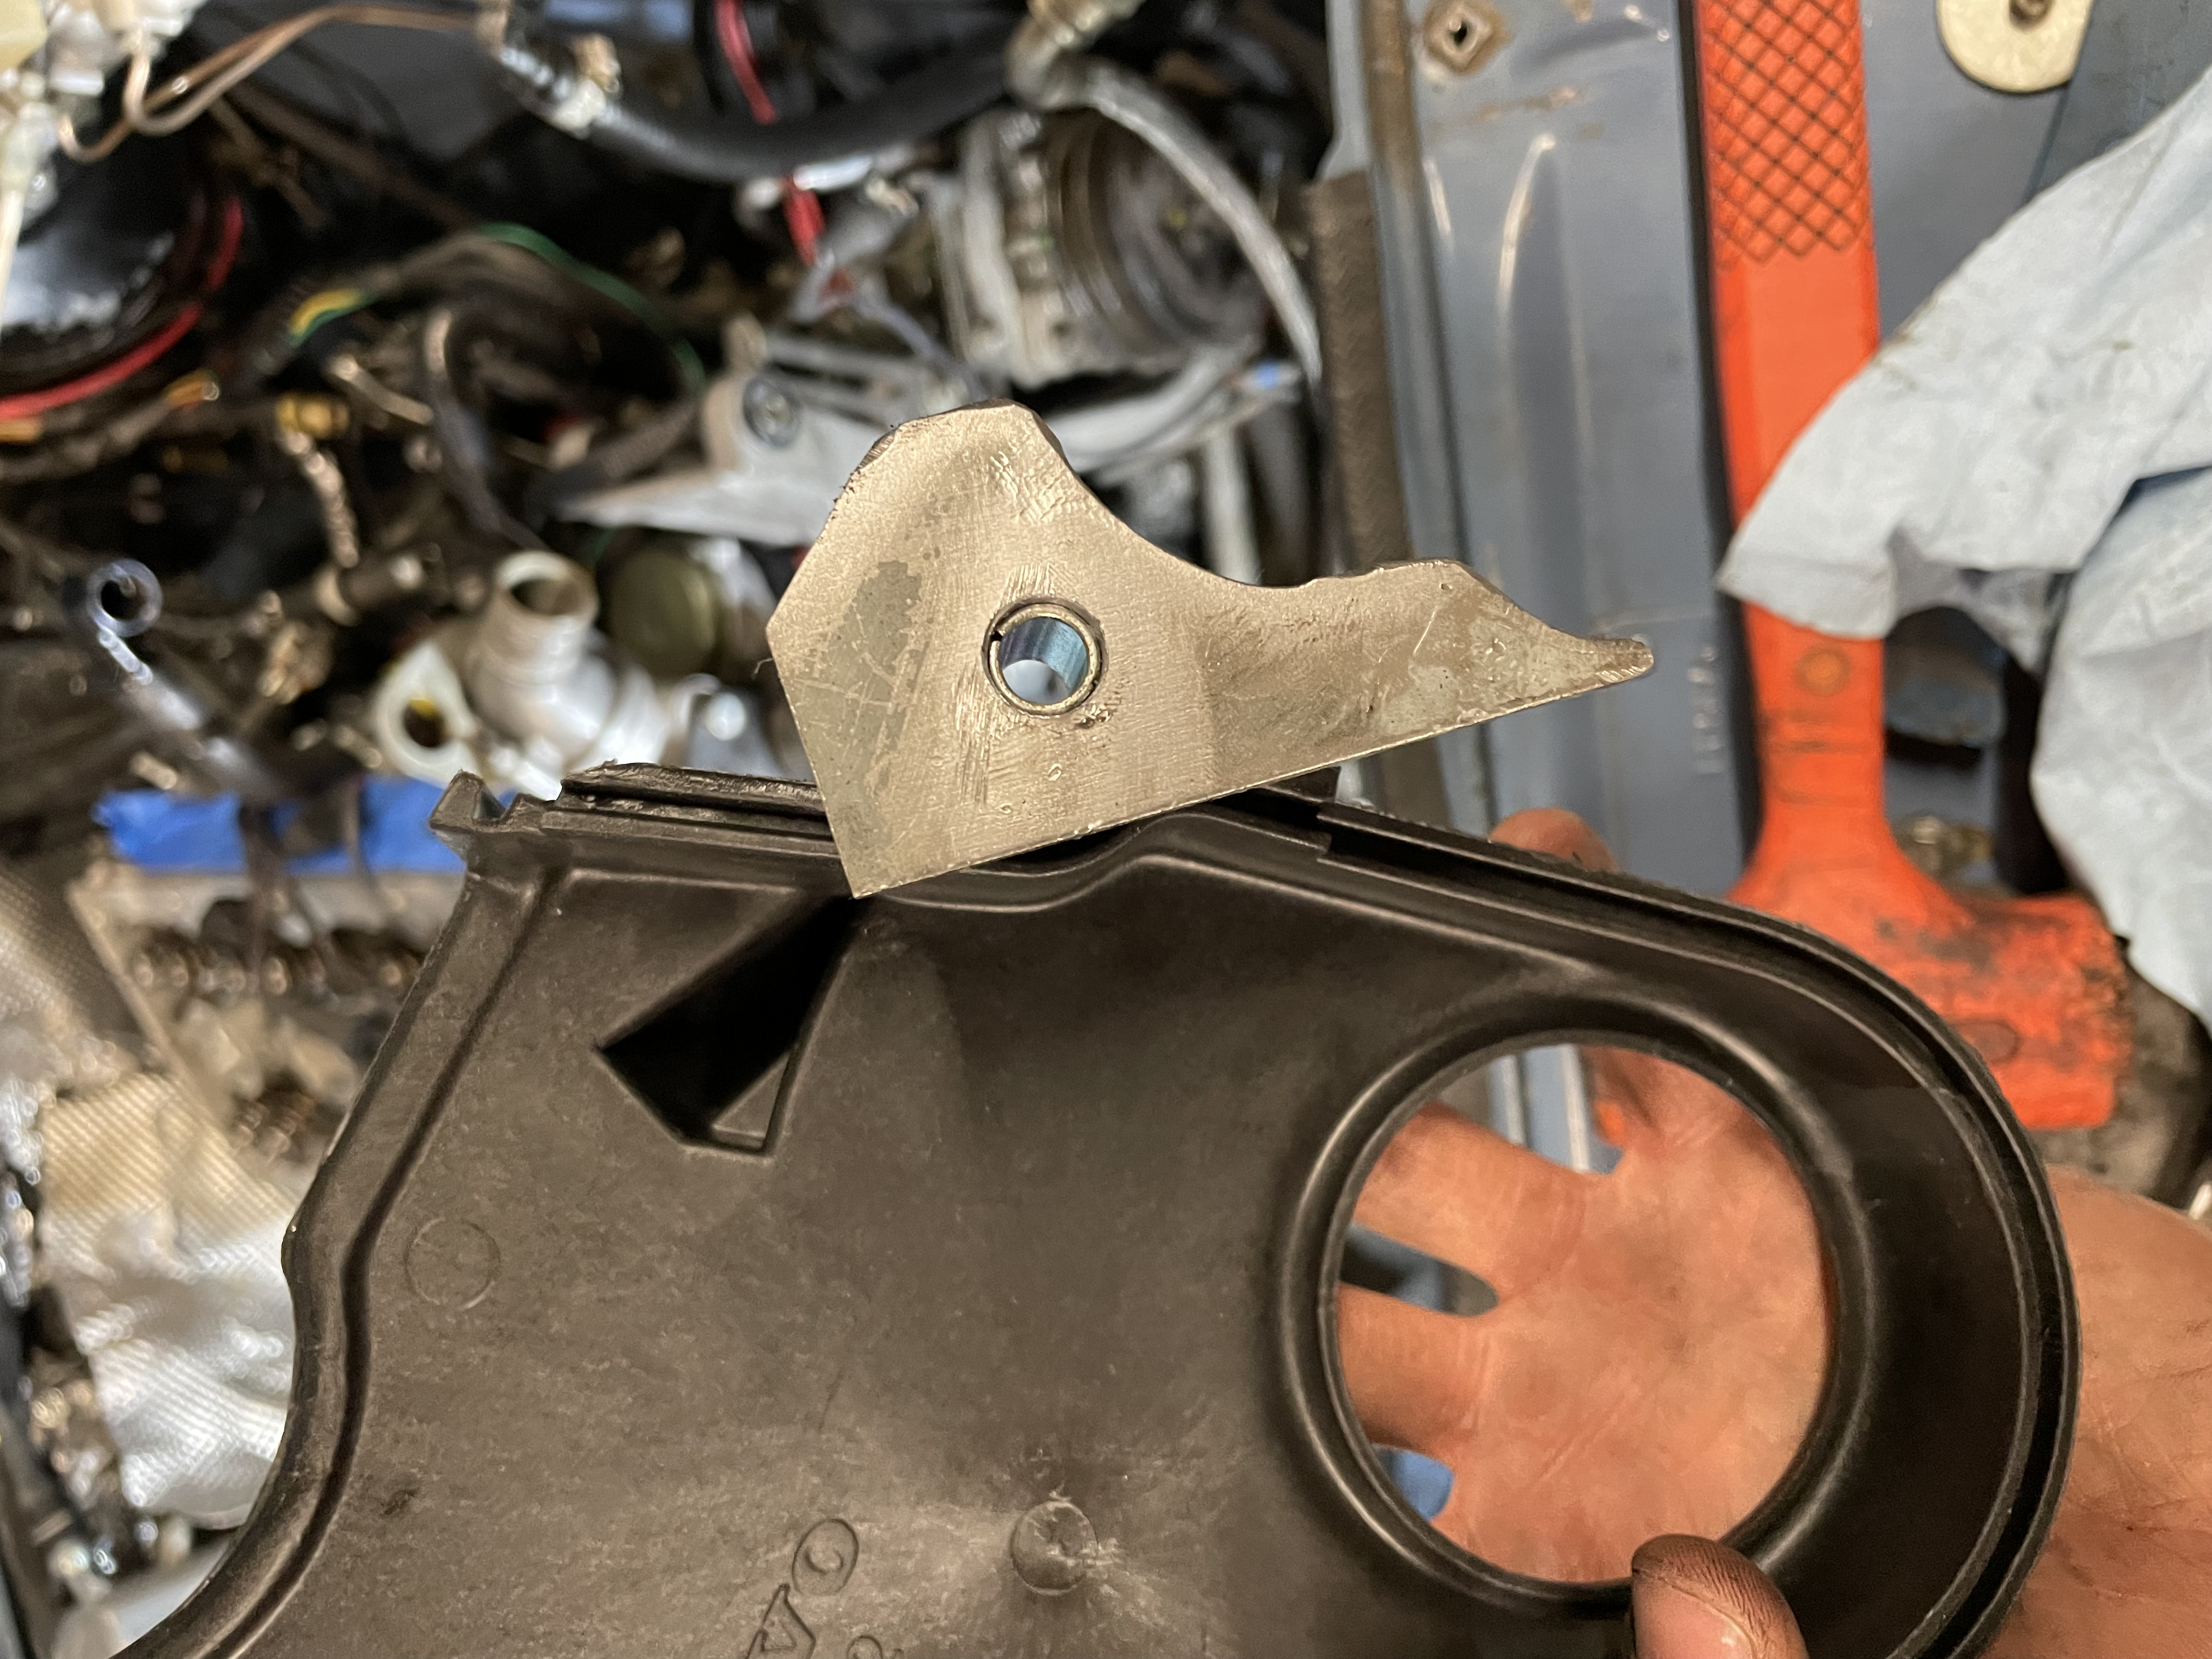
w00! What are you showing us with the pictures of the block and pistons? I’m on my phone and don’t notice anything obviously of concern.
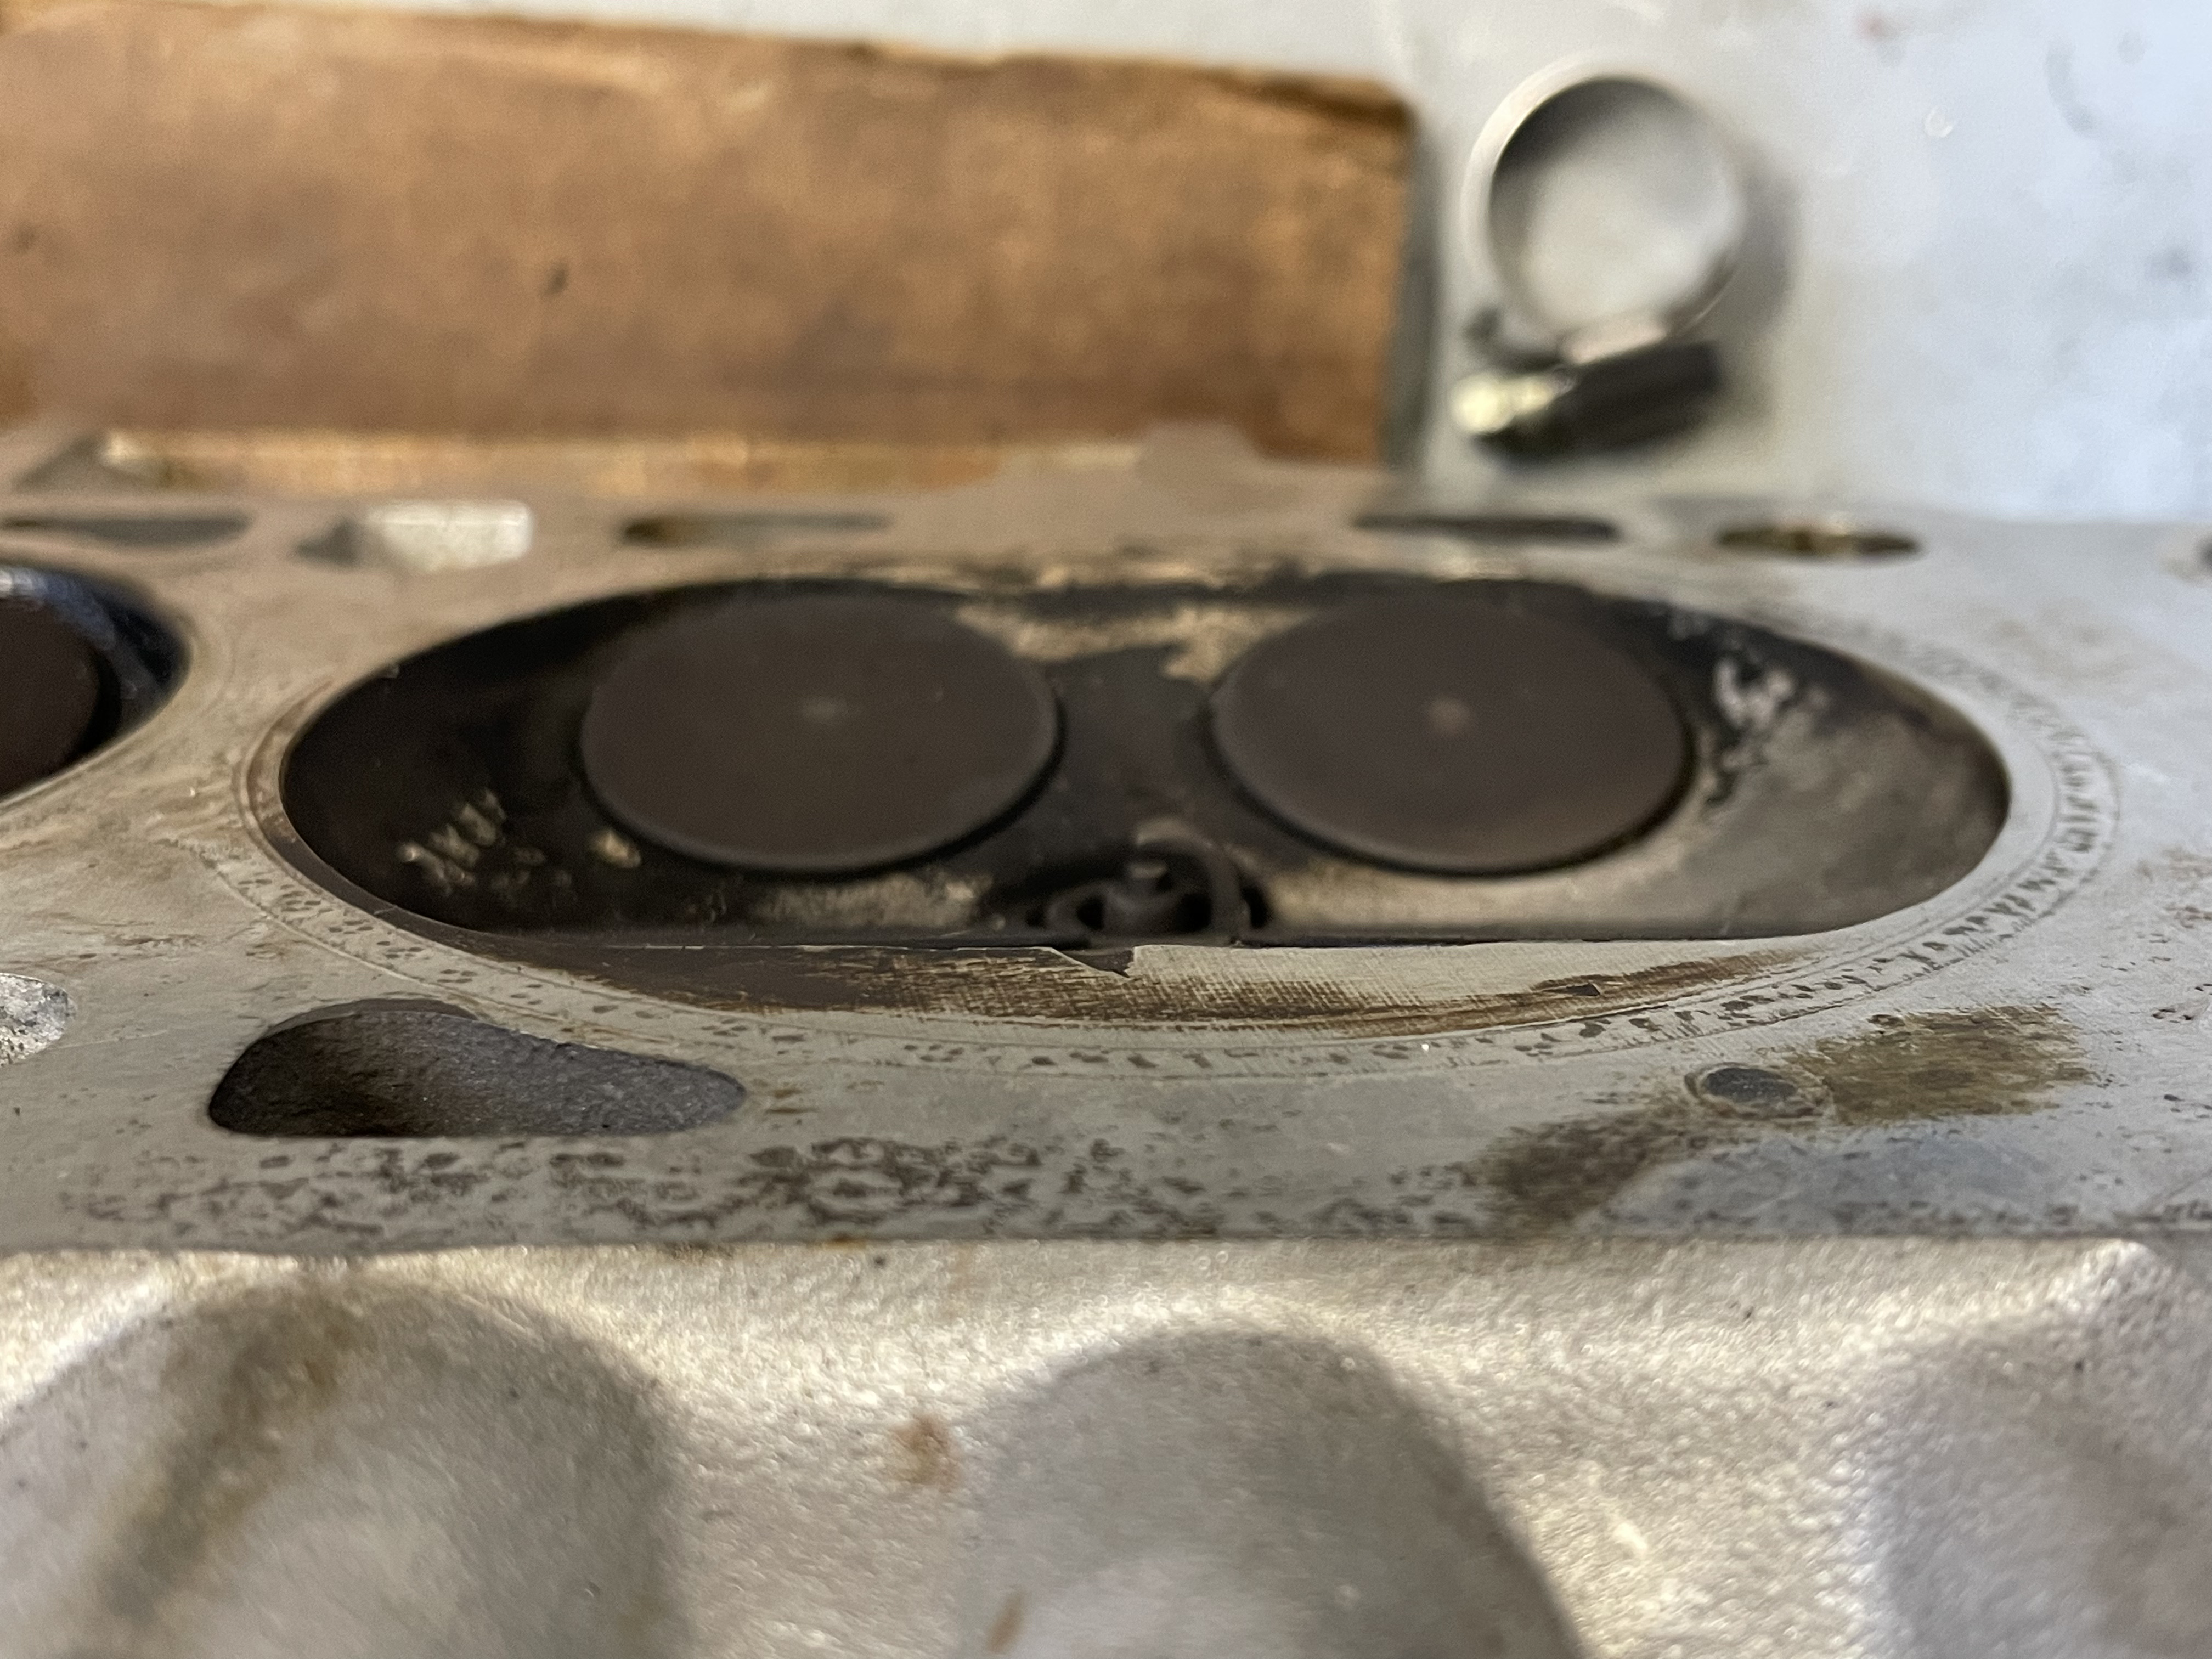
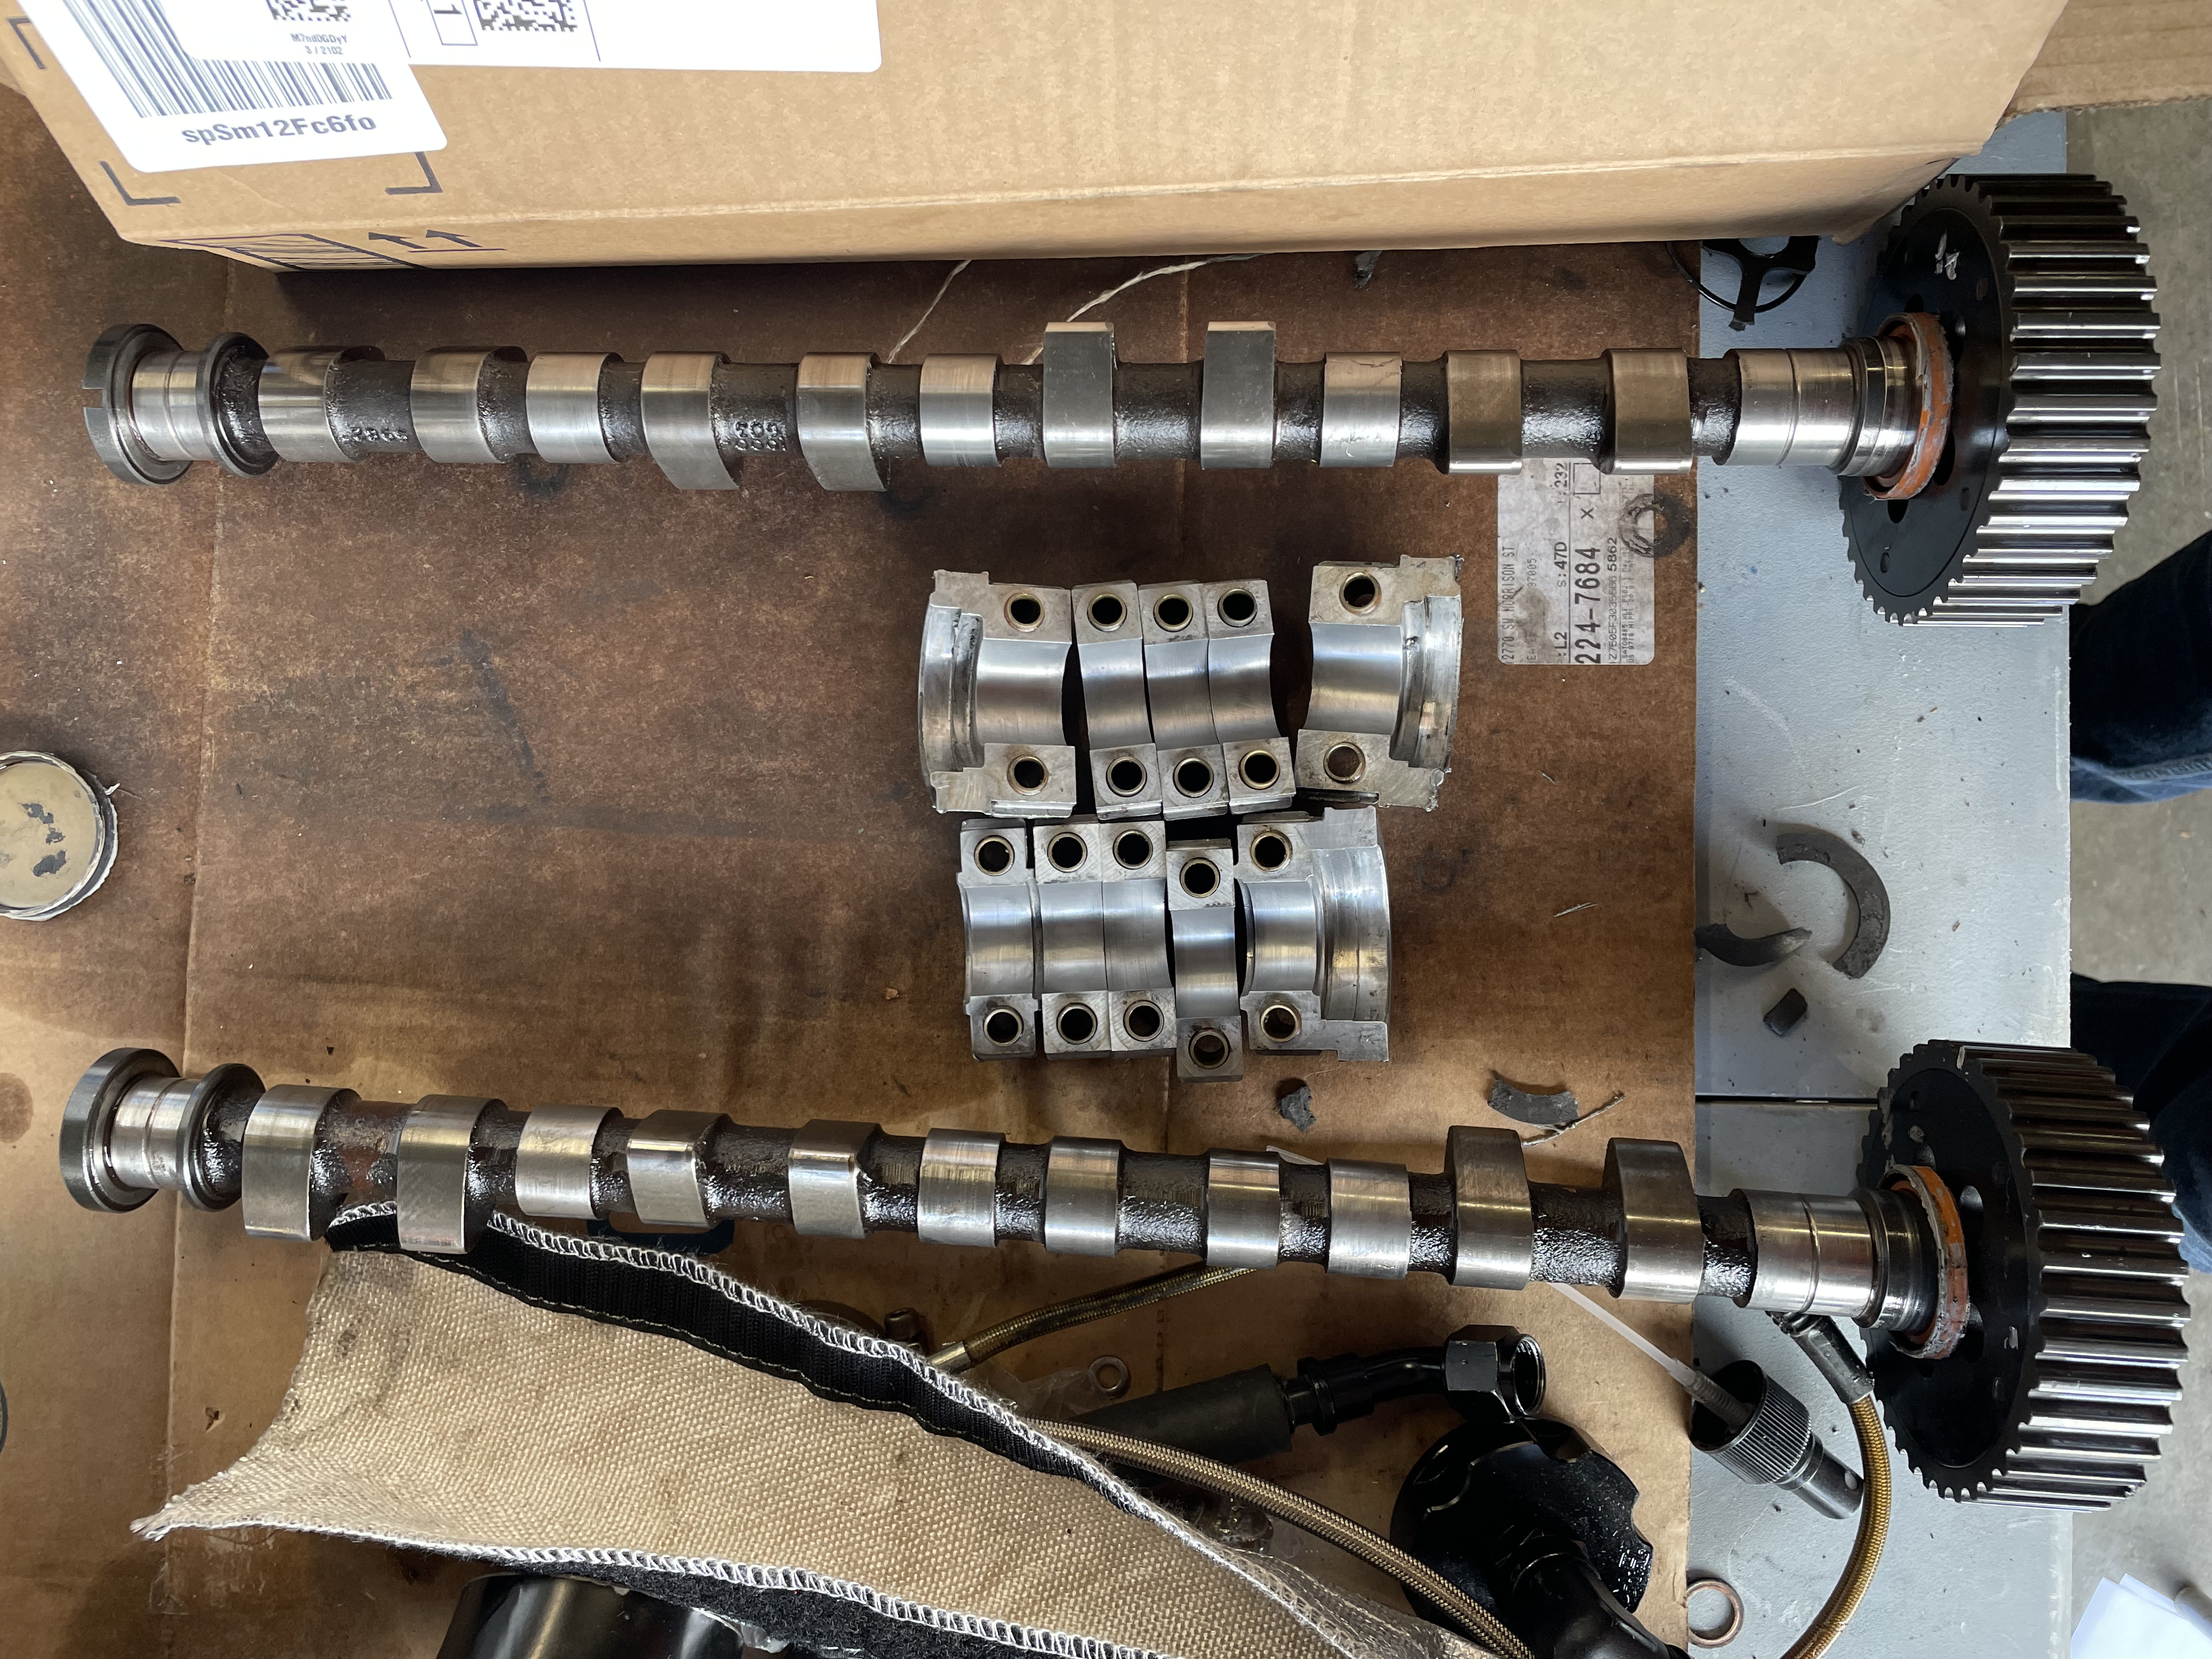
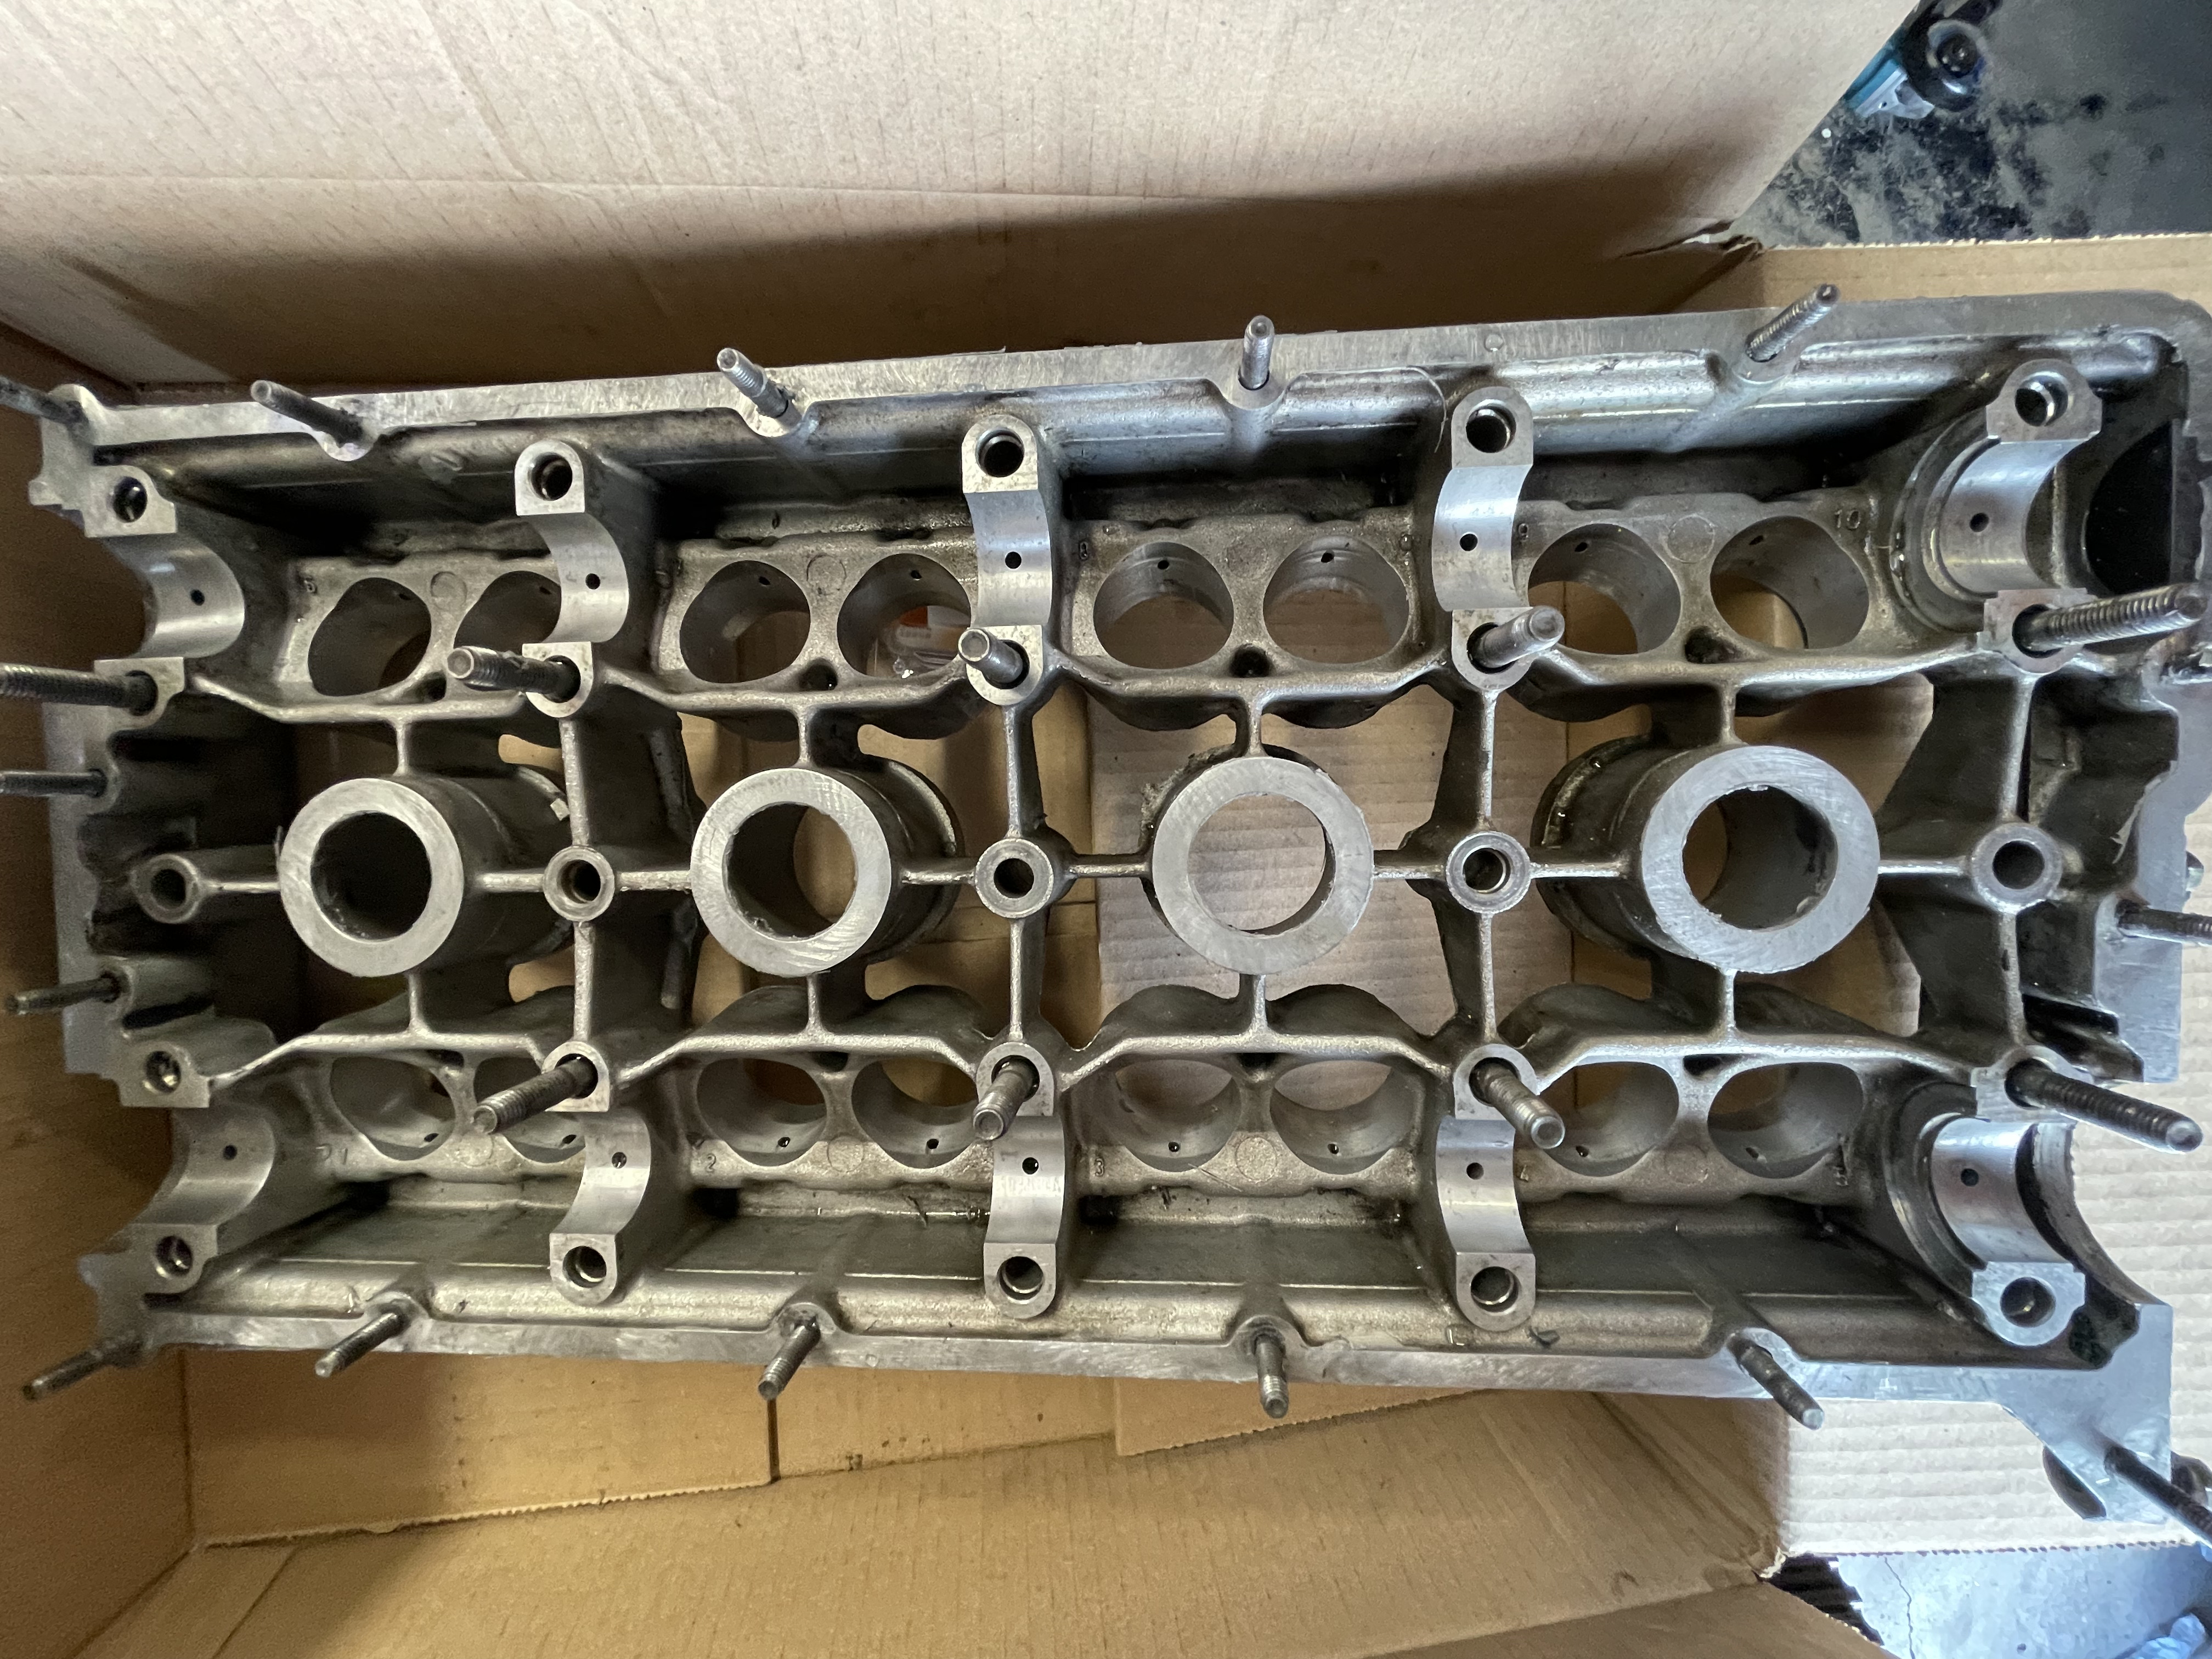
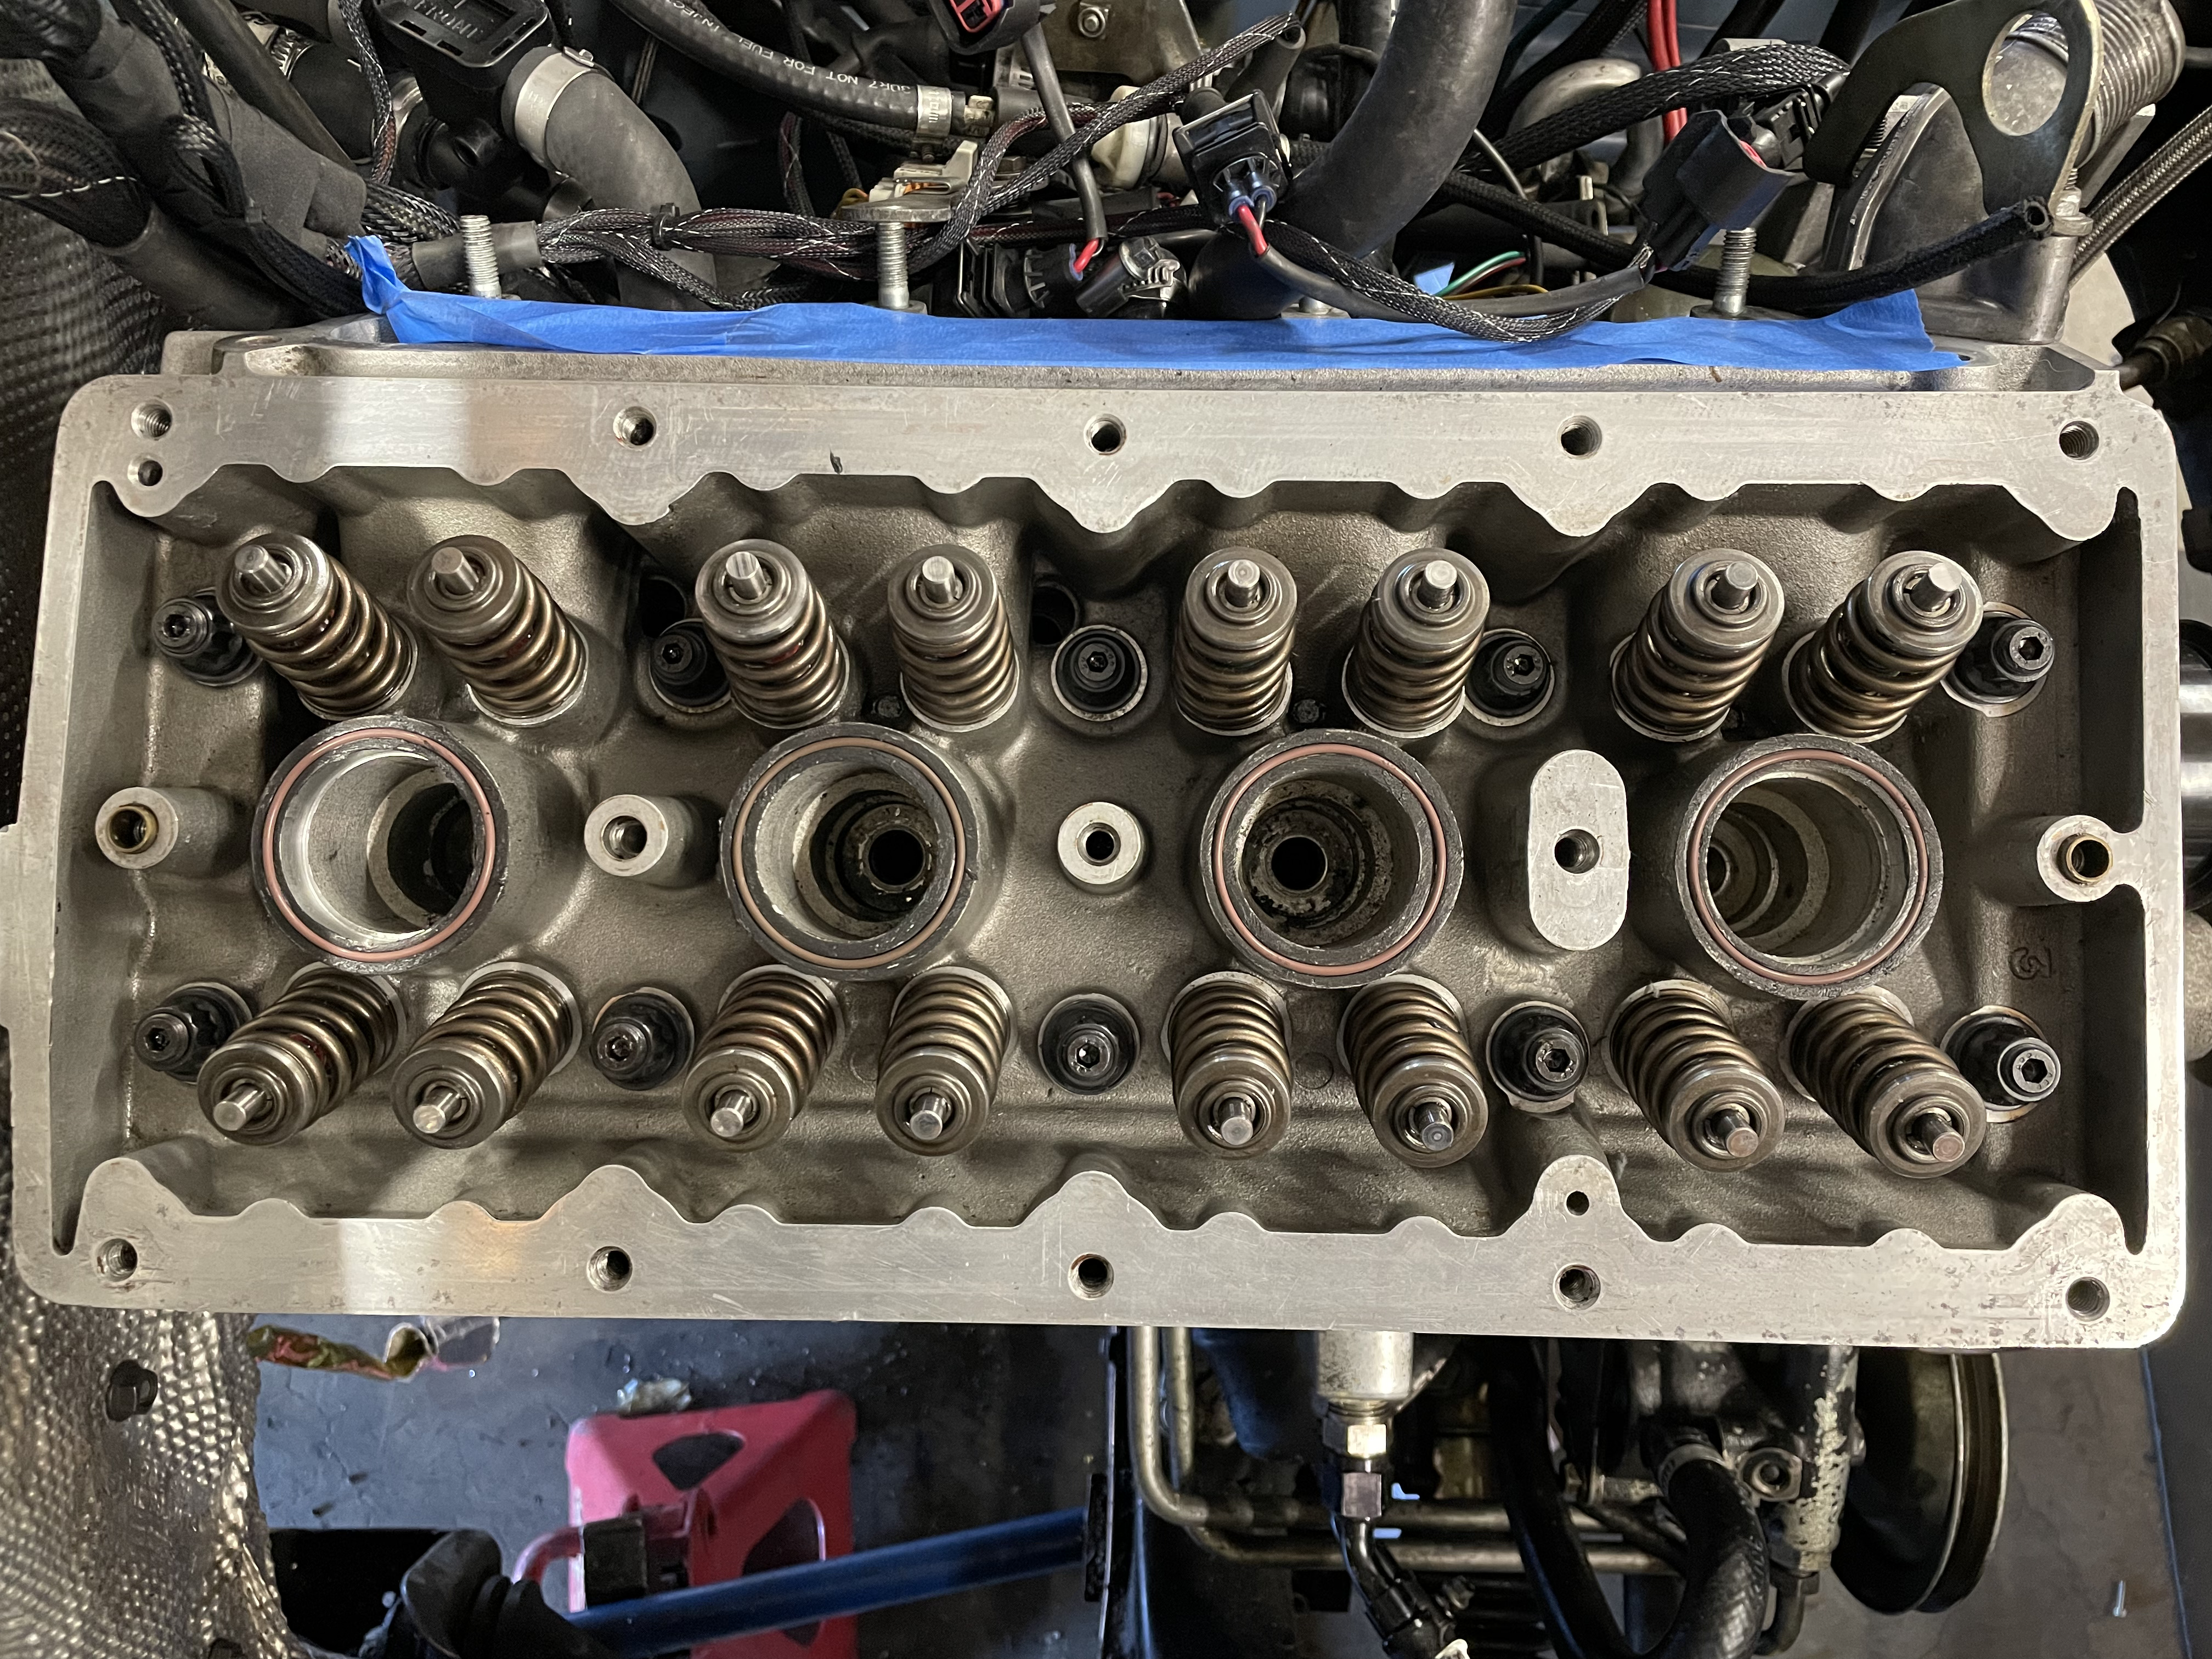
So, yes there was a loan head gasket but the compression was from the bad valve seating? This setup has had low(er) compression on one cylinder for a while, right?
Anywho, bummer on the injector driver failure and all the work.
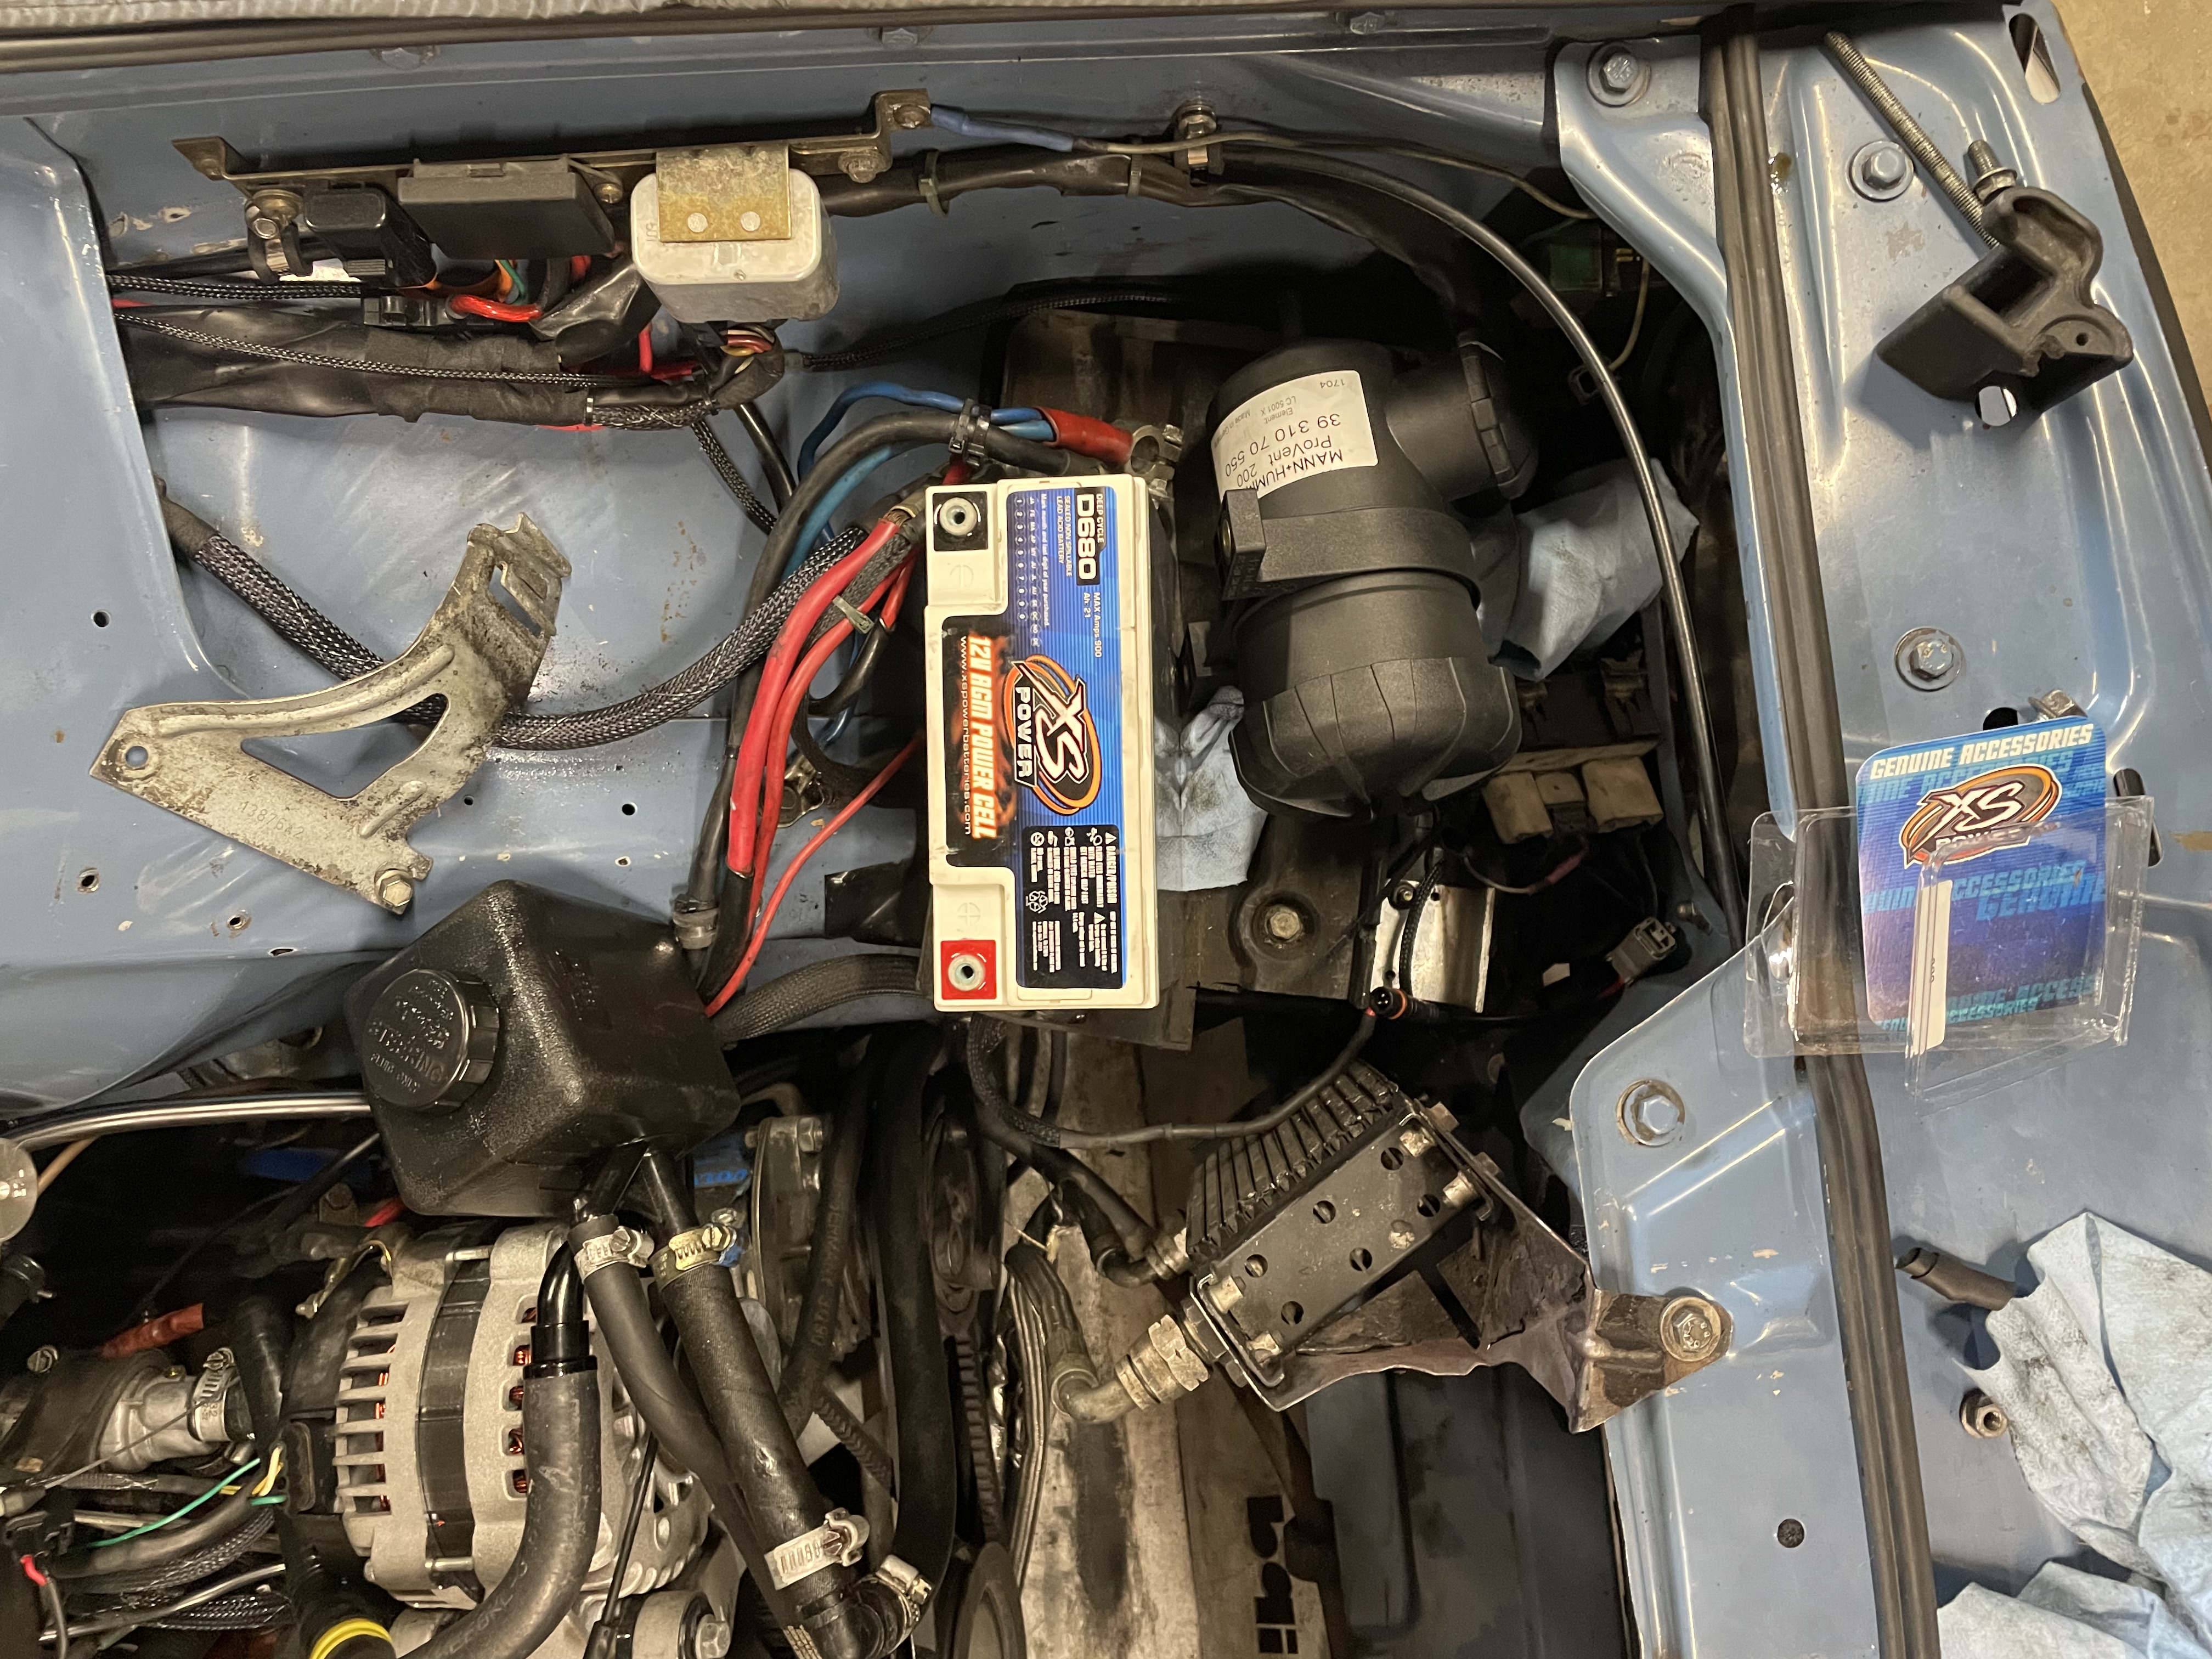
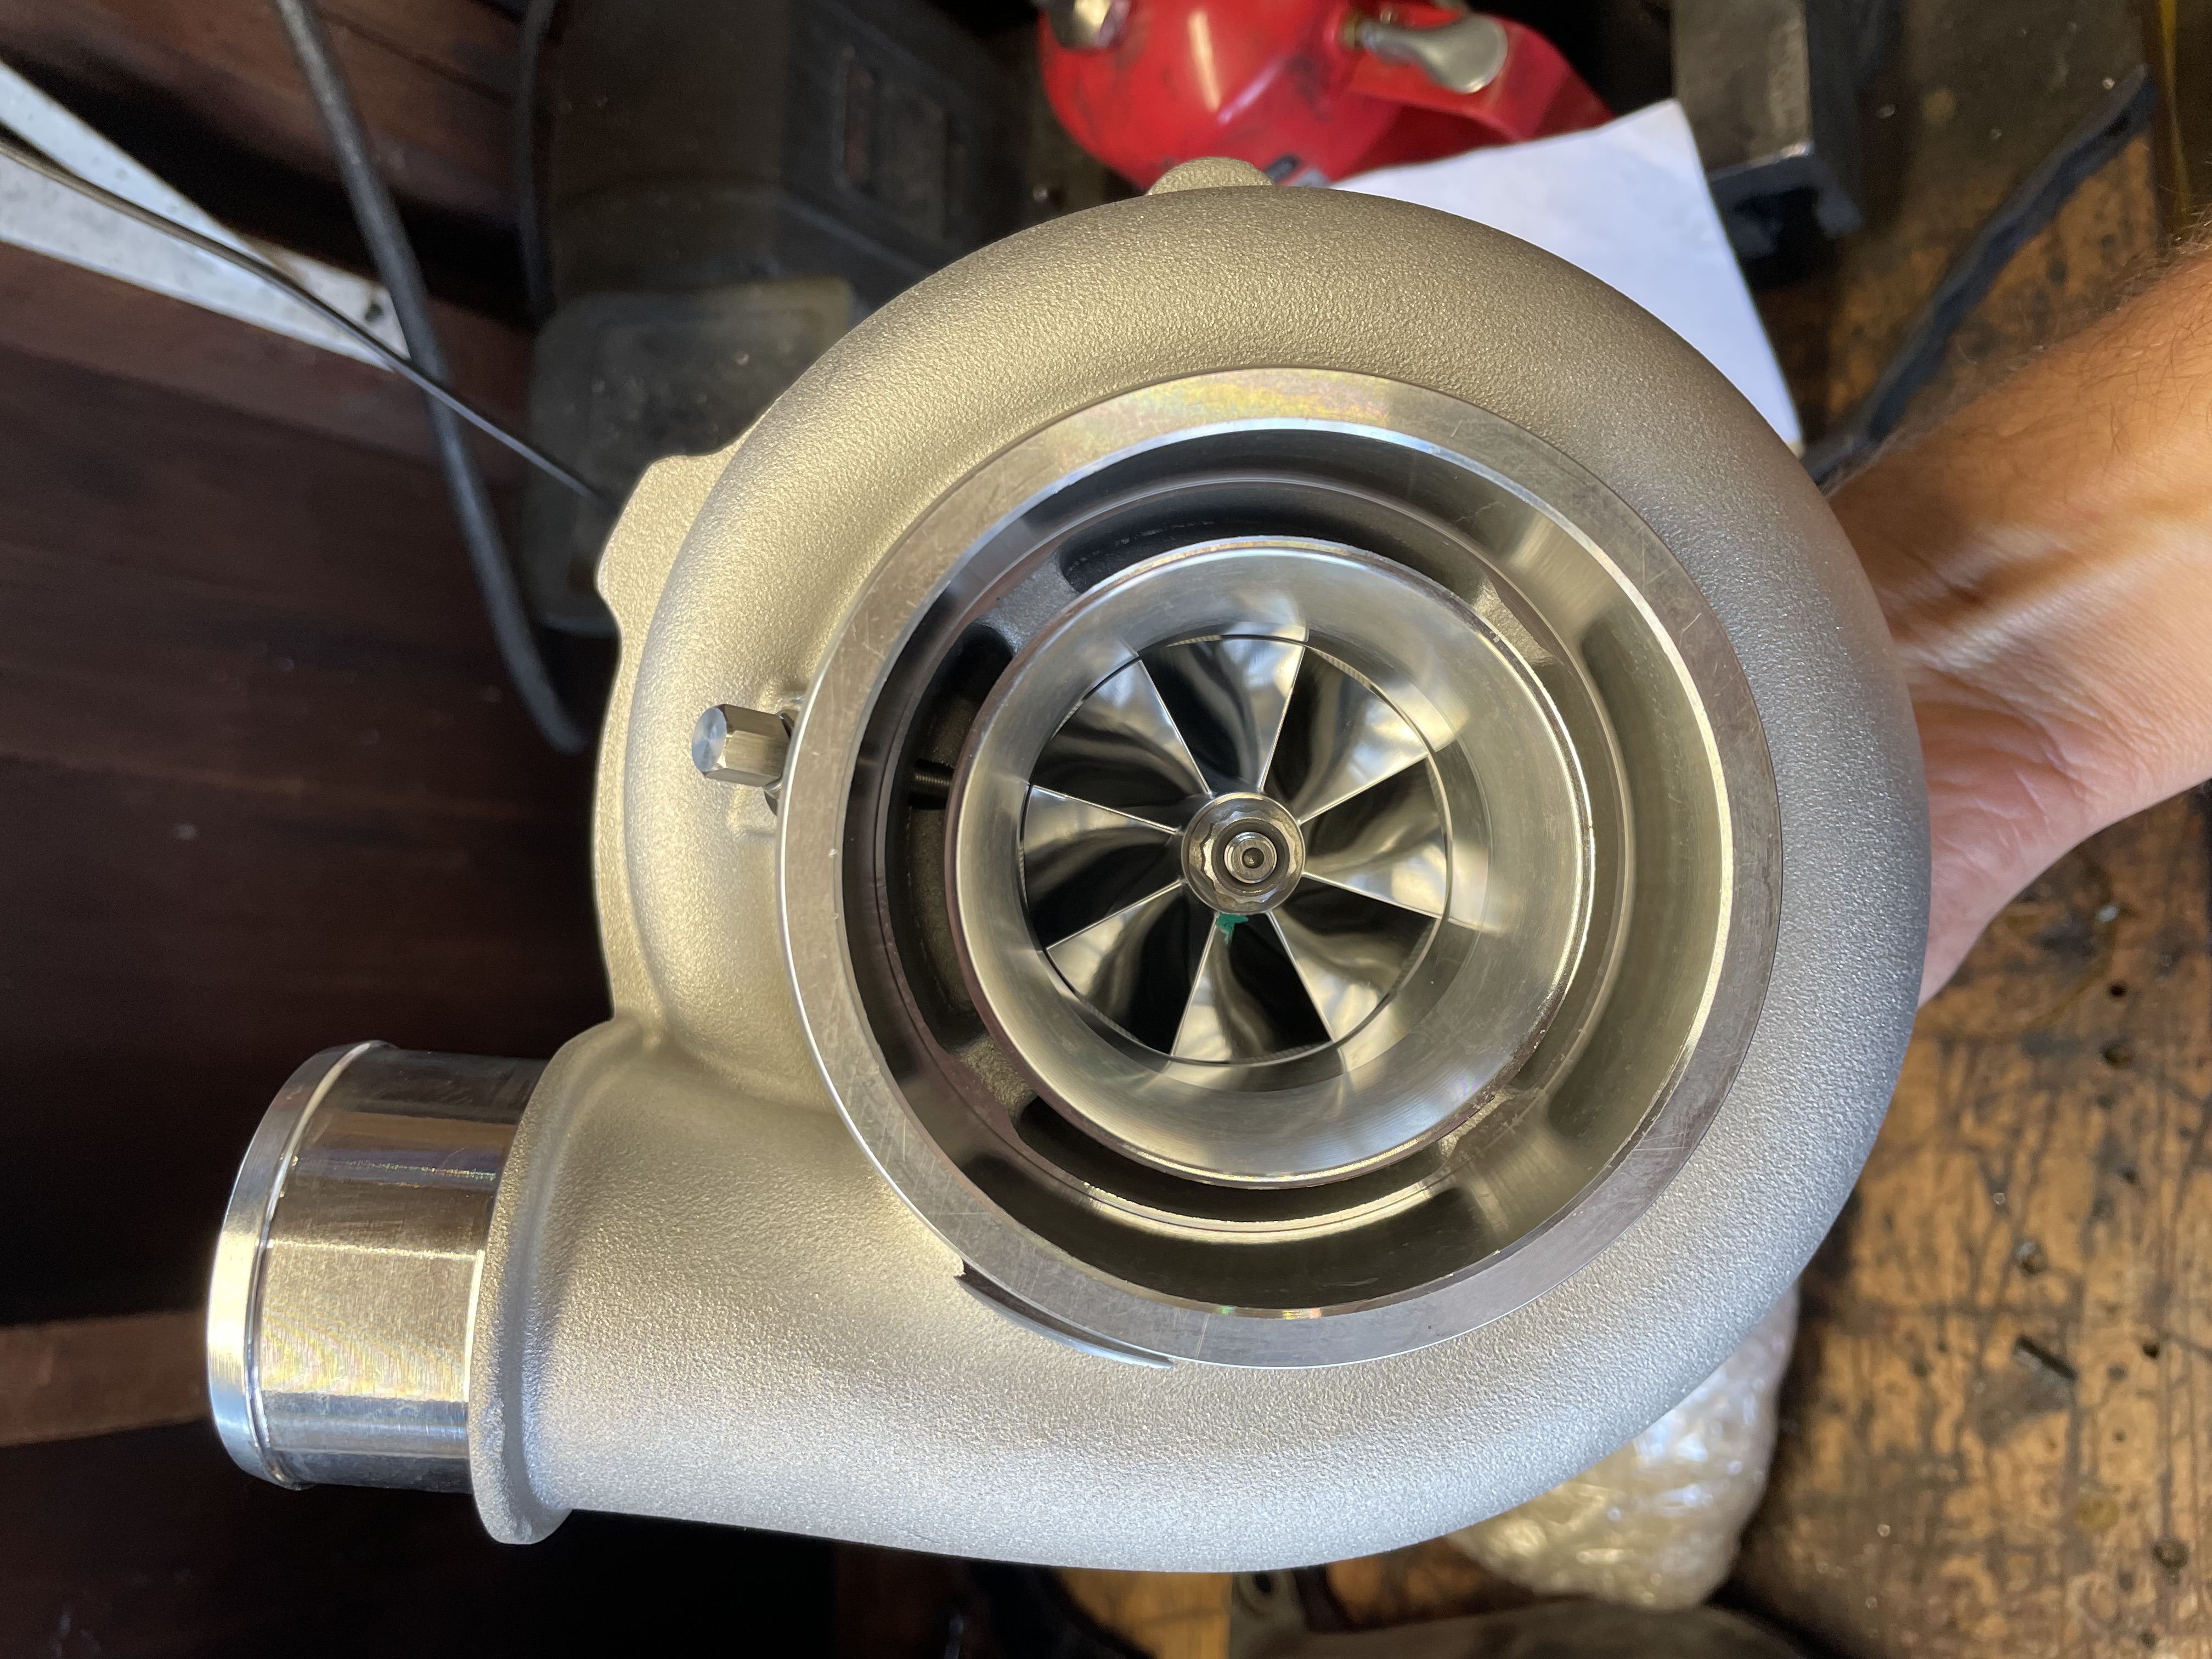
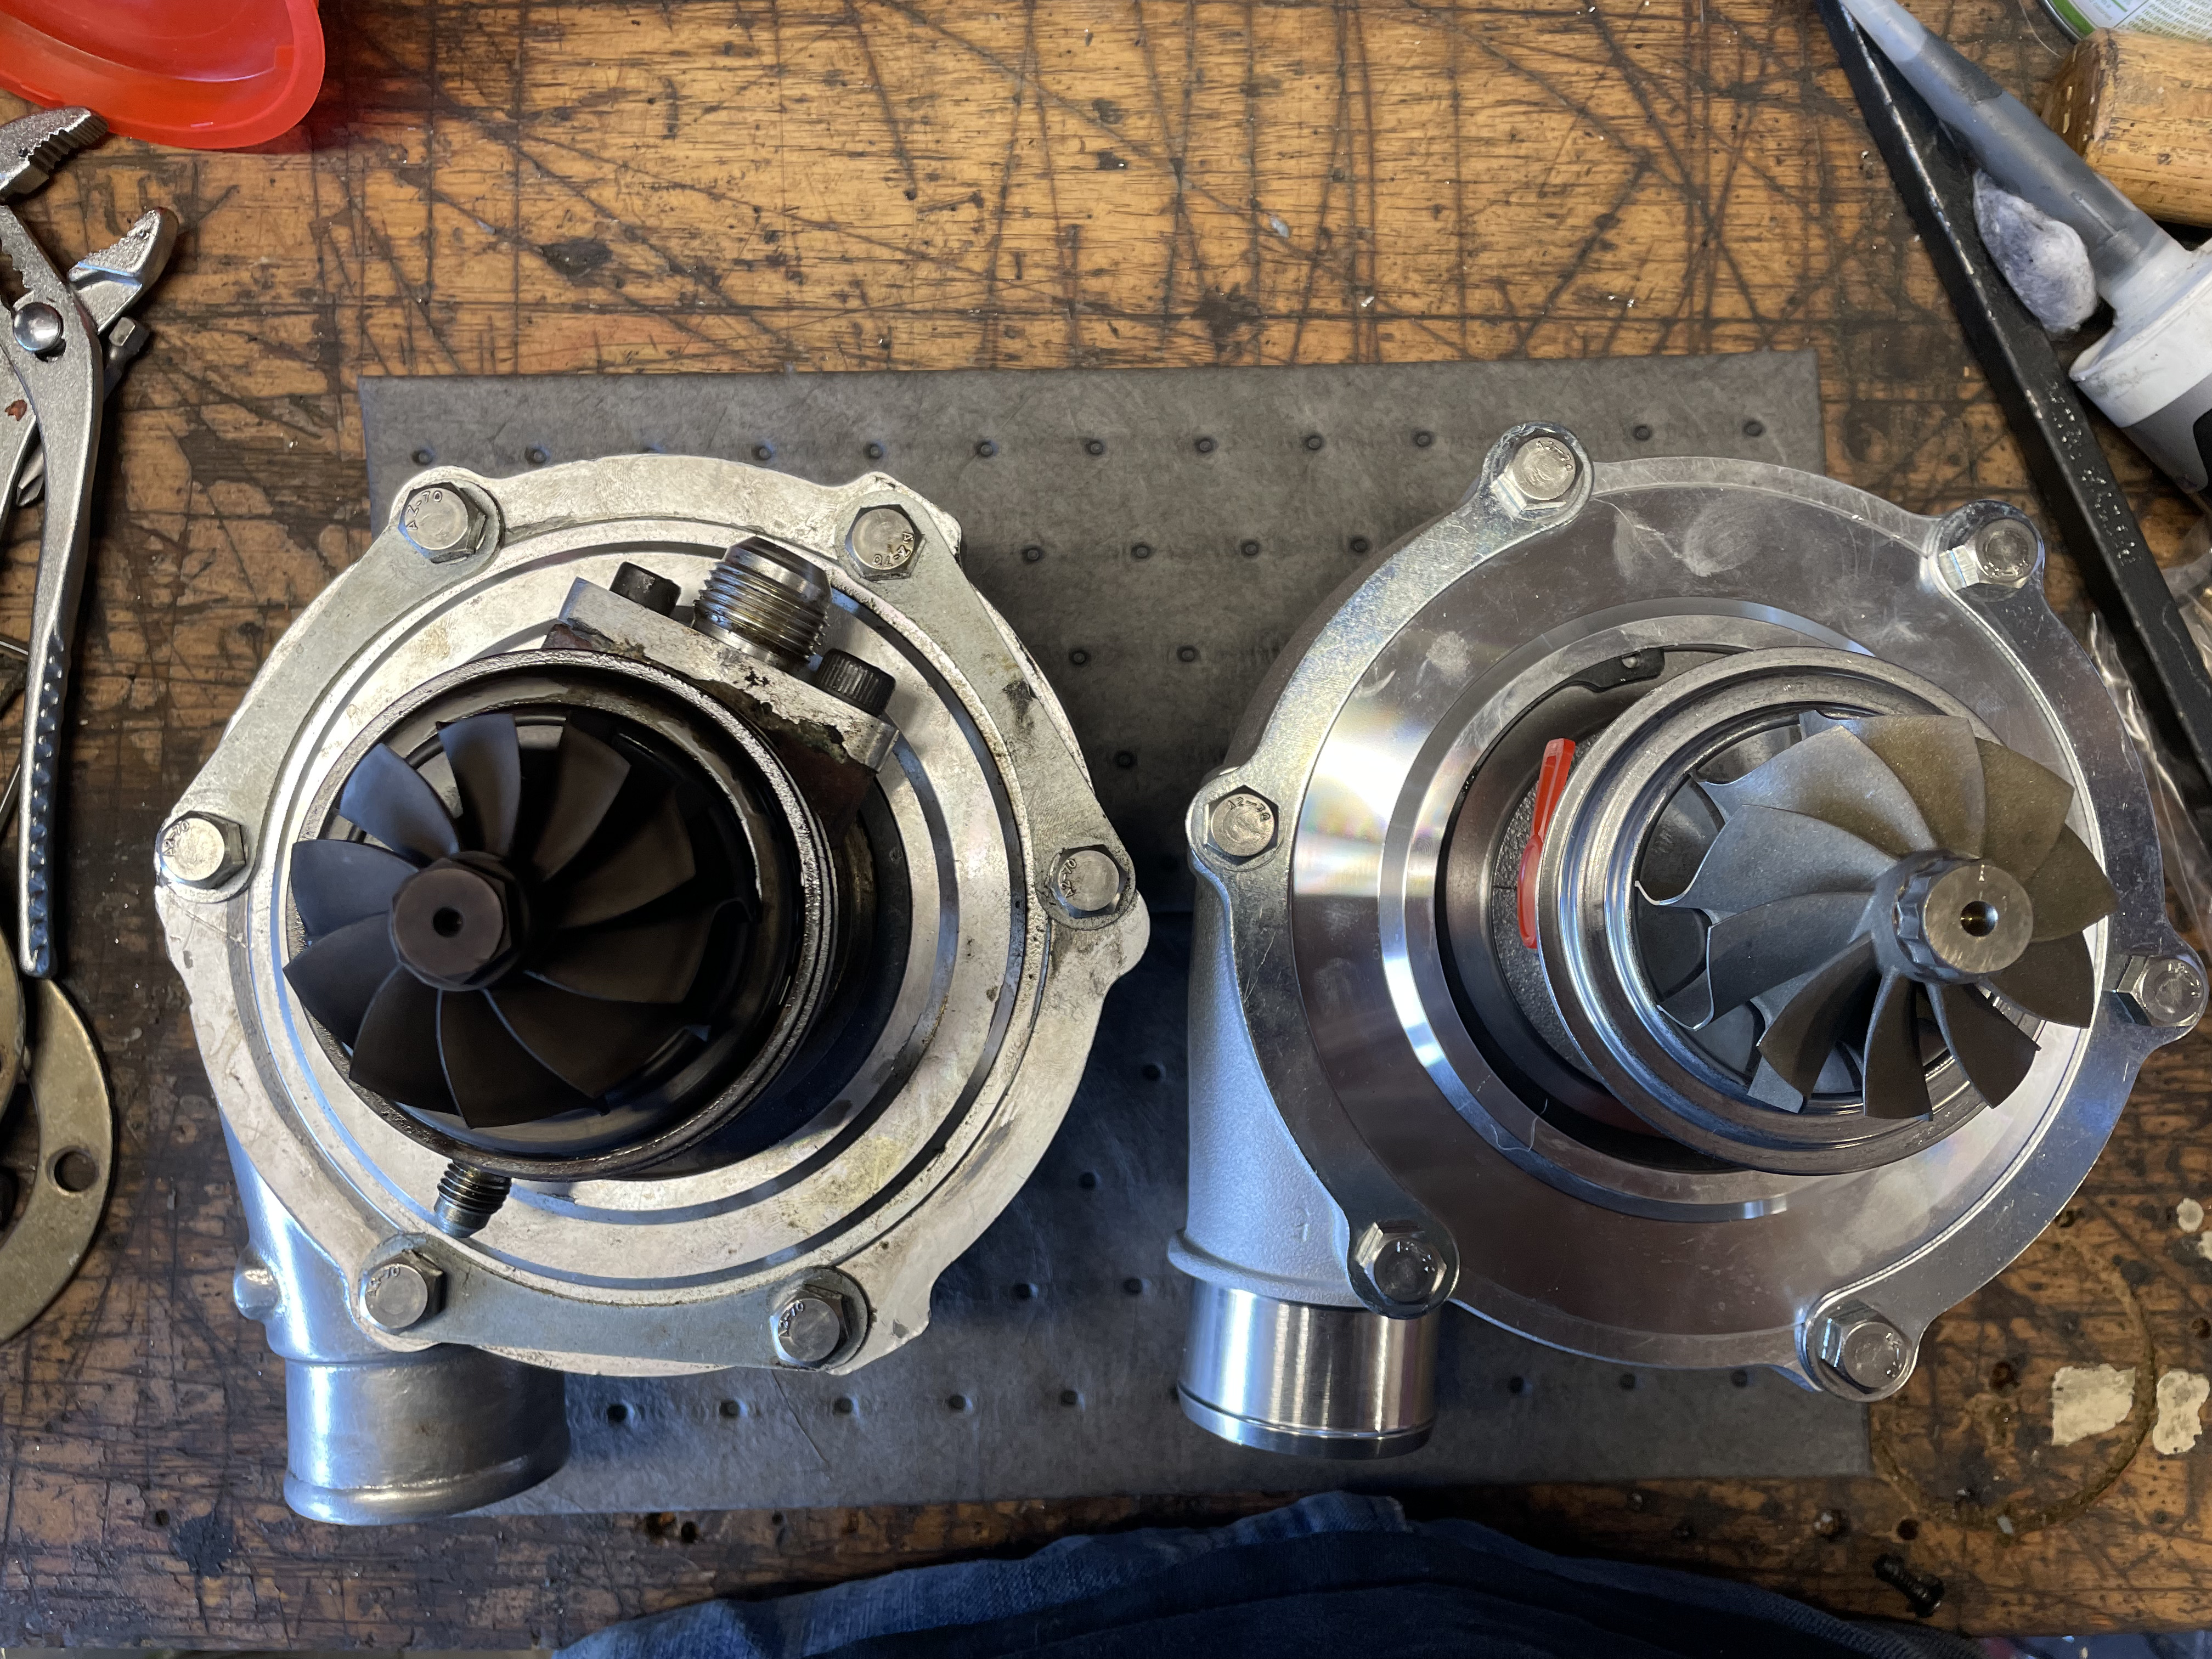
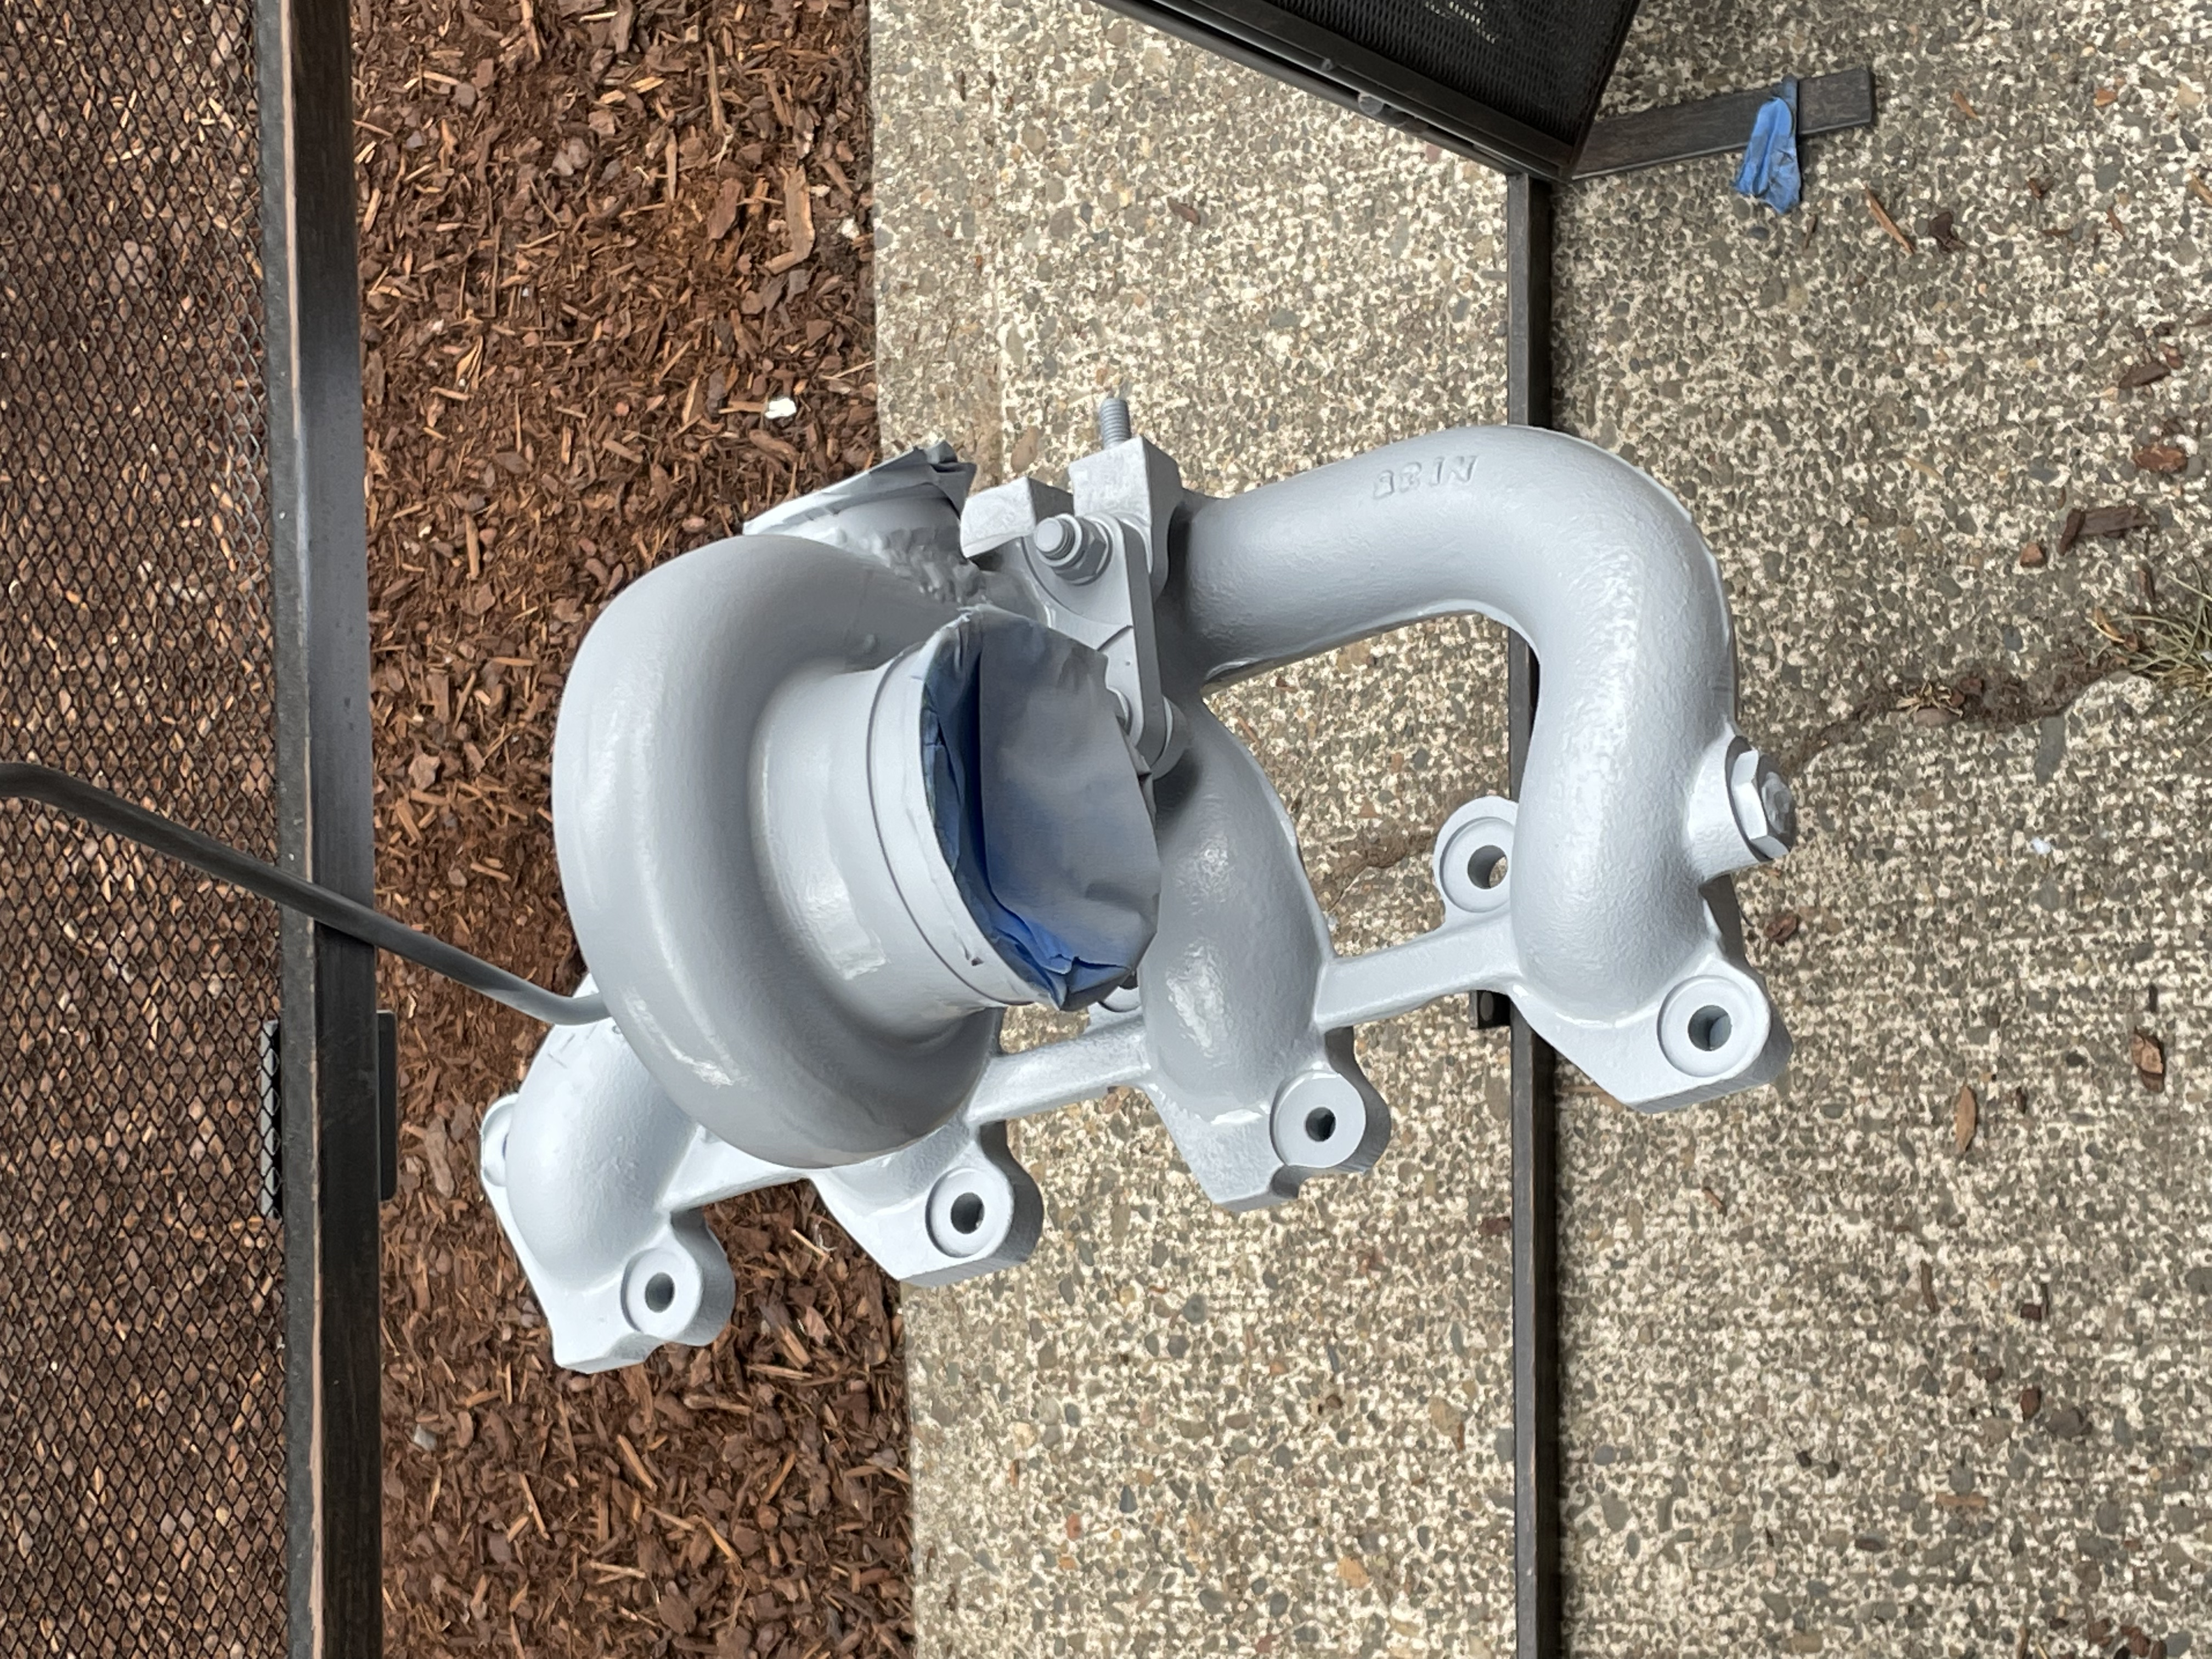
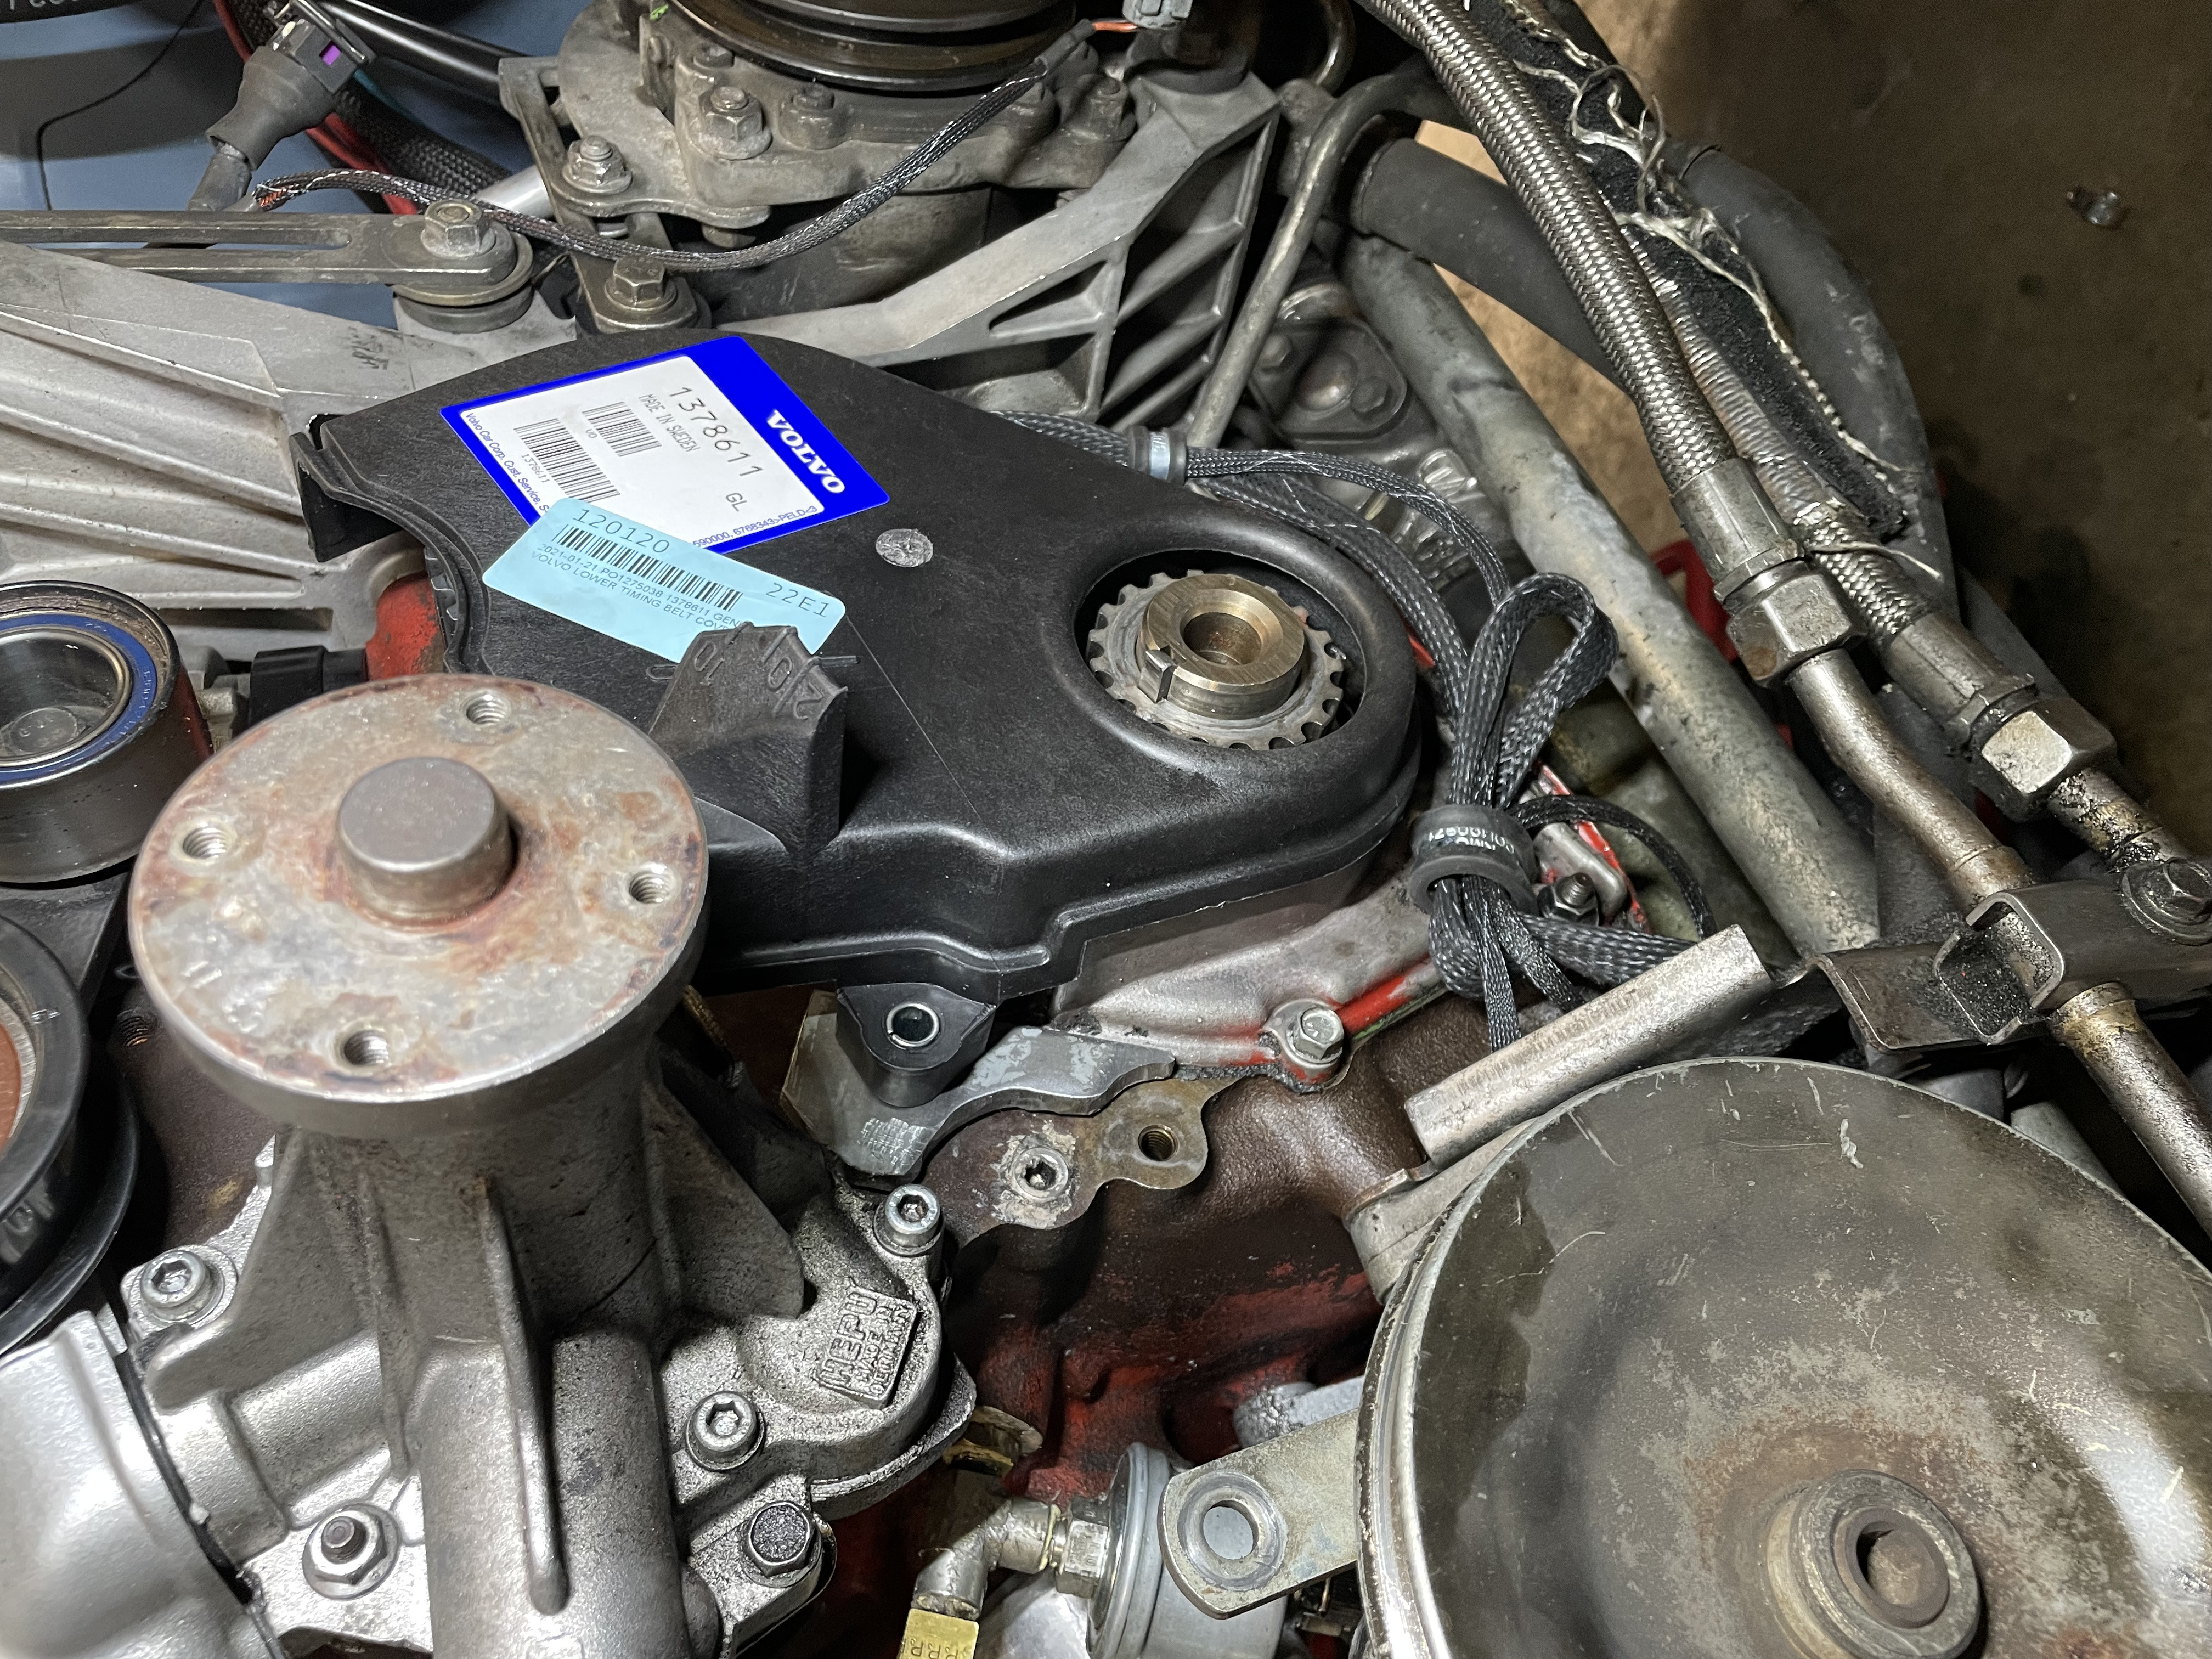
Oh, and why the intercooler change out?
That being said, yay for fixes! Maybe there’s a dyno in your future?
Also, maybe another trip to the strip and maybe I can make it out… Fingers crossed. It’d be nice to drive my junker again one day this year. Probably won’t race it as it’ll make your slow look fast.
Speaking of your slow, have you considered weighing your fat, luxe beast recently? Maybe it’s part of why it’s so slow. Oh, and because of the cams.
So, yes there was a loan head gasket but the compression was from the bad valve seating? This setup has had low(er) compression on one cylinder for a while, right?
Anywho, bummer on the injector driver failure and all the work.
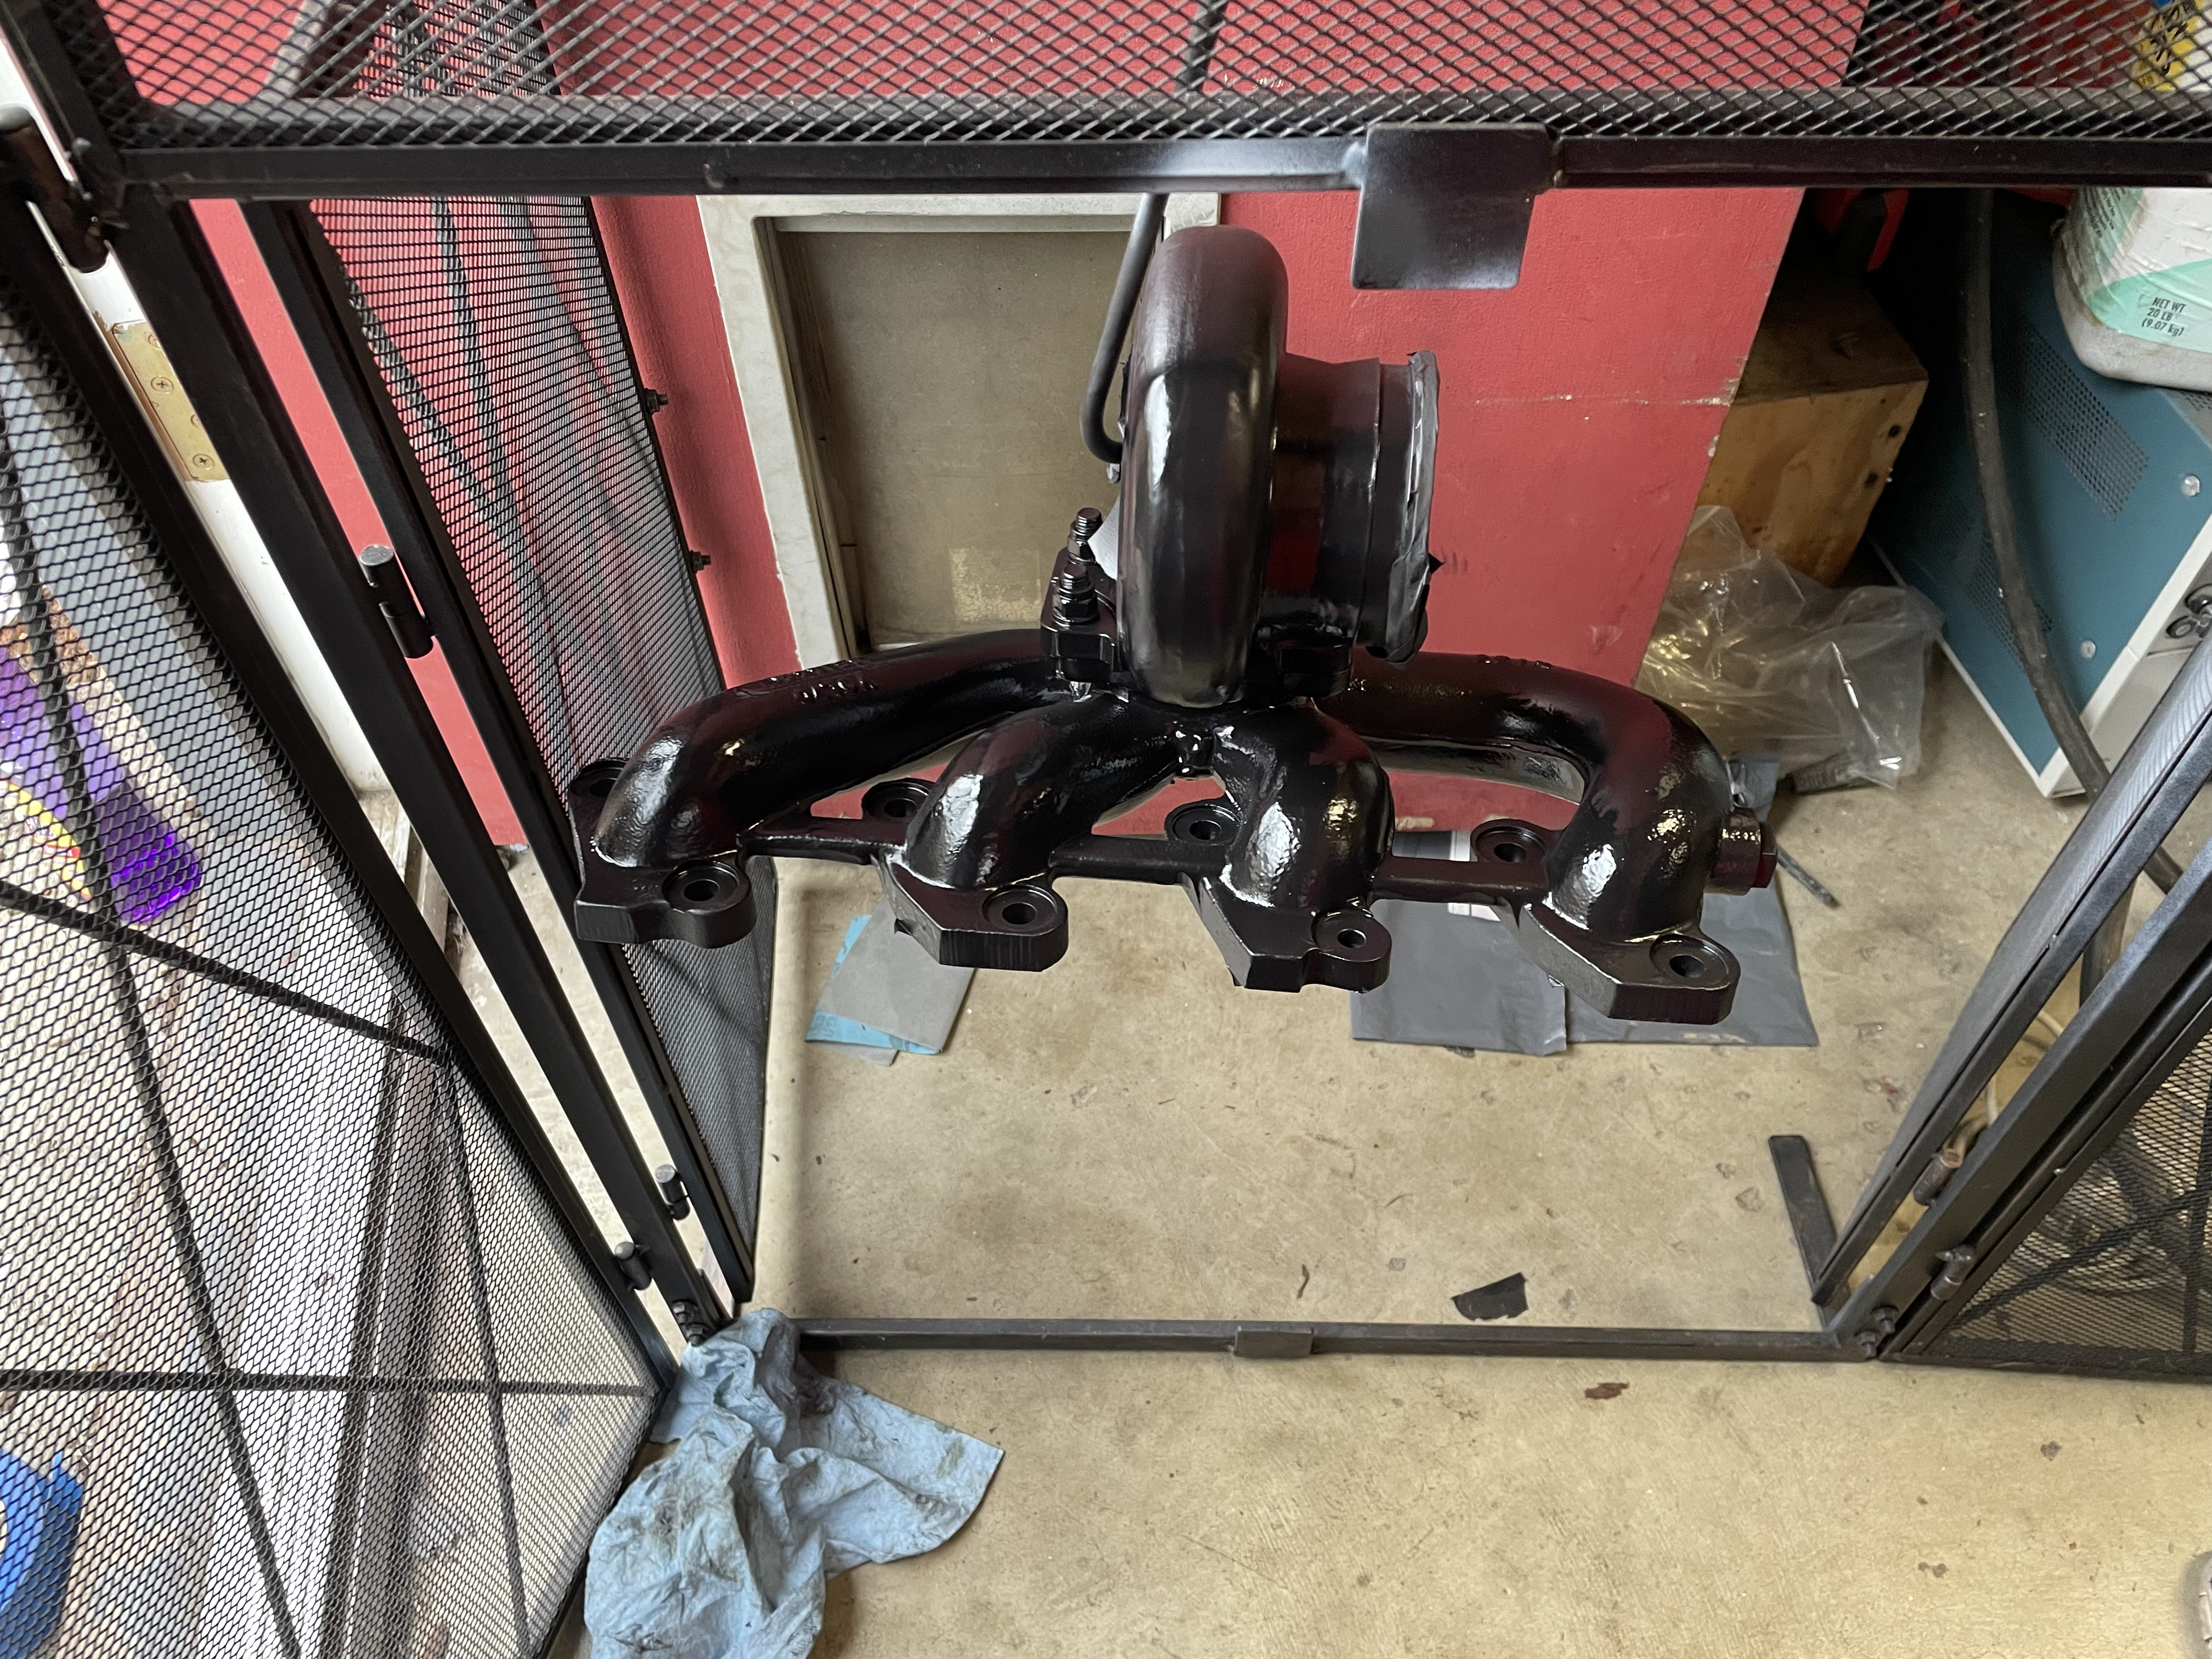
Oh, and why the intercooler change out?
That being said, yay for fixes! Maybe there’s a dyno in your future?
Also, maybe another trip to the strip and maybe I can make it out… Fingers crossed. It’d be nice to drive my junker again one day this year. Probably won’t race it as it’ll make your slow look fast.
Speaking of your slow, have you considered weighing your fat, luxe beast recently? Maybe it’s part of why it’s so slow. Oh, and because of the cams.