Hi,
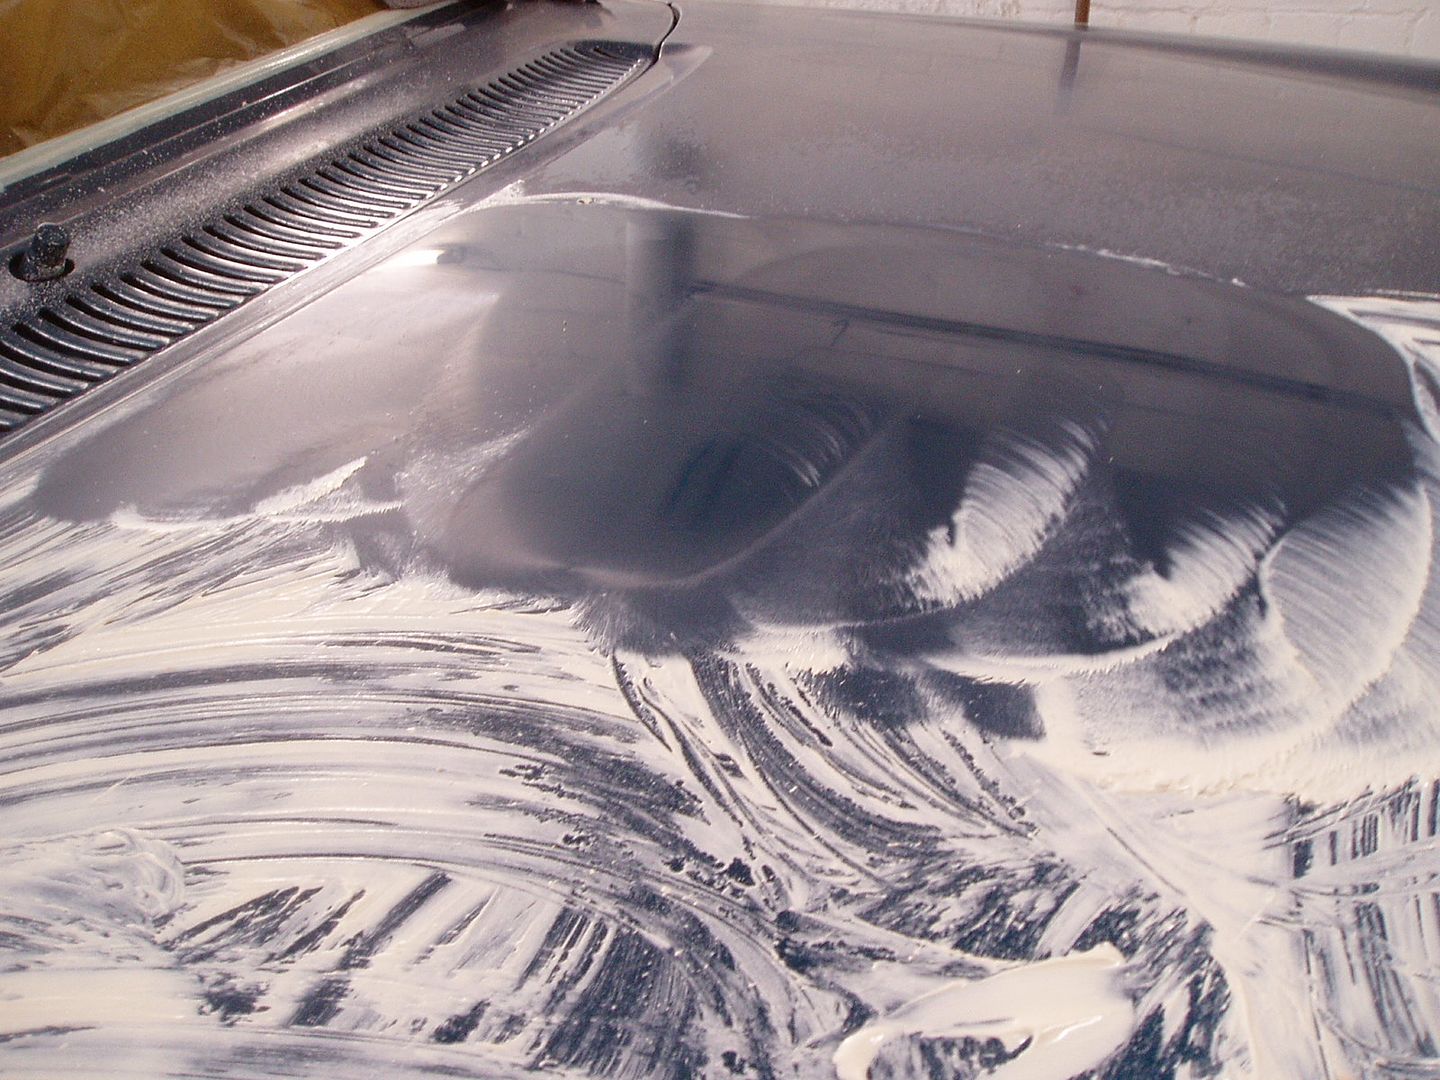
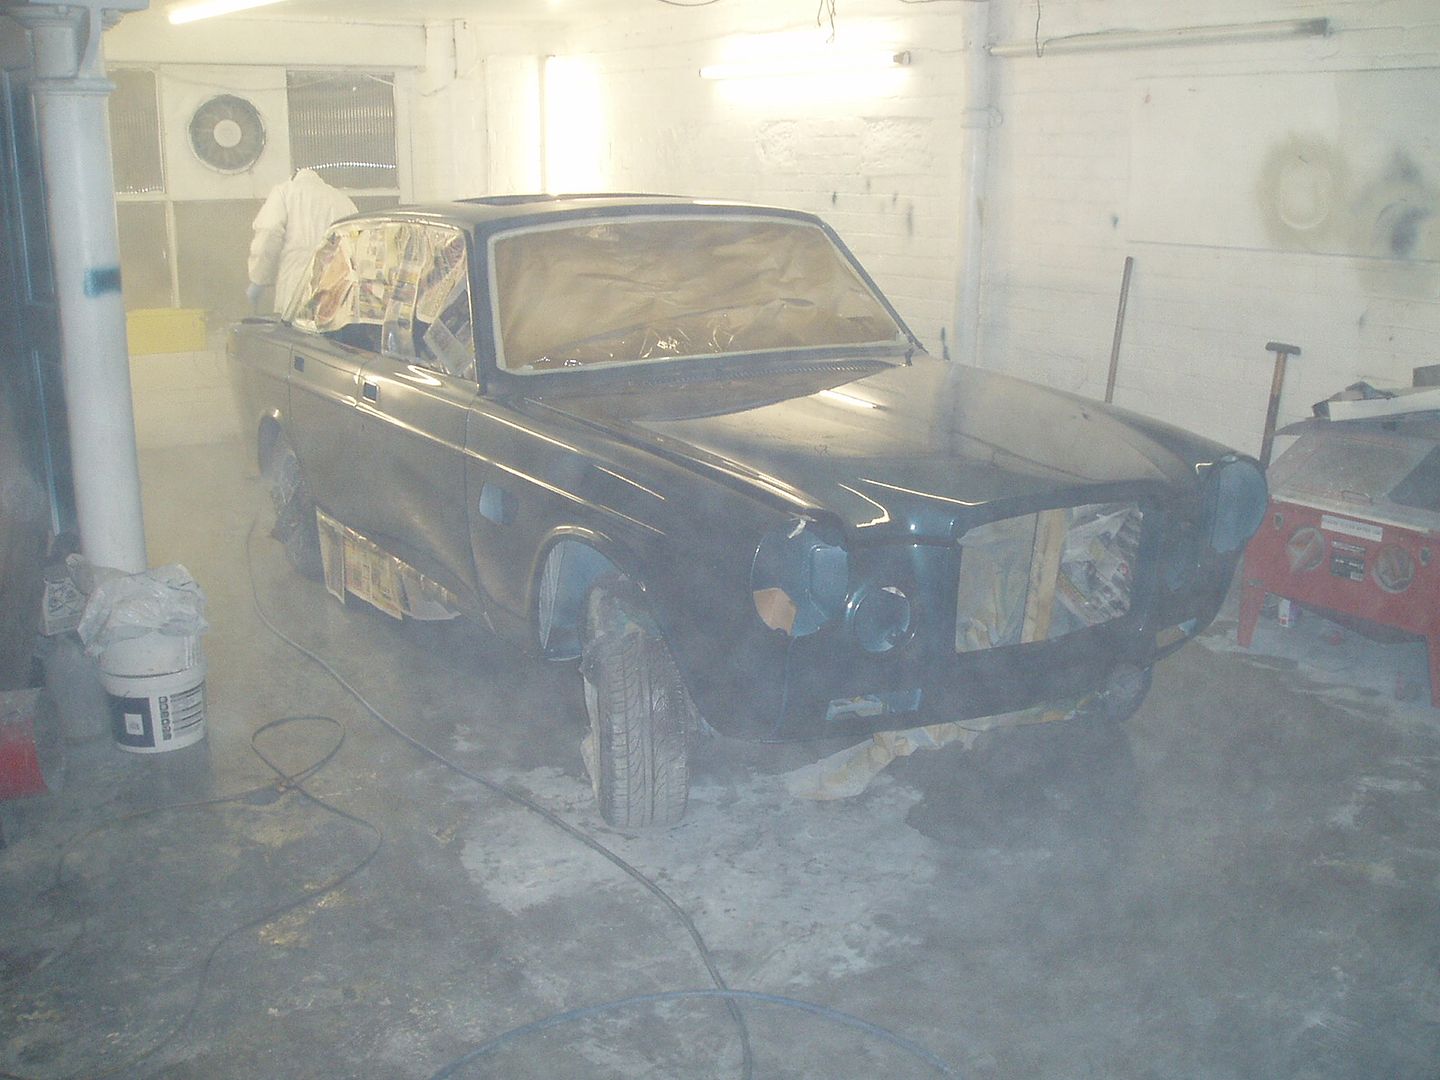
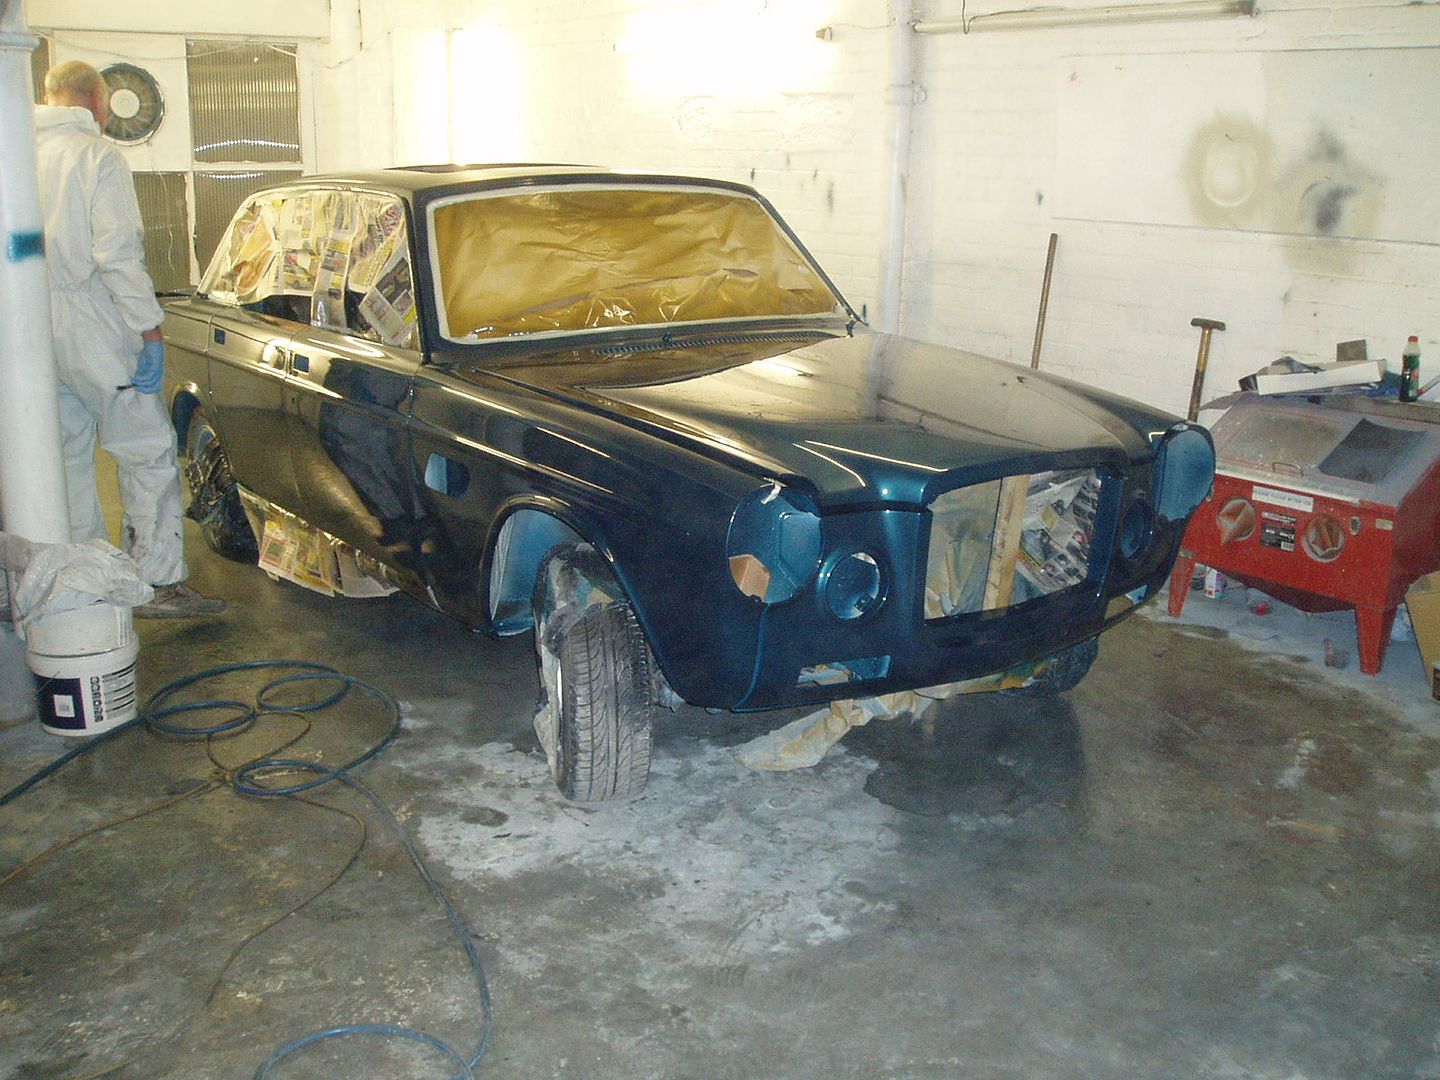
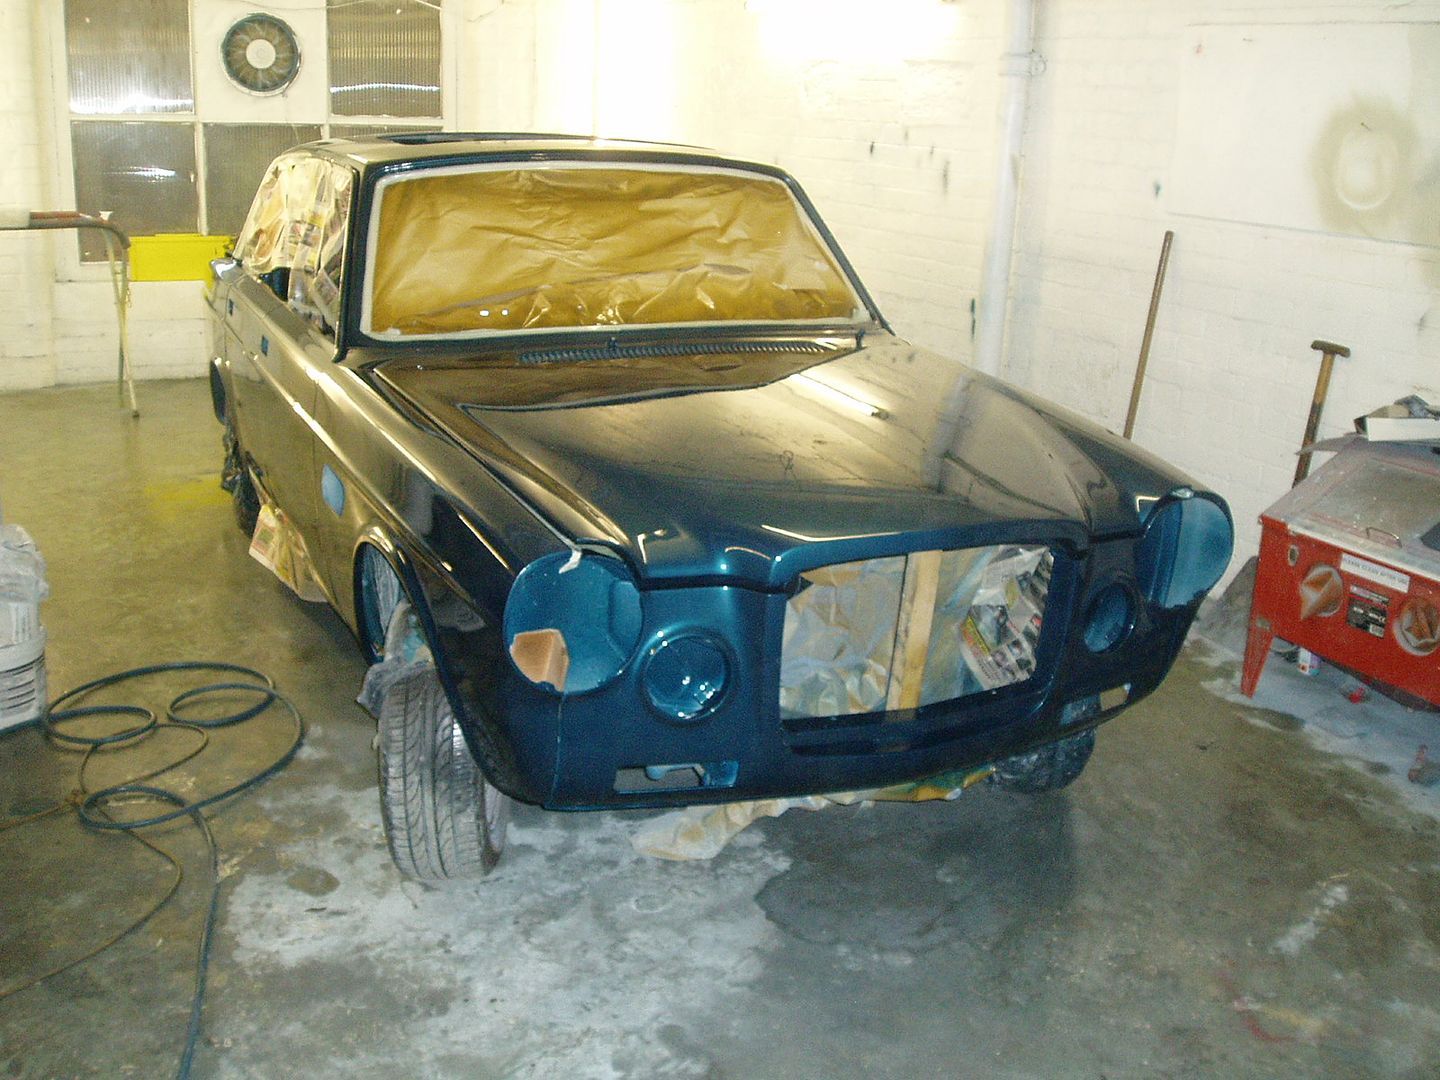
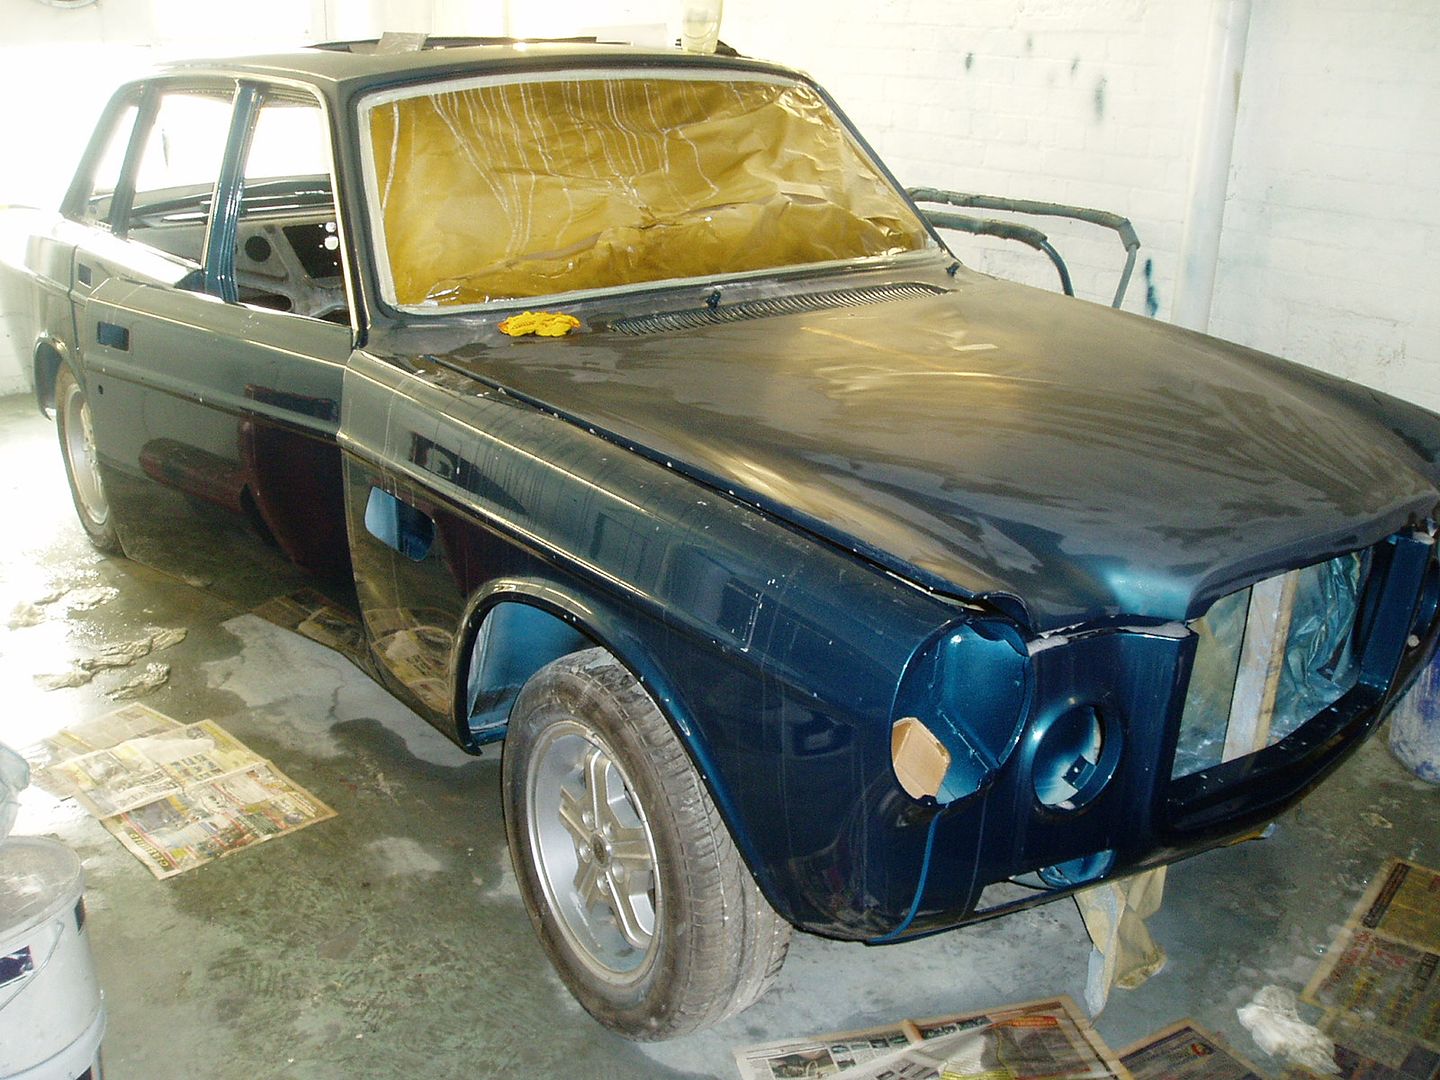
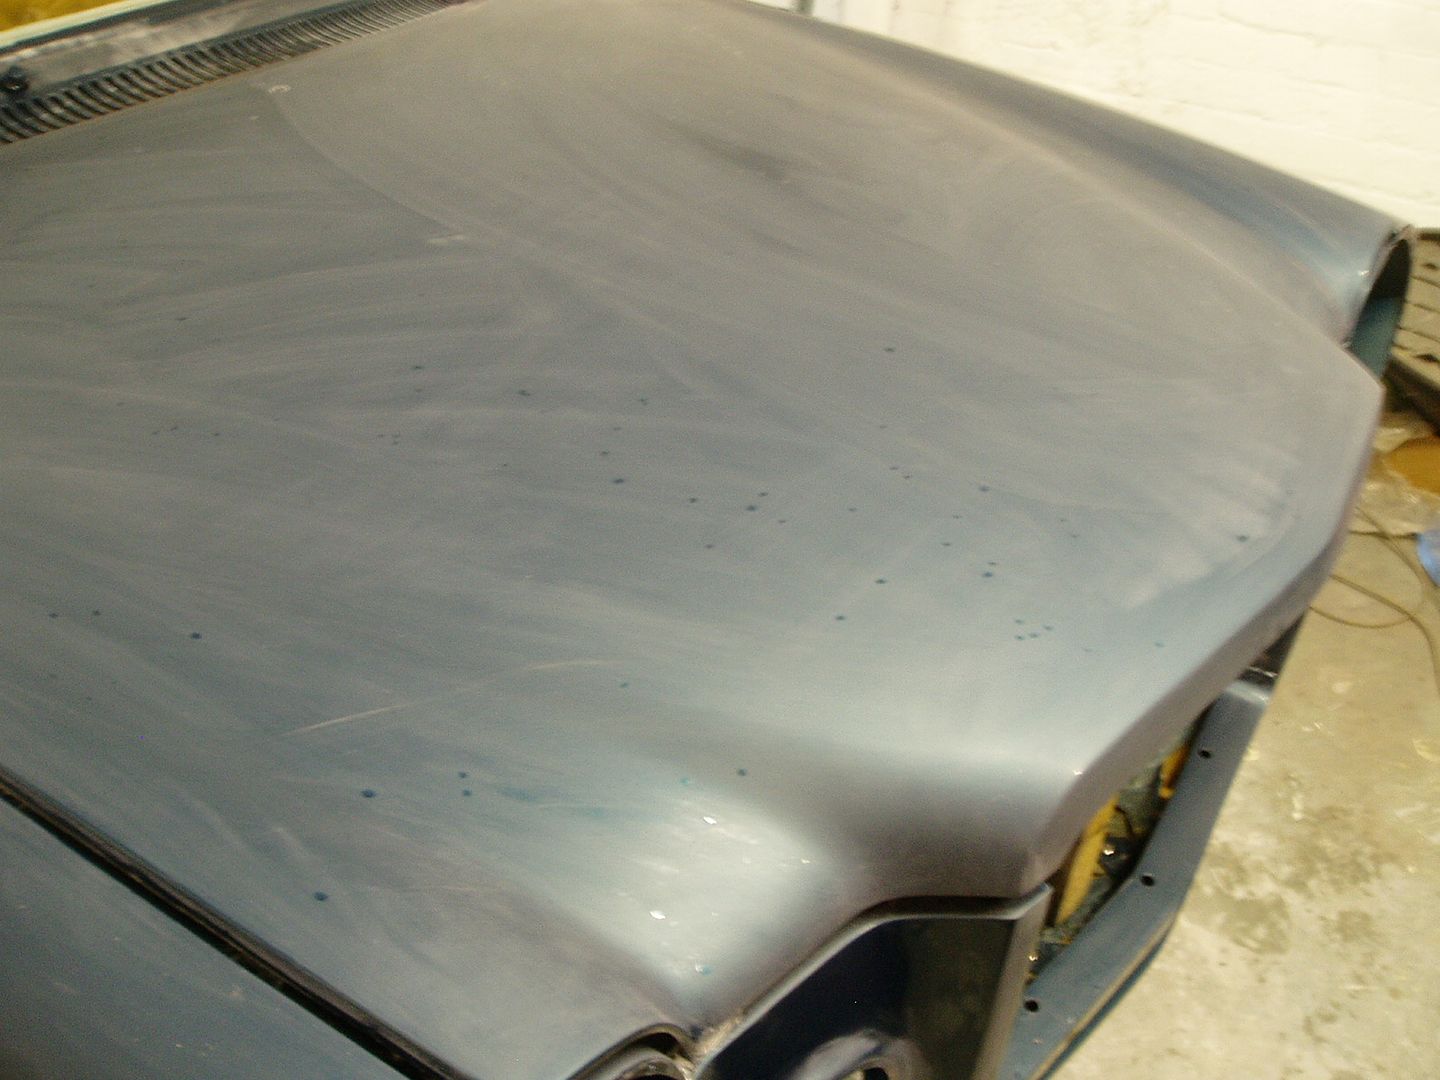
I've had a break from paintwork for a couple of days, but we have done some more cutting and it is coming up well.
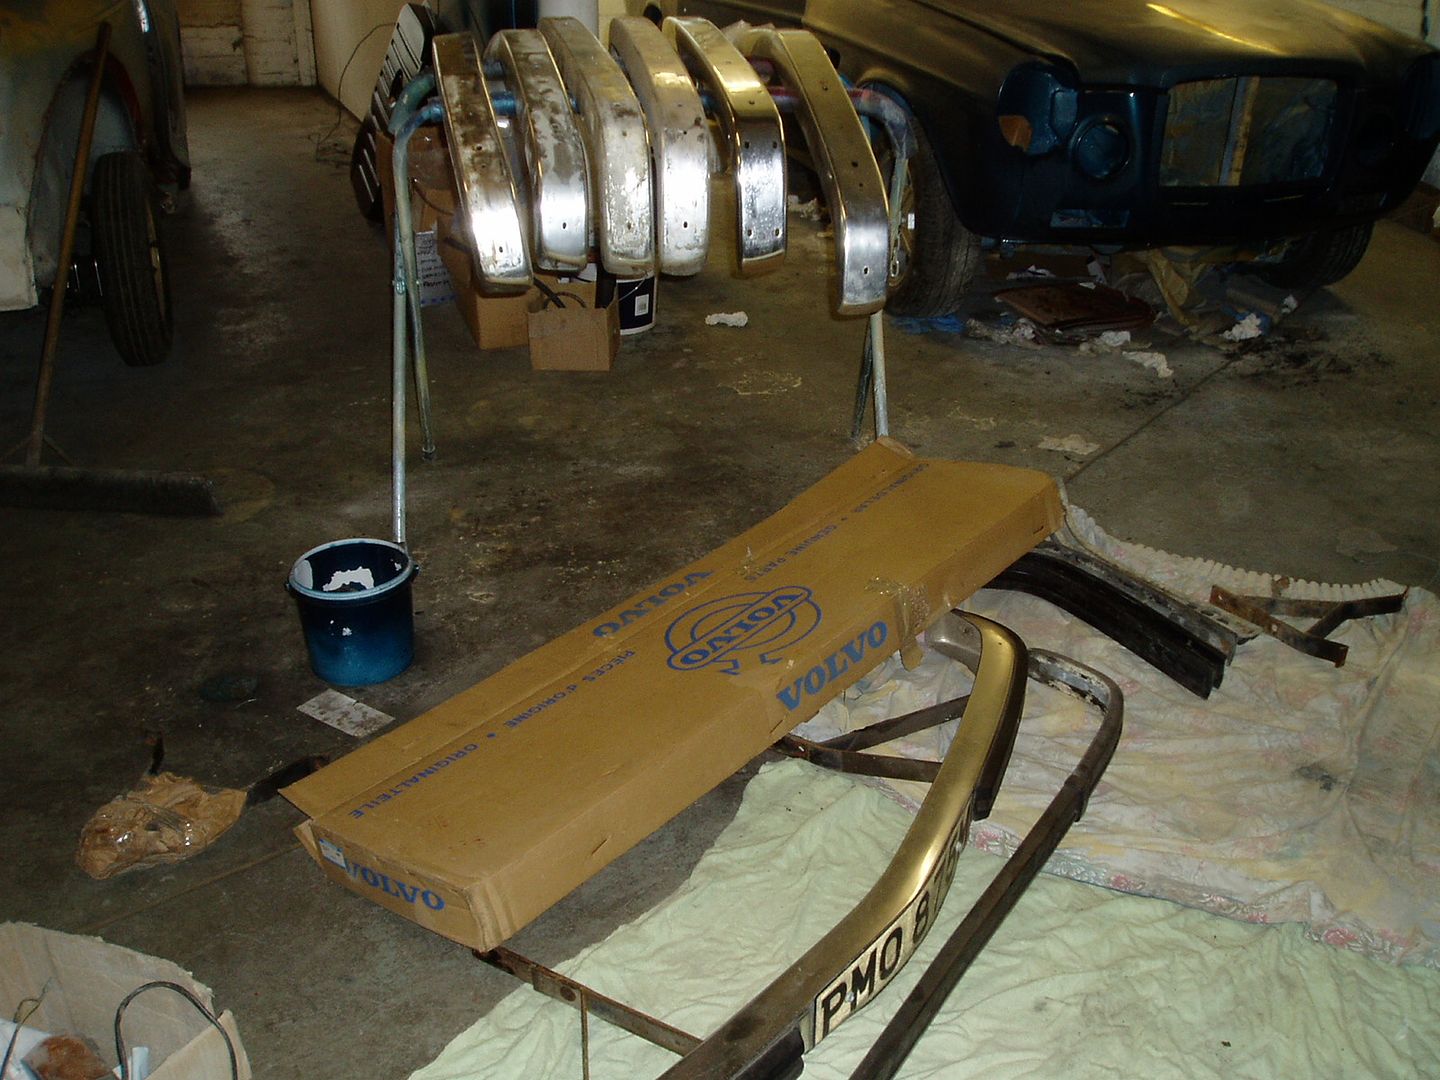
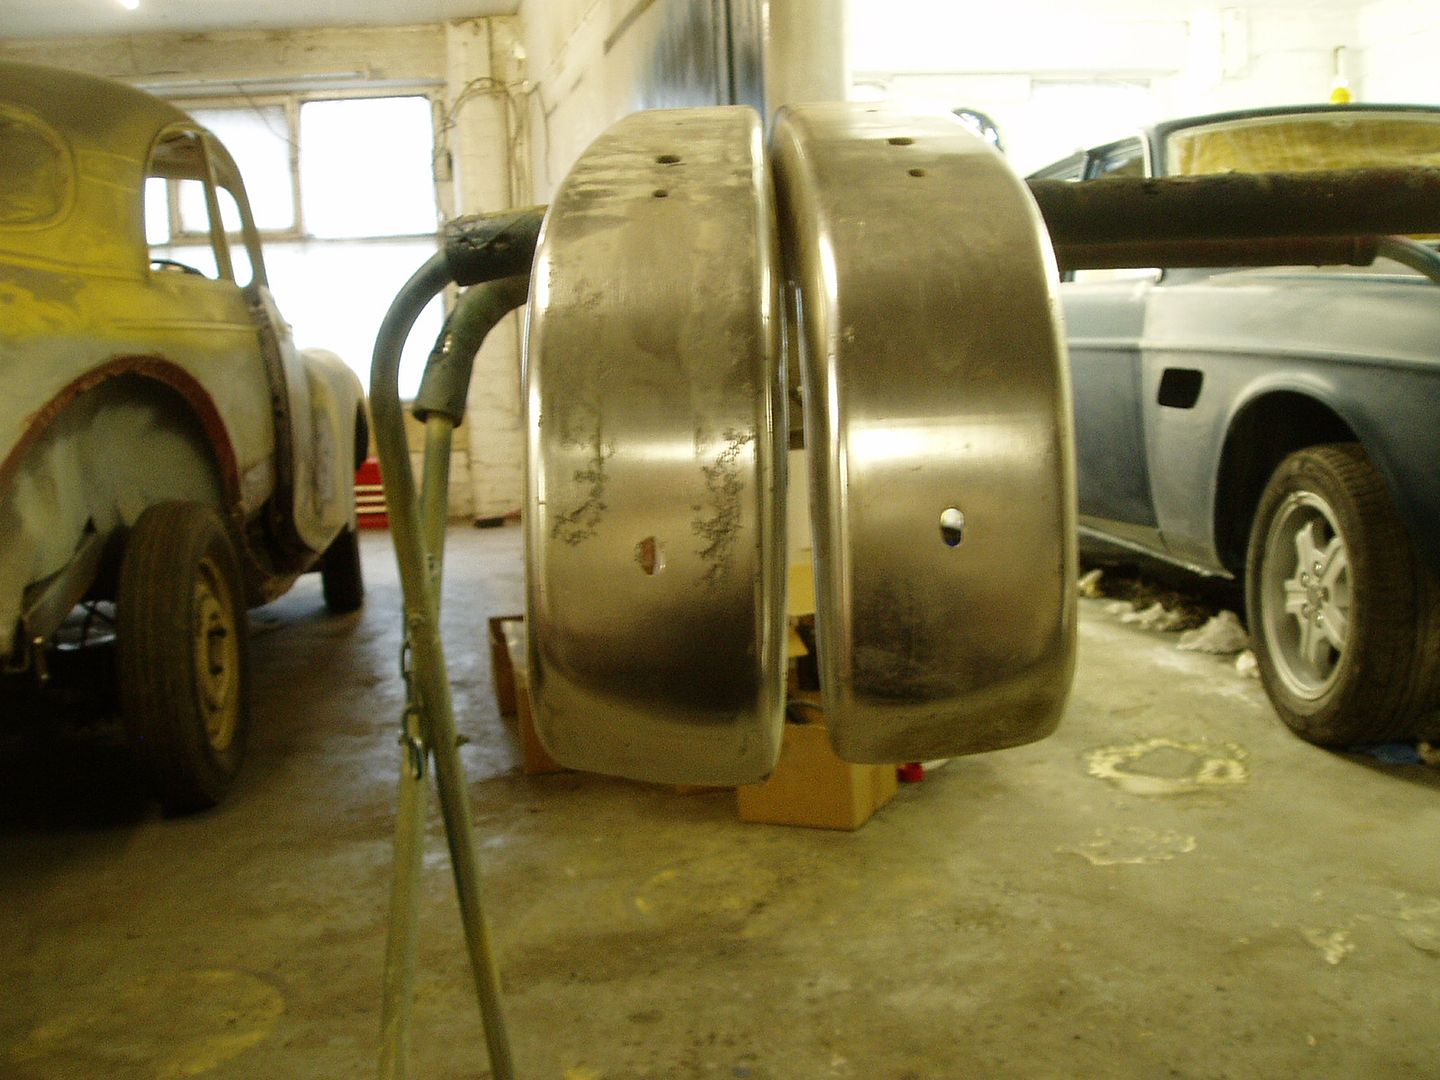
I dug out my stock of bumpers to choose the best combination of parts to make a good set for the rebuild.
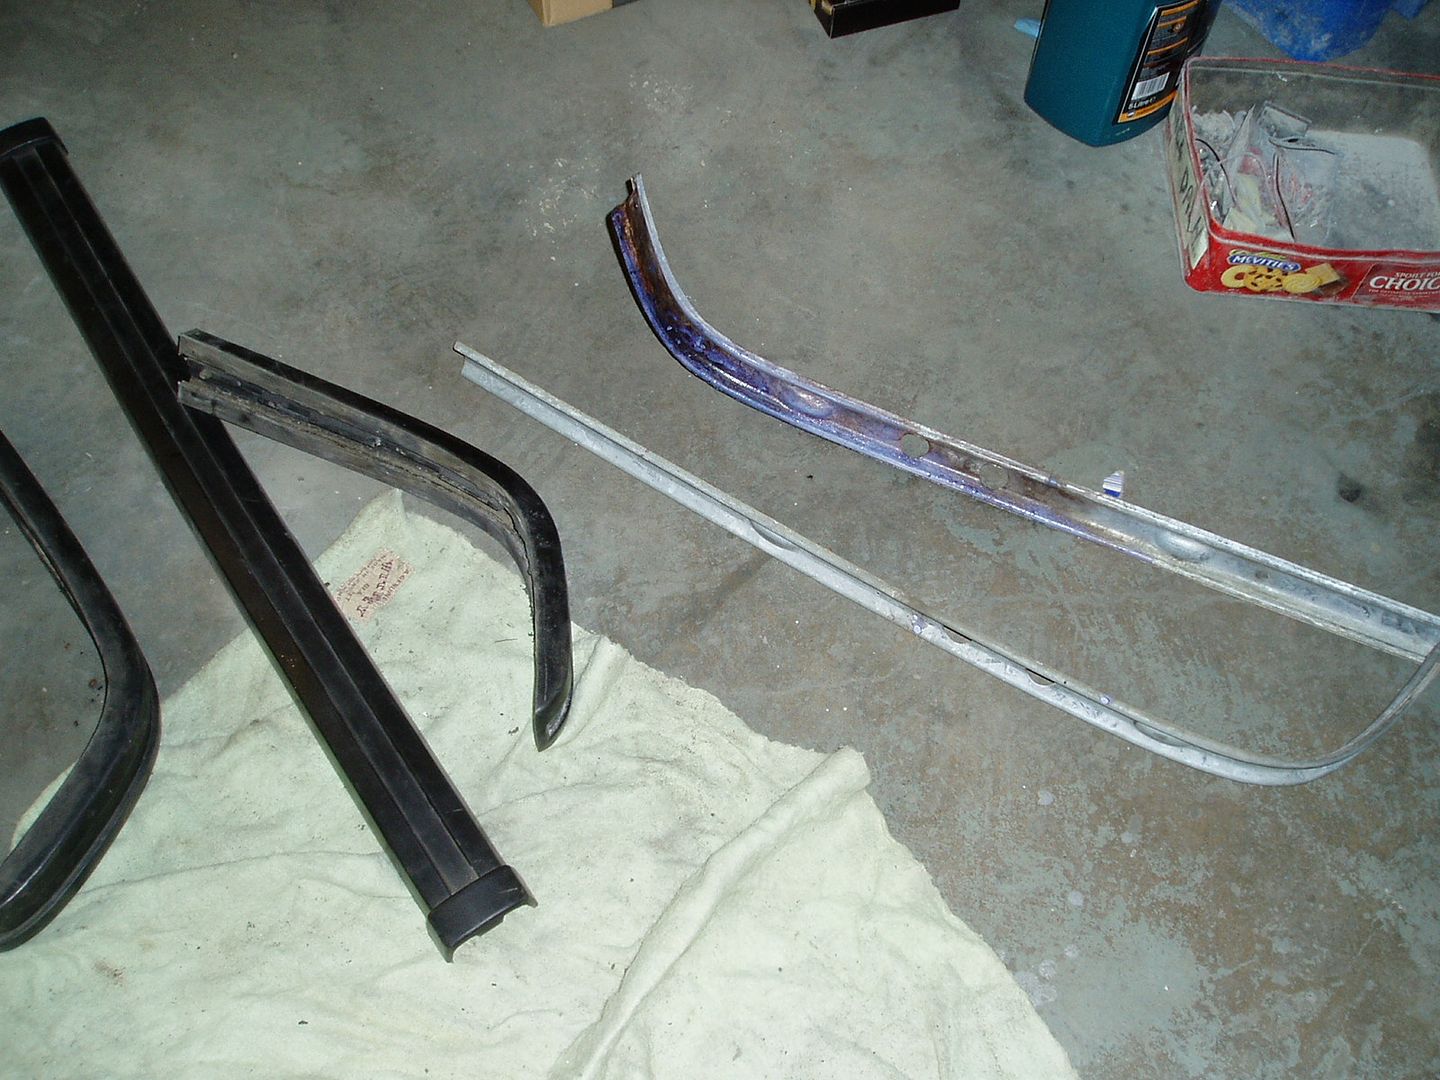
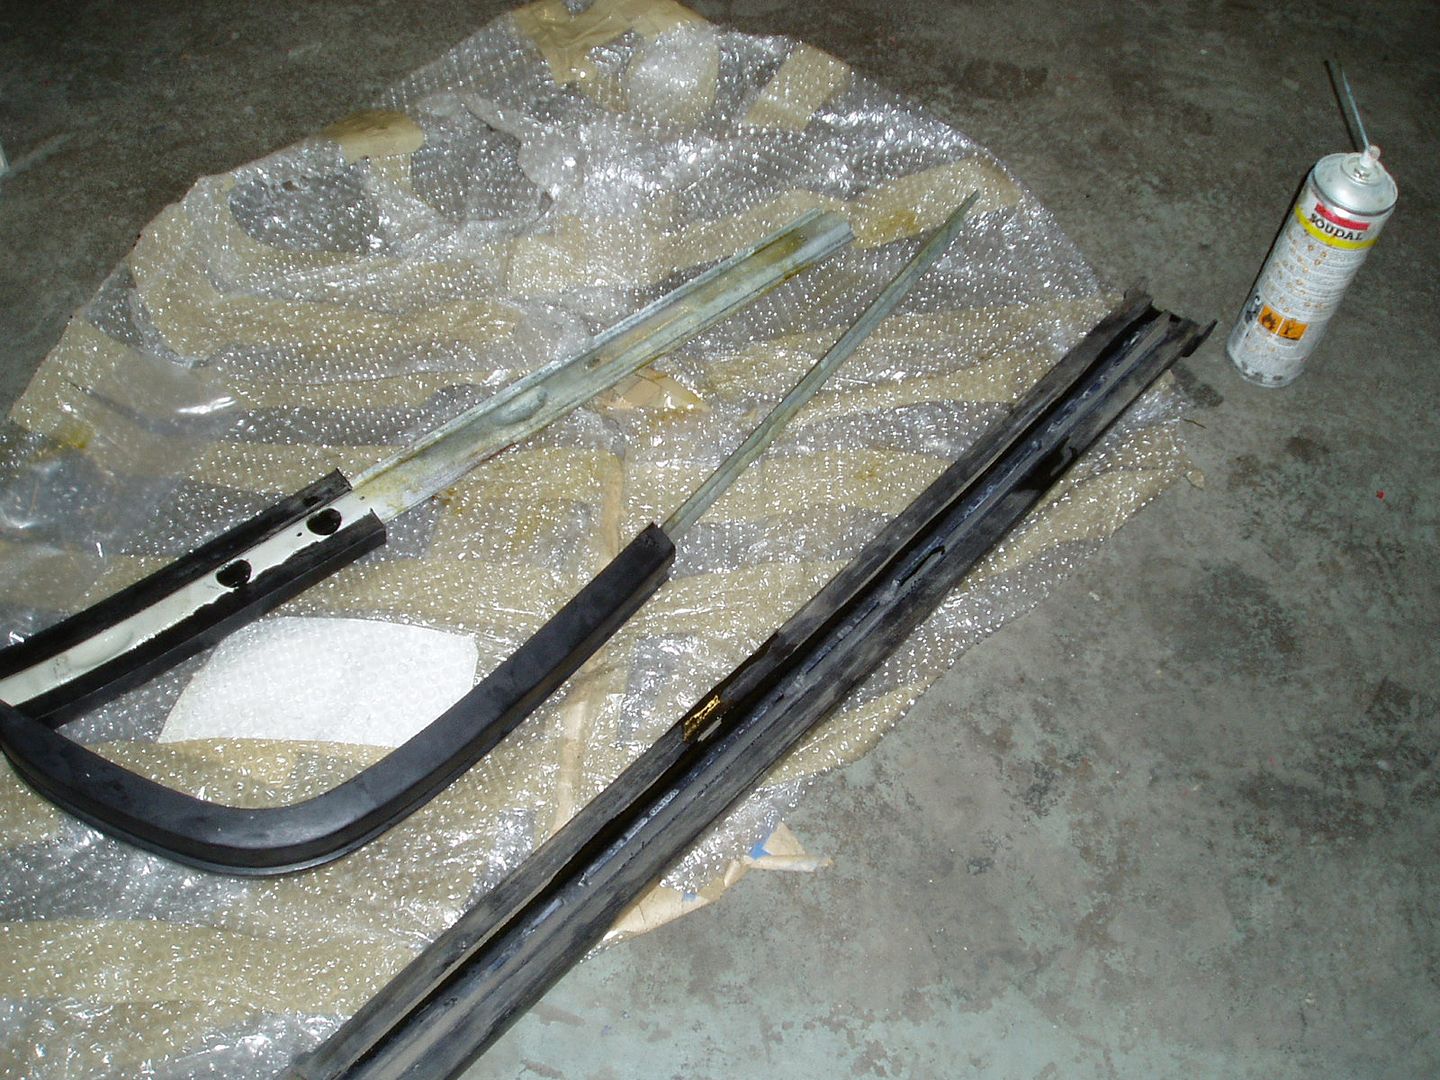
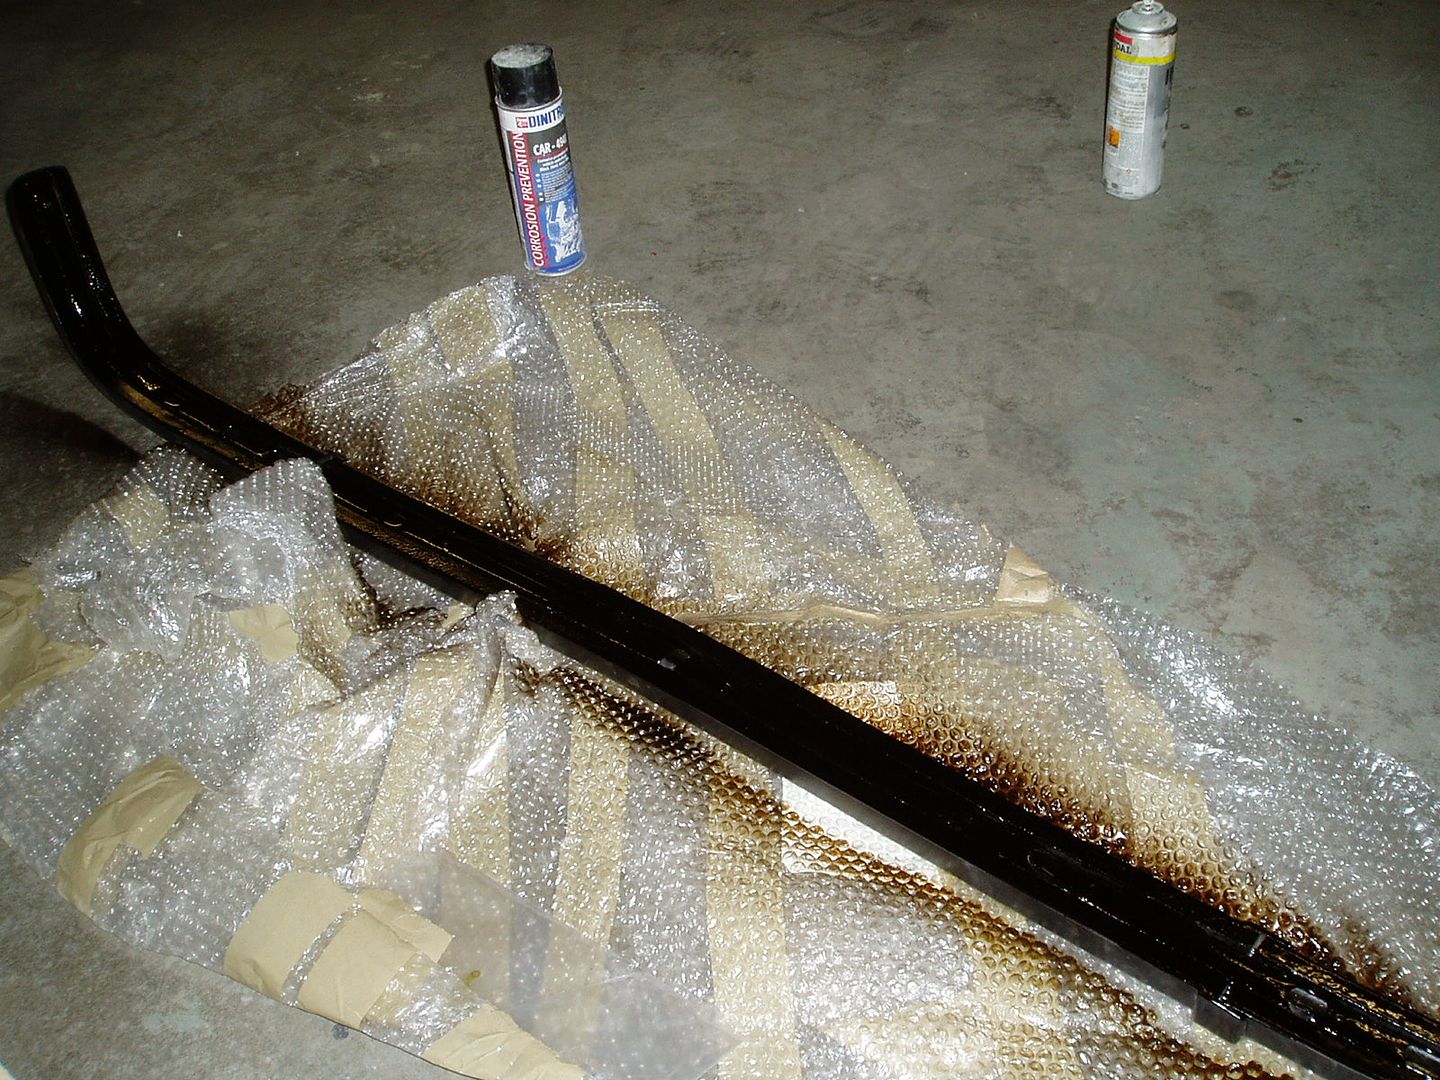
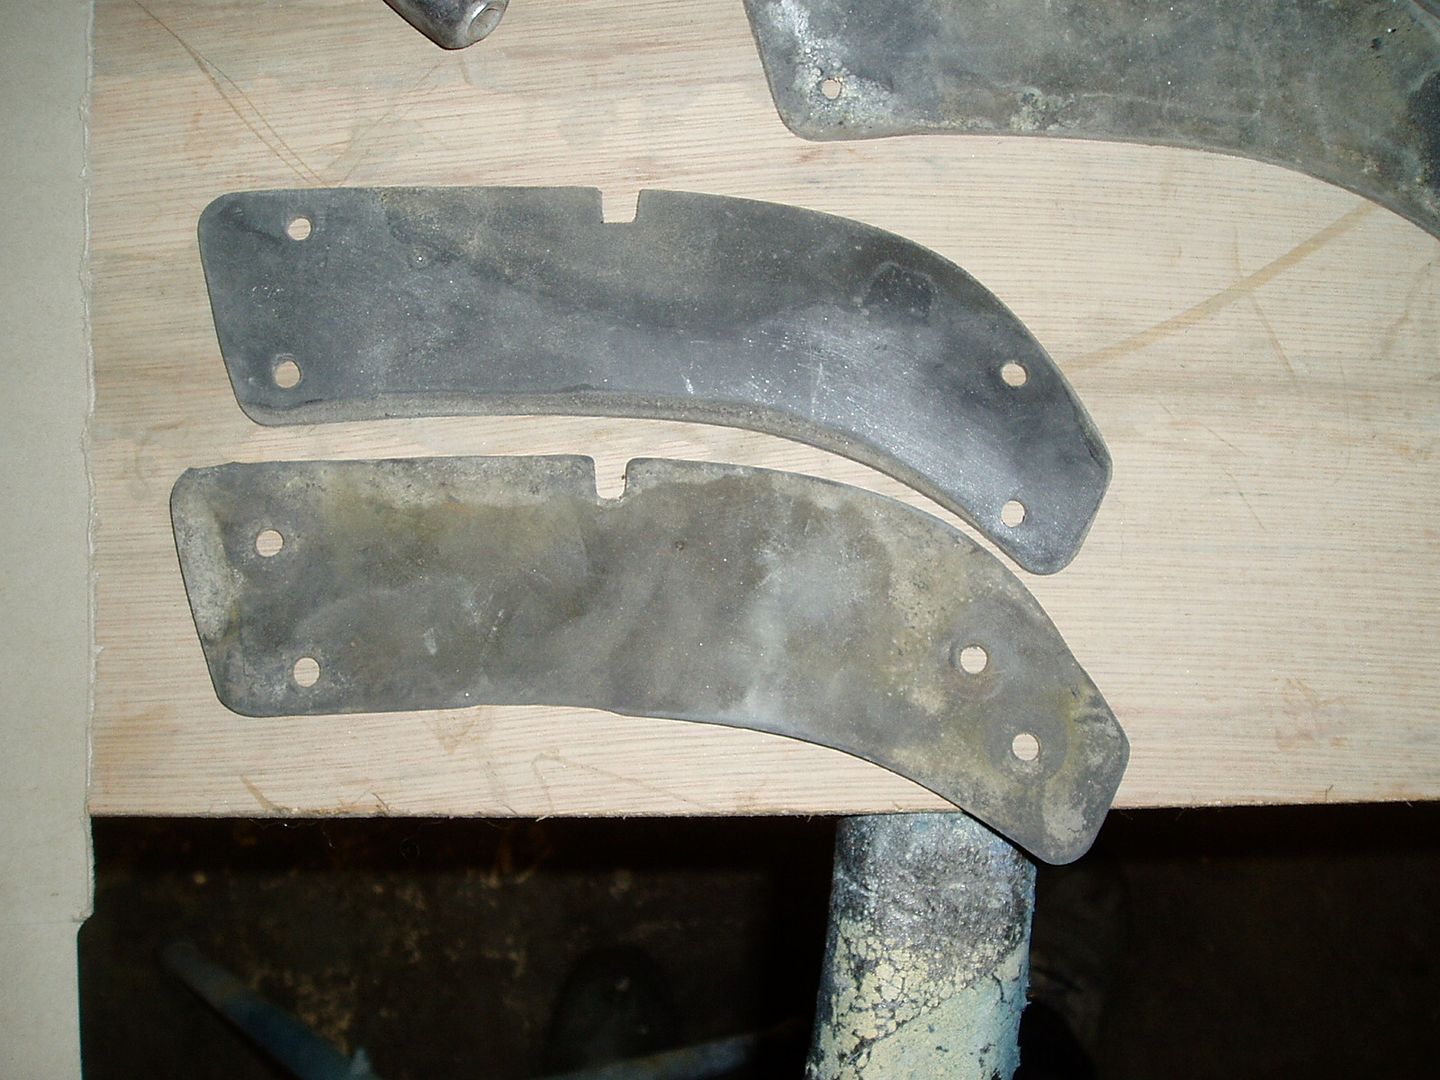
I worked on the rear bumper first. This is the rubber section dismantled for refurbishment. One section of the metal insert had rust which I dealt with.
Reassembling the rubber section with plenty of rust-proofer
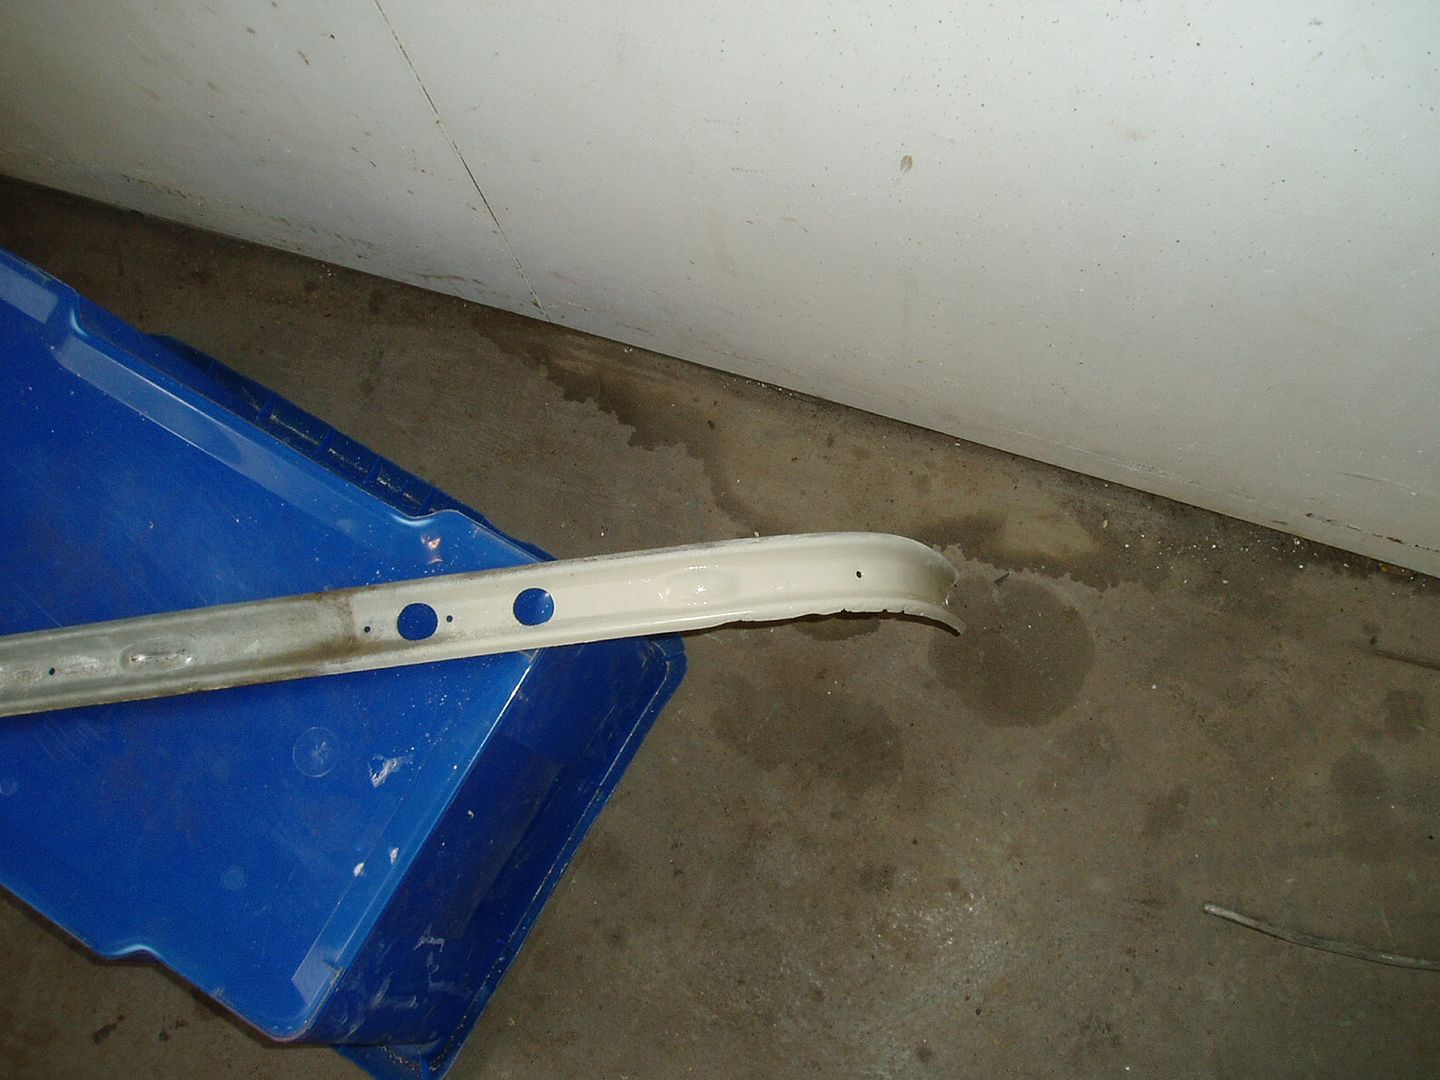
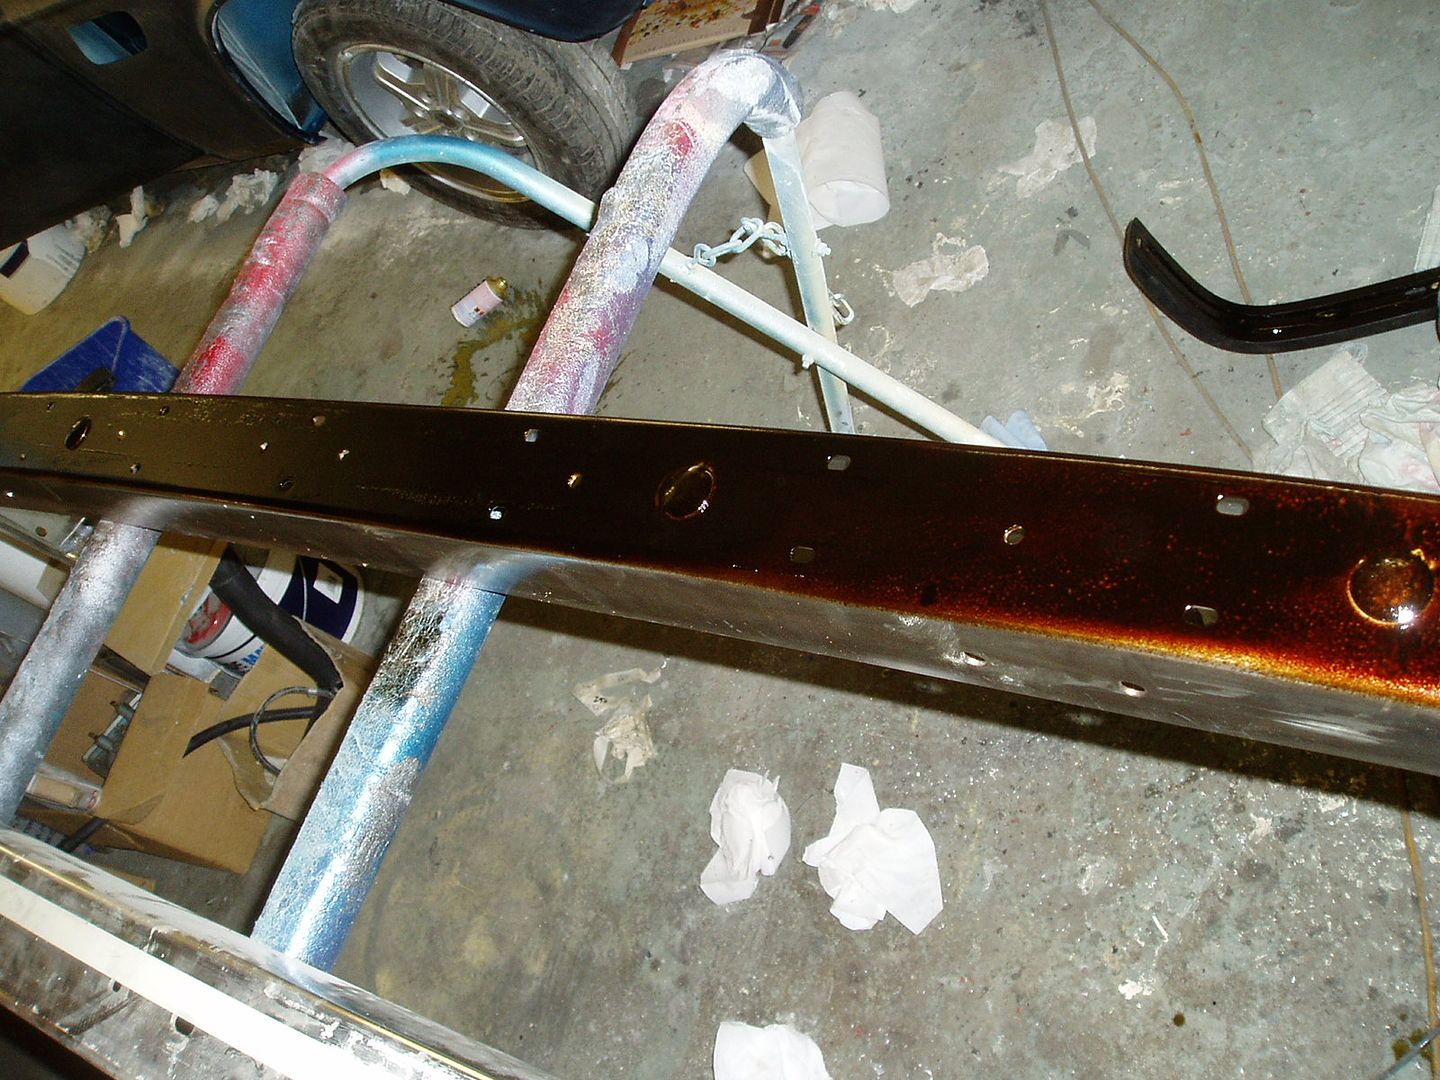
I bought a new-old-stock rear bumper casing, but it is different to the UK type - maybe a US version? The shape is the same, but the mounting holes for the rubber are near the edge, whereas mine needed central holes drilling
Coach-bolts refitted - the metal insert of the rubber section holds these in place
These bumpers tend to corrode where the rubber contacts the metal, so I coated both the bumper and the rubber strip with Dinitrol to hopefully eliminate this problem.
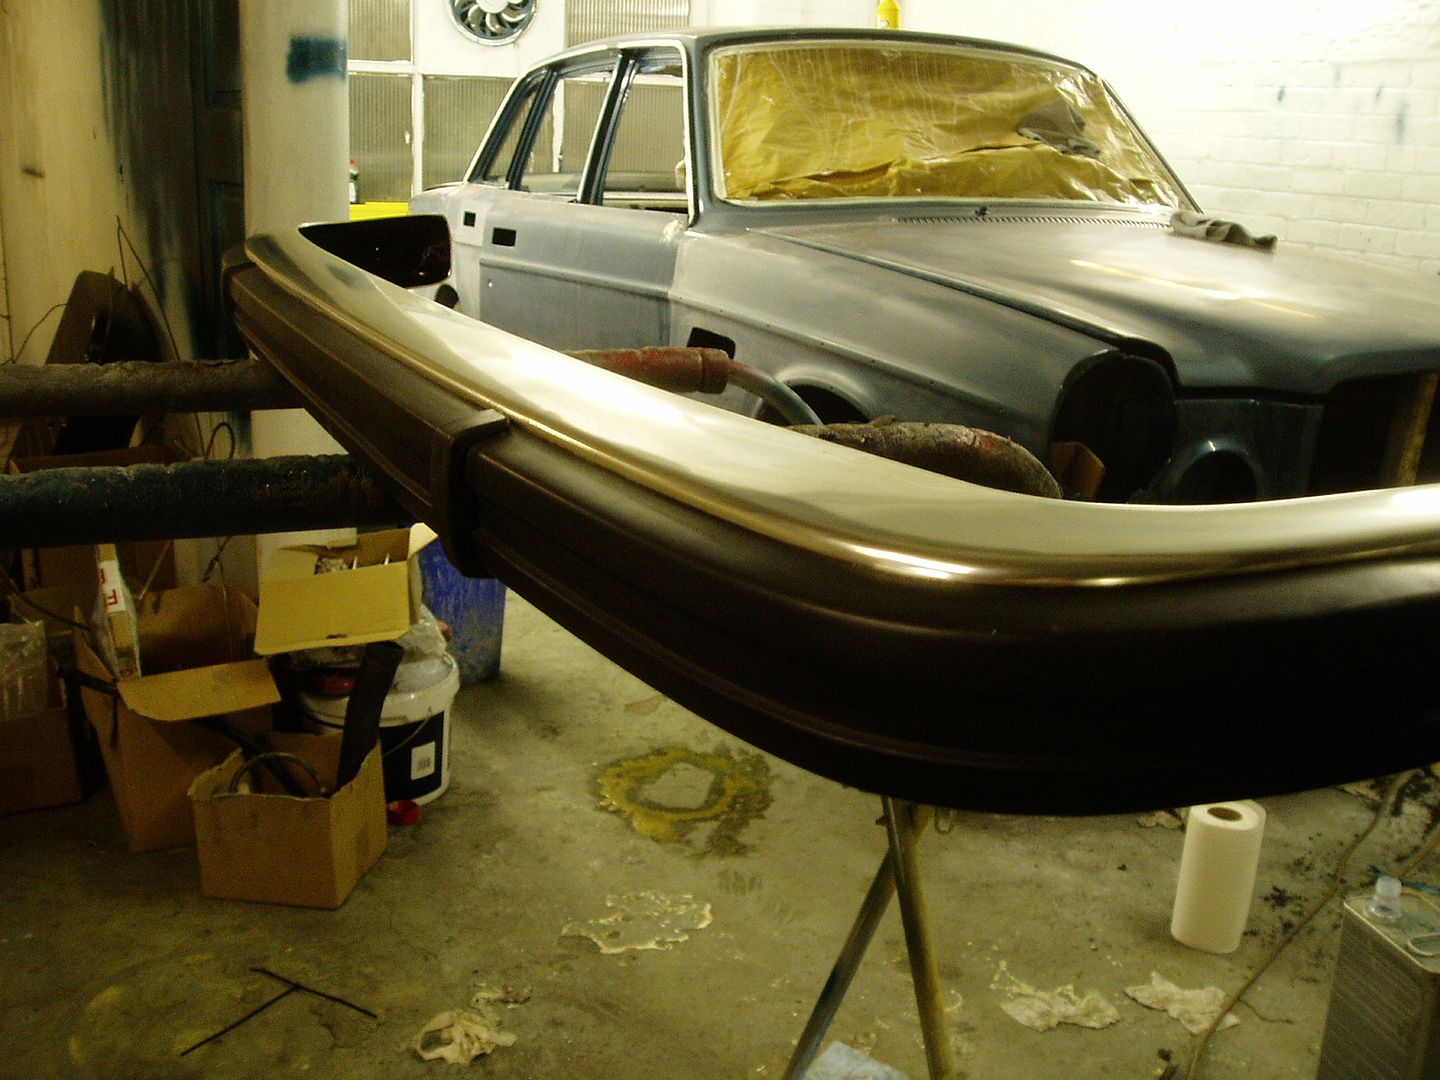
Rear bumper assembled
I also treated the inside of the bumper with Dinitrol wax
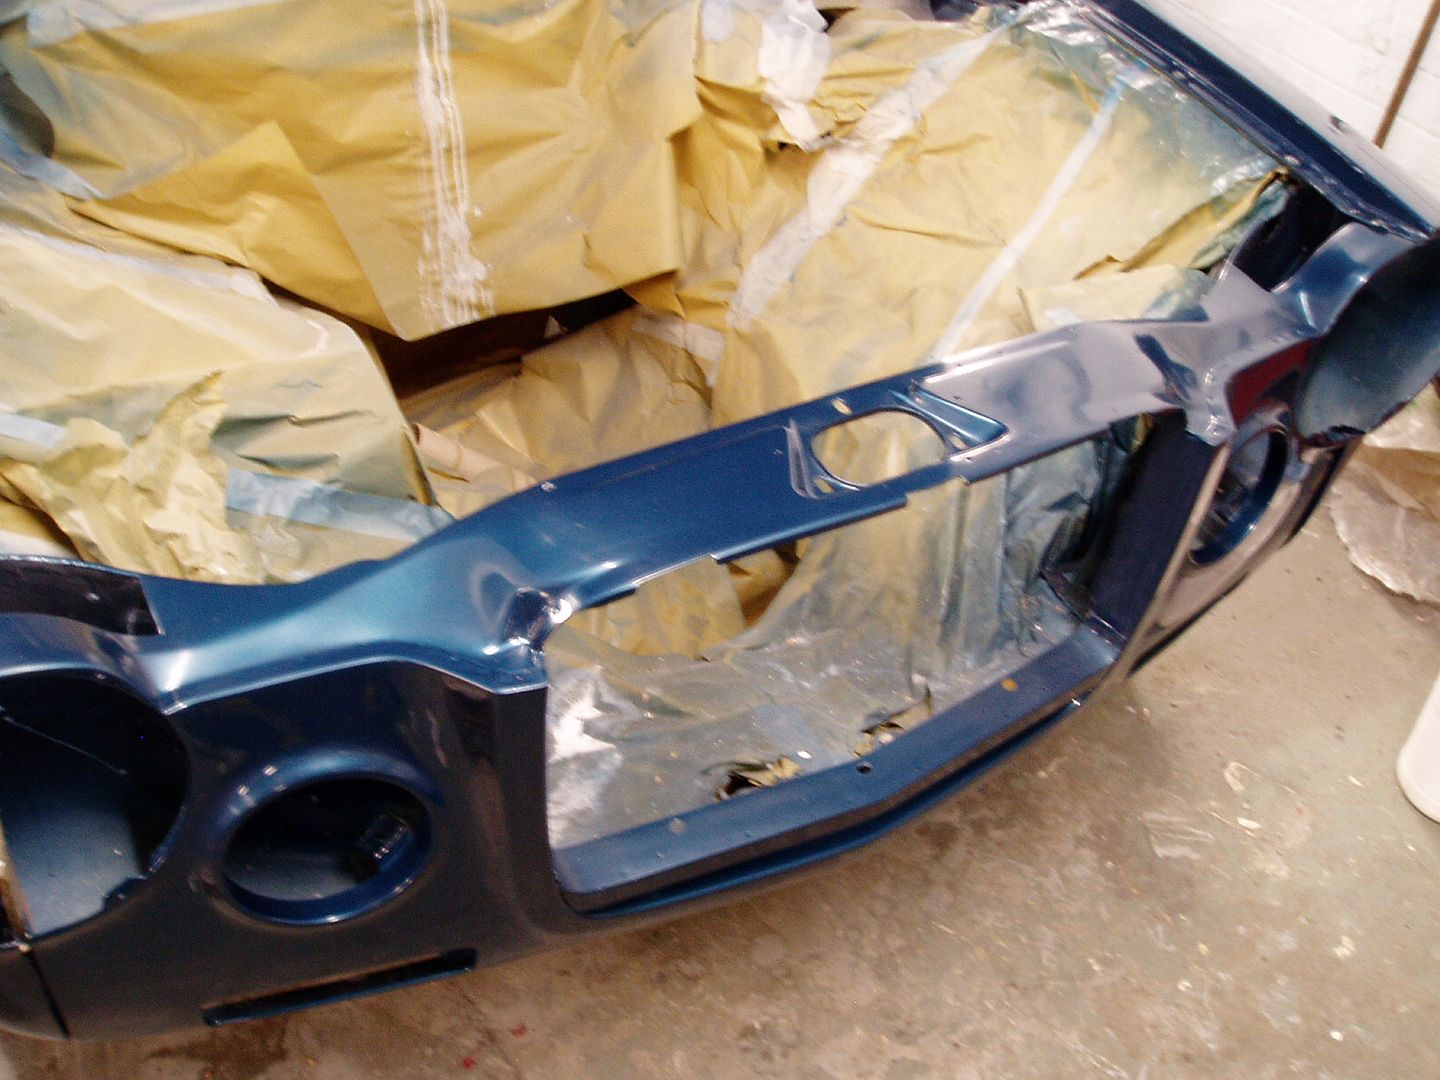
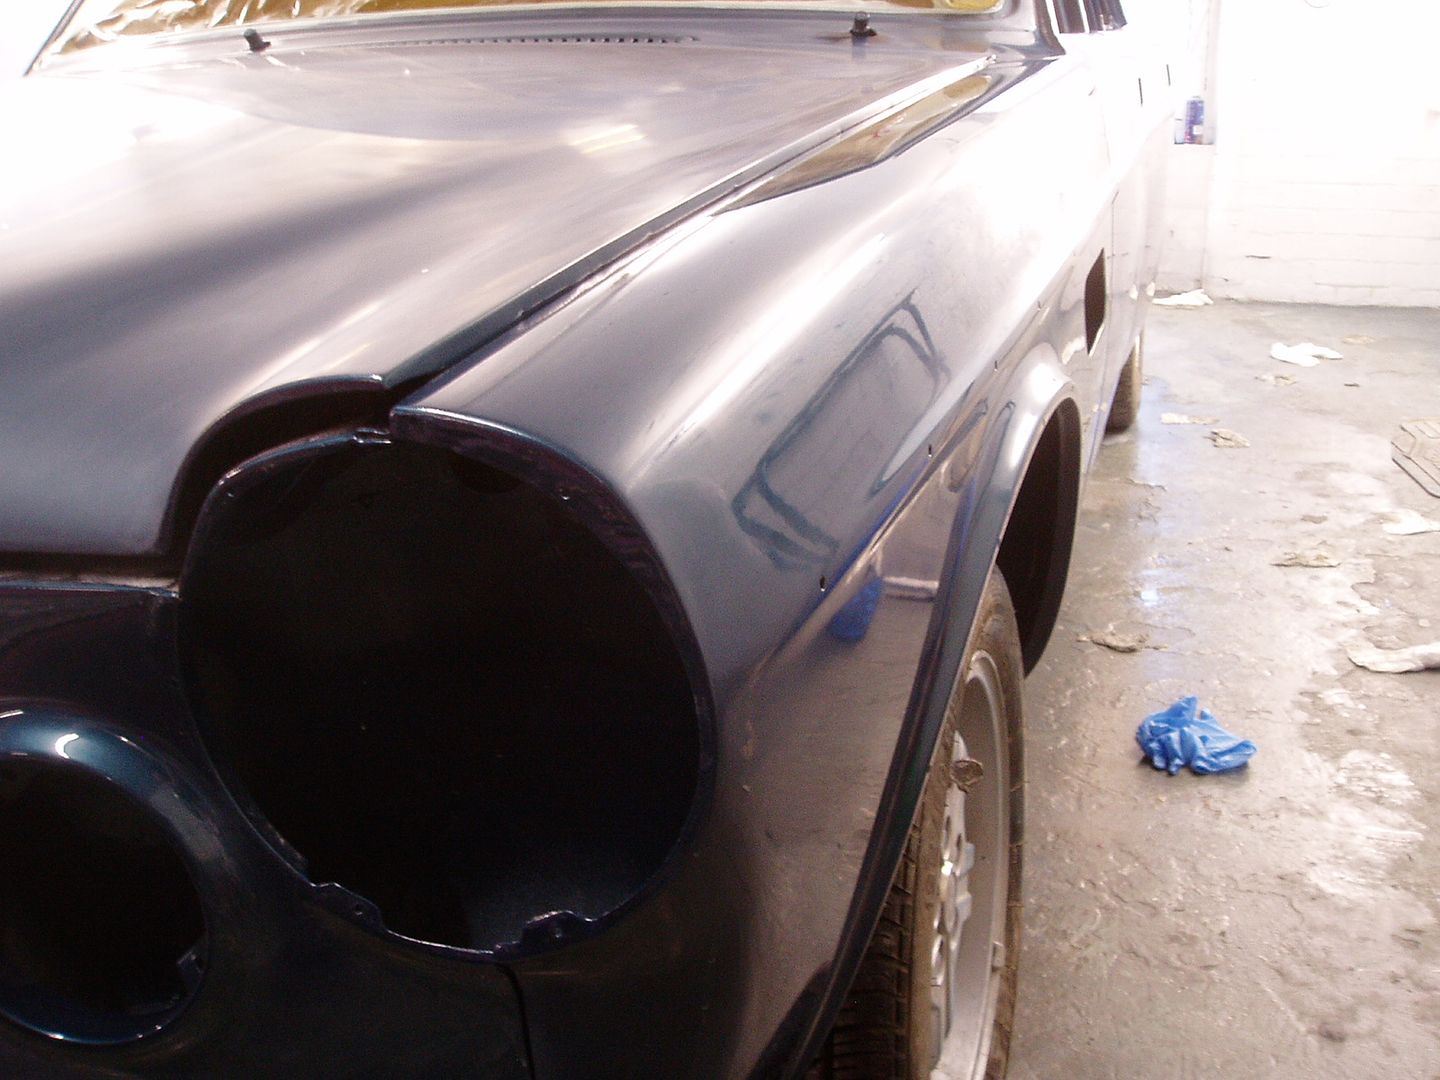
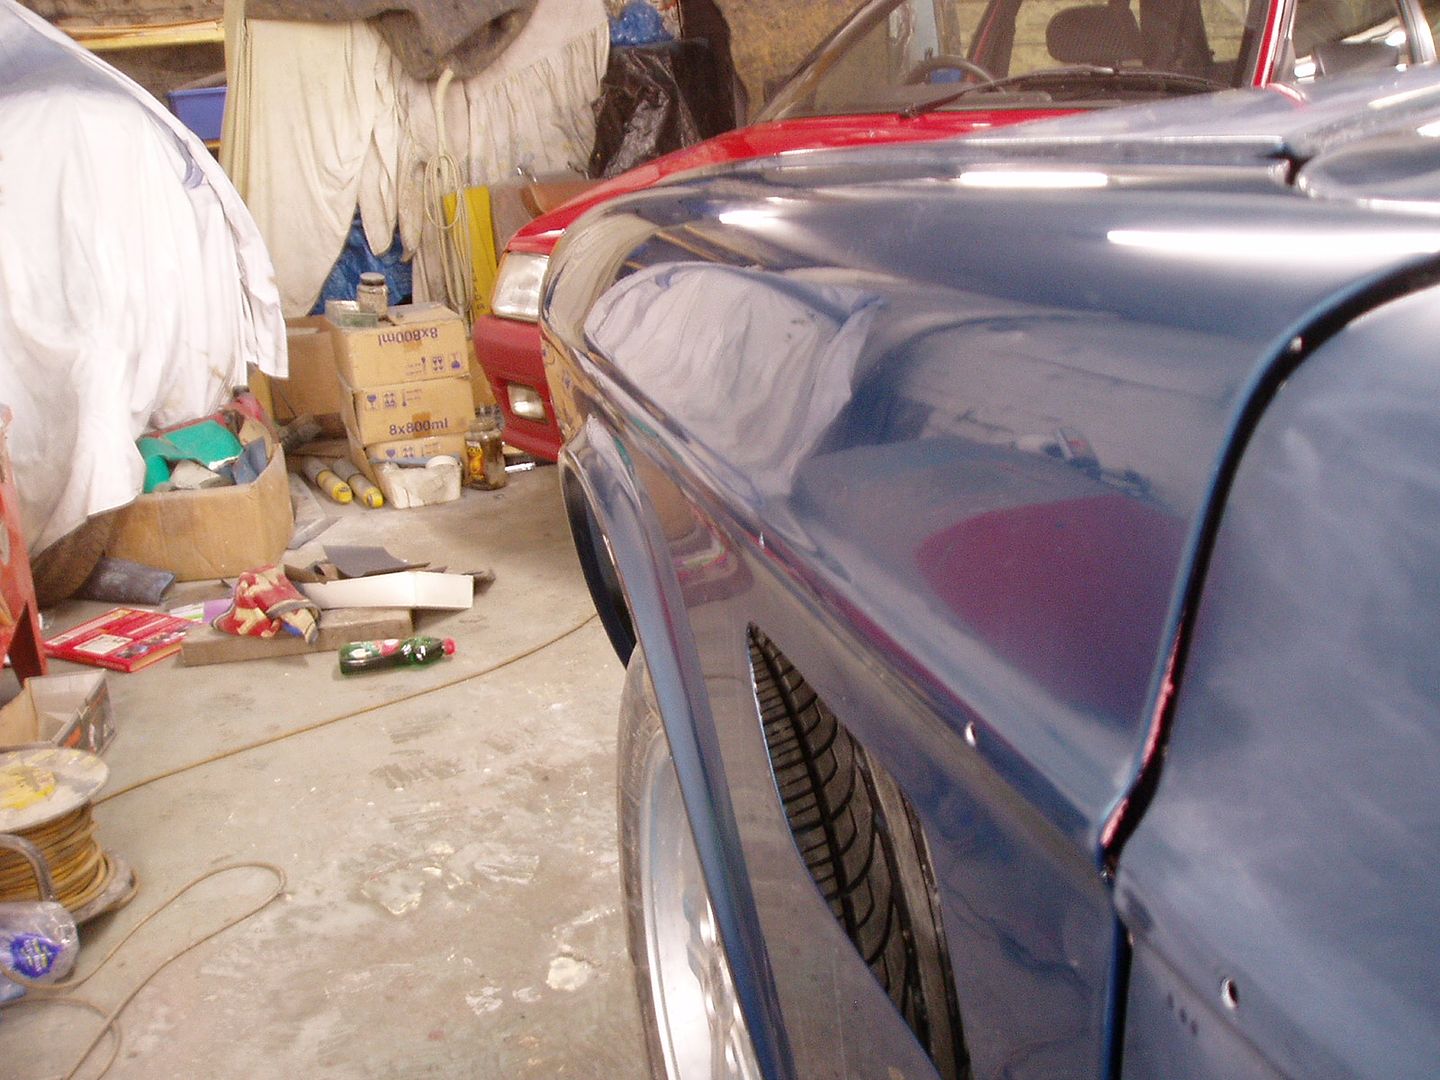
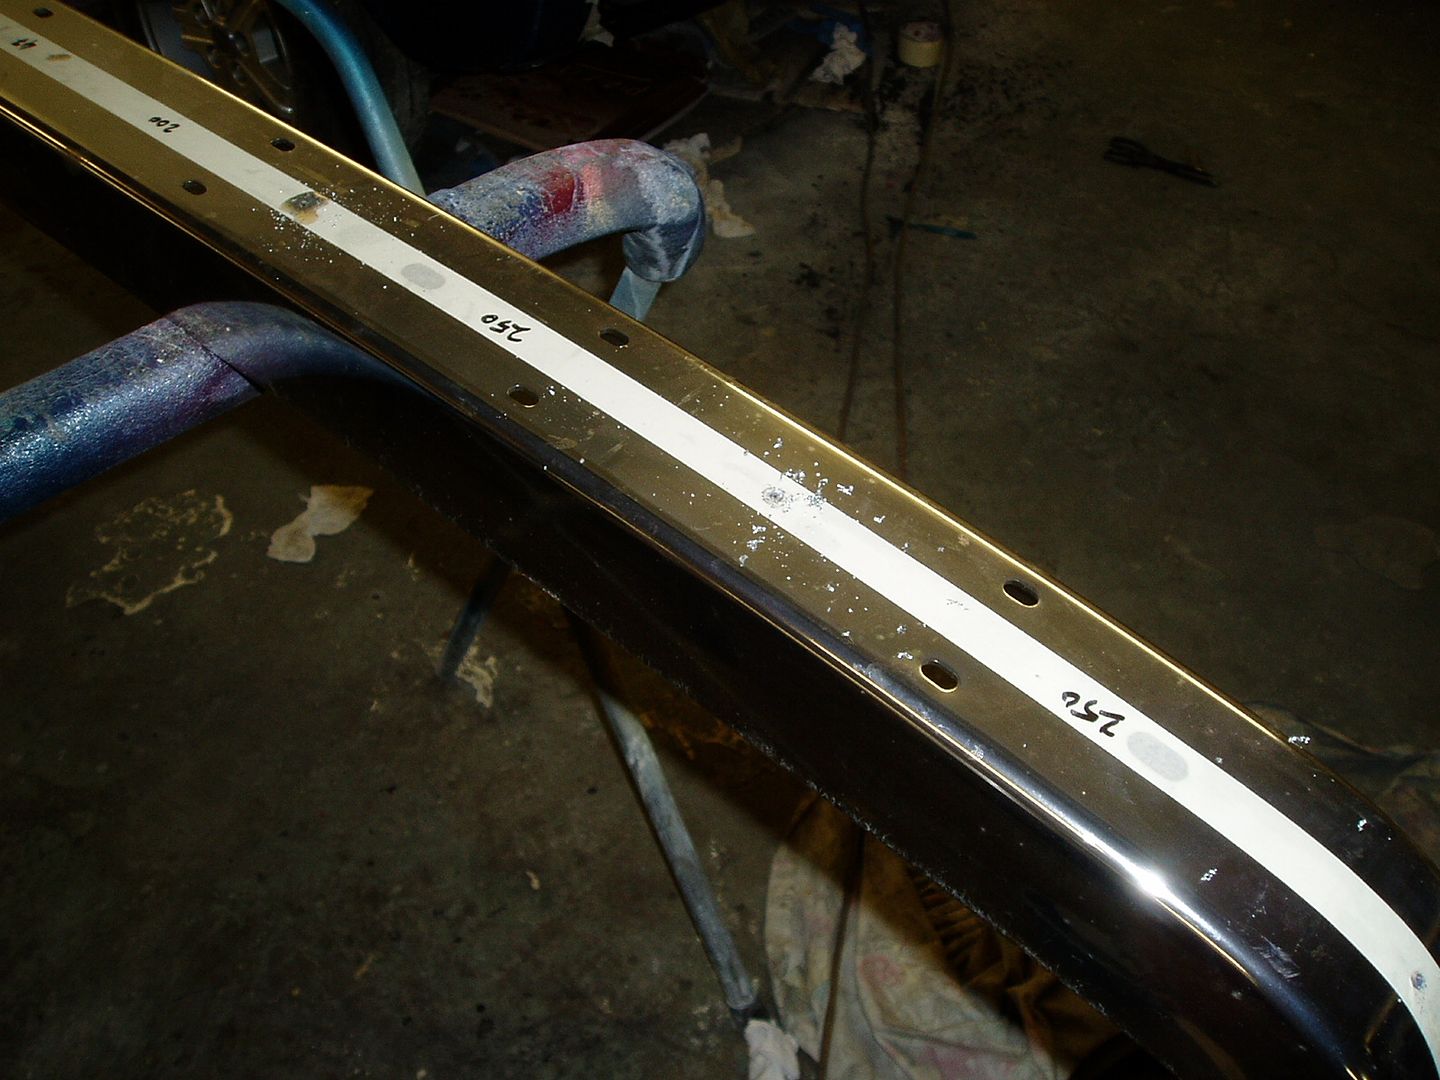
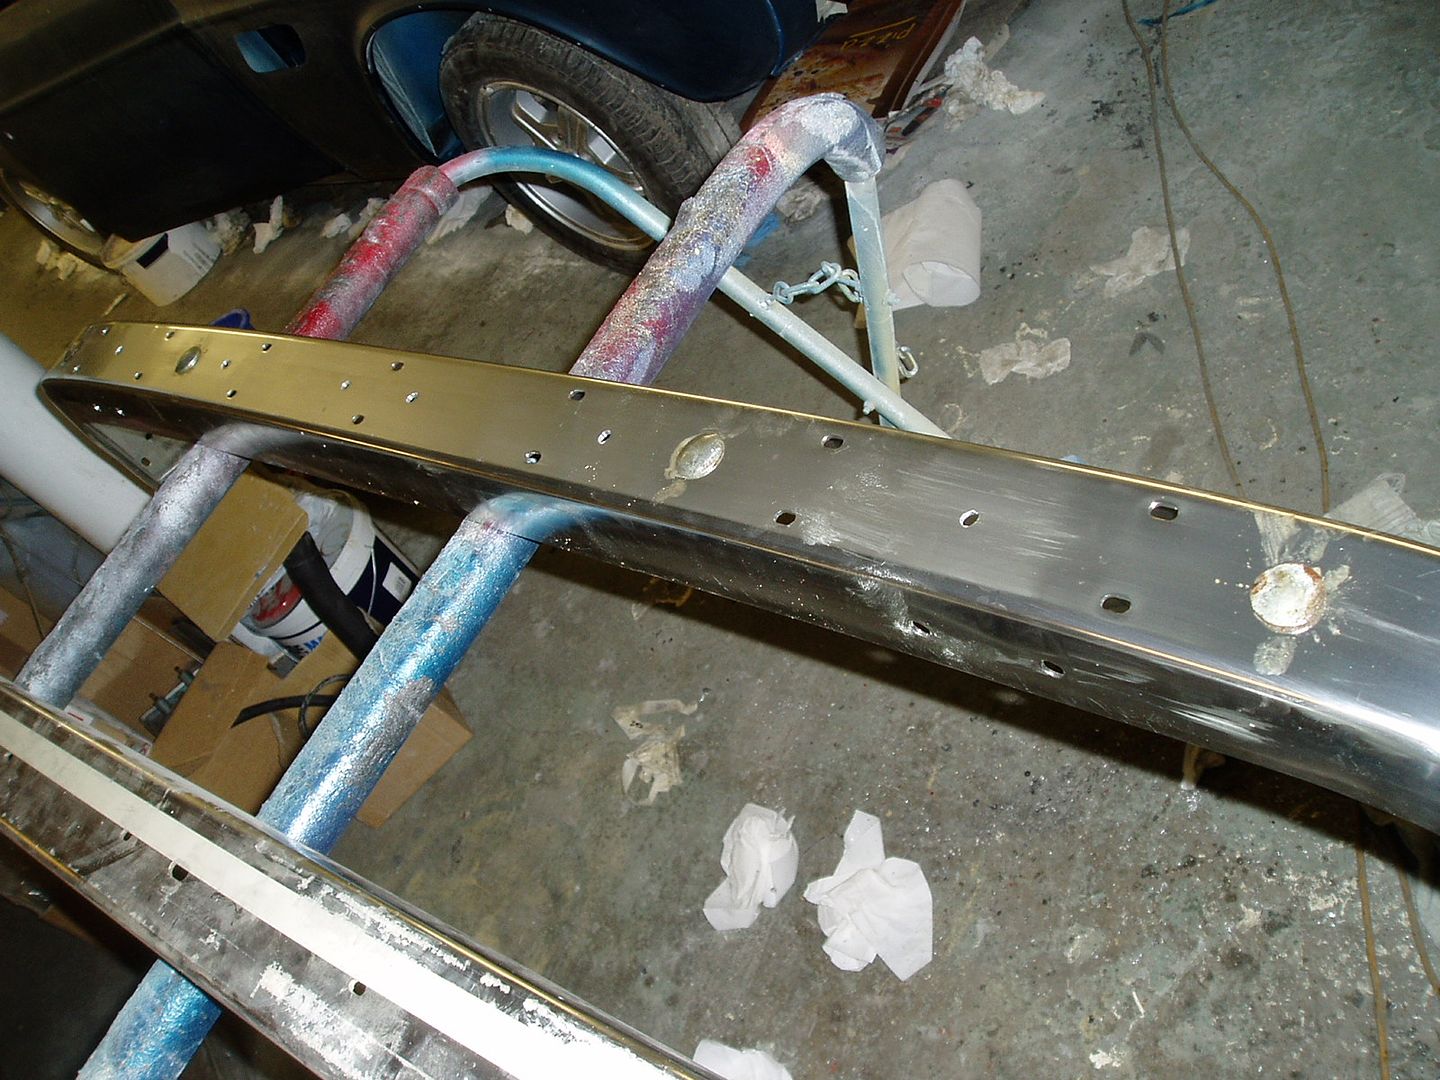
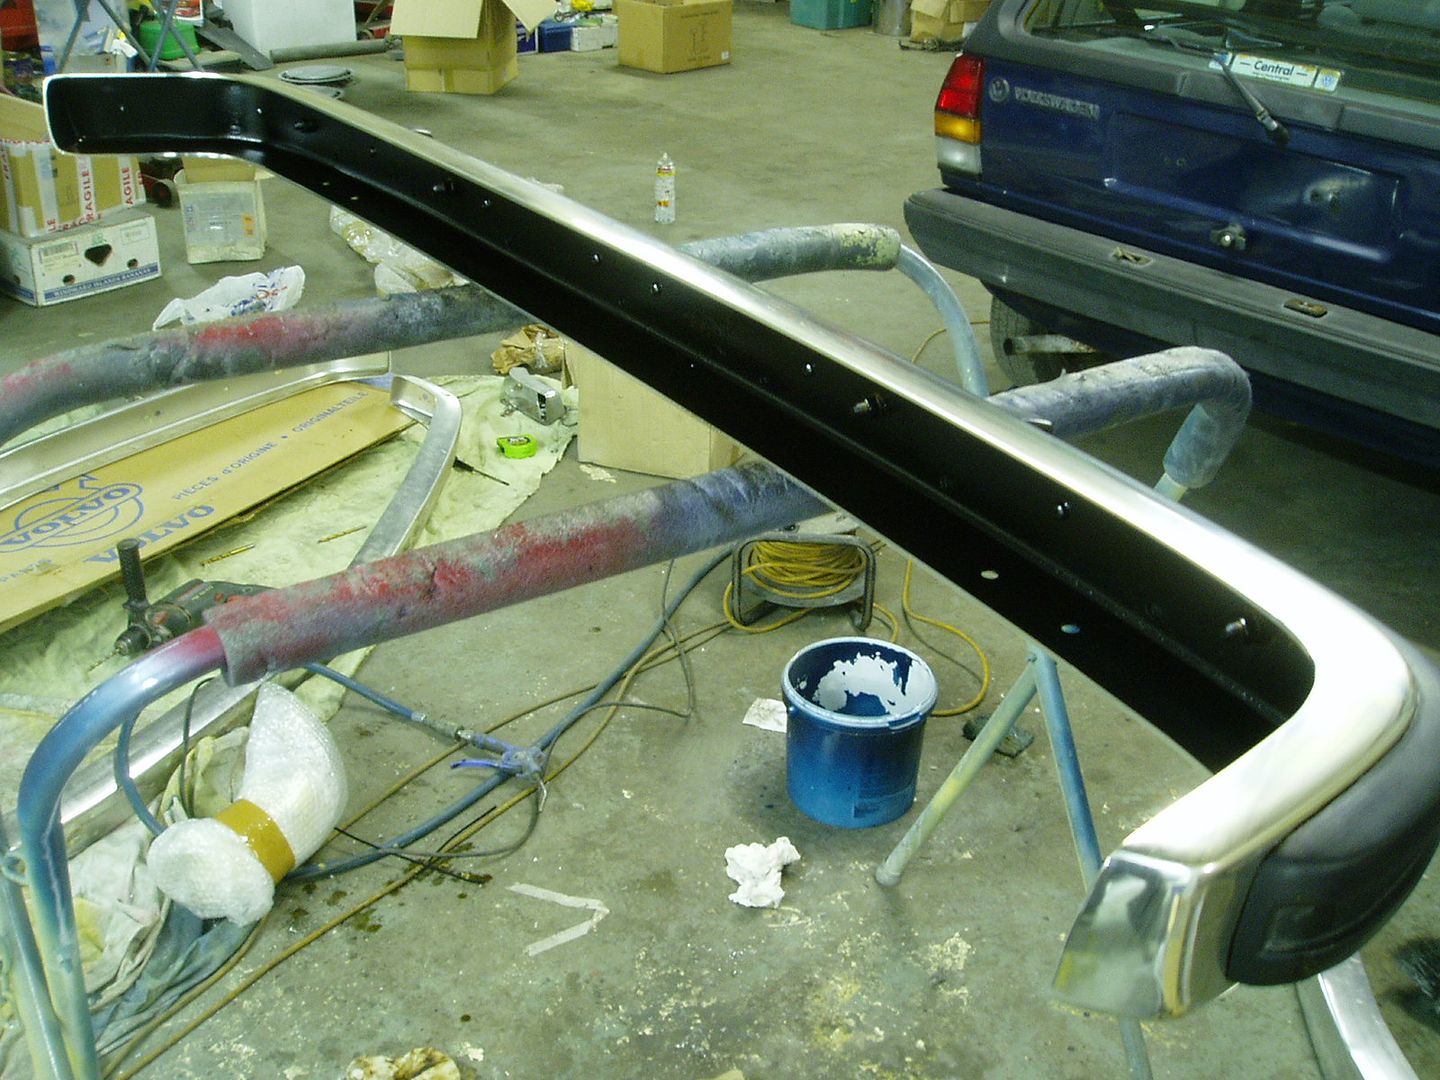
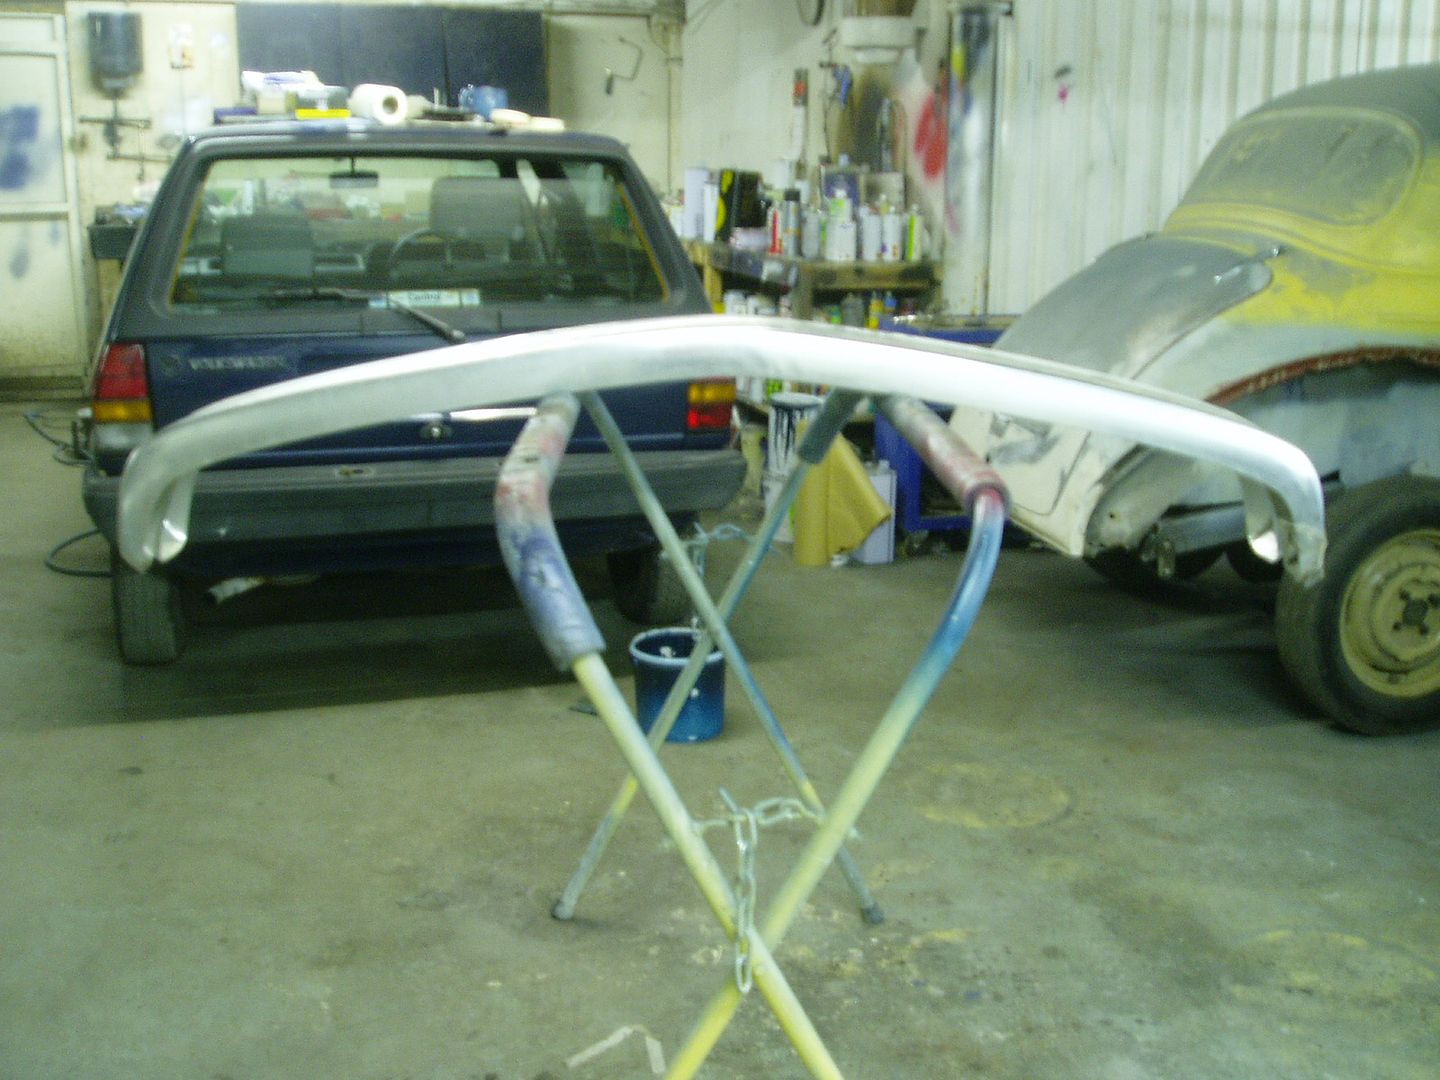
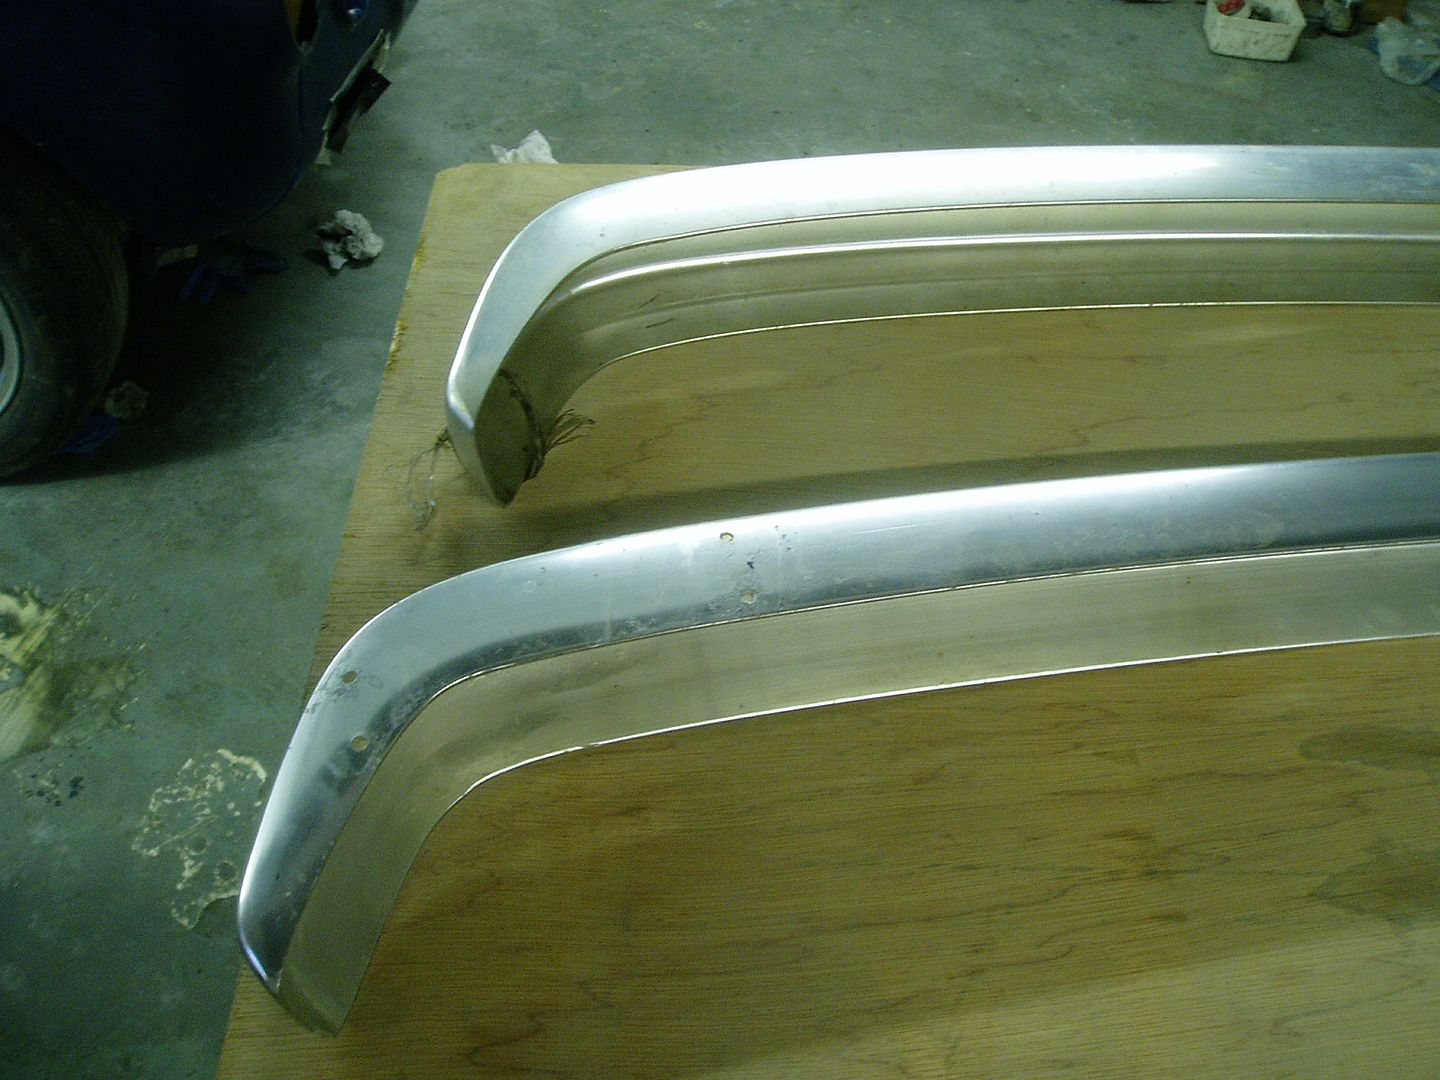
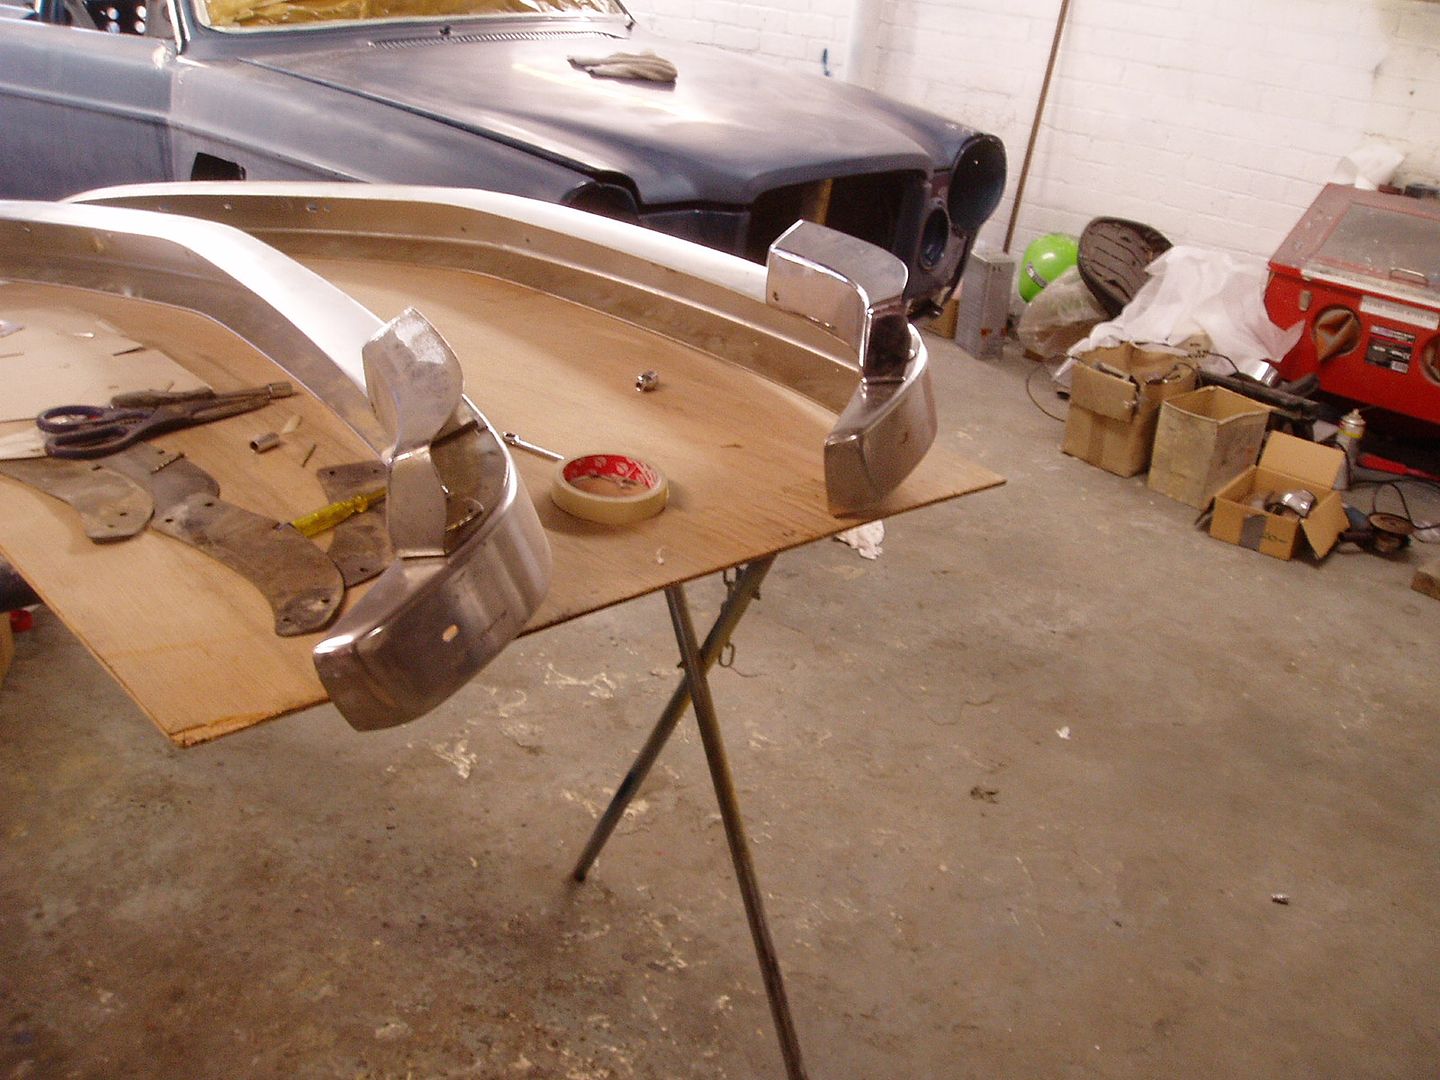
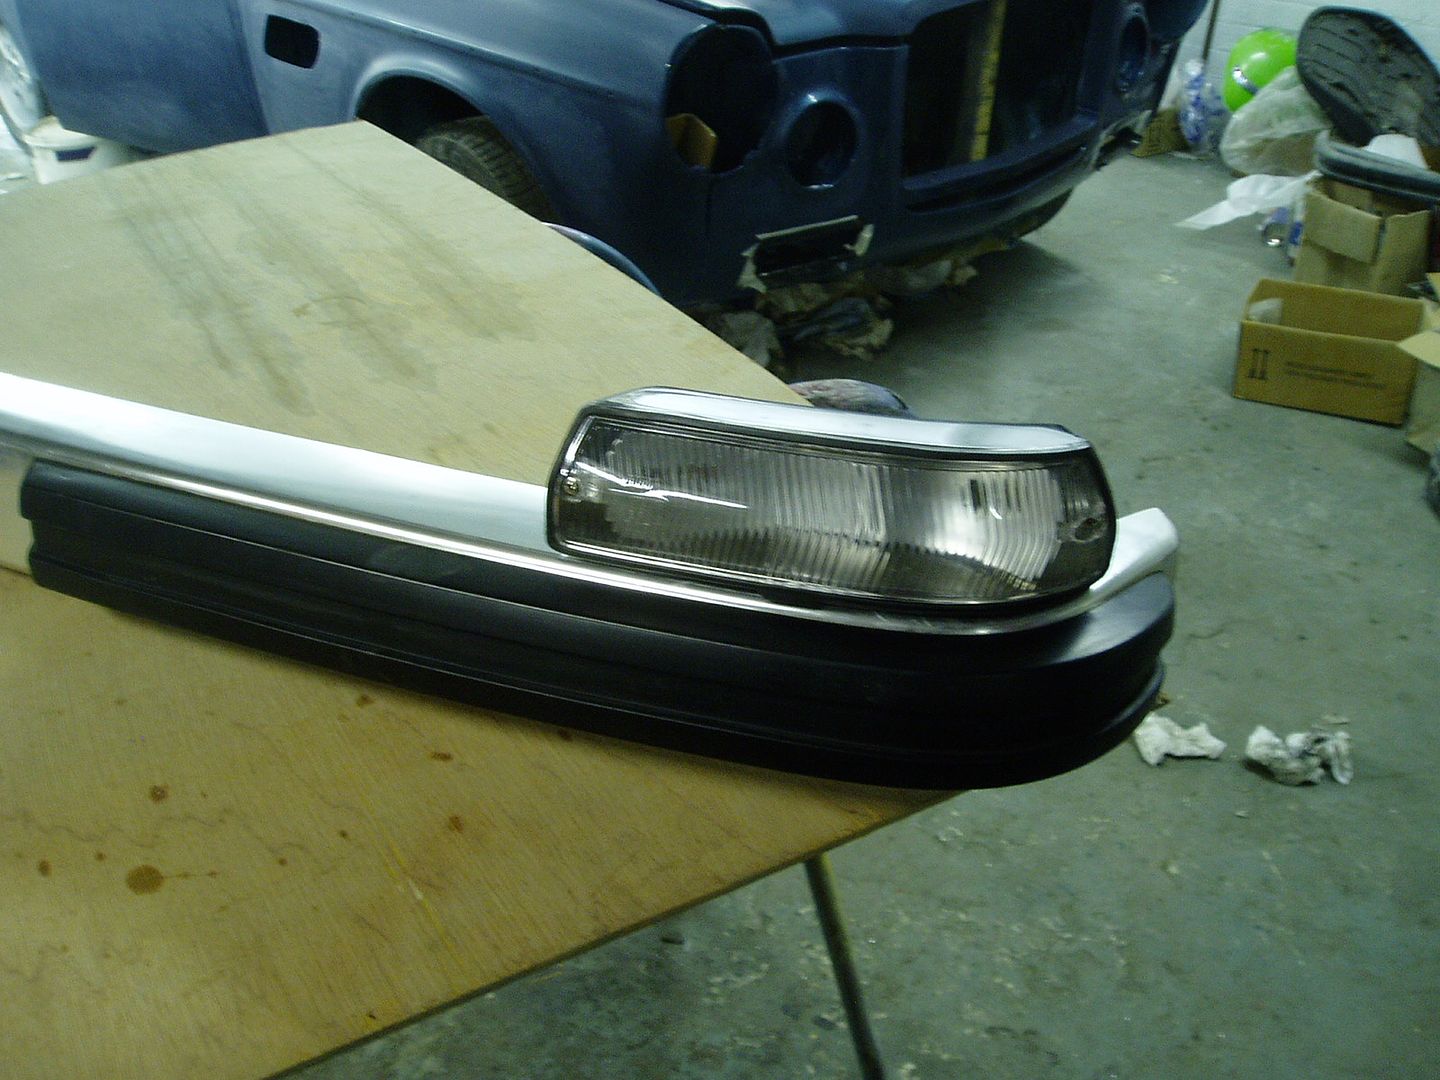
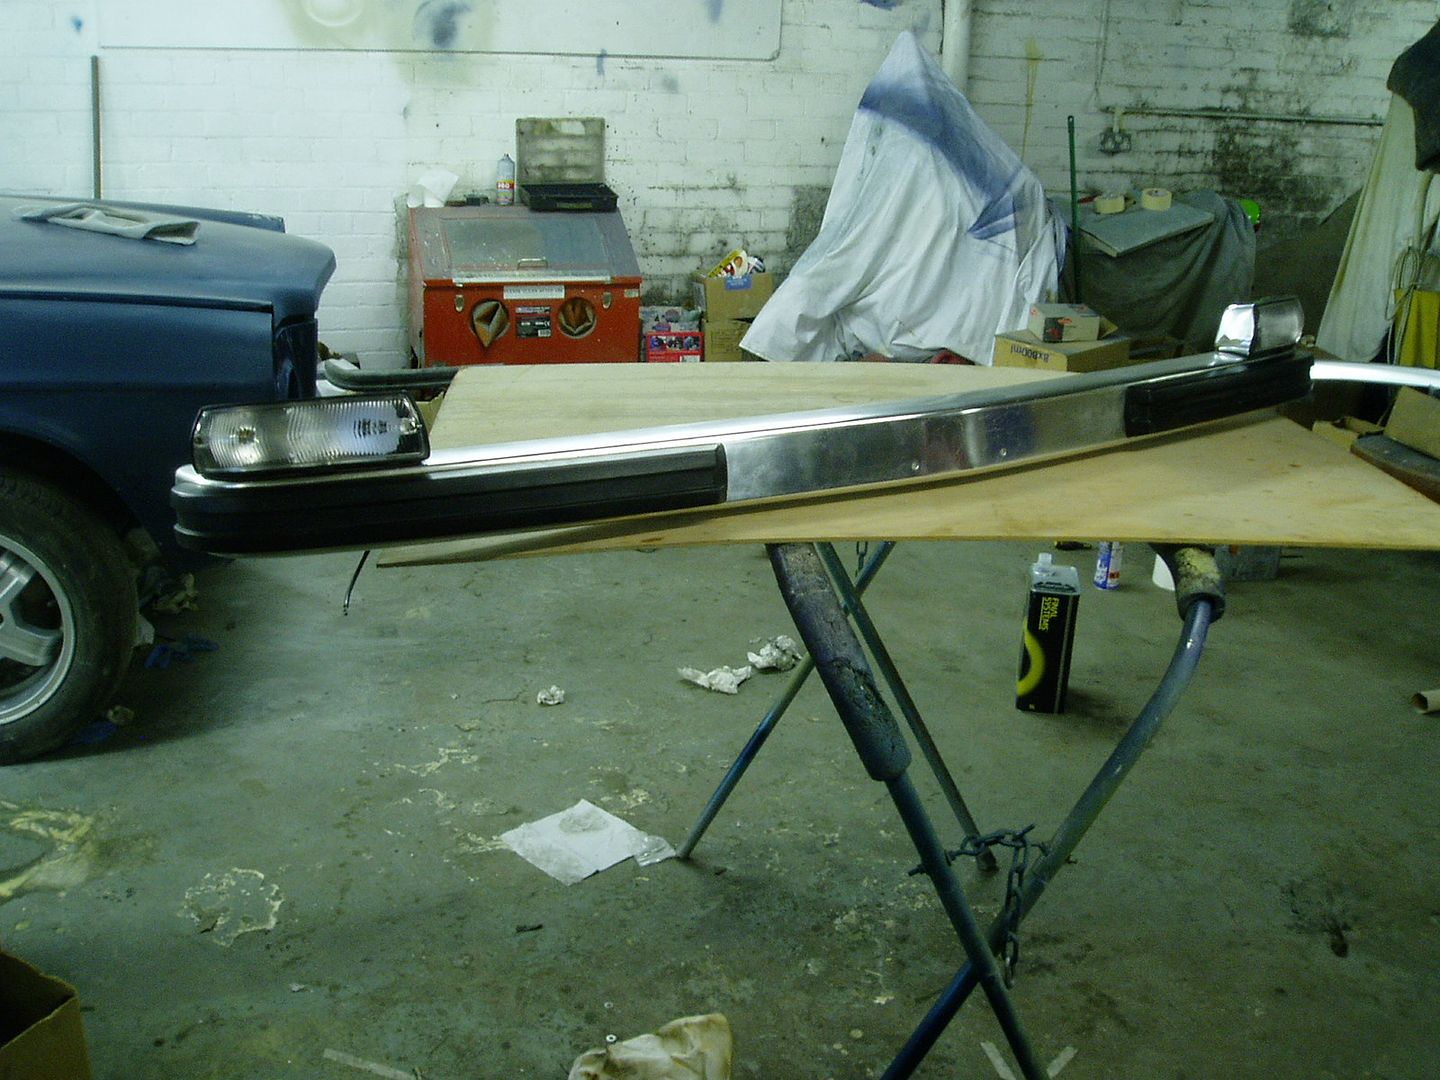
The front bumper was a similar process, but more involved because the best bumper casing I could find available was for a 140. The comparison here shows that it is a fractionally different shape to a 164 bumper - but extremely close. I measured them and the biggest differences at the front were just a few millimetres, with the 164 bumper being about 10mm longer at the sides.
This also shows the indicator mounting holes needed for the 164; I drilled these in the new bumper (no photo)
It's strange that two different bolt patterns were used for these lamps
Test fit of the lamps for comparison (OE 164 bumper on the left)
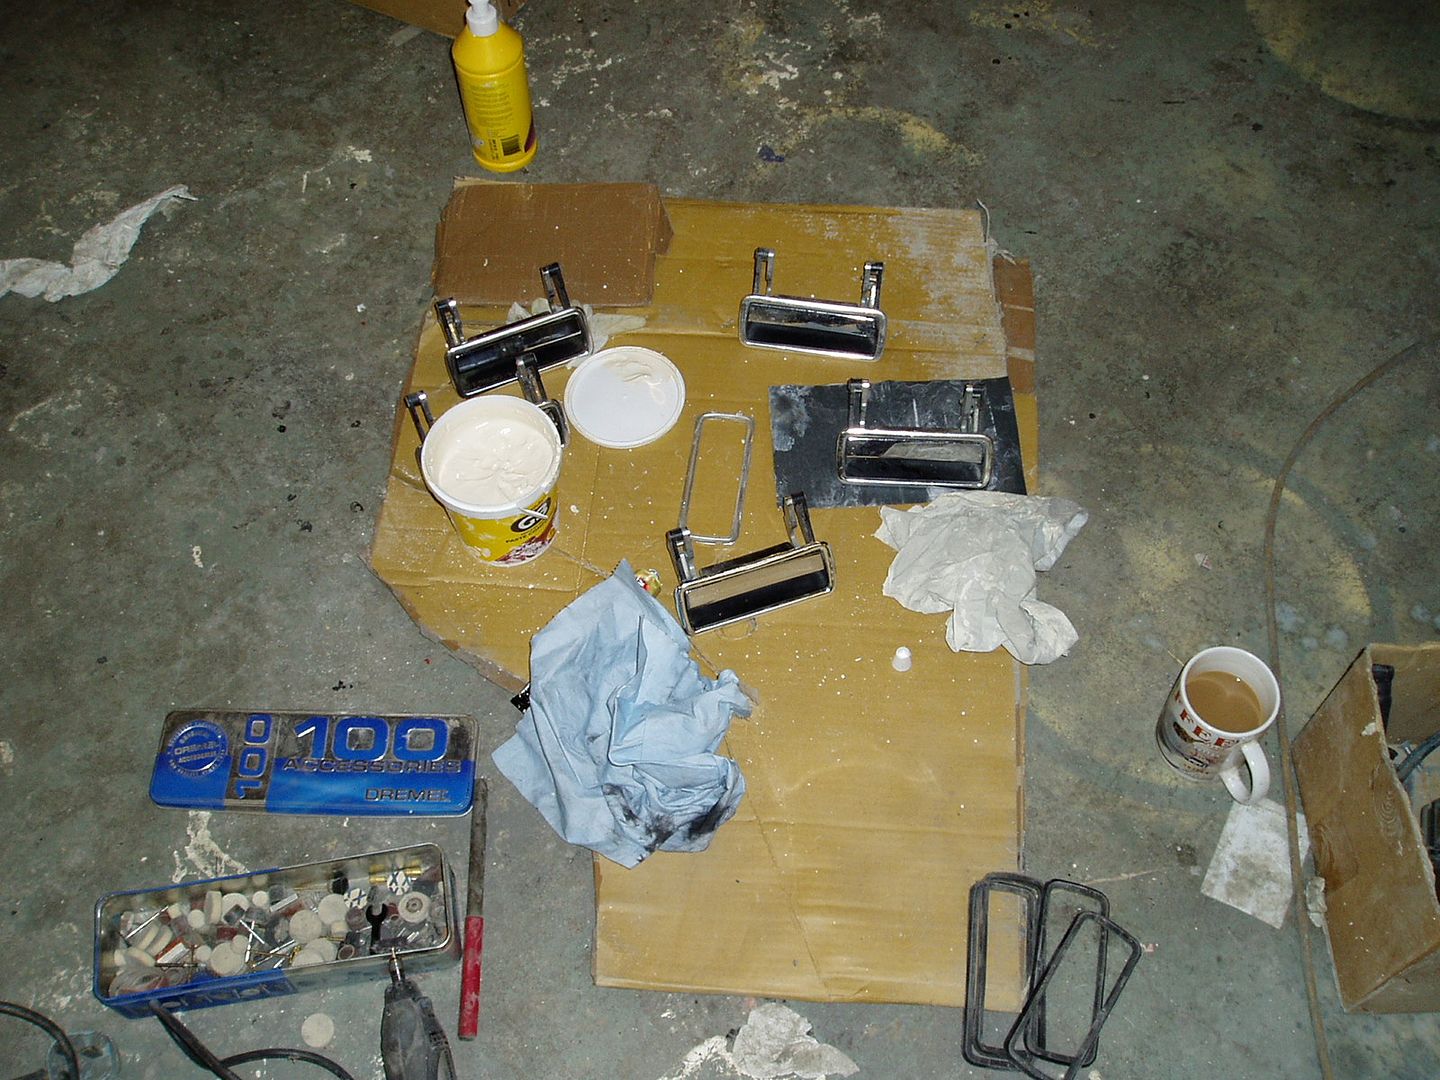
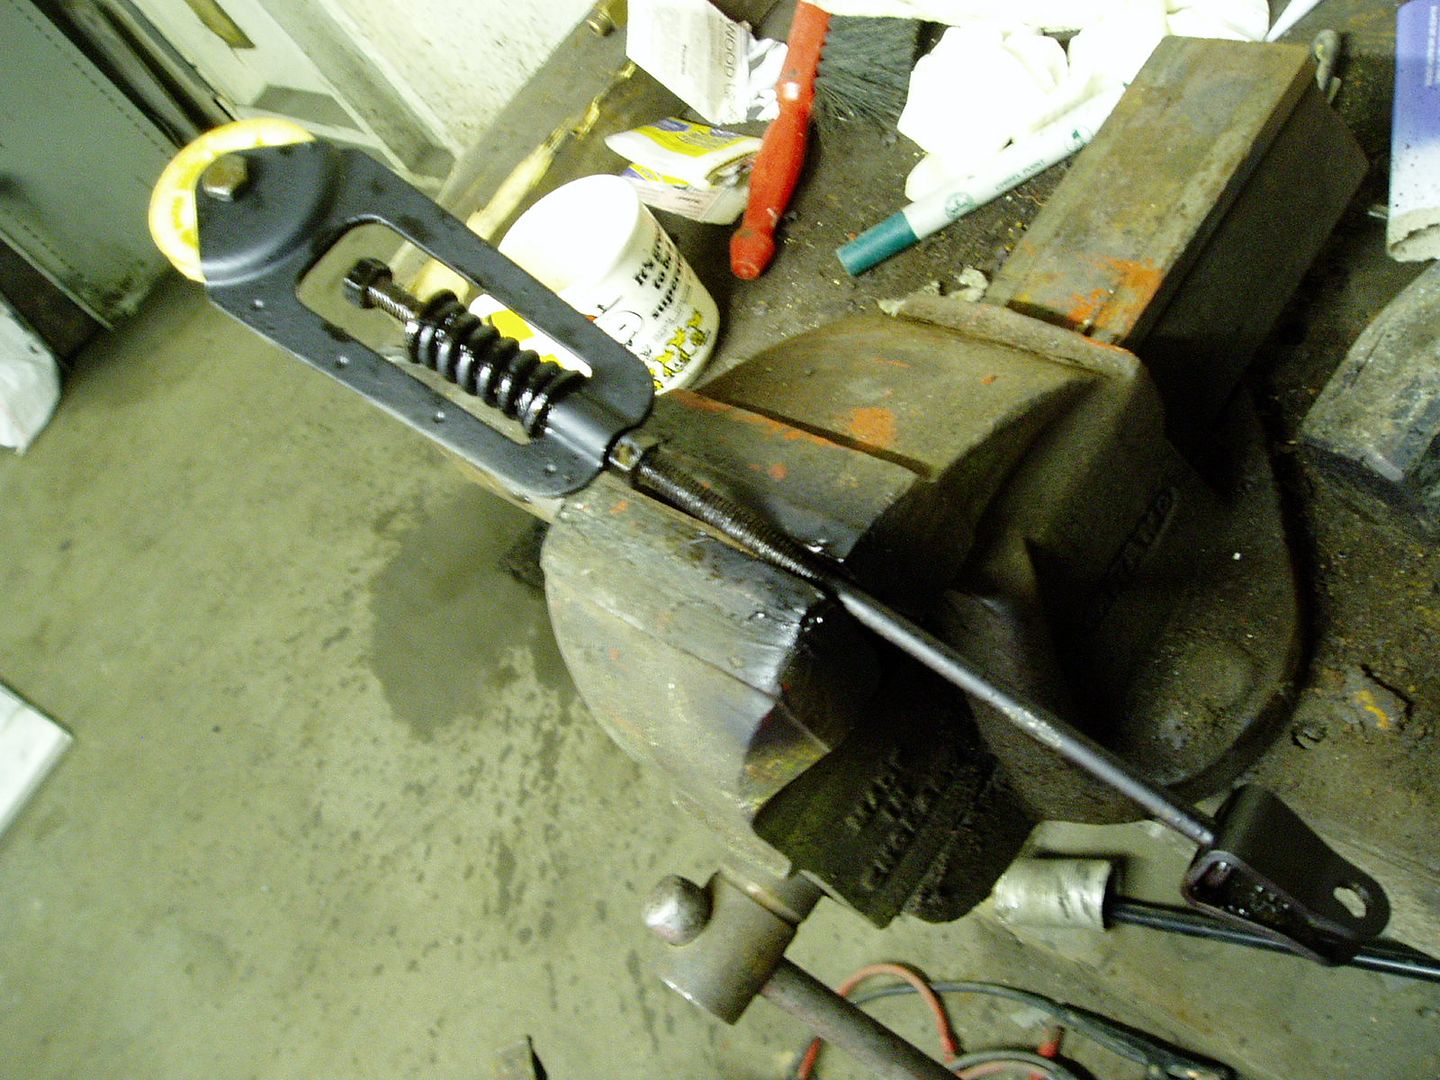
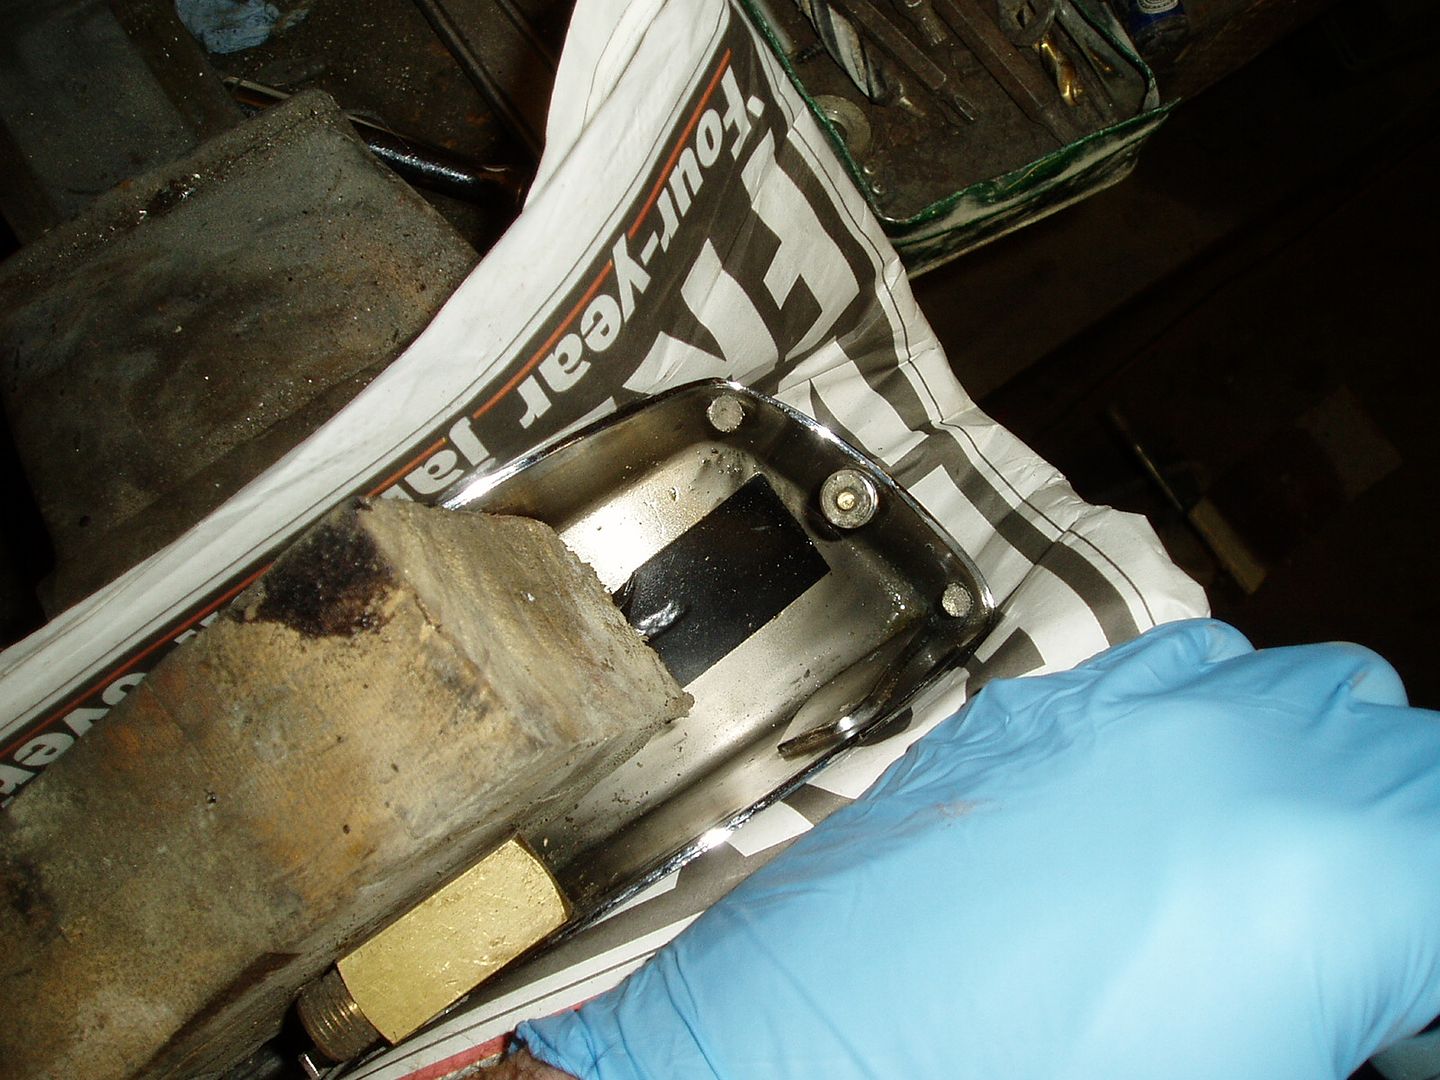
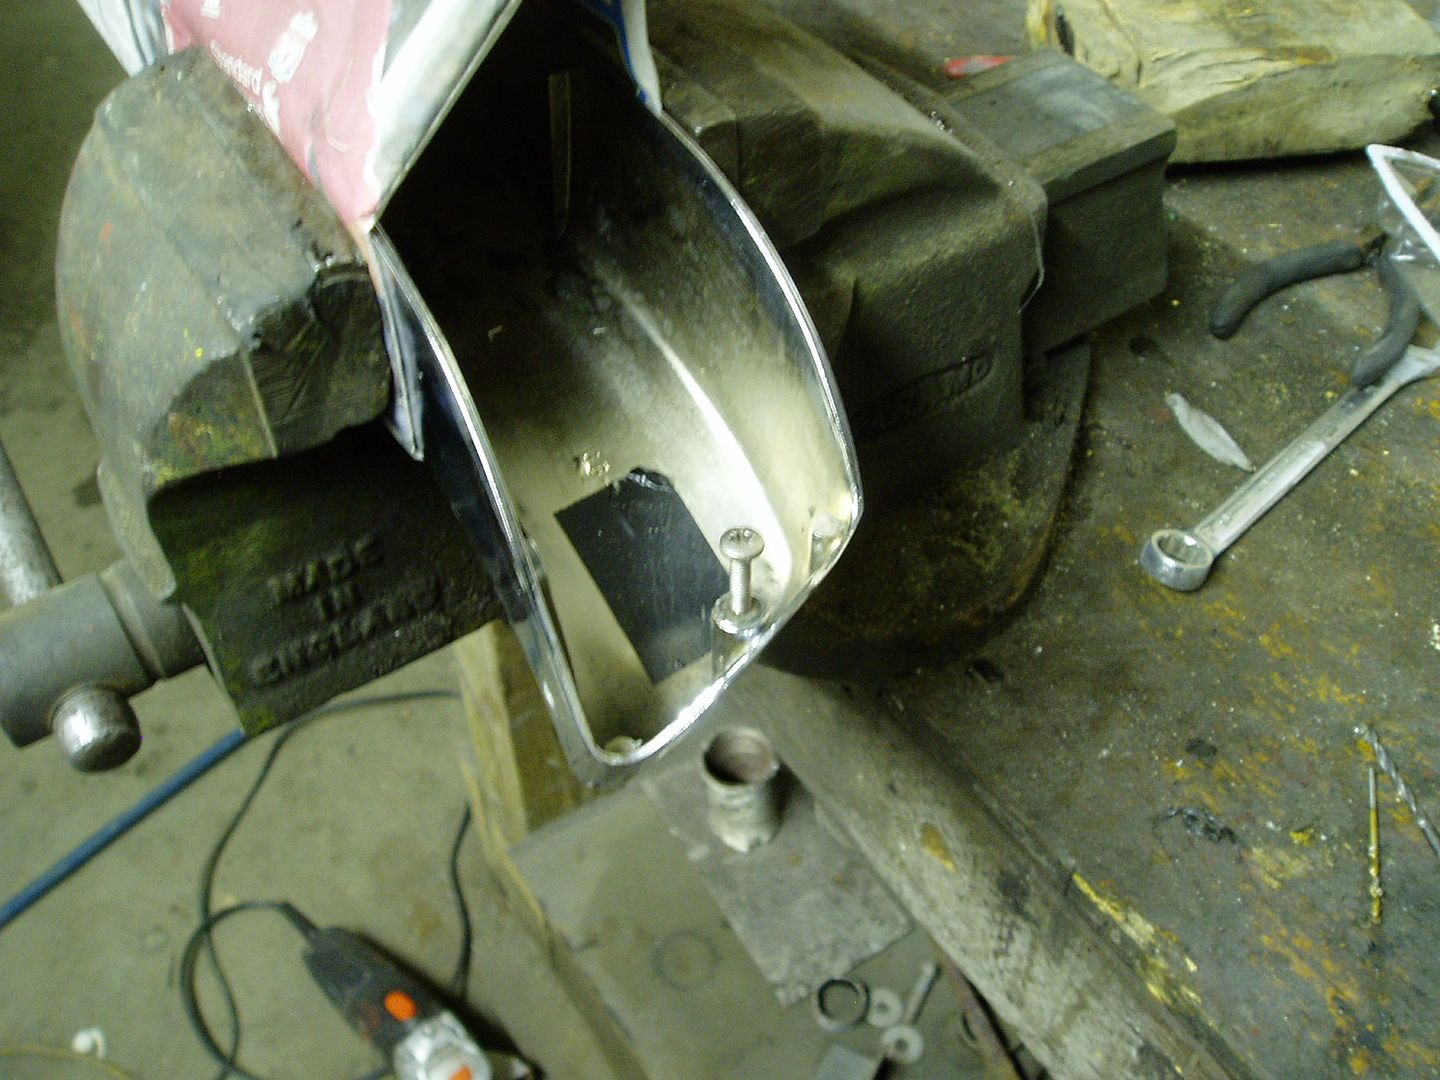
Ages ago, I started refurbing my front indicators; this was the time to complete that. These lamps have a tendency for the lens screw to seize into the casing. Dealing with this is not too difficult in principle, but it is fiddly and needs a steady hand.
First step is to drill out the remains of the old screw, being careful to keep the hole central and avoid drilling too deep and puncturing the lamp case.
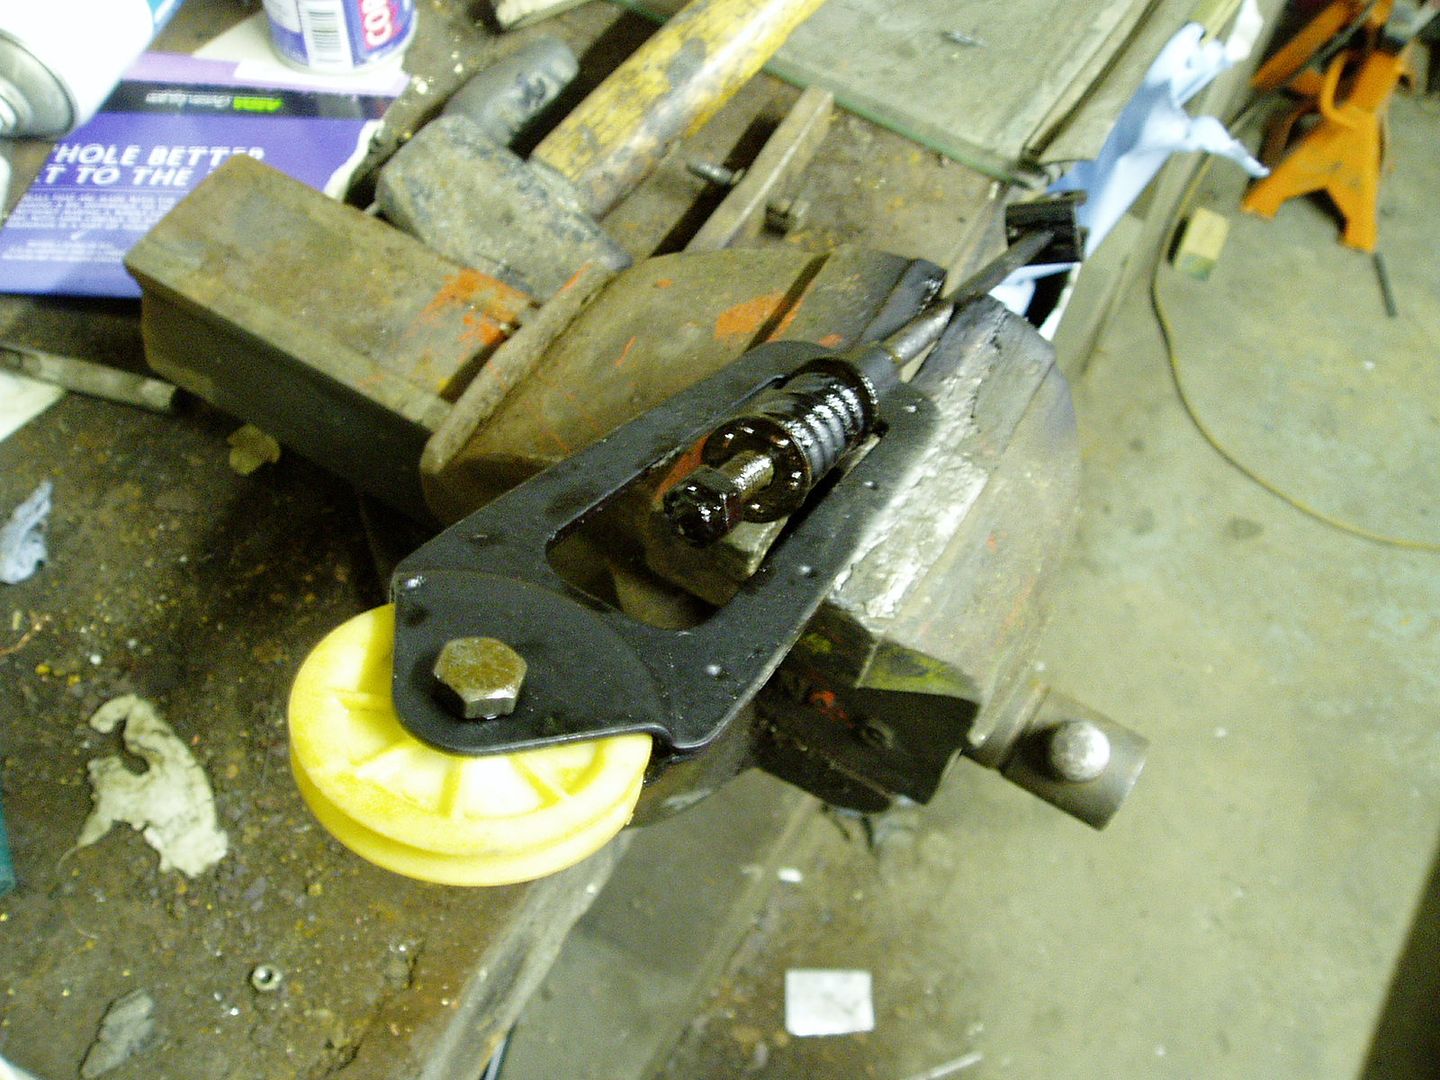
Then, at the top, the hole is drilled out wider
A nut with the correct thread is filed down to be a snug fit in the wider section at the top. This is glued in place using super-steel epoxy, or similar (this is strong enough for the very low torque needed on a lens screw). The screw is temporarily fitted to align the nut while the glue sets, but care is needed to avoid the glue trapping the screw.
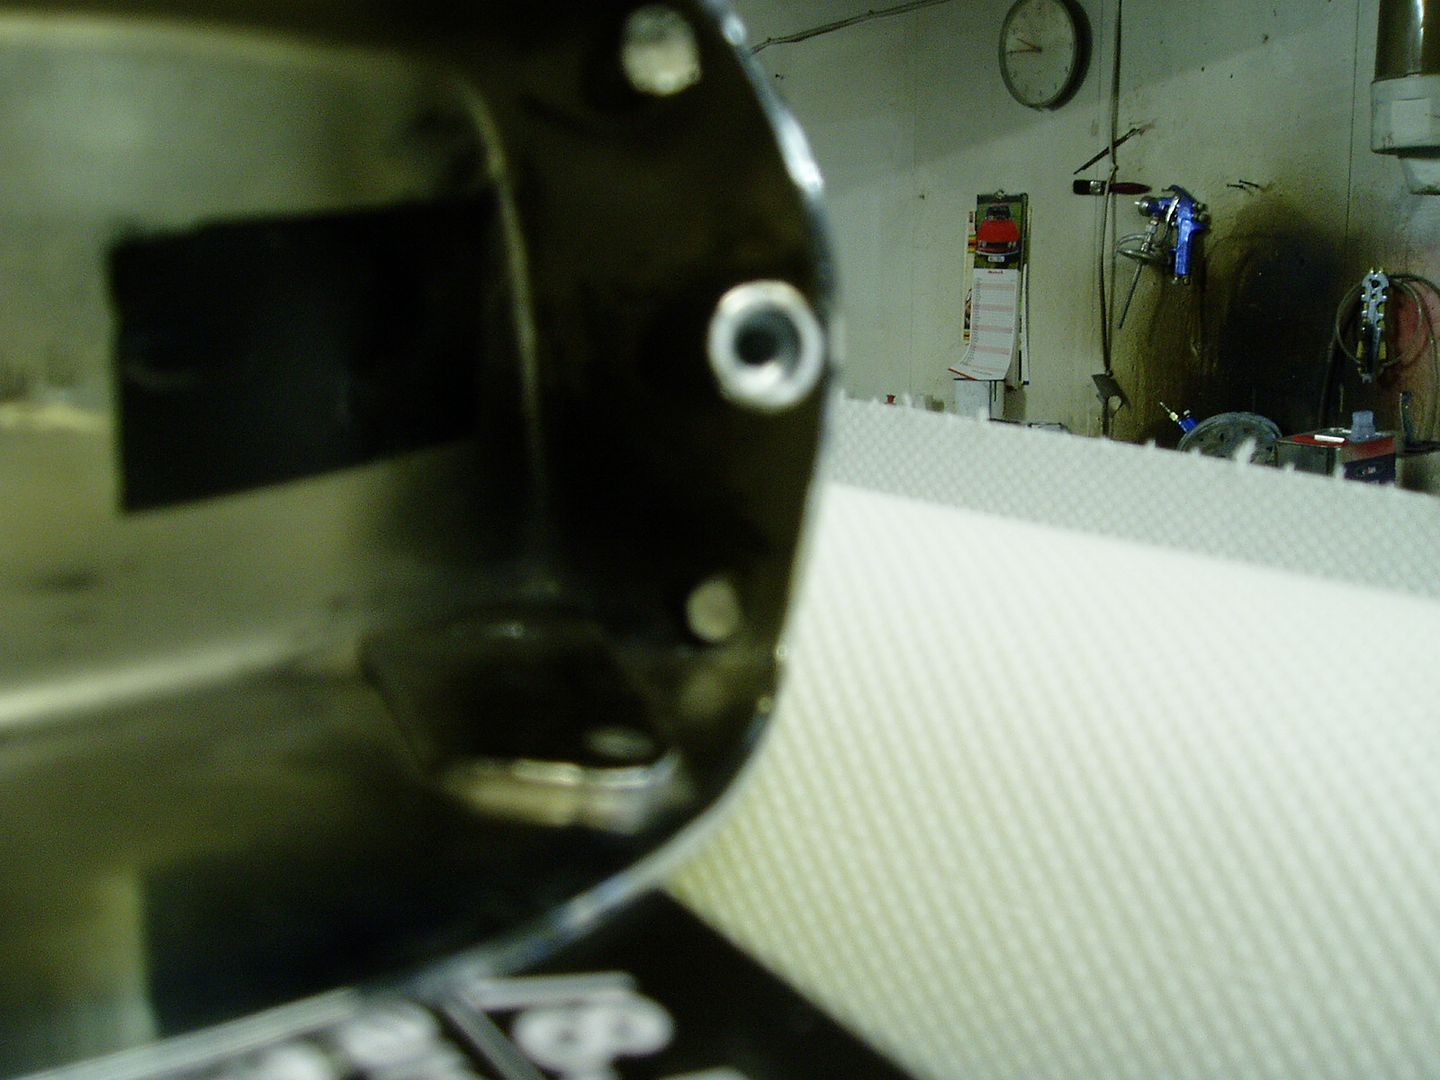
The completed repair
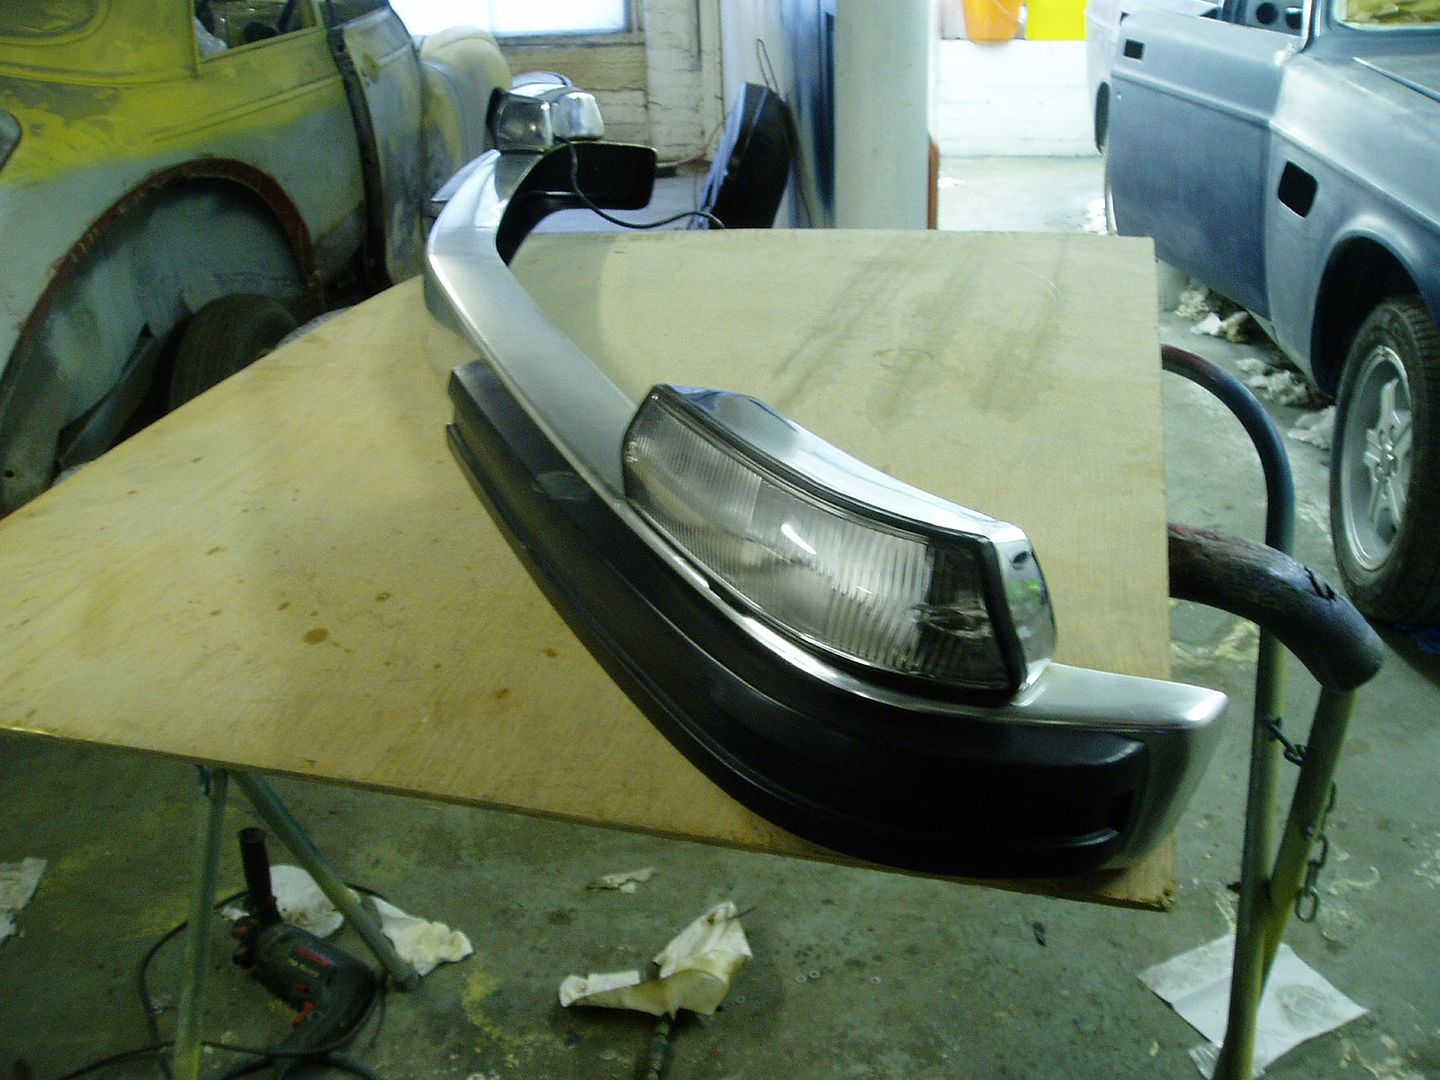
I cleaned up the best reflectors from my stock and then (no photos)painted them, and inside the lamp casings, with chrome spray
The lamps fitted with my new clear lenses and attached to the bumper
The anti-corrosion treatment was as per the rear bumper
All for today, more soon!
John


")