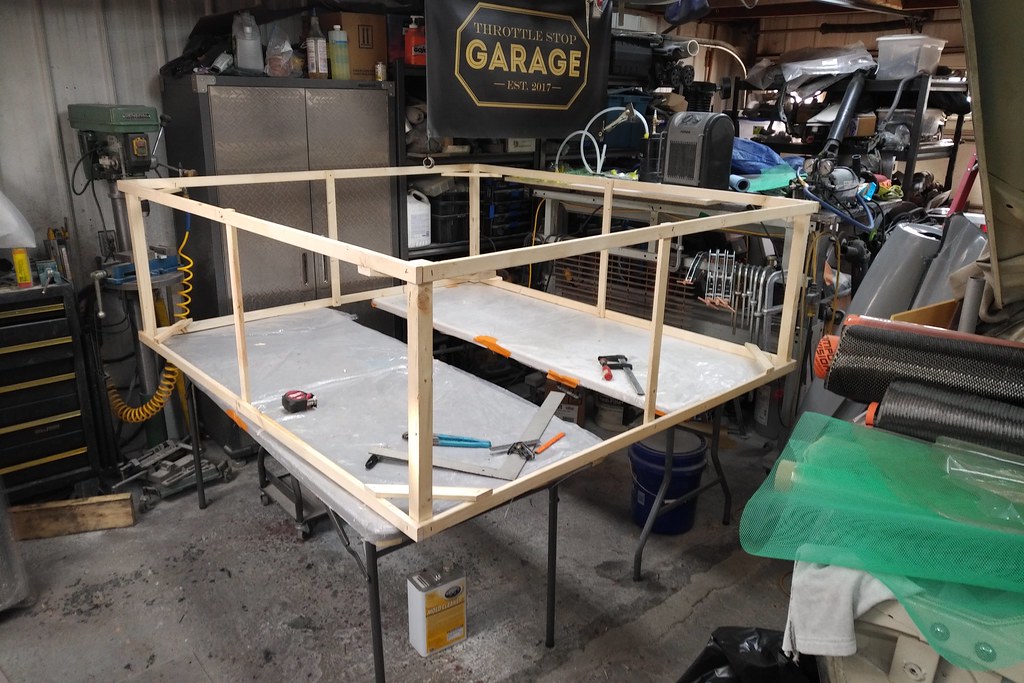
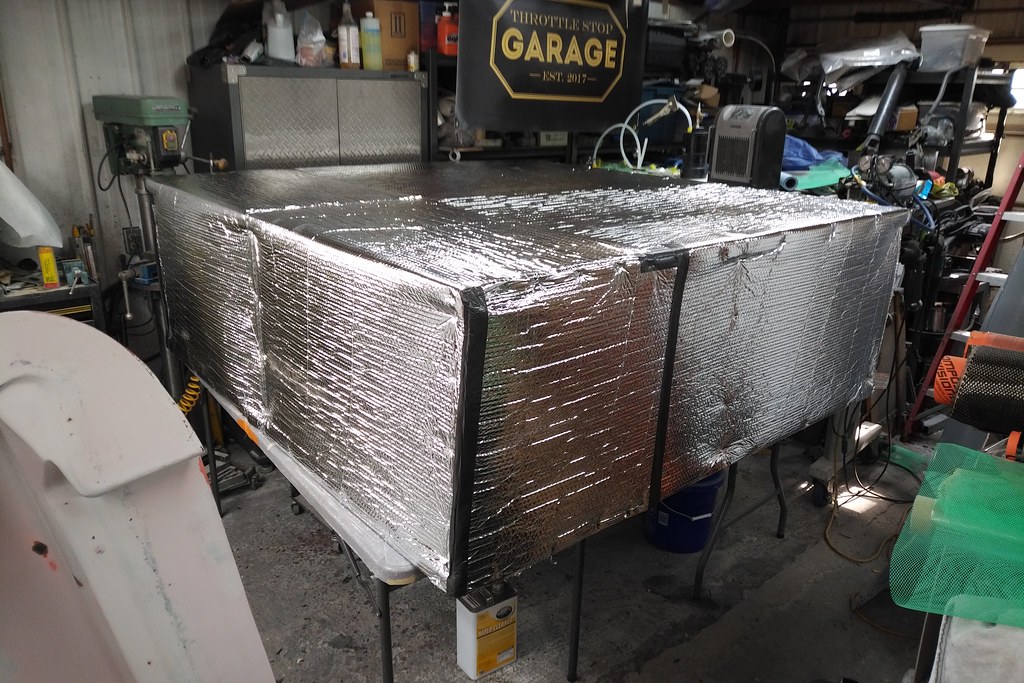
• Hello Guest, welcome to the initial stages of our new platform!
    You can find some additional information about where we are in the process of migrating the board and setting up our new software here

    Thank you for being a part of our community!

Volvo 122S Build Thread: Scope-creep the Sequel

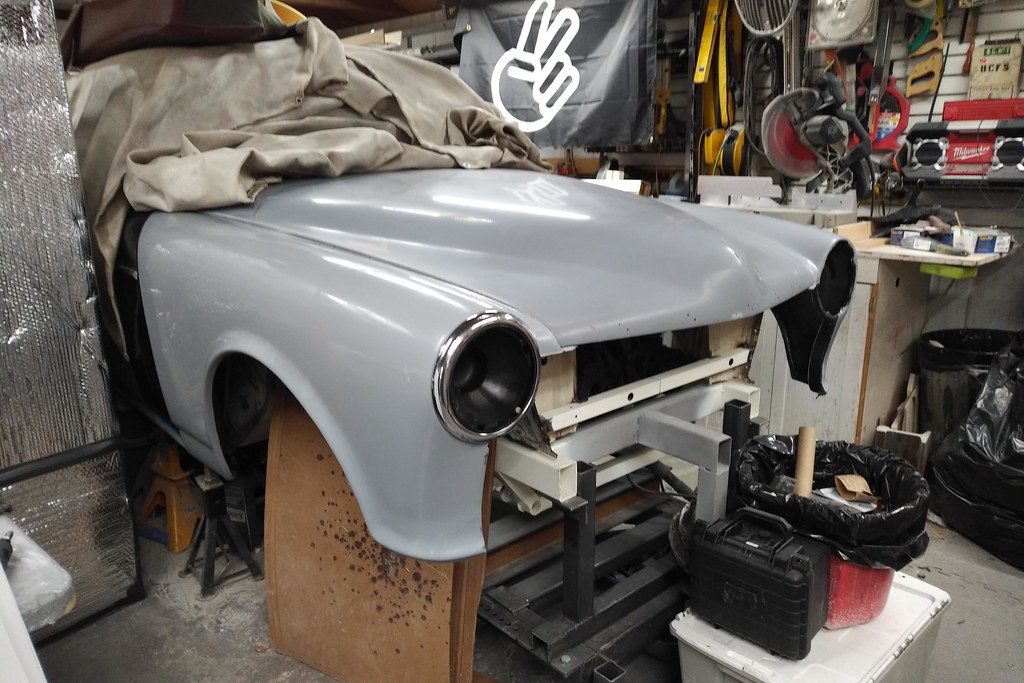
Had some trouble with the second fender. I switched epoxy (first fender was with some old stuff that I had for years and never used, new epoxy infuses faster - lesson learned) and needed to get an ultrasonic tester. These fender molds were generally brutal - I should have redone the gel coat and the flanging was pretty complicated. Learning how to bag a large part on such a complex part was a mistake.

It did turn out - lucky I guess.

48829449923_d7cbc5d2c5_b.jpg


Details were nice and crisp.

48829991617_2bbdbc6288_b.jpg


Nice and straight...they are not perfect - but a coat of primer is all that is needed to correct the surface - the error is in the mold!

48829449623_a937429978_b.jpg


I also made my first headlight bucket reinforcement ring. It's really nice. One more of these to make and a few other flanges that have to be added then they are done. Probably a few weeks away from them being done for real.

48829823811_81a84157e6_b.jpg


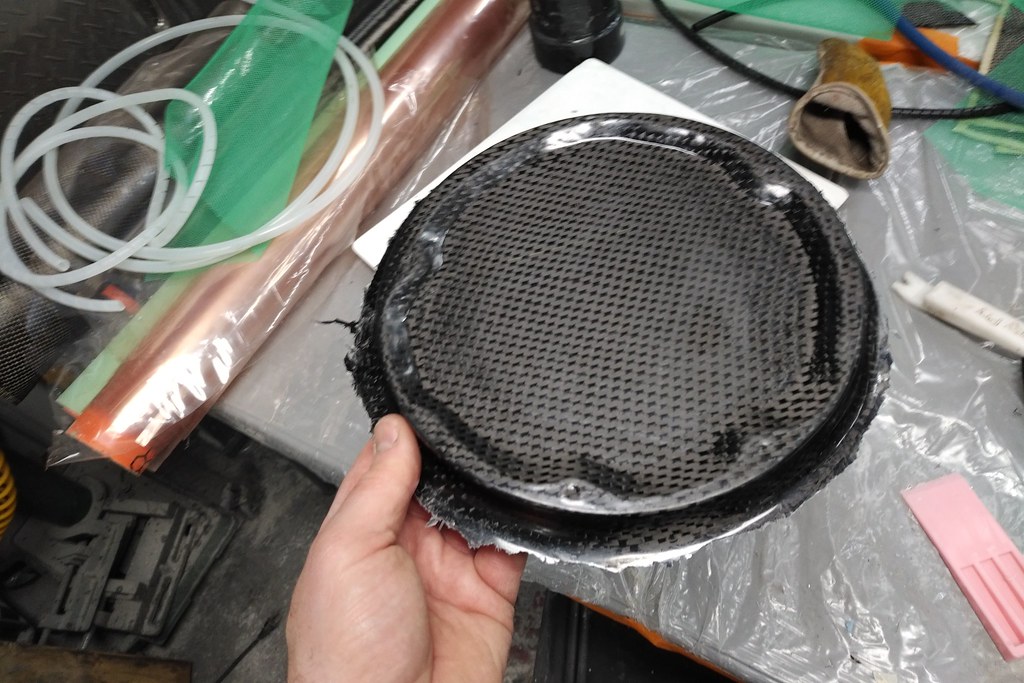
The harness weave is pretty cool looking stuff.

48829449318_03fd9de5d7_b.jpg


After these are done, then the hood and trunk need to be done.
 
I know you’re going for weight reduction, a huge part of me wants to see all this work without primer and paint, so much Carbon Fiber!!!
 
It's ridiculously light weight...but to get maximum strength and stiffness this stuff needs a post cure heat cycle. So, I figure I should reduce my floor space even further to about 1 m^2 of room to move with this magic.

48860552976_b096a75f01_b.jpg


It's just 1" X 2" spruce - so when the time comes to turn it into kindling, it's ready to go. Now, I'm going to need some insulation, so I added this bubble wrap foil nonsense to my shopping cart.

And we have a gigantic oven.

48860748532_5b76101944_b.jpg


The idea is that is sits on the two folding tables and use my propane space heater as the heat source. I left an air gap at the material join on the top so things don't get out of control.

Loaded up with the fenders and associated parts.

48860552761_7d24fef30c_b.jpg


This baked at 50? C for 8 ish hours and it all turned out great. I didn't dare take it to full strength at 85? C for 8 hours as it's only worth a few percent over what you get at the much safer "lower" temperature. The air gap was about right and on the lowest setting for the heater, it was nice and toasty in the garage for a change.

Next up - getting them all joined up.
 
Impressive work, they came out great especially for a first attempt.

Why the foam inside the fender ? I'm curious as to what it does.
 
<iframe width="560" height="315" src="https://www.youtube.com/embed/n626JlFuD2I" frameborder="0" allow="accelerometer; autoplay; encrypted-media; gyroscope; picture-in-picture" allowfullscreen></iframe>
 
Impressive work, they came out great especially for a first attempt.

Why the foam inside the fender ? I'm curious as to what it does.

It provides some stiffness to the panel. I've seen older fiberglass fenders and they sag in that flat area by the door, so I wanted to stiffen it up. I'll do the same for the hood and trunk.
 
Fantastic result! All of that effort paid off. Your face and voice in the video says it all.

Racking up the views on the channel, too. Well done! &#55357;&#56399;
 
Fantastic result! All of that effort paid off. Your face and voice in the video says it all.

Racking up the views on the channel, too. Well done! ��

I've never come close to tears working in my garage...I was close when that first fender popped.

Hit 1000 subscribers and that video is doing well. Working on new content all the time.
 
I'm glad people are enjoying watching the work...it's fun to work out the details and try to fill the odd gap in the YouTube collective knowledge base. This is the car that I've wanted since I was a kid. Every aspect has been a challenge, and working to keep the quality up and not cut a corner does require your help. It's fun to work on parts that show progress as there is a time in the near future when I have to get less exciting work done!
 
Finished the details on the fenders. Added the rear closing panels, the front nose section bracket, and headlight rings.

TADA.

48901619947_13fd4dccbf_b.jpg


They actually fit!

The details.

48901413326_81143ef232_b.jpg


Fit is good...considering I haven't fit them yet.

48901620187_5a9d755252_b.jpg


48901414016_0e7696a178_b.jpg


All in weight. 2.75 kg!

48900885928_0a019baa61_b.jpg
 
Part 2 - finishing up the fenders. Such a long haul.

<iframe width="560" height="315" src="https://www.youtube.com/embed/_QutSRvqnVs" frameborder="0" allow="accelerometer; autoplay; encrypted-media; gyroscope; picture-in-picture" allowfullscreen></iframe>
 
Back
Top