Canuck
Frozen Garage Hell
- Joined
- Feb 1, 2006
- Location
- Lethbridge, AB, Canada
Is there any way we could get a more detailed view of the rear setup specifically where/how it ties in to the whole car? Did you make it into a bolt-on?? You're distilled determination. I'm in absolute awe of the beauty of the fabrication. It's...elegant.
Sure thing.
The entire subframe bolts in. There are monster urethane bushings at all four corners like this...

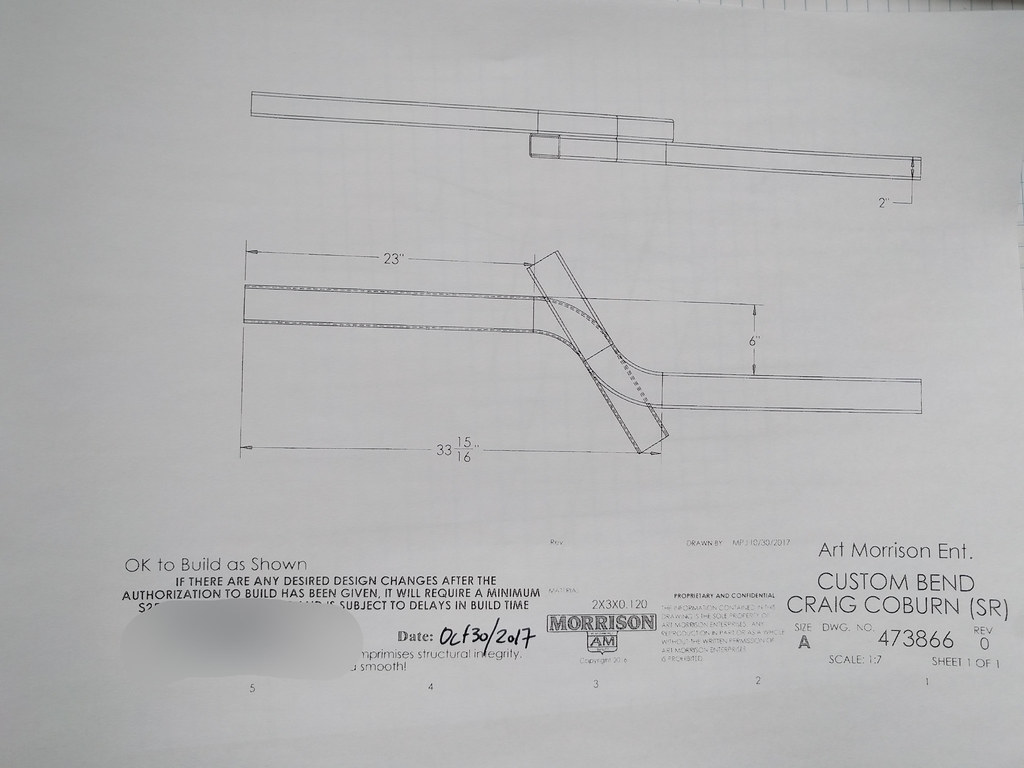
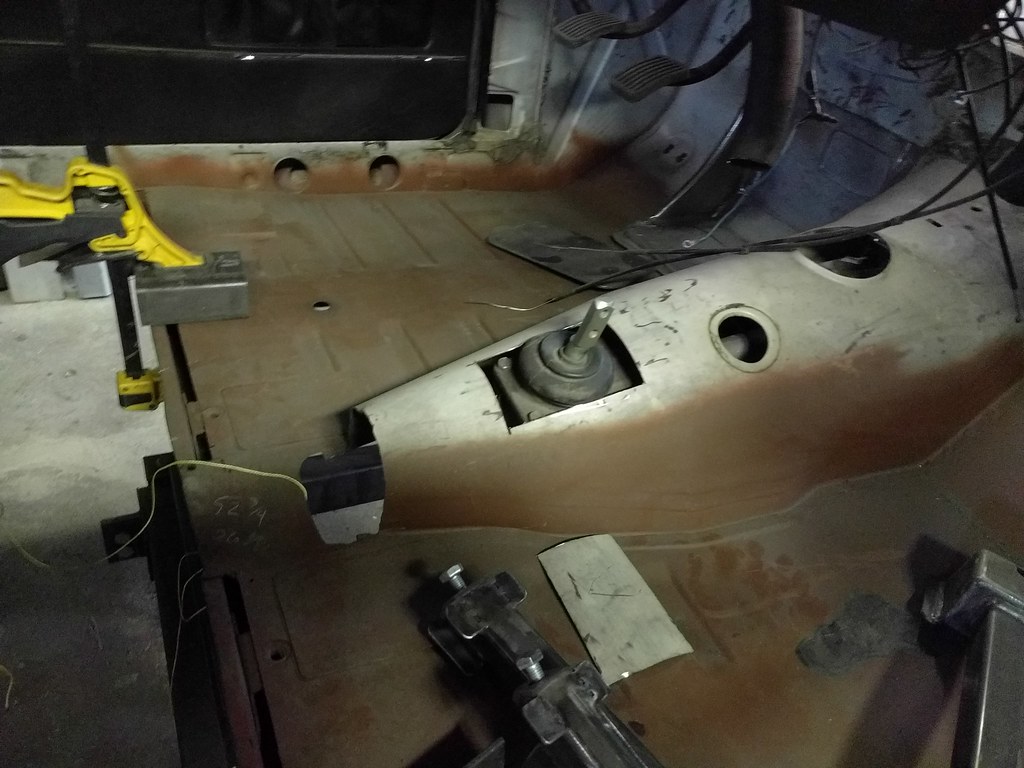
The through bolts attach to captured nuts in brackets that I have mounted in the cross beams of the frame. Now, the one at the back, I built - so it's 10 ga and has internal reinforcement at the mount points. Any pictures I have of it are on photobucket and dead. I modified the spare tire part to transfer this load. You can kind of see it here.

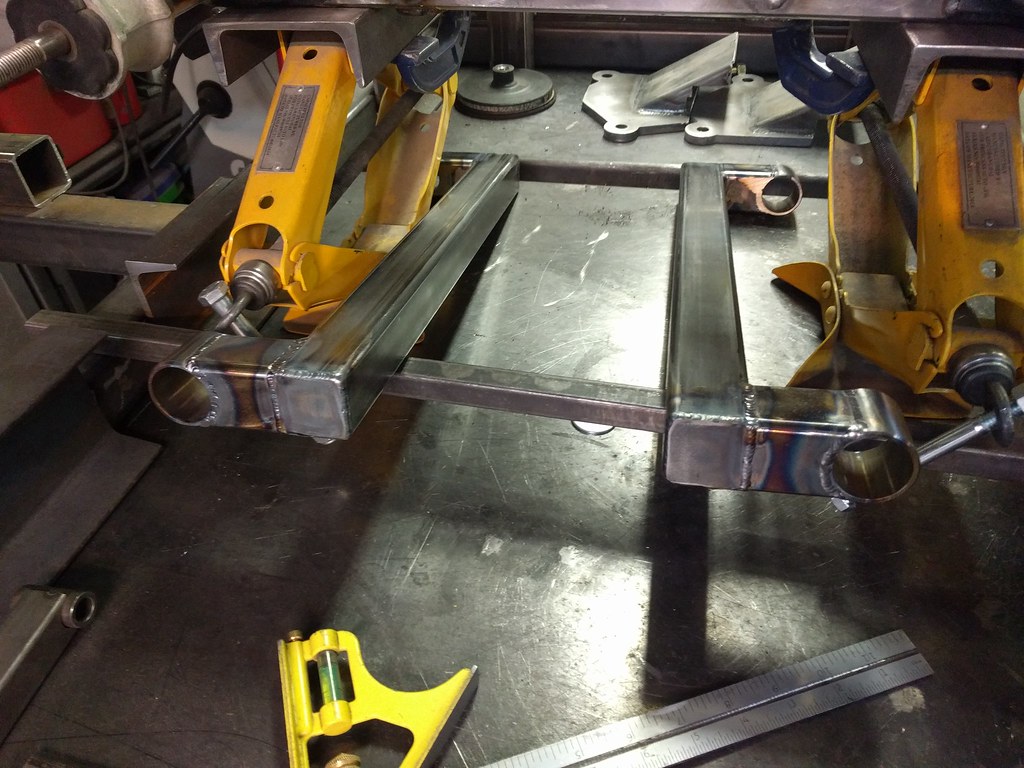
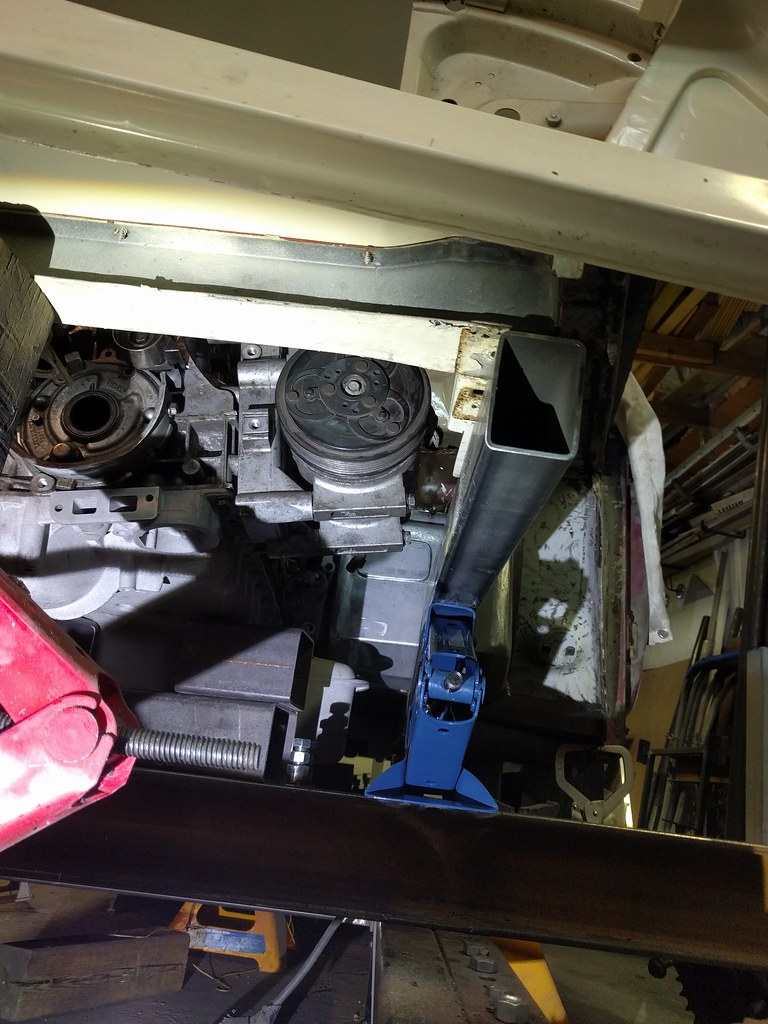
That's all either 2 X 3 tube or custom tube to form the front and sides. All 1/8" wall.
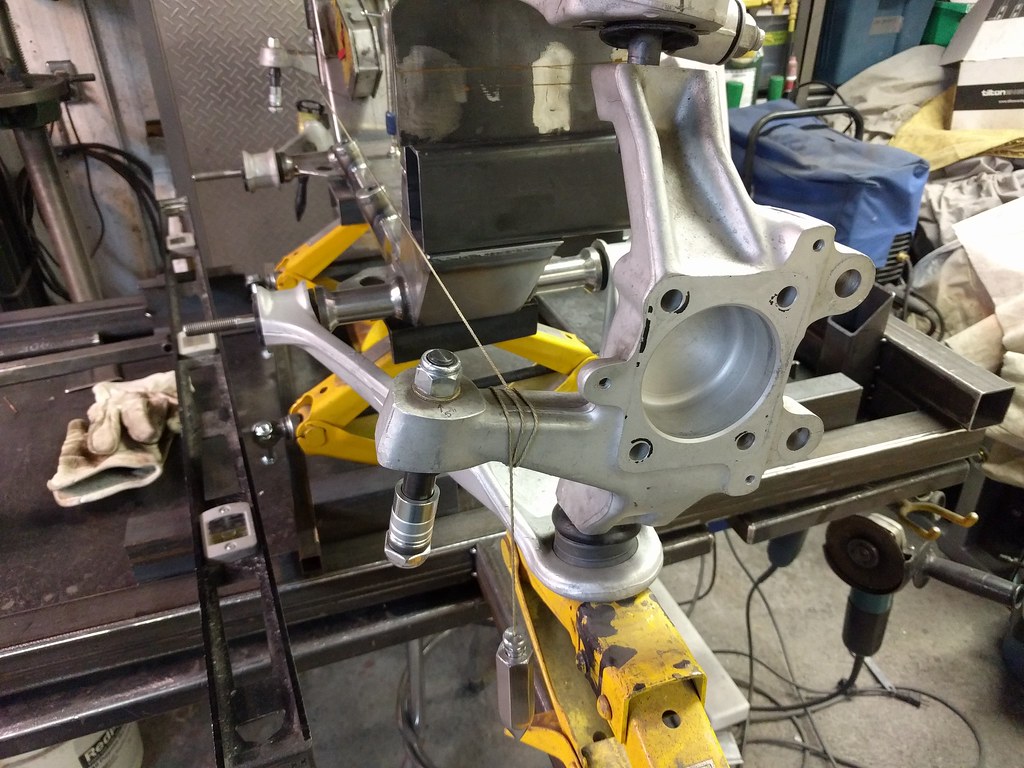
The front mount takes more of the load (given the original design and just thinking about it) so it needed to be as stiff as a 12 year old boy. So the bracket is 1/8" and is welded to the cross beam like so.

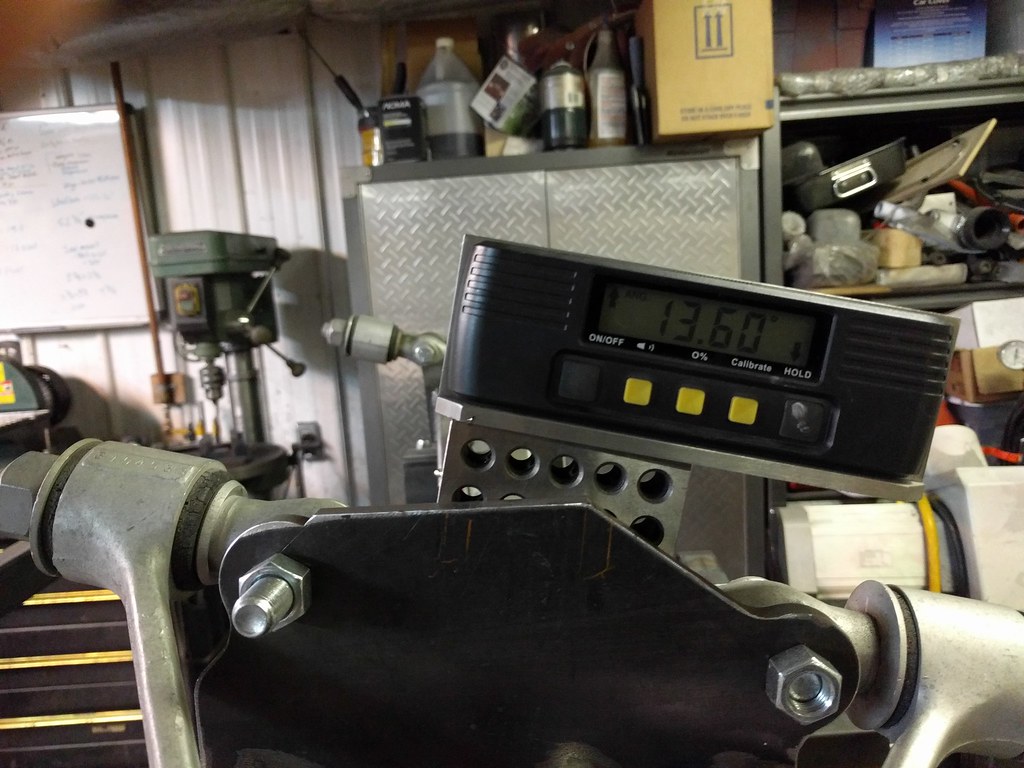
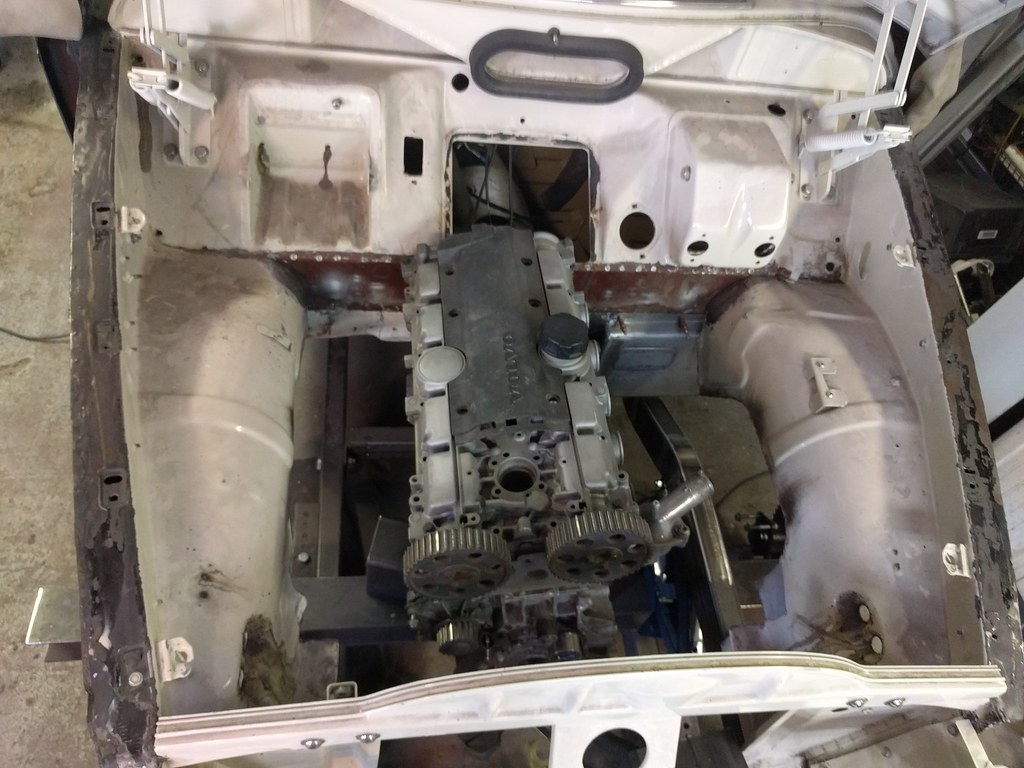
Then the bottom of the bracket will be wrapped around the cross beam when the rear floor pan goes back in (you can see I've opened up the entire floor/beam section. The top was then welded to the seat floor with a few brackets.

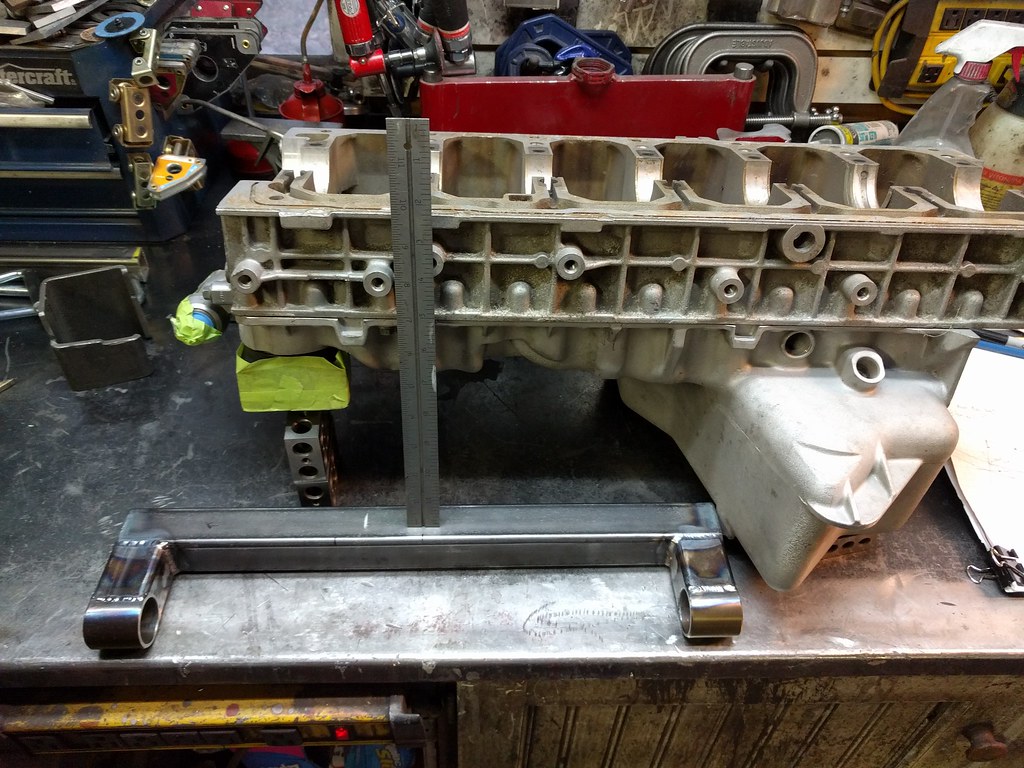
I also slugged the inside of this box section with some 2 X 3 120 wall tube that I think I had to shrink by 1/8" or something to fit up inside the frame. It's about 6" wide IIRC. It's all button welded in front and back.
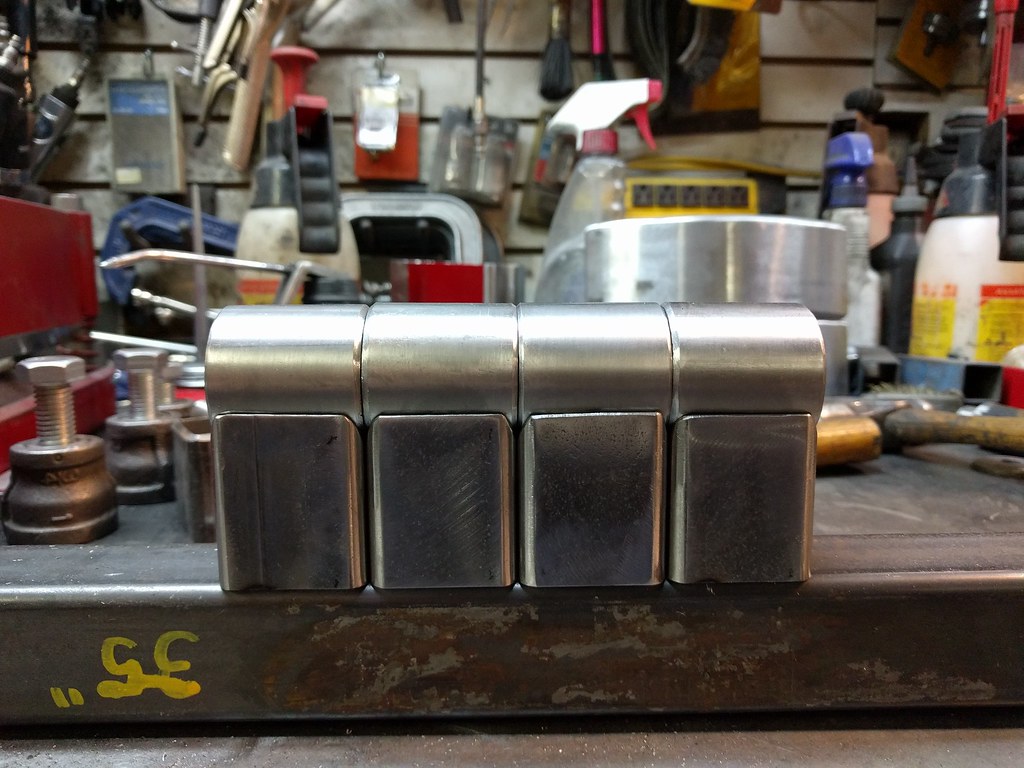
Then I made these up - tricky little bastards.

They go here.

Effectively increasing the cross sectional area that the front of the frame exerts forces on.
Oh, and the seat still fits.

So that's how I did that. Could have done it differently - but that's what I was thinking at the time.