• Hello Guest, welcome to the initial stages of our new platform!
    You can find some additional information about where we are in the process of migrating the board and setting up our new software here

    Thank you for being a part of our community!

745 into Pickup

Working on cleaning up details. Took the rear panels out, cut out where the door lock push buttons used to be & added the vents that used to be behind the C pillars. Also wired the tweeters that go in the rear pillars while the panels were out. Have to finish that part later.

index.php


index.php


index.php
 
Worked on the C pillar covers. Stripped the carpet & put foam & vinyl on them. Color is not as close as I would like.

had to remove & reinstall the tweeters, one was perforated, so I swapped it out with one from my old V70XC

index.php


index.php


Got some wrinkles in the compound curves. I can live with that.
index.php


index.php
 
Painted the hood today, weather was clear, low humidity & in the mid 60's

before
index.php


Base coats, used about 1/2 quart. Had a bunch of issues, mostly related to pressure dropping in my compressor, and the fact I can't remember gun settings. There are several dents in the hood, mostly on the right - some don't make sense - looked like it was beat inside & out. One front & center. I did some filler work, but I'm not interested in spending too much time on it.
index.php


index.php


Clear. Used about 1.5 quarts for that. I'll have to do some serious cleanup sanding & cut & polish in a few days. Happy with the color match though.
index.php


index.php


prepared a flange with a 3" recess for a new DP, will go on with the new 19T turbo (still TDO4HL family, so nothing crazy)

index.php


index.php
 
Started removing intake & exhaust manifolds in prep for head removal, then it started raining.
index.php


So, I started sanding the hood. It stopped raining long enough after that for me to do 3 of the 4 compounding stages. It's still far from shiny :(
index.php


I did get the roof compounded as well, that is OK - only needed one compound & final polish. Eventually I need to paint the drip rail molding
index.php


index.php
 
Pretty amazing work.

Thank you.

I did get the cylinder head off yesterday, and the replacement (Turbo spec) head back on

nasty 220K gasket

index.php


I'm assuming the bulk of the oil dripping down the block on the exhaust side is coming from the pressure feed below the head bolt

index.php


some crud in the water jacket

index.php


cleaned up the deck & the piston crowns

index.php


index.php


new coolant gauge sender & NOS Bosch ECT

index.php


replacement turbo head, cleaned & decked. 2 helicoils for #4 exhaust studs, welded crack in #3 between valves

index.php


Clogged ports in old head. Surprised it didn't have an overheat issue, although some don't appear to connect via the gasket

index.php


index.php


index.php


new gasket in place - not the beaded version - I think I bought the kit from FCP, not sure now

index.php


head torqued - 3 stages 14ft/lb, 45ft/lb, 90?. Using cleaned & oiled bolts. new cushions under the valve caps/ shim cups

index.php


timed camshaft, cam caps torqued to 14ft/lbs, t/belt, ign dist. back in place. Transferred valve shims from other head, have to check all gaps today.

index.php


that's all I had time for, hopefully close it up today
 
Last edited:
Replaced the heater valve & hoses. 1378849 1378850 1259327

index.php


adjusted the valves & put the remaining bits back after this.

index.php


index.php


Runs alike a bag of ****, I think I have injector issues again - no igniton codes, but I did still change the cap rotor & plugs. If I unplug #3, it smooths out & AFR's come back up. I'll swap out the injectors tomorrow & see how that goes.
 
Last edited:
Replaced the injectors this morning after testing the old 280155832's.

Replaced them with the reman pintle yellows, 280150762's. that made things better to a degree.

I rechecked the valve clearances as that is the only other thing that changed. I didn't note the clearances I set the first time, but I was shooting for the cold adjust values of .012-.016"

Clearly, I missed calculated some of the shims:

warm clearances
#1: .018" & .016" OK as is
#3: .022" & .015" - changed the loose one, now .014"
#4 .030" & .025" - changed both, now .017" & .017"
#2 no go(!) swapped out both shims (.165's), to .148's, that gave (tight) .008" - swapped out for .130", that got me to .017" & .018"

I have very few shims in the .135" - .145" range, which is where I needed them the most, so I had to make do with the clearances I have, at least they are all in the .014" - .018" warm range.

No wonder it felt like a misfire - #2 valves weren't even closing, and #4 were not opening enough. It runs nice & smooth now, and no more oil leaks down the block.
 
Worked on small things. Cut an aperture in the overhead rear panel to fit the dome light

index.php


I have to strip & paint the dome light to match the warmer tone, and make a filler section for what used to be the cargo area light socket

index.php
 
Last edited:
Wrapped up the interior light install for now

Cut a section from a dead door pocket
index.php


"refined"
index.php


Fit is good enough
index.php


painted dome light (and filler section) w/ Sems Camel
index.php


I was concerned that it may not sit properly, but there is sufficient gap for the wiring & backside of the fixture to clear
index.php


index.php


the angle of the dome light leading upper edge doesn't conform to the panel, so I will have to do something about that at some point
index.php


Archie approves of the pickup conversion
index.php


index.php
 
Adding a keyless entry system - mostly just so I don't have to worry about using a key in the winter. Figured out I can use the ground triggers in the remote unit to activate the lock/unlock of the existing c/lock system via the factory relay - EXCEPT the later 700's went to a single switch in the Driver's door, so although it looks like a standard lock motor, it's not. To make this work I need to add a lock motor as used in the earlier 700's

89-on style

index.php


-88 style, has switch and motor. So, I'll need to figure out a way to leverage the linkage for a secondary motor. I want to keep the factory circuit intact, so I can't substitute the switching motor shown above (#5) for a standard push/pull version used on the other doors

index.php
 
Last edited:
Kept working on the remote entry/lock setup
figured out where to place the lock motor so it has a good line up to the main push/pull rod, and not have it ripped out by the window channel
index.php


cut down & bent a right angle in the link rod
index.php


took the parts out & welded the lever (cut from the 740 fuel sender) to the push rod, and an addition to the motor mount plate to secure the motor at the required angle
index.php


all in place - inner door release arm does clear the bracket
index.php


link arm clearance
index.php


wired the motor after that - I cut two wires from the rear door window switches, since I don't need those anymore, and spliced the c/lock motor (+/-) t/gate feeds into those at the A pillar connector

blue-red (green into door) = lock
white-red (grey into door) = unlock
index.php


Now the remote entry works, but... Putting the door panel back on caused a restriction in the pull/push rod travel, so I need to clean that up, then done.
 
Last edited:
placement of the keyless module - behind the glovebox
index.php


Wired the '99' adjustable delay wiper relay. The factory harness is too short to relocate to one of the other open relay locations, so I made a bridge that plugs into the stock relay connections. Dave Barton sells a modded 3523610 that serves the same purpose, if I didn't already have the VW relay, that would be an easier (plug in) mod

99 relay & bridge: Volvo relay:
31 (gy) = 31 black
I (bl-gn) = I bl-y
T (bl-r) = 86 bl-r
53m (wh) = S wh
53s (gn-w) = 31b or
15 (y) = 15 y

grey socket is for the '99' relay
index.php


looped back through the next open relay socket & plugged into the receiver
index.php


all tucked away
index.php
 
Last edited:
Fitted the level sender & pump to the 'new' sending unit, soldered pump & sender wires

made sure the pump was properly isolated - I had annoying pulse noise with the way I had it previously.
index.php


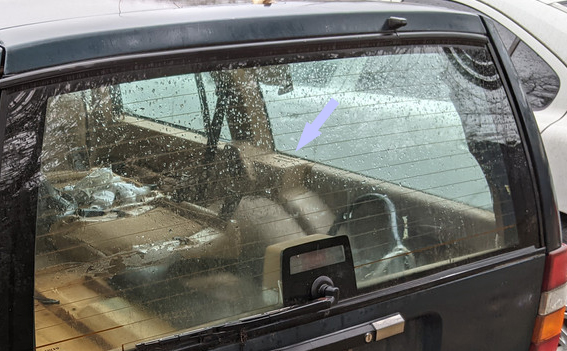
made sure alignment of sender tube to filler neck and vent tube was correct
index.php


Had to put a strap around base of the sender outer sleeve, it had expanded & the sender wasn't sliding evenly in the guide
index.php

installed the sender, wired the new harness
I had to make a right angle adaptor for the quick connect, the straight one wasn't going to work
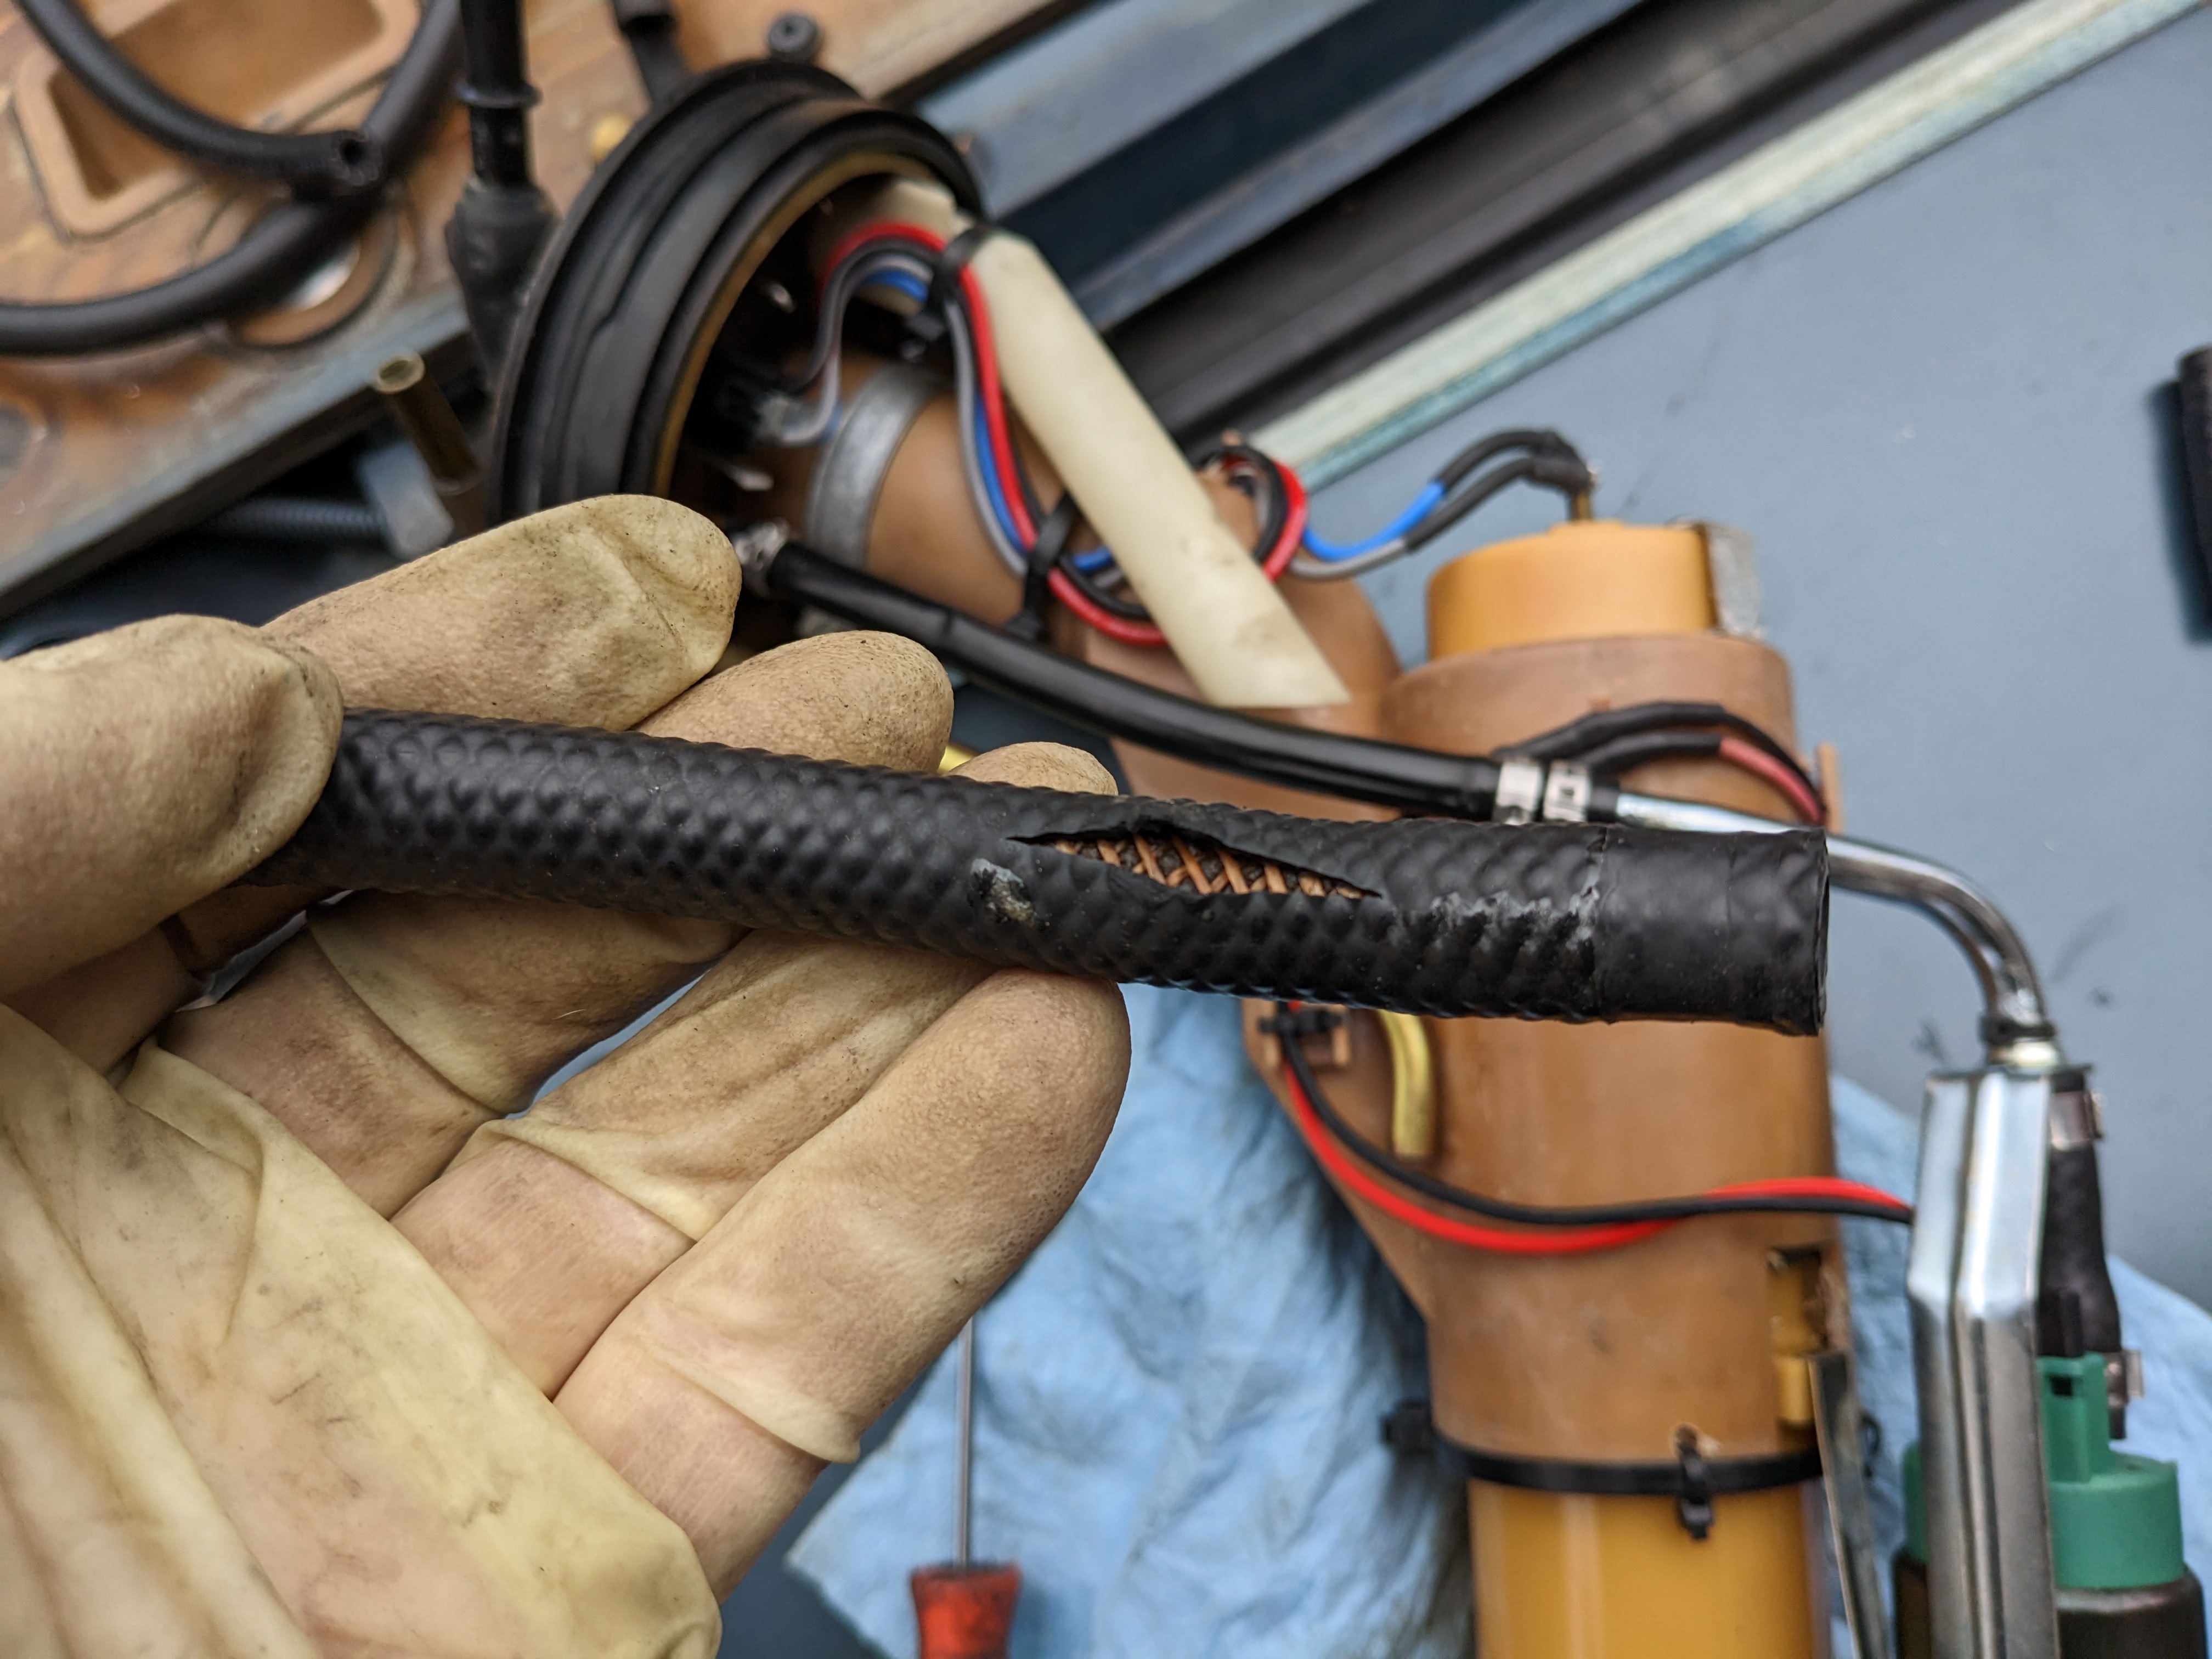
Only problem I found out was that the hard line ruptured when I fitted the quick connect - sprayed gas all over the top of the tank, so I had to make a new line to the filter. Since I was going to replace it, I decided to remove the need for the adaptor, and the adaptor lines with flare fittings needed to go from the steel line to the sender & to the filter. Switching to 8mm ID nitrile line with quick-connects, and the filter (Mann WK-822) from an 850/x70 that utilizes quick-connect fittings. Old lines were 6mm ID.
10mm OD nitrile line, SUR&R quick connects
routed line with epdm sleeve added from sender to filter
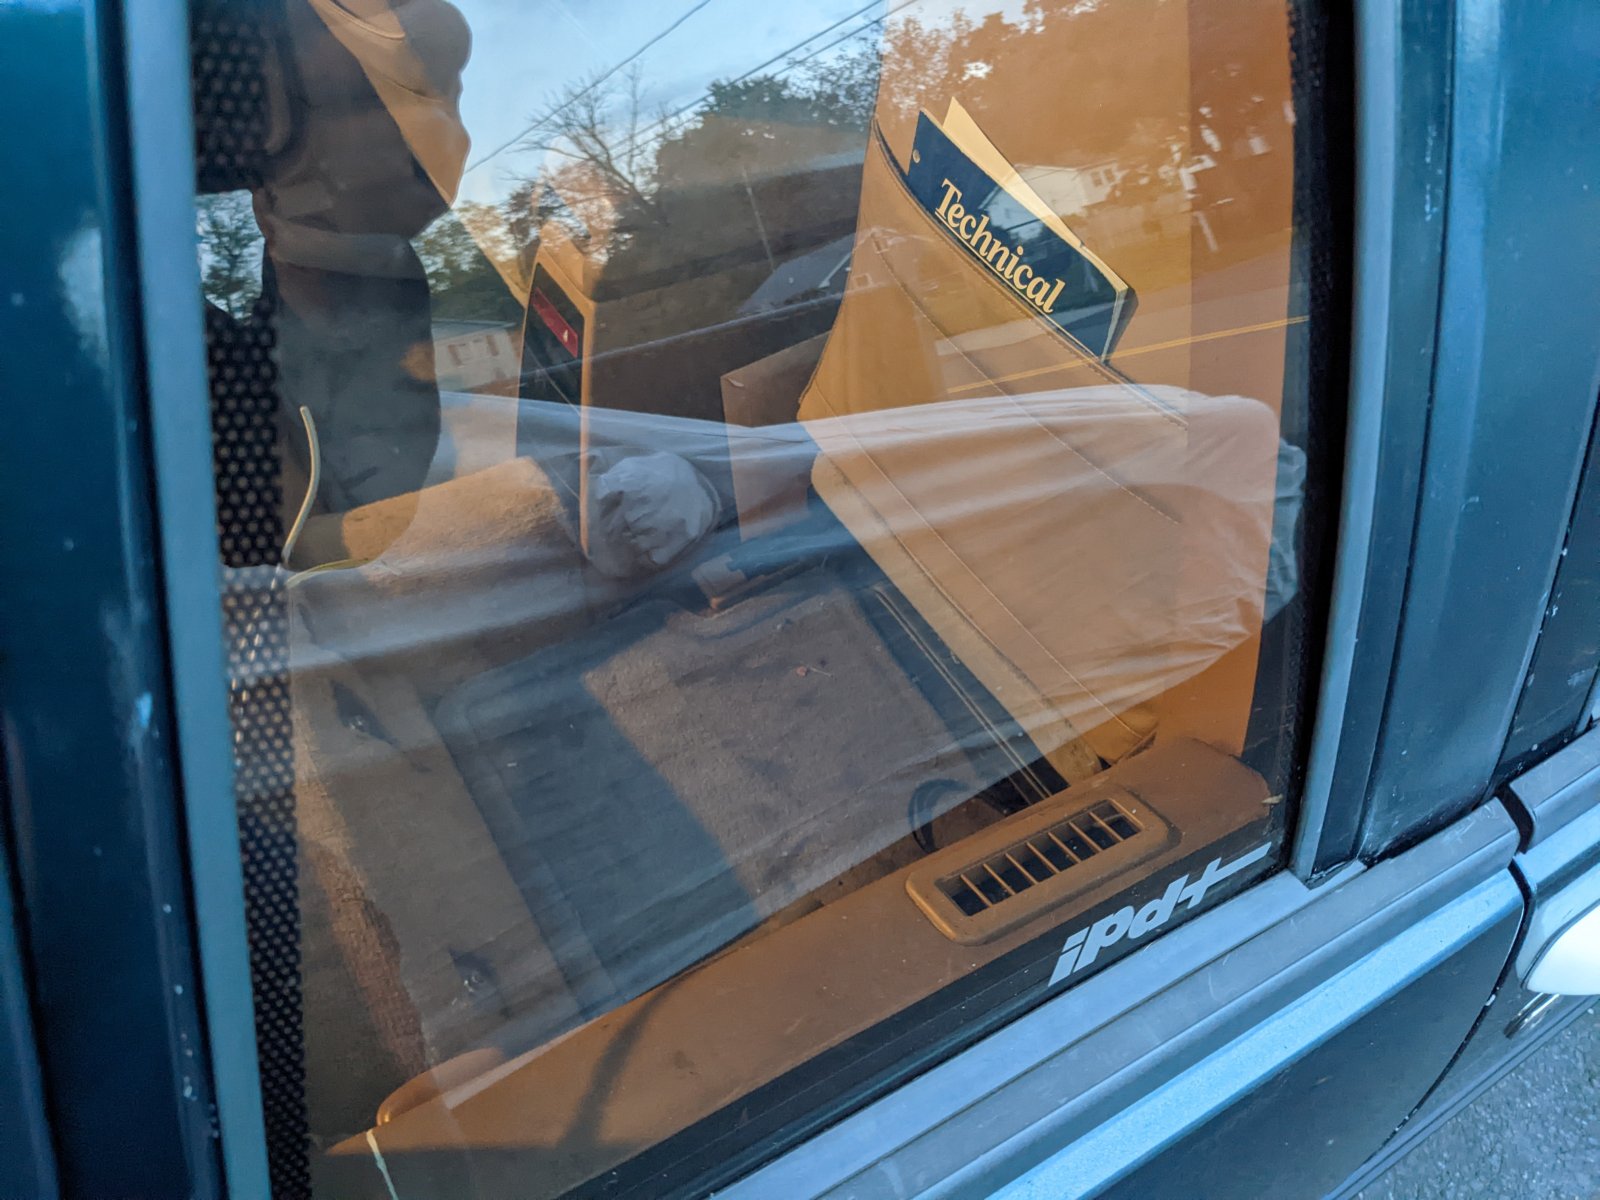
just noticed the rear filler neck hose clamp is MIA..
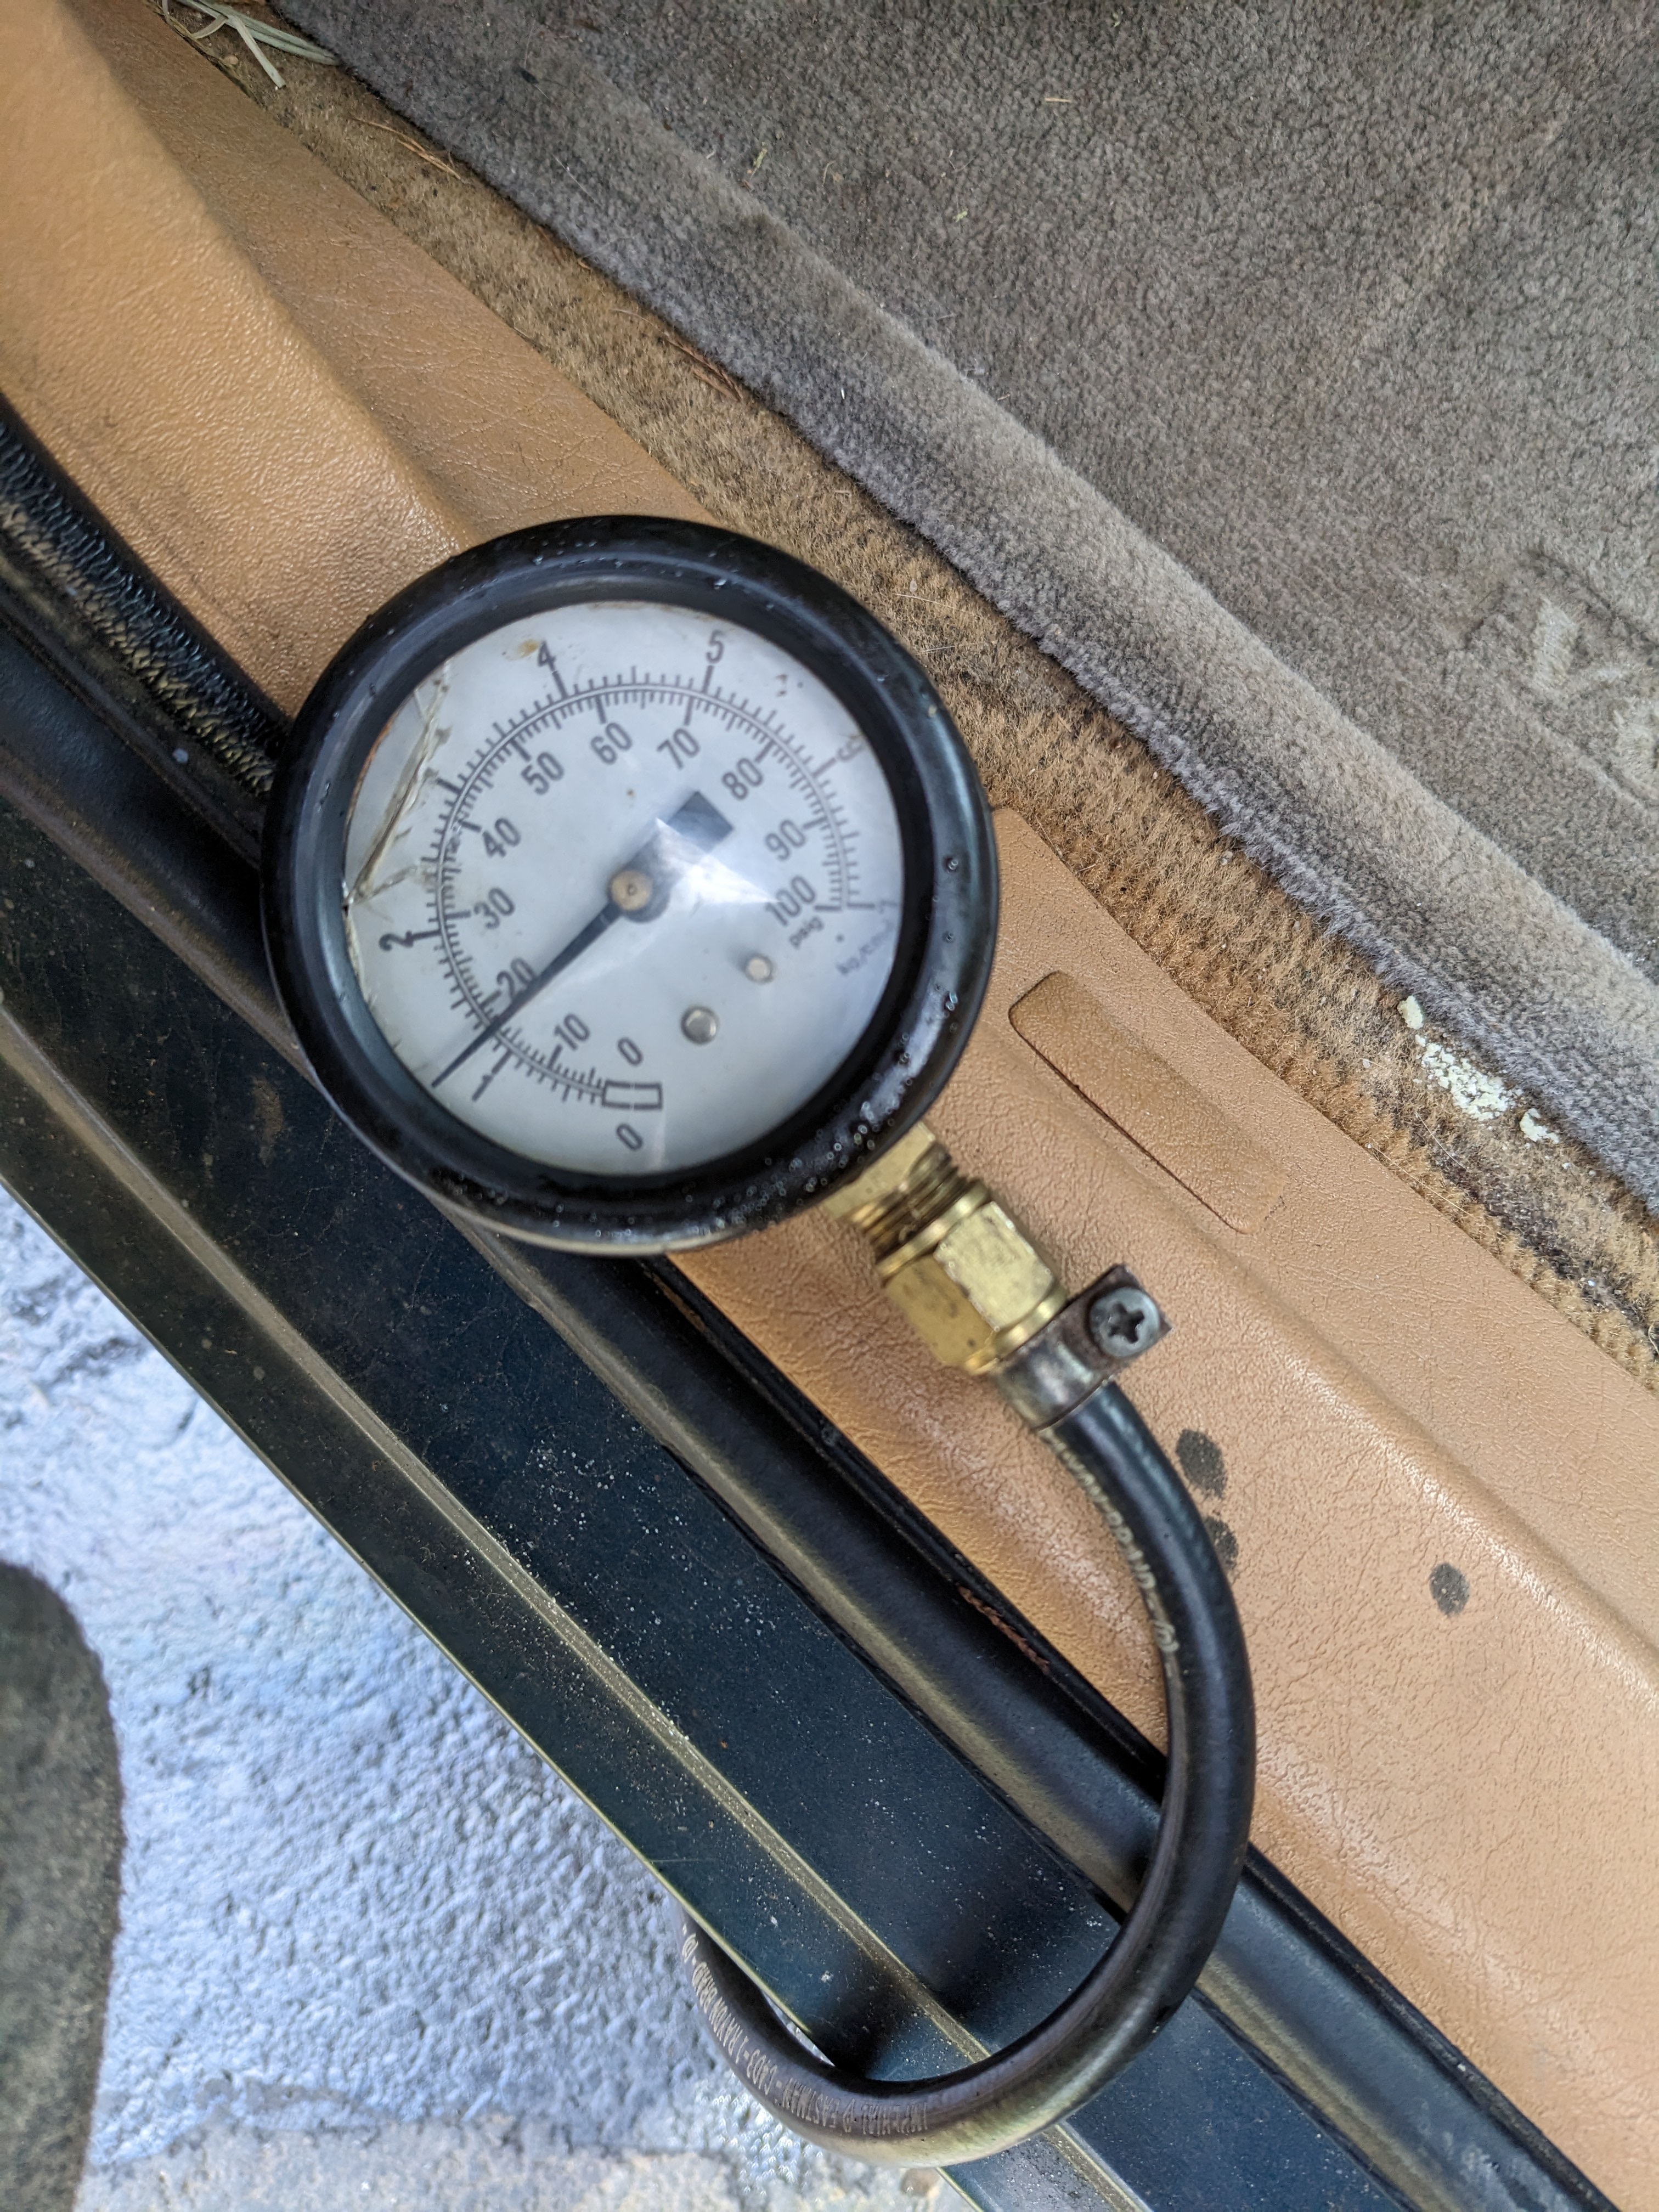
Old filter setup had flare fitting inlet & right-angle banjo union outlet (filter not secured in this pic). No leaks & nice & quiet now.

Either the pump or FPR is dying, or the filter is severely restricted - I barely made it home from work yesterday, the fuel pressure gauge showed only 20psi at idle (!). Have to swap in a stock FPR first & see if that makes a difference. Listening in the filler neck, the pump is really quiet, so I'm thinking it's the pump....
 
  • Like
Reactions: Dan
Did a pressure test at the filter on Friday, only 20psi there also. I ordered another 50-1200 AEM pump, hopefully this one lasts more than 6 months
PXL-20230324-193848681.jpg
 
So, the problem wasn't the pump (thankfullly) - it was the Volvo 7mm ID fuel hose I used (bought a couple meters about 2 years ago)- it was supposed to be submersible

PXL-20230331-192409796.jpg


Replaced it with nitrile line, it's what I have. Reinstalled, and pressure is back where it should be
PXL-20230331-192413120.jpg
 
  • Like
Reactions: Dan
So, the problem wasn't the pump (thankfullly) - it was the Volvo 7mm ID fuel hose I used (bought a couple meters about 2 years ago)- it was supposed to be submersible

PXL-20230331-192409796.jpg


Replaced it with nitrile line, it's what I have. Reinstalled, and pressure is back where it should be
PXL-20230331-192413120.jpg
Interesting... I had this same situation happen on a customer's square body recently. Brand new Delphi sending unit/pump, too.
 
Painted the hood today, weather was clear, low humidity & in the mid 60's


Clear. Used about 1.5 quarts for that. I'll have to do some serious cleanup sanding & cut & polish in a few days. Happy with the color match though.
index.php


index.php
How many coats of clear? Maybe something wrong with gun? It can be hard to see the clear lay down when you're spraying. It looks like you went really light on clear.
 
How many coats of clear? Maybe something wrong with gun? It can be hard to see the clear lay down when you're spraying. It looks like you went really light on clear.

I don't paint very often, may well have had the gun settings off. On top of that, it was a inexpensive clear. It's already peeling on the roof, not that it matters.
 
Driving the pickup to Ithaca NY for a car show this weekend, so I changed the oil, checked over the engine bay - found the breather hose ruptured (again) . Can't get an OEM one anymore. I cut a length of stock Volvo breather hose (949701, still available) doesn't matter about the dogleg


index.php

The midgate had started to rattle over bumps, so I addressed the guide stops - middle left - the bumper was gone, I cut a piece of soft tubing & inserted that

index.php


same situation for the tailgate, not that that was rattling though
index.php


After that I decided to make the taillight bulb covers I never made, and deal with the fuel filler neck cover. I just used a scrap wheel arch liner.
Not pretty, but good enough
index.php


This what I had over the filler neck, a cut down section of the interior panelling
index.php


I cut some more sections of the wheel arch liner, plastic welded them together
index.php


Much tidier
index.php

Then I covered it with vinyl
index.php

index.php

Finally, the spare tire rattles around sometimes, the anchor didn't work as it was intended for a steel wheel.
I sleeved two together with a piece of 1/2 copper & a 3/8 NPT section solder to the end so the taper was inboard. The point was I need the sections to hold together
index.php

index.php

now it retains the wheel
index.php
 
Back
Top