• Hello Guest, welcome to the initial stages of our new platform!
    You can find some additional information about where we are in the process of migrating the board and setting up our new software here

    Thank you for being a part of our community!

Volvo 122S Build Thread: Scope-creep the Sequel

Update time...hey, if you've never tuned into the YouTube channel, have a gander. There are worse ways to waste your time.

<iframe width="560" height="315" src="https://www.youtube.com/embed/zSsayIqqTgo" frameborder="0" allow="accelerometer; autoplay; encrypted-media; gyroscope; picture-in-picture" allowfullscreen></iframe>
 
Newman Car Creations? I've seen that frame - nice looking work. Thanks for the complements - sometimes I'm not sure anyone reads this thread. I'm just plugging away in my garage trying to stay motivated to keep pushing. Most of the times the steps are pretty small, but forward progress is being made.


Yep, Newman Car Creations. Worked there for a few years during their highest production years when we were churning out 20 to 30 frames a year. I wasn't a fabricator though, my main duties were rebuilding the suspension subassemblies and installing them on the chassis as well as doing alignments and corner balancing on completed client cars.

They've done a bunch of special "one off" projects throughout the years (trucks and cars) for both clients and personal cars. Paul Newman (not of actor/racing fame) got his start building Pike's Peak chassis with Porsche power including the one currently in Bruce Canepa's collection that he raced in 1979.

I'll keep following all the updates, this is a very interesting build to say the least.
 
- sometimes I'm not sure anyone reads this thread. I'm just plugging away in my garage trying to stay motivated to keep pushing. Most of the times the steps are pretty small, but forward progress is being made.

It is a great thread. My boys Amazon will never be this cool, but it gives me inspiration nonetheless!
Some day we will start on his.
Keep up the good work! ( Great work!!)
 
Nicely done Craig! I salute your dedication to sheet metal perfection..... I don't have the time to read all your threads from the beginning of this car, but 2 quick questions:

1. What engine management will you use for the whiteblock?
2. Where did you develop all these metal skills? I'm presuming this hobby work has spilled over from your 8-5 life.
 
It is a great thread. My boys Amazon will never be this cool, but it gives me inspiration nonetheless!
Some day we will start on his.
Keep up the good work! ( Great work!!)

Thanks - I draw inspiration from all the great build threads going on these days in the forum. I just wish I knew how to move a little faster!

Nicely done Craig! I salute your dedication to sheet metal perfection..... I don't have the time to read all your threads from the beginning of this car, but 2 quick questions:

1. What engine management will you use for the whiteblock?
2. Where did you develop all these metal skills? I'm presuming this hobby work has spilled over from your 8-5 life.

EMS is not finalized just yet - but most likely MS3Pro. I've never done a stand alone from scratch before...so that'll be an adventure.

Funny enough, my hobby is in direct and rather stark contrast to my day job...I'm a university professor. My Dad owned a machine shop - I swept the floors and cleaned the toilets from the age of 7 (child labour laws didn't exist). I would work summers as a welder/fabricator when I was in university. My sheet metal "skills" are all self-taught. I read a lot of books.
 
Rockin some interior details. It's really starting to take shape now.

<iframe width="560" height="315" src="https://www.youtube.com/embed/GtavRGKzRj4" frameborder="0" allow="accelerometer; autoplay; encrypted-media; gyroscope; picture-in-picture" allowfullscreen></iframe>
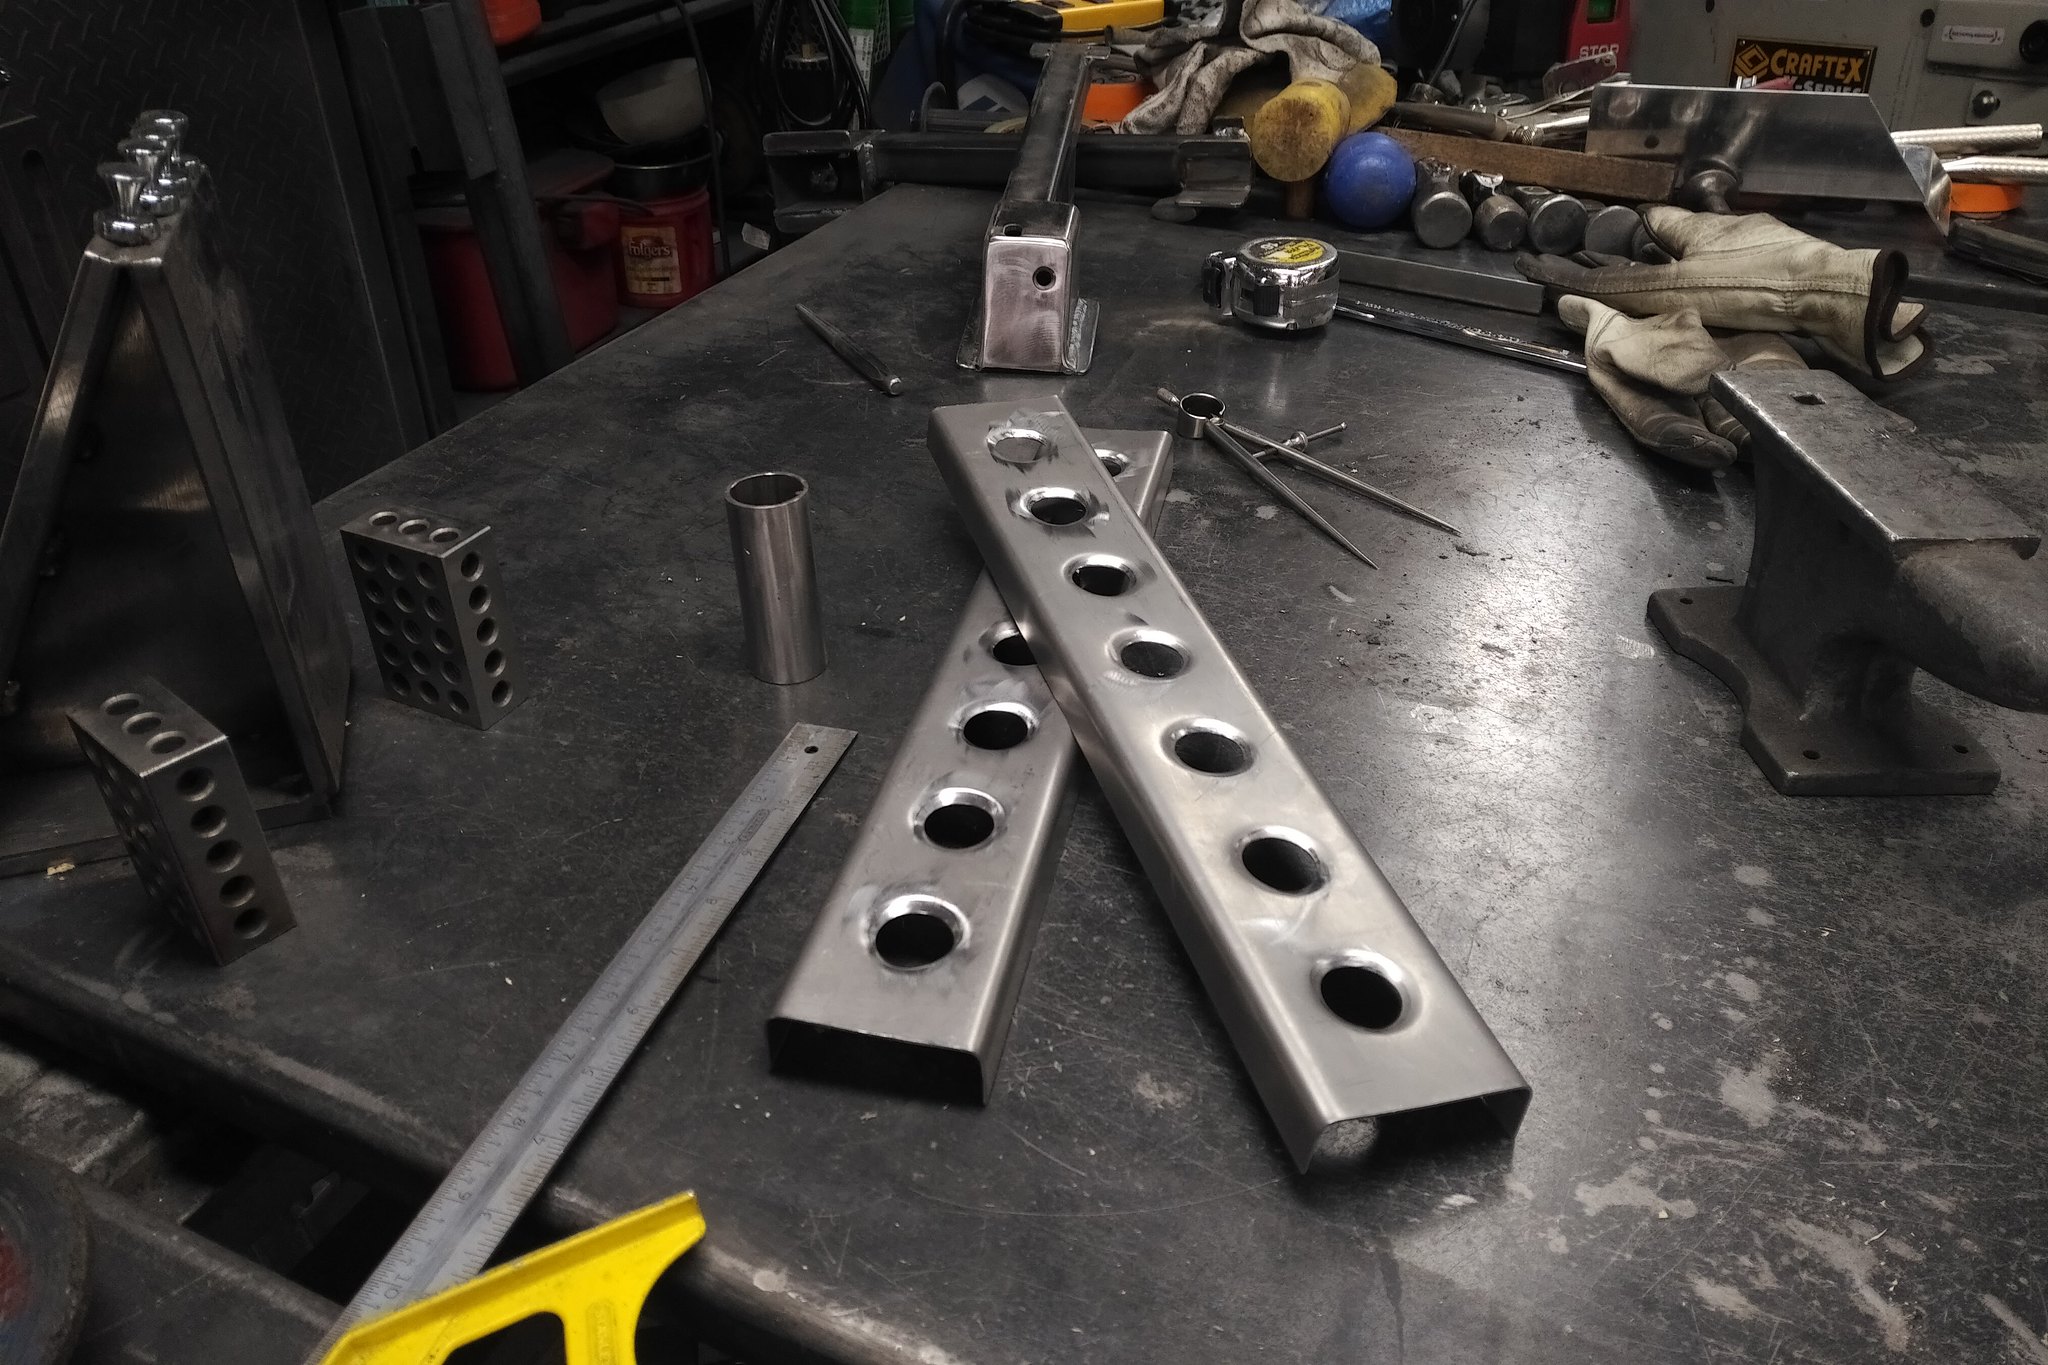
 
Lots of progress.

i started off by finishing off some interior details. I made some dimple plates to finish off my seat brackets.

46912433231_27746acb94_k.jpg


They join the sides so that the seats can be fit properly. With a latch only on one side, these tie the brackets together to help fit the seats, and they look cool.

46912437901_5d5d7ebf9e_k.jpg


45997935065_2a10ad86b0_k.jpg


46912438351_d47f39110c_k.jpg


I fixed the closing panel for the bottom of the drive line tunnel.

45997933495_e11acbac18_k.jpg


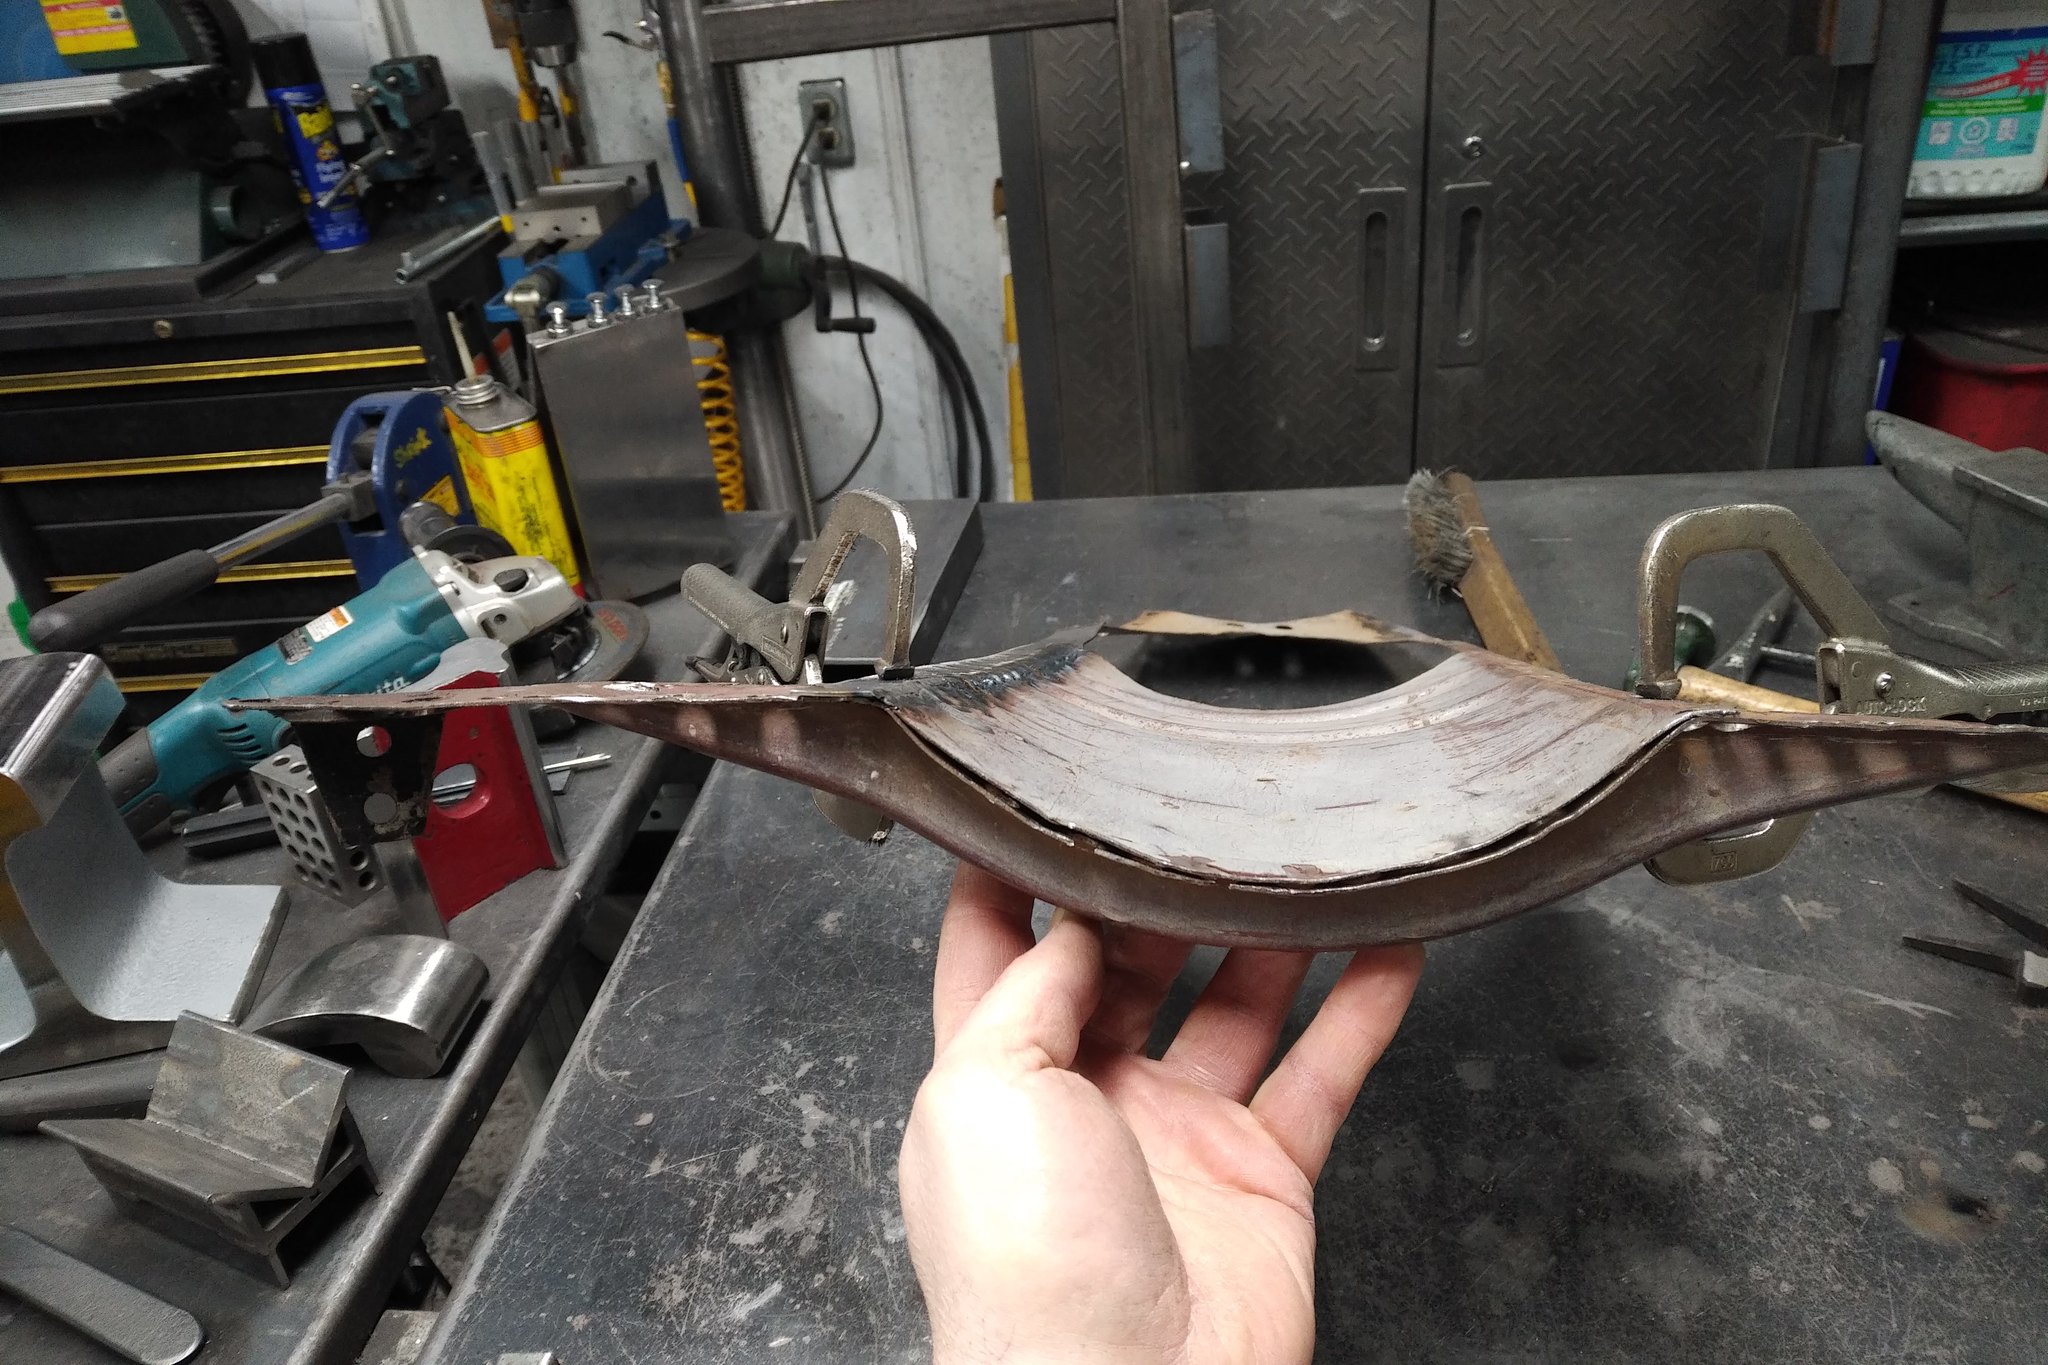
I cleaned up the bottom cross member reinforcing loop. It's ready to fit.

46912437171_7c0133891d_k.jpg


45997934535_2de1fe8a3e_k.jpg


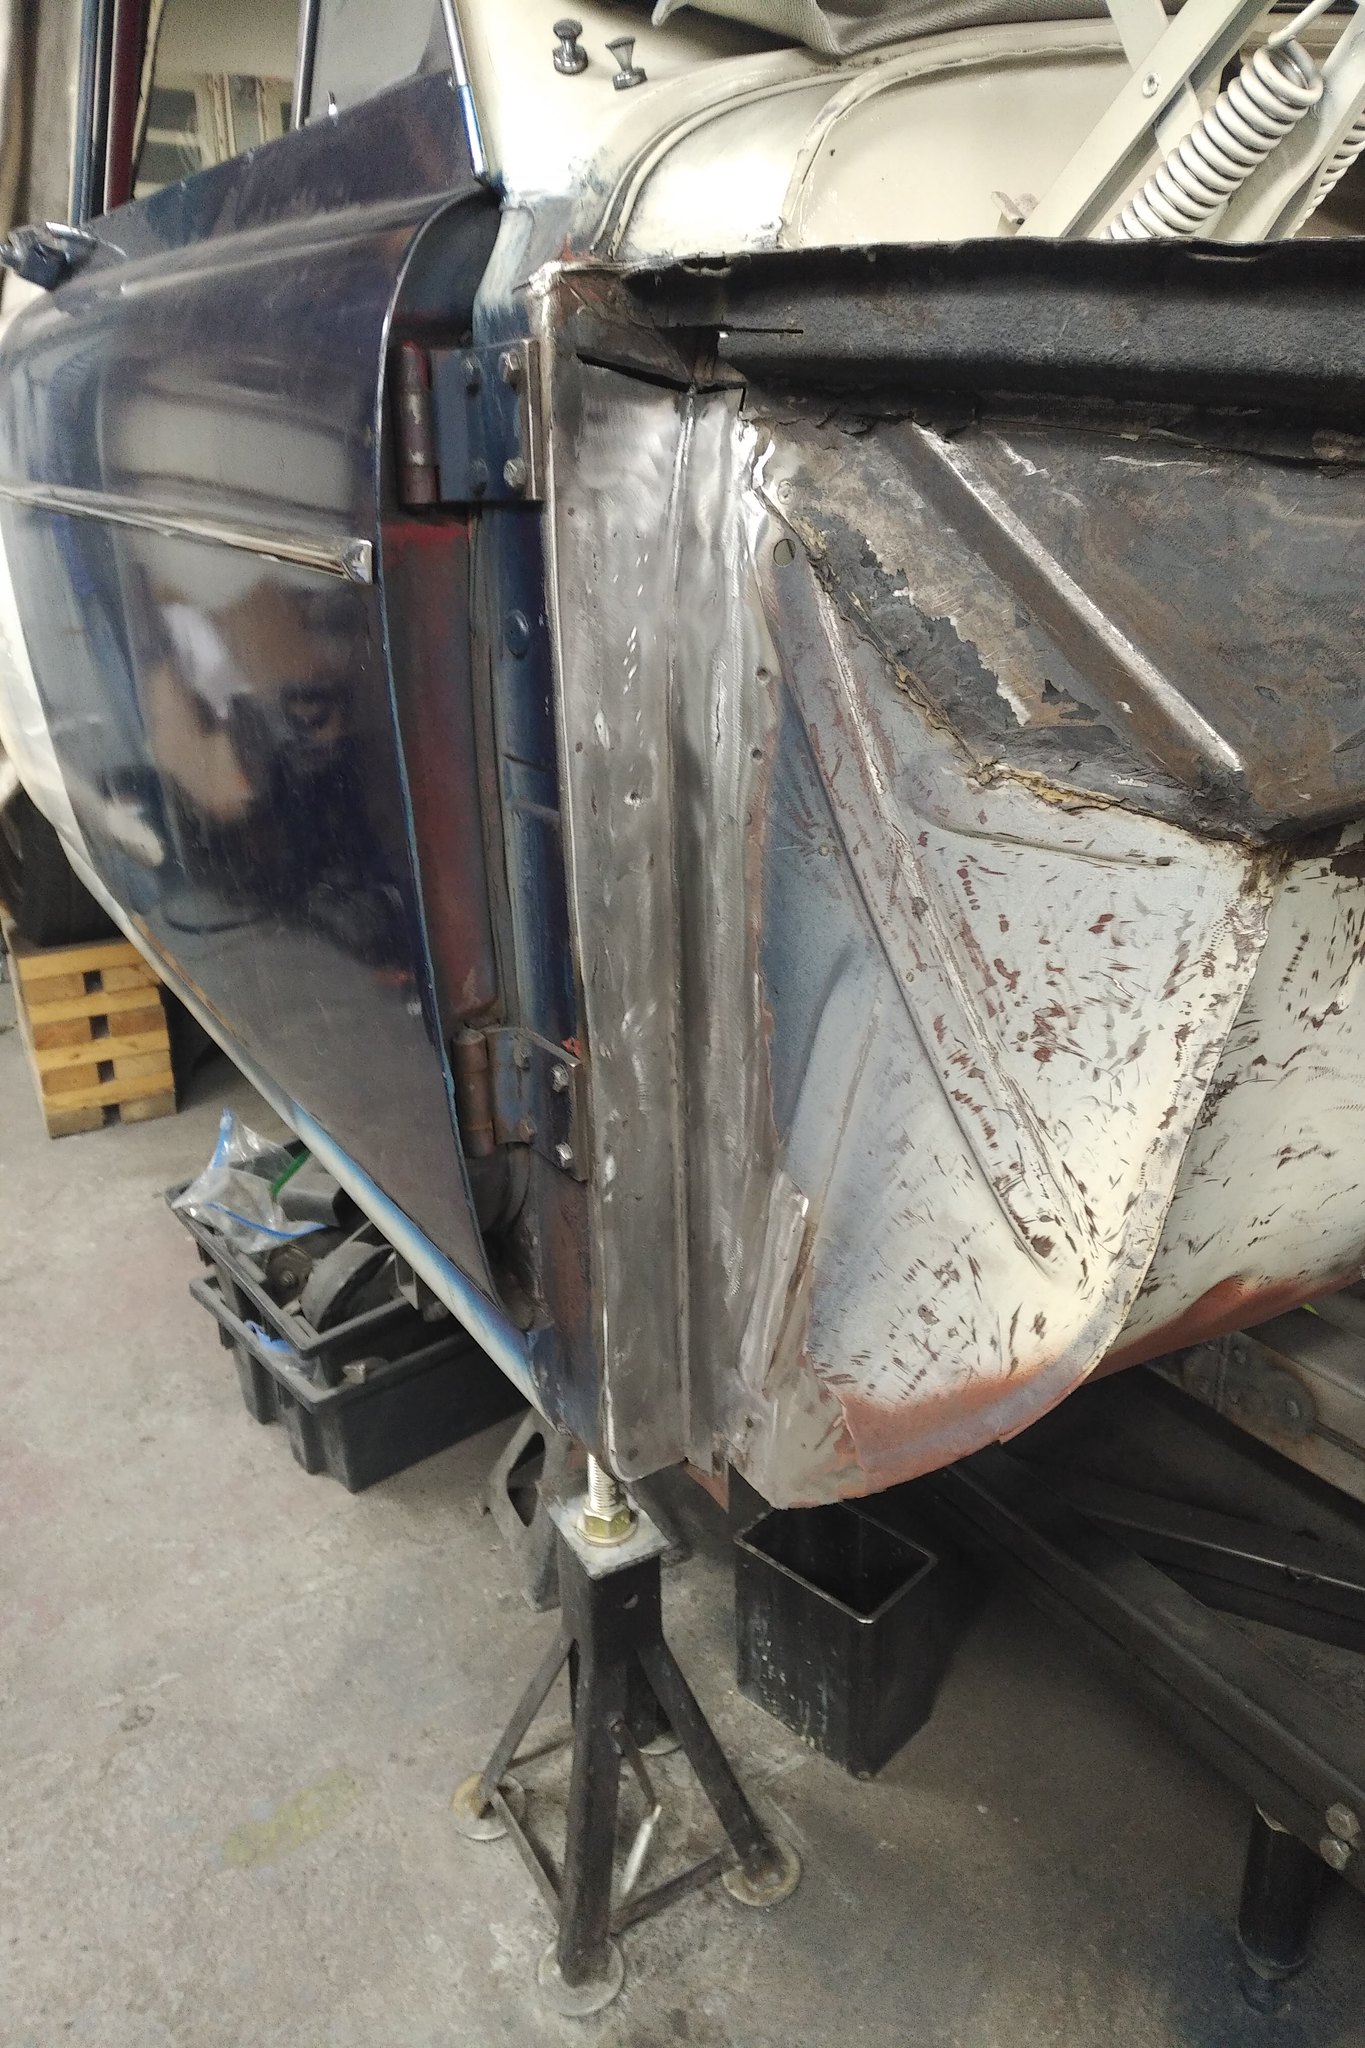
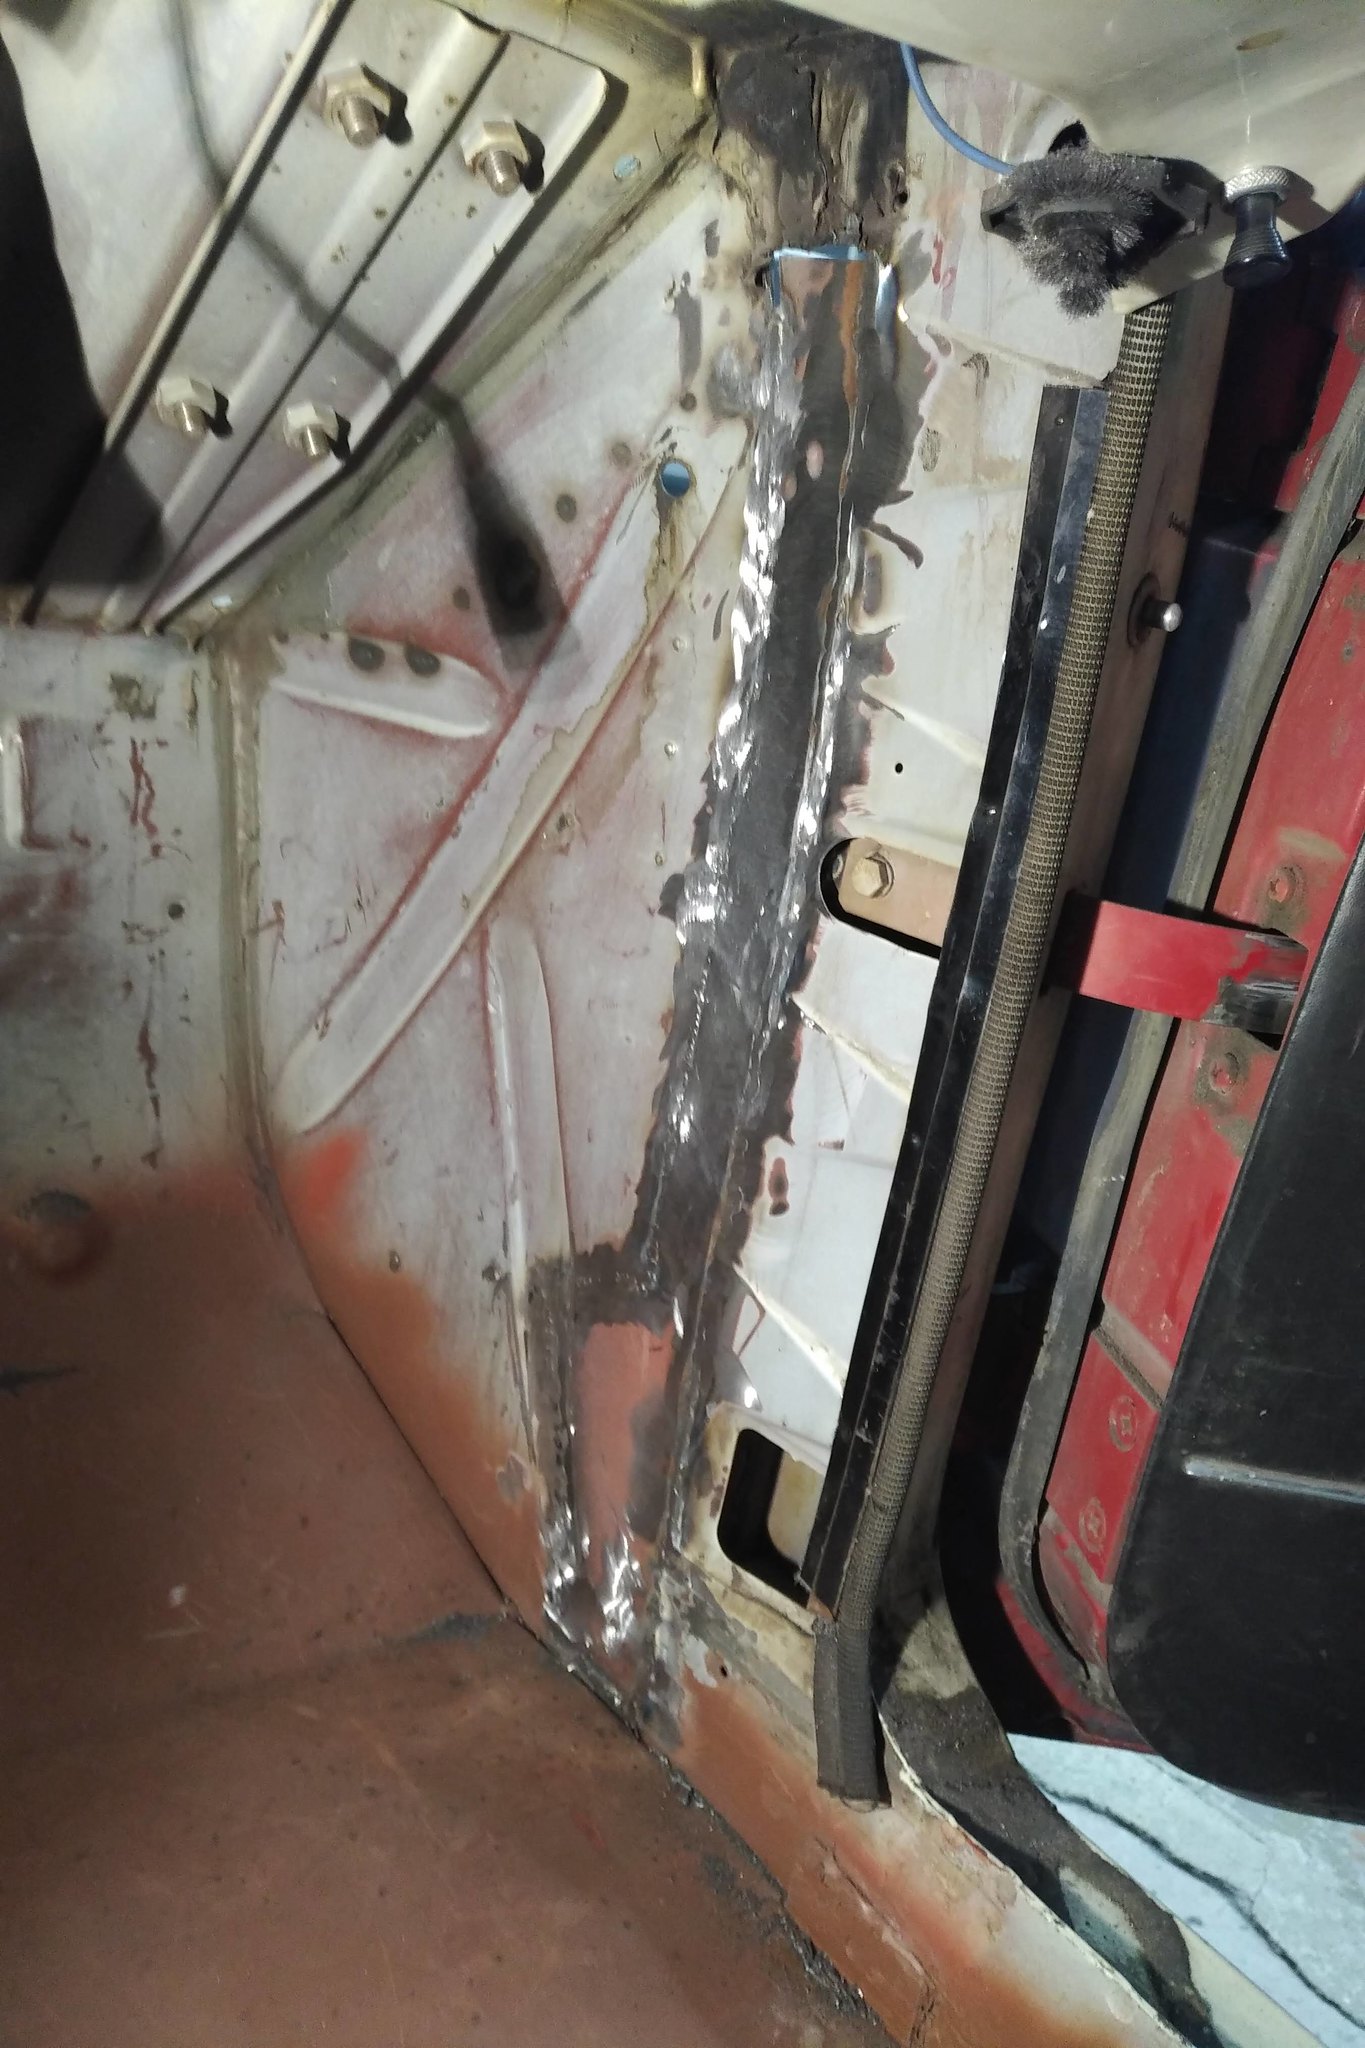
I fixed up the other A-pillar while I was getting things done.

46912435581_1f20bd7beb_k.jpg


45997931975_75869949ab_k.jpg


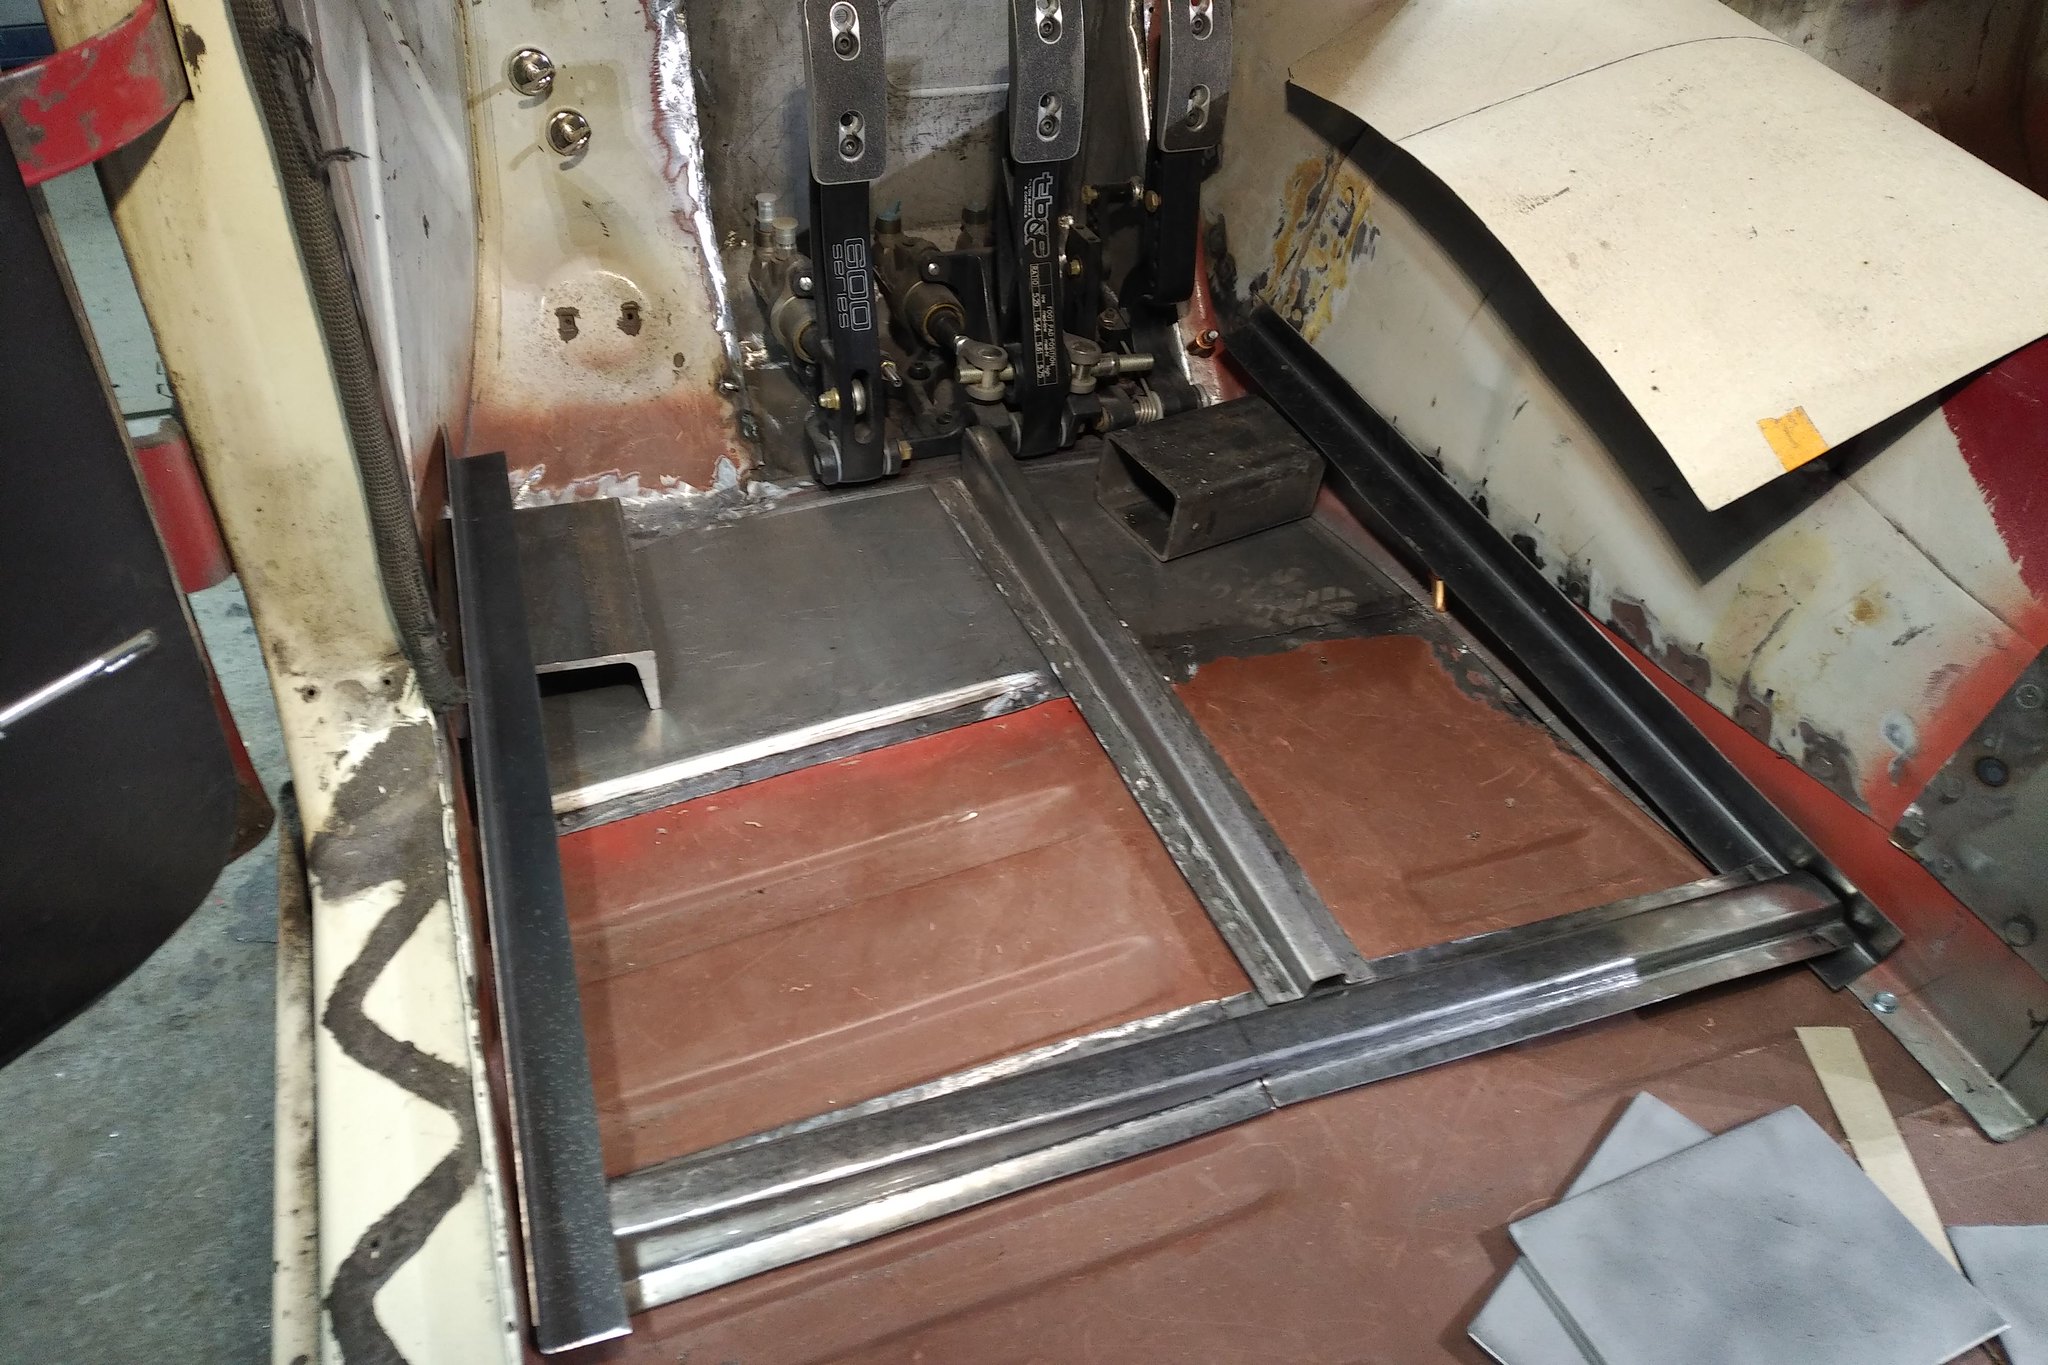
Got busy working out how to do the race pedal installation. False floor frames are done.

46912434341_2328e9485b_k.jpg


Changed my mind with the centre support rib.

This one has a flat at the top for my feet.

45997931555_c3a199ec01_k.jpg


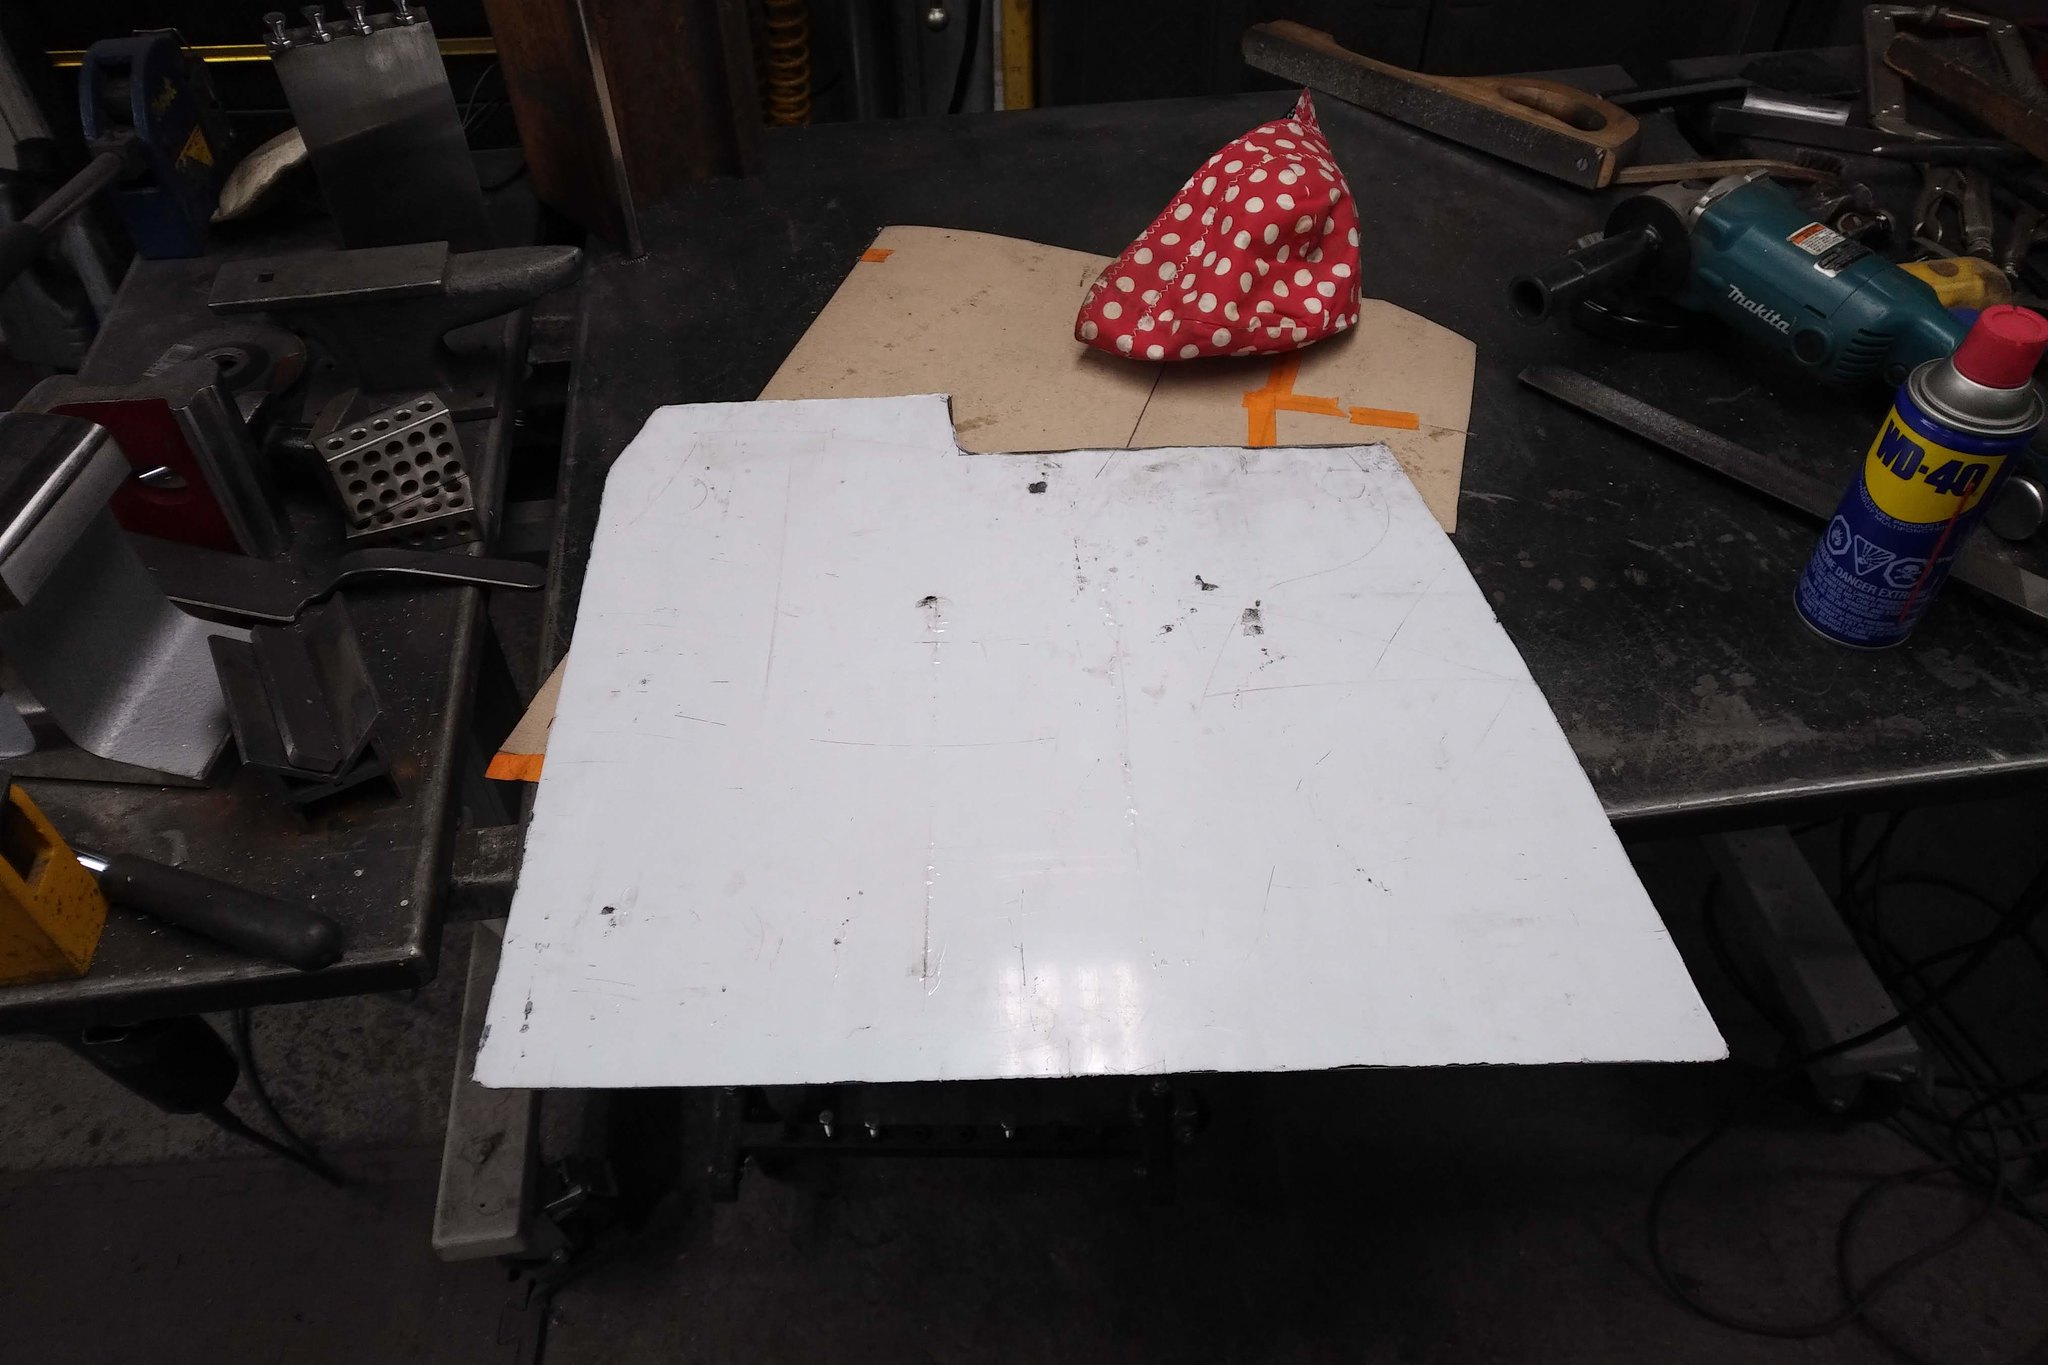
A 2 mm 5052 aluminum sheet makes up the floor.

46912433381_2ffdae0612_k.jpg


Then I built the closing panel for the firewall. Still working on the brackets for this part, but it's shape is done.

45997930175_724637a2ae_k.jpg
 
Craig, Excellent Canadian Meticulitis as always. The pedal cover is completely unexpected! When it's carpeted over no one will suspect you have stuff hidden in there :roll:
 
<iframe width="560" height="315" src="https://www.youtube.com/embed/rRM7_TfMR5o" frameborder="0" allow="accelerometer; autoplay; encrypted-media; gyroscope; picture-in-picture" allowfullscreen></iframe>
 
Next installment...it's progress.

<iframe width="560" height="315" src="https://www.youtube.com/embed/tDf8zzRsTns" frameborder="0" allow="accelerometer; autoplay; encrypted-media; gyroscope; picture-in-picture" allowfullscreen></iframe>
 
Still working on the pedals. I haven't had time for a proper post in a while. I'll get on that in a bit.

<iframe width="560" height="315" src="https://www.youtube.com/embed/Xq9BnaUPGVk" frameborder="0" allow="accelerometer; autoplay; encrypted-media; gyroscope; picture-in-picture" allowfullscreen></iframe>
 
<iframe width="560" height="315" src="https://www.youtube.com/embed/ASdtk2r0GWU" frameborder="0" allow="accelerometer; autoplay; encrypted-media; gyroscope; picture-in-picture" allowfullscreen></iframe>
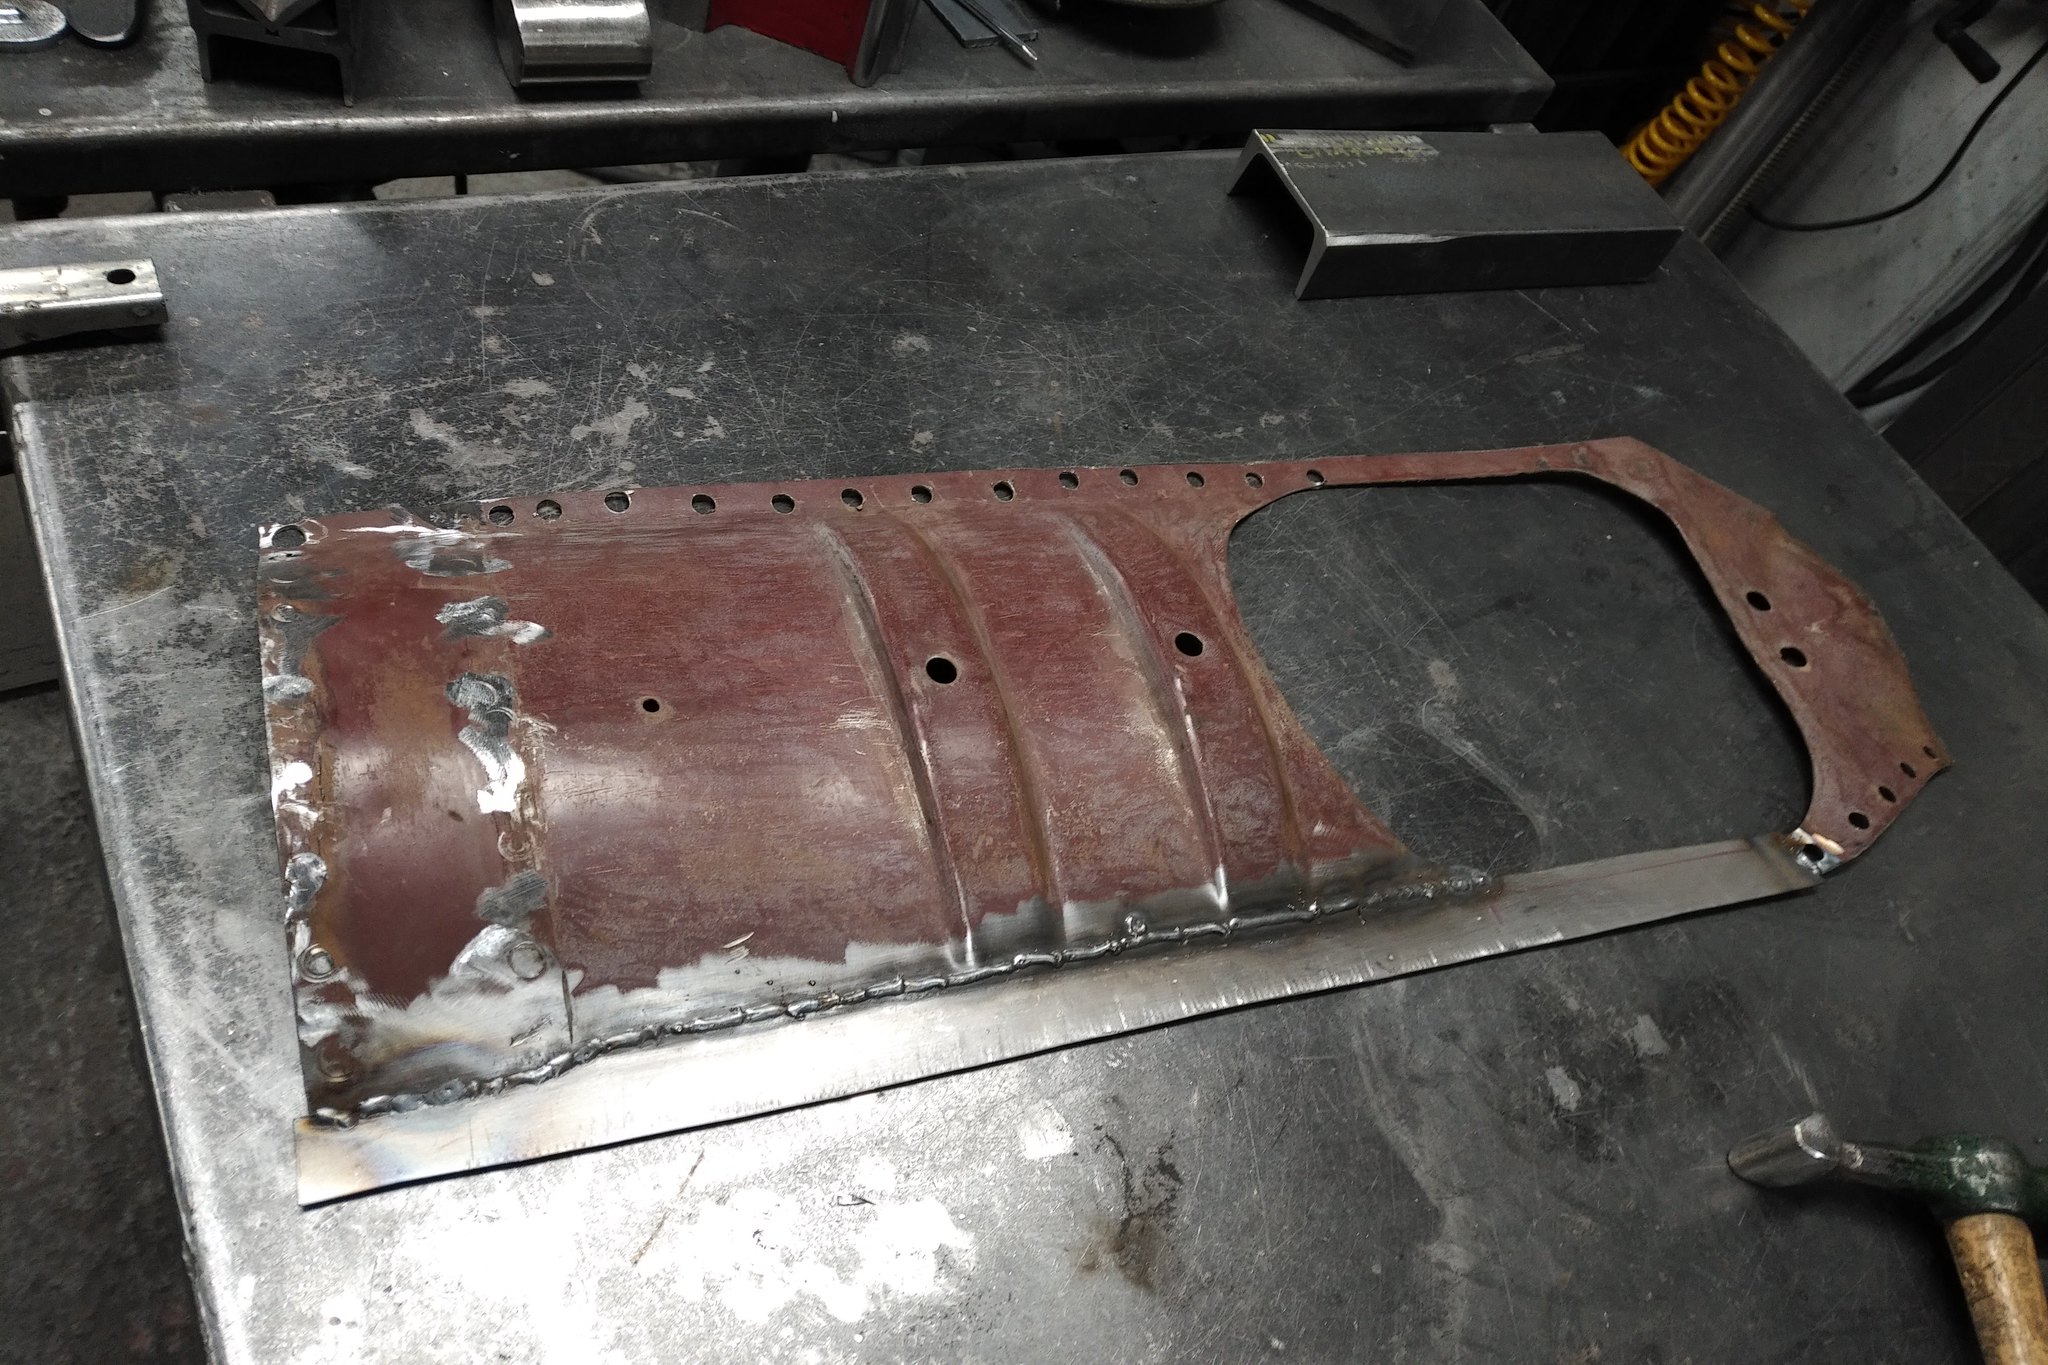
 
Quick update.

Things are still moving at a glacial pace...at least it matches the weather. The floor frame got welded in with about a thousand screws to secure the panels! I know it's overkill - but it won't rattle.

32260752027_5b4a3d4eb1_k.jpg


I spent an entire weekend getting the final fitting done on the panels and building the dead pedal. It's now done.

47202946841_d01324319d_k.jpg


I have since turned my attention to the projects that were left half done and have started getting those done.

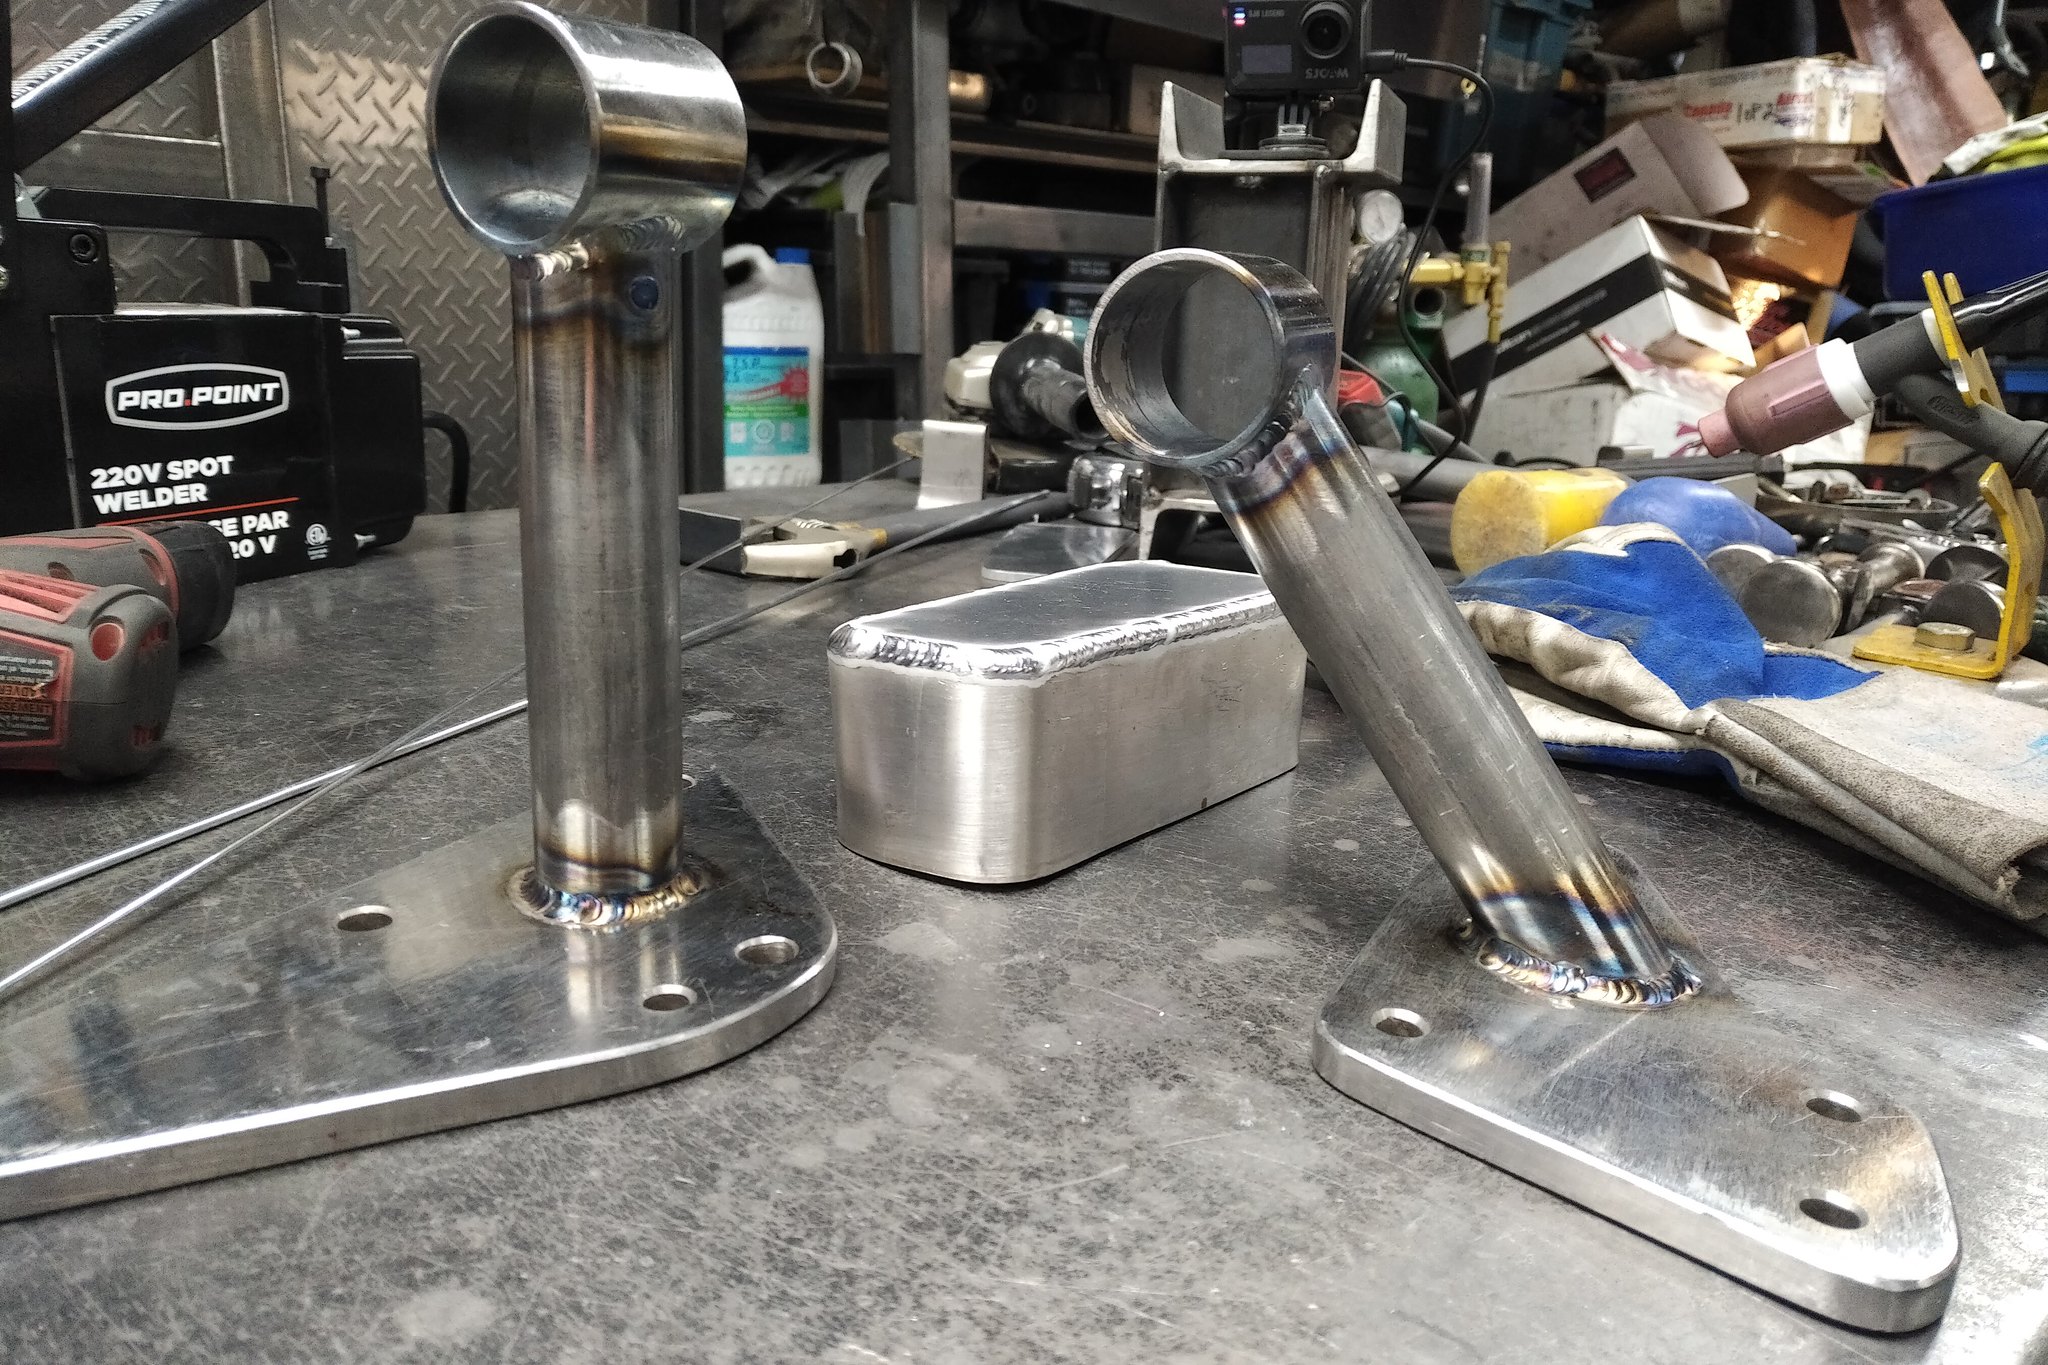
Things like engine mounts.

Done.

32260751347_de213cf87a_k.jpg


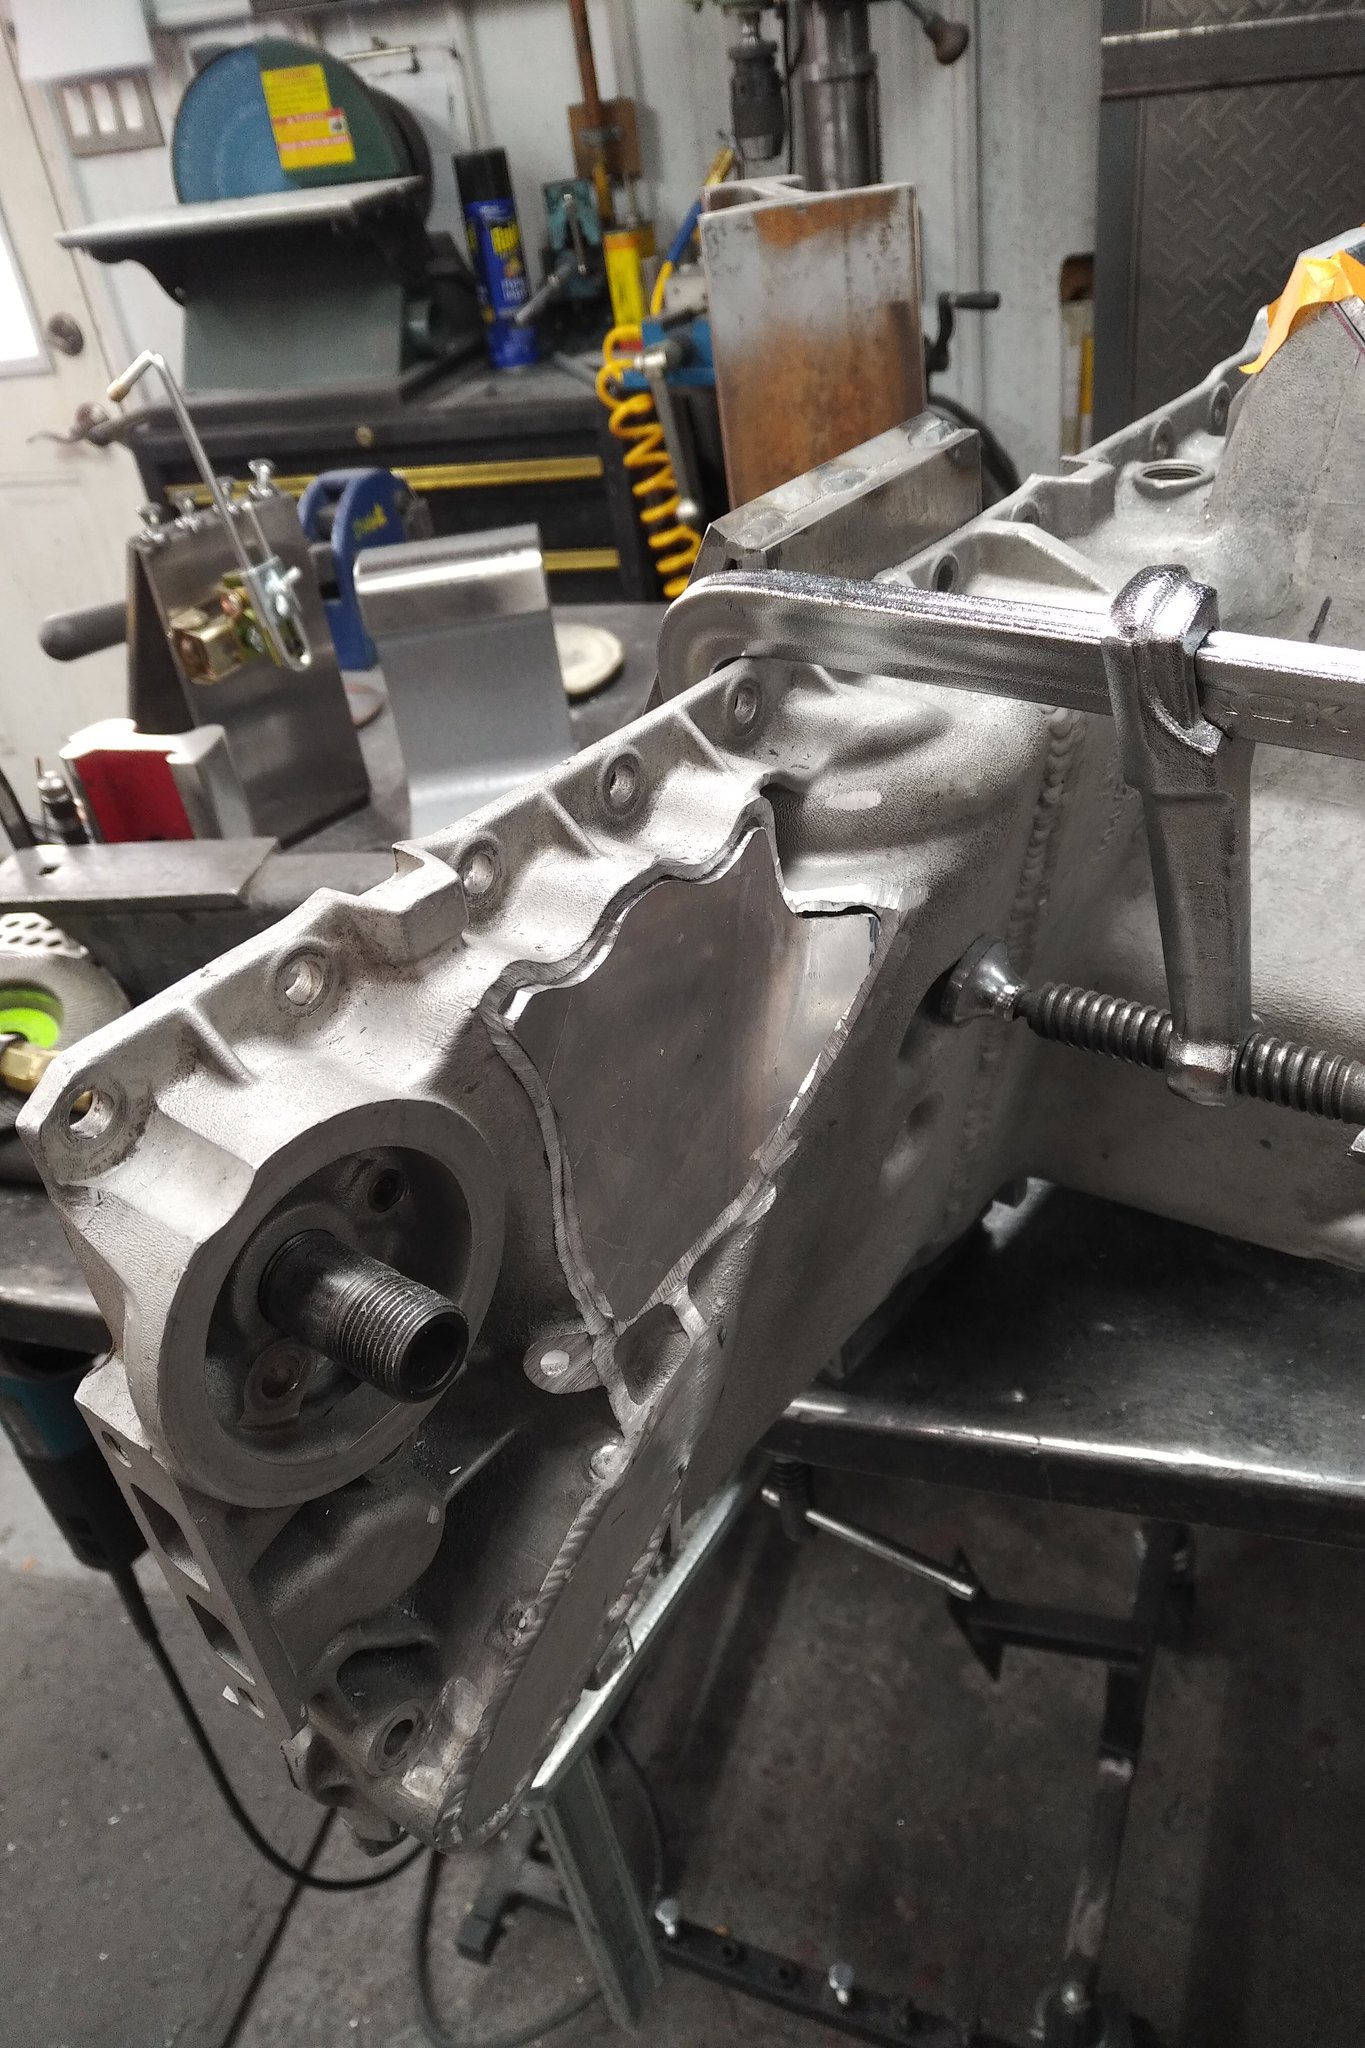
Then the oil pan has been half done for about 6 months - so I fitted up the various parts.

32260750567_1863147be3_k.jpg


46479507354_9ba24a890b_k.jpg


32260750127_093b593ccc_k.jpg


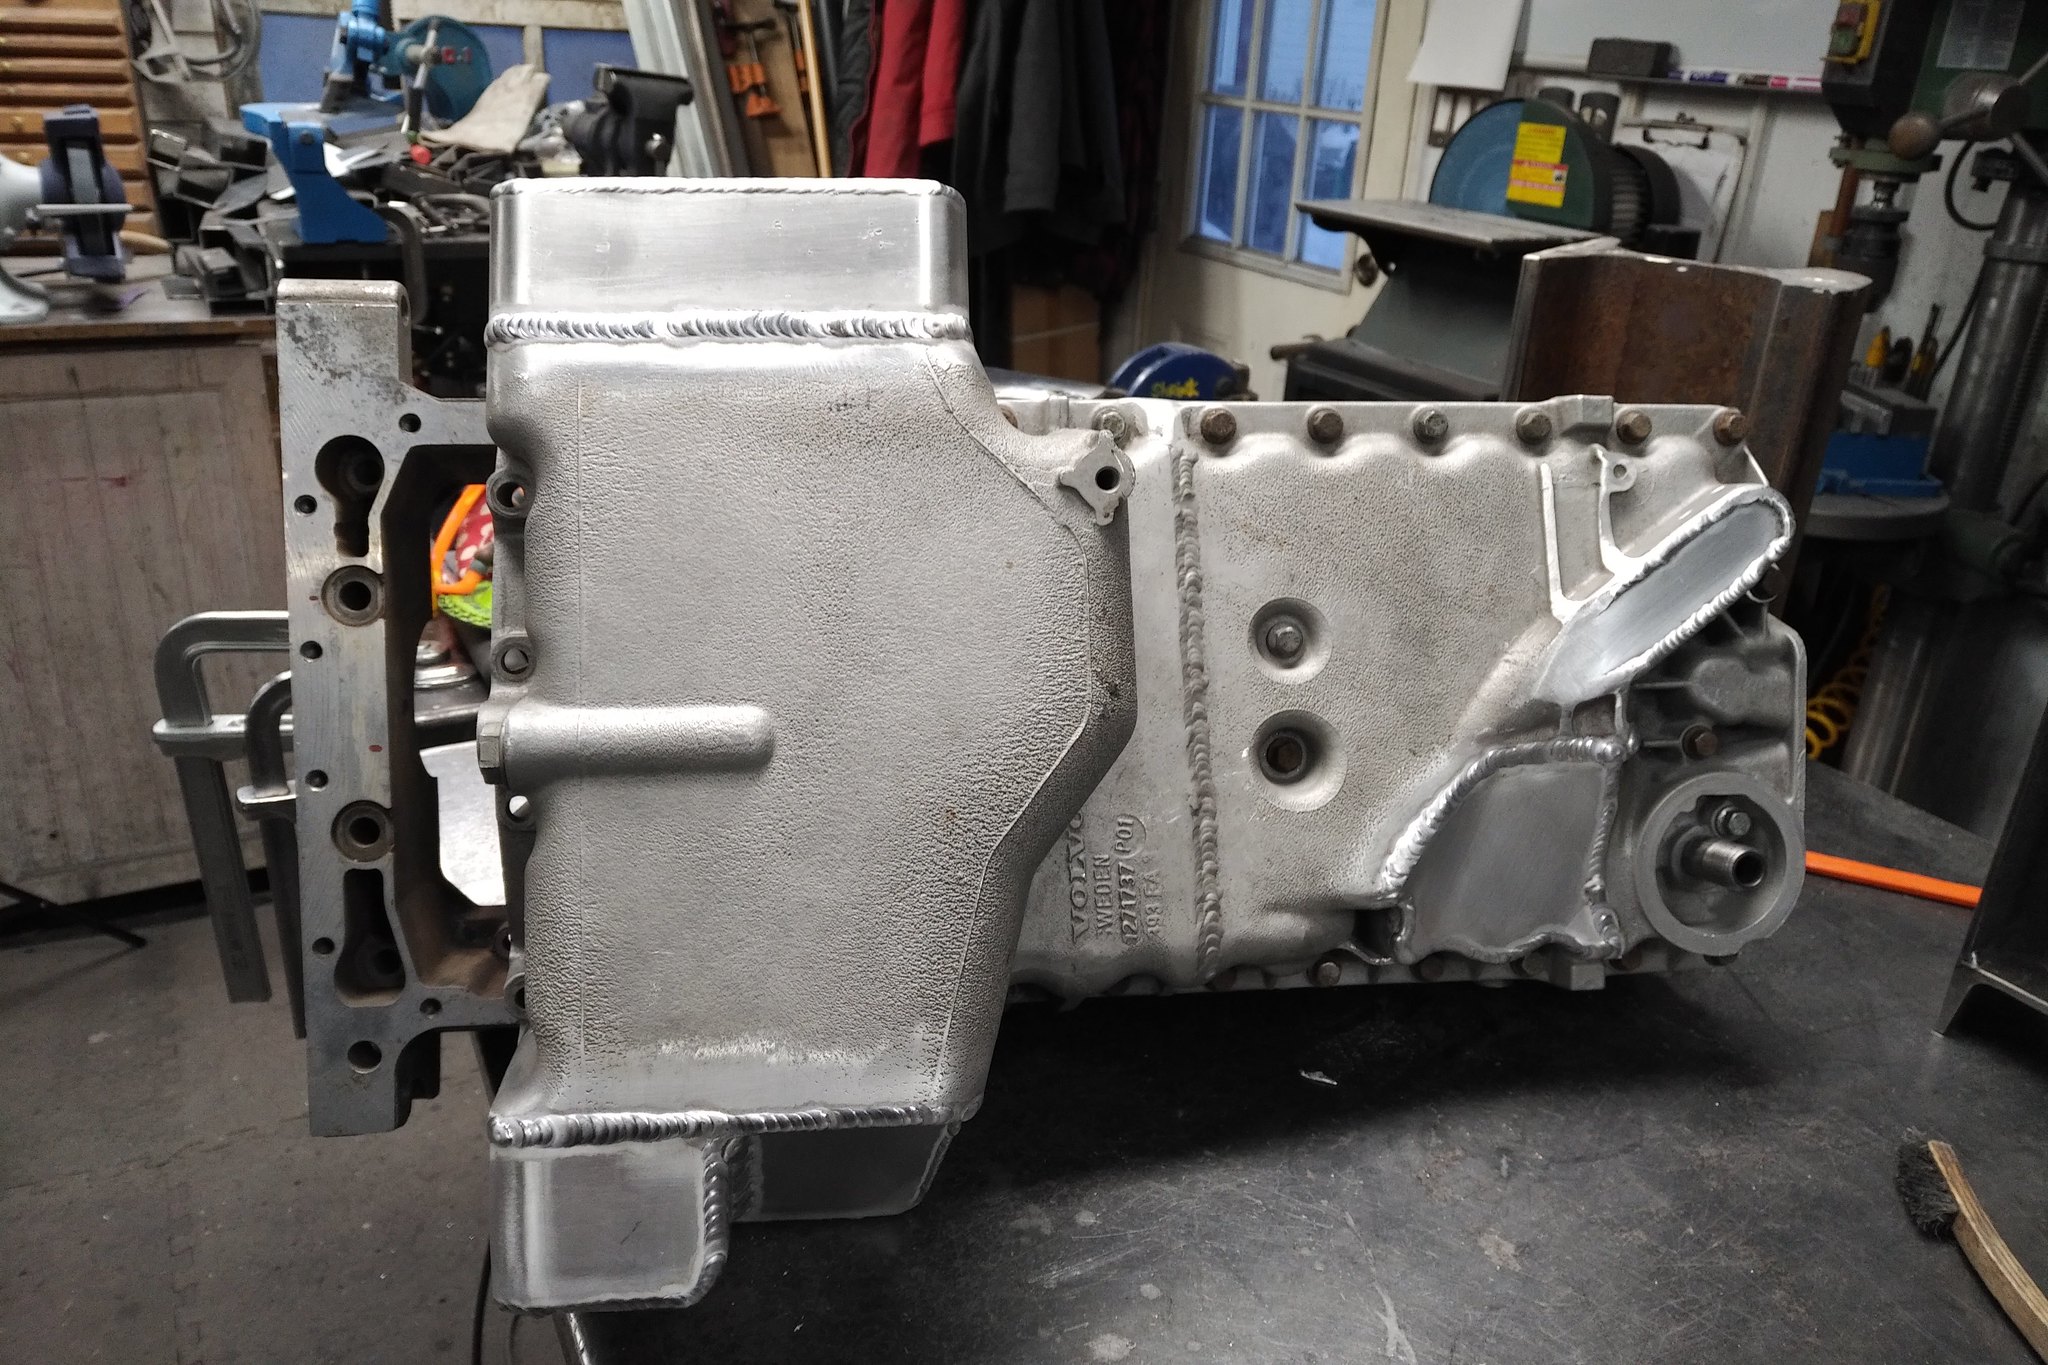
And then welded it all up. No leaks.

46479506684_9290f8d0e1_k.jpg


32260749207_29d9d90ad7_k.jpg


46479505774_8bd499e599_k.jpg


I'm not sure what I should attack next...could be interior rear floor pans or I could get the anti roll bar installed. Both need finishing.
 
Craig, how do you check for leaks, water? I was taught many years ago a great way to check welds for leaks and I've mentioned it a time or two here on TB. A pint of rubbing alcohol with a few drops of red food coloring. For your pan I'd guess about a cup of this poured into the pan a swished over all the welds would do. Put the extra back in the bottle. If there are cracks or pinholes they show up as red lines, it's sort of a poor man's NDT!
 
Craig, how do you check for leaks, water? I was taught many years ago a great way to check welds for leaks and I've mentioned it a time or two here on TB. A pint of rubbing alcohol with a few drops of red food coloring. For your pan I'd guess about a cup of this poured into the pan a swished over all the welds would do. Put the extra back in the bottle. If there are cracks or pinholes they show up as red lines, it's sort of a poor man's NDT!

That's a great idea Alan - I normally use windex as it's easily seen. I'll be coating the inside with a bit of Devcon to ensure no leaks.
 
Tada - we've got an oil pan video.

<iframe width="560" height="315" src="https://www.youtube.com/embed/C2LF9aYTShQ" frameborder="0" allow="accelerometer; autoplay; encrypted-media; gyroscope; picture-in-picture" allowfullscreen></iframe>
 
Back
Top